Nobodies: Silent Blood – Part 2
Introduction
Welcome to the walkthrough for “Nobodies: Silent Blood” from Blyts. This is part 2 of the guide and it will cover the content from mission 11 to mission 14, including both variations of mission 14. You can check out Part 1 here.
Mission 11: Operation Campfire
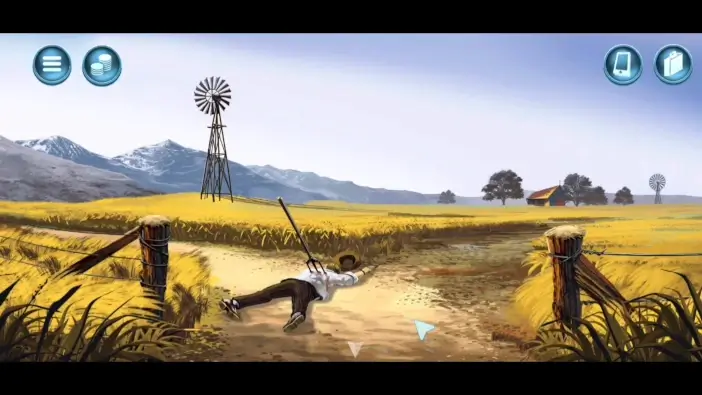
From the starting location, go south of you.
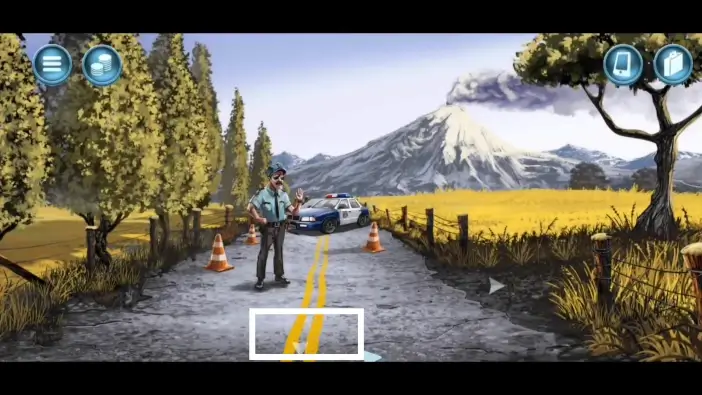
From the police officer, go in the opposite direction.
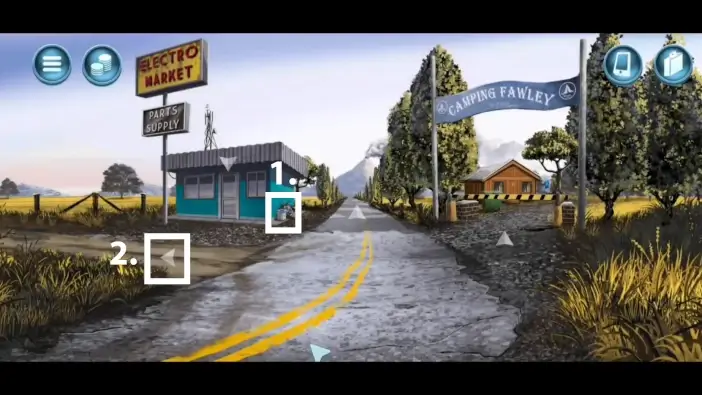
You will arrive near the market. Pick the bucket of paint and go left to reach the junkyard.
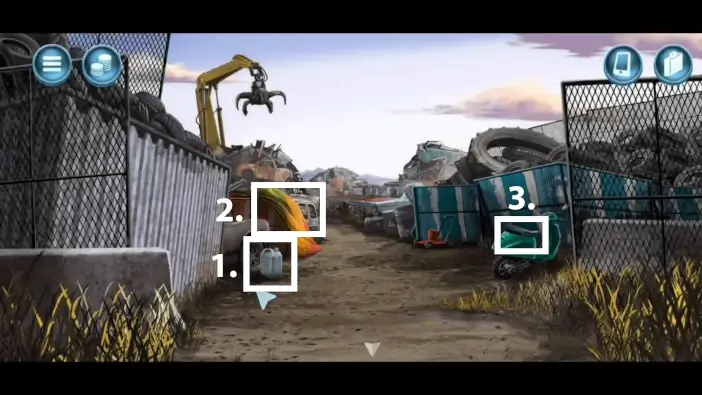
In the junkyard, pick the large jug and the tarp. Open the scooter’s seat and pick up the battery.
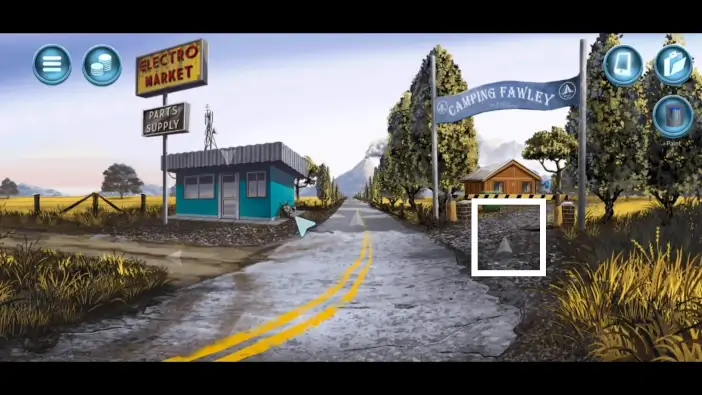
Exit the junkyard and go to the Camping Fawley.
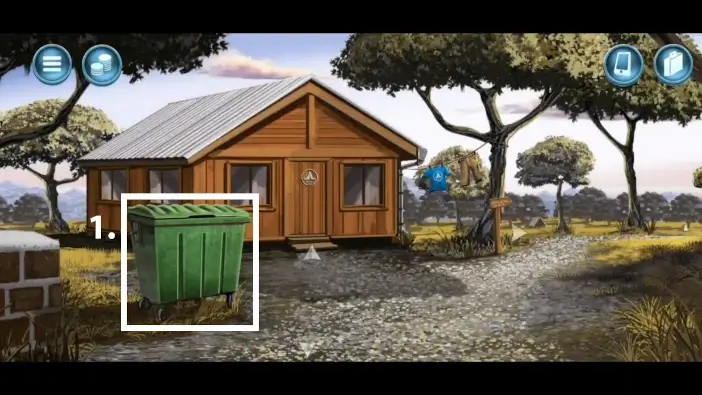
Pick up the dumpster.
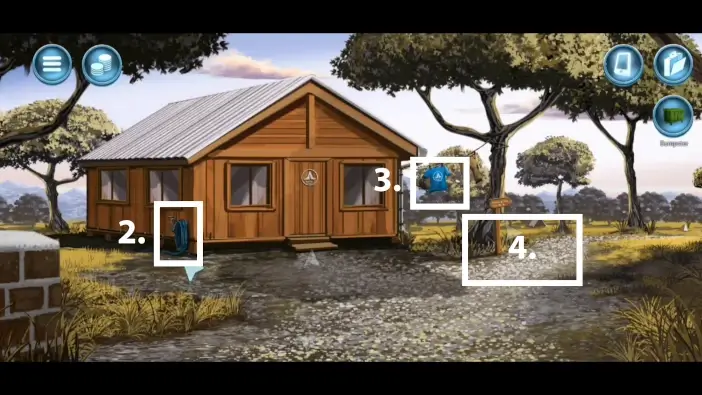
Pick up the hose and the T-shirt. Go right to reach the outside kitchen.
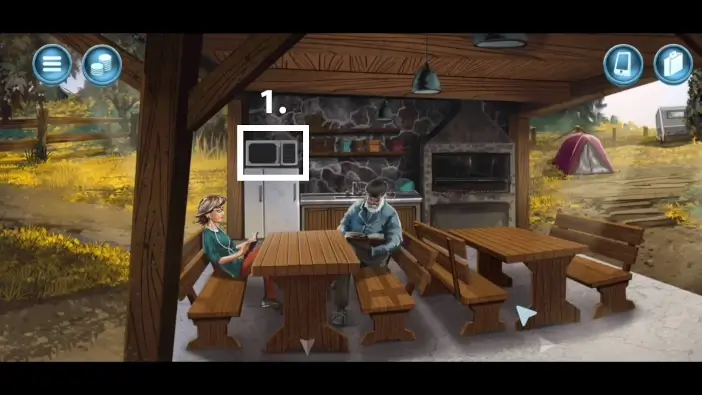
Pick up the microwave from the fridge.
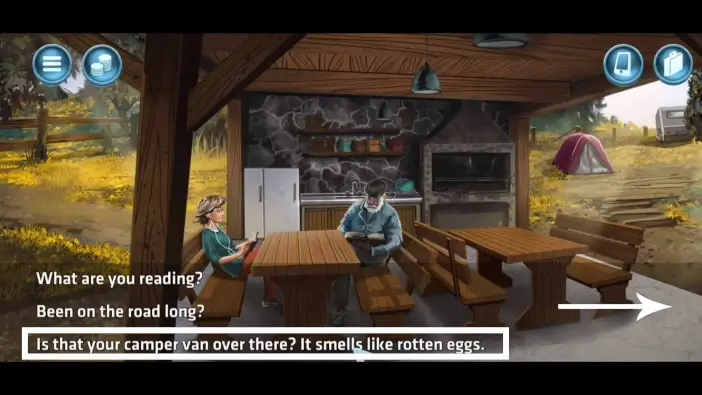
Speak with an elderly man. During the dialogue, pick the third option. The man will go inside the van.
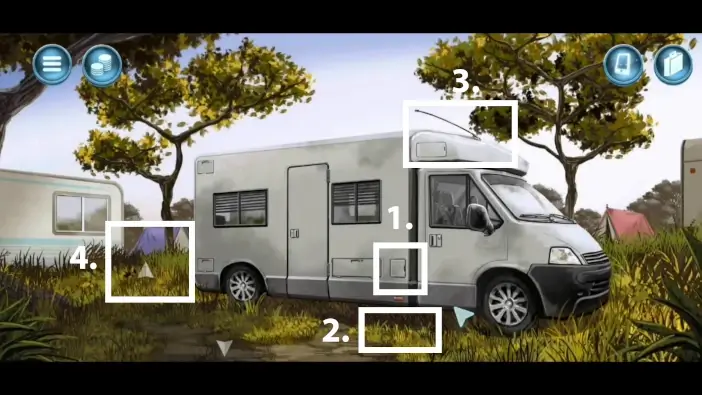
- Go right to reach the van. Place the hose with a fuel tank.
- Place the large jug to attach the hose into it. Click the hose once again to fill the jug. Pick up the jug full of gasoline and close the fuel tank cap.
- Take the antenna from the van.
- Go to the pool.
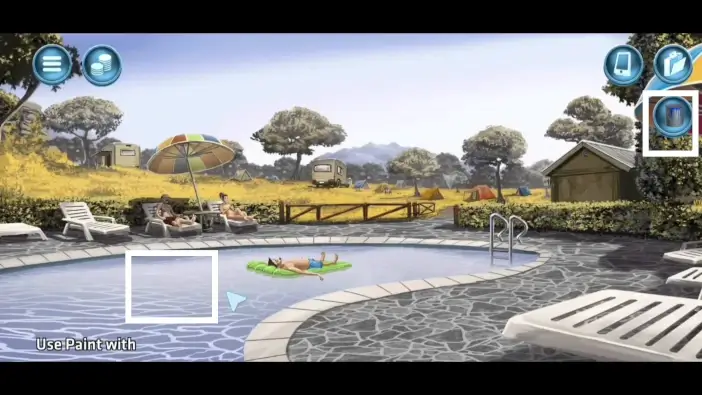
Pour the paint into the pool.
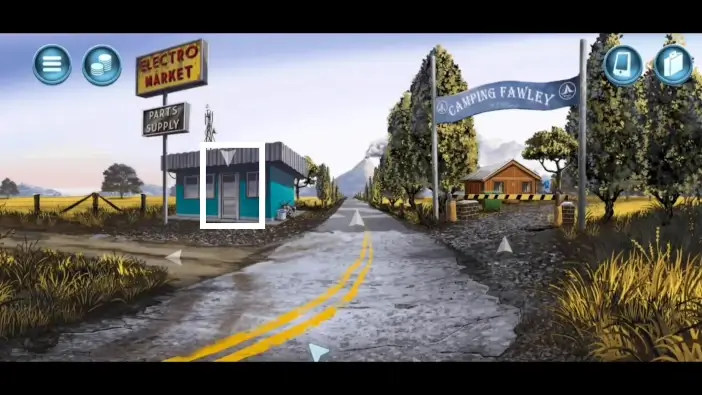
Go to the starting location on the road and enter the shop.
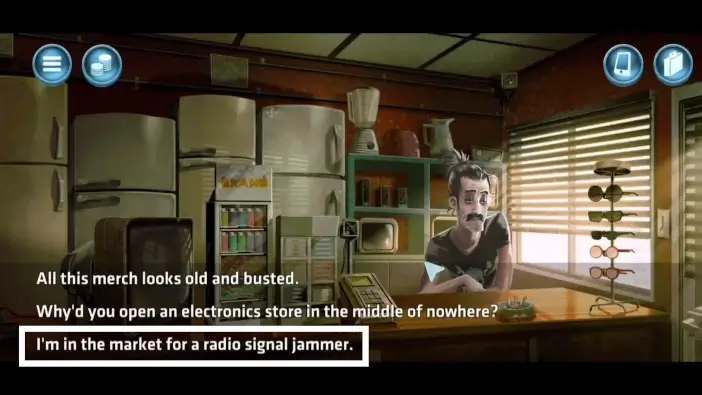
Speak with the shopkeeper. During the conversation, choose the third dialogue option, to ask him to buy a radio signal jammer. This option will only be available if you see how the old man is unlocking the van. He will ask you to do him a favor first. You need to erase his records from the database of your agency.
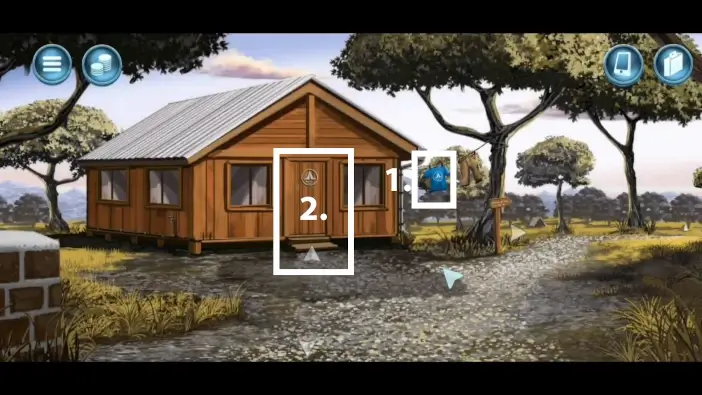
- Exit the building and go to the Camping Fawley. Leave the T-shirt.
- Enter the Camping Fawley office.
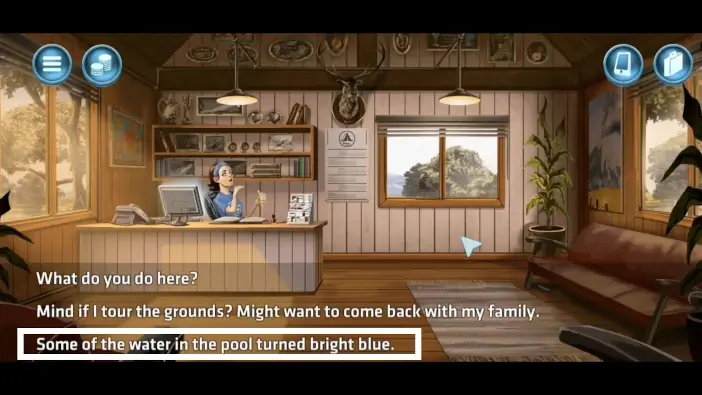
Speak with the manager there and inform her that the water turned bright blue. She will leave the office shortly after.
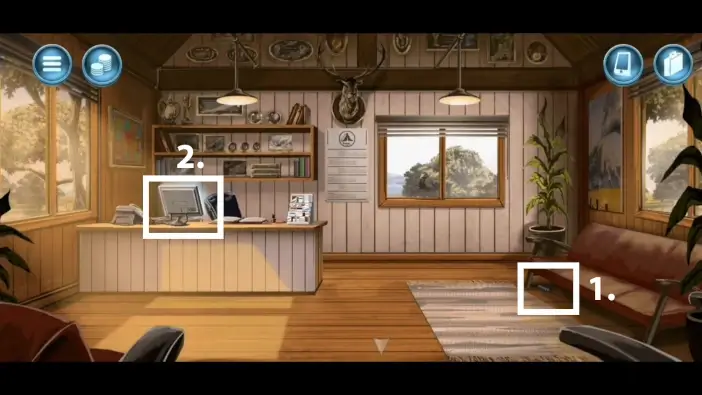
- When you are alone in the office, pick up the screwdriver.
- Approach the PC.
In the search bar, type “theagency”, which is the name of your agency. For username, type your ID number as an agent, “1080.” For the password, type the simple password “1234.”
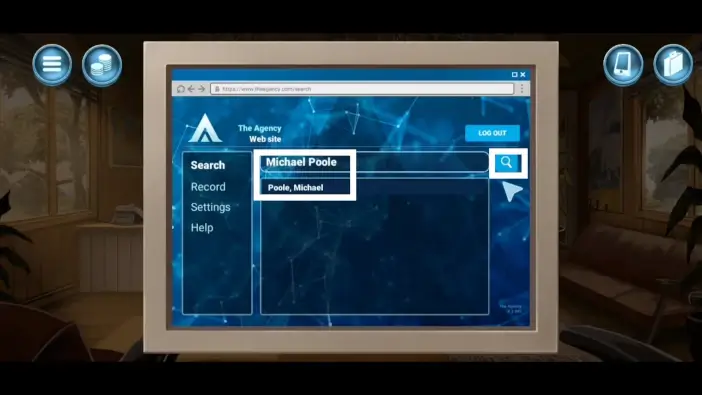
Search for the shop owner’s name “Michael Poole”. Delete his record from the database. Afterward, log out from the database and go back to the search screen.
Return to the shop and inform Michael that you deleted his records from the database. Before giving you a radio signal jammer, he will have one more request from you. You need to bring him 3 items: a radio antenna, a battery, and a magnetron.
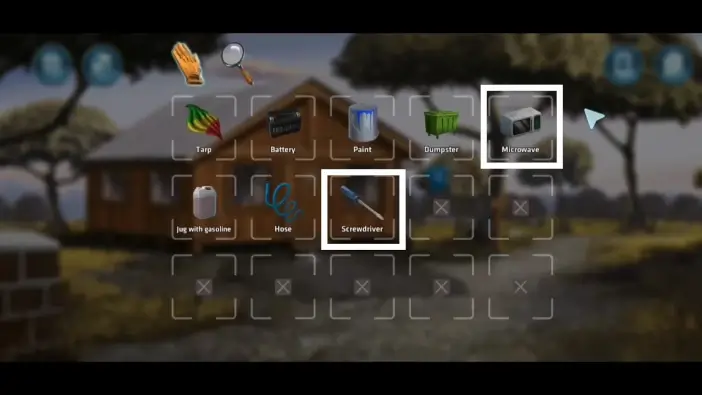
Open your inventory and use your screwdriver on the microwave, to get the magnetron. Give the magnetron to Michael.
You will already have the next two items in your inventory. Give him the antenna that you found on the van and the battery that you found in the scooter. After you bring him all the items, he will give you the short-range radio signal jammer.
Return to the kitchen and while speaking with the elderly man, choose the third option again.
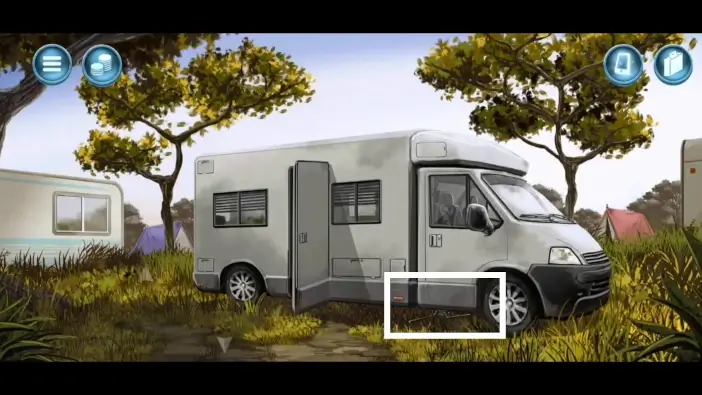
He will again unlock the van. While he is in the van, deploy the signal jammer. Leave the area and return.
Because of the signal jammer, the van will remain unlocked. Enter the van.
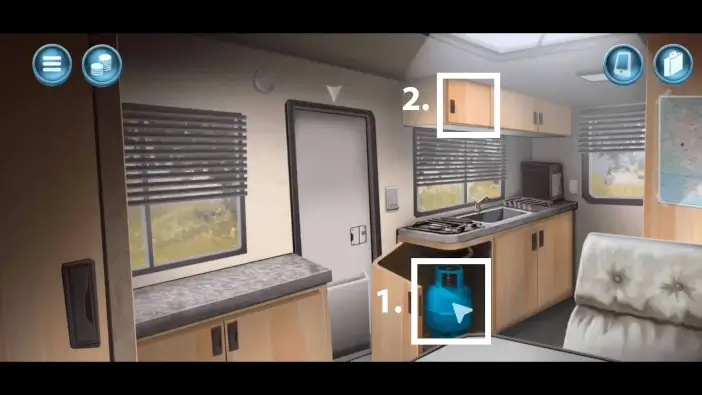
- Open the cabinet, pick up the propane tank, and close the cabinet.
- Pick up the wrench from the upper cabinet and don’t forget to close it.
- Exit the van.
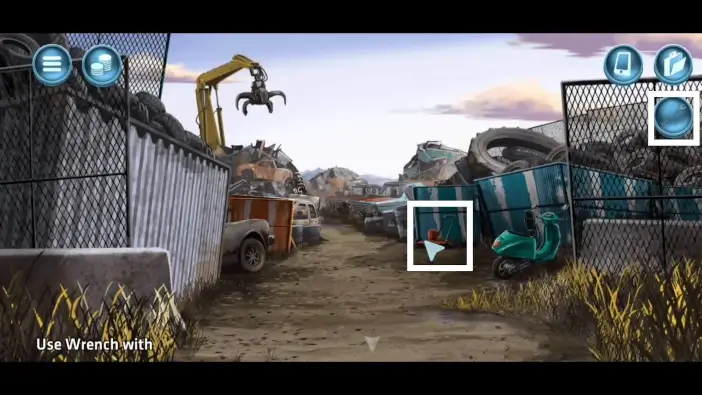
Pick up the signal jammer and go to the junkyard. Use the wrench to pick up the engine from the lawn mower.
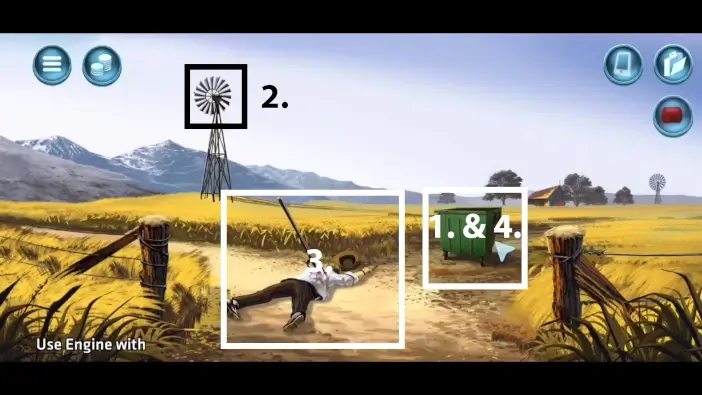
- Go to the starting location where the dead body is. Place the dumpster.
- Use the wrench to get the wind pump rotor.
- Pick the dead body.
- Place the engine inside the dumpster.
- Place the propane tank inside the dumpster.
- Attach the tarp to the dumpster.
- Attach the windpump rotor to the dumpster.
- Pour gasoline from the jug into the engine.
- Place the dead body inside the dumpster.
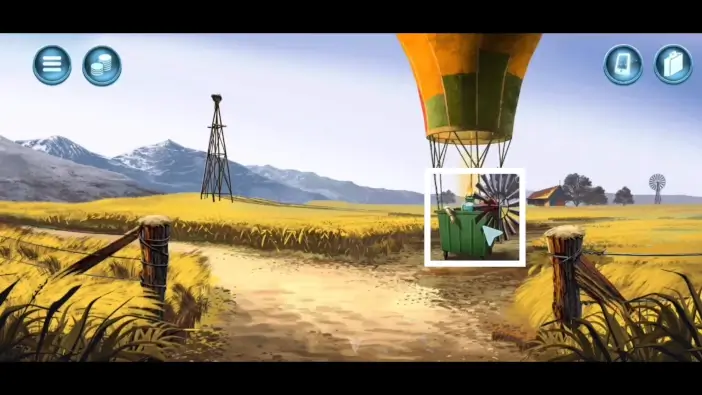
Click on the dumpster once again and it will fly off, like a hot air balloon and your character will pilot it toward the volcano.
After the cutscene, you will return to the starting area at the crop fields. Disassemble all of the complex items you created and return all the items to their original places.
Mission 12: Operation Turnstile
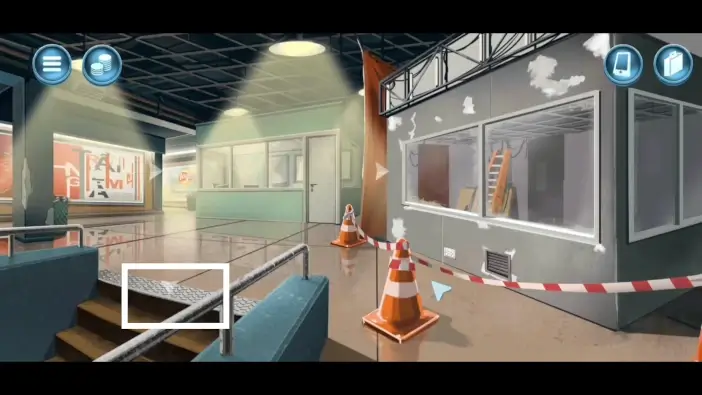
From the starting location, take the path downstairs to reach the metro area.
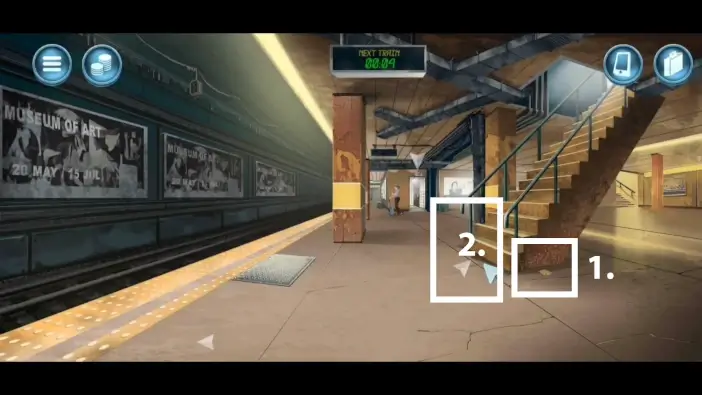
- Pick the metro card.
- Go upstairs toward the starting location.
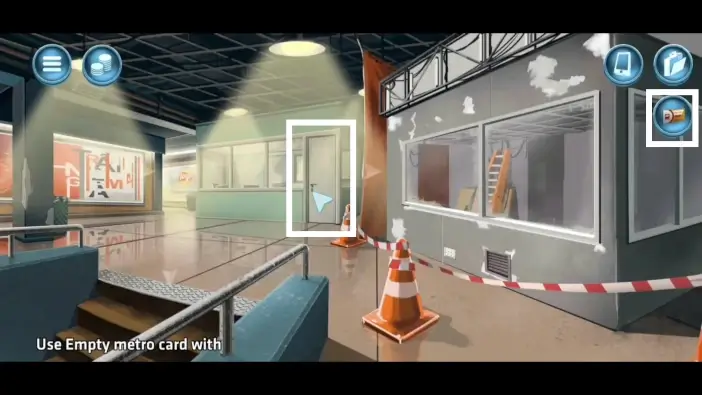
Use the metro card to access the office.
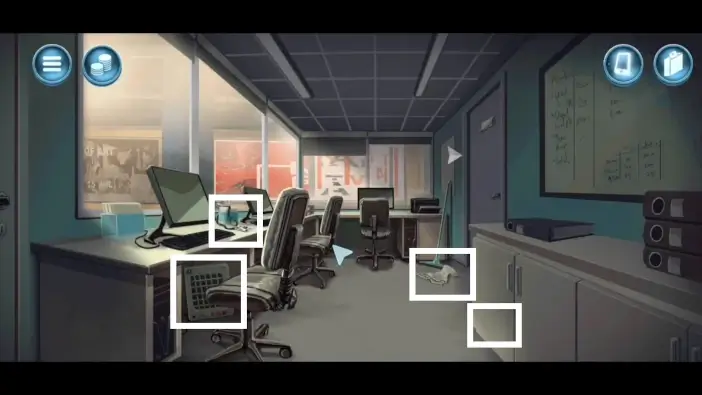
Pick the rag, the heater, and the ID badge. Don’t forget to pick the wrench from the cabinet.
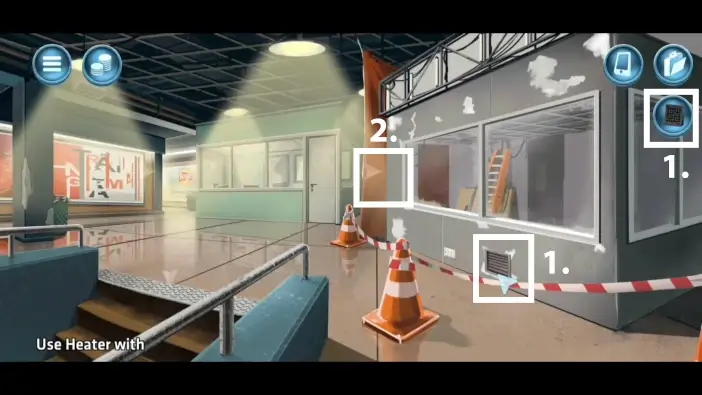
- Exit the office and place the heater on the ventilation at the starting location. This will cause the construction workers to take off their hard hats.
- Enter the room that is under renovation.
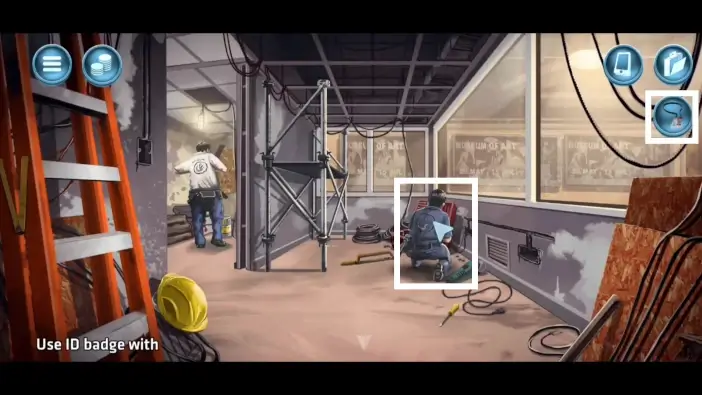
Speak with the construction worker and use your ID badge. Your character will dismiss the workers for not wearing hard hats and following safety measures.
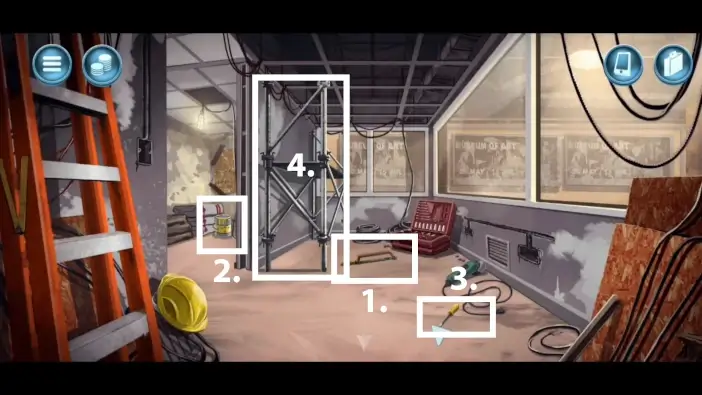
When alone in the room, pick the following items:
- Hacksaw
- Paint
- Screwdriver
- Use the wrench to take the scaffold bars.
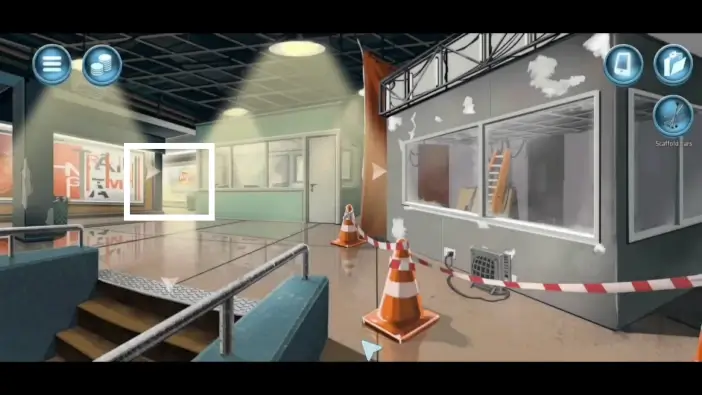
Exit the room and go left to the ticket sales counter.
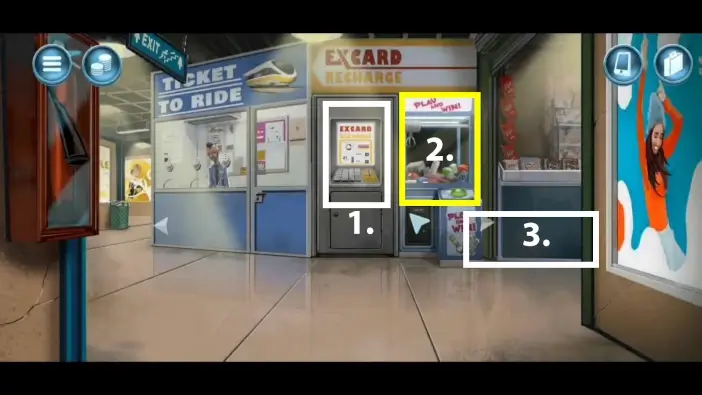
- Use the metro card on the “Excard Recharge” machine to get some money.
- Use the money to start a game in the claw machine. Pick the watch, which is the 5th collectible item in the game.
- Go to kiosk.
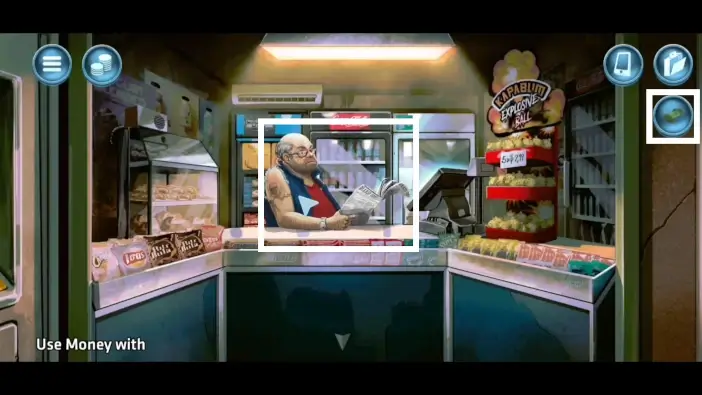
Use the money you just got from the machine and buy the firecrackers. They will be added to your inventory once you complete the purchase.
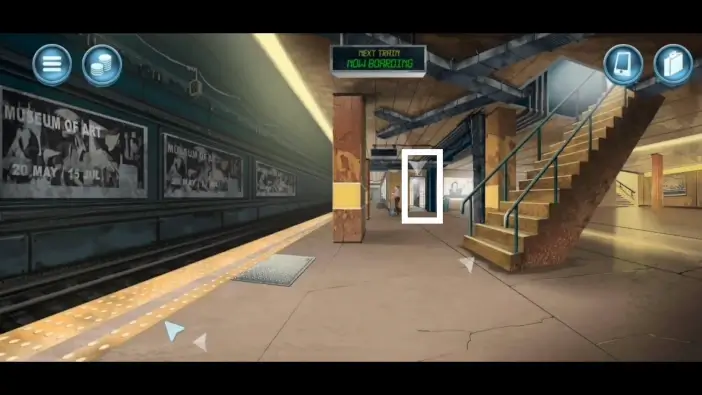
Return to the metro station. From there, go to the toilet room.
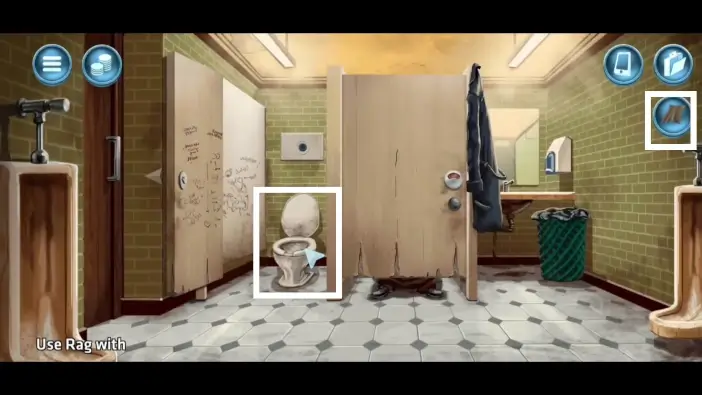
Open the left toilet door. Place the rag inside the toilet seat to cause the flood. This will cause the man on the right to leave the room.
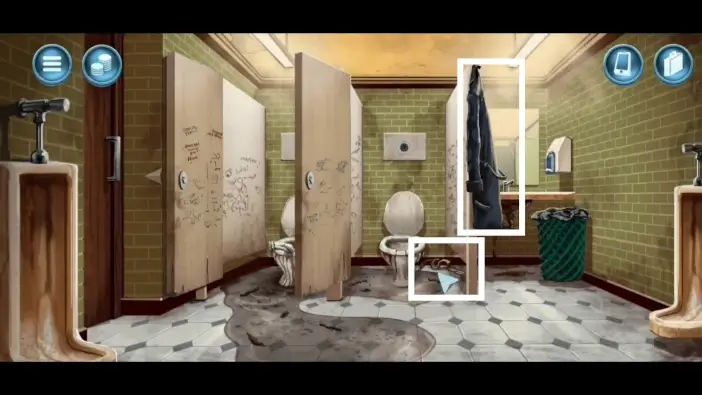
Shortly after, you will be alone. Pick the belt and the coat that belonged to the man who left. Don’t forget to close the toilet door on the left.
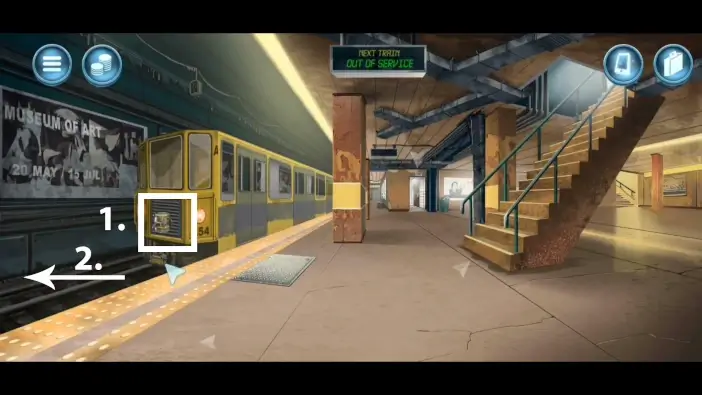
- Go to the metro station and wait for the train. When the train stops, throw the firecrackers on the front side of it. The train will malfunction and it won’t leave. Place the paint bucket on the front part of the train and then fasten the bucket with the belt. This way you can follow the trail of paint and find the repair depot.
- When the train leaves, go left to follow the trail.
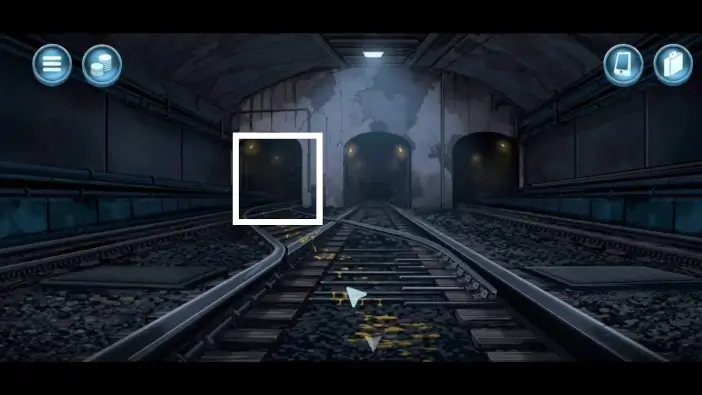
Choose the left tunnel to arrive at the repair depot.
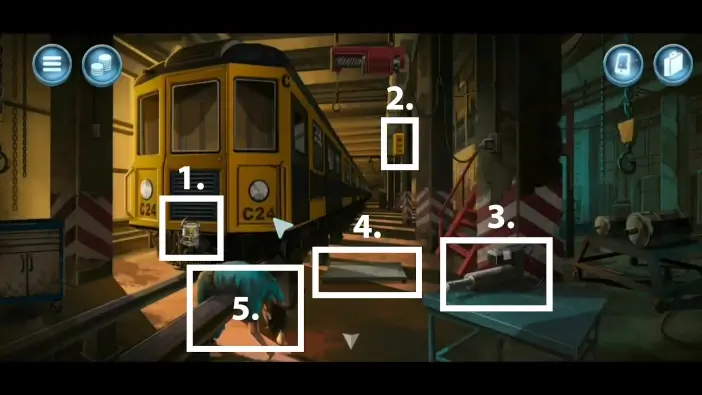
1. Take off the belt and the bucket from the train.
Pick up the pendant switch (2.), piston (3.), garage creeper (4.), and the dead body (5.).
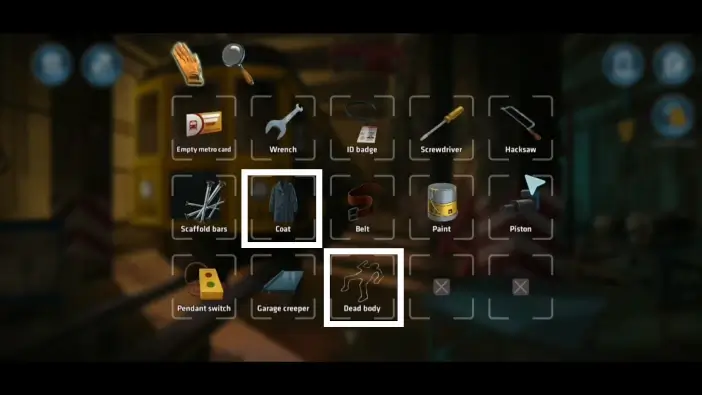
Open your inventory and put the coat on the dead body.
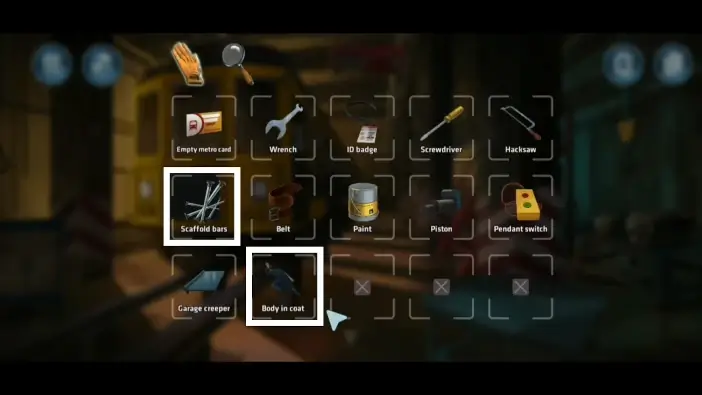
Use the scaffold bars on the body in a coat to get the “upright body in a coat” item. Place the “upright body in a coat” on the garage creeper in your inventory.
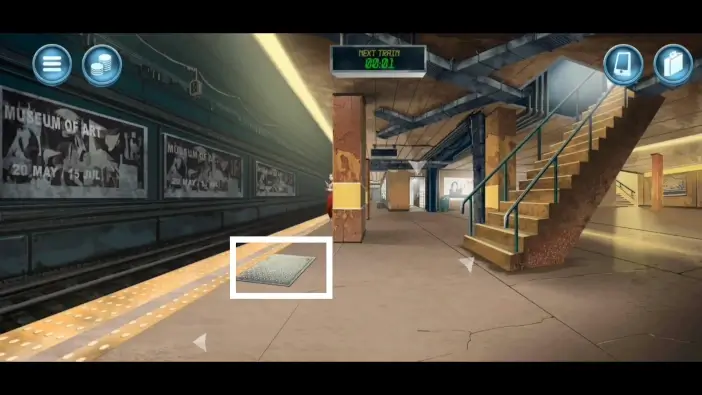
Return to the metro station and approach the water drain.
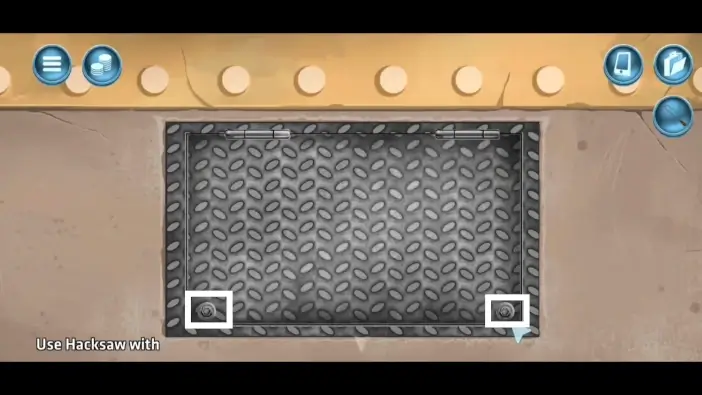
Use the hacksaw to cut the screws. Use the screwdriver to unfasten the screws and then open the water drain.
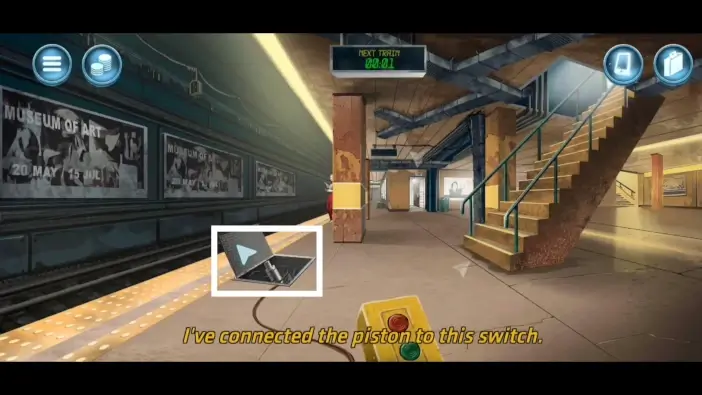
- Place the piston inside.
- Connect the pendant switch to the piston.
- Close the water drain.
- Open your inventory and click on the “body on garage creeper” to get the original items.
- Place the “upright body in coat” on the water drain and wait for the next train.
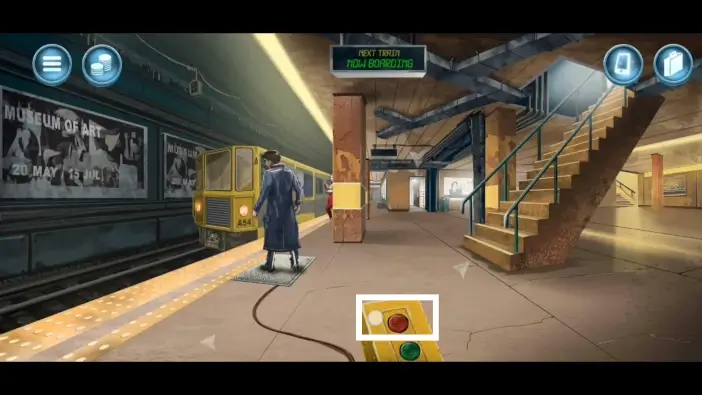
Immediately before the arrival of the next train, press the pendant switch. The dead body will fall before the train, causing an emergency incident.
Return all the items to their original locations.
Mission 13: Operation Labwork
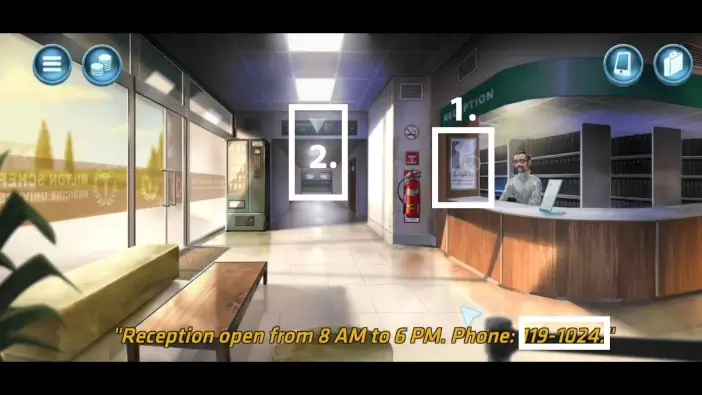
In the reception area, read the reception phone number. You will use it later. It is “119-1024.” Then, go to the hallway.
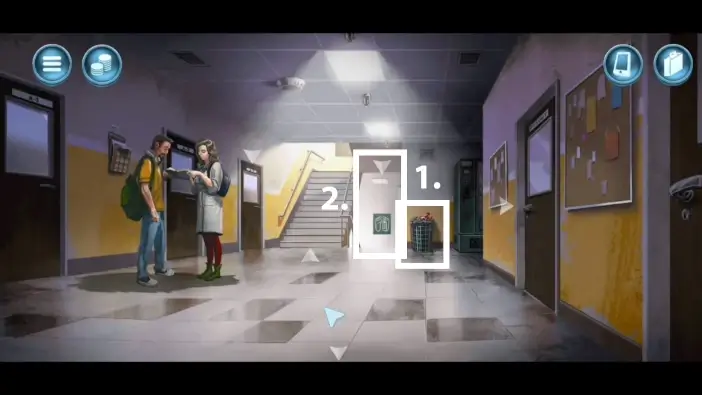
- Pick the soda can from the trash bin.
- Go to the laboratory.
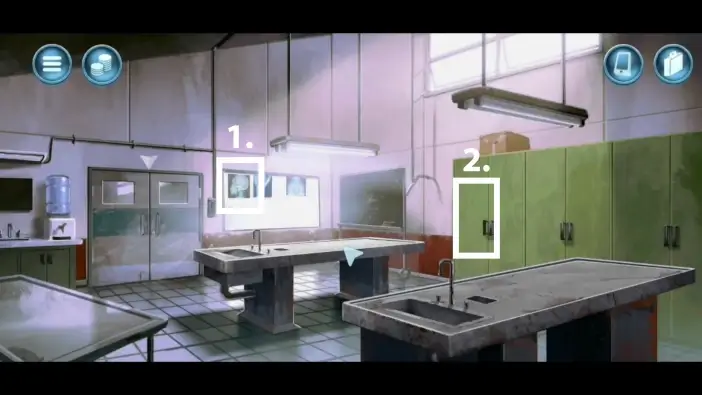
- Inside the laboratory, pick up the X-ray.
- Pick the jar of nails from the cabinet and close it.
- Return to the hallway.
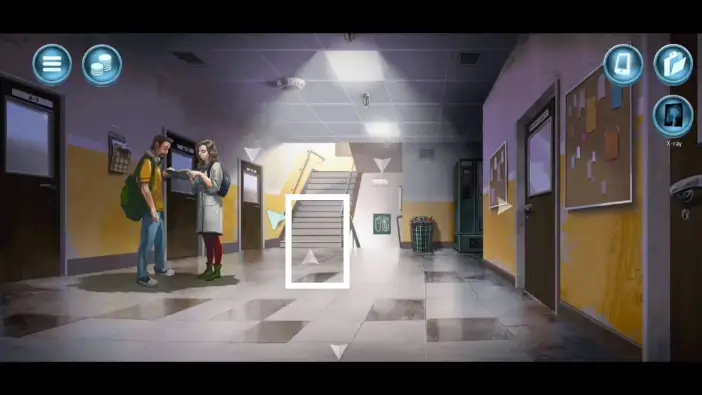
Go upstairs.
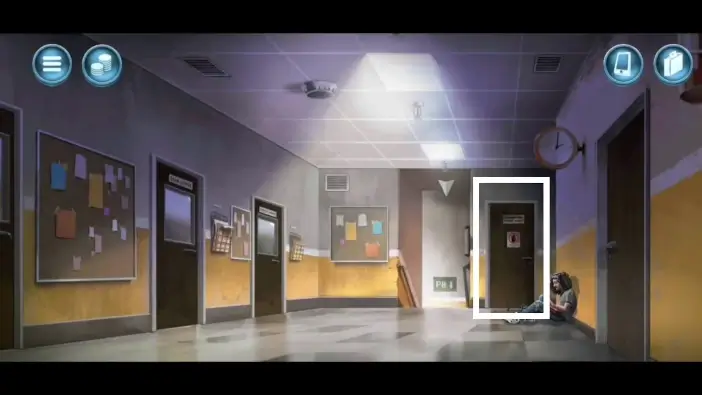
Go to the storage room.
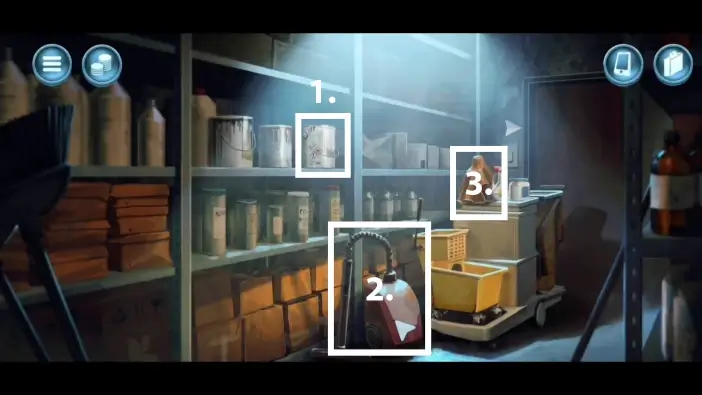
Pick the paint, the vacuum cleaner, and the rag. Exit the storage room.
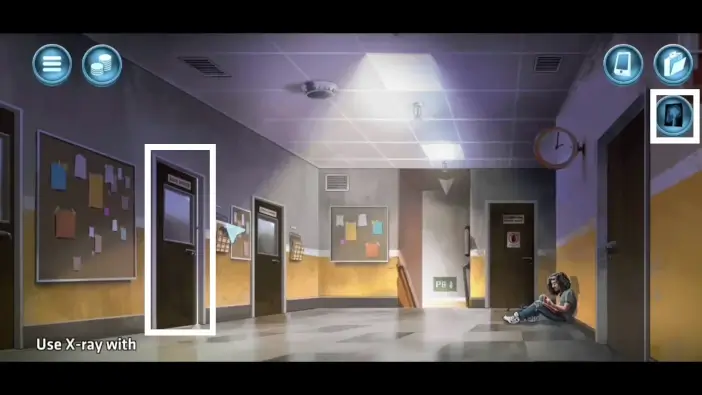
Use the X-ray to remove the door latch and unlock the dean’s office.
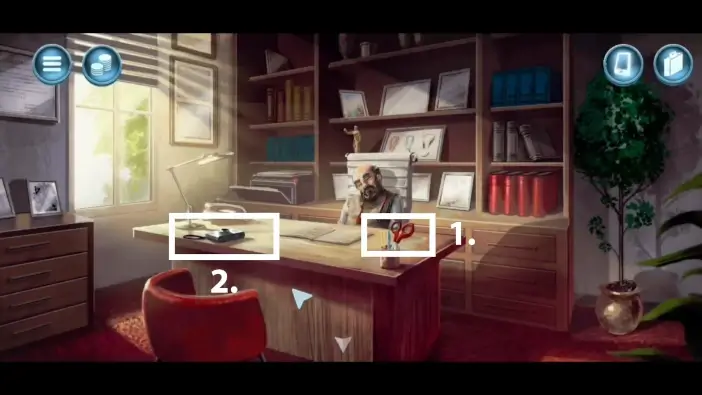
Inside the dean’s office, pick up the scissors and the camera.
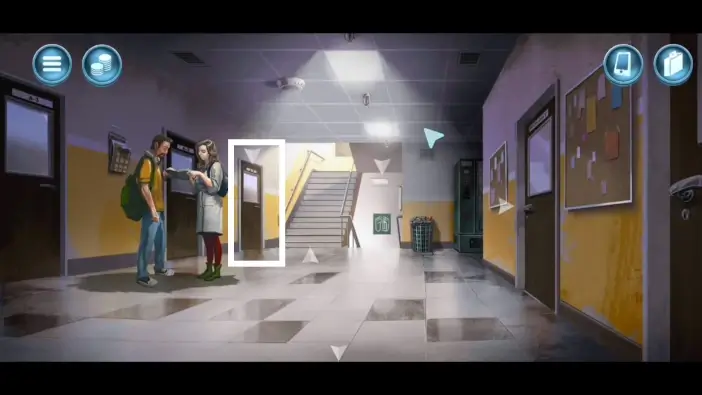
Return to the main hallway downstairs and go to the classroom.
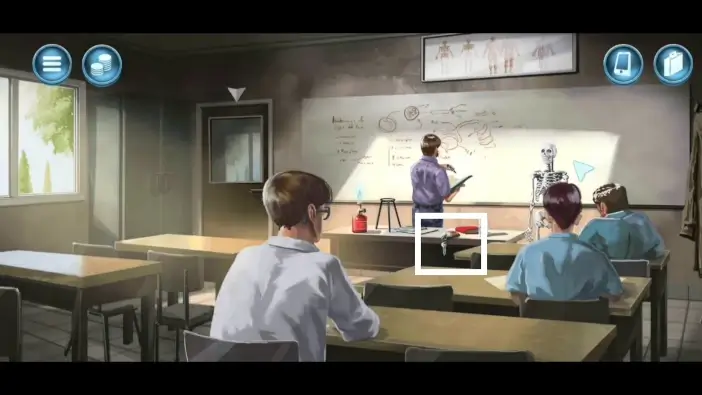
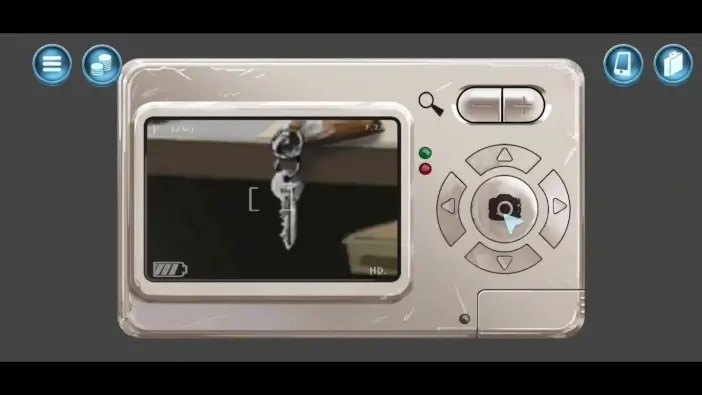
Use the camera, zoom in on the professor’s key, and take a picture of it.
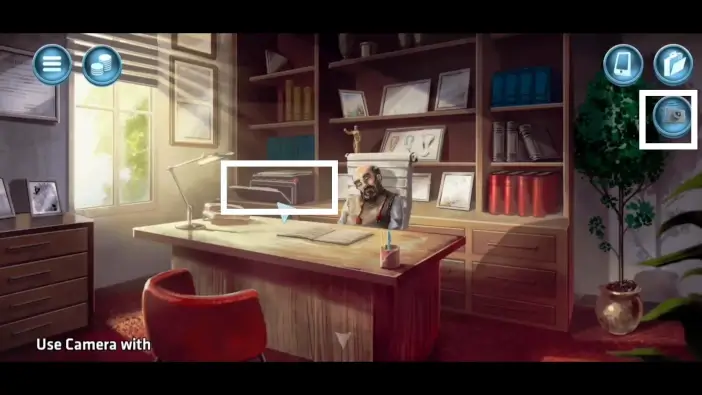
Return to the dean’s office. Use the camera on the printer to get the key printout. Exit the office.
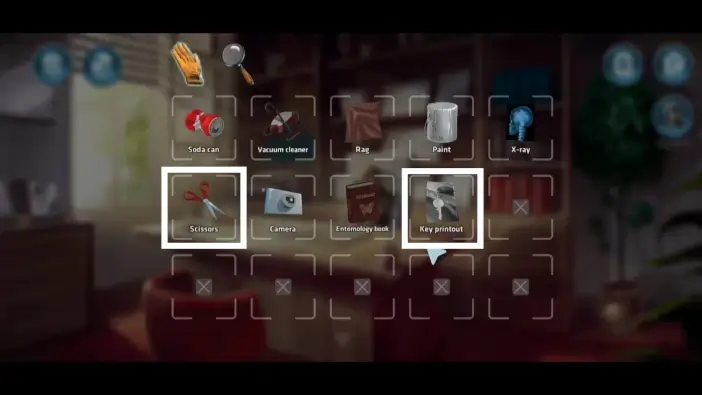
In your inventory, use the scissors on the key printout to create a key cutout.
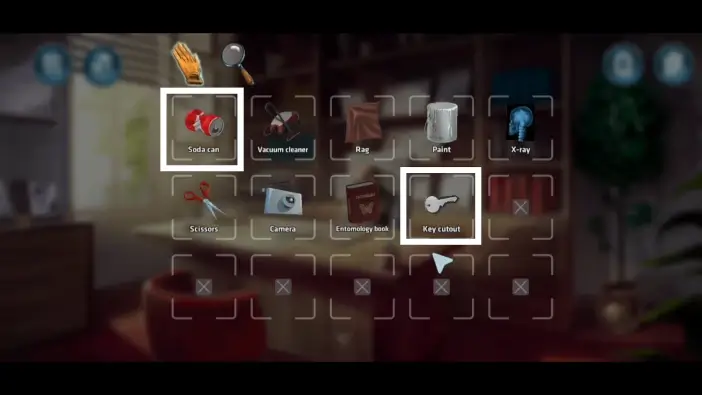
Attach the key cutout with the soda can to get the “key cutout with can” item.
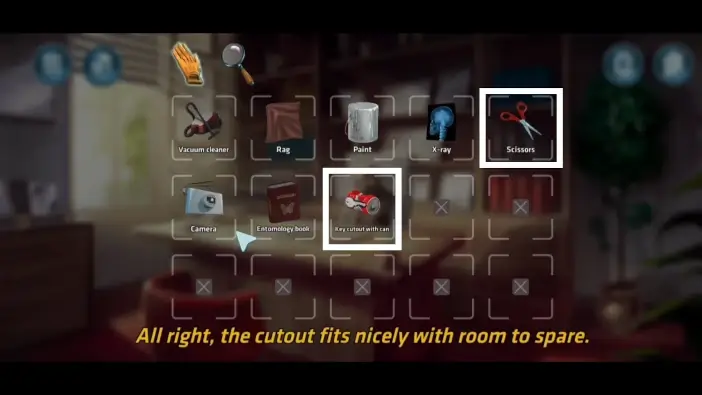
Use the scissors on the “key cutout with can” to create the aluminum key.
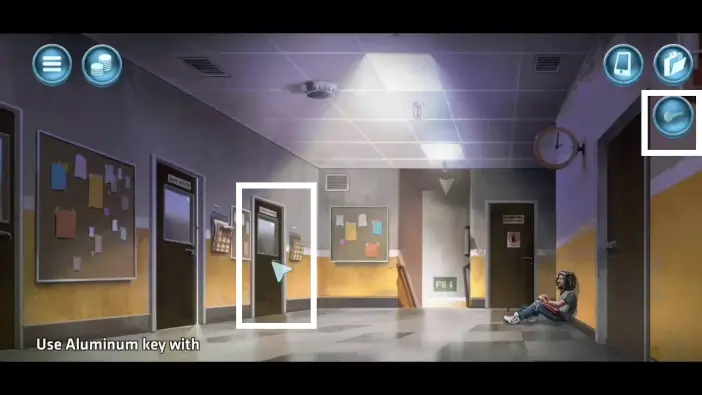
Use the aluminum key on the professor’s office door that was locked and enter.
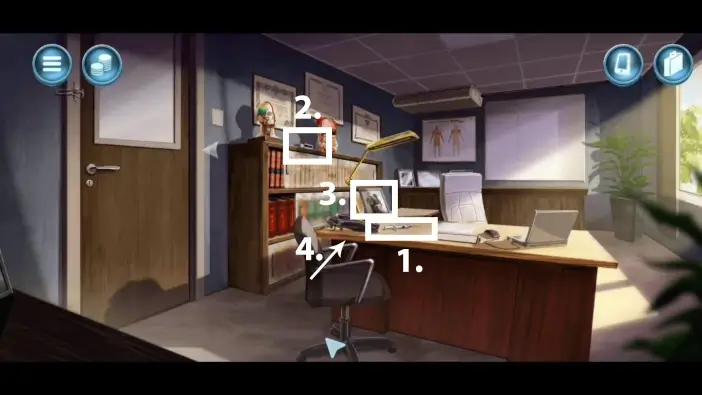
In the professor’s office take the syringe (1.) and the matches (2.). Check the picture (3.). Approach the phone on the table and type the phone number you read from the reception (4.). The number is “119-1024.”
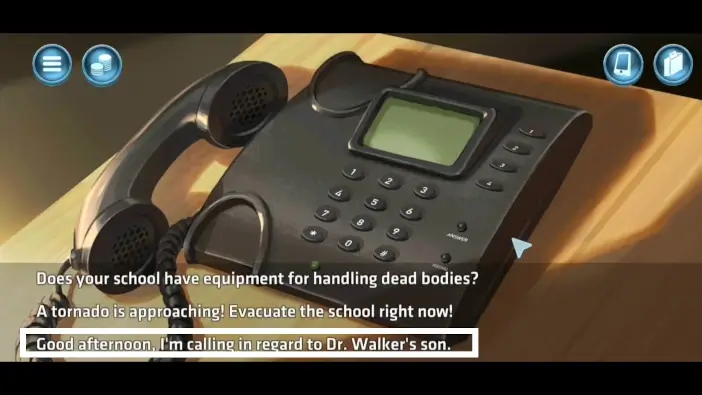
During the dialogue, choose the third option.
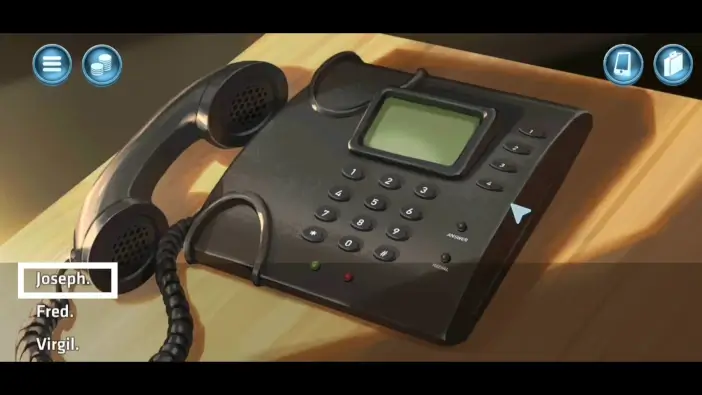
When the receptionist asks you about the son’s name, answer with “Joseph.”
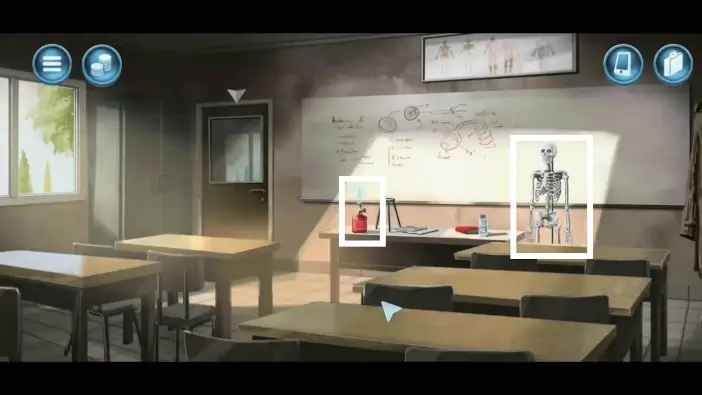
Go to the classroom. The classroom is empty because you distracted the professor. Take the plastic skeleton and the burner.
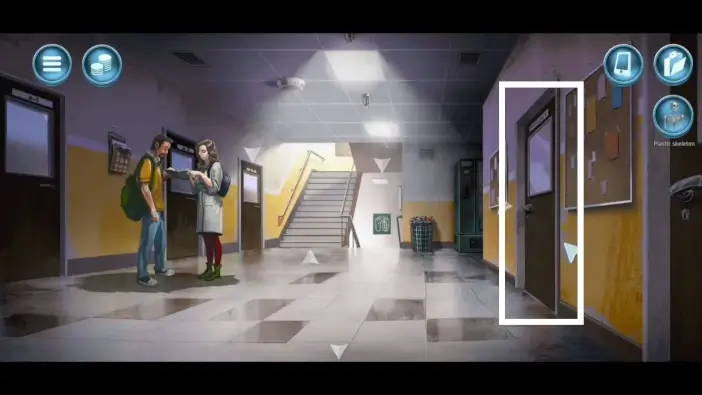
From the main hallway, go into the lab on the right.
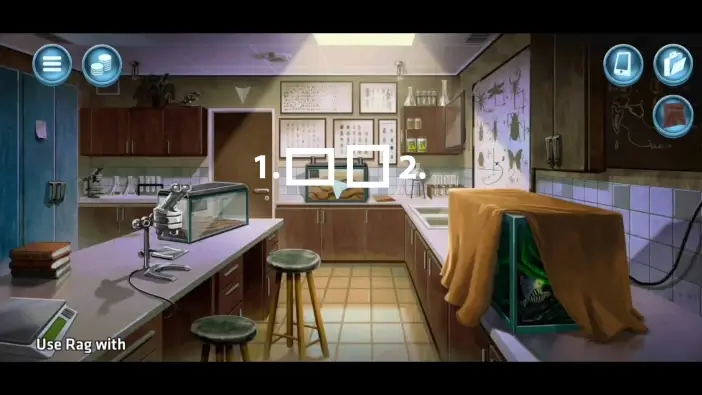
- Use the rag on the small aquarium to block one of the vents.
- Use the vacuum cleaner on the other vent to get the bag of beetles.
- Pick up the rag.
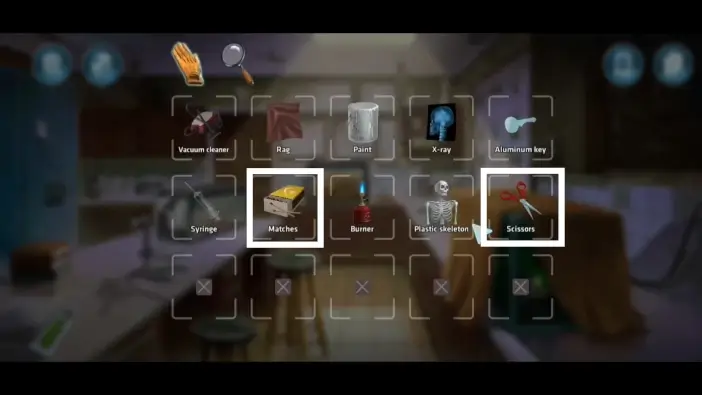
In your inventory, use the scissors on the matches to get the incendiary powder.
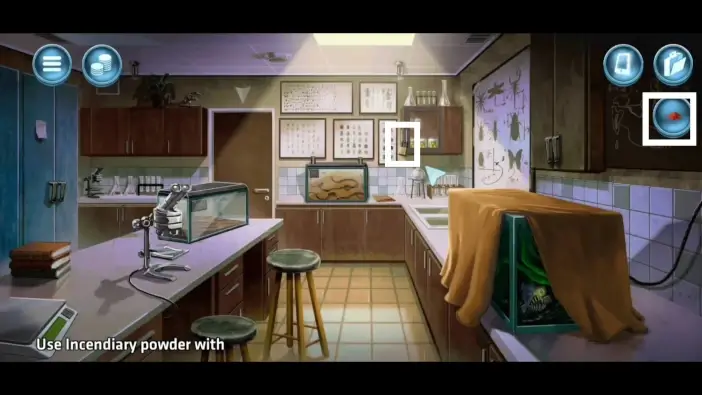
Fill the padlock with the incendiary powder. Use the burner on the same padlock to destroy it.
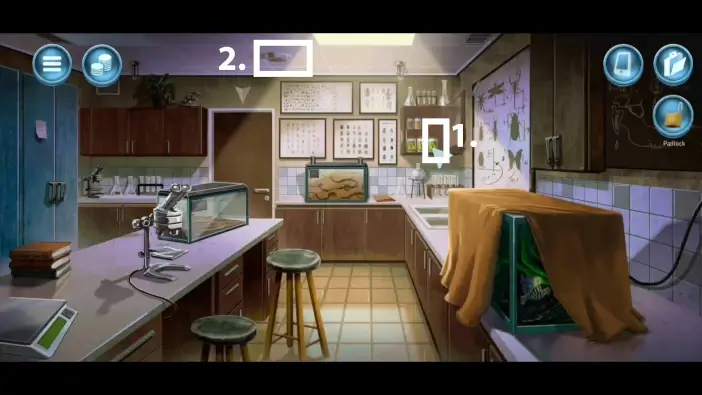
- Take the padlock and open the cabinet. Pick the jar of venom.
- Use the burner on the fire alarm to activate it. This will cause everyone to leave the building and you will be alone.
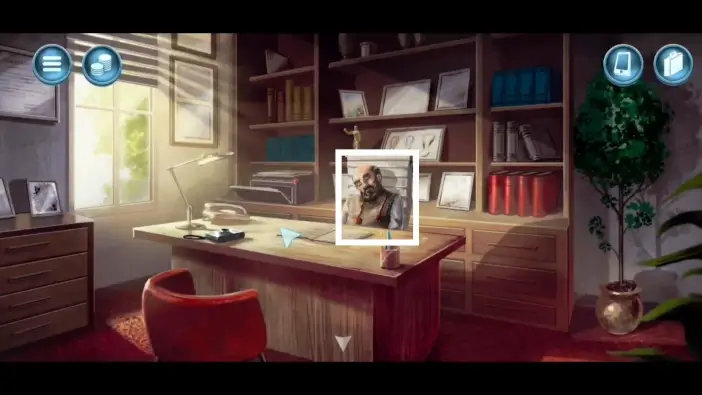
Return to the dean’s office and pick up the dead body.
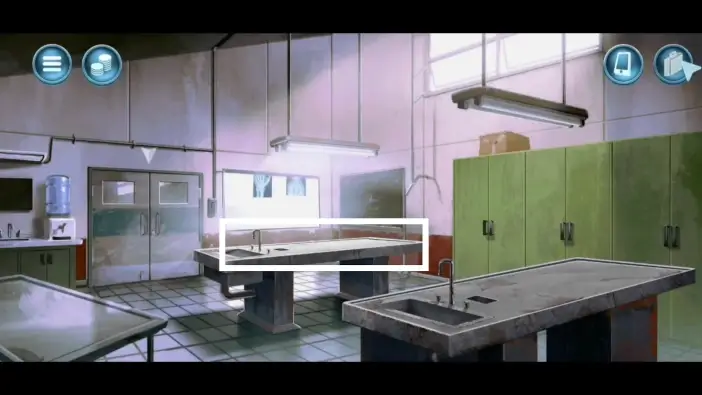
Go to the X-ray lab and place the dead body on one of the tables.
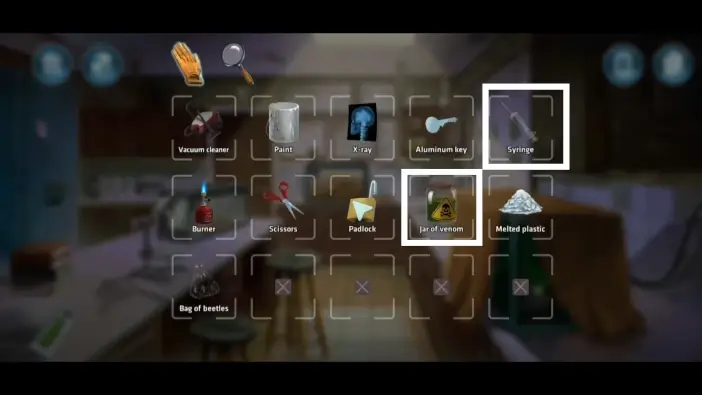
In your inventory, use the syringe to take some of the venom from the jar of venom.
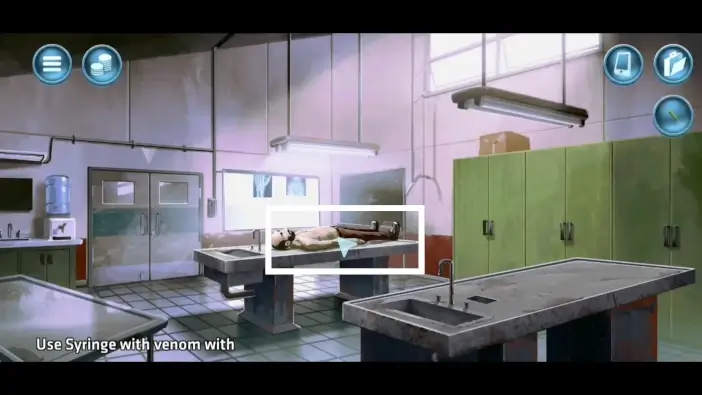
Use the “syringe with venom” item on the dead body to speed up the rotting of the body.
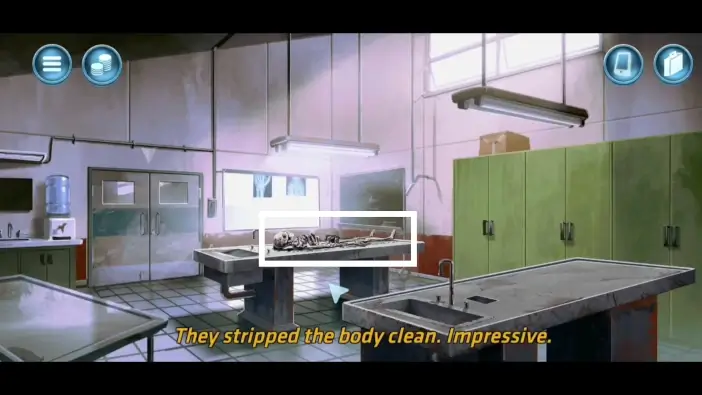
Unleash the beetles from the “bag of beetles” item on the body to further decompose it. Pick up the skeleton.
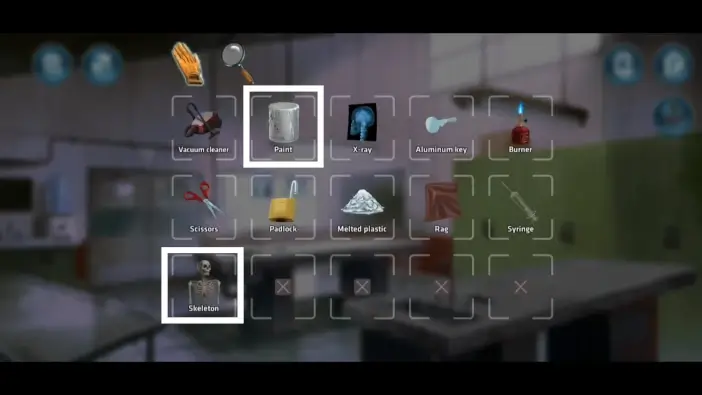
Use the paint on the skeleton.
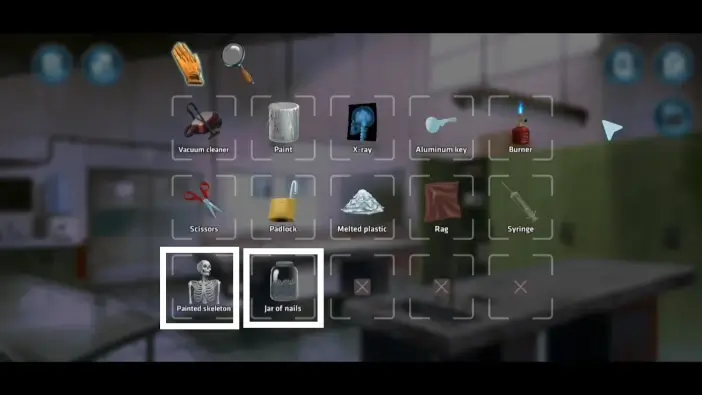
Use the jar of nails on the skeleton.
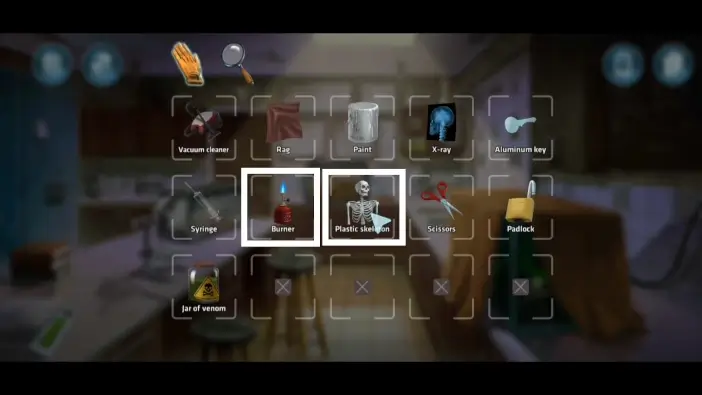
Use the burner on the older plastic skeleton to destroy it into the melted plastic. Return the X-ray.
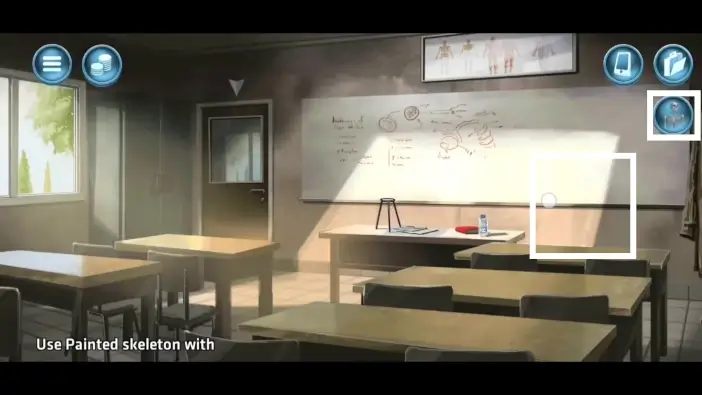
- Go to the classroom and place the victim’s skeleton where the plastic skeleton was.
- Return the burner to the table.
The mission is completed. Return all the items to their original locations.
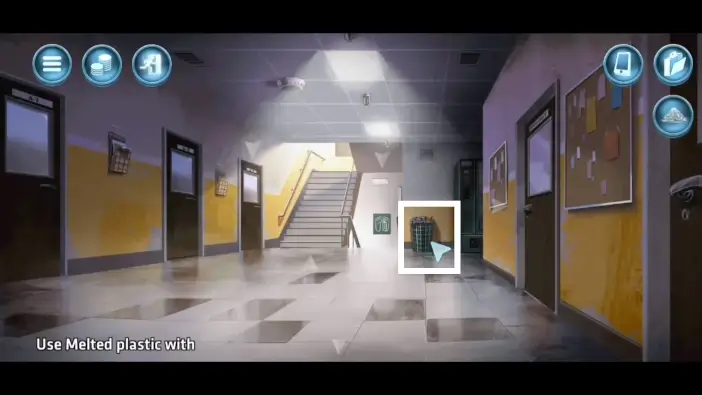
The exceptions are melted plastic, the padlock, and the aluminum key. Throw these items into the trash bin, in the main hallway.
Mission 14: Operation Crossroads – Spare Satoshi
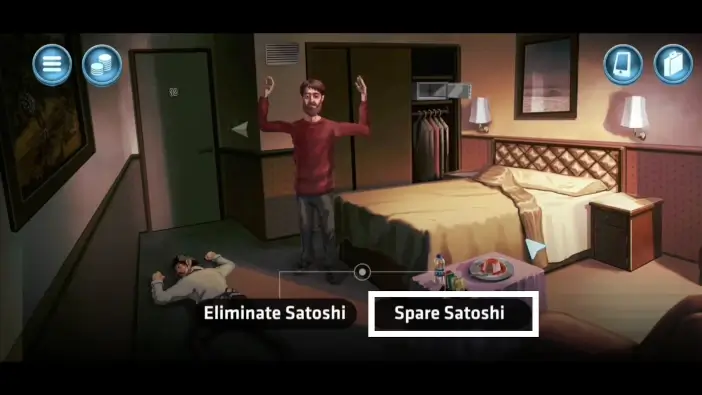
This guide is related to the set of steps you need to do if you choose to save Satoshi. During the conversation with him, pick the “Spare Satoshi” option.
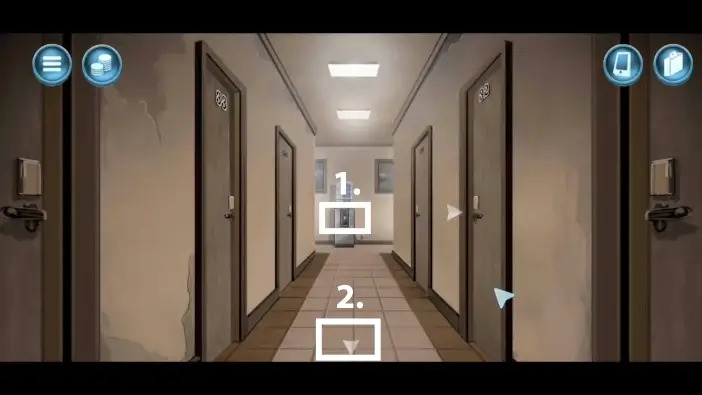
- Exit the room. In the hallway, pick up the cup of water.
- Go toward the reception.
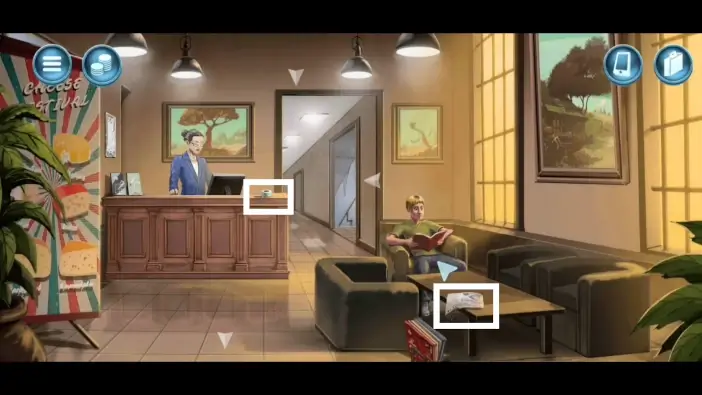
In the reception room, take the newspaper and the tape roll.
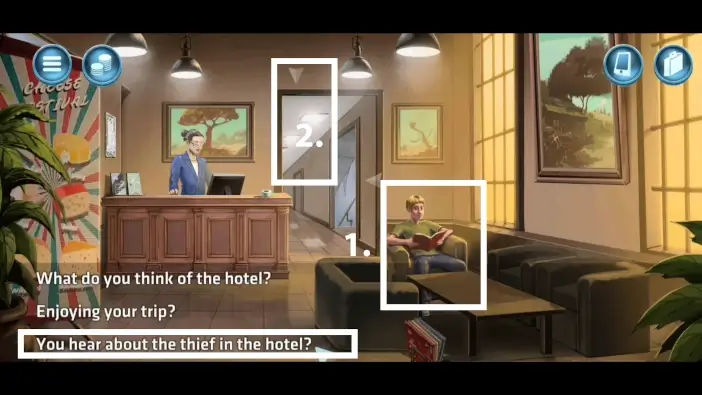
Speak with the young man and pick the third dialogue option during the conversation. The young man will lock his passport in the safe, in his room.
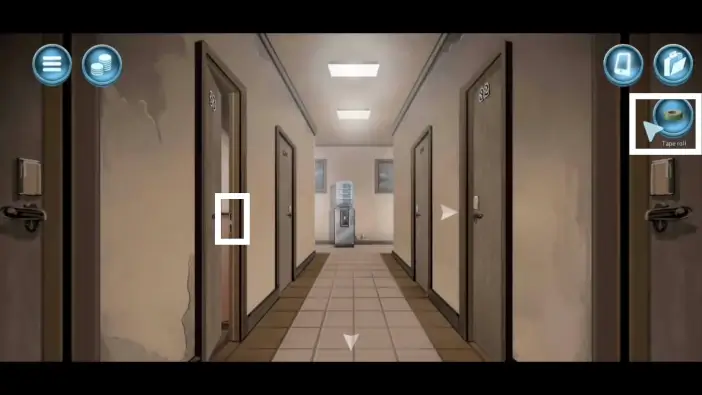
Go to the hallway and use the tape roll on the lock so the door can’t be closed fully.
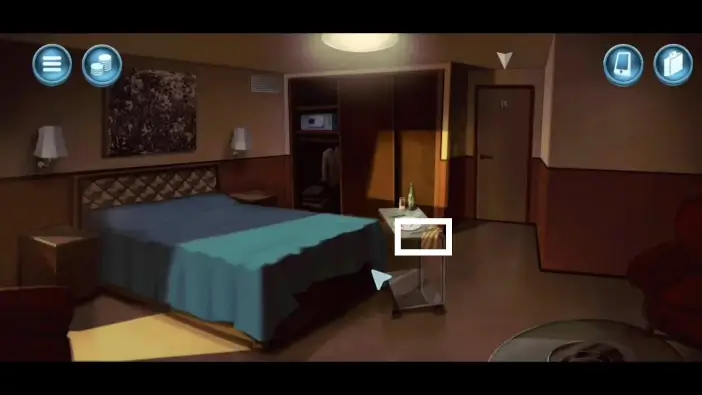
Exit the hallway and then return. Enter the room that belongs to the young man you spoke before. Pick the knife from the table.
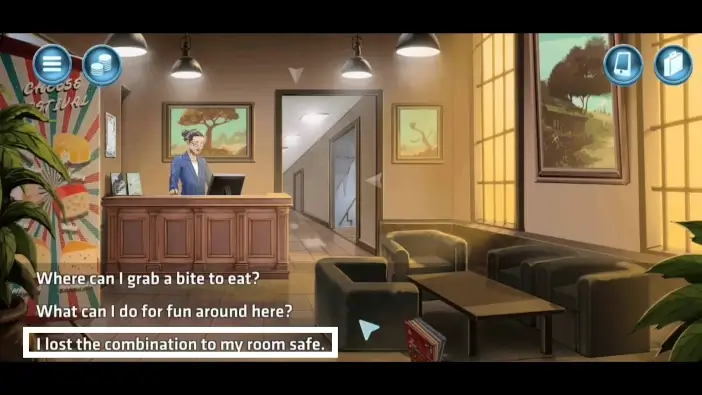
Return to the reception room and speak with the receptionist. Choose the third dialogue option. She won’t give you the safe code but she will give you a hint that all the digits are the same.
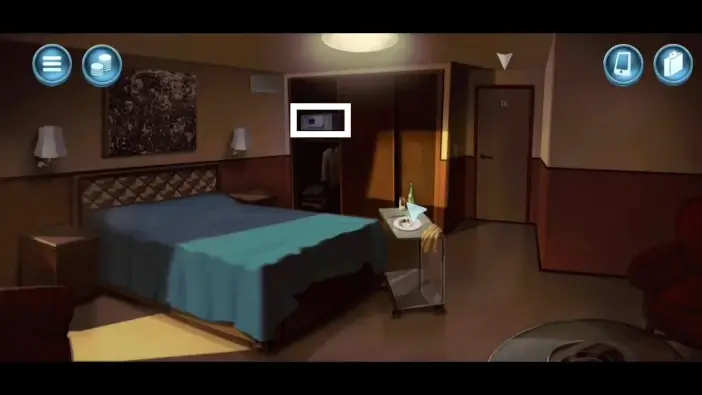
Return to the previous room and approach the safe.
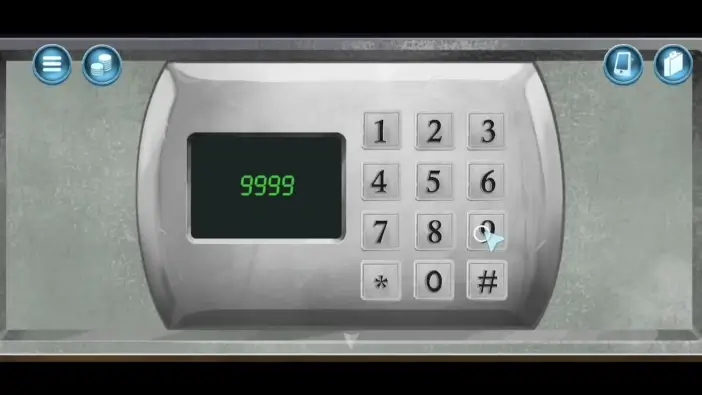
Type the code “9999”. Take the passport. Close the safe and leave the room.
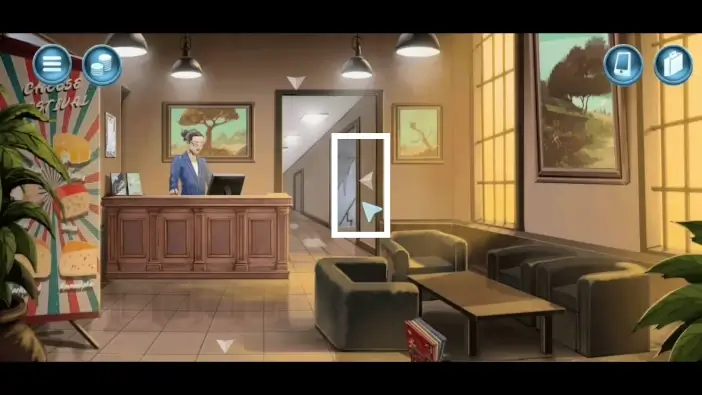
From the reception room, go to the basement.
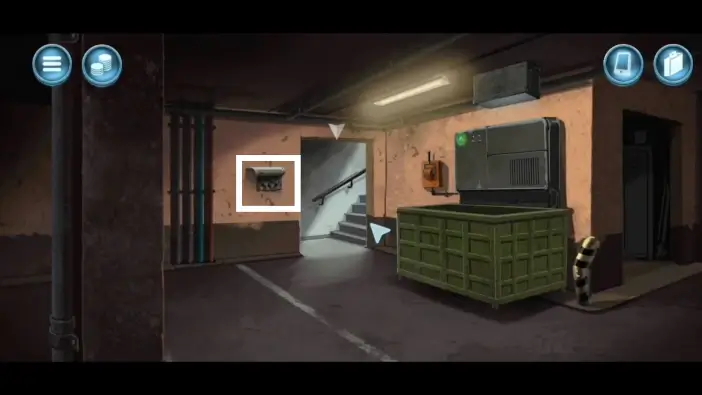
Pick up the trash bag.
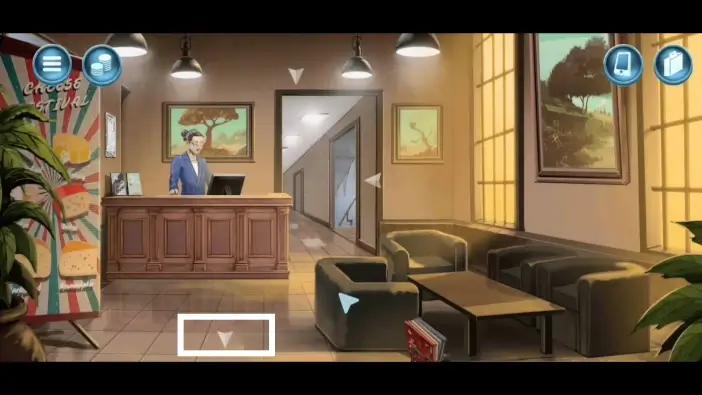
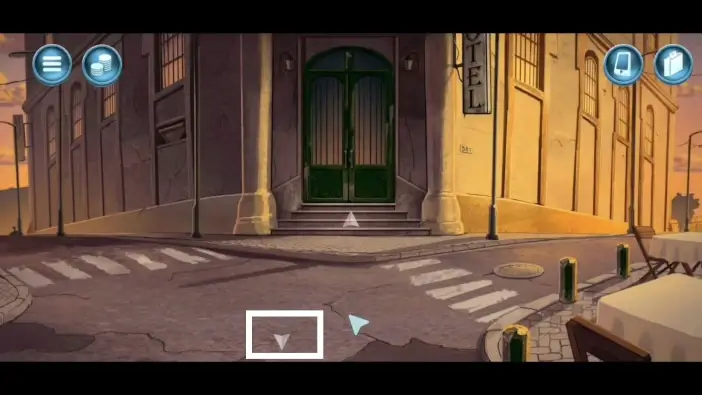
Exit the hotel building and go toward the restaurant.
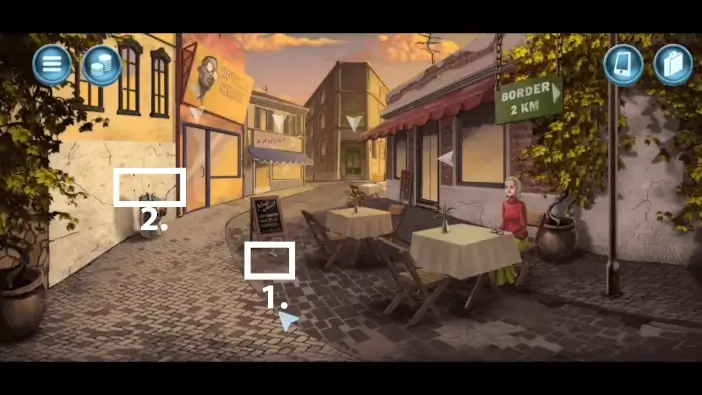
- At the outdoor seating area, pick up the chalk.
- Use the newspaper to kill a fly.
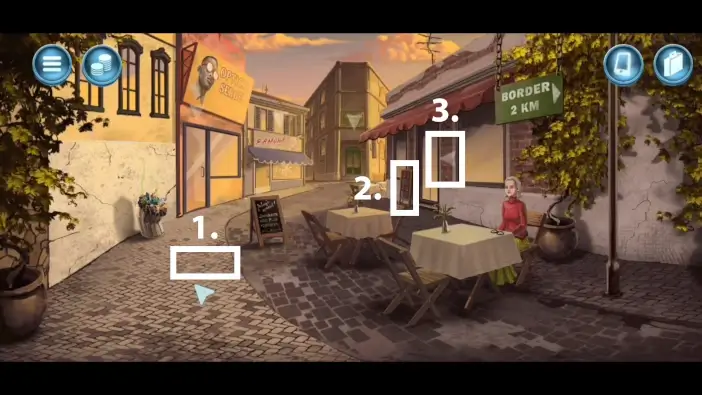
- Pick up the dead fly.
- Take the restaurant menu.
- Go inside the restaurant.
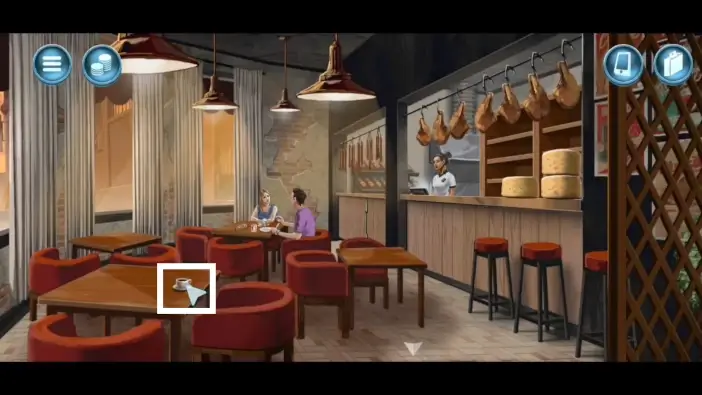
Take a cup of coffee.
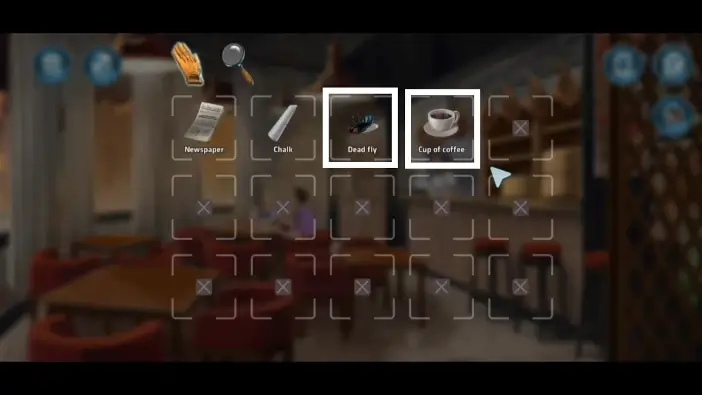
In your inventory, place the dead fly into the cup of coffee.
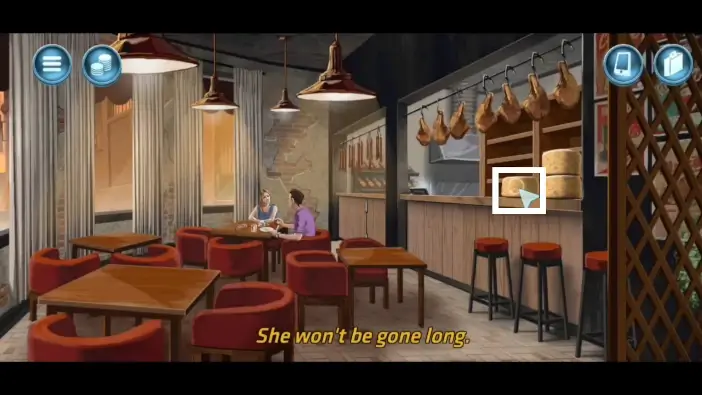
Give the “cup of coffee with a fly” to the cashier. When she leaves, grab the cheese wheels.
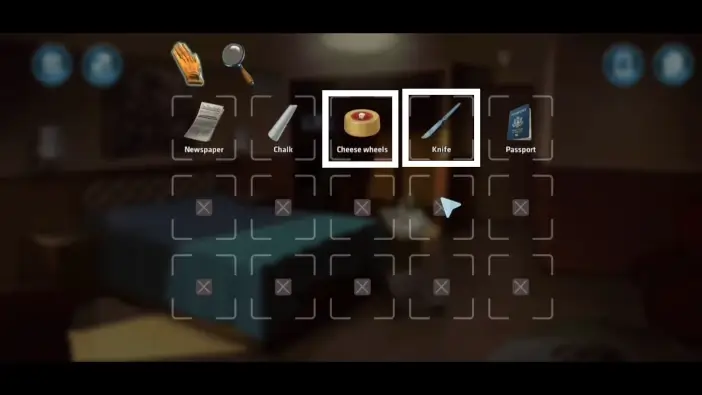
Open your inventory and slice the cheese wheels with your knife to create a cheese wedge.
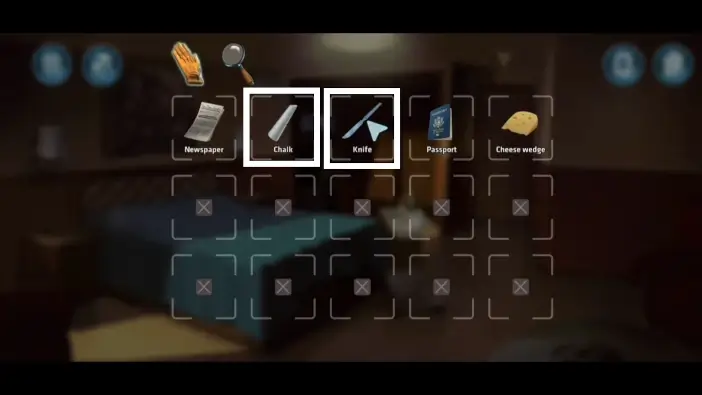
Cut the chalk with your knife to create the chalk dust.
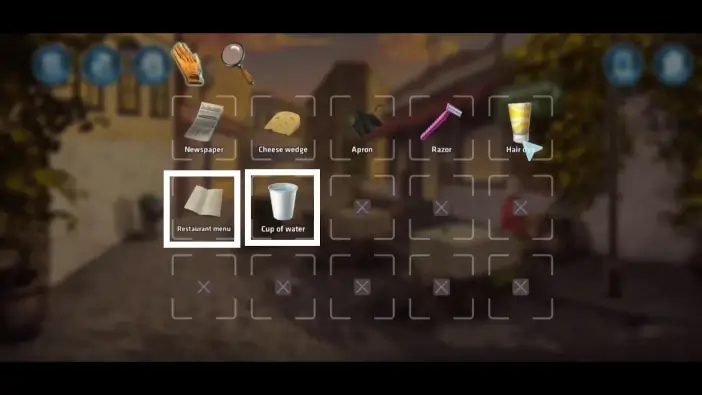
Pour water from the cup to the restaurant menu to get the “blurry menu” item.
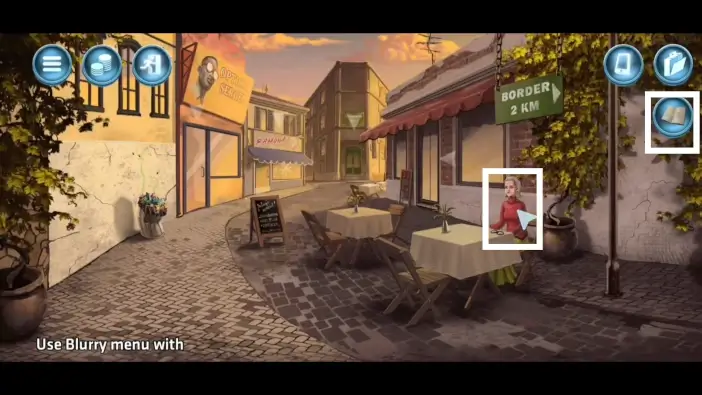
Give the blurry menu to the old lady.
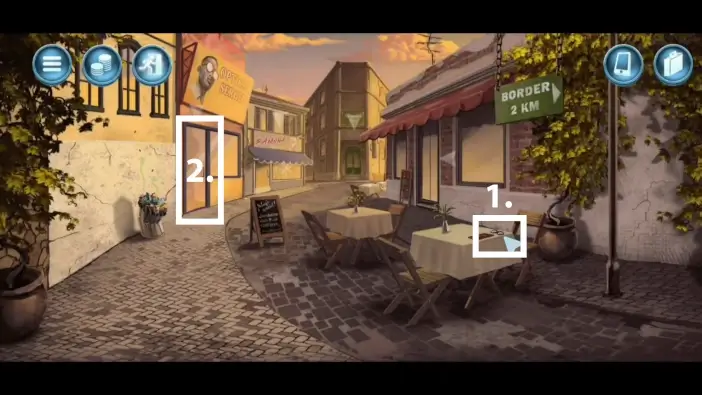
- When she leaves the table, pick up her glasses.
- Go to the optical shop and show the glasses to the optician. He will give you the contact lenses.
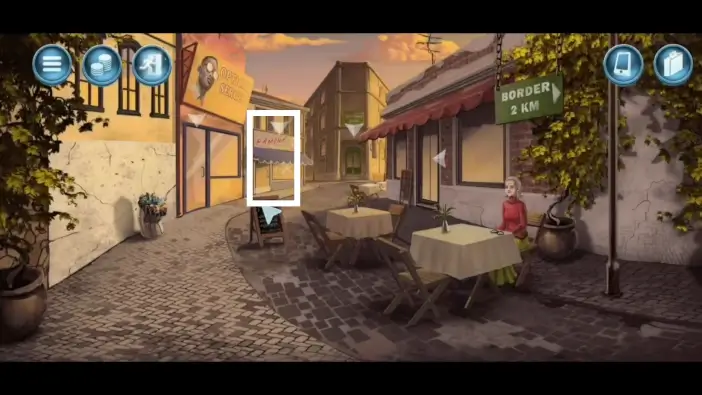
Go to the hair salon.
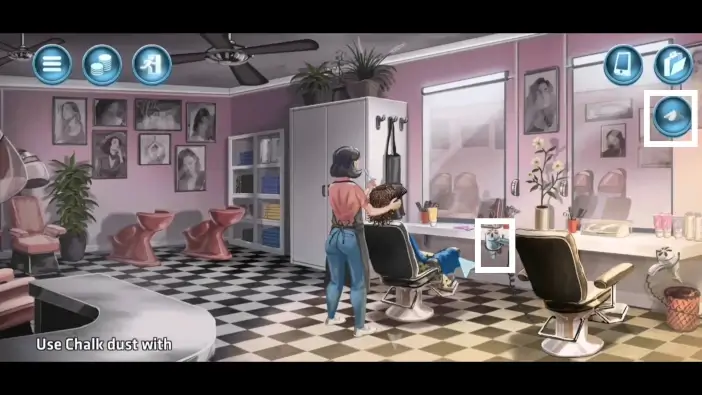
Place the chalk dust on the hairdryer.
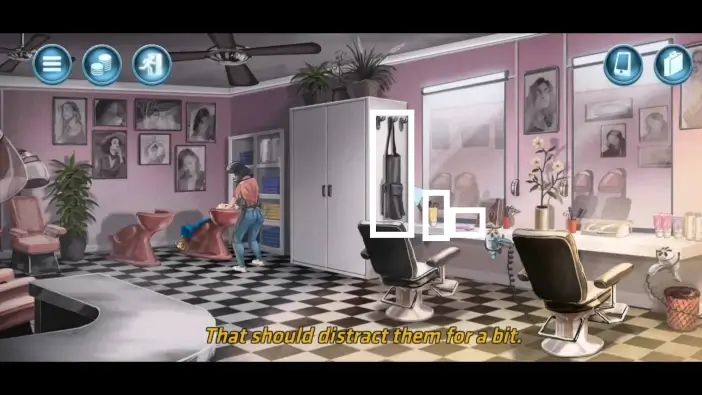
When the hairdresser is distracted, pick up the apron, the hair dye, and the razor.
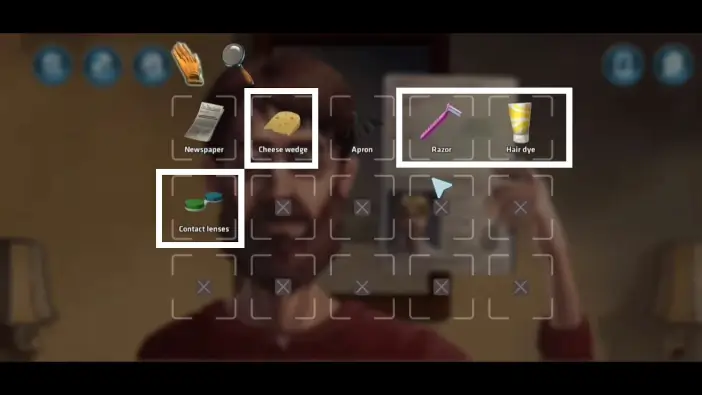
Return to Satoshi’s room and give him the passport. Satoshi will hold the passport. To change his appearance, you need to use the items in your inventory. Use contact lenses, a razor, hair dye, and the cheese wedge to change his identity.
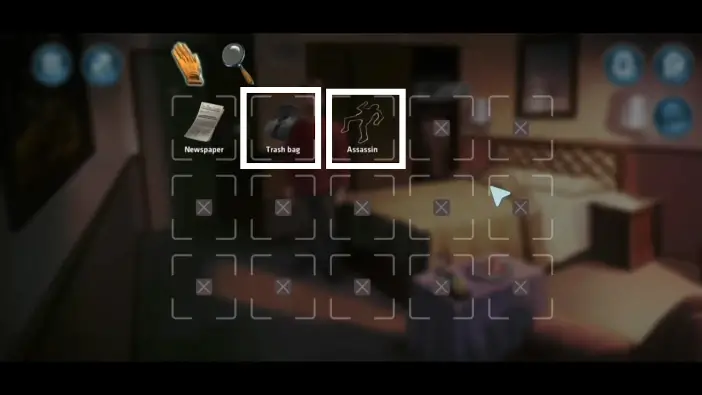
Pick up the assassin’s dead body. Put the assassin into a trash bag in your inventory.
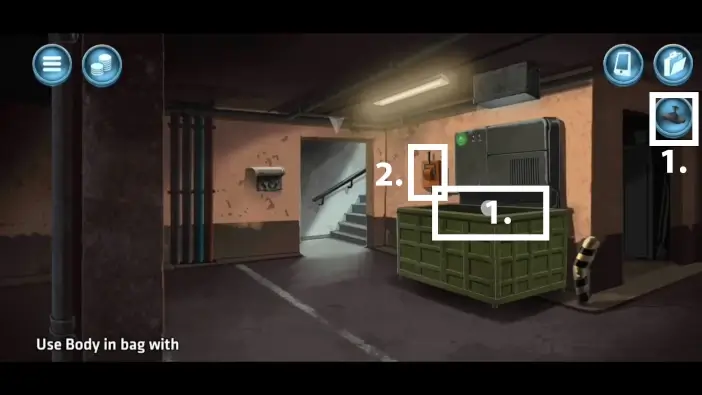
- Go to the basement of the hotel. Throw the “body in the bag” item from your inventory into the trash container.
- Activate the machine to grind the body.
Return all the items to their previous locations.
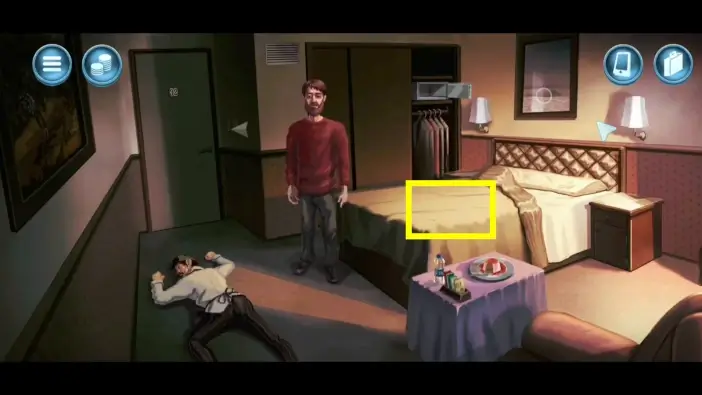
When you finish the mission and then reload it, Satoshi’s briefcase will be on the bed. It is the 6th and final collectible item in the game.
Mission 14: Operation Crossroads – Eliminate Satoshi
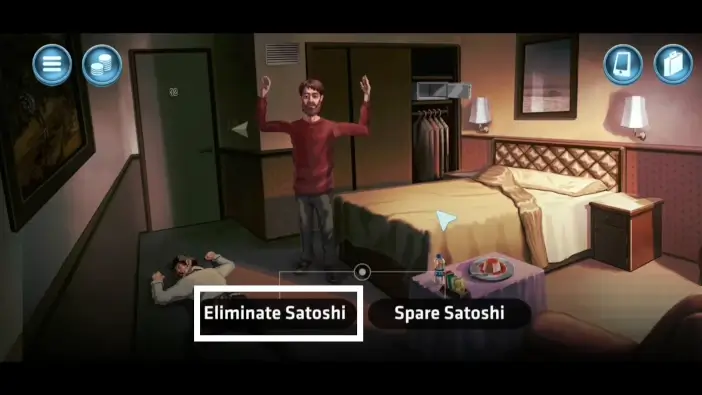
This guide is related to the set of steps you need to do if you choose to kill Satoshi. During the conversation with him, pick the “Eliminate Satoshi” option. You will knock him unconscious and you will have a timer to kill him before he wakes up and runs away. You will need to find an improvised weapon first.
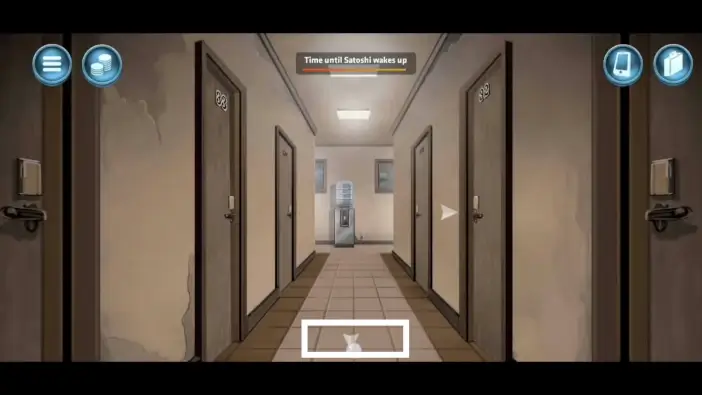
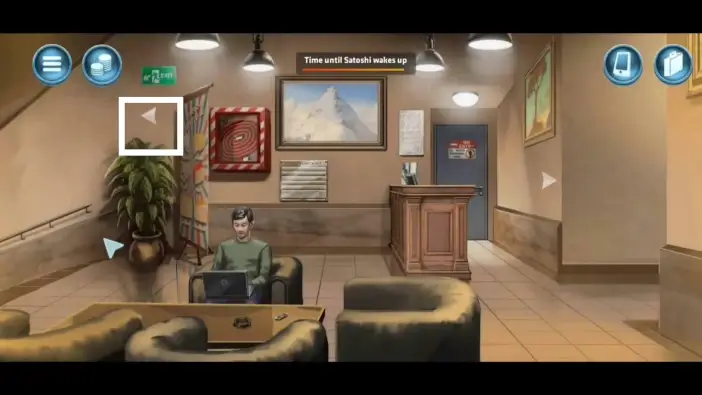
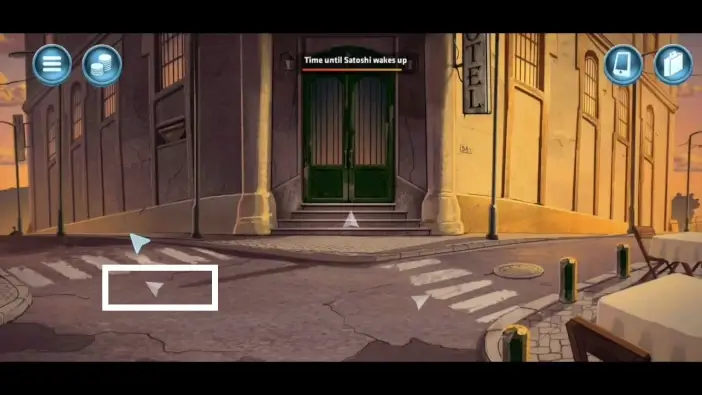
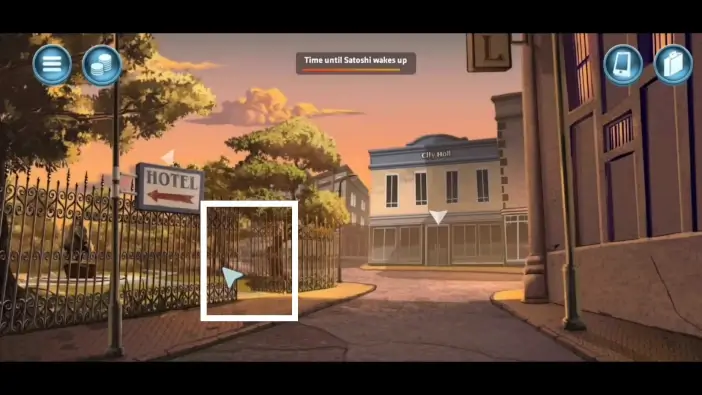
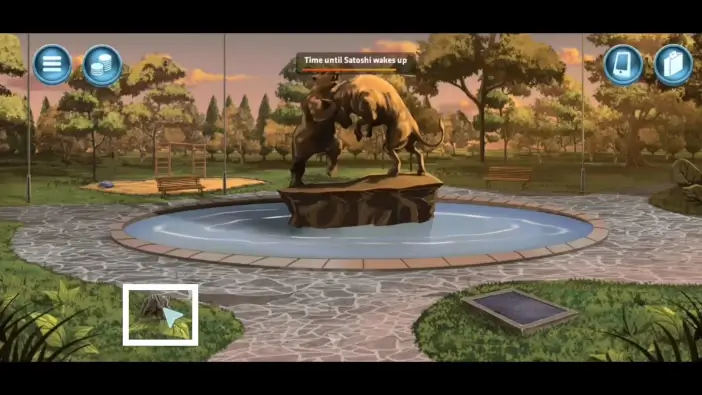
Go to the park and pick the stone.
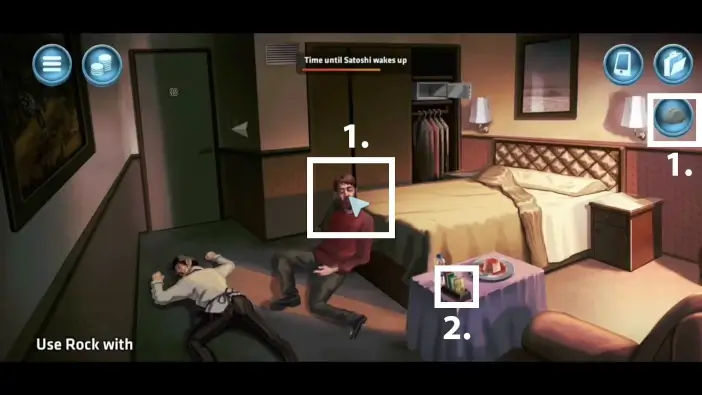
- Return to Satoshi’s room and eliminate him with a rock.
- Pick the oil packet.
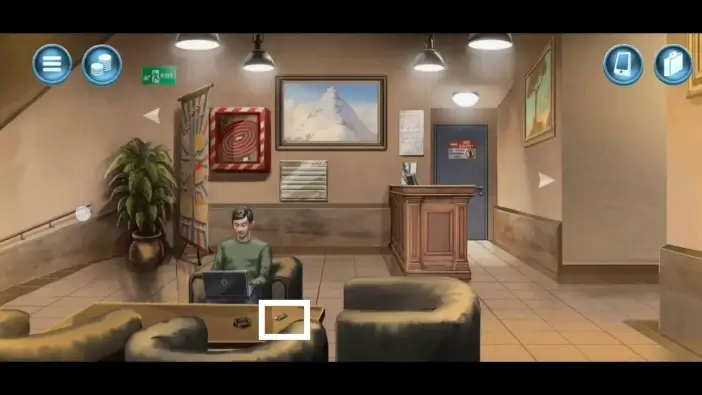
From the hallway, go to the lobby and pick up the lighter.
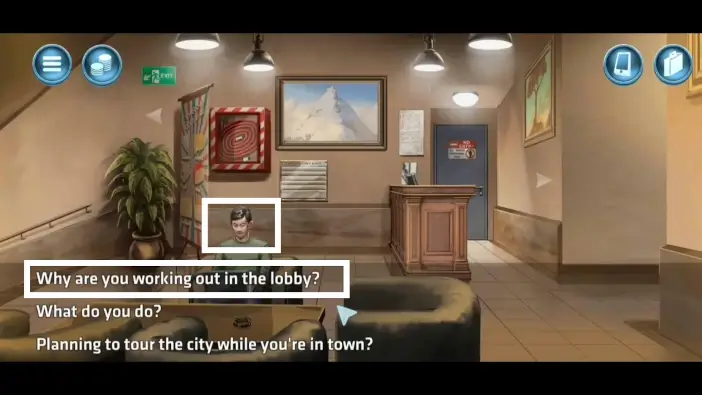
Speak with the young man. During the conversation, pick the first dialogue option.
Exit the hotel.
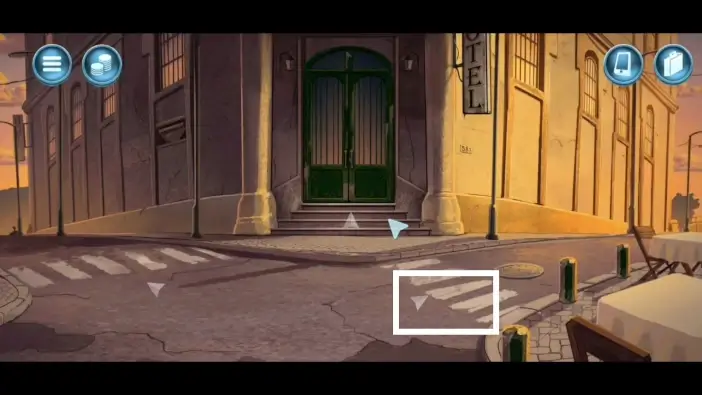
On the crossroad, choose right.
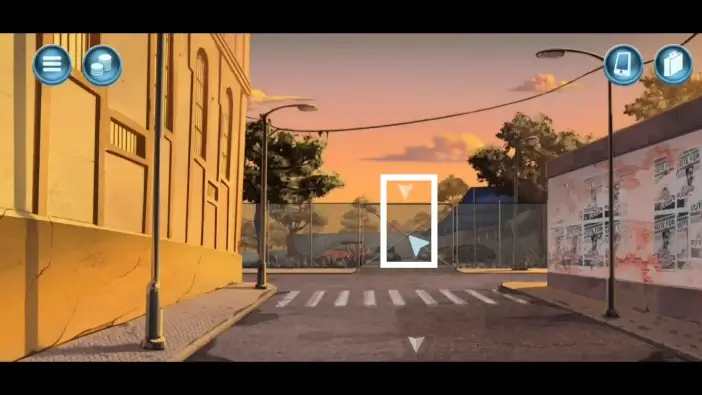
Go to the garage.
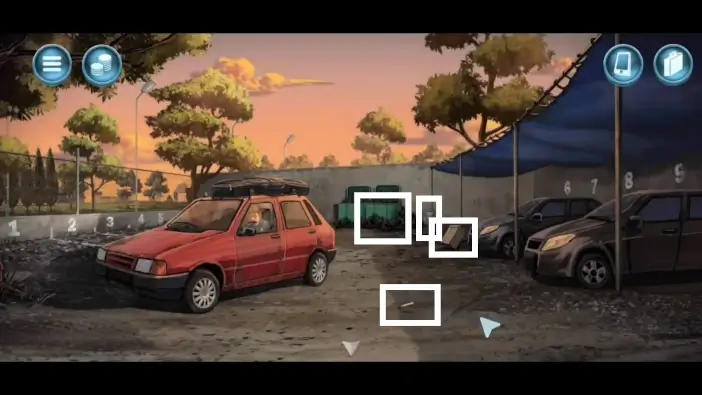
Pick up the cigarette, the crate, the bucket, and the full trash bags.
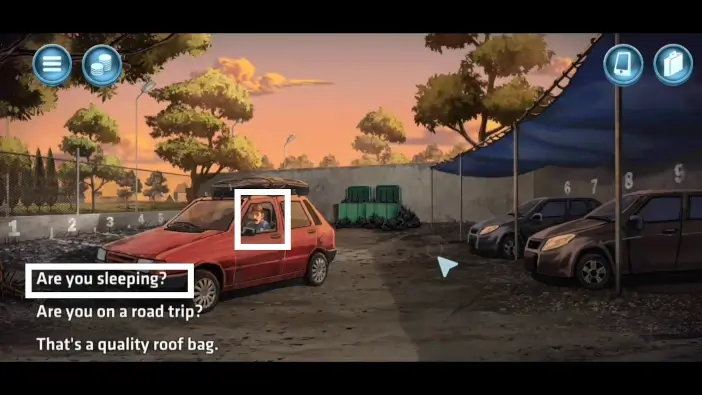
Speak with the driver.
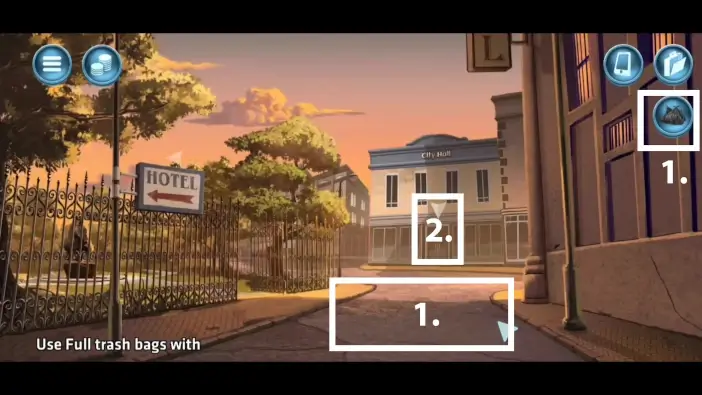
- Go near the city hall. Throw the full trash bags on the street.
- Enter the city hall.
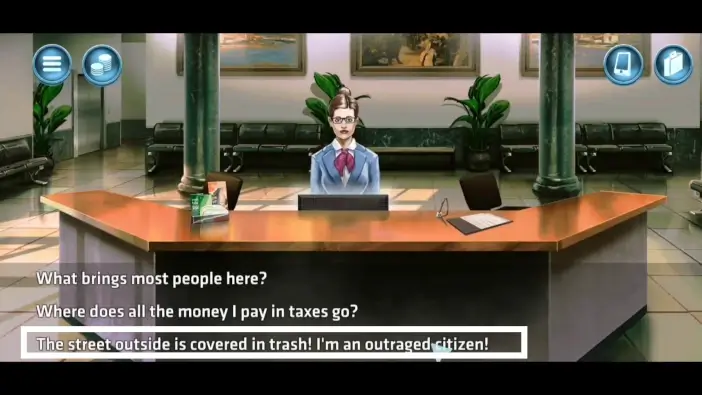
Speak with the receptionist. During the conversation, choose the third dialogue option.
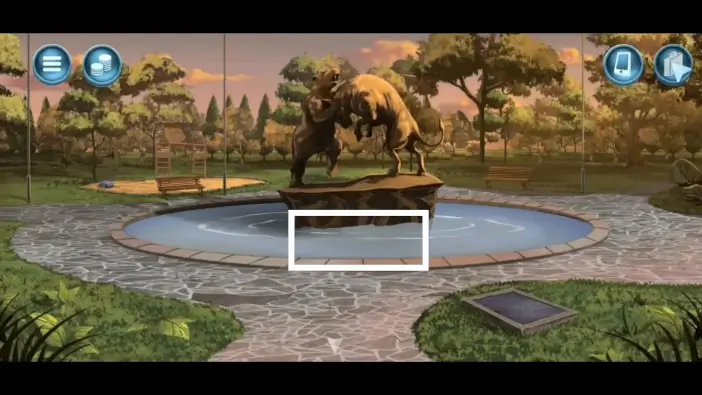
Go to the park. Fill the bucket from your inventory with water from the fountain.
Go to the parking lot and pick up other bags full of trash.
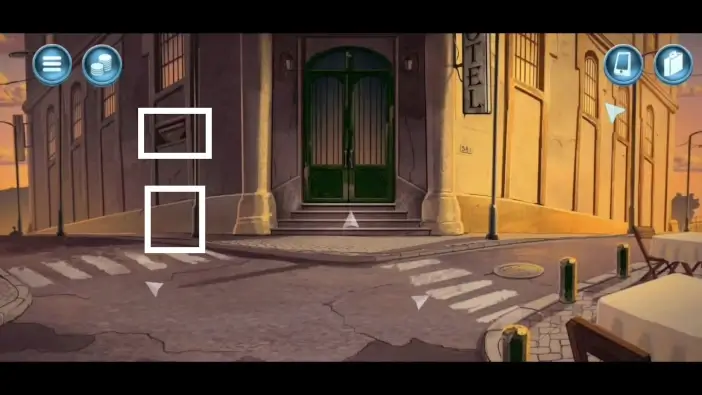
In front of the hotel, place the crate from your inventory and then climb the open window.
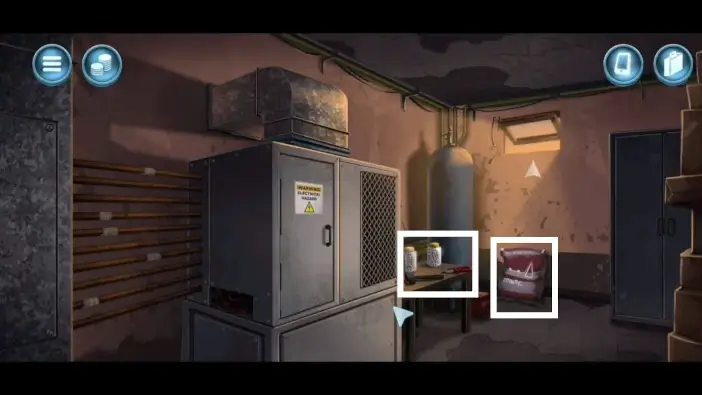
In the electrical room, pick the jar of nails, the mallet, the pliers, and the cement.
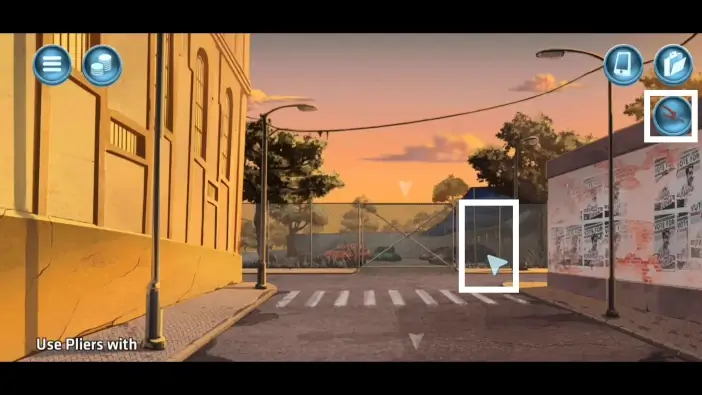
In front of the parking lot gate, use the pliers on the fence to get the wire.
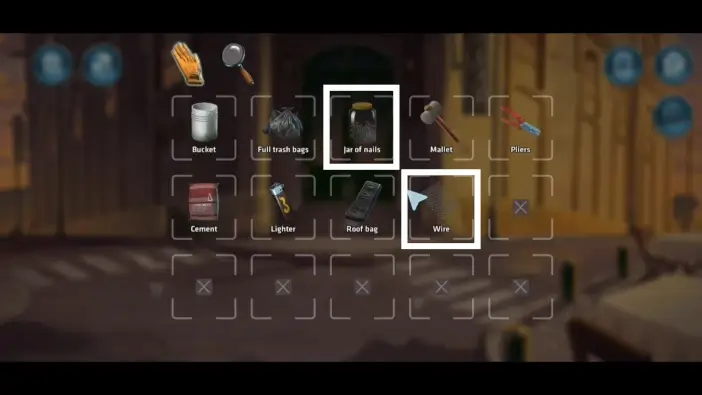
In your inventory, merge the wire and the jar of nails to create a “caltrops” item.
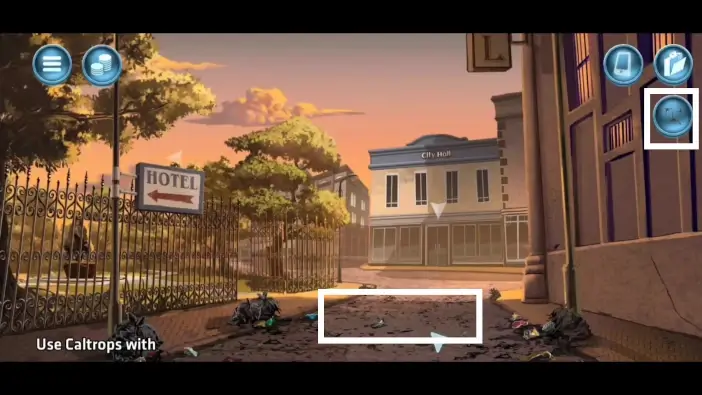
Go in front of the city hall and throw trash bags again. Place the caltrops on the street as well.
You should speak with a receptionist at the city hall and pick the third dialogue option. This time, the sweeper will have flat tires because of the caltrops.
Pick up the caltrops.
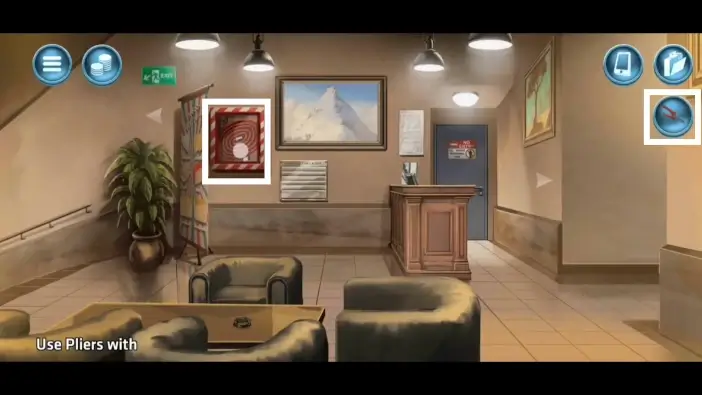
Enter the hotel and be in the lobby room. Use the pliers to open the firefighting box and pick the hose from it.
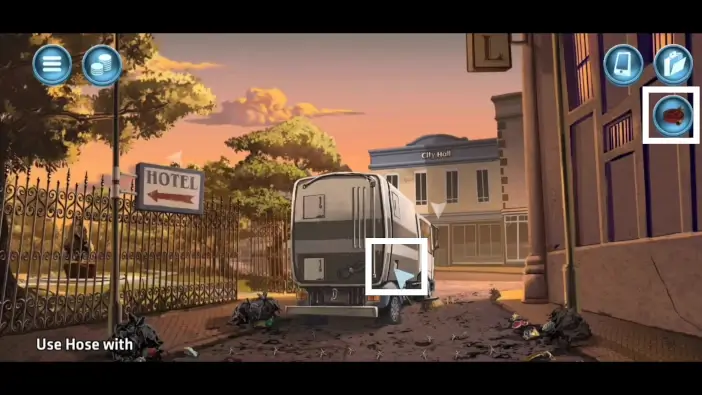
Attach the hose to the sweeper tank.
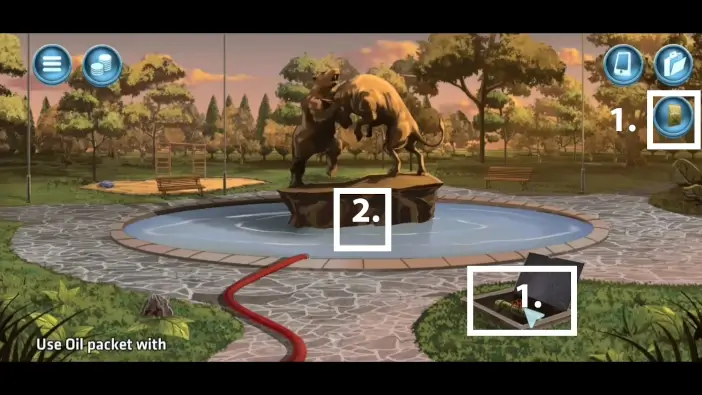
- Go to the park and open the water drain. Use the oil packet on the rusted valve. Turn the valve to drain all the water from the fountain.
- Use a mallet from your inventory to create a hole in the monument.
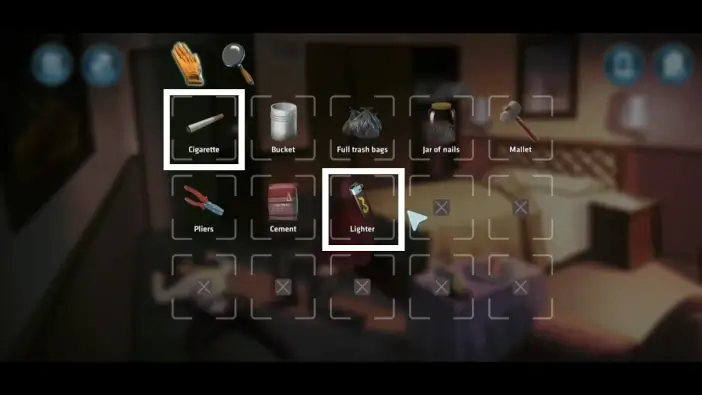
In your inventory, use your lighter to light the cigarette.
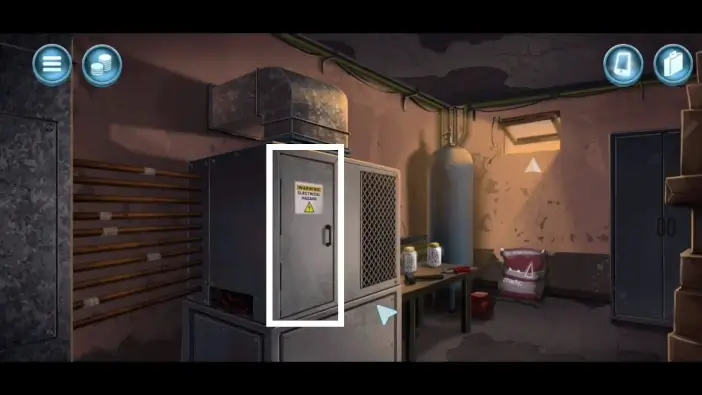
Return to the electrical room and open the dashboard.
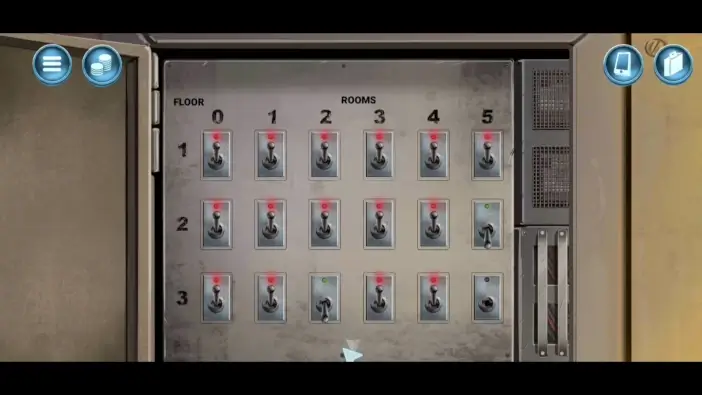
Turn on the switches like in the picture above.
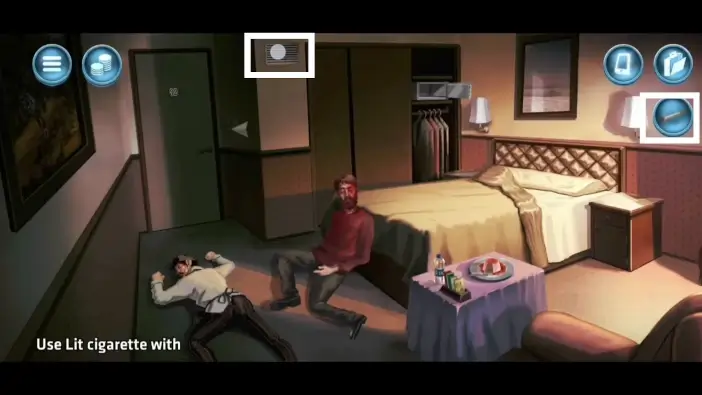
Return to Satoshi’s room and bring closer the lit cigarette to the air conditioning vent. The smoke will go to the young man’s girlfriend from the lobby. He and his girlfriend will leave the hotel.
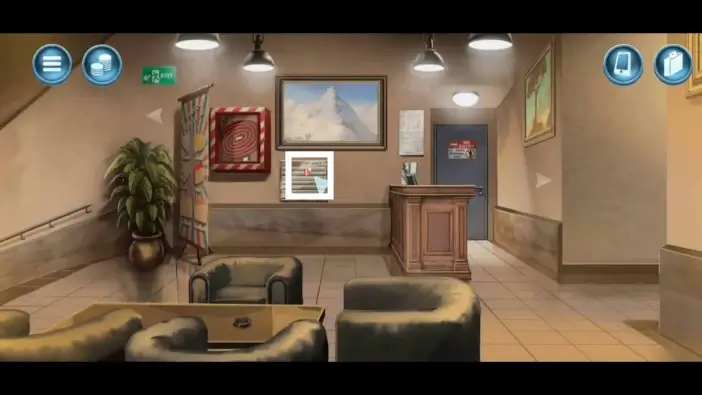
Once they leave, pick up their room key.
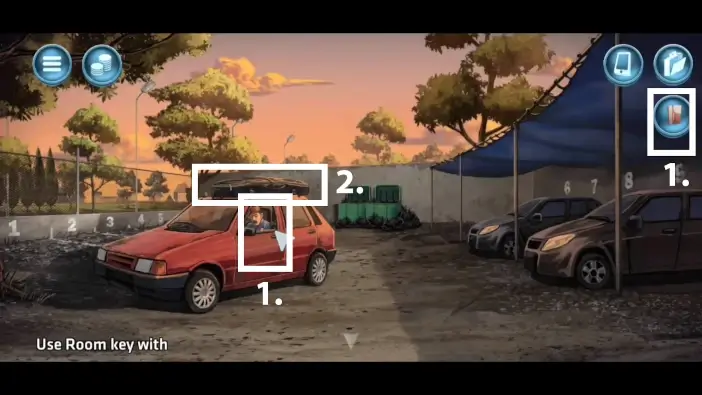
- Go to the parking lot and give the room key to the man sleeping in the car.
- Once the man leaves, pick up the roof bag.
Return to Satoshi’s room and pick the Satoshi’s dead body.
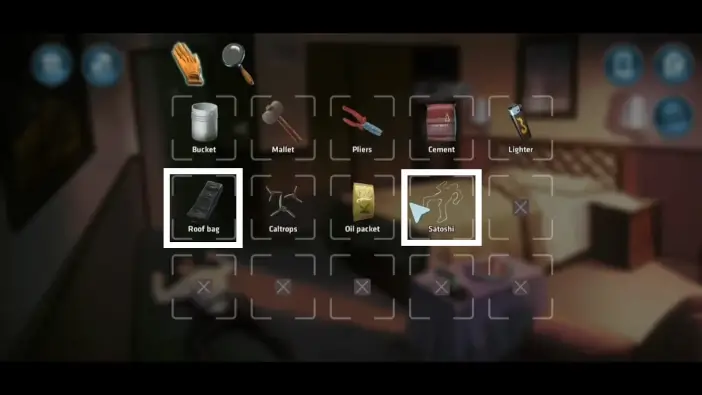
In your inventory, place Satoshi’s body inside the roof bag.
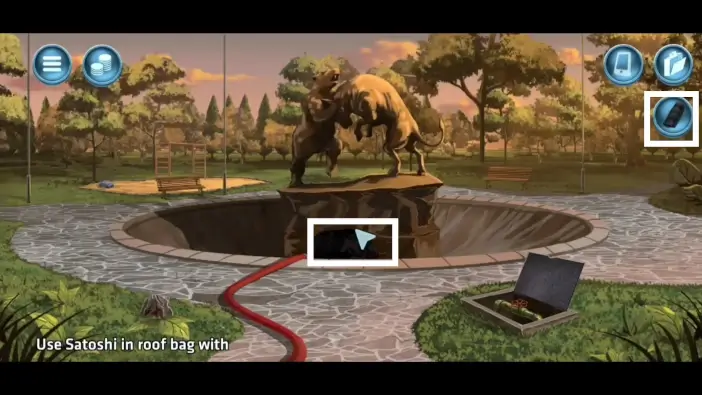
Go to the park, and place the Satoshi in the hole inside the monument (the empty roof bag will remain in your inventory).
Return to Satoshi’s room, pick up the assassin’s dead body, and place the body inside the roof bag.
Return to the park and drop the assassin’s body in the same place as Satoshi’s (the empty roof bag will remain in your inventory).
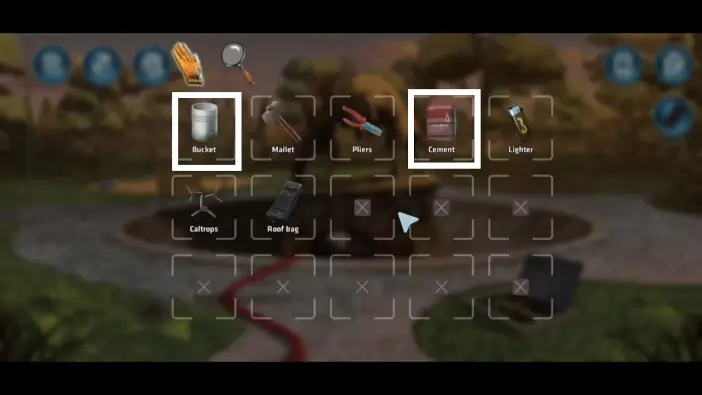
In your inventory, drop the cement inside the bucket of water to create the “bucket with wet cement” item.
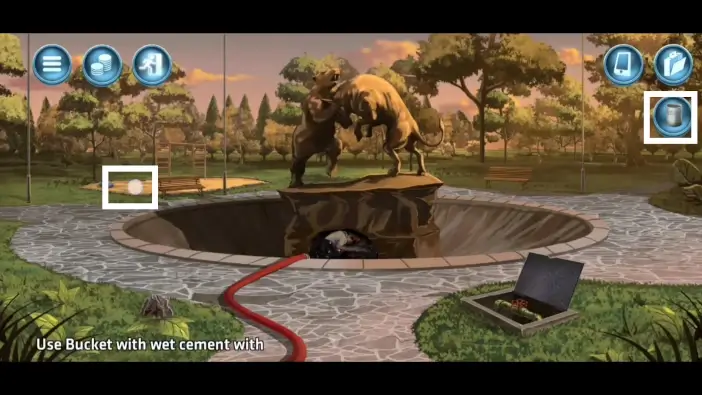
Use the bucket with sand to create a “bucket with wet concrete” item.
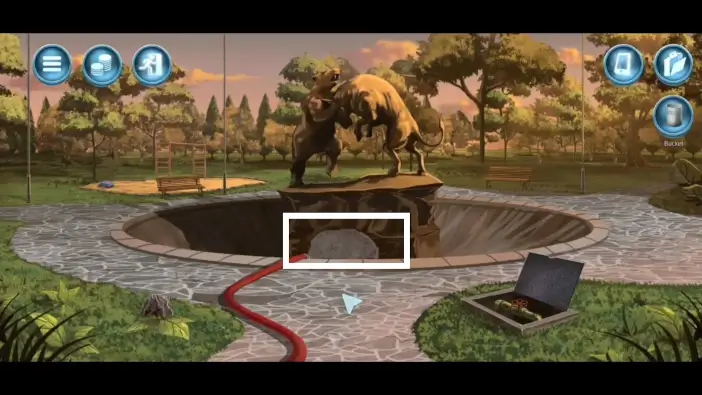
Use the bucket with wet concrete to close the hole. Turn the valve to fill the hole and the fountain with water. Don’t forget to close the water drain.
Return all the items from your inventory to their original places.
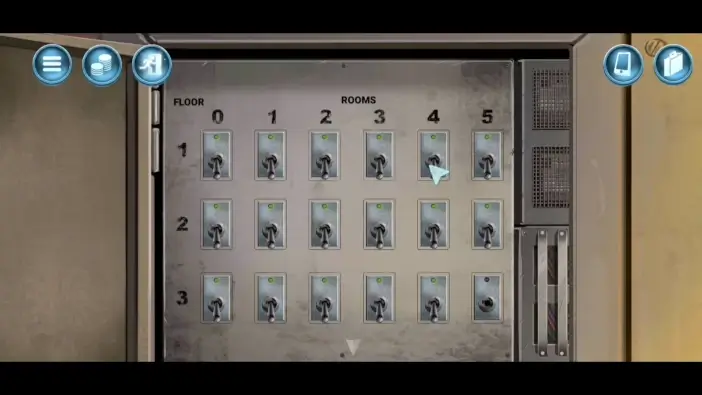
In the electrical room, don’t forget to return the switches as they have been.