Find Joe: Lumen – Chapter 1 | Part 3
Intro
Welcome to our walkthrough for Part 3 of the first chapter of the “Find Joe: Lumen” from “Mobiloids”. Help very kind robot Lumen and his creator, Mike, navigate the world while tensions and hatred between robots and humans are growing stronger.
Metro
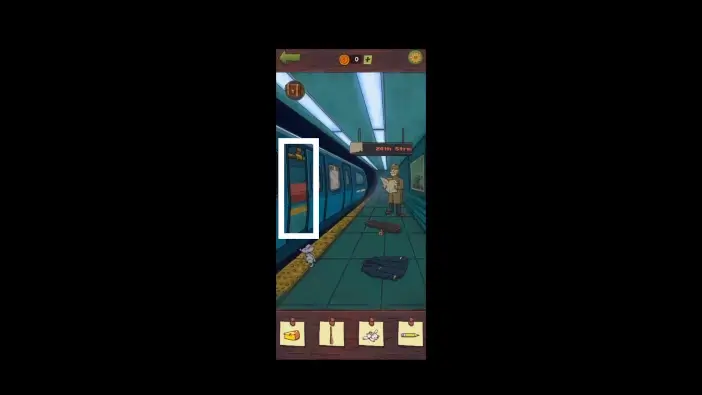
Enter the train.
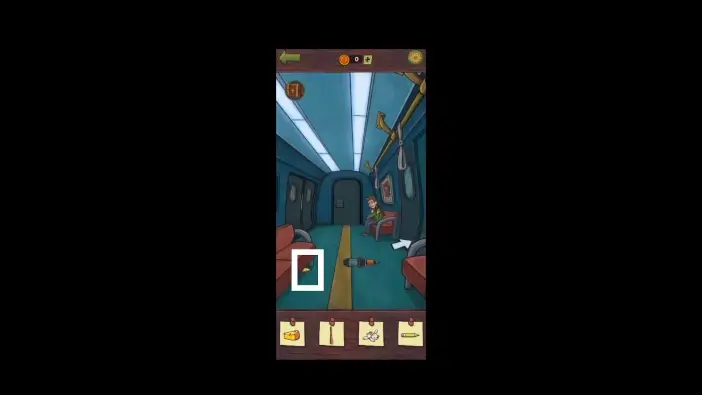
There is a pencil below the left seat. Move it to the right to see it better, then tap on it. Don’t forget to remove the poster from the window behind the passenger. When you remove it, the grab handle can be seen from the outside of the train.
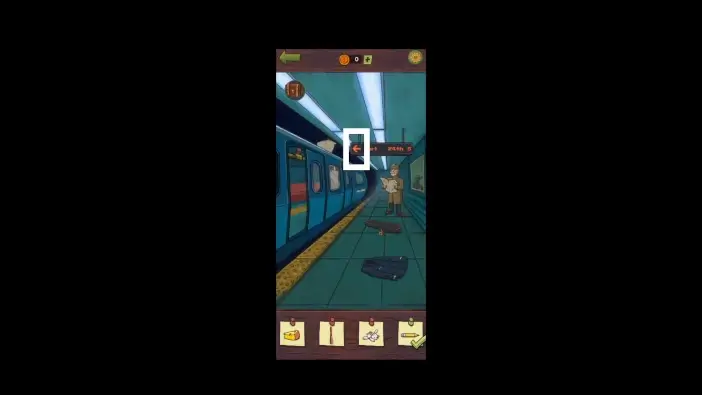
Outside the train, remove the paper from the display to reveal the left arrow. Tap on the left arrow on the display.
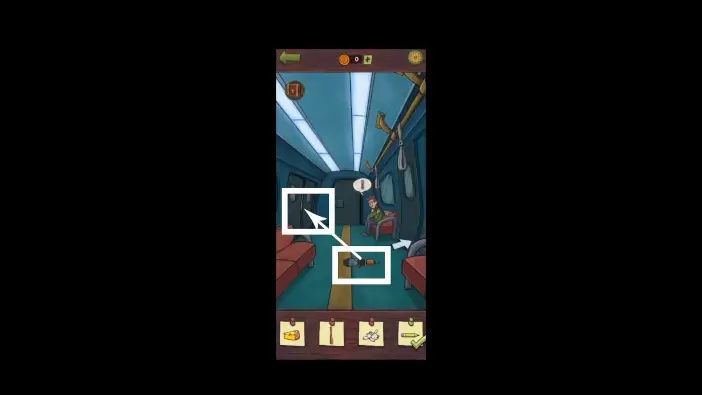
In the train, use the device on the floor to open the door on the left. Tap on the graffiti that can be seen behind the left door.
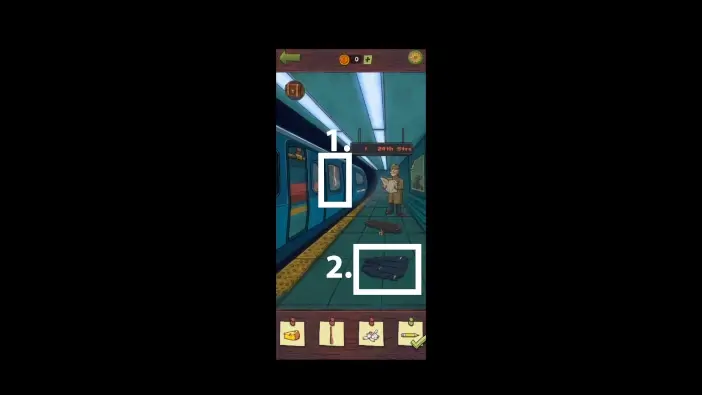
- Exit the train and tap on the grab handle that can be seen through the train window, because you removed the poster previously.
- Check the uniform on the ground. You will see an “M” initial.
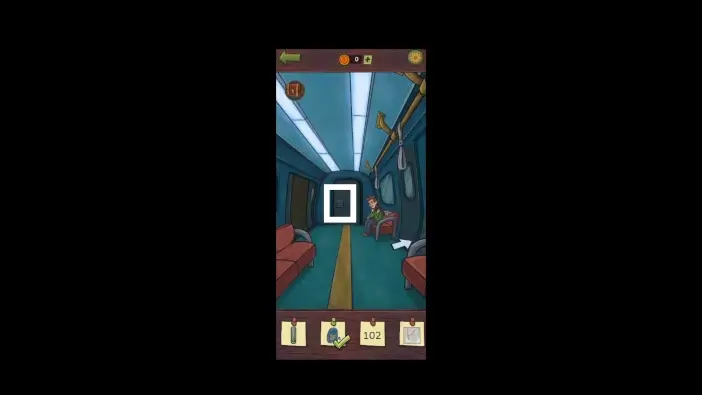
Inside the train, go to the crew compartment door. Press the buttons to form an “M” shaped pattern to unlock the door.
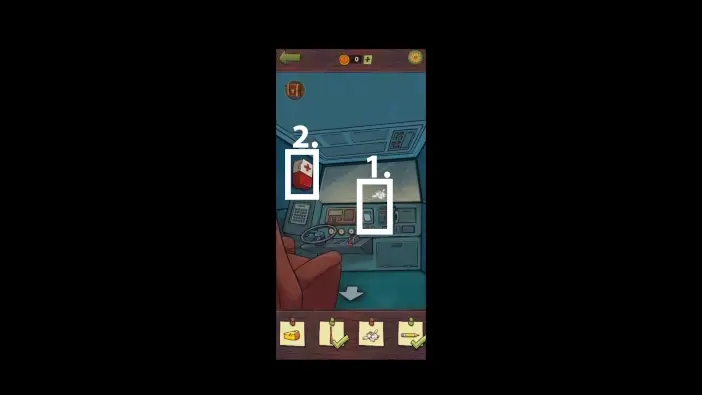
- In the crew compartment, turn on the lights to see a plush rabbit. Tap on it.
- Take the medicine from the medicine box. Medicine will be added to your inventory.
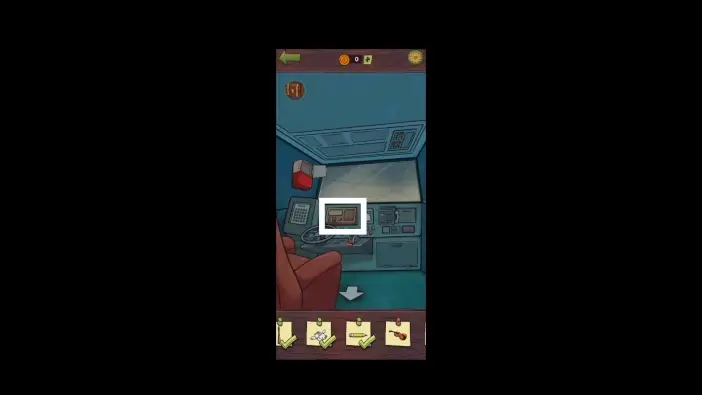
Approach the radio.
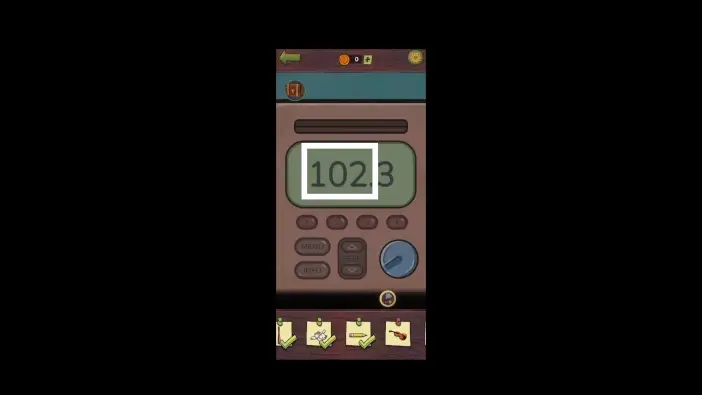
Use the rotating button to change the frequency to 102. Tap on the “102” digits.
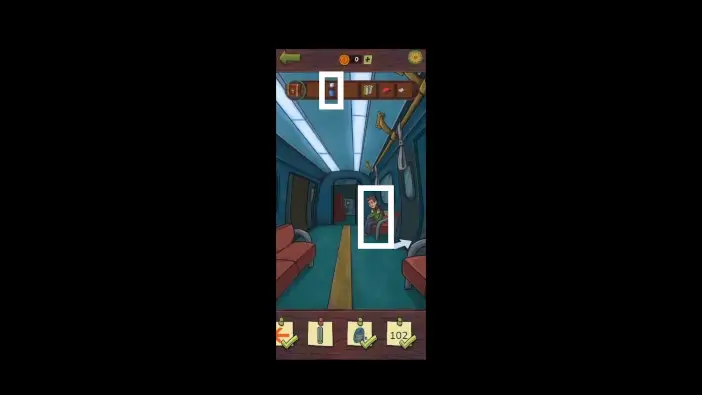
On the train, give the medicine to the passenger.
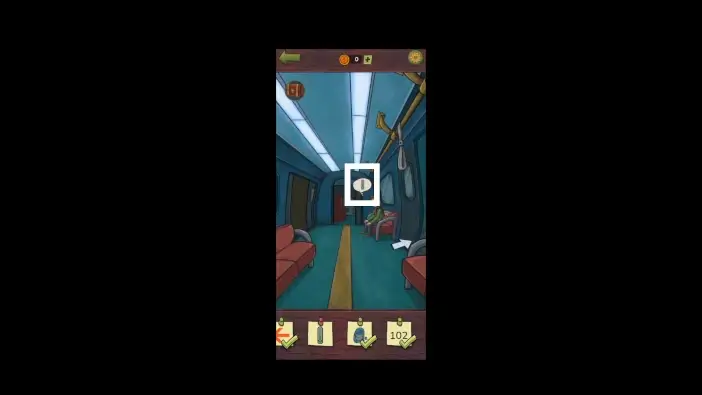
Tap on the thermometer bubble sign above the passenger’s head.
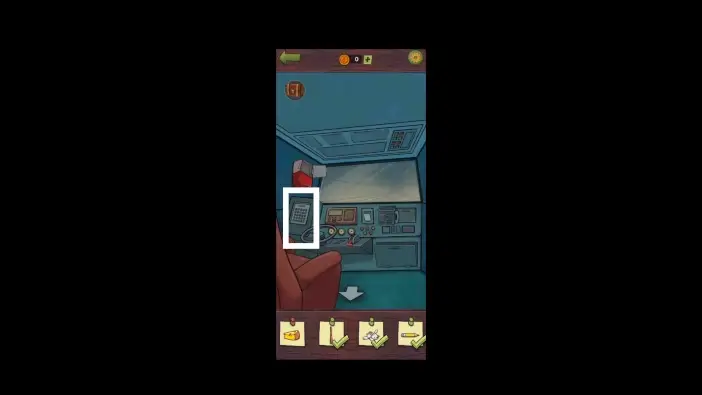
In the crew compartment, approach the compartment on the left.
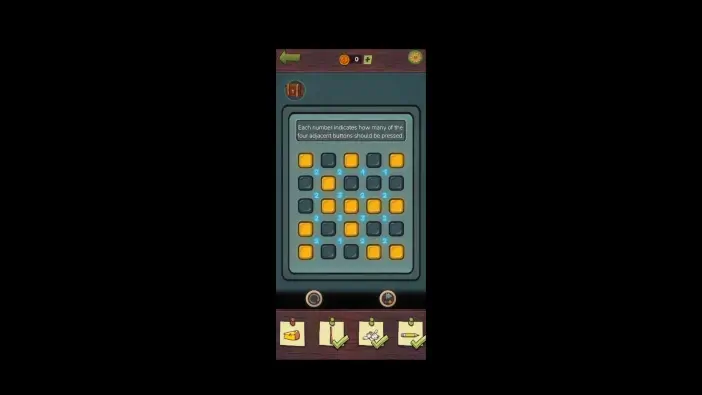
The numbers will indicate how many buttons around them should be active. Once the correct number of buttons is active, the numbers will shine. Press the buttons so you have the active (yellow) buttons like in the picture above. Once you complete this puzzle challenge, a compartment will open. Tap on the map.
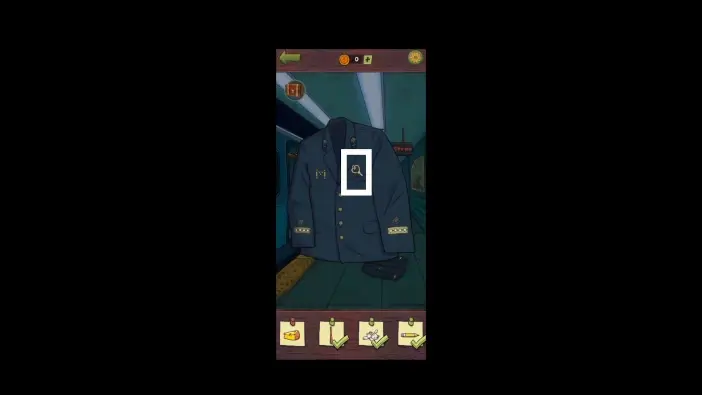
Pick up the key from the uniform’s pocket outside the train. Key will be added to your inventory.
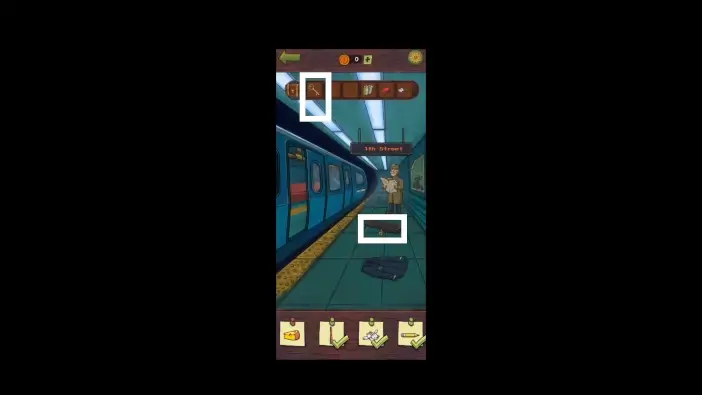
Use a key to unlock the violin case. Tap on the violin.
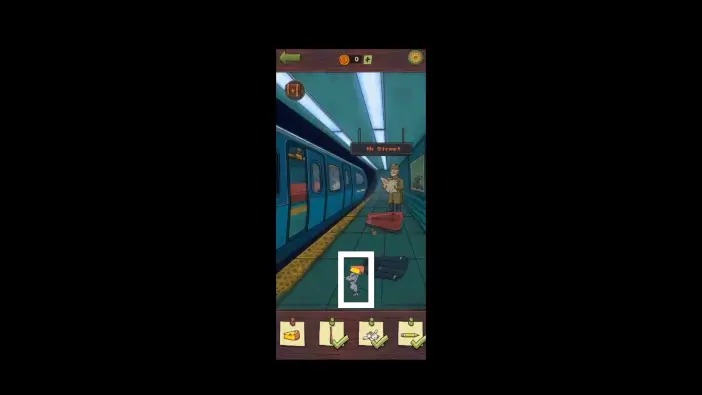
Outside of the train, wait for the mouse with the cheese to appear. Tap on the cheese.
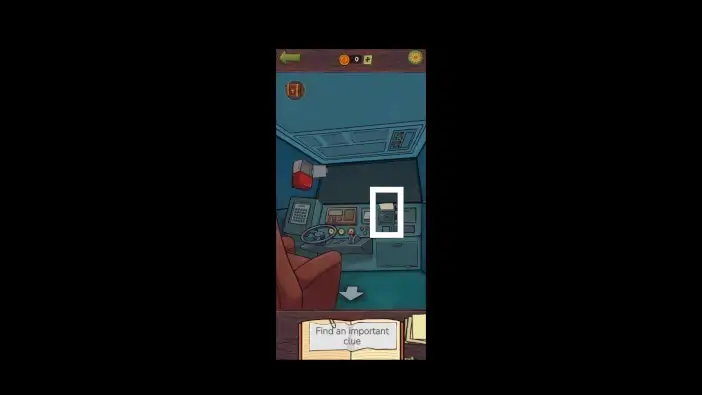
Once you find all the clues, go back to the crew compartment and read the message from the dispatcher.
Hospital
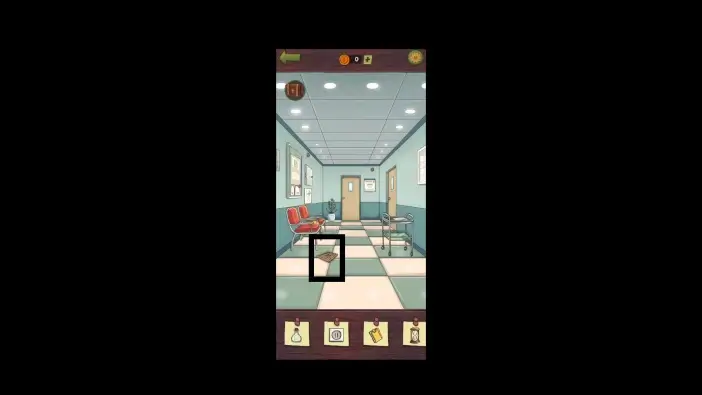
Approach the puzzle on the floor.
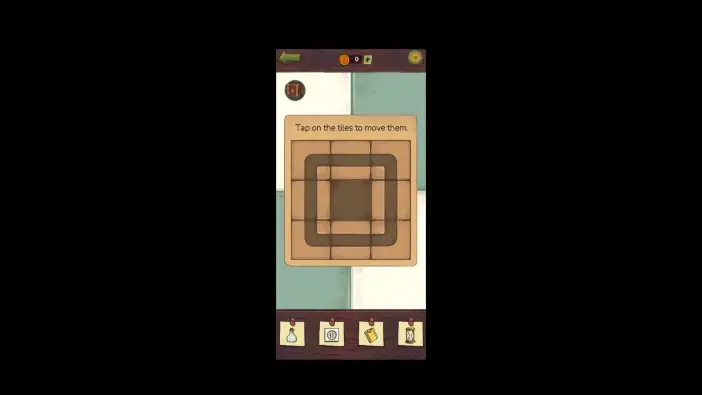
Move the tiles to get the square shape. Tap on the square.
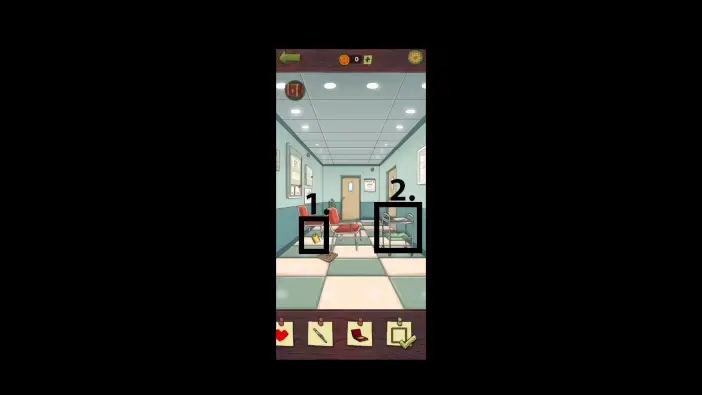
- Move the chair to the right to see the wallet. Tap on the wallet.
- Approach the desk on the right
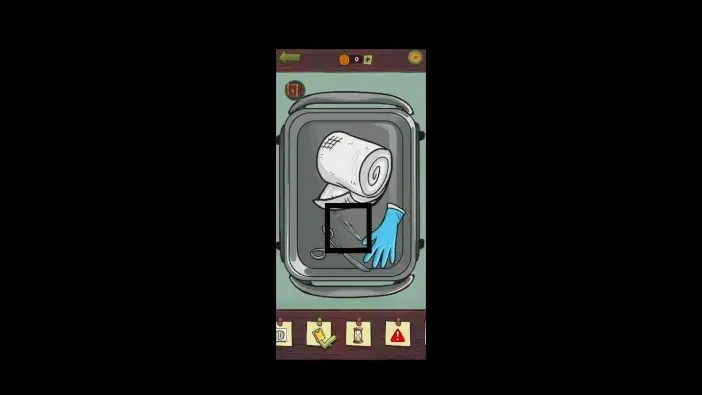
Move the paper to reveal tweezers. Tap on the tweezers.
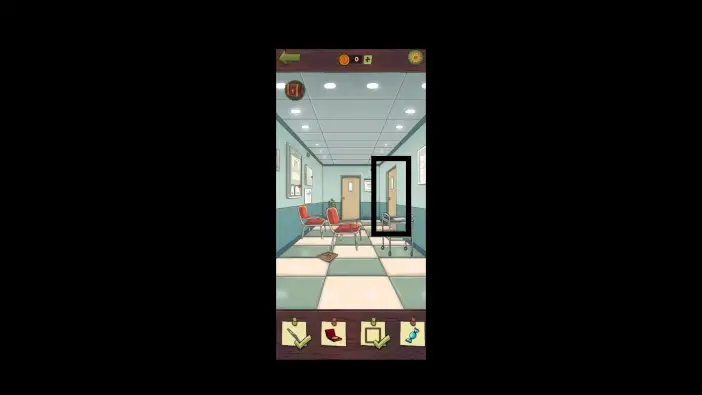
Enter the doctor’s office on the right.
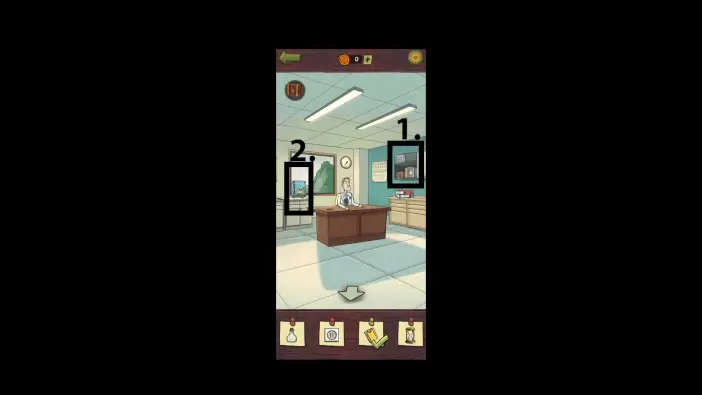
- Approach the bookshelves on the right. Count all the elves of specific colors. This is a clue for opening the safe.
- Go to the safe.
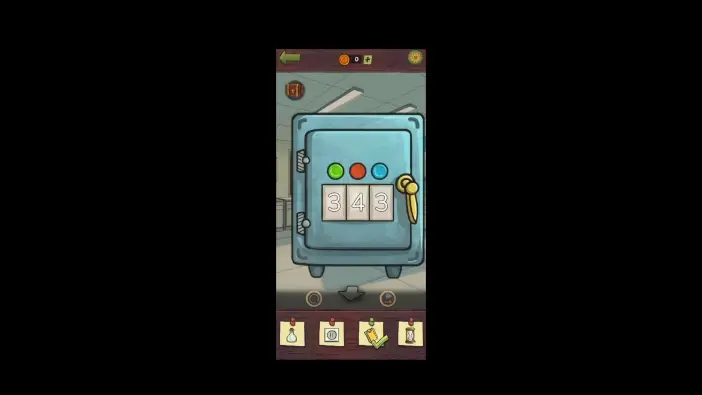
On the bookshelves, there were 3 green elves, 4 red elves, and 3 blue elves. The password for the safe is “343”. Tap on the medal inside the safe.
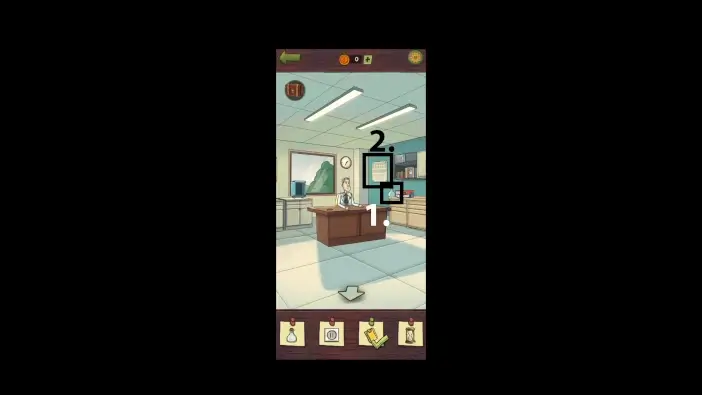
- On the right table, there is a vial behind the pile of books. Move the vial to the left and tap it.
- Approach the schedule plan on the wall.
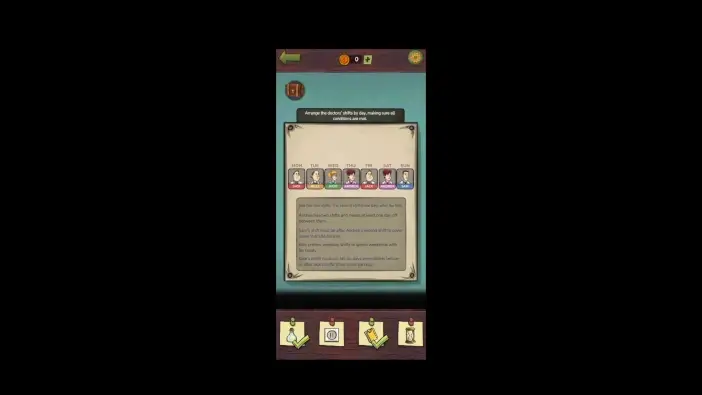
The correct schedule of doctors’ shifts, from Monday to Sunday, is as follows: Jack, Billy, Kate, Andrea, Jack, Andrea, Sam. When you finish, the doctor will give you a candy. Tap on the candy.
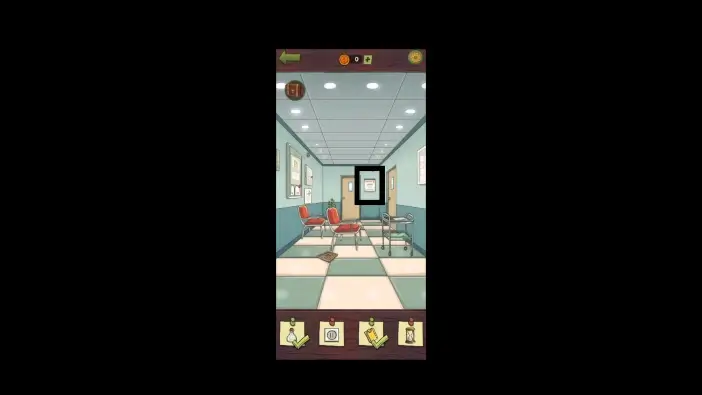
In the hallway, approach the warning on the wall.
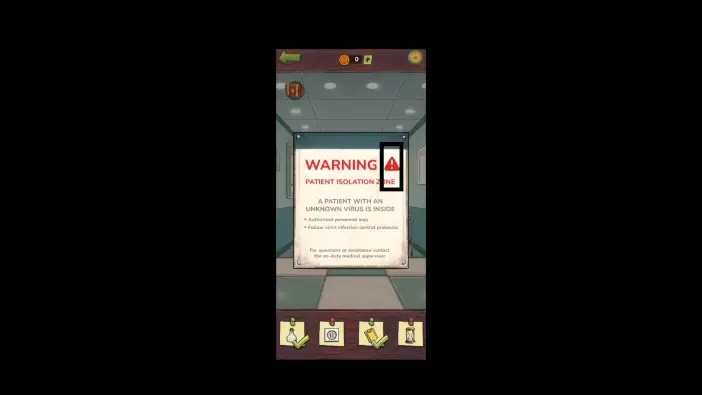
Tap on the danger sign.
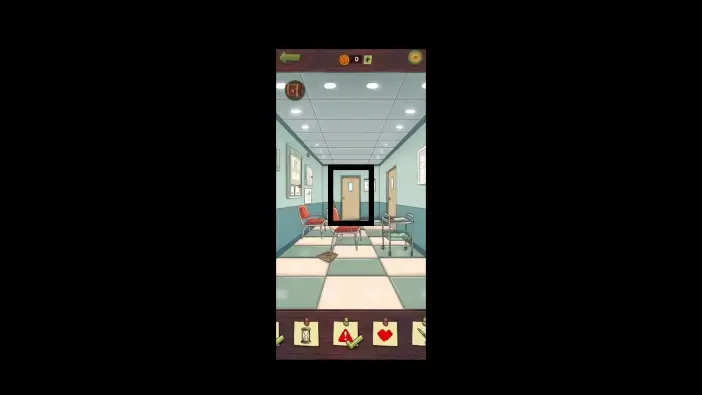
Go to the patient’s room.
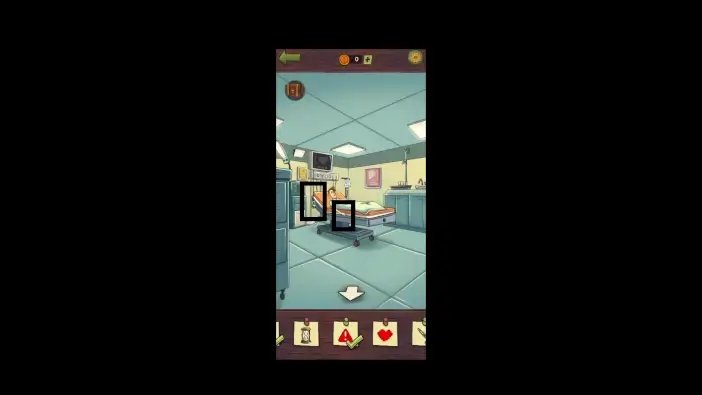
Connect the ECG device to the patient’s hand.
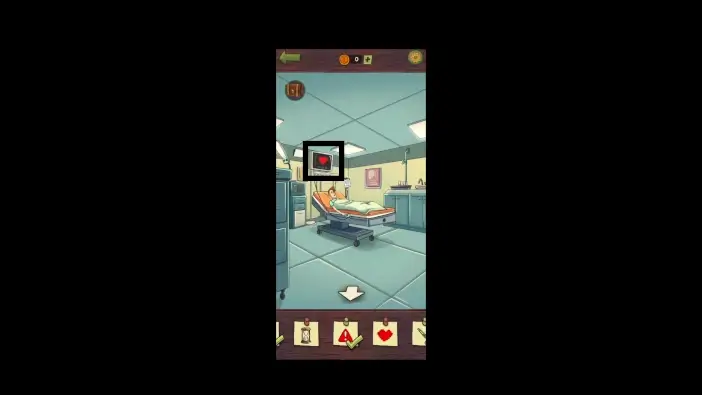
Tap on the heart shape on the ECG monitor.
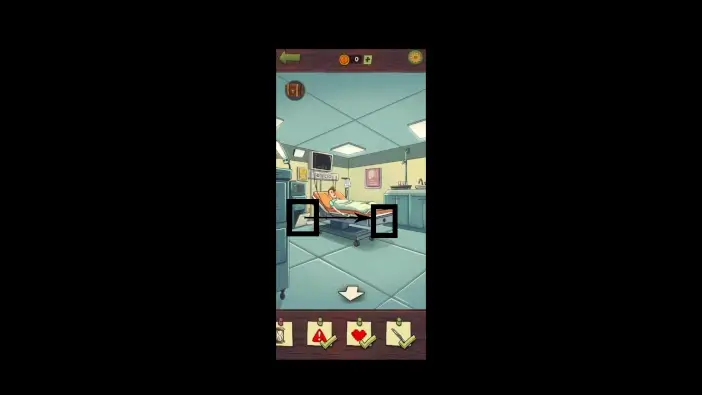
From the drawer on the left, there is a handle for lowering the patient’s bed. Attach it to the bottom of the bed, and the bed will be lowered.
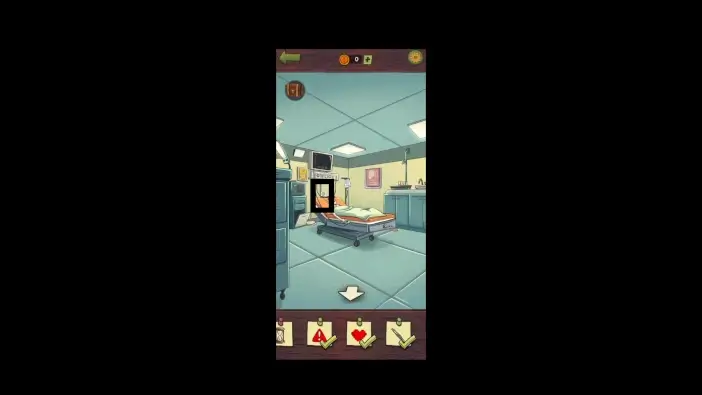
When you lower the bed, you will see a power socket on the wall. Tap on it.
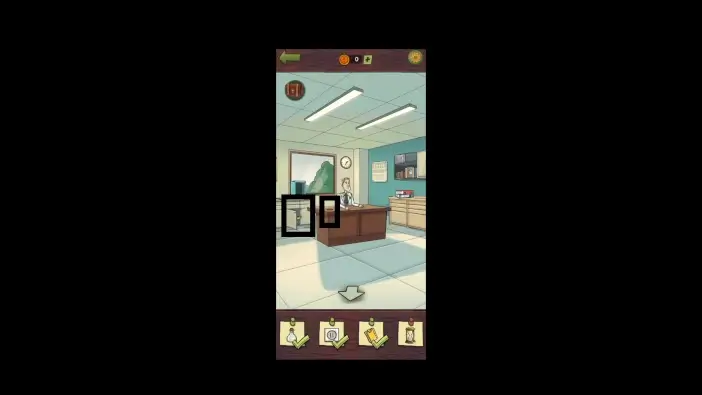
Open the cabinet on the left, take the figurine, and put it in the hole on the central table to unlock the central table’s cabinet.
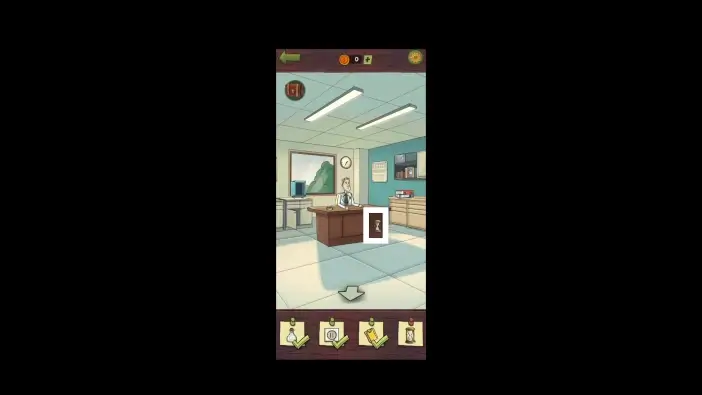
Tap on the hourglass inside the central table’s cabinet.
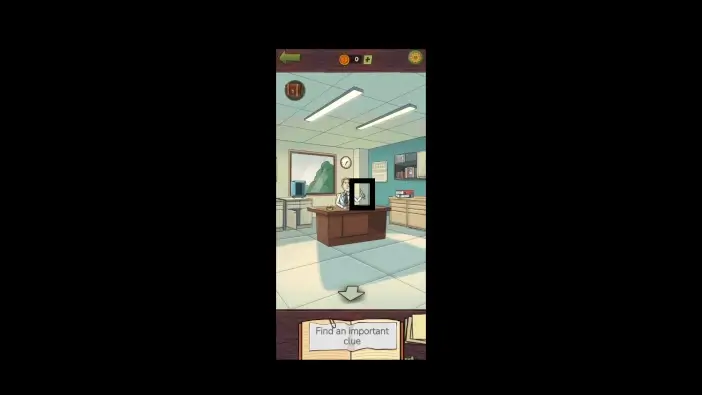
Once you find all the clues, take the syringe from the doctor.
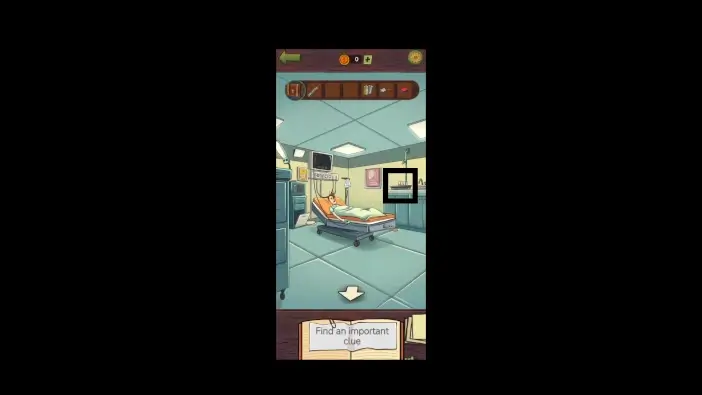
Go to the patient’s room and approach the vials on the right.
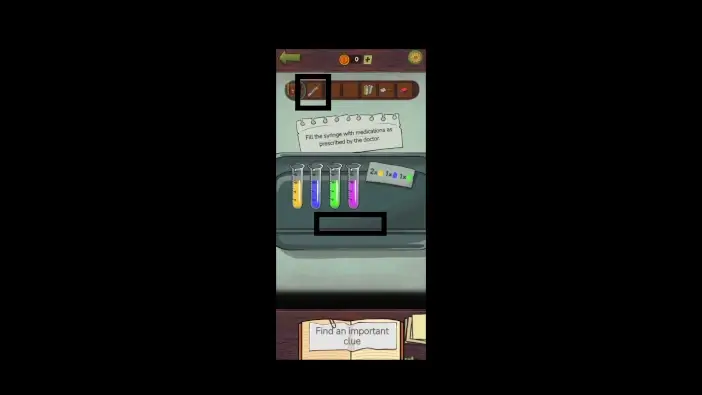
Place the syringe on the table.
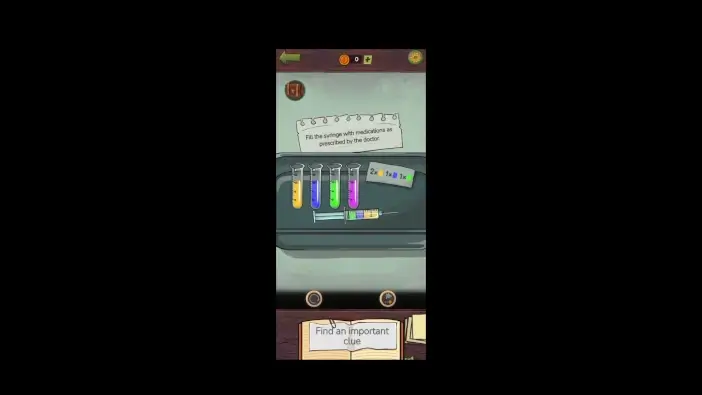
Fill the syringe with 2 orange liquids, 1 blue liquid, and 1 green liquid, in that order.
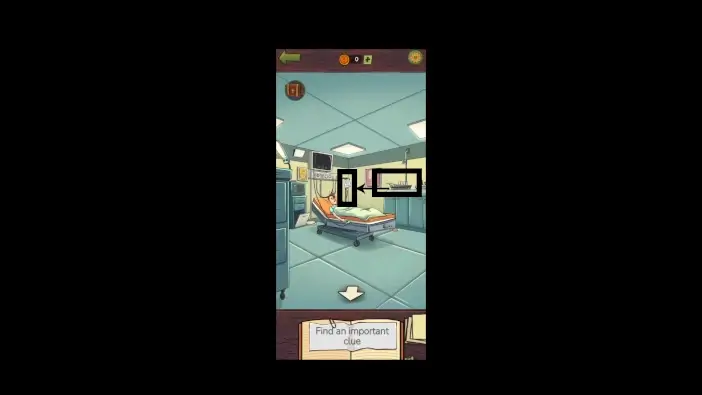
Inject the liquids from the syringe into the IV bag.
Laboratory
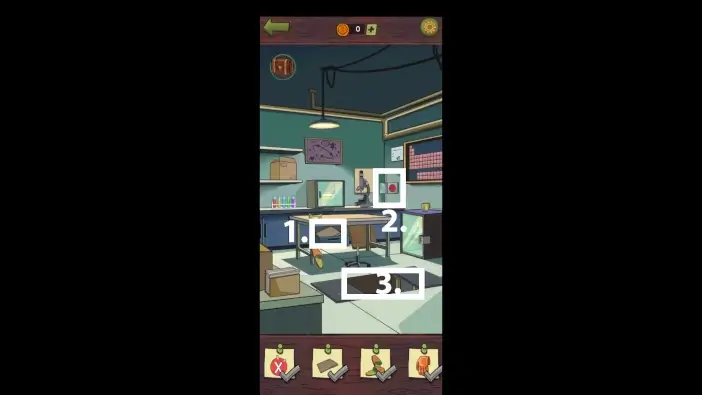
- Remove the wooden plank, open the drawer, and tap on the object inside the drawer.
- Press the red button on the right to open the basement.
- Enter the basemenet.
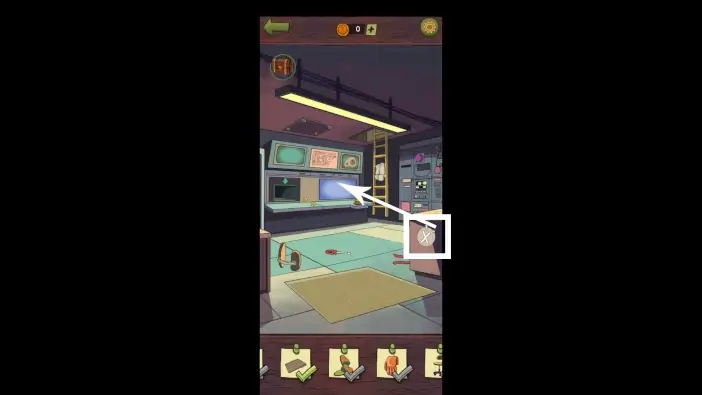
Place the transparent “X” sticker on the monitor.
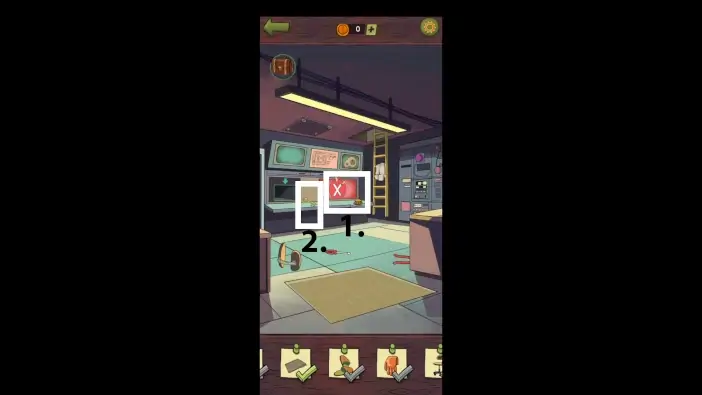
- Change the color of the screen to red using the button near it, then tap on the “X” sticker.
- Take the key on the left. It will be added to your inventory.
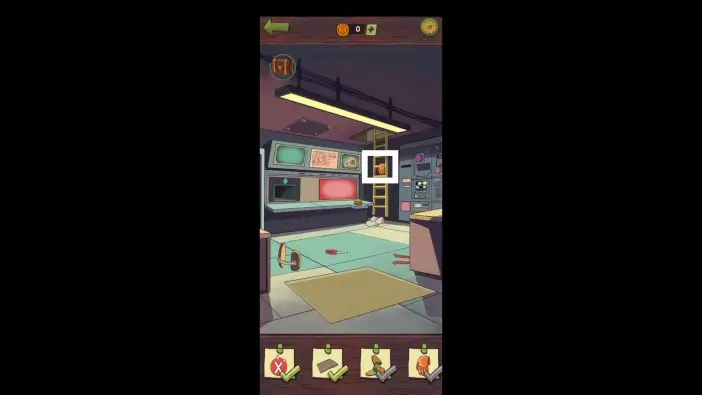
Remove the cloth from the ladder to reveal an orange glove. Tap on the orange glove.
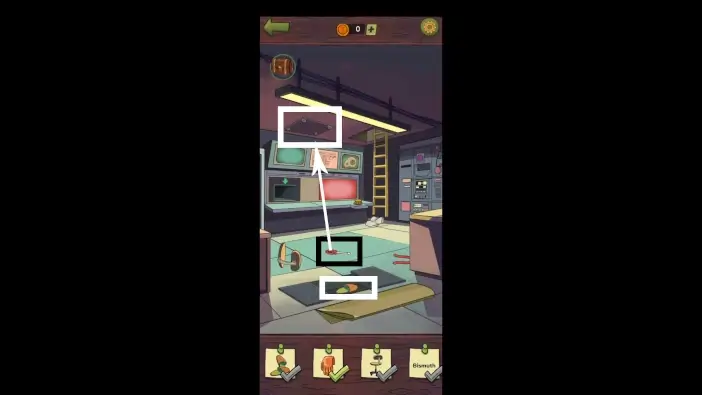
Remove the carpet to reveal the hidden door. Use the pink button on the right wall to open the door. Take the slipper to add it to your inventory. Use a screwdriver from the floor to unscrew the lid on the ceiling.
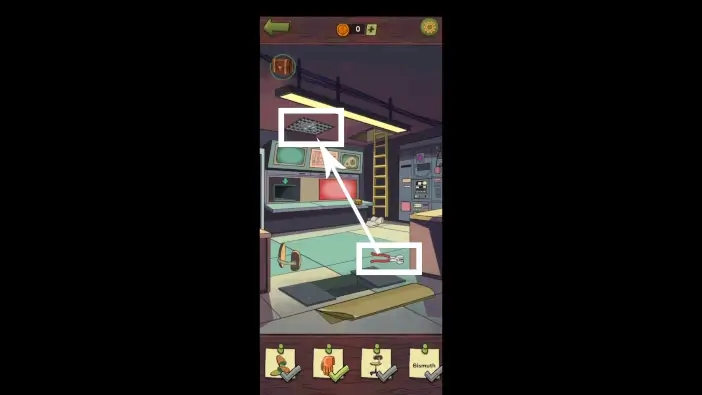
There is a bolt cutter behind the right table. Move it slightly to the left to see it better. Use it to cut the grilles on the ceiling. A binocular case will fall to the ground. Tap on it.
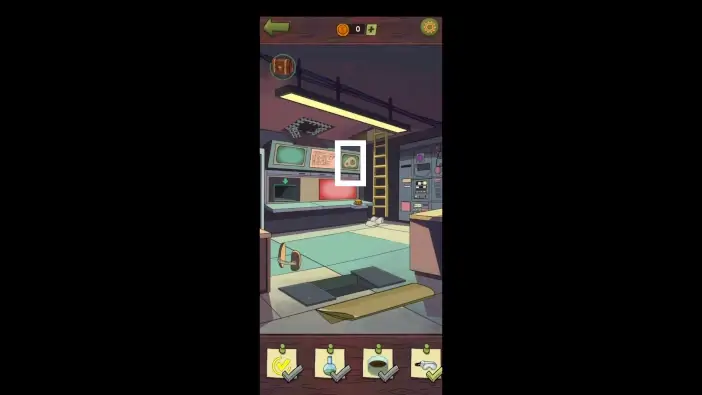
Approach the virus cell screen on the top right part of the dashboard.
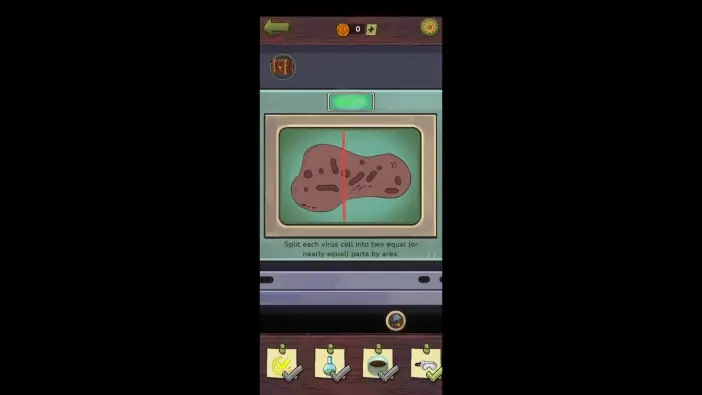
Split each virus cell into 2 equal or nearly equal parts, like in the picture above and in the following pictures.
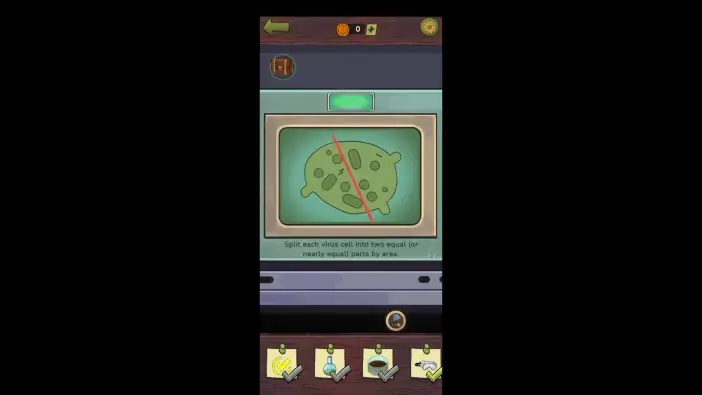
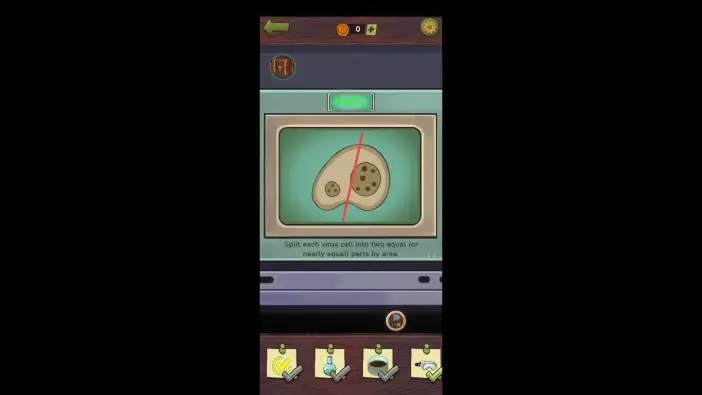
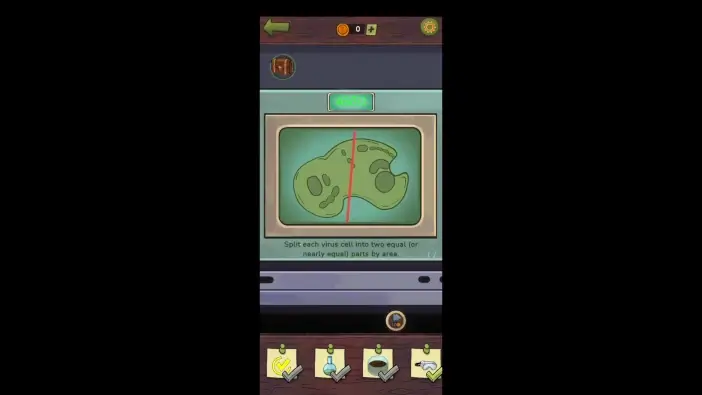
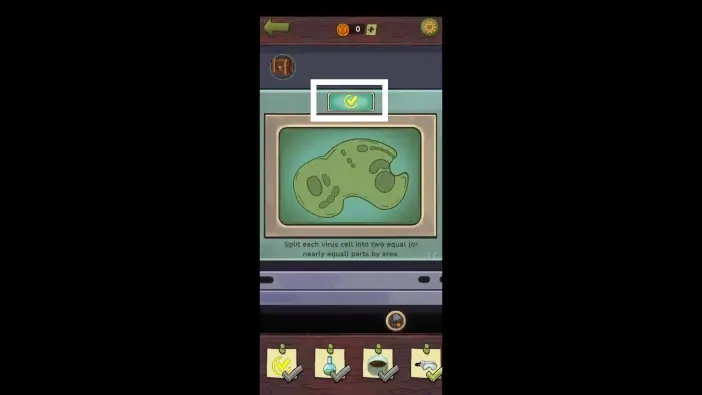
Once you finish dividing all the virus cells, tap on the check mark.
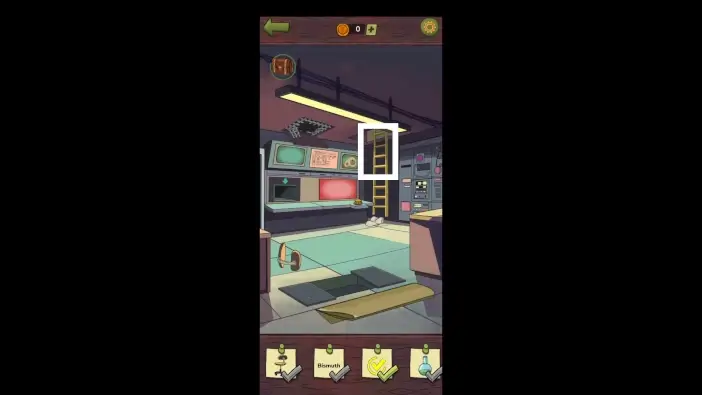
Use the ladder to go to the upper part of the laboratory.
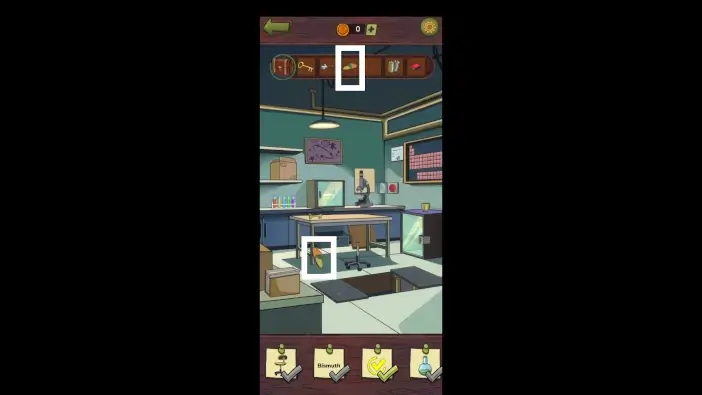
Place the slipper from your inventory next to the slipper below the table. Tap on the pair of slippers.
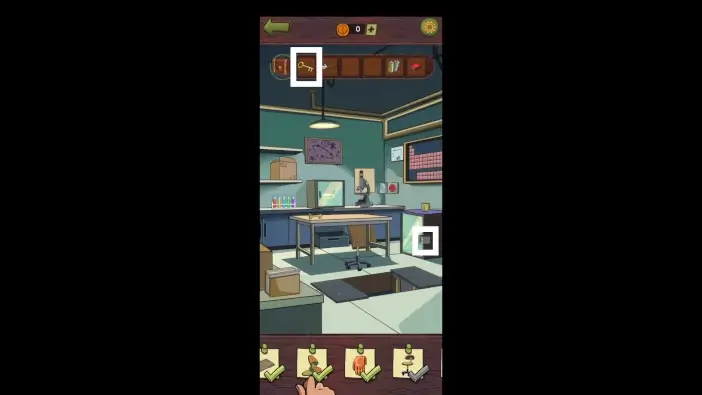
Use a key from your inventory to unlock the cabinet on the right and tap on the vial inside.
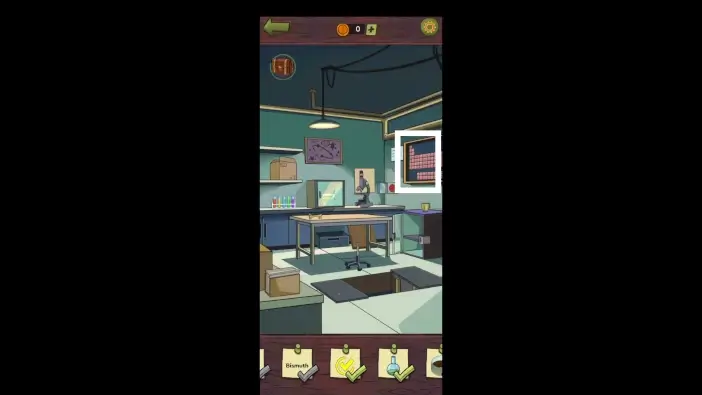
Approach the periodic table of elements on the right.
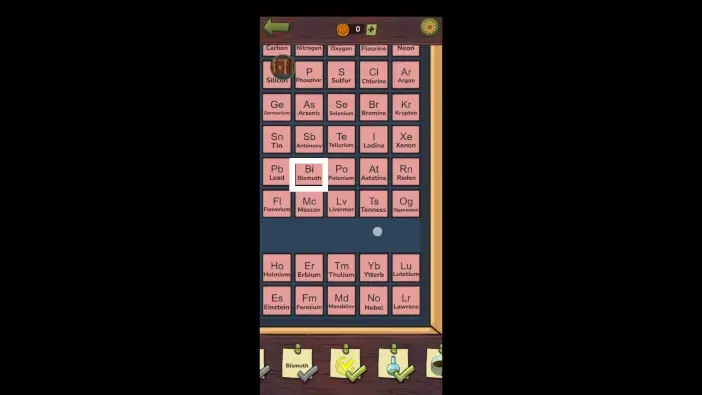
Find Bismuth with the abbreviation Bi on the right side of the table and tap on the “Bismuth” word.
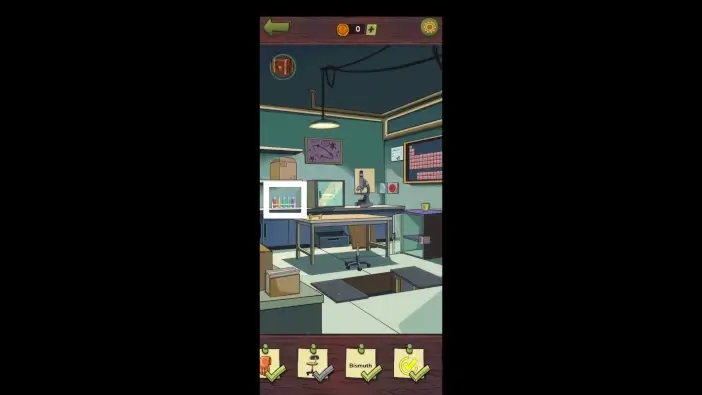
Approach the vials on the left.
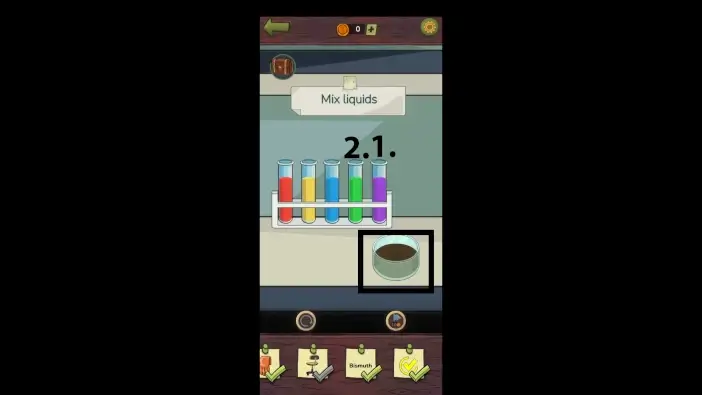
- Pour the purple liquid into the bowl first.
- Pour the green liquid into the bowl, then tap on the bowl.
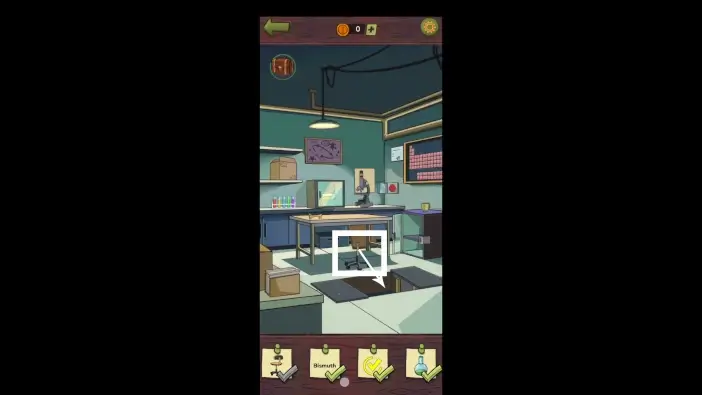
Move the chair legs to fall into the basement.
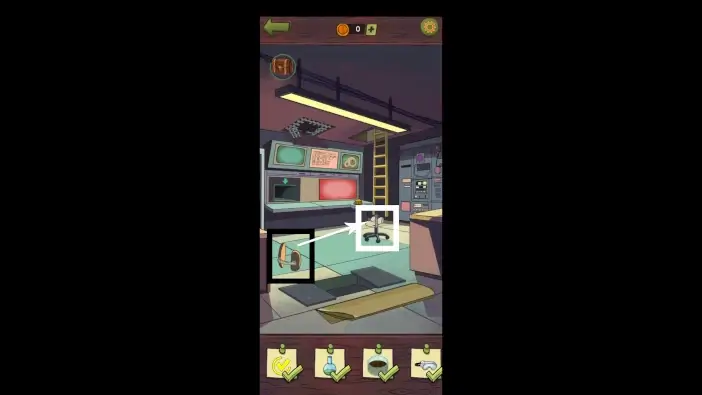
In the basement, attach the chair seat to the chair legs. Tap on the completed chair.
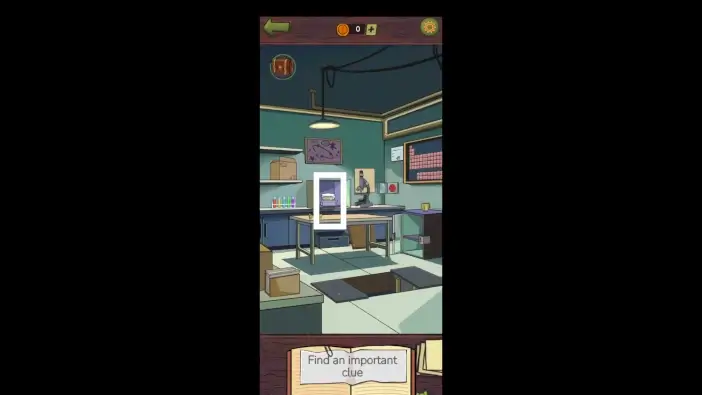
Once you find all the clues, go upstairs and take the medicine.
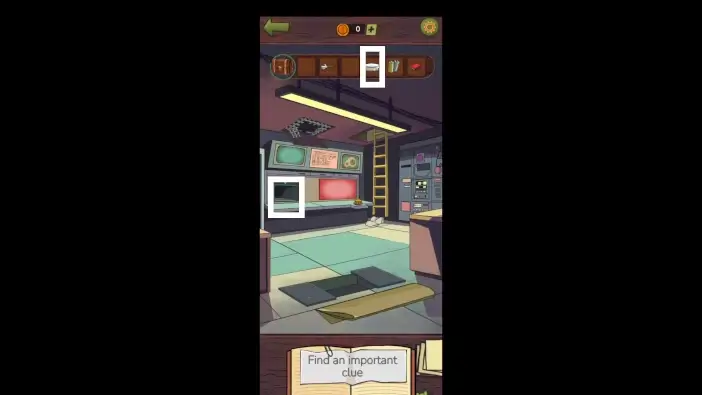
Go to the basement and place the medicine inside the machine on the left.
Theater
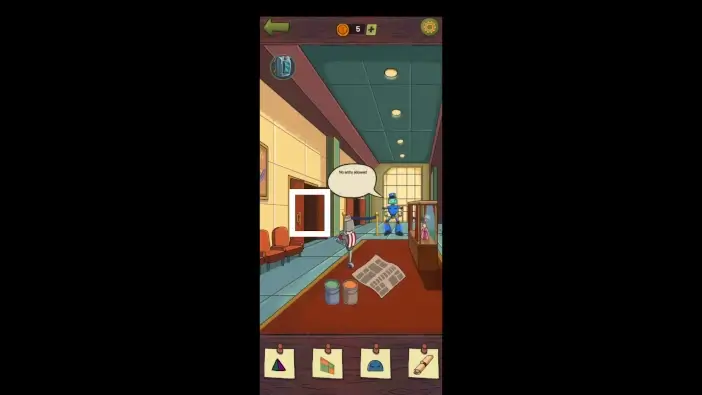
Enter the theater room on the left.
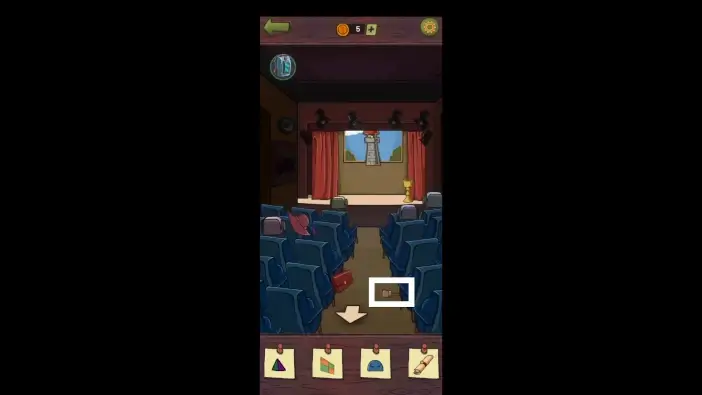
Take the brush. It will be added to your inventory.
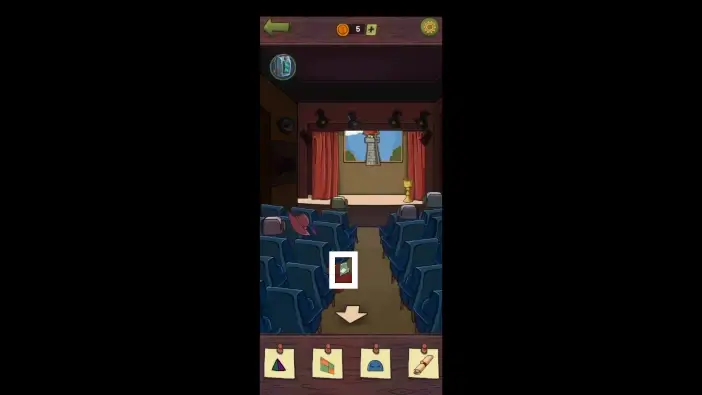
Open the bag. Pull up one of the banknotes and take it to add to your inventory.
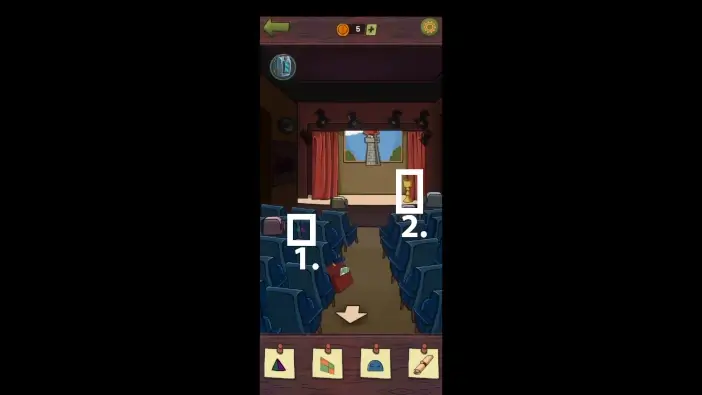
- Remove the hat from the seats on the left, then bring the seats closer together to form a green-purple triangle. Tap on the triangle.
- Tap on the goblet on the stage.
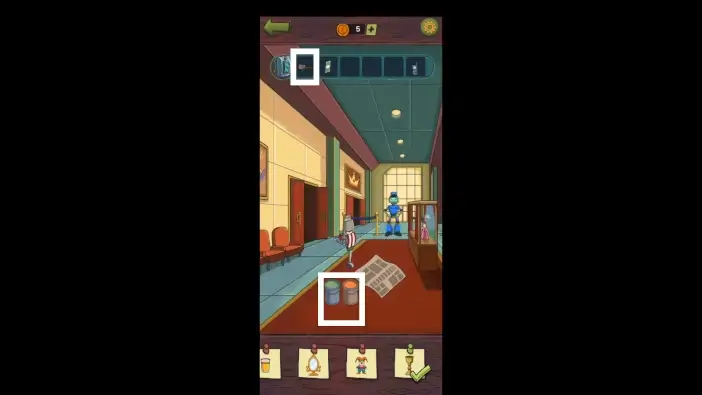
In the hallway, remove the newspapers from the buckets of paint. Place the brush near the buckets.
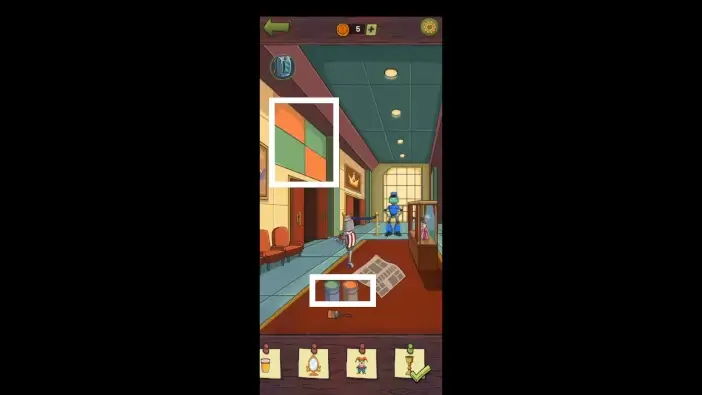
Using green and orange paint, paint the wall above the theater room entrance like in the picture above, then tap on the painted wall.

Drop the banknote in front of the police robot.
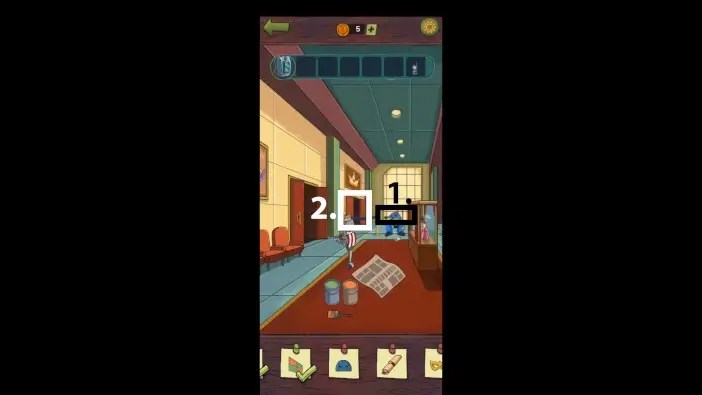
- When the police robot bends down to take the banknote, press the red button on its back to shut it off.
- Go to the entrance behind the police robot to access the stage.
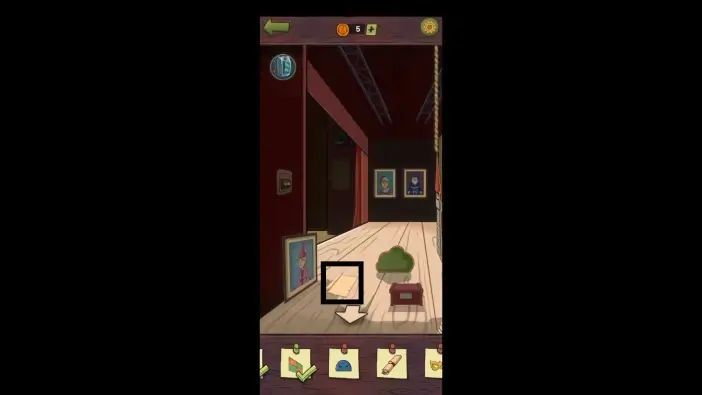
Take a look at the paper on the floor.
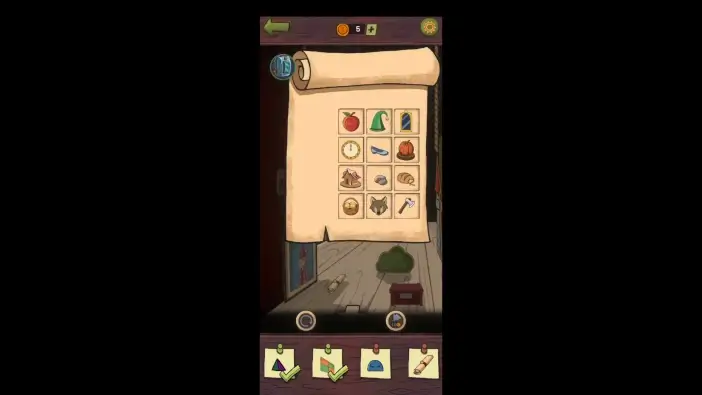
Arrange pictures that are associated with certain fairy tales. Each row is dedicated to a fairy tale. Arrange associations like in the picture above.
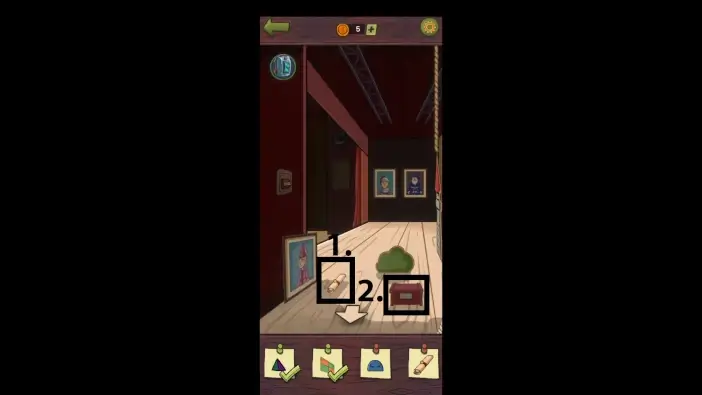
- Tap on the rolled paper of fairy tales.
- Approach the box.
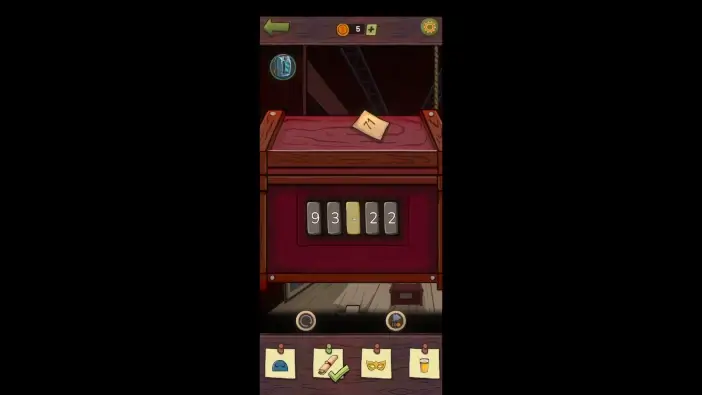
On the box, there is a sticker note, “71” written on it. To unlock the safe, you need to set numbers and a math operator to get the number 71 as a result.
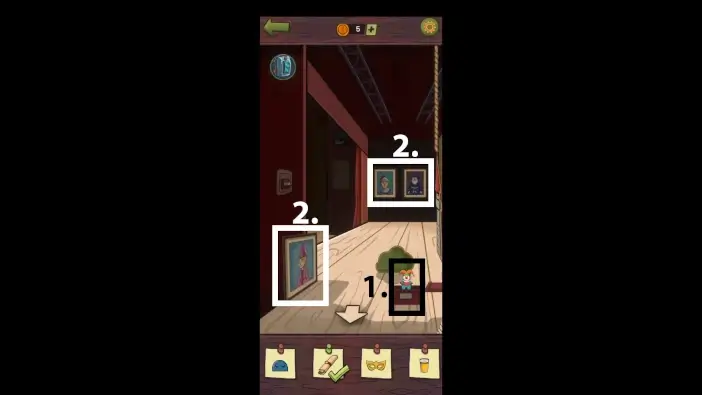
- Pull out the clown from the box, then tap on it.
- Take a closer look at the 3 paintings on the stage and pay attention to the badges the characters are wearing.

In the hallway, approach the dolls on the right.
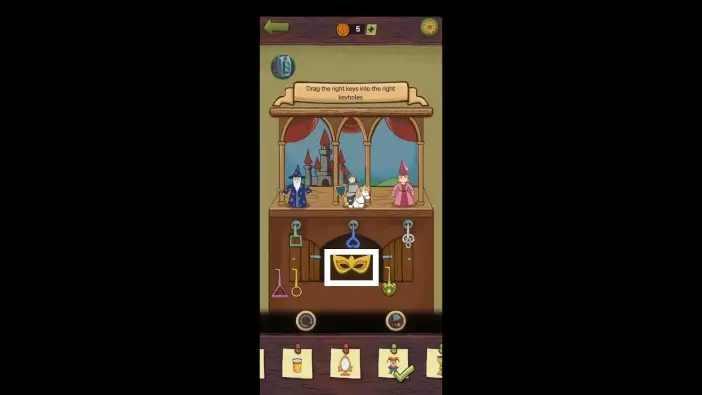
Place the keys of various shapes beneath the dolls. The shape of the key should be the same as the shape of the badge that same character had in the painting. Once you solve this puzzle, tap on the golden mask.
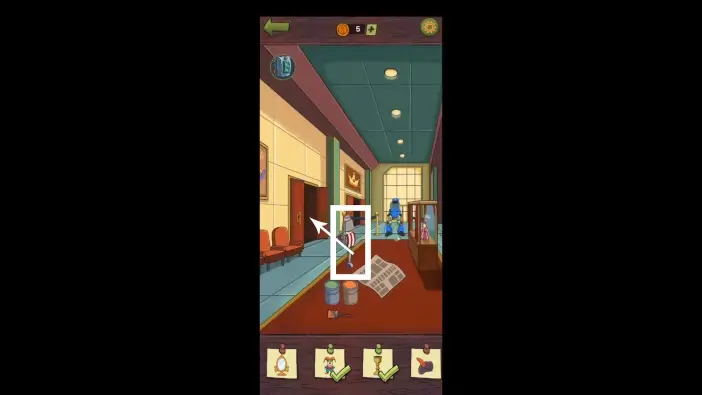
Move the robot bartender to the theater room.
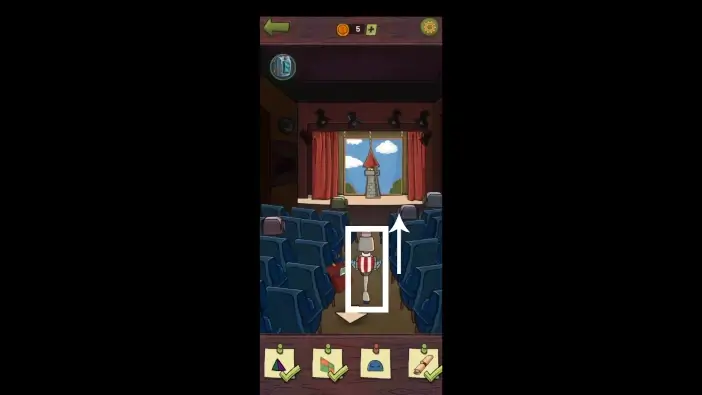
In the theater room, move the bartender robot towards the stage.
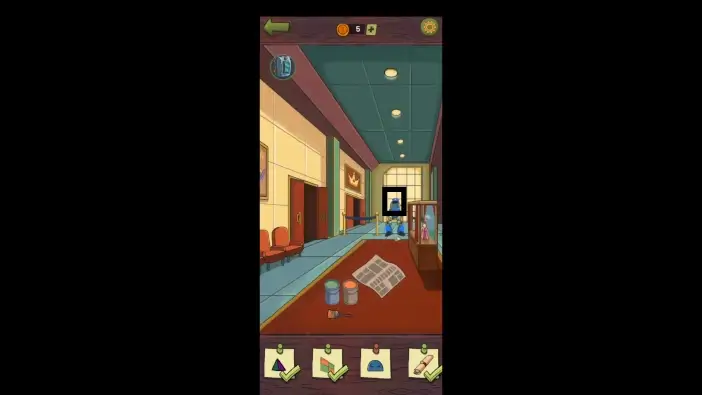
In the hallway, tap on the shutdown screen of the police officer robot.
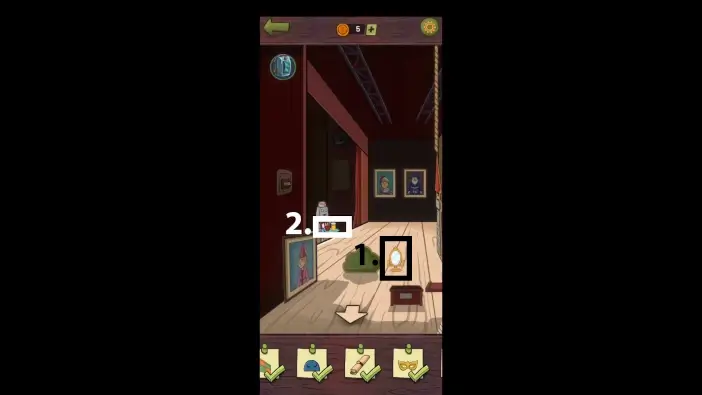
- On the stage, move the bush to reveal the mirror, then tap the mirror.
- Tap on the juice that the bartender robot is offering.
- On the left, above the picture, press the switch to move one of the lights.
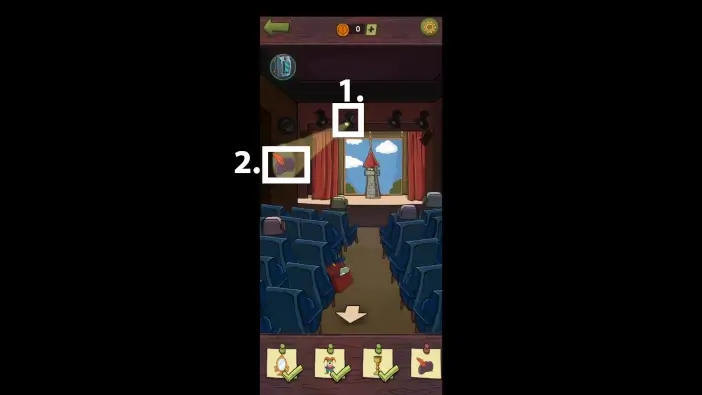
- In the theater room, move the light to the left to reveal the beret on the left wall.
- Tap on the beret.
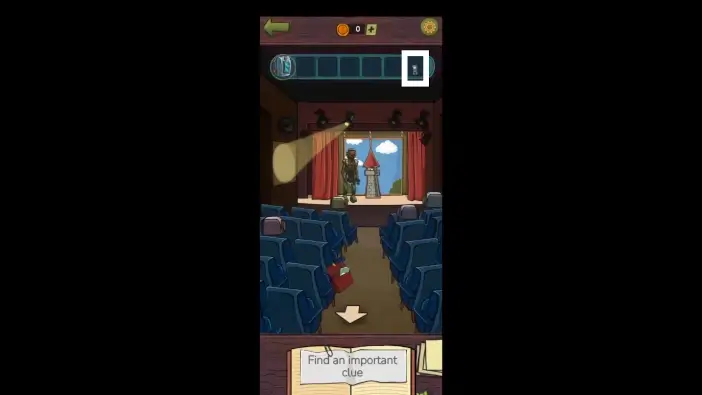
When you find all the clues, listen to the speech in the theater room. After the speech, select the walkie-talkie from your inventory.
This will mark the end of Part 3 of our guide for Chapter 1 of the Find Joe: Lumen.
Thank you for reading!