Edge of Reality: Lost Secrets of The Forest | Main Chapter Part 7
Intro
Welcome to our walkthrough for Part 7 of the Main Chapter for the “Edge of Reality: Lost Secrets of the Forest” from “Friendly Fox Games”. Help biologist Dr. Amanda solve the mysterious events in the forest.
Walkthrough
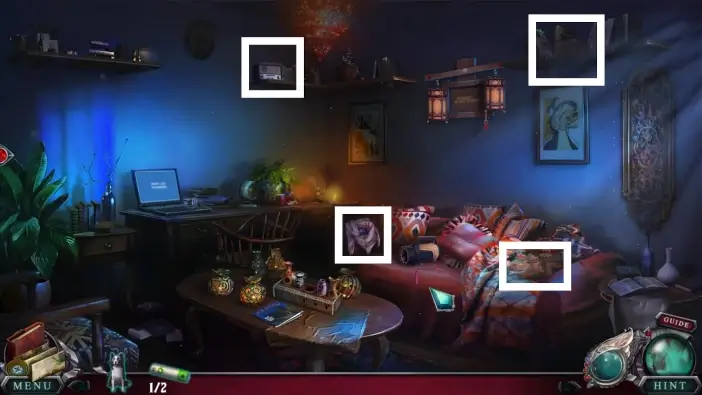
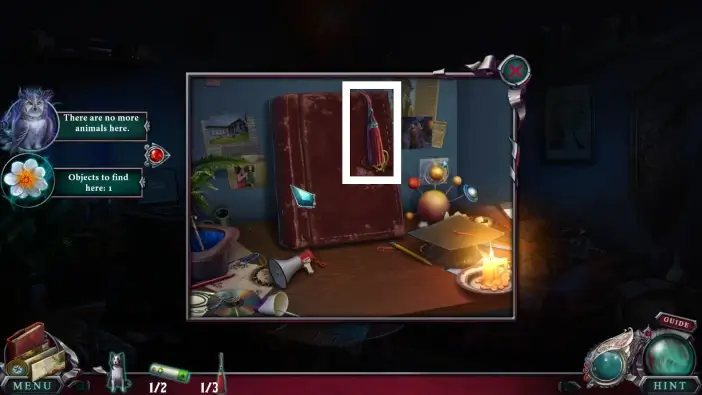
In Lizz’s room, find all morphing objects and animals. They are marked in the picture above.
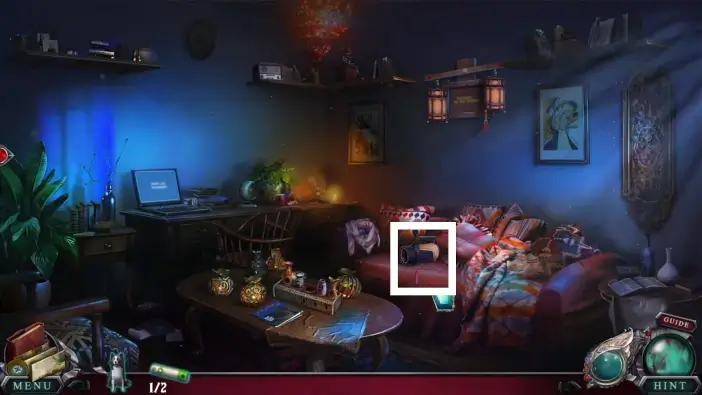
Approach the flashlight on the bed.
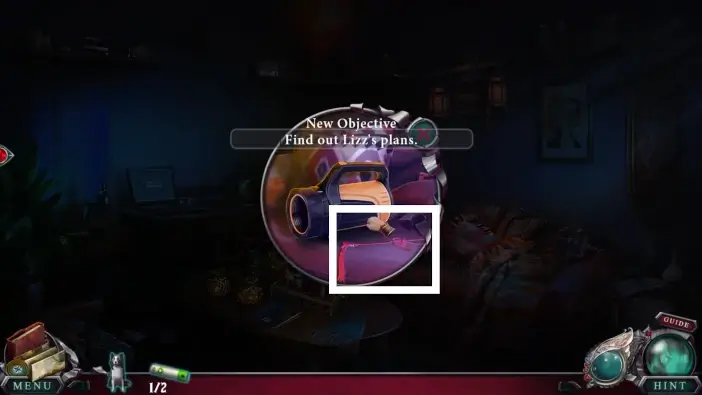
Pick up the first tassel from the bed. You’ll need three tassels to hang on the lamps on the wall to open a hidden compartment.
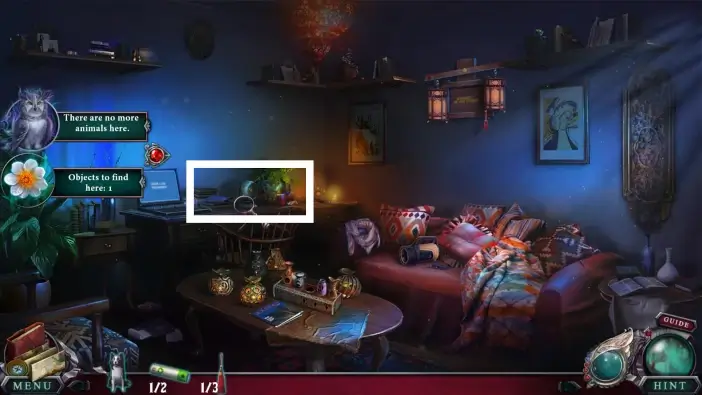
Approach the left desk.
Take the second tassel from the diary.
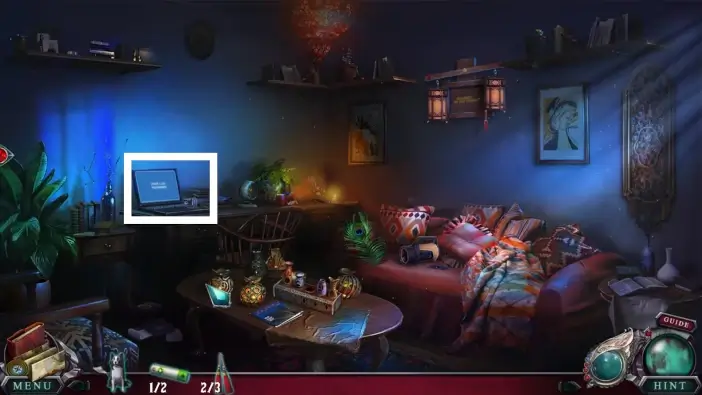
Approach the laptop.
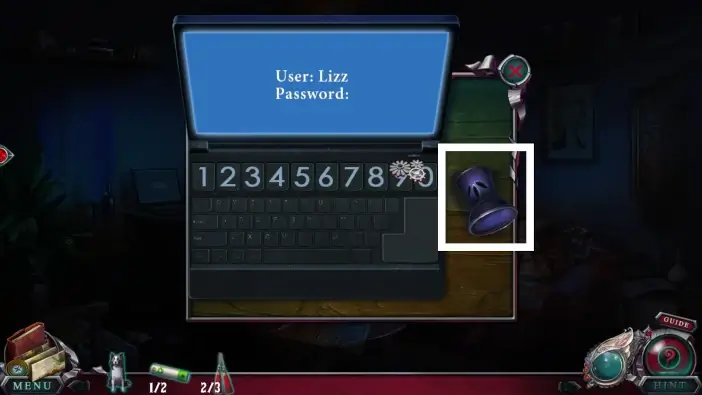
Take the aroma diffuser that is next to the laptop.
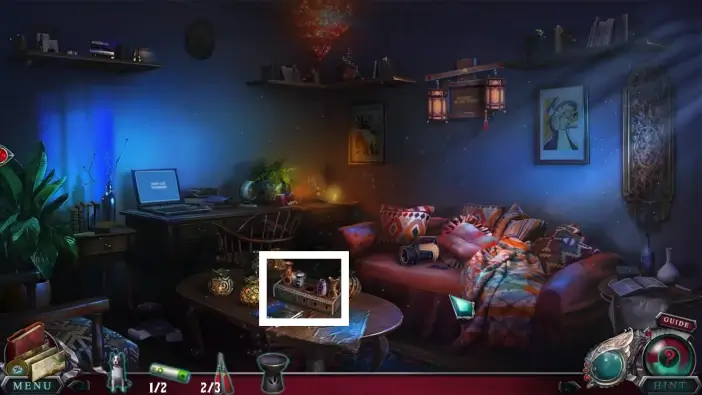
Approach the table in the center of the room.
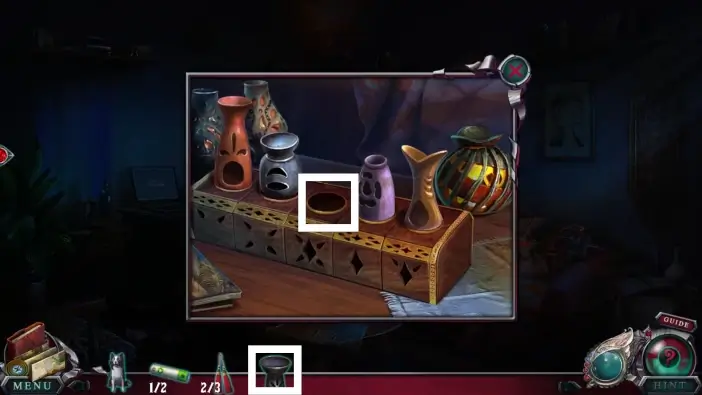
Place the aroma diffuser between the other ones.
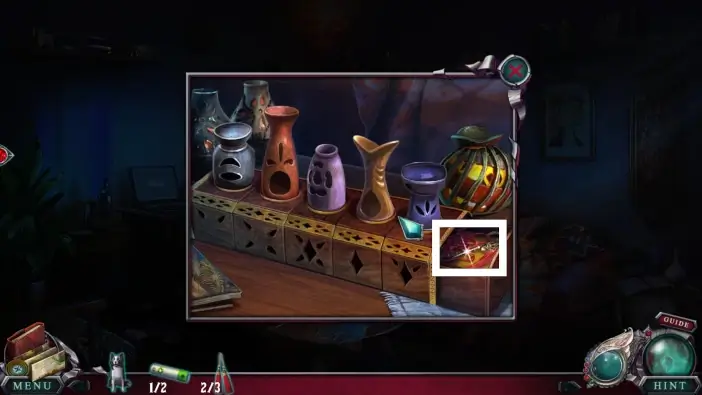
The patterns below the diffusers show how many holes a diffuser above should have. Rearrange the aroma diffusers like in the picture above to unlock a hidden drawer. Take the third tassel and the diary key from the drawer.
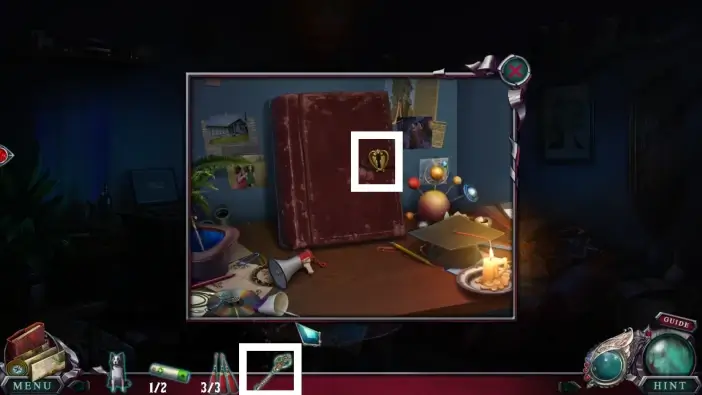
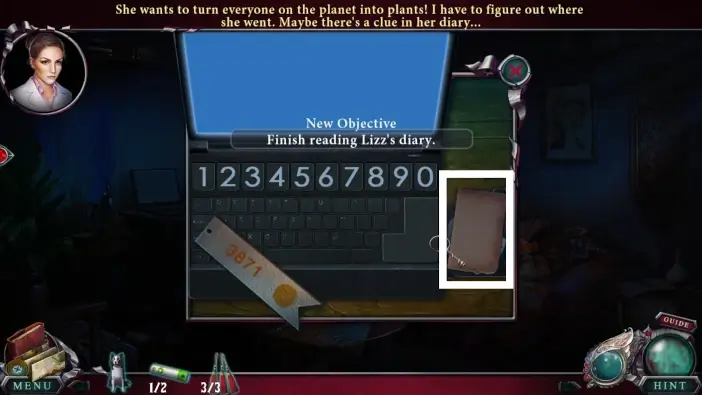
Return to the left desk and use the diary key to open the diary.
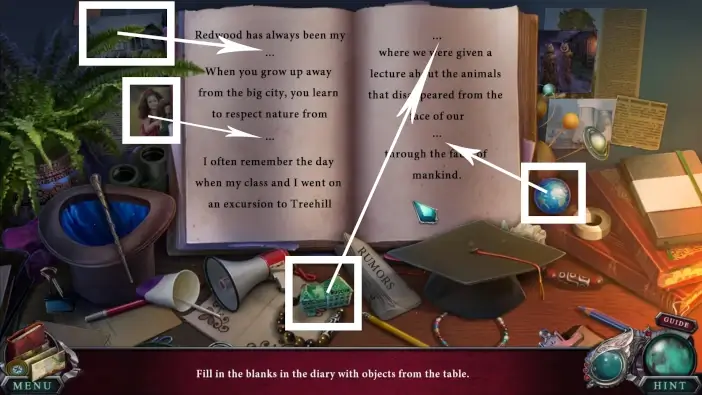
Drag and drop the items on the three dots in the diary to finish Lizz’s sentences. The objects from the desk are marked in the pictures in this guide, and the arrows show where you’ll need to drag and drop these items.
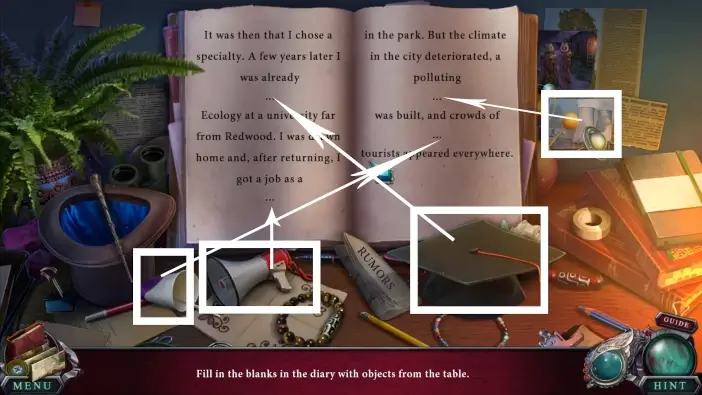

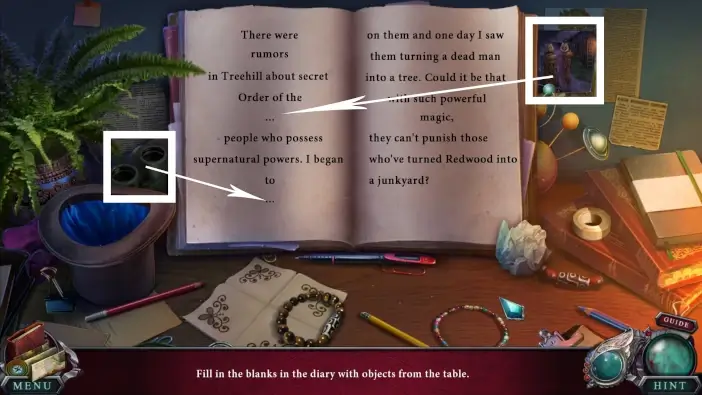
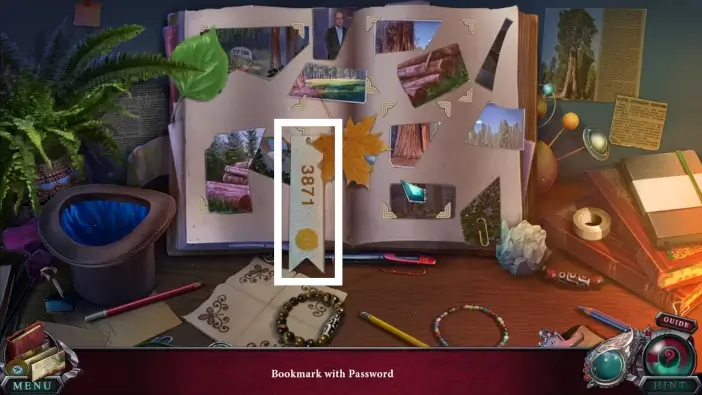
Once you move all the objects to their correct places in the diary, take the bookmark with the password. The mini-game will be over, and the password item will be added to your inventory.
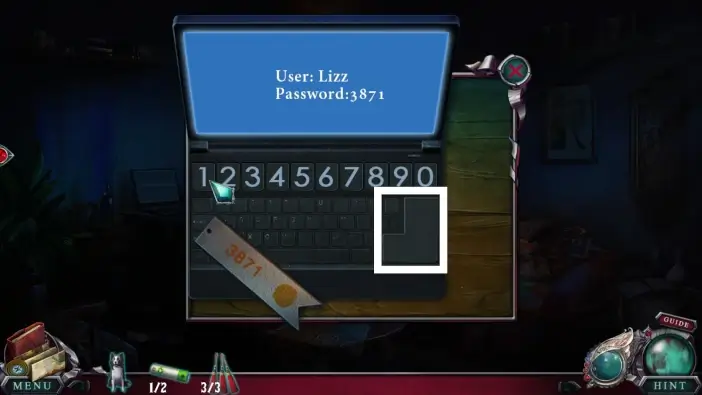
Return to the laptop and place the bookmark on the keyboard. Press the buttons on the laptop’s keyboard to insert the password from the bookmark. The password is 3871. Once you insert the password, click on the enter button.
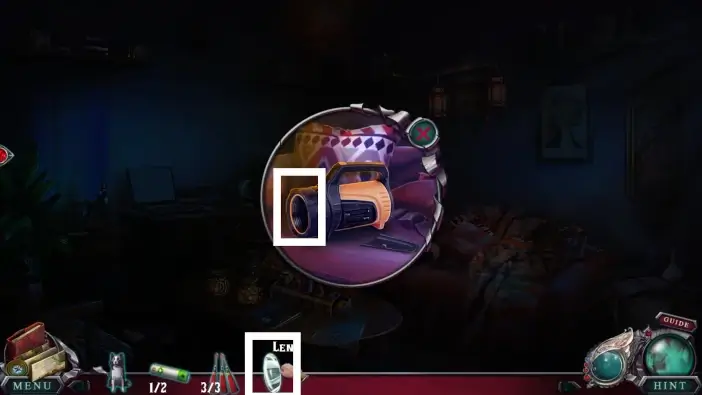
Once you press the Enter button, a disk drive will open. Read the letter from the disk drive.

Take the lens from the letter.
Go to the bed where the flashlight is and attach the lens you just found.
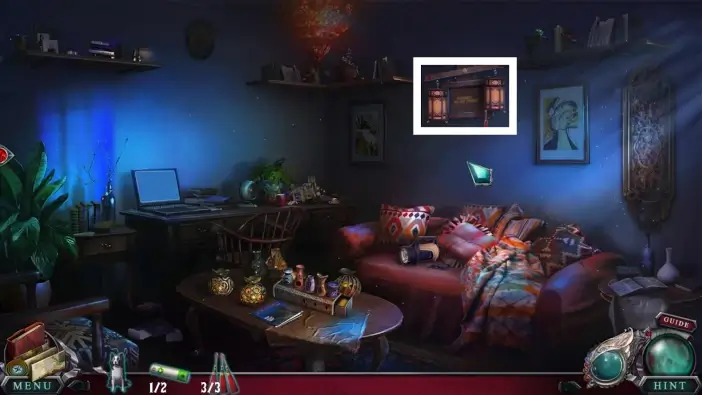
Approach the lamps on the wall.
Hang the tassels on the lamps.
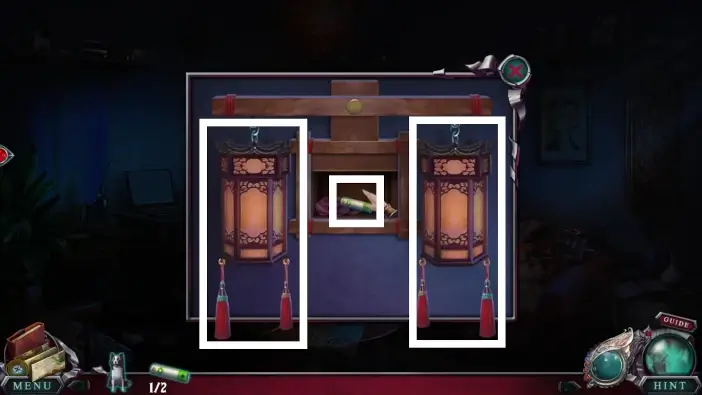
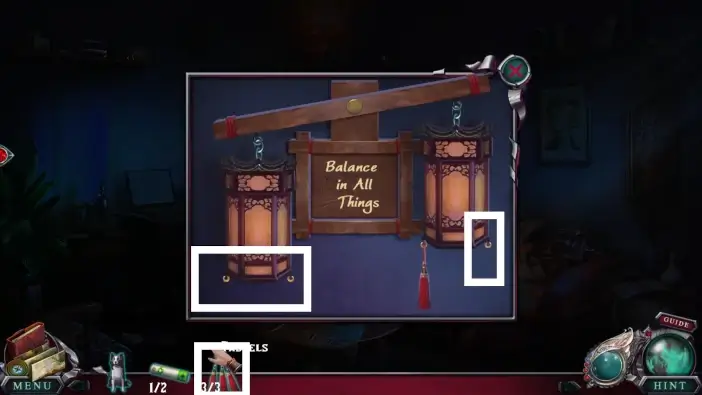
Click on the lamps multiple times to rebalance them and set them to a position like in the picture above. The compartment on the wall will open. Take the second battery from there.
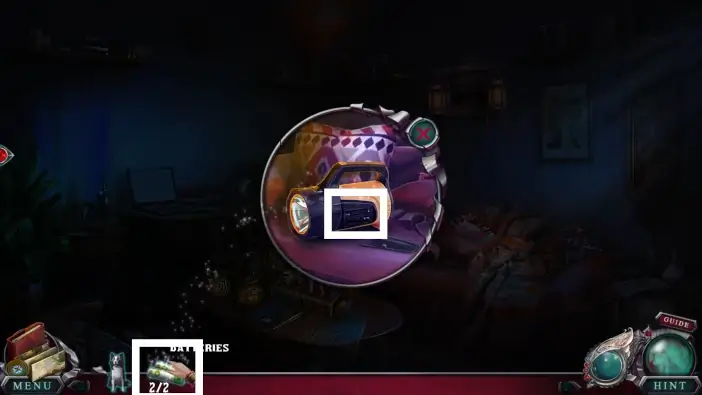
Place the two batteries into the flashlight on the bed and take the flashlight.
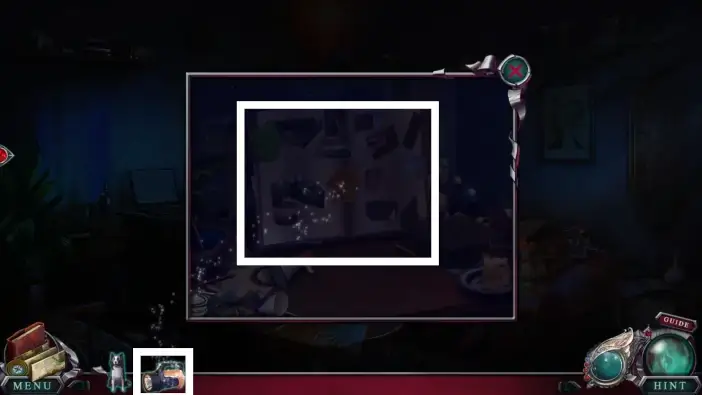
Return to the desk where Lizz’s diary is and use the flashlight to continue reading.
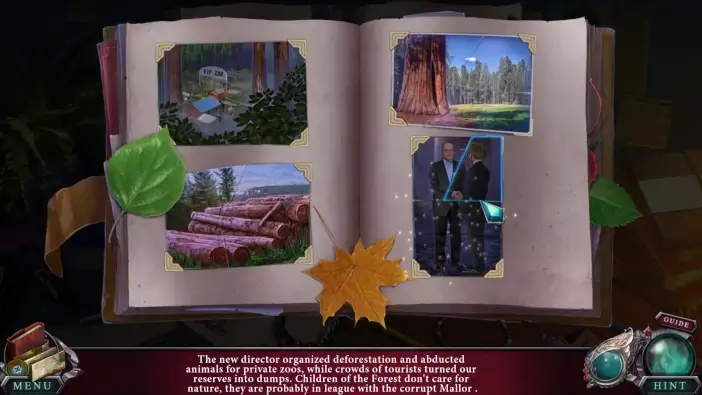
Assemble the torn photo pieces to form the photos like in the pictures in this guide. Certain photo pieces that have a paperclip on them won’t move, and you’ll need to remove the paperclips first. Don’t forget to move the leaves since some photo pieces will be hidden under them.
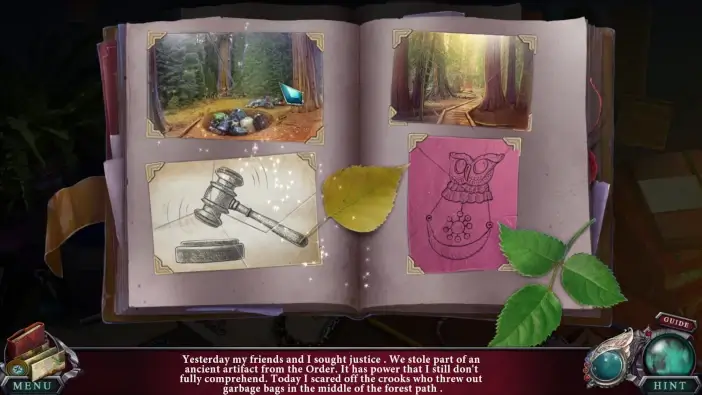
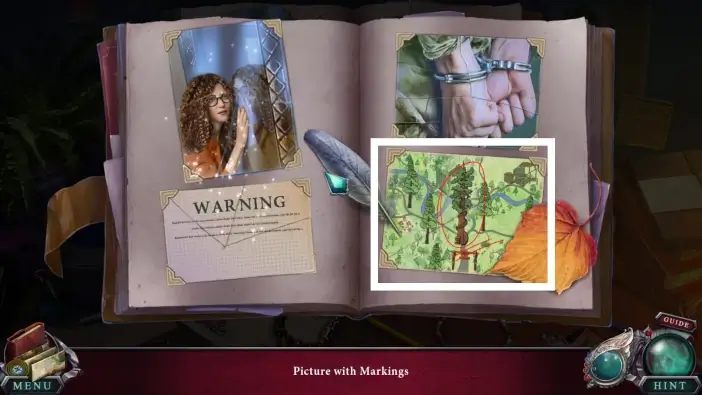
Once you assemble all the photos, take a picture with markings on the bottom-right side of the diary page. A cutscene will begin.
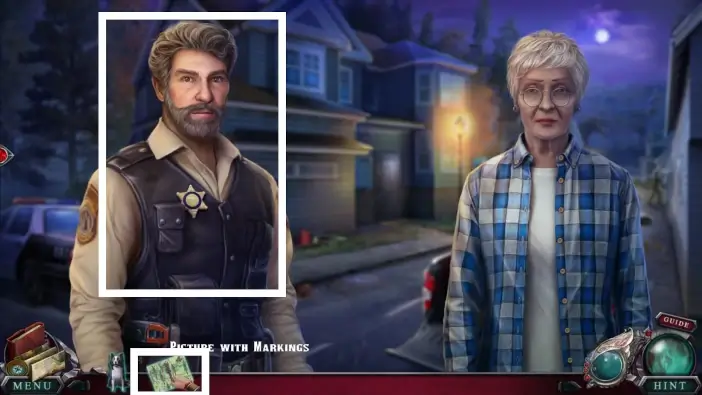
After the cutscene, give the picture with markings to the sheriff.
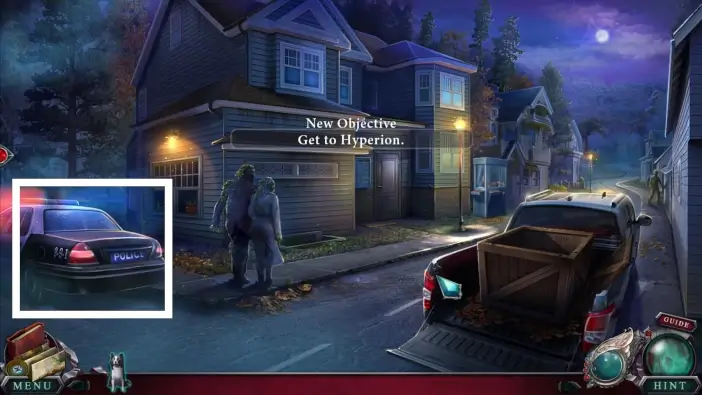
After the conversation is over, enter the sheriff’s car to go to the new location, Hyperion.
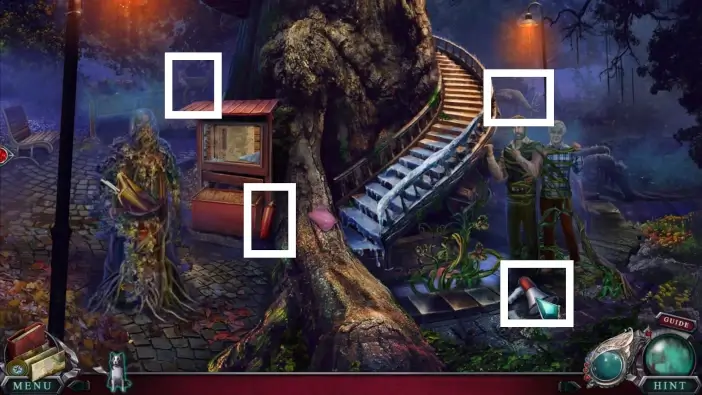
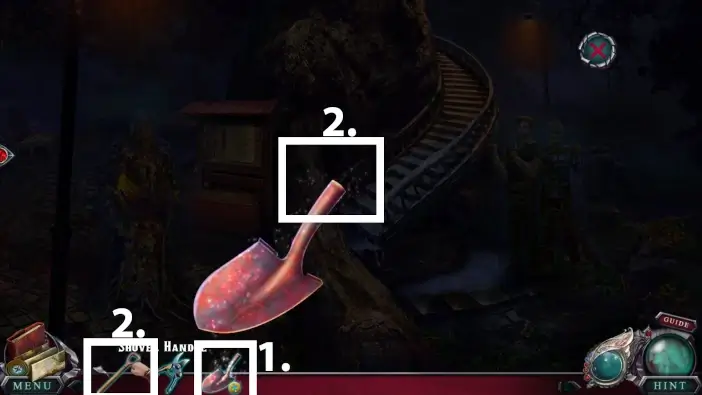
In Hyperion, find all morphing objects and animals. Their locations are marked in the picture above.
Approach the left corner of the scene.
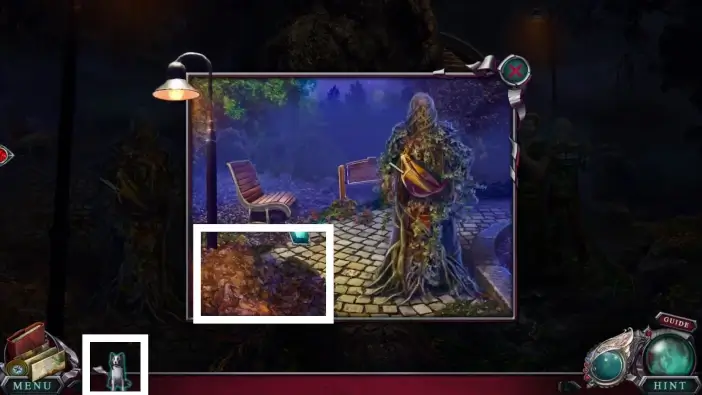
Send Gray to remove the pile of leaves.
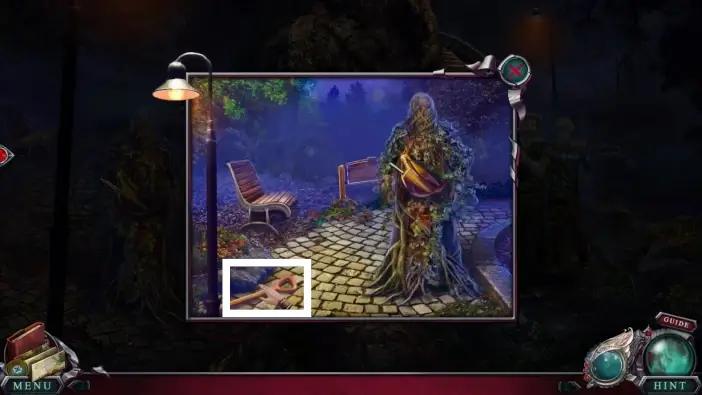
Pick up the shovel handle.
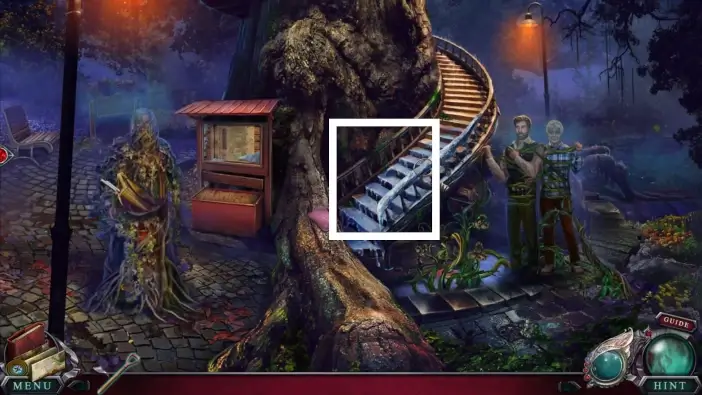
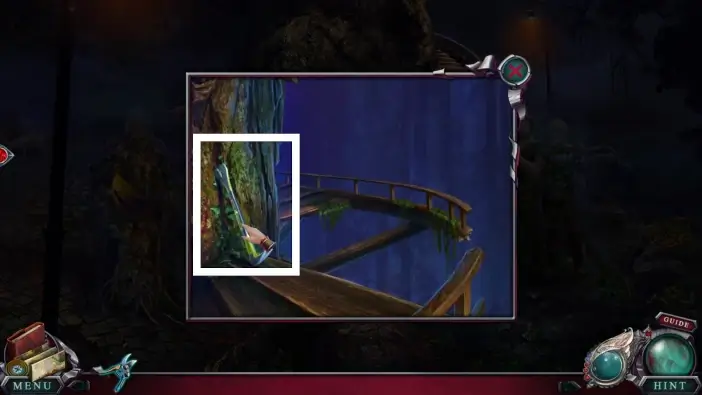
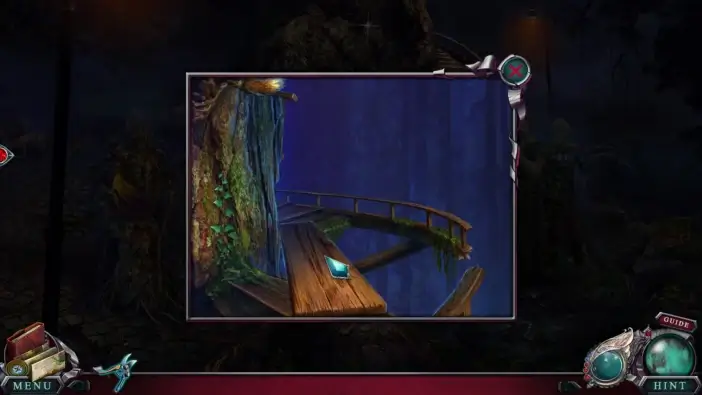
Approach the frozen stairs.
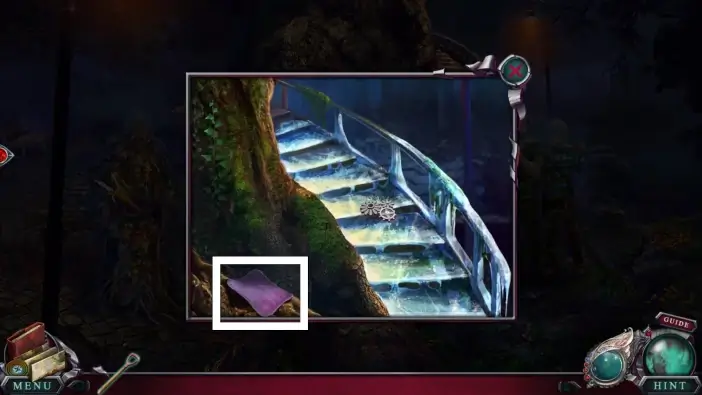
Take the rag from the tree.
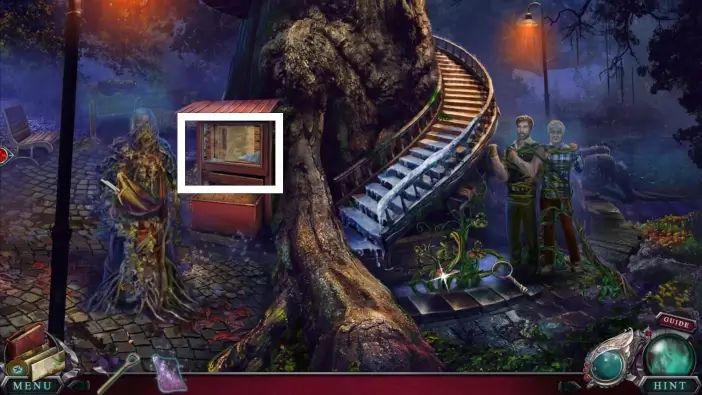
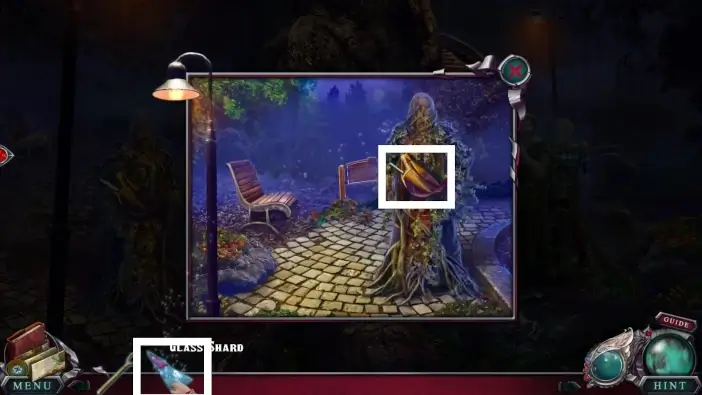
Approach the information board.
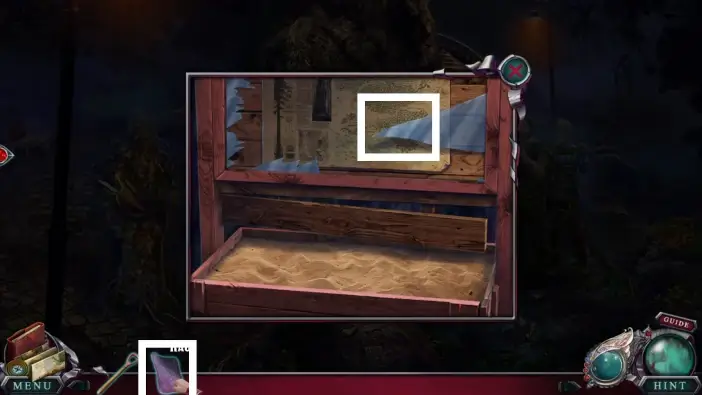
Place the rag on the glass, then take the glass shard.
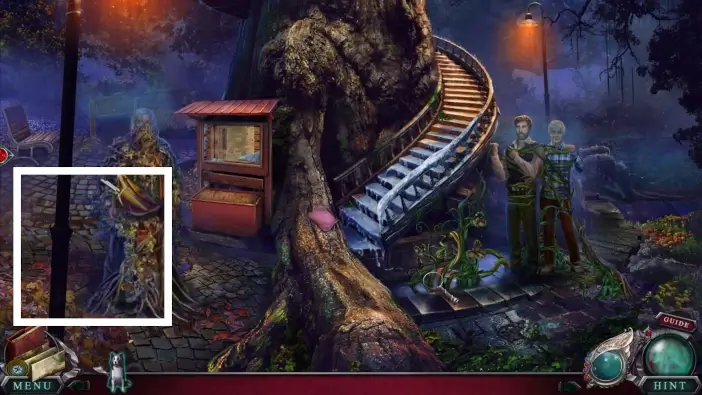
Return to the left and use the glass shard to cut the bag in Keeper’s hands.
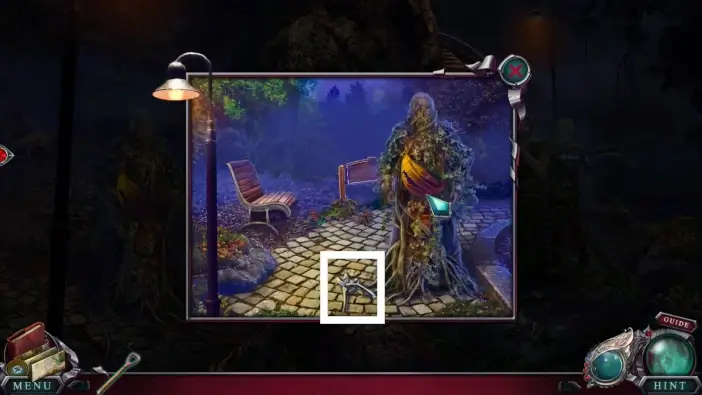
The shears will fall to the ground. Pick it up.
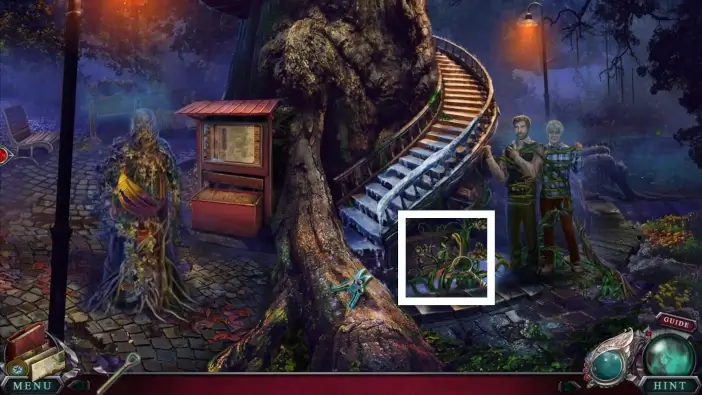
Approach the plants below the stairs.
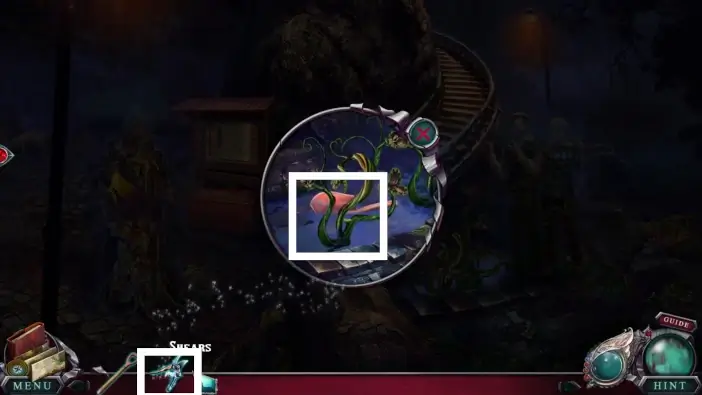
Use the shears to cut the plants and then take the shovel blade.
- Click on the shovel blade in your inventory to examine it.
- Attach the shovel handle to the shovel blade. Lastly, click on the assembled shovel to add it to your inventory.
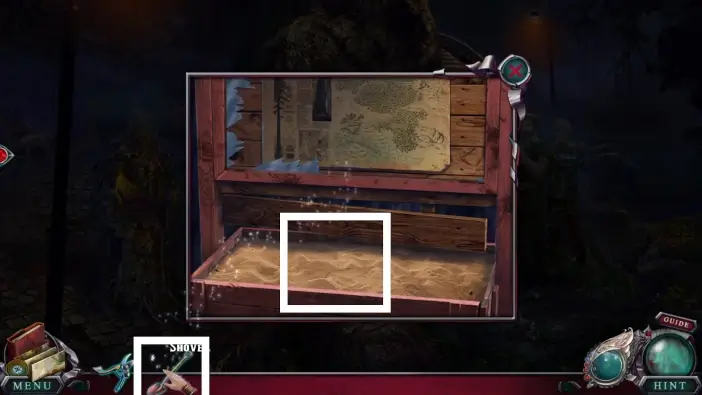
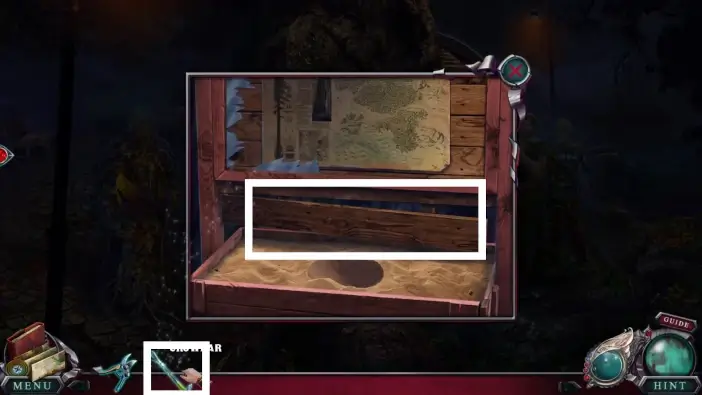
Return to the information board and use the shovel to take some sand in front of the board.
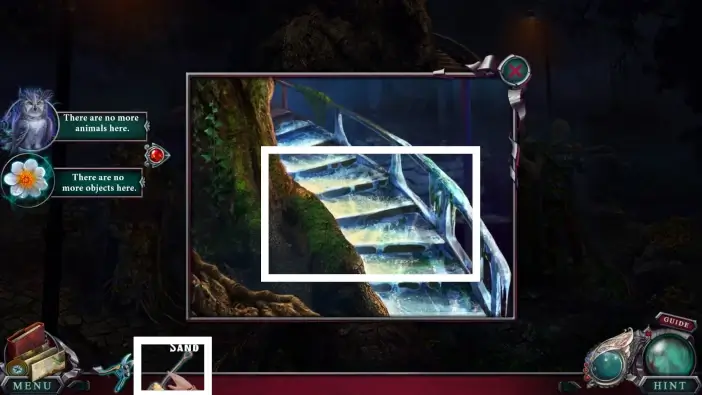
Go to the frozen stairs and place the sand on them. Amanda will automatically go upstairs until the next obstacle.
When you reach the next obstacle upstairs, take the crowbar.
Return downstairs to the information board and remove the board using the crowbar.
Return to the obstacle upstairs and place the board. Amanda will continue going upstairs until the next obstacle.
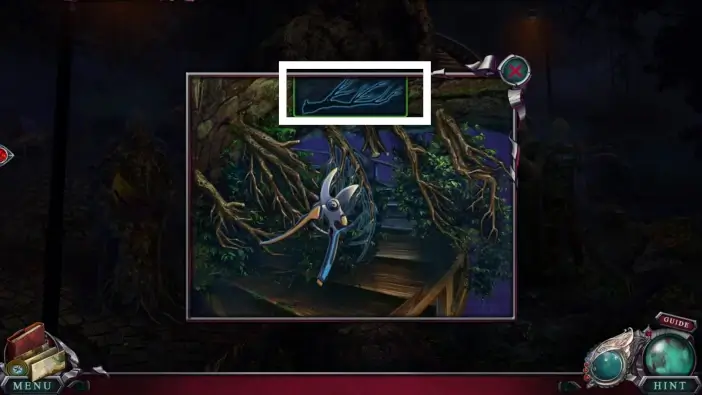
You will encounter the branches. Cut them with shears to remove them, and Amanda will then reach the peak of the Hyperion.
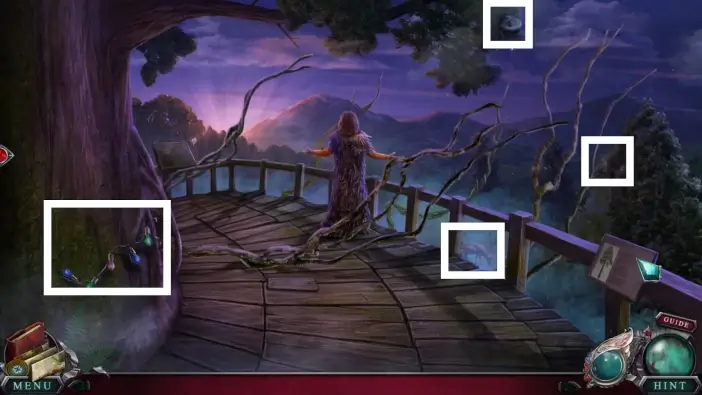
On the Hyperion’s peak, find all morphing objects and animals. They are marked in the picture above.
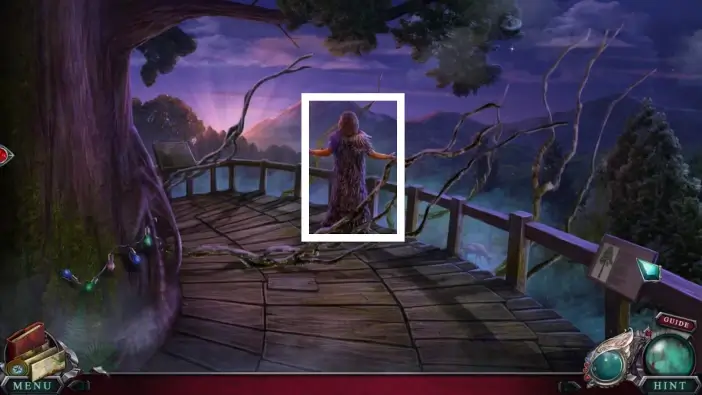
Speak with Lizz.
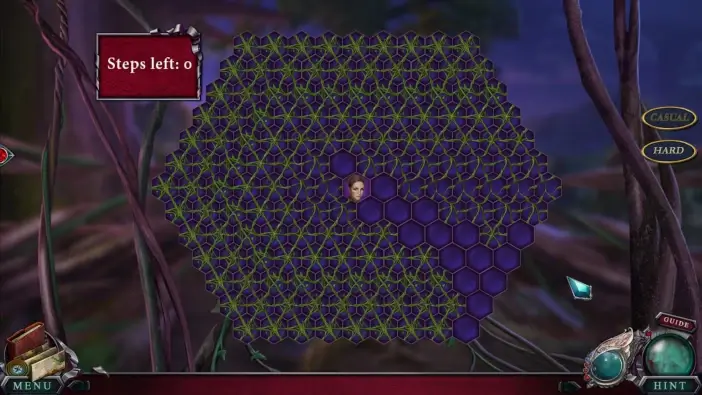
Once Lizz traps Amanda, another puzzle challenge will start. In this puzzle, in each turn, remove one of the vines. After that, new vines will appear closer to Amanda. You’ll need to remove the closest vines to Amanda, so she can survive 8 turns. If the vines touch her, you’ll need to start the challenge over again.
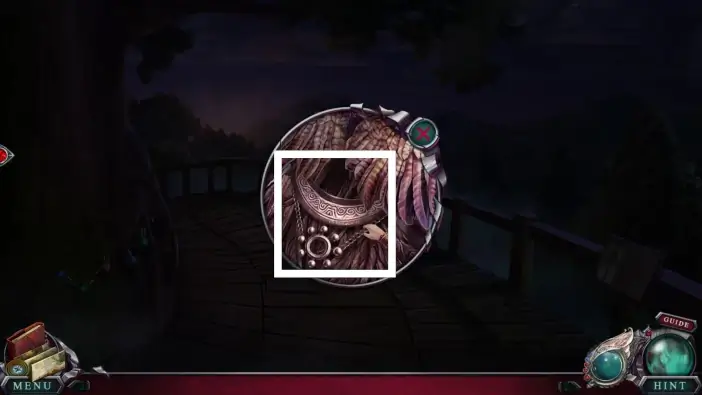
Once you finish the previous puzzle challenge, Amanda will resist the vines, and Lizz will fall to the ground unconscious. Approach Lizz, and take the two parts of the artifact.
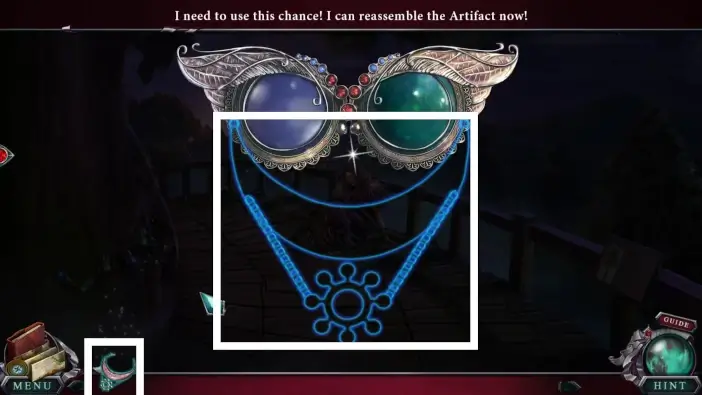
Click on your part of the artifact on the lower-right part of the screen, and then attach other parts to it. This will start the cutscene. Amanda will unfreeze all humans who turned into anomalies, and Lizz and the director of the national park, Mallor, will be arrested.
This will mark the end of our guide for the Main Chapter of the Edge of Reality: Lost Secrets of the Forest.
Thank you for reading!