Dream Life Chapter 1 Levels 21-25
Level 21
Hello and welcome to our walkthrough for the game Escape Room Adventure – Dream Life Mystery 2021. This is stage 21. In the previous stage, we found ourselves inside a house. It is a house that belongs to us and it belonged to our ancestors.
One interesting thing about memories is that we feel like they are our biggest secret. Something that shows how capable we are of creating in our heads and keeping it long and selfish.
Selfishness in this case is good because we have to rely on some details from the past so we can go further and find Lena. Stage 21 is called “Mum’s Voice”. It can mean that we go back to the past because we miss our parents.
Father and mother are all the most important people in our lives. They are the ones who gave us the gift. And that gift is life and the ability to do something extraordinary. We will not pretend that it is a small thing, considering that the mother is the main person in today’s stage.
Level 21 is just another level that we want to analyze and solve. We wish you good luck and we hope that you are motivated because today we are dealing with important people. It’s a mother. Fredrick’s mom. Let us begin.
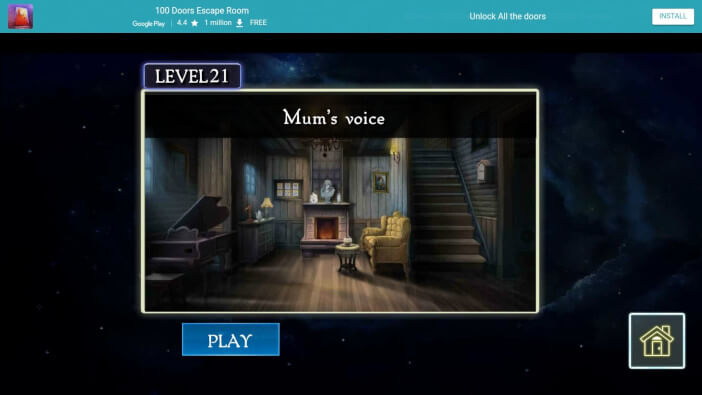
Stage 21 begins with Lena’s voice being heard. She was kidnapped and is heard calling for help. She’s probably in the house, but we need to find a way to free her. We have two doors that unlock in a very easy way but there is a long way to go.
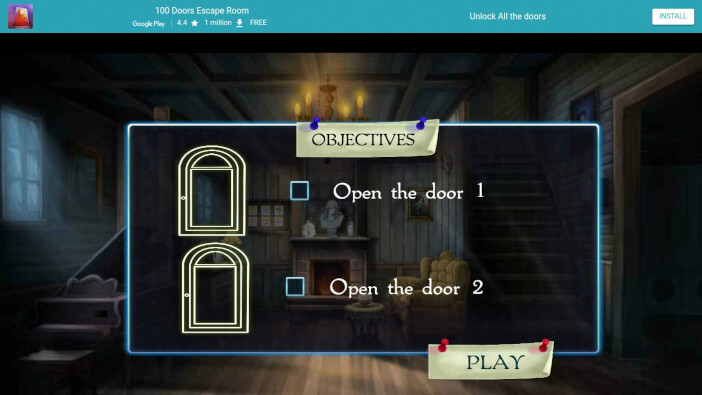
Let’s start our search because Lena will not free herself. The lens has two parts. Part 1 is to open door 1. Part 2 is to open door 2. Good luck!
We are in the same room as at the beginning of stage 20. This time we will not look for the same things. We need to pay attention to some other things.
The first thing we pay attention to is the piano. The piano is located in the left corner of the screen and the left part of the room. The CONCORDIA piano has some secrets of its own. We’ll talk about that later. We go upstairs, up the stairs, and upstairs.
This time we are not going to the right room but we can take advantage of going upstairs. We have two doors upstairs that we have to unlock, but there is a mess that has not been seen in recent times. Next to the right door is a small drawer that has its contents.
We can detect the contents of the drawer by clicking on the drawer. The drawer opens and there is tape inside. Save this item. And now goes that old move.
Still going to the room on the ground floor. A room where we played with toys. The room is shown in the picture below.
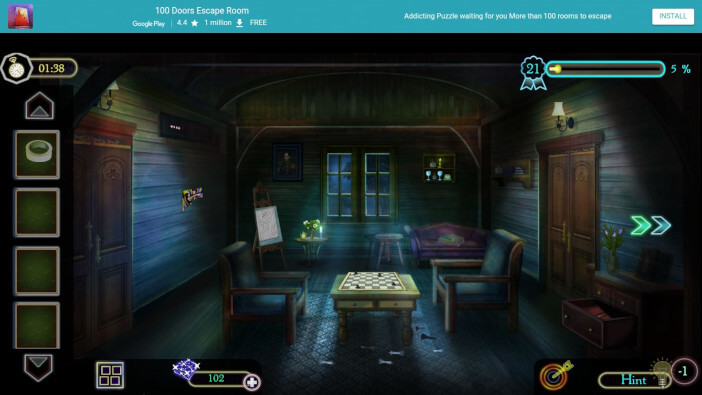
We’re going back downstairs. The place where it all started. Let’s start from the beginning. Now we go to the room which is located in the eastern part of the house.
This means that we will click on the right part of the room on the ground floor and go to the right room. The place where we were in level 20.
This time we are concentrating on other things. Things that are important for level 21. In the central part of the room, there is a closet consisting of three doors.
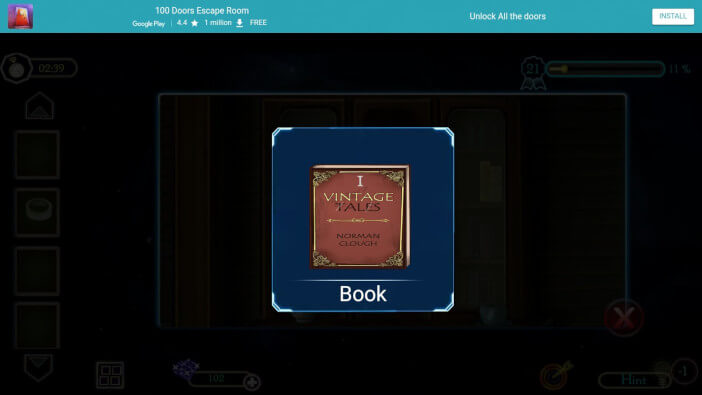
The middle door is the most important item for us. Open the door with one click and see the contents. This is the book I Vintage Tales by Norman Clough. Take this item. Right next to the closet, on the right, is a small shelf on the wall.
There is a can with interesting content. It is a series of paintbrushes. Take a blue brush. Before we move on, take a look at the book we have appropriated.
Put this book in close-up and you will see that the inscription “1 Vintage Tales” is written on the cover. But, interestingly, the letter T and the letter E are crossed out in red. Just remember these details.
Now comes the moment of your genius. We must be wise and shrewd people. Remember the letters T and E from the book. Now let’s go back to the first room. The room where it all started.
There is a picture on the wall. Next to the fireplace, on the right side, on the wall, there is a picture that is nailed with nails. Click on the image to access the content of the image and to better view and analyze this image.
The picture shows one female person and the number 2 is written. In addition to these details, you can see that the word VINTAGE is written. The only difference is that the letter N and the letter A are crossed out with a yellow line.
Remember these two letters because our letters are T E N A in chronological order. The word TENA is a word that we will enter in the place where the code is required. When they went upstairs, they would come to the stairs.
At the very beginning of the stairs, at the foot, there is a wooden partition that must be unlocked. This partition requires a 4-character code. These 4 characters are exactly our letters T E N A. You can enter these letters and unlock the small door.
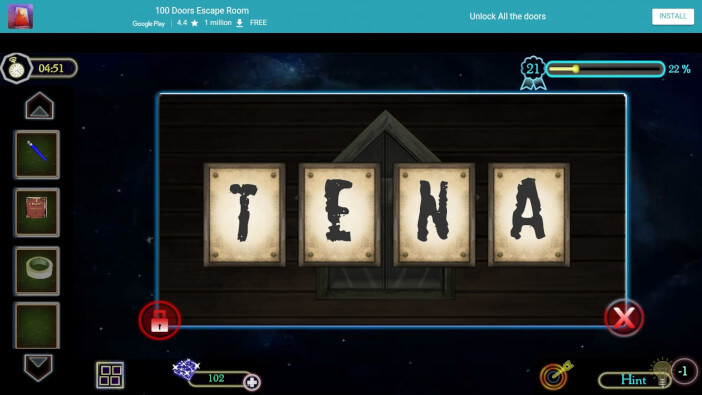
The door opens and the key is the only item we will take. We go upstairs again. The stairs lead us to the room with the most details. There is one door in the left part of the room. The door is the first part of our objective in level 21.
Use the key to unlock this door and you will solve the first part of the objective. Click on the aisle and enter the room. It is a room that belonged to a child, considering that children’s things were scattered around the room.
On the left side of the bed, on the bedside table, there is one item that most children use to develop their artistic abilities. It’s a paintbox. Save this item. There is a book under the lower part of the bed.
A very large book that we will preserve. Close up the book and click on the book to open this item. Here you can see other content. The book contains 4 pieces of paper arranged in a chaotic order. Save each item.
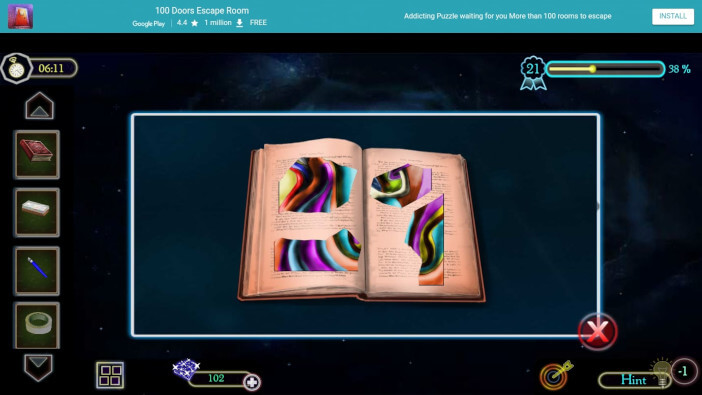
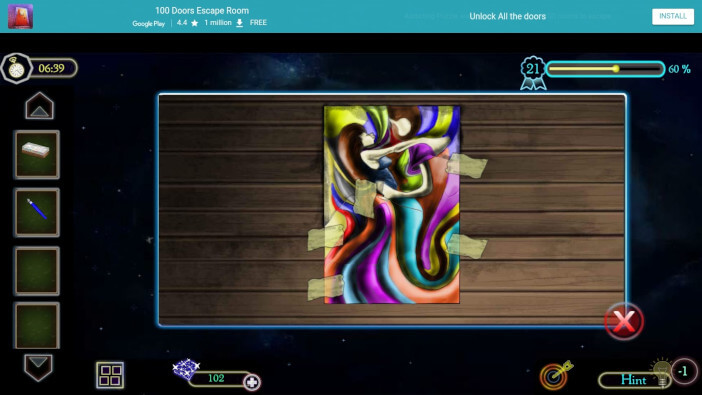
Let’s go back to the previous room, which is considered a hall. There is a picture behind the open door. An image that lacks parts. The picture is hung behind a previously opened door, but the picture is not in its entirety.
Apply these parts of the picture and connect them with the tape we found earlier. Based on some of the artistic abilities that we possess, we go to the easel. Here we can prove ourselves as artists. Exceptional artists have their style and we will prove it.
Based on the picture we were able to put together, use a paint box and place it next to the painting canvas. Then take a brush and let your imagination run wild.
Click on specific colors. Try all the colors and you will be able to apply all the colors you need. These colors create a copy of the image we composed. After that, we will get only some signs that are different.
You will get 4 different characters that we must remember because they are important for the continuation of our adventure in level 21.
We stay in the same place. On the same wall, near the ceiling, there is a secret barrier that is protected by a code. We are used to the game from time to time offering us a chance to think a little and we will accept with both hands.
It is in this secret barrier that we will enter these signs, but in the direction from left to right. Enter these characters and unlock this secret barrier. A new box is hiding behind this door. Save this item. The box opens with a simple click and you can view the contents of the box. You will see chess pieces.
Chess pieces are identical. Four pawns. Black colors are figures and save them. Chess pieces. In the middle of the room is a chessboard. The chessboard is placed so that you have all the possible conditions to place the rest of the pieces on the board. Try it, play. Be imaginative.
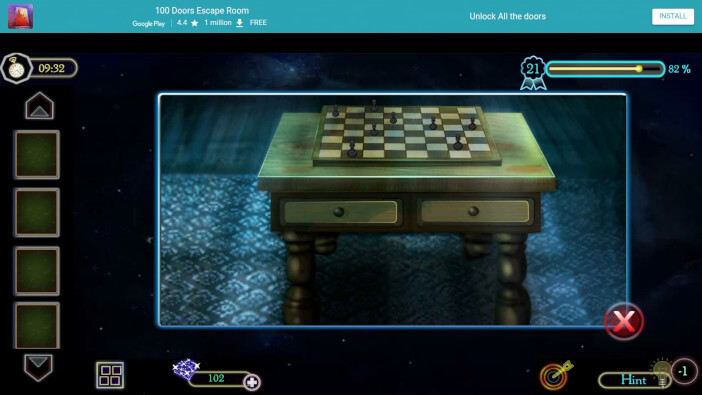
When all the chess pieces are in place, the camera is rearranged to a corner where a drawer is revealed that guarantees us a certain reward for our work. The left drawer is opened with a click and we take the paper that is hidden there.
We place the paper in a large frame. Click on the paper and we develop the paper on its entire surface to see the content. The content is clear. These are the musical notes that allow us to continue.
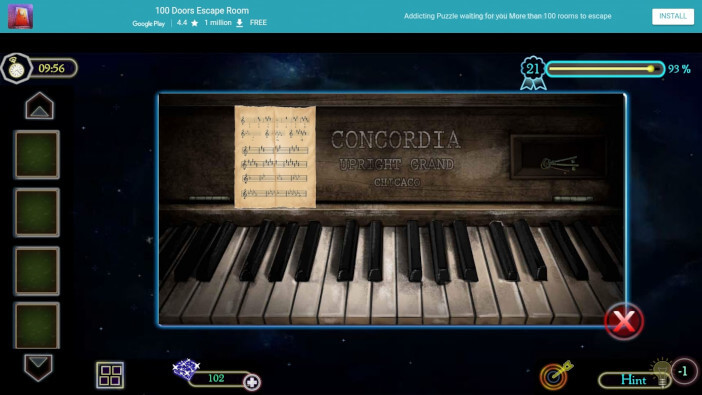
We return to the ground floor, to the room where it all began. Where level 21 started. The CONCORDIA piano is the last stop in level 21. Place the paper with the musical notes on the piano. Then access the keys on the piano.
You will have a pink mark on the piano that you have to click. You will have a few races to click but that will not be a problem. After carefully touching the piano keys, the secret piano compartment opens. That’s it.
The Holy Grail in level 21 has been revealed. It is the key that allows us to unlock the door. Which door, you ask? We will explain. Climb upstairs. Upstairs, in the hallway, on the right, there is a door that is locked.
Insert the newly won key into the lock and unlock the door. This will complete the second part of the objective and thus complete level 21.
Level 21 is complete. We have finally reached the end of this level. A strenuous level and a lot of things that gave us headaches. We managed to do a lot and we did not have an impossible task.
We had each other and that helped Fredrick move on. The search for Lena is ongoing and we must be aggressive in that endeavor. Follow our walkthrough and find out what awaits us in the next levels. Have a nice day. Thank you for reading.
Level 22
Hello and welcome to our walkthrough for the game Escape Room Adventure – Dream Life Mystery 2021. This is stage 22. In the previous stage, our task was to find the two keys. Two keys that unlocked two doors.
The problem was when we had to turn on our sixth sense and try to figure out how we could use both keys. Many things need to be done and many enigmas need to be solved so that the right solution and the final solution can be established.
Stage 21 was called “Mom’s Voice” and that was enough for us. Stage 21 ended with us playing the piano and thus using the melody that Fredrick’s mom used to sing. The key we received as a reward unlocked the door for us and so we were able to move on to the next room.
Level 22 is called “Jammed in a dream”. The name is a bit chaotic, but our analysis of this level can remove all doubts. Good luck! Don’t give up! Let us begin.
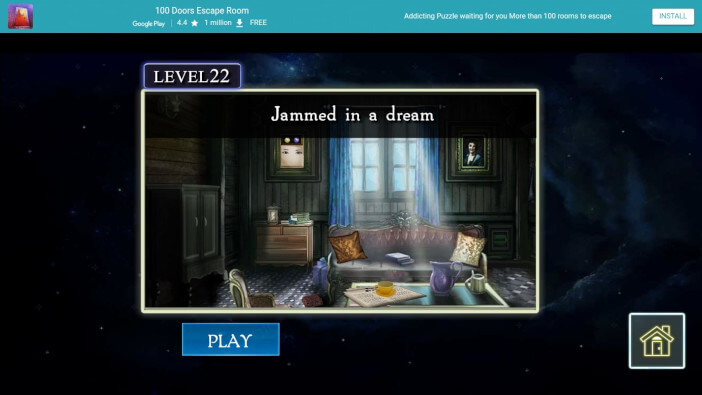
Level 22 can begin. New room, new story. Fredrick remembers his childhood. He spent his childhood days with his mother here. But his childhood was not perfect. His father and mother quarreled during his childhood.
He did not have a quiet period during his childhood. Children remember such days and that period is the worst thing that can happen to a child. After a while, Fredrick lost his mother. As his best friend, his mother left his life.
He lived a sad childhood with his father. But at some point, the mother’s lack was felt. He had no one by his side and that is the saddest part. No one was beside him to support him. Back to reality, the moment Fred heard her voice.
His mother’s voice spread through his ears. He can hear her but he can’t see her at the moment. He asked his mother to approach him, but his mother’s voice left him the moment Lena left him.
The shot is shown when the captured Lena closes the door in front of her, it can be seen that she was kidnapped and that she is not allowed to talk because she would have been killed. Fredrick asks if anyone is there and if there is a possibility of this door opening. Villain says no one can catch him and Lena asks Fredrick’s help.
It is advised that Fred does not follow the villain because Lena will be killed. We are locked in a room and this monster still captured Lena. She is kidnapped and does not want to be killed and does not want to be kidnapped.
For Fredrick to get out of this locked room, he must find the key. The key is hidden somewhere in the room and we will help Fredrick get out and continue the search for his loved one. Lena can be saved, but we will have to wait for that moment.
We’re going into action. Right at the beginning, you can see that there are a lot of items that we need and that we don’t need. We will start with the items we need. We see all the armchairs. One on the left and the other on the right.
We’ll look at the armchair on the left. There is a knife in front of the armchair. A knife that is folded and disassembled by clicking on the knife. Let’s save this item. To the left of the room is a closet.
The closet is located right next to the wall. Click on the door and the door opens. Take the book that is placed on the chair. Place the book in close-up. This plan allows us to flip through the book. We will do this by clicking on the book several times. Don’t click a few times without pausing.
Pause by being able to register the letters that are displayed to us when we change pages. The letters we get are T L V M. Let’s remember these letters because they can be a code for some next step that is imposed on us.
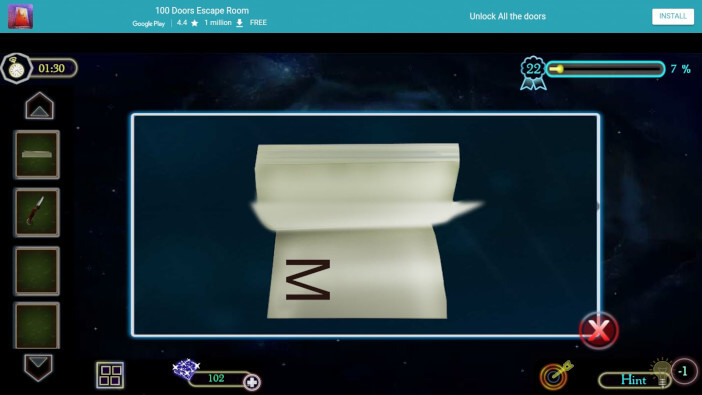
Next to the bed, on the left, is a bedside table. This item is known for occupying a very small part of the room and can be used for many things. The code that unlocks this drawer is clear. Enter T L V M and you will unlock the drawer.
As a reward for good thinking, you get two stamps as a gift. It may seem to you that this is not something of quality, but we assure you that this is an important part of this stage. In addition to the two stamps, take the ink pad. Stamps never go by themselves. On the bed, there is a pillow made of the finest materials.
The pillow is on the left side of the bed. Click on the pillow move the pillow and appropriate this pillow. Place the pillow in a close-up frame and using the knife we found, cut the middle of the pillow and take the stone. In the middle of the room, there is one table that is usually set in the living room.
This is the same case. Click on the coffee salt and click on the newspaper. You move the newspaper and the coffee salt. You will see that the letter is placed on top of the table. Take this letter and save it. While we are at the table in the living room, take the stamp located on the right side of the table, on the floor.
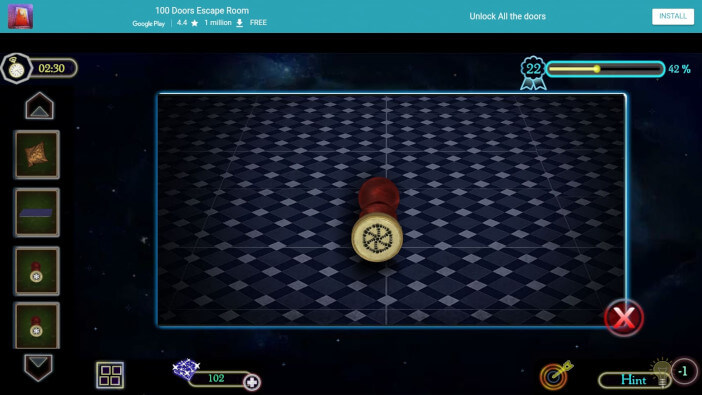
In the right part of the room, there is a large shelf. The shelf is nailed to the wall and thus maintains its stability. To avoid some unforeseen problems, we will take everything that is offered to us from the shelf.
Take the jug. Water is not poured into the jug because we do not need water. But that’s why you see what’s hiding in the jug. There’s another stamp. Now we have everything we need. Place the letter in close-up.
Then place the inkpad next to the letter and click on the inkpad. You move the lid. Now it’s time to use the seal. Use all four stamps at your disposal as each stamp leaves a different mark. The resulting seal combination is used for a subsequent move.
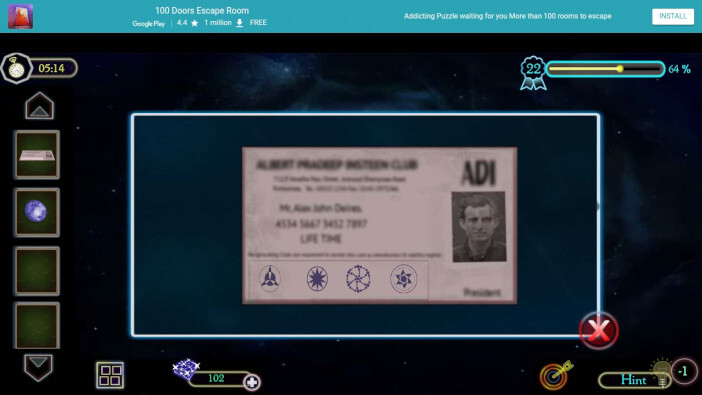
Next to the shelf on the right, you will see a drawer. The drawer is similar to the previous drawer. A combination of characters must be entered to unlock the drawer. Characters with a letter are used as a code.
Enter in the same order and open the drawer. Inside is another reward for hard work. The drawer opens and there is another book. Take the book and open the middle. There is another stone hidden there. The stone we need.
It is hidden in a cavity made by someone. We will use both stones we own immediately. On the left side of the bed, hanging on the wall, there is a picture. A picture that explains a lot to us. It is a picture of the eyes and above the picture, there are two slots that we have to fill. Put stones in the slots and tears will flow down your cheeks.
Tears are different colors and these tears that come out of the eyes in the picture are the most magical thing that can be noticed. Looking from left to right, the colors of tears are: blue, red, green, and yellow. Remember these colors and their order.
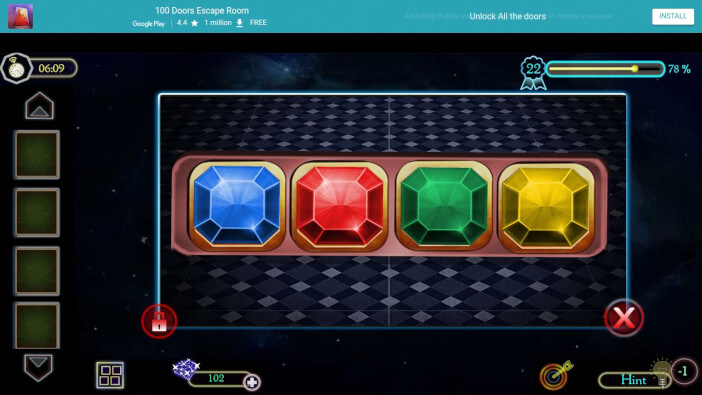
Look at the bed. In the lower-left corner of the bed, on the floor, is the foot of the bed. Next to the leg is a box that requires a code. The code is the color setting we just discovered. Enter the order of colors, from left to right: blue, red, green, yellow.
This will unlock the box. The box opens and takes the neck chain on which the name MELISSA is formed. Melissa is one name that means a lot to Fredrick. In the right corner of the room, next to the bed, below the picture, there is a safe.
A safe that is locked with a very demanding code. The code has been revealed to some extent, but we certainly do not have a dilemma about accuracy. MELISSA is the word that opens the door to our safe.
Insert the MELISSA relay into the safe door and unlock it. The ax is hiding inside. Take the ax. Here’s Johnny! In the style of Jack Nicholson, break down the door and hit the lens at level 22.
Level 22 is solved. We found a way out of the room. We need to find Fredrick’s Lena. She’s here somewhere, not far. We found her at this stage, so she was taken away. We’ll find her again. It just takes patience. Follow our walkthrough and find out what awaits us in the next stage. Have a nice day. Thank you for reading.
Level 23
Hello and welcome to our walkthrough for the game Escape Room Adventure – Dream Life Mystery 2021. This is stage 23. In the previous stage, we were trapped in one room. The villain was at hand but he escaped us along with Lena.
He locked us in and we concluded that we had to find a way out. We didn’t have the key because it was at the villain but that’s why we had the ax. The ax was the only alternative key that led us outside.
The level was demanding in its way and this game offers us new surprises and new challenges every time. We will do our best to be active at every level and not to lose concentration because we have to find Lena.
We played a lot of games and the best thing is that we overdid it all and solved it successfully. Level 23 has a very artistic name, it’s called “Lena, a water nymph”. Do we need to ask ourselves why it is so-called?
We can, but it’s best to investigate it ourselves. We are embarking on new adventures. We wish you good luck. Let us begin.
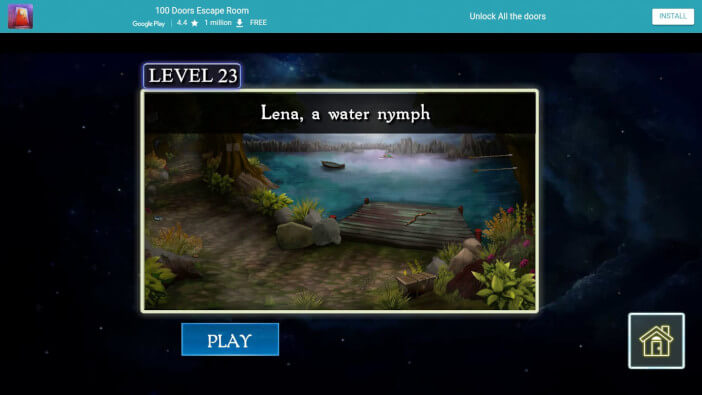
Level 23 begins with Fredrick standing on the lake. He looks into the distance and finds that Lena is there and floating on the lake. Do we know what this is about?
It can’t all be literal. He says this is their regular vacation spot. He must save Lena and not know how he got to this point. Memories are so strong that we do not know what reality is and what memory is.
We live in the moment and wonder if all this is true. Or it’s all in Fredrick’s head. But just because it’s in Fredrick’s head doesn’t mean it’s not true. All things can be true and hopefully, these memories are not made up. We must be responsible and we must do our best.
Level 23 is located next to the lake. The lake is such that it shows a beautiful view. An evening that can be quite romantic. At first glance, this is a place that attracts you to invite your loved one to attend. But this lake hides its secrets. Off we go.
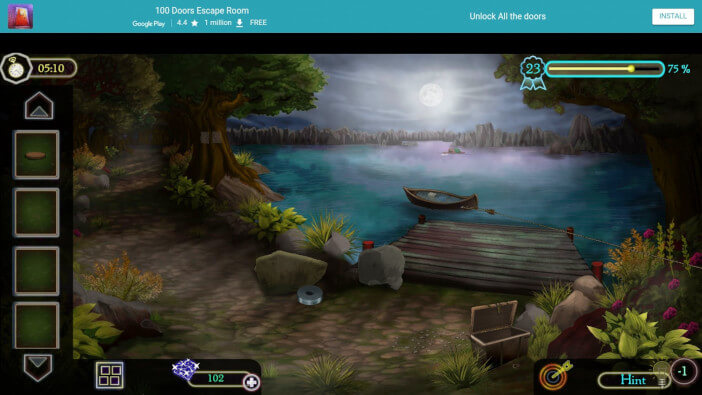
The path that leads to the lake stretches into the distance. We’ll stay on track. Look at the trail. You will see one item. It’s a magnet. The magnet is formed so that it is cylindrical. Save this item. Next to the magnet, on the left, is a bush. Inside is wood. Take wood as well because it is hidden behind a pile of leaves.
You move the leaves by clicking on the leaves and taking the wood. And now comes a very important item. Take the magnet and with the help of the magnet, you have to take the key. The key is located in the cavity of the stone. The stones are shown in the picture.
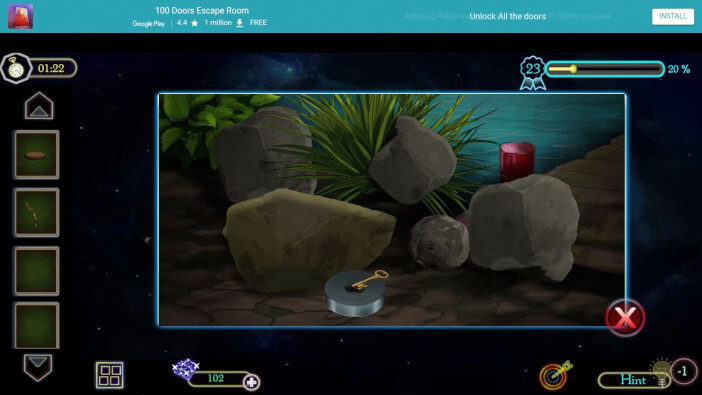
Move the stones with a click and you will see a cavity in one stone. That’s where the key lies. And with the help of a magnet, we will take the key and save this item. The key has been saved and we will take that key and use it immediately.
One box is visible in the lower right corner of the screen. That box is locked with a padlock. And that padlock is unlocked with the key we saved. Open the box and the lid moves. There is a robbery in the box.
Everything is connected and everything is there for a reason. Let’s save the rope because we need it to continue. There is one wooden object on the wooden driveway to the lake. It’s a bow. Save this item because it is very important. To the right of this wooden driveway is another important item.
Where there is a bow, there is an arrow. This time, two arrows are driven into a tree trunk. Right in the right part of the screen are these two items. Take both arrows and save them.
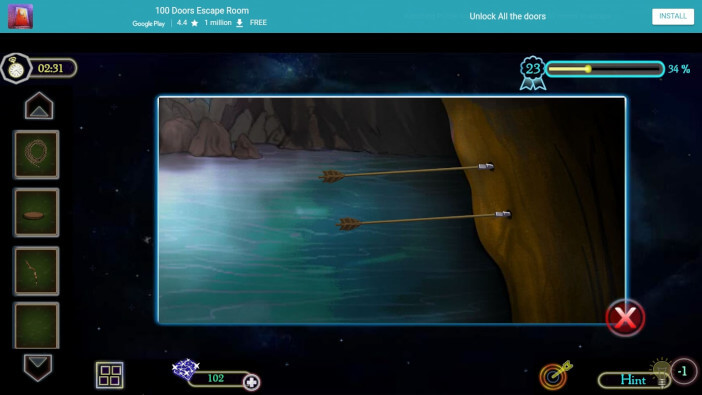
Now comes the assembly of one of the most fascinating weapons ever. Weapons that were used even thousands of years ago. A bow and arrow are now being formed. Place the bowl in a close-up. Then take the rope and tighten the rope over the bow.
After that, place the bow at the beginning of the path where the wooden driveway ends. Place the bow vertically so you can insert the arrow. Insert the first arrow and use it to hit the tree canopy. An arrow will hit a woman’s bag that will fall from the canopy.
It will fall on the track so you can come over and pick up this bag. Go back to the bow and save it. Place the bag in a large frame. Click on the bag and take the knife that is hidden in the bag. Save this sharp and very dangerous object.
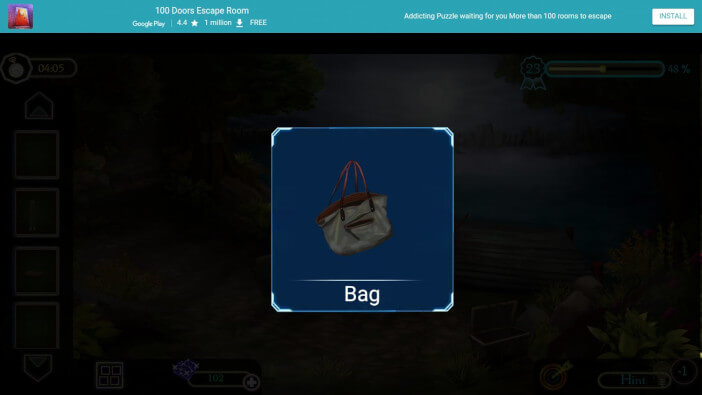
Place the knife in a large frame. That knife opens by clicking on the knife and the knife opens. Save the knife in the newly created edition. Use this knife now. Place the bowl in a close-up. Cut off the excess rope with a knife.
Then connect this rope with an arrow. And save the newly created weapon. And save the rest of the bow. Now go to the edge of the wooden driveway. Go to the edge of the lake. Position the bow so that it is facing the lake.
Place the arrow in the bow and adjust the sight. Aim the boat at the lake. Aim well and click on the bow and arrow. Arrow will hit the boat and you will be able to attract the boat to you. There is a wooden box in the boat.
In addition to a wooden box, take a piece of clothing. The boat is full of water, but we are not interested in that for now. Place a piece of clothing in a close-up. Click on the piece of clothing and you will place the clothes so that the signs that are drawn on the clothes are visible.
Remember the signs because these signs are the code to unlock the wooden box. The box opens by setting the characters in a specific order. And what is the order? We will explain. First look at the tree trunk on the left side of the wooden driveway.
A schematic representation of the rivets and the order in which they are placed is placed on the tree. It is not a problem to enter the characters, we will show you with the help of the picture.
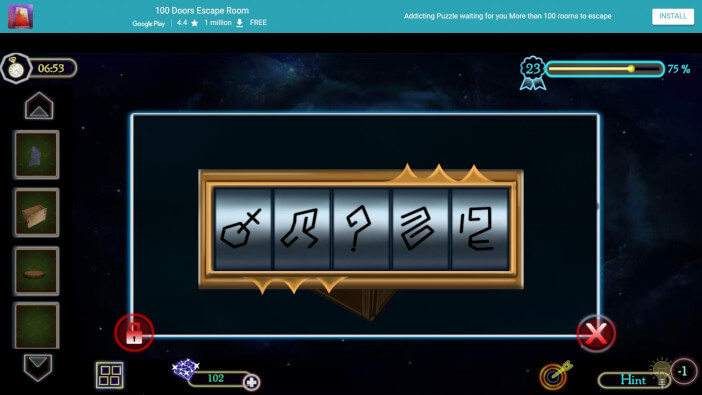
Enter the characters in the box and open the box. There are some things inside that we need. It’s a hammer. Very interesting. Save the hammer and let’s move on. Let’s go back to the tree where the character entry schemes are set up.
The right paper is nailed to the tree with nails. That’s what we’re going to do next. We’ll use a nail to get the nail out. Take four nails and save them.
We need them for the next step. Place a piece of wood that we have saved in a boat that has a hole in its middle. Insert wooden cover.
Then click on the hammer so you can bring the item to the boat. Then click on each nail so you can nail them to the boat. This will close the hole in the boat and then you can allow Fredrick to fit in the boat. You can go further.
That “further” means that Fredrick tries to save Lena, who is located in the middle of the lake, unconscious. Lena was rescued by Fredrick. Fredrick tries to wake her up but she doesn’t respond. Something terrible has happened and we need to find out.
Level 23 is over but at what cost. The pyrrhic victory was achieved because Lena is not conscious. We need to find out what’s going on and we need to find out right away. How will we find out? By helping us to the next level.
Level 24 is located in our walkthrough. Follow our walkthrough. Find out what awaits us in the adventures with Lena and Fredrick. Have a nice day. Thank you for reading.
Level 24
Hello and welcome to our walkthrough for the game Escape Room Adventure – Dream Life Mystery 2021. This is stage 24. In the previous stage, we were on the lake. The lake is beautiful and we have been there several times.
But the lake is not beautiful as the previous level. Namely, Lena was unconscious and trapped in the middle of the lake. She didn’t drown but she was very close to the flood. The lake does not forgive, water must be respected.
He is a bad master but a good servant. We tried everything in our power so that Fredrick could go by boat across the lake and save Lena. We succeeded in the effort, but she is still unconscious. It doesn’t matter when the love of your life is not with you for no reason. It’s even harder when you see that she was kidnapped.
You don’t have anything the kidnapper needs and again that’s where the problem arose. Level 24 is called “Lake House”. No, this is not a movie with Keanu Reeves and Sandra Bullock.
This is new torture for Fredrick and we have to help him. We wish you good luck. Do not forget. We are here for you. Let us begin.
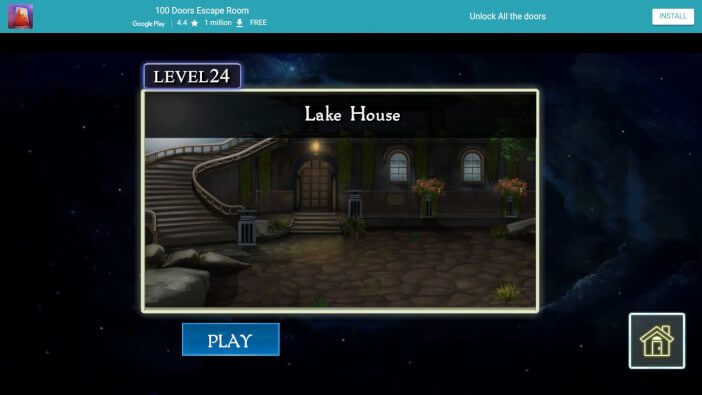
Level 24 begins with Fredrick having his address to all of us. He declares that he has to take Lena inside because she is already frozen to death. For that, he has to unlock the door. This time we are in front of a lake house.
This means that we are outside during the night, we have no heating, Lena is unconscious and if we do not bring her inside, she may freeze. We don’t want to do that.
Therefore, Fredrick has a few minutes to develop all his psychic abilities so that he can enter the house. We will help him and we will not waste time on the story. We’re leaving now. Good luck!
We look straight into the lake house. There is a slightly larger rock on the left side of the path. A rock that hides certain secrets. There is a coin on the rock. The coin is golden in color and we must preserve it.
A very important item for the next period. We will use that same coin. We will use this moment now. Next to the stairs leading upstairs from the house, you will see that a bust of an angel is placed next to the beginning of the stairs. Angels are the guardians and here they guard this lake house.
A gap can be seen in the central part of the bust. It is a slot for inserting this coin. Insert a coin. The angel will spread his wings and you will see that the angel is staring at one eye. His right hand is placed next to his body and circles with dots inside can be seen there.
These circles may be eyes with differently directed pupils but be sure to remember this detail for later. A screwdriver can be seen on the floor in front of us. This screwdriver is an essential item that we will preserve.
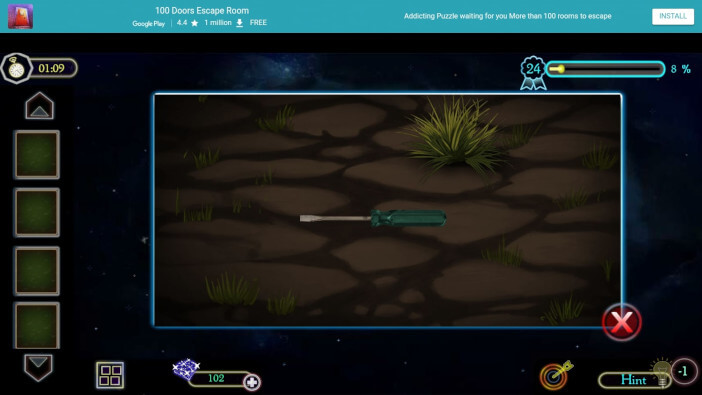
North of the place where we found the screwdriver, there is wood. A chamber that attracts us and that we must also preserve. Because in previous levels we had the opportunity to work with wood and they proved to be a very important factor in maintaining concentration and overcoming obstacles.
Therefore, we will keep this wood as well. Move on. Under another window in the house, you can see a secret partition. A secret barrier protected by a code. We now have to be careful because this code is very important for us to unlock.
We have memorized the figure from that part when we discovered the bust of the little angel. There we saw the code on the right hand. That’s how we’ll unlock this secret barrier. Enter the code. Looking geographically this time, the first eye must be directed to the northwest.
The other eye must be facing west. The third eye should be facing south or southwest. And the fourth eye must be directed to the north or northeast. We have shown you the picture so you can see what the exact combination is.
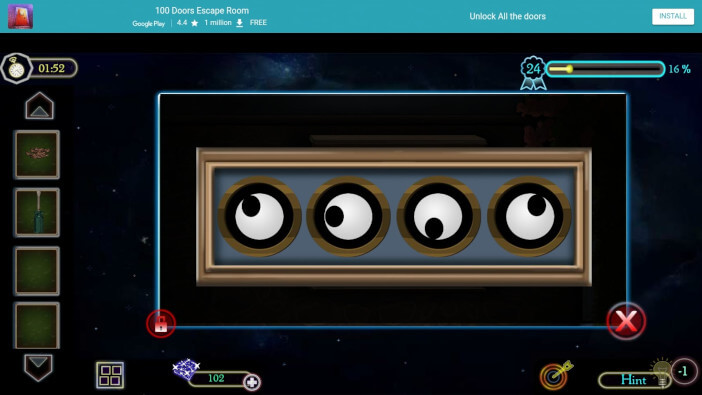
The door opens. Take the cutter. It is the only tool we need for now. Next to the third window or between the second and third window, a little closer to the third. On the left side of the third window, there is a metal plate that is screwed to the wall.
It is closed with four screws that must be removed. We will do this by using a screwdriver. That way we will remove this metal plate.
There are buttons inside. It doesn’t matter what we use these buttons for, but we will keep them because we need them. We will explain later. We go back to the beginning.
A place where there is a big rock. Next to the rock is a box. Box made of wood and locked with a chain. We don’t need a code here because there is no need to bother so much. Sometimes we have to do a simple thing.
Now we will take the cutter and cut the metal chain. That way we’ll take off the shackles and open the box. And in the box is a ball. We’ll save the ball.
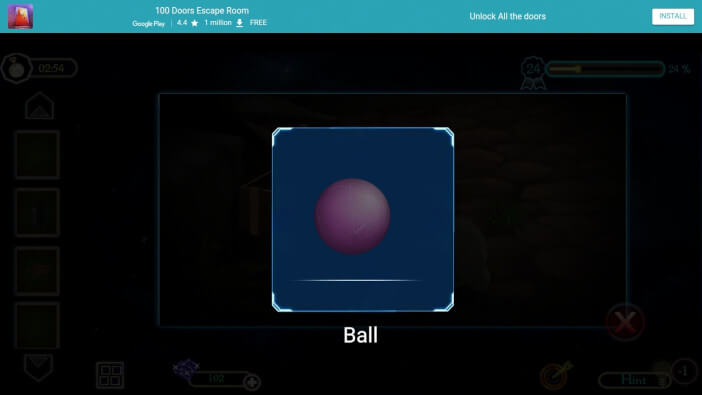
Below the first window, you can see four slots. There are gaps that we have to fill. Now go those buttons. Insert all four buttons into the slot and they will line up on their own.
And immediately after that, place the ball on the pedestal, on the left side of the first window. The ball is heavy enough that you can immediately click on the button below the pedestal so that you can access a detailed analysis of the ball.
The ball will have the characters drawn on it. These characters are important because we have to set this combination to the buttons we have installed. Let’s go back to the buttons and adjust them as the characters on the ball are drawn. As a reward, we get an elephant toy.
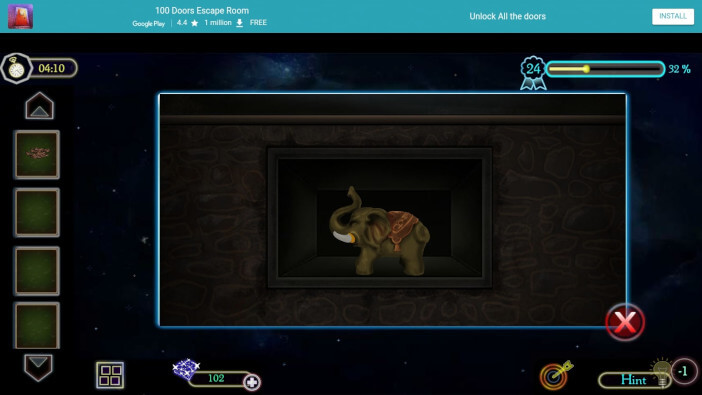
There is the main door. That door will serve us to enter the lake house. You can see one gap on the left. That void requires that something be set up to get something else.
To be clear. Insert the elephant toy into this gap and you will see the result.
It automatically redirects you to one enigma we need to solve. At first glance, this enigma is unsolvable. But that doesn’t matter because it is very solvable. There is a schematic view between the first and second windows.
Here you can see that several groups of points are connected in a certain way. We concluded that it was related to the main door. The way we have determined so far is simple and we will share the solution with you.
By tracking arrows and groups of points, you determine the number. The points are clear, the combination is 2 – 3 – 4 – 1 – 6 – 4. Enter these numbers by clicking. In this way, one objective is achieved at this level. Unlock the door is done.

You enter the first room inside the house. It’s a room. It can be said to be a bedroom but we are not sure yet. You have a bed on the left, and a fireplace on the right.
Two armchairs, a small closet, and a door that leads us further. Where are they taking us? We don’t know yet because we’ll find out.
To the right of the room are armchairs. Armchairs for back and sitting. The left armchair, the armchair that is farther from us, has a pillow. Take this pillow and save it. There is a red blanket on the bed.
That cover is poorly fitted. We will help Fredrick by making one click to make the bed. We will unpack it by tightening the red cover and placing the pillow we just saved. That means we can let Lena lie on that bed.
Lena has survived a lot of trauma and we have to be careful. While Lena is lying unconscious, we have to watch out for her. The light that illuminates the bed gives us a clear picture of Lena’s condition. It also means that we have a clear picture of where Lena is at all times.
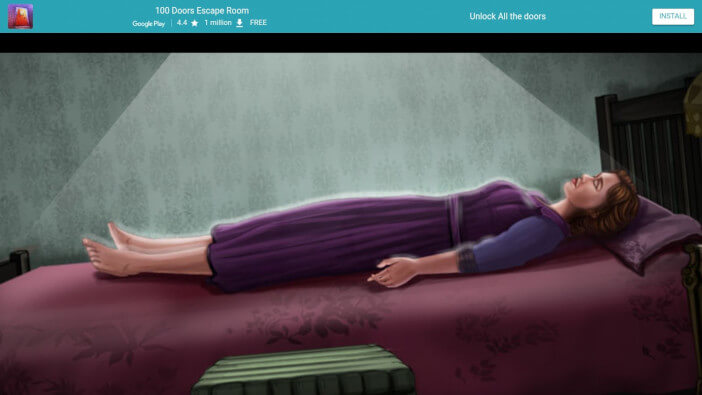
In the middle of the room, the floor is lighter. This creates a flame. Save this item. We believe that this is an important part, considering that Lena is close to freezing, and that is not our goal. Above the fireplace is a blue pitcher.
Click on the jar and inside the jar, there is another item. It’s a button. This is the button that serves us in one of the next steps. Save the button. Once we’re by the fireplace, let’s do the right thing.
When it comes to the right things, it’s never too late. It is always the right time to do the right thing. Put wood in the fireplace and use the lighter. Light a fire so you can warm Lena. The room is heated and Lena’s recovery can begin.
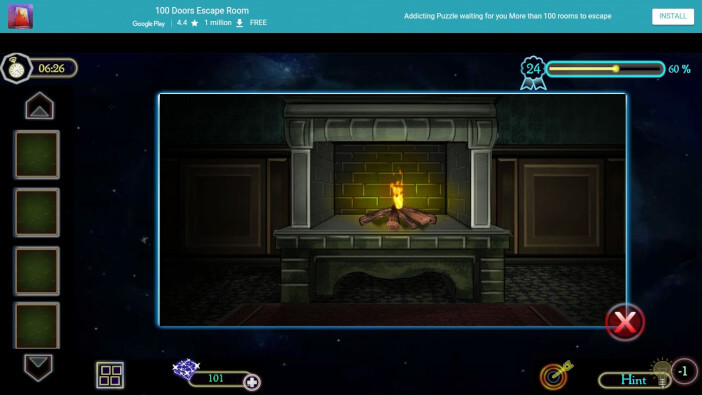
Now let’s move on to the next move. That move is unique. As we mentioned at the beginning of the description of this room, a small closet is located on the right side of the door.
These are important locations because they serve us to find some clues to make solving enigmas much easier. Insert the button into the empty slot and start the game. The goal of this game is to move the boundaries of logic by moving the buttons. The goal is to have each button in its slot. We will show you how to do it. It is not your goal to be confused because we have managed to help you many times.
This time we will use our human care and help you in the next game. The picture we have attached shows what the final shape of this board should look like.
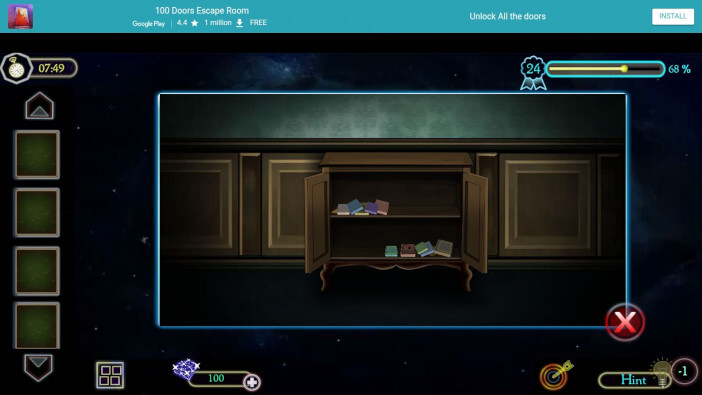
The door opens. Inside are books and a letter in a yellow envelope. Save the letter because we need it. Namely, the bottom shelf has several books.
We will click to move these books to the left. We will find that there is a handle. Take this item and save it. Install the handle in a small hanging shelf door. The shelf is placed above a small closet. Insert the handle and take open the door.
Cloth is behind the door. Save this item because it is also very important to us. Now comes the unfolding. Place the yellow letter in the close-up. Click on the yellow letter and you will open it. There is a piece of paper inside.
Paper drawn with many combinations. The presentation of this paper is very important because this is a clue paper. Save it because it unlocks our door. You’ll see which way. It’s a surprise. Place the cloth in close-up.
Click on the cloth and develop the cloth in length and spread. Place the cloth on the edge of the fireplace so that the fire leaves a mark. The clue is important because it shows us a schematic. Save this schematic. Lots of storage, right?
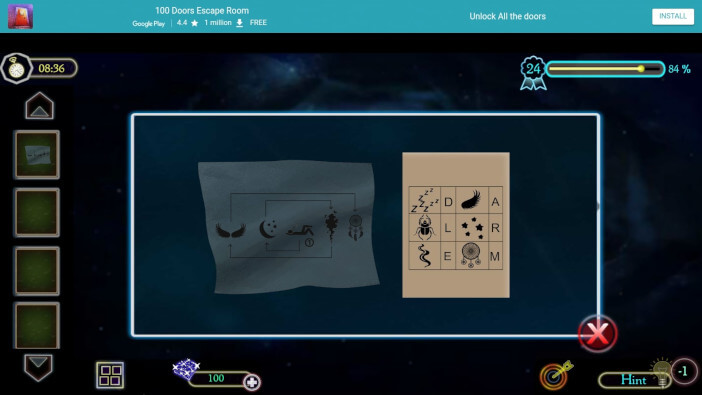
Place both the clue paper and the piece of cloth in a large frame. That way you will be able to compare these two items. Based on the scheme and paper, see the order. That order is important because it gives you the word DREAM.
This word is the code we remember. The DREAM code is entered in the drawer next to the bed. The bedside table is just another location where the code is entered. Enter the word DREAM and open the drawer.
The drawer gives you the key as a reward. Use the key and open the door. Objective 2 completed. Opened the door aperture.
That would be about Level 24. Lake House level has been resolved and we have managed to do everything in our power. Lena is placed to rest and we move on. What will we have to do next?
Find out by following our walkthrough and have all the detailed information related to this game. Dream Life provides us with all the adventures that adventurers can wish for. Have a nice day. Thank you for reading.
Level 25
Hello and welcome to our walkthrough for the game Escape Room Adventure – Dream Life Mystery 2021. This is stage 25. In the previous stage, Fredrick had to be a very productive person. It was not a problem when he came to the lake house.
The problem arose when he had to be very quick in opening the door leading to the house. Lena was close to freezing and there was no place to rest. The house is very large and the process of entering the house is very complicated.
At that time, when we had to be very fast, the game gave us a lot of enigmas and a lot of problems. Speed was key and it was our pleasure and obligation to be of use. Finally, Lena was rescued and put to bed. That bed was supposed to be arranged so that it would be functional.
The fire is lit and the heat spreads. We left Lena to rest there in the house and we have to move on. Fredrick has a lot of responsibilities and that is a new challenge now. Let’s continue our adventure. We wish you good luck and success. Let us begin.
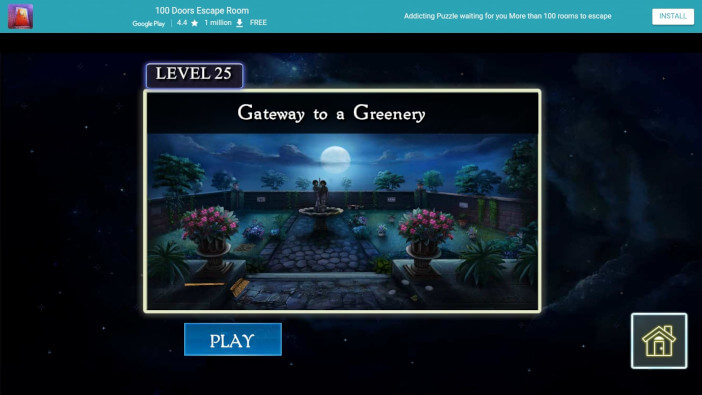
The night is going to be an unforgettable and everlasting one. Fredrick said this so it can be taken seriously and it can also be taken sarcastically. We have all the goals that form one big goal for us.
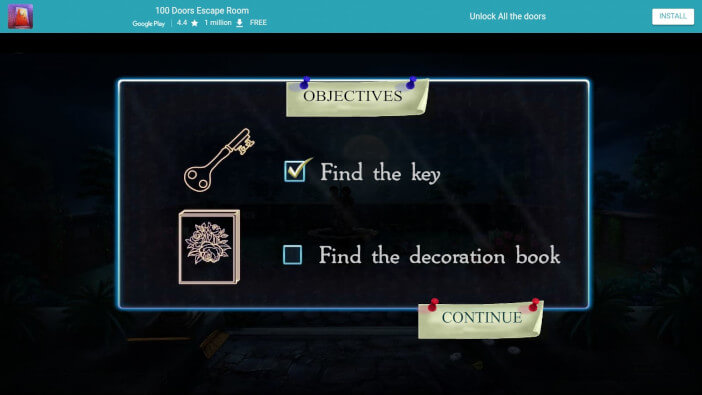
One task is to find the key. Another task is to find the decoration book. We have a lot to do to get to that point. Expect many challenges and many enigmas. These are the things that are an integral part of this story of ours.
Since this is a very high level of commitment, we will be there for you at all times. Let’s go help Fredrick in his endeavors. Good luck.

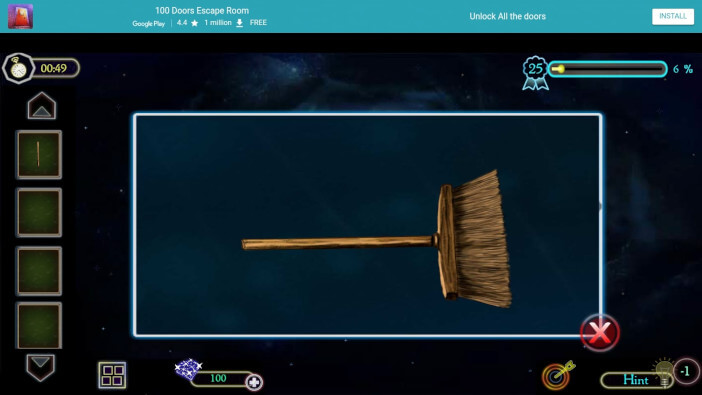
We are in the garden. The garden is set behind the lake house. The view is beautiful. The moon shines our way and we will do our best to make everything perfect. Right at the beginning of the garden, on the left side, there is a broomstick.
Take this item. The brush is the other part of the broom and let’s save this item as well. If we do the only right thing at the moment, we will do a lot. The correct thing is to place the broom brush on the broomstick.
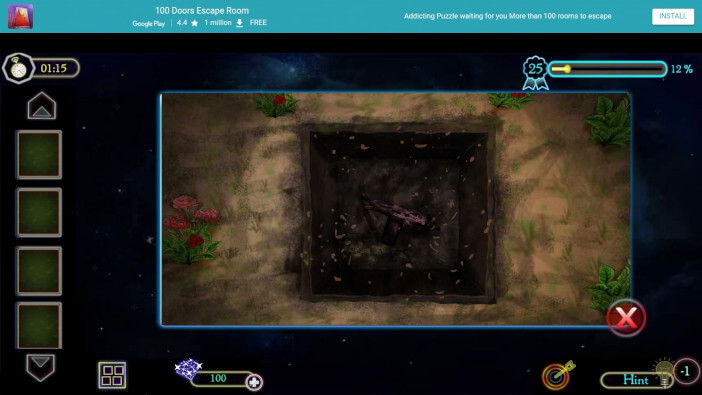
That way we will make a broom and this item will be ready to use. Broom is our item. Take a few steps, get off the hill and come to the garden. On the left side of the path leading to the fountain, you will see a sewer opening.
This is where the sewer passes. Use a broom and clean this part over the grill. The leaves occupy the largest part. Remove the leaves from the grid and move the grid. The broom handle is located under the grille. Save this item.
This garden is surrounded by walls. In this way, the specific integrity of the garden is maintained. We have three visible walls. Left wall, right wall, and central wall.
This is how we will orient ourselves in space. Based on the schematic on the left wall, we will know some further steps. On the central wall, just behind the fountain, there is a system of pipes.
This pipe system is designed so we only need a handle. Install the handle we found and run the water that way. Insert the handle and move the handle according to the scheme. But don’t move from left to right.
The pattern is read from right to left. Remember this detail. Make no mistake. Only then will the water start flowing through the pipes and you will be able to see the water droplets going down the tap.
Now back to the beginning of the trail. The trail starts from the hill where we are when we go to level 25. There are some items. Believe it or not, take the three buttons on the track. Take the leaf of our tree next to the buttons.
Unbelievable, but we need this leaf. The right part of the wall is where we will discover some new information related to the buttons. Use a leaf and wipe the board full of dust. This is what this big leaf is for.
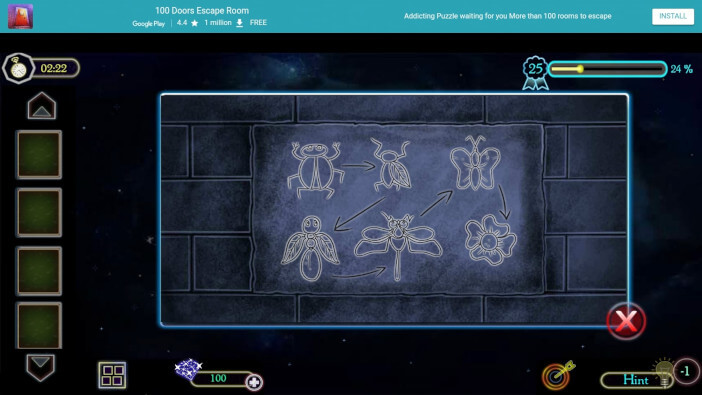
When the dust is removed, you will see a combination. The order and combination of insects that we will use are shown. Just remember where to look when the time comes.
Now we go to the left part of the central wall. There is one big sign in the shape of a star. There is one slot at the end of each star arm. That slot has its button. Each button has drawn one insect. We will insert the buttons we have in the remaining slots. In this way, we will complete the circle of insects.
Based on the right part of the wall and the schematic, you will be able to click on the button and solve this enigma. This order is beetle, fly, bee, mosquito, butterfly, a flower.
A secret barrier opens. Inside this compartment, you can take clue paper. The game so far has been full of clue papers. The sponge is another item we will take. A very important item. Place the clue paper in a large frame.
That is our normal reaction now. Click on the clue paper and you will see what content is printed. Each sign has its letter. And we need a word from these signs. Now just look at the fountain.
The fountain is located in the central part of the garden. At the foot of the fountain is a combination of four characters. These four characters can be found on paper. The paper shows us that the four characters from the base of the font are four characters that can be found on clue paper.
The word they form is the word D A N G. Enter this word in the board that requires four letters. The board is located in the right part of the central wall. Let’s put the word D A N G together. Try it.
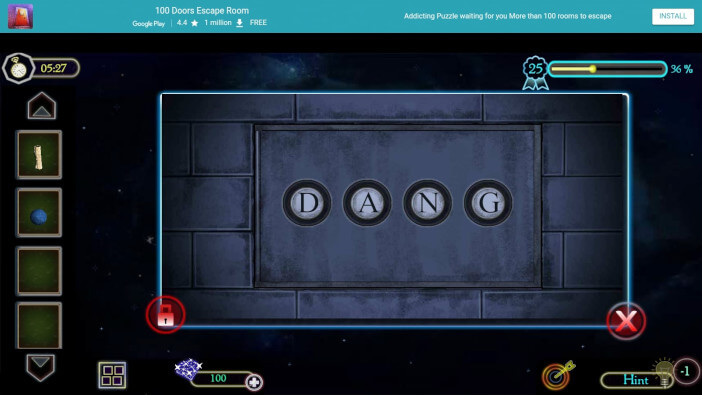
When we enter the word D A N G in this panel, this cover is automatically moved and we will see two buttons. These two buttons mean a lot to us. Click on both buttons and the mechanism will change.
The fountain in the central part of the garden is changing. Statues get an umbrella. And water flows from the umbrella. In that way, a complete fountain is formed and its functions will be active. Looking at the fountain is the next step.
You will see that in addition to water, there are three colors. Remember these colors. After this move, an arrow appears at the bottom of the screen. It’s a sign that we’ve done a lot of work. And we were given a chance to move on.
It is not the goal to solve the enigma immediately. So let’s go to the room we came from. This is the room where Lena was left to rest. The room is full of new undiscovered details. Let’s start from the beginning.
Lena is not here. She got out of bed and went on. He feels better, we hope the danger is over. Above the bed where Lena was lying, you can see the picture frame. The painting is painted in many colors. Use a sponge. Color-absorbing sponge.
Take off the dust and you will see that the picture is much clearer. Several characters can be seen in the pictures. Each sign is in a different color. Based on the colors from the fountain (yellow, purple, and white), remember the signs that have these same colors.
These characters are a three-character code. How and where do we enter these signs? Very easy. In the room where Lena slept, to the right of the exit door, there is a small shelf that is partially open.
We found in the previous level that there was one detail. Now let’s go for another detail. Enter these signs in the door and unlock them. We have shown you in the picture which characters are entered.
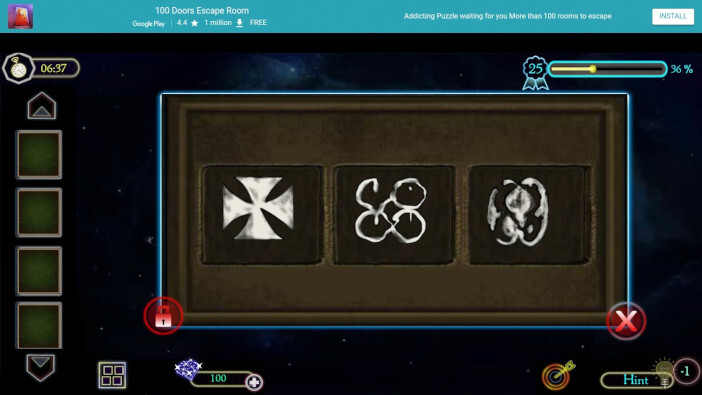
There is a box behind the small door. An unusual box that we will save. Strange mechanisms have shown us that they are a very frequent guest in this game.
We will accept these mechanisms as our friends. Place the box in close-up. Click on all four buttons at the top of the box and the cubes move.
The cubes form a very unusual box. Luckily, they’re moving so we can get the key. The key we will keep. Take the key and one objective will be fulfilled.
To the left of the room is a door. The door is locked, but we have a cure for this situation as well. The key we found helps us in this situation.
Insert the key into the keyhole and open the door. Access the new room immediately. The new room is very unusual. A big mess is something we are used to. In the left part of the room, there is a small table. There is a knife on the table.
Save this item. In addition to the knife, clue paper protrudes from behind the bag. Click on the clue paper and save this item. As every time, the clue paper requires to be analyzed. We will place the clue paper in a close-up.
Click on the clue paper and the new information will be displayed. Several rows and columns. Each row and each column has its number of points. Some points are crossed out with the letter X.
Remember the position of these crossed-out points. They are important for plans. On the floor, the right part of the room, there is a stone. Save this stone.
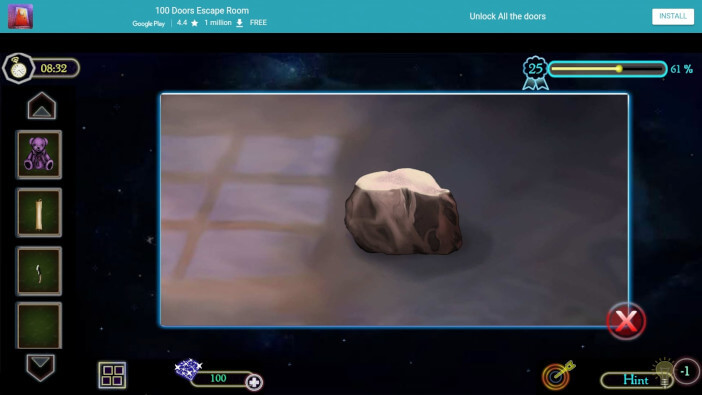
On the ceiling, next to the window, there is a hanging jar. A large jar that looks like a travel bag. We know one item and that is that this item is made of a fragile material. The stone we found will show us that we are right.
Throw a stone at the bottom of this item. There is a handle. Save this item. Use the handle for the next step. In front of the central wall of the room is a large statue.
This statue has its particular mechanism. A specific mechanism that we run using a handle. A handle is inserted into the hole at the base of the statue. Take the bear toy from the table in the right part of the room.
There are two buttons on the toy. Both buttons are nicely attached to the toy. Take a knife cut the buttons and save them. These buttons are inserted into the empty slots on the left side of the wall.
The left part of the wall, slightly elevated, has one glass box. Insert the buttons into the slots and you will see that the distribution is needed. Distribution is important because that’s how we open this glass box.
Based on the clue paper, we remembered where and which fields were crossed out with the letter X. We will do the same here. Place the buttons on the fields marked on the clue paper.
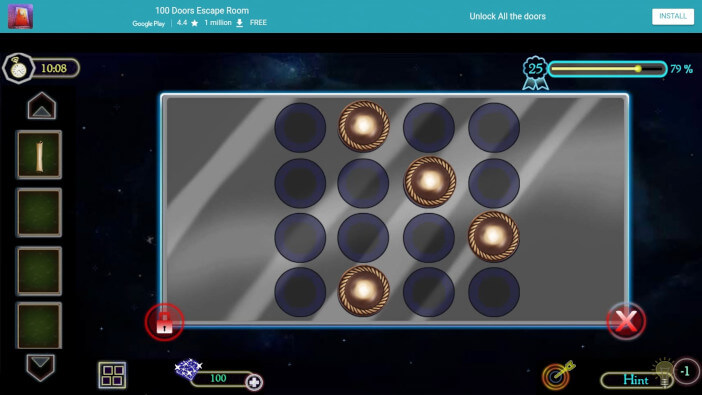
A gold coin is a prize. You may think it is small, but that’s exactly what we need. Insert a coin into the base of the statue and the mechanism starts. The prize was a combination of lines describing numbers.
Looking at the combination, you will see that the numbers go clockwise. Looking at that system, the numbers are 1, 4, 3, 5, and 2.
We have to click on the buttons from 1 to 5. We do not go in order like clockwise but click on the button so that the number goes from 1 to 5.
We enter those clicks on the board above the statue. Central wall, right part. And of course, we succeeded. The book was found. The book is placed in a close-up. Clicking on the book and the contents of the book will delight you.
You will see a picture showing what a terrace should look like. Terrace for a loving couple who wants to spend their night peacefully.

This book is going to be very useful for Fred to surprise Lena. This sentence ends at level 25. What a level and many problems we have solved.
Maybe this is the period when better things start to happen. It is not so important to us that there is a problem every time, but it is important to us that Fred and Lena are together. Health and love come first.
We will solve problems for them. Let them enjoy. But nothing could have happened without you. We are grateful to you. Also, we invite you to continue reading our walkthrough. Have a nice day. Thank you for reading.