Detective – Escape Room Games | Chapter 7: The Sins of the Father
Intro
Welcome to our walkthrough for Chapter 7 of the “Detective – Escape Room Games” from “Escape Adventure Games”. In this chapter, Detective Andrew will go to Colonel Chester to talk with him about who the potential new Collector’s victim might be. Unknown to Andrew, something terrible happened to Chester.
Walkthrough
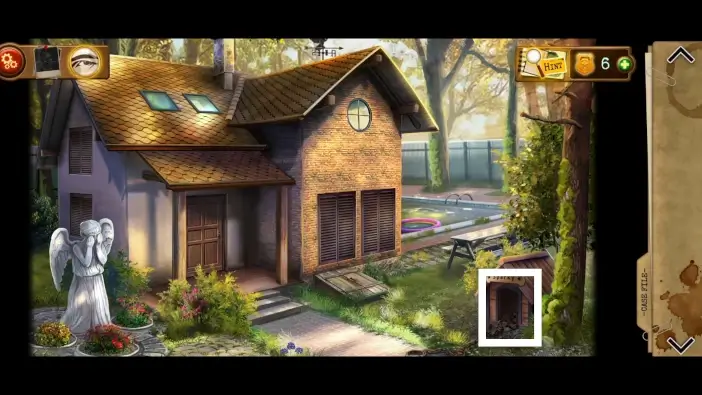
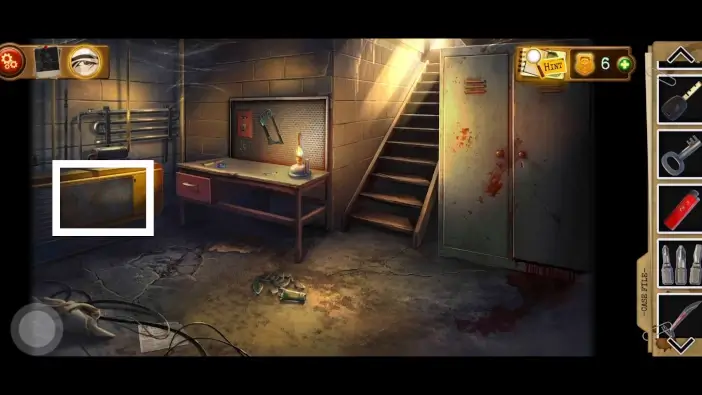
Approach the dog’s house on the right.
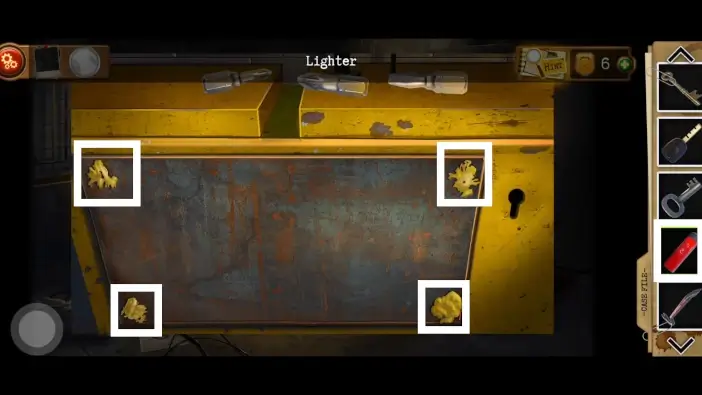
First, remove the items from the ground to see the items you need to pick up.
- Take the bedside table handle. You will need it to unlock the office drawer.
- Take the hammer. You will need it to fix the ladder later.
- Pick up the shovel. You will need it soon in the garden.
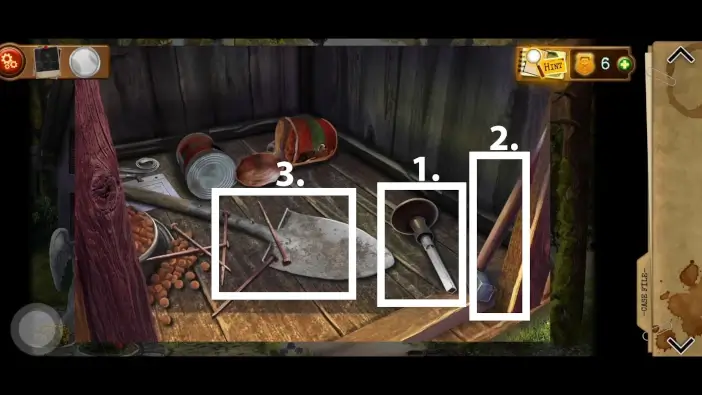
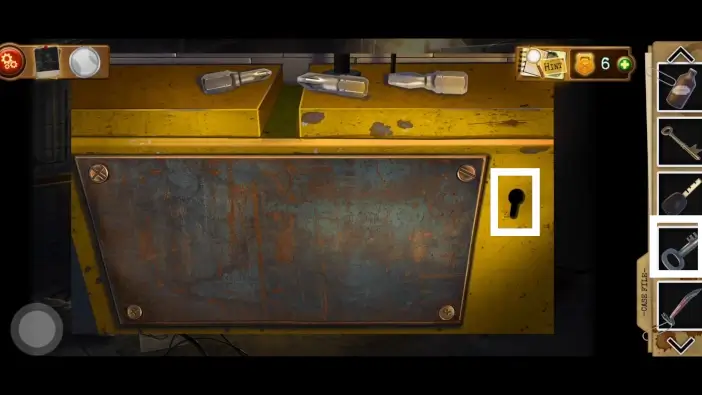
Move away a few more non-important items.
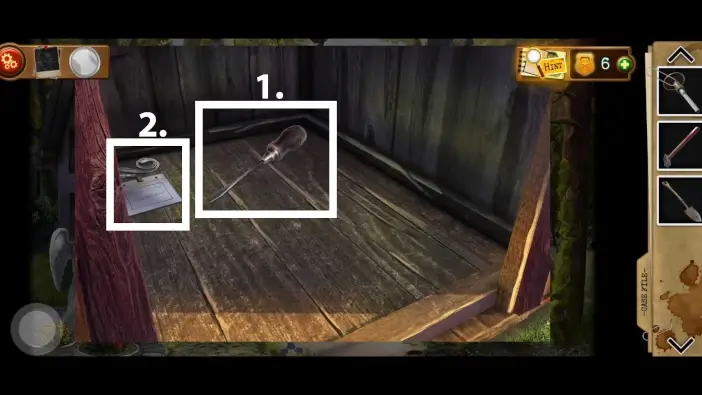
- Take the screwdriver. You will need it to unlock one of the compartments in the storage room.
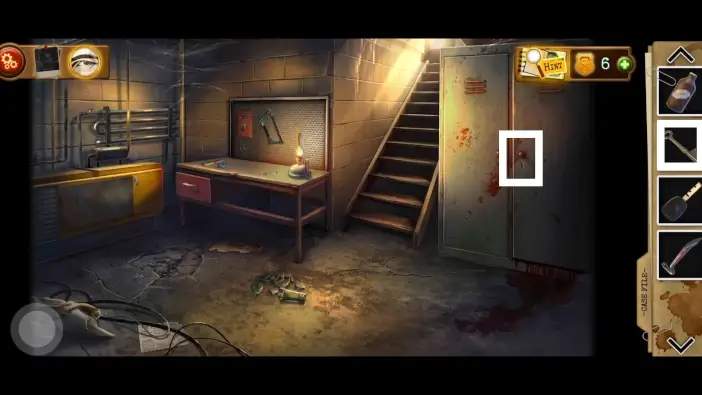
- Take a photo of the evidence (just tap/click on it).
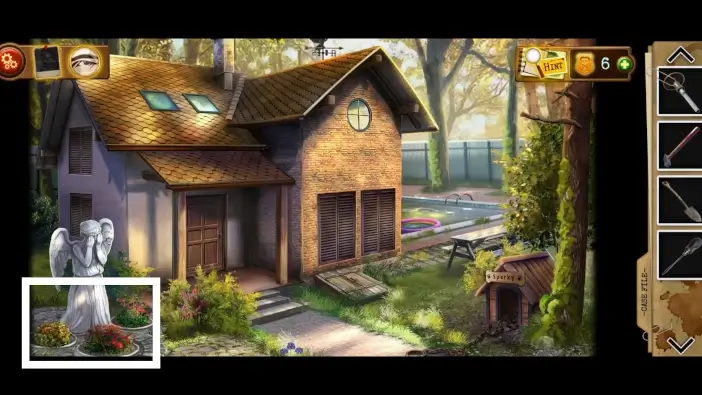
Approach the flowers on the left, near the statue.

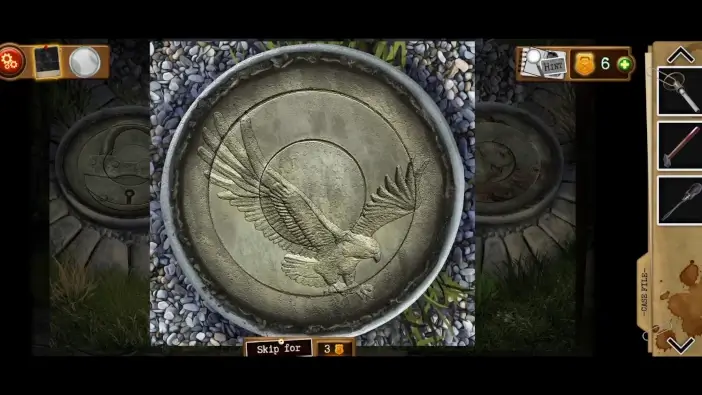
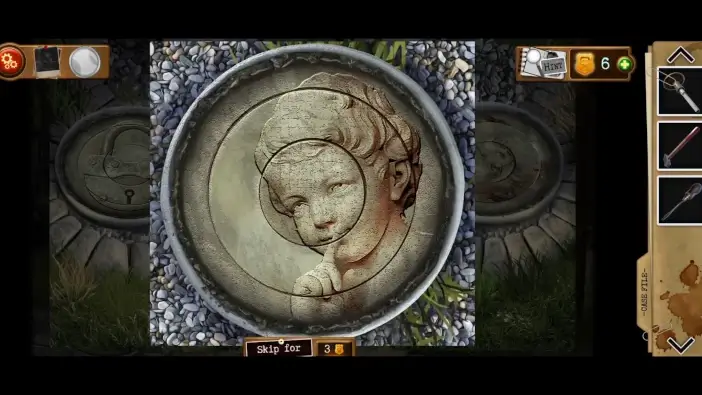
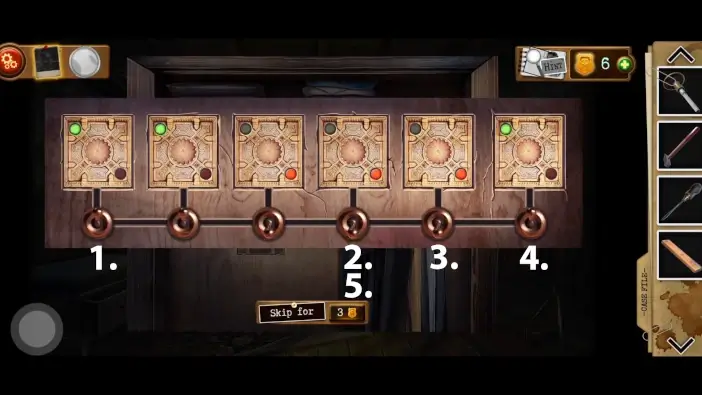
Use a shovel to remove the plants from the flowerpots. You will reveal symbols on the flowerpots.
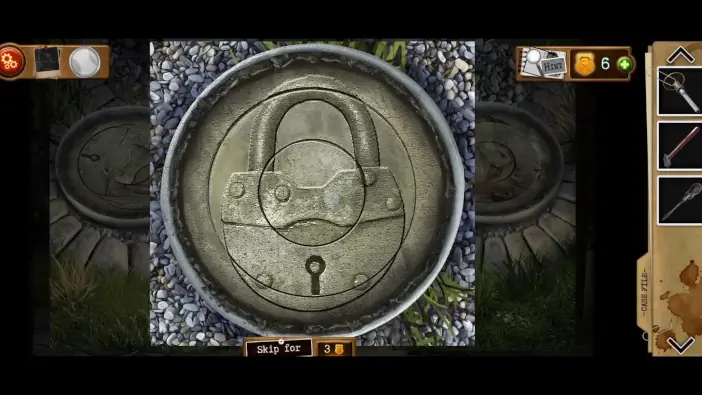
Each flowerpot has three disks to rotate. Rotate the disks to get images like those in the image above and in the following images.
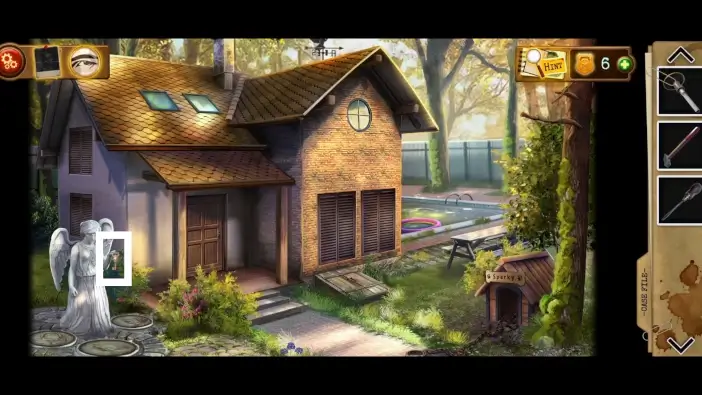
Once you complete the previous puzzle, take the key from the angel statue.

Use the key you just got to unlock and enter the house.
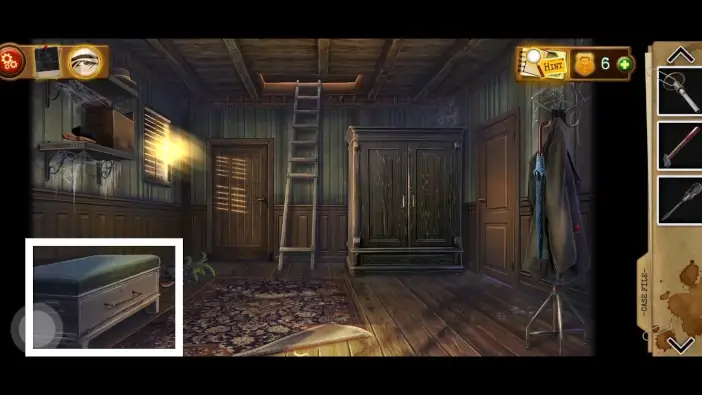
Open the drawer on the left.
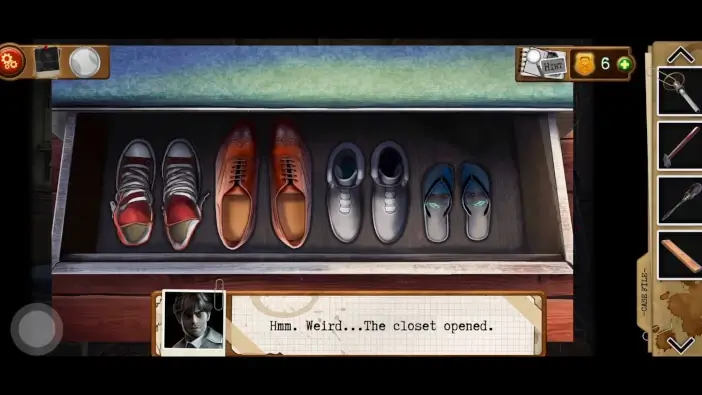
Pick up the first step of a ladder from the drawer, then rearrange the shoes so that every shoe is with its pair. Once you solve the puzzle, the closet will open.
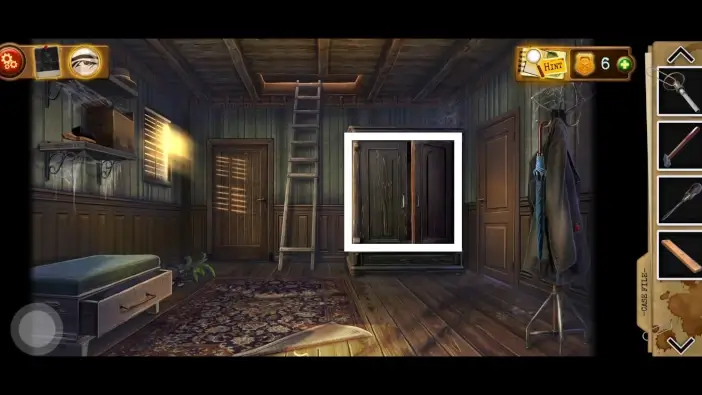
Approach the closet.
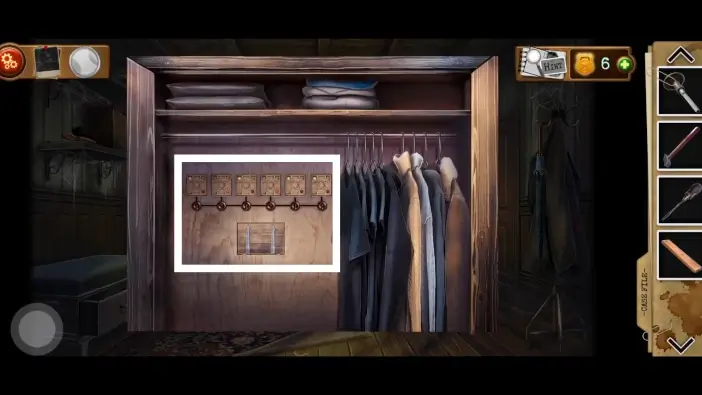
Move the clothes to the right to reveal a puzzle. Approach the puzzle.
Activate the switches in the order shown in the picture above.
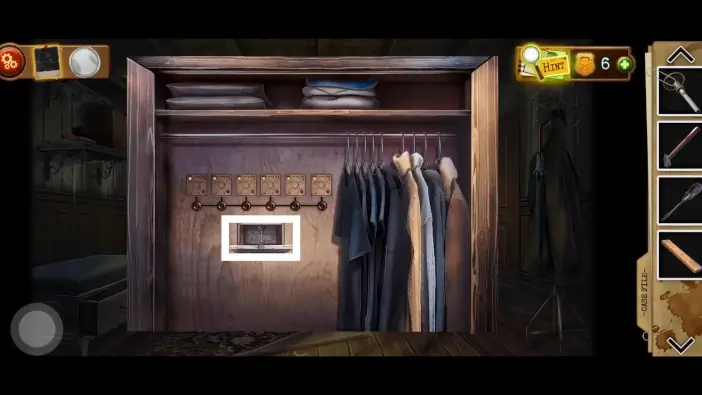
Once you solve the puzzle challenge a compartment will open. Grab the office key from it.
Use the office key to enter the office. The door to the office is on the right side of the room.
Approach the bedside table.
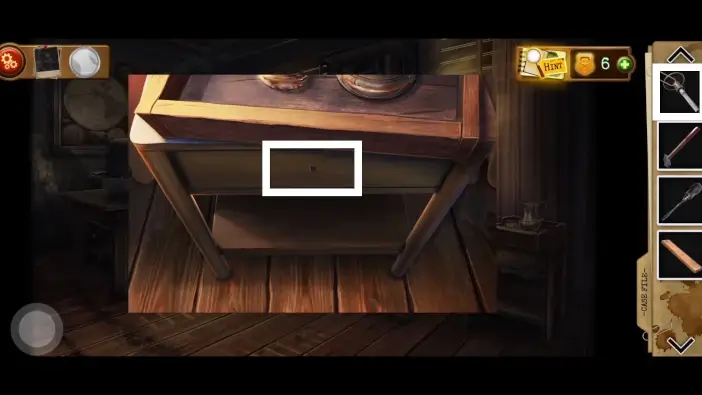
Use the bedside table handle you got from the dog’s house to unlock the drawer.
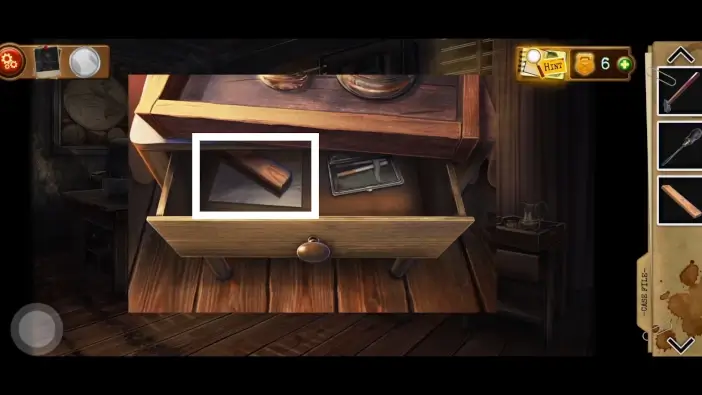
Take the second step of the ladder. You’ll need three steps to fix the ladder. Once you take the step, take the paper that was beneath the step. It is a drawing of keys. You will need it later as a clue on how to shape key blanks to create three new keys.
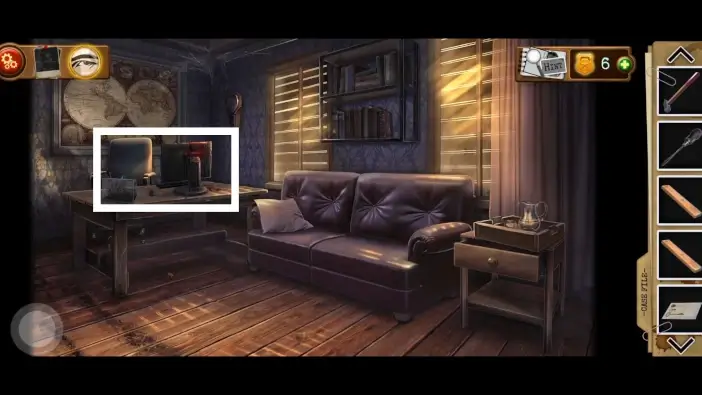
Approach the office desk.
Take the storage room key.
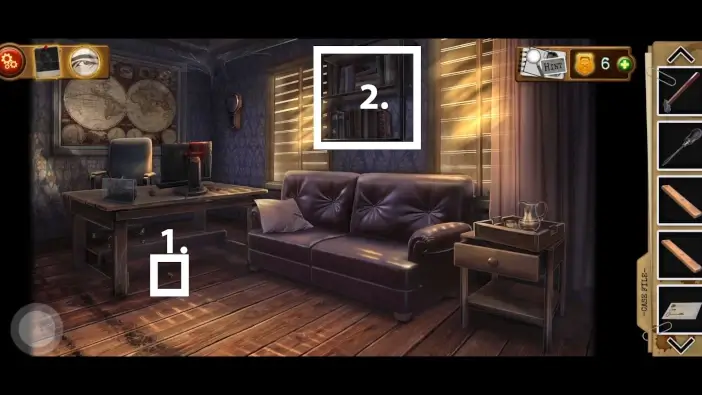
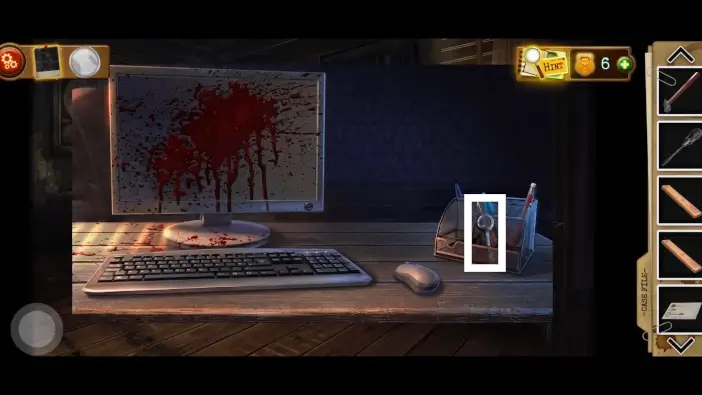
- Take a photo of the evidence. It’s a bullet below the office desk.
- Approach the bookshelves.
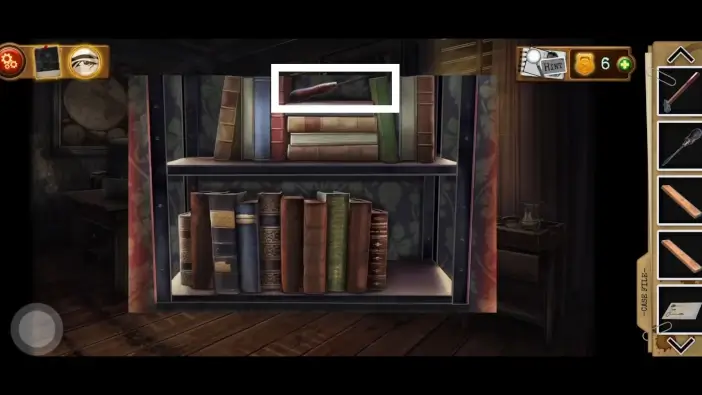
Take the item on the upper shelf. You will use this item to shape key blanks to form the keys.
Return to the hallway. Use the key you acquired from the office desk to unlock the storage room. Enter the storage room.
In the storage room, press the light switch on the left.
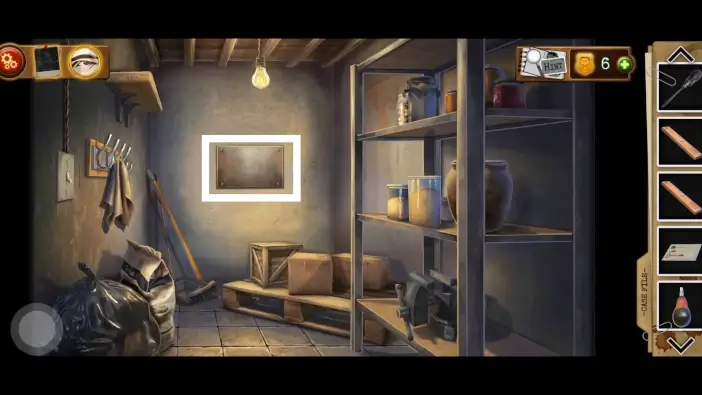
Approach the lid on the far side of the storage room.
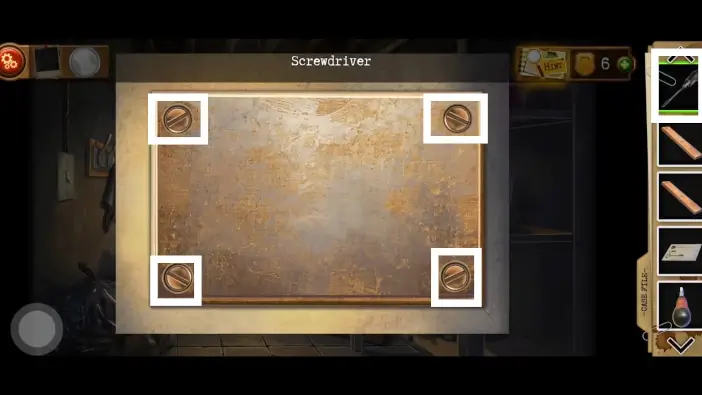
Use the screwdriver that you’ve found in the dog’s house to unscrew and remove the lid.
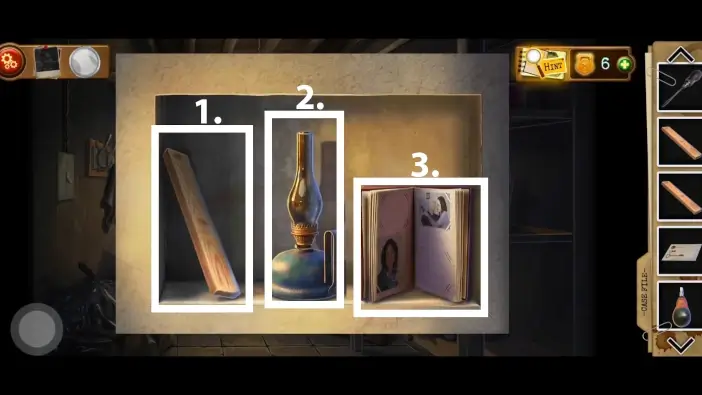
- Take the third step of the ladder.
- Take the lamp. You will need to illuminate the basement later.
- Look at the photo album.
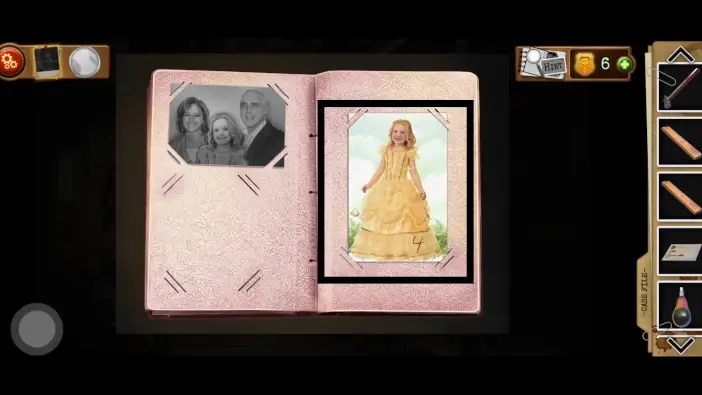
Turn the page that features a photo of a girl wearing a yellow dress. Pay attention to the number “4” written on that photo. This is the first number for a password later.
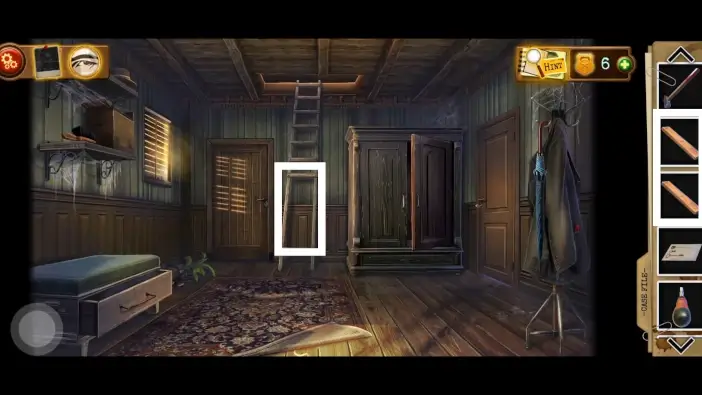
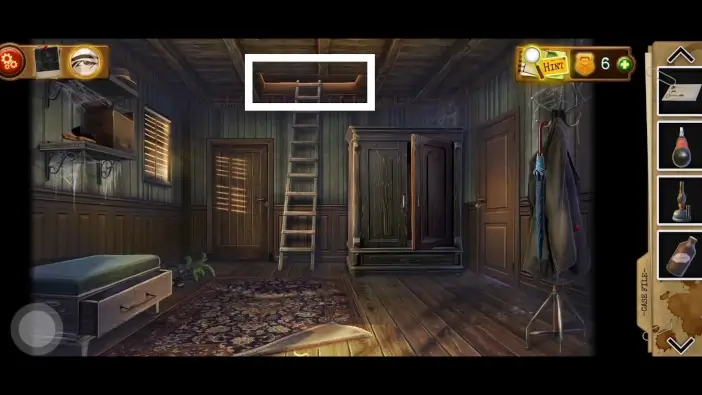
In the hallway, place all three steps on the ladder.
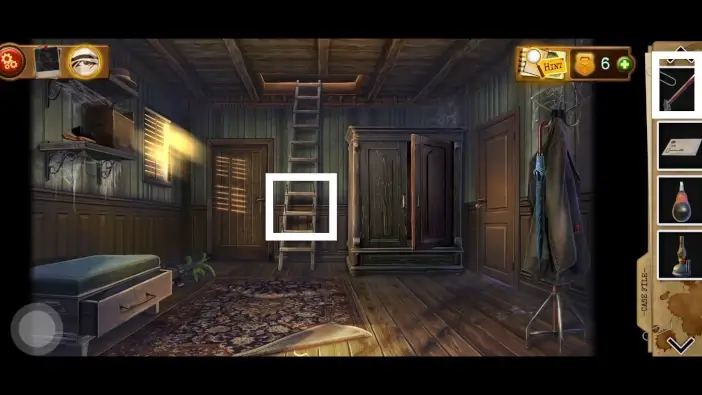
Use a hammer to fix the ladder. This will unlock access to the attic.
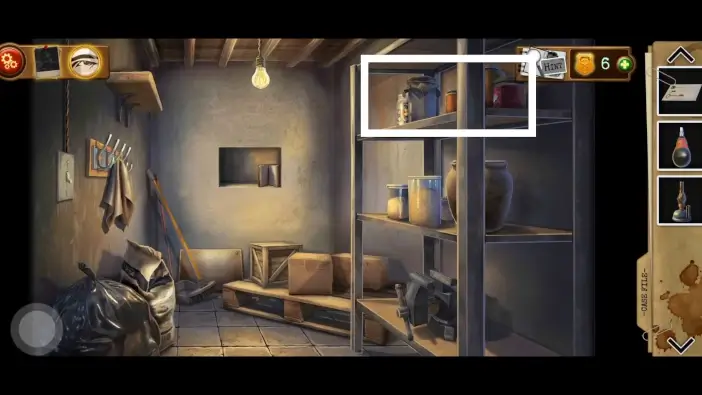
Return to the storage room and approach the upper right shelf.
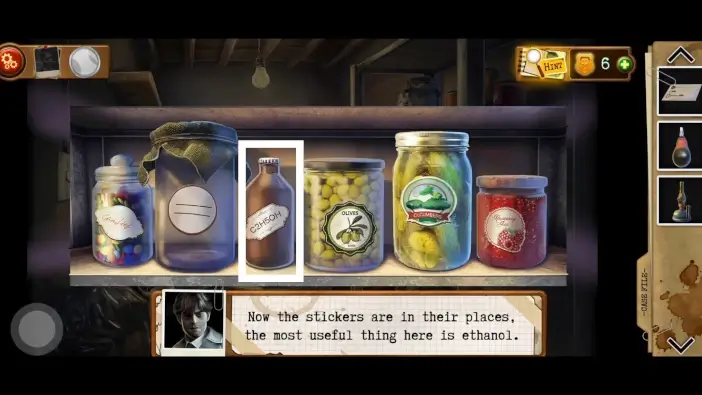
Rearrange the labels like in the picture above, then pick the bottle of alcohol.
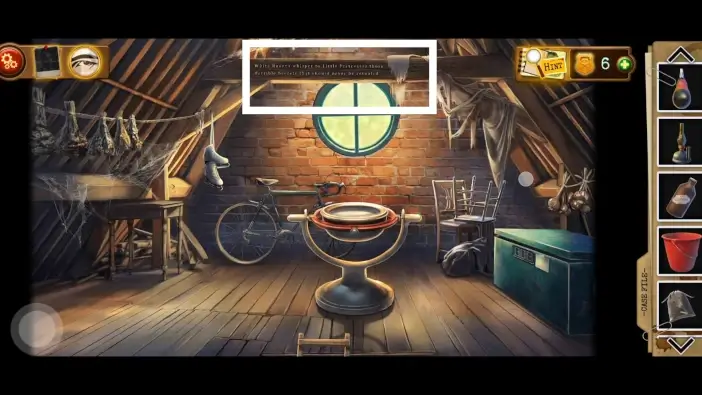
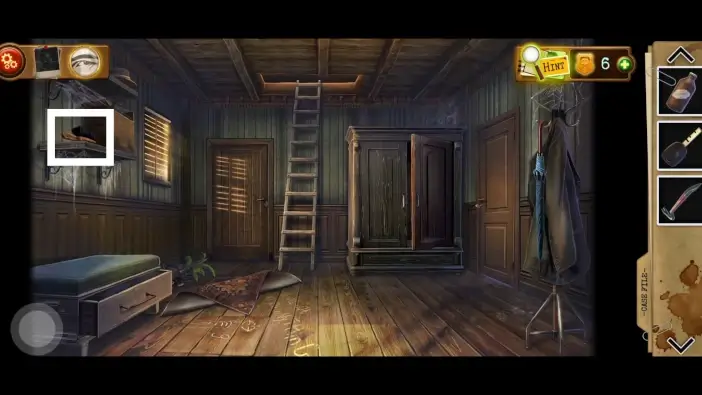
Go to the attic.
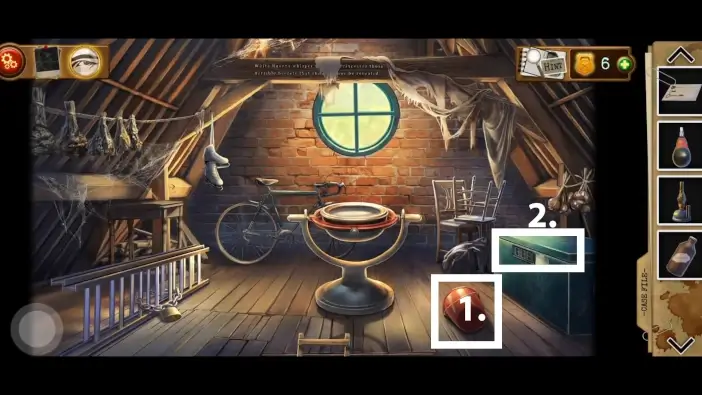
- Pick up the bucket. You will use it later to remove water from one small pool.
- Approach the safe on the right.
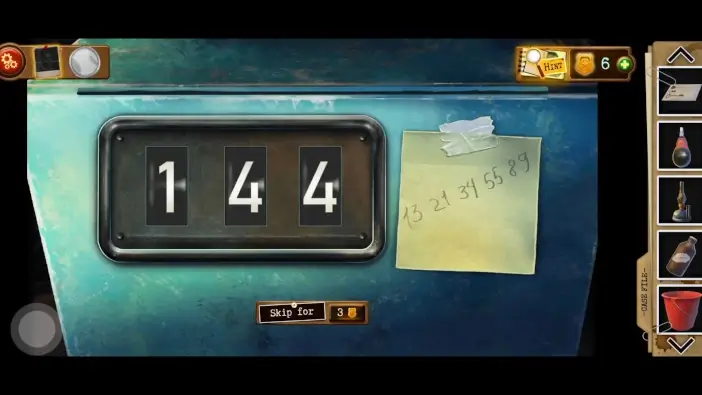
Set the number to “144” to open the safe. How to get to the solution: follow the numbers on the note. Each next number is the sum of the previous two numbers. For example, 89 is 55 + 34. This is called a Fibonacci sequence. The next number in the Fibonacci sequence is 144, because 55 + 89 = 144.
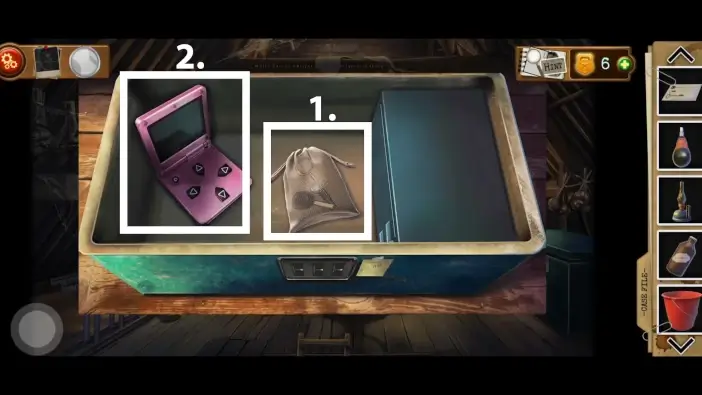
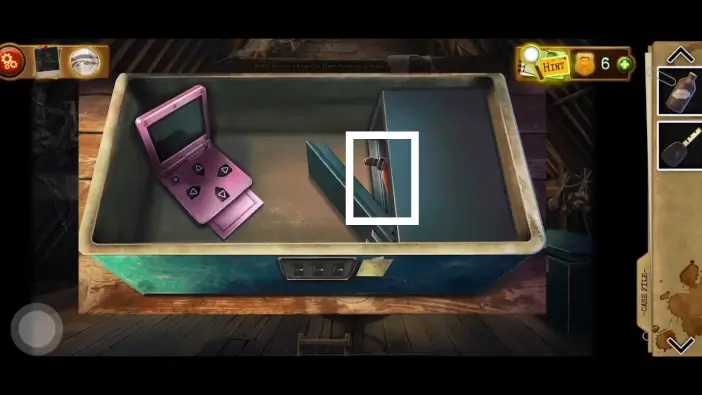
- Take the bag of keys.
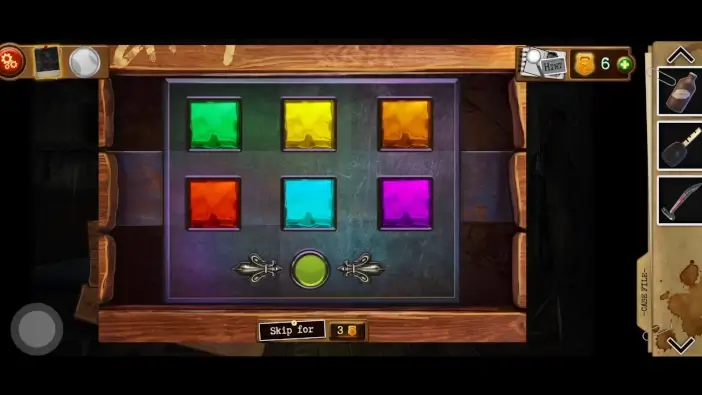
- Play the game.
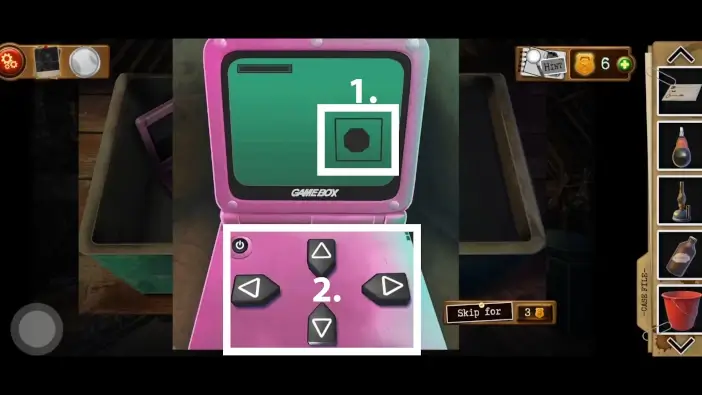
- In this game, you are in control of the circle. The circle must remain inside the rectangle until the bar on the top-left side of the screen is full.
- Use the arrows on a Gamebox to move the circle.
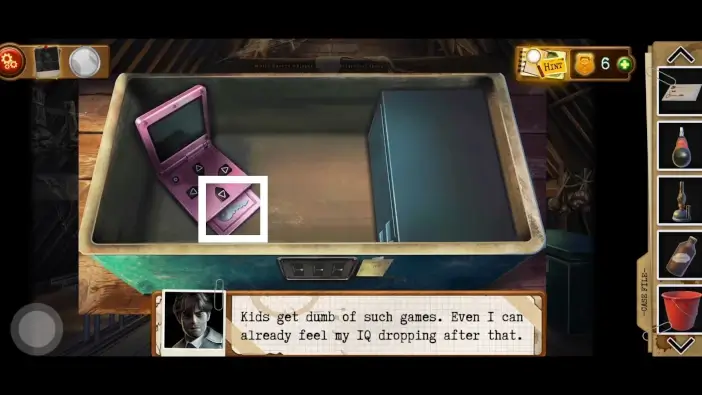
Once you win the game, take the chain lock key.
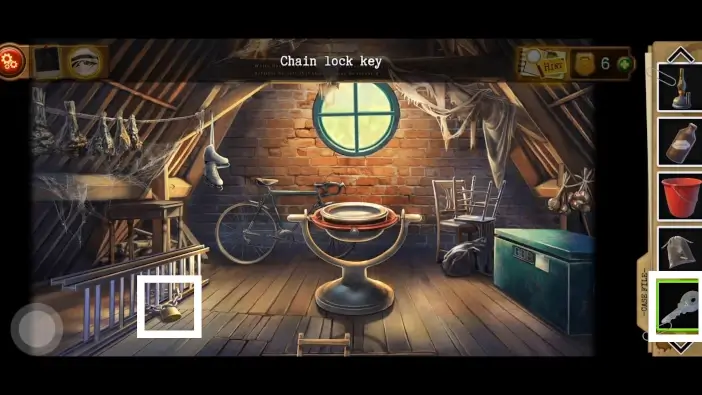
Unlock the padlock on the ladder with the key you just got.

Once you unlock the padlock, take the ladder. You’ll need it to climb the roof of a house.
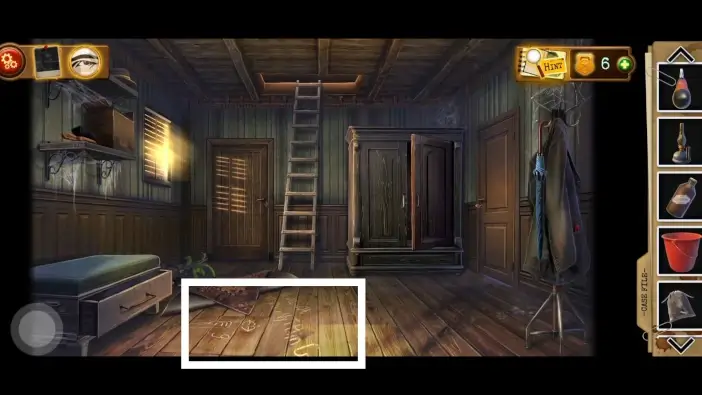
In the hallway, remove the carpet to reveal a message on the floor. Approach it and take a photo of the evidence. Remember the number “9” in the message.
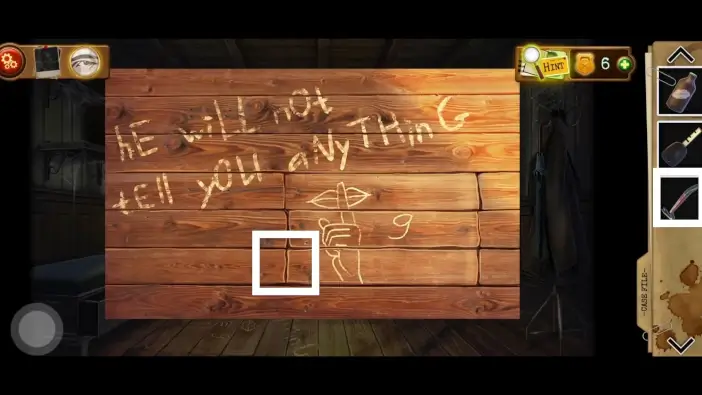
Go to the attic, move the rag from the wooden beam, then take a photo of the message on the beam.
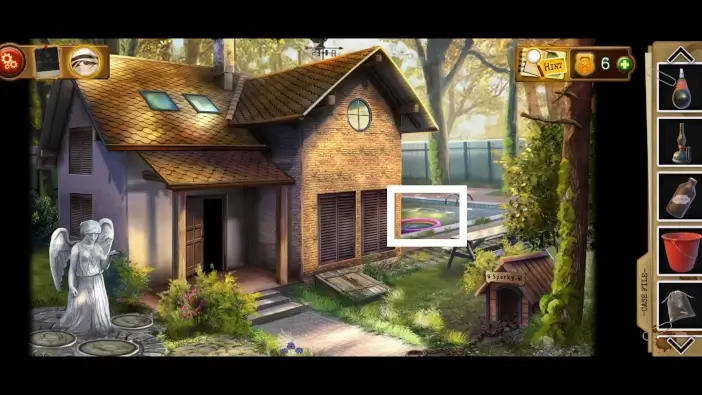
Go outside and approach the pool.
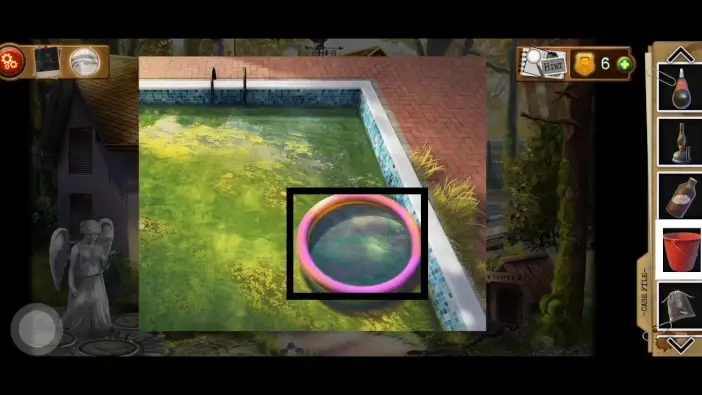
Take the water from a smaller pool using the bucket you found in the attic. Pick up the key from the bottom of the pool. It is a key to the locker inside the basement.

- Place the ladder you picked from the attic on the house to gain access to the roof.
- Go to the roof.
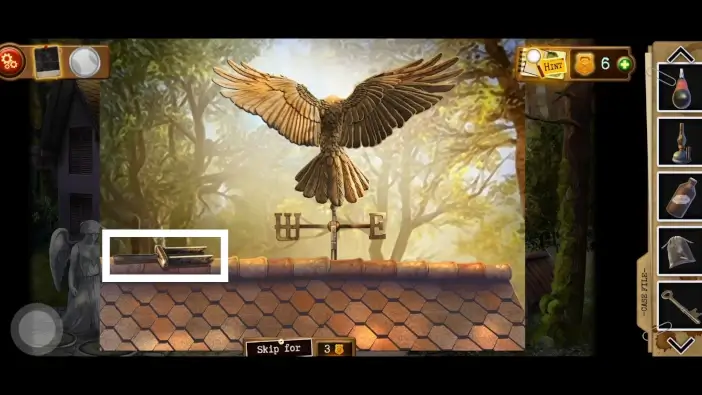
Take the lever from the roof. You will need it in the basement. Rotate the eagle to look at you. Remember where the west and east are, and remember the number “2” on the eagle.
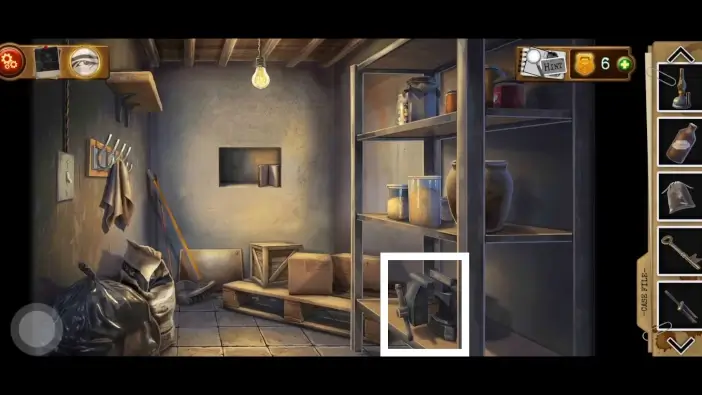
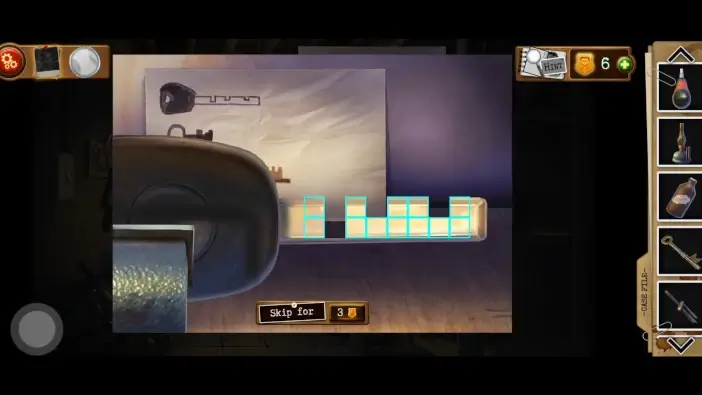
Go to the storage room and approach the key-making machine on a lower shelf.
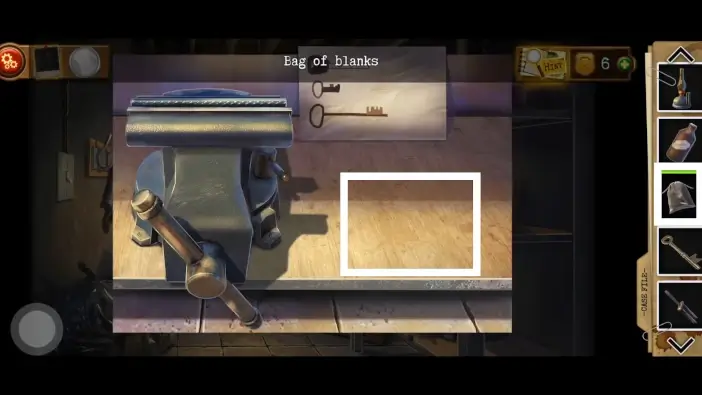
Place the bag of blank keys you found in the attic.
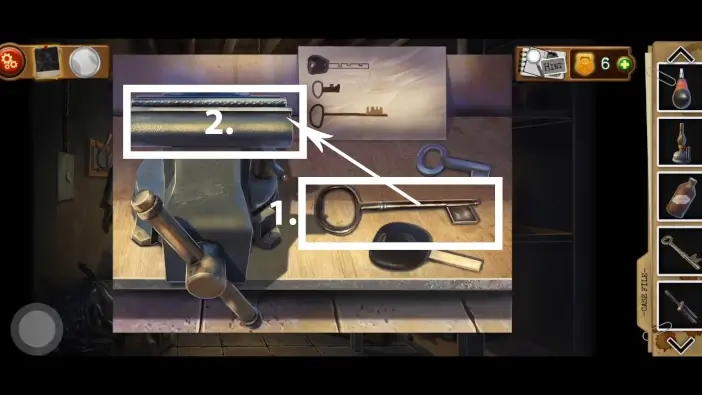
- Place one of the keys into the machine.
- Approach the machine.
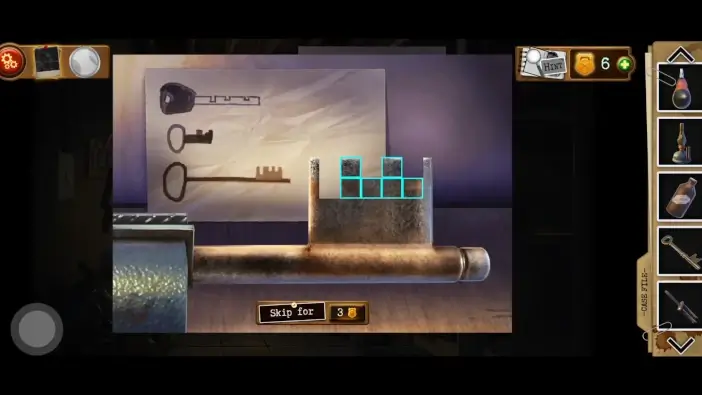
Shape the key by removing the parts of the blank. Remove the squares following the pictures in this guide. Create a basement key.
Put another key into the machine and create a car key. You won’t use it in the gameplay, but the detective will use it once the chapter is over, to access Chester’s car.
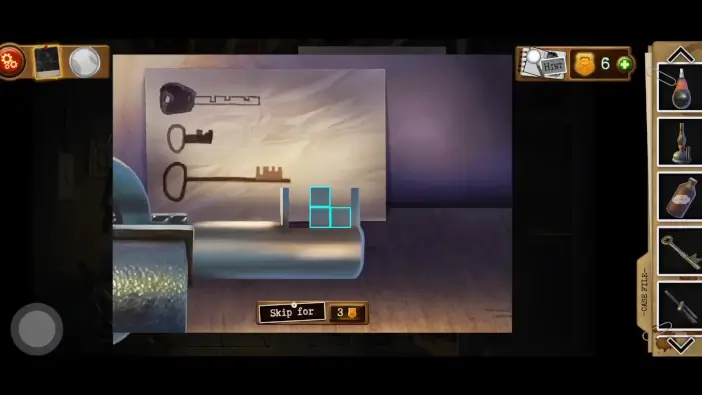
Place another key into the machine and create a generator key.
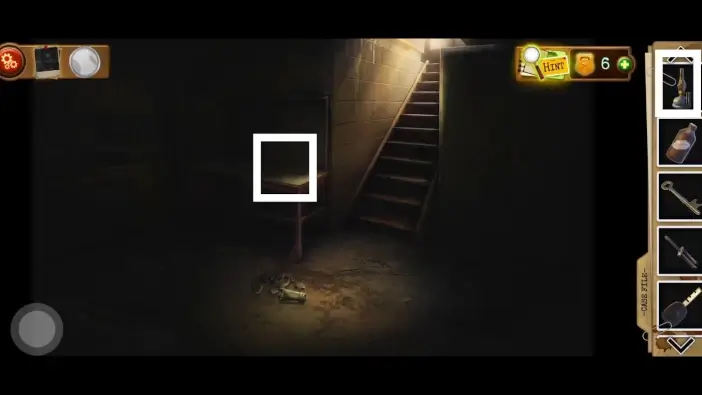
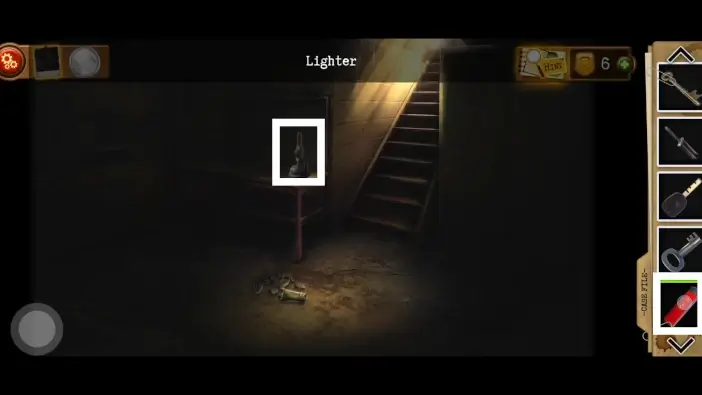
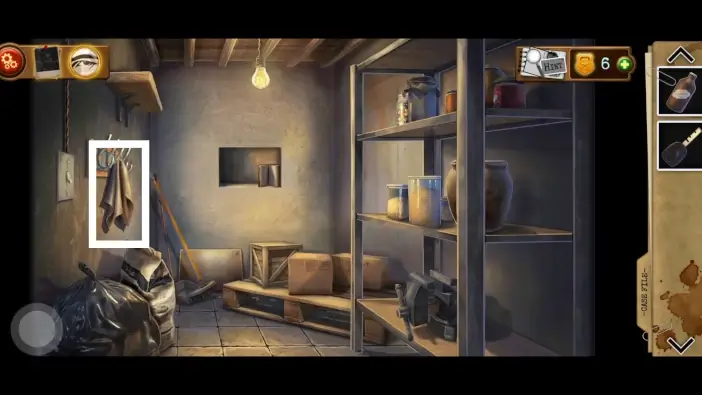
In the hallway, pick the lighter from the coat on the right.
Go outside and unlock the basement door via the basement key you just created.
Enter the basement and place the lamp on the table (you picked the lamp in the storage room).
Use a lighter on a lamp to illuminate the basement.
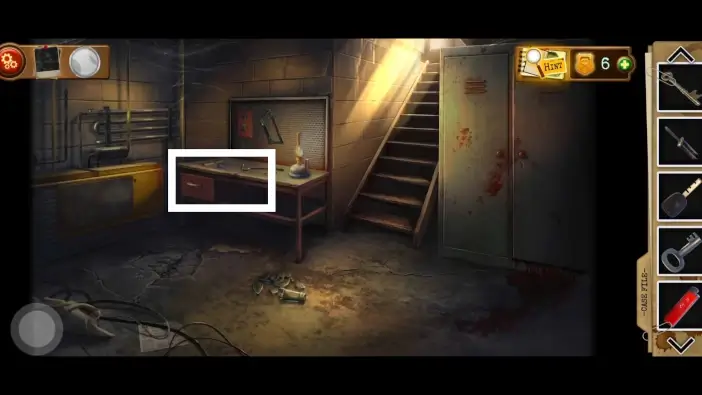
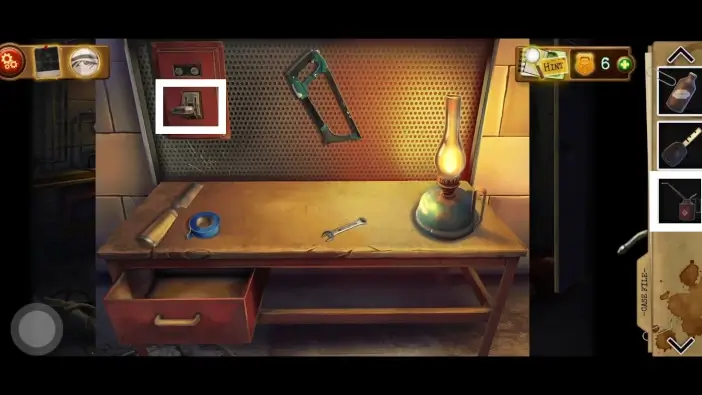
Approach the desk.
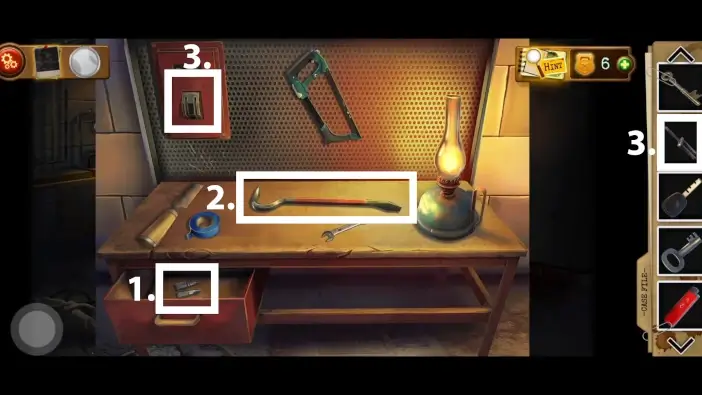
- Open the drawer and take the drill bits. You will need them to open the generator.
- Take the crowbar from the table. You will need it in the hallway of the house.
- Place the lever in its place.
Approach the generator.
Use the lighter to remove the substance that is covering the screws.
Place the generator key you created into the keyhole.
Open the locker using the locker key you found in the pool.
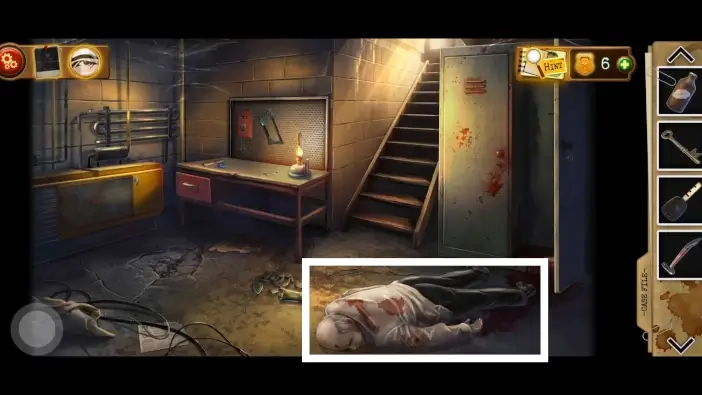
Take a photo of Chester’s body.
Go to the hallway and pick up the shoe brush on the left shelf.
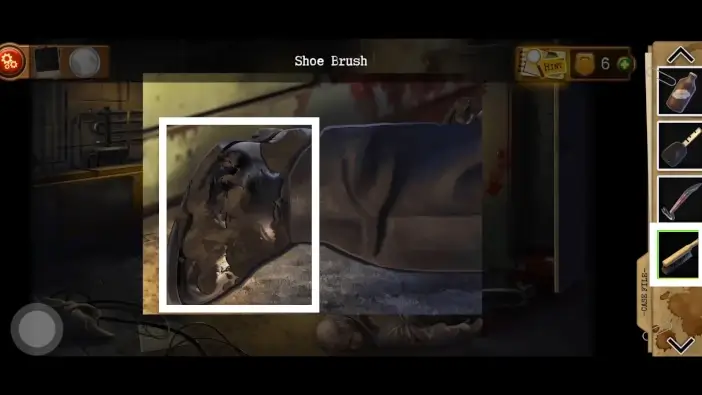
Return to the basement and clean Chester’s shoe. Remember the number on the shoe.
Go to the house’s hallway, approach the message on the floor, and use the crowbar to remove the boards.
To open a box that is beneath the floor, you need to solve a puzzle challenge, a memory game. The fields will blink one by one, and you need to repeat the order in which they blinked. Complete several memory challenges of this type, and the box will unlock. Once you complete the challenges, pick up the letter “W” from the box. You will need “W” and “N” letters to complete the compass in the attic.
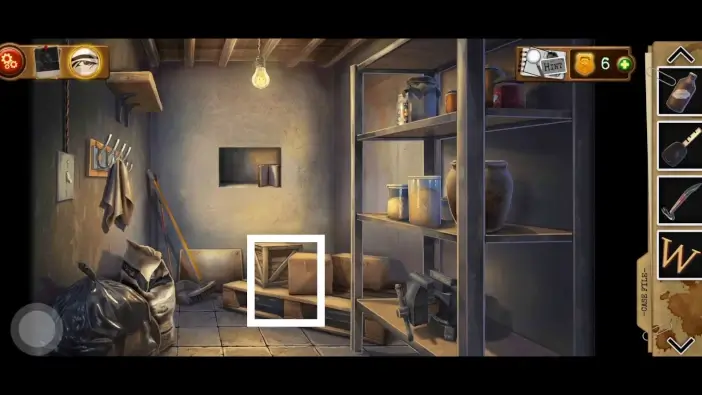
Go to the storage room and approach the boxes on a pallet.
Use the crowbar to open the wooden box. Take the letter “N”.
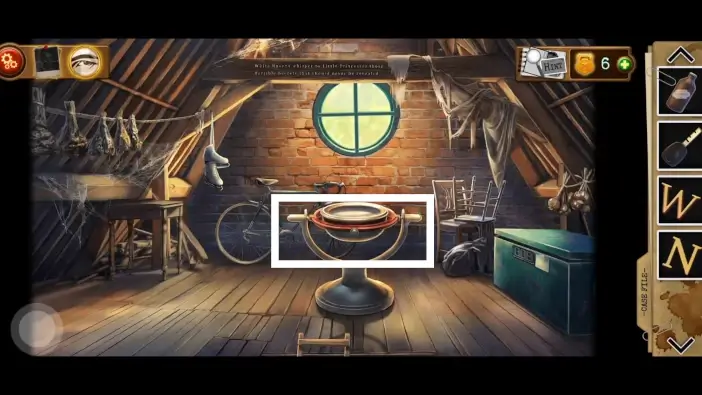
Go to the attic and approach the compass.
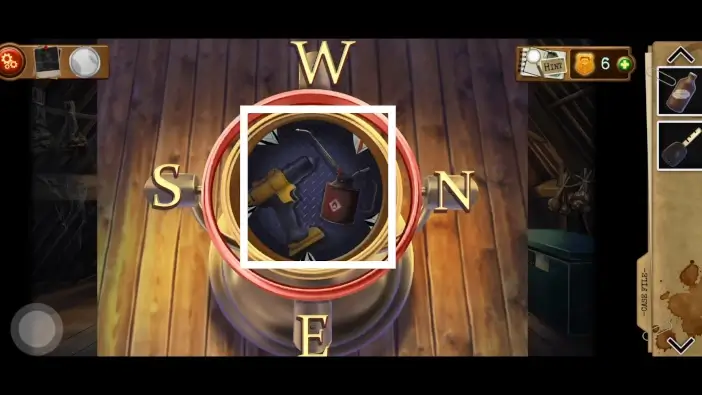
Place the letters on the compass. Swap the letters to the positions like in the picture above, then rotate the inner part of the compass to correspond to the letters on the outer ring. Take the drill and the oil can from the compass.
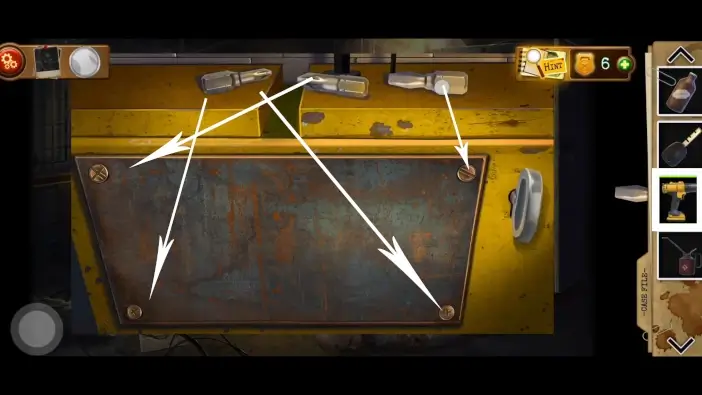
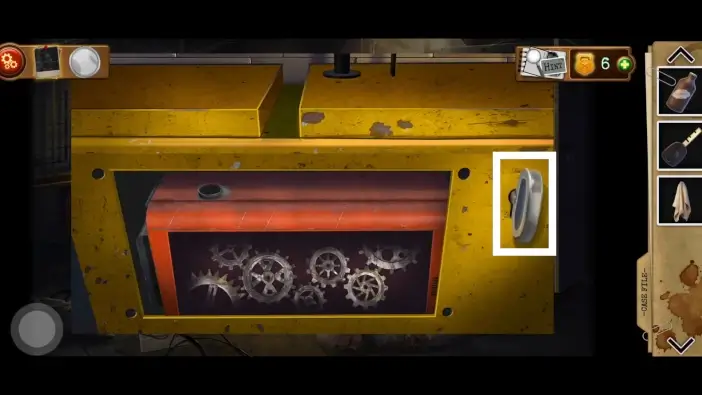
Go to the basement and use the drill bits on the screws like in the picture above. The detective will use the drill from the inventory automatically. The lid will open.
Go to the desk and use the oil can on the switch. Activate the switch twice. This will unlock the box in the safe in the attic.
Go to the attic, approach the safe, and take the fuel canister from the box.
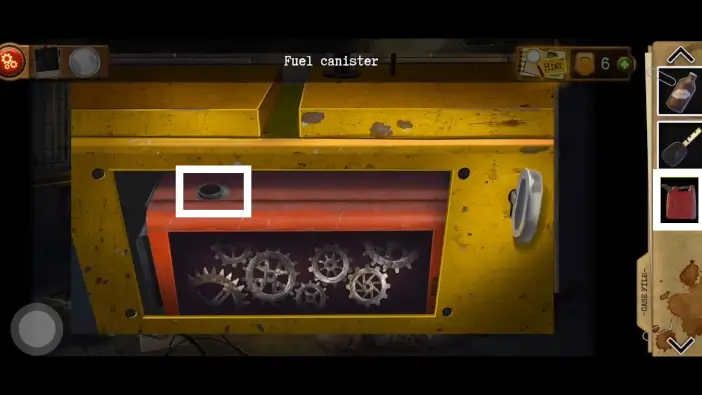
Go to the generator in the basement and use the fuel canister to refuel the generator.
In the storage room, take the rag on the left side of the room, near the light switch. You will need it to clean the PC monitor’s screen.
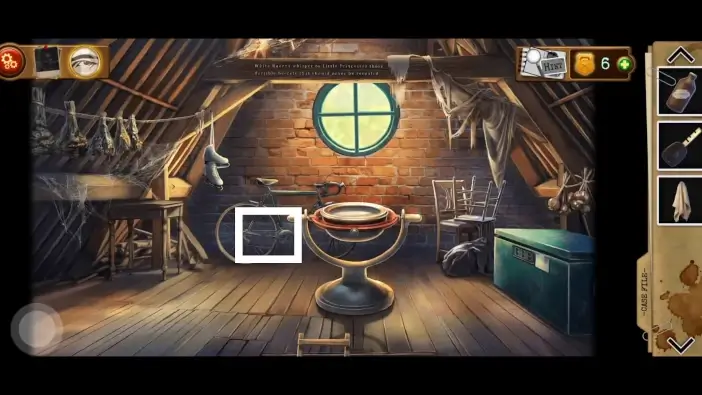
Go to the attic and remove the chain from the bicycle’s wheel.
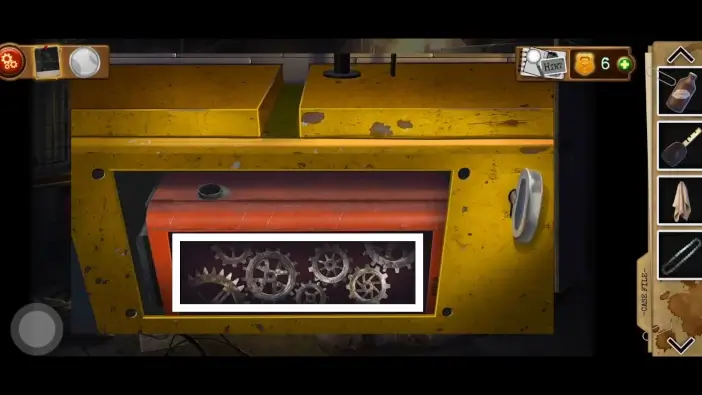
Go to the generator and approach the gears.
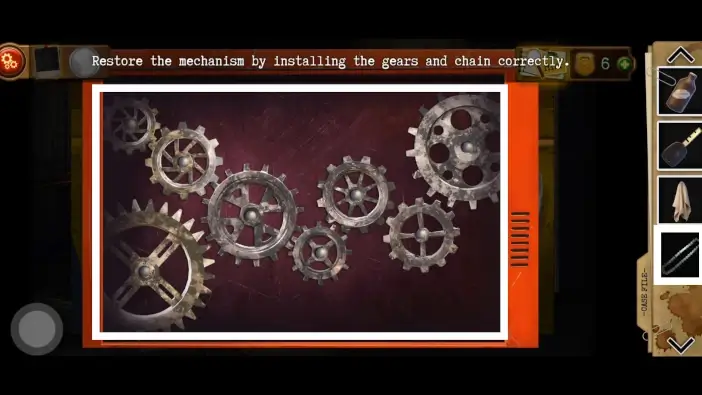
Rearrange the gears like in the picture above, then put the chain around them.
Activate the generator key, and the generator will start working. Now you can use Chester’s PC.
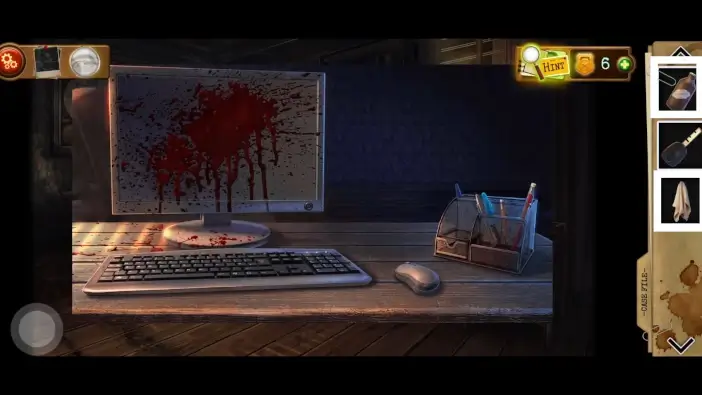
Go to the office and merge the alcohol and the rag in your inventory to create a “cloth in alcohol” item.
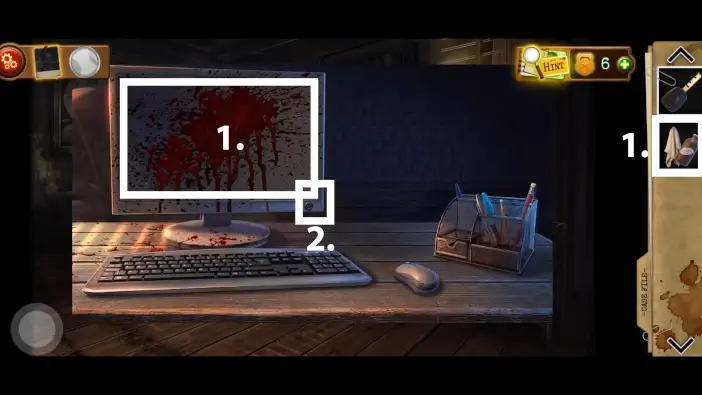
- Use the “cloth in alcohol” item to clean the monitor.
- Turn on the PC.
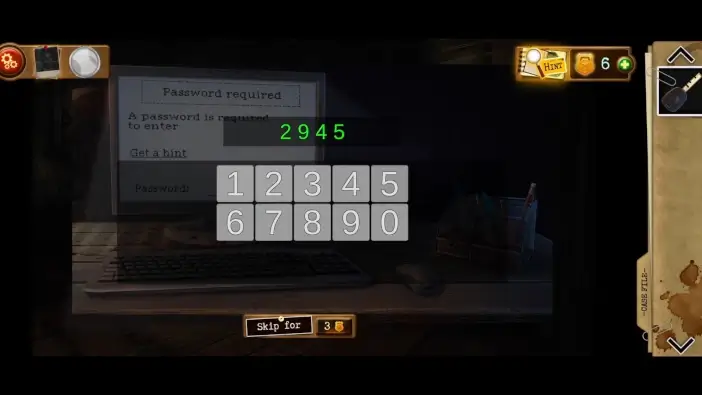
The password for PC is “2945”. The clues for this are: number “2” on the eagle on the roof of the house, number “9” on the floor in the hallway, number “4” on the Chester’s daughter’s yellow dress in the photo album, in the storage room, and number “5” on the Chester’s shoe. The order of numbers is hinted at on a wooden beam in the attic.
This will mark the end of Chapter 7 of the Detective – Escape Room Games. Chester is killed by the Collector, and Detective Andrew will find the address of the Collector’s house in Chester’s car.
Thank you for reading!