Legendary Tales 5 – Chapter 1: Secret of the Island | Part 3
Intro
Welcome to our walkthrough for Part 3 of Chapter 1 of “Legendary Tales 5” from “FIVE-BN GAMES”. Lucia may have found shelter on the mythical island, but she’s not giving up seeking a way to help her friends.
Walkthrough
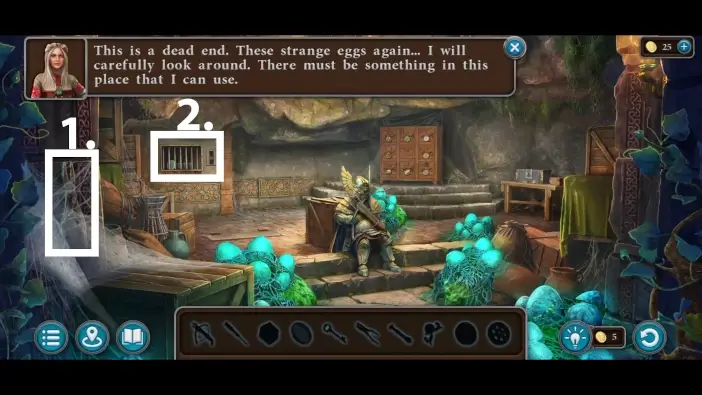
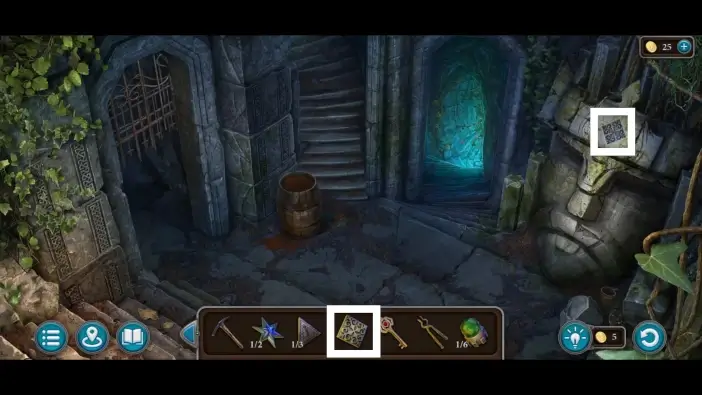
In this mini-game, you’ll need to find all the items that are listed. You will use items to find the other ones. These items are present only for this mini-game, and you’ll not have them after you complete this challenge.
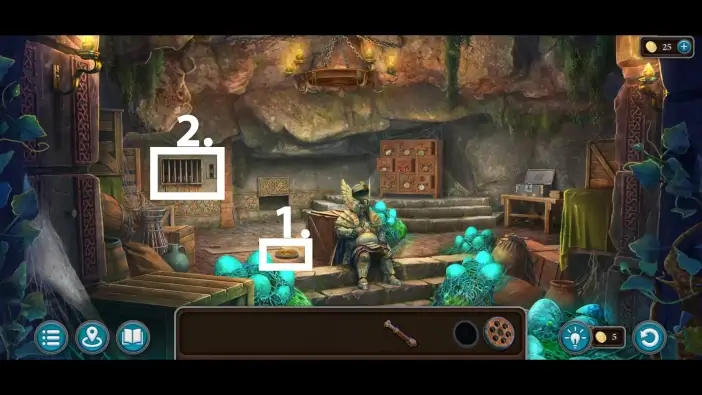
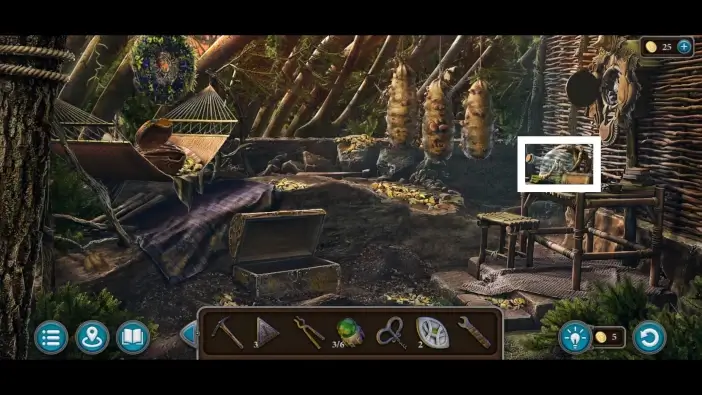
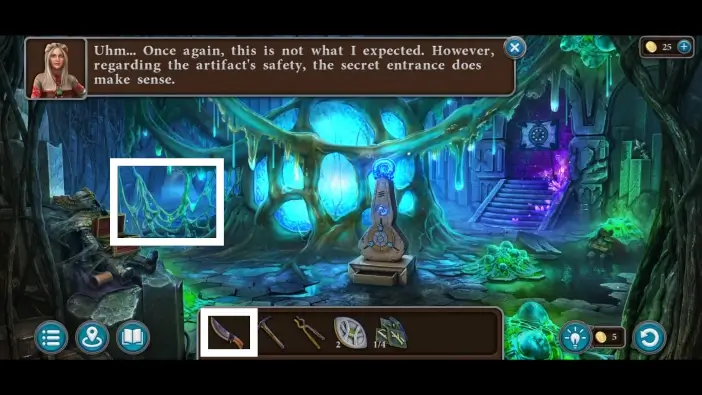
- Take the pliers on the left.
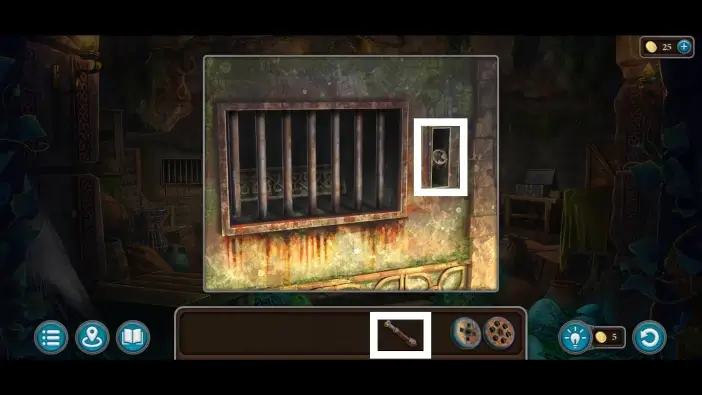
- Approach the bars.
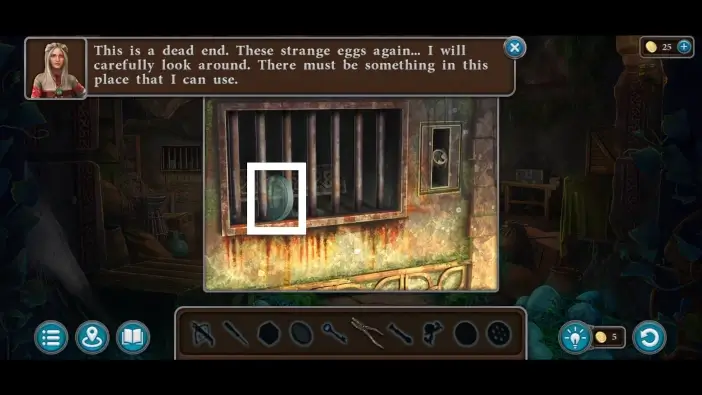
Take the lens.
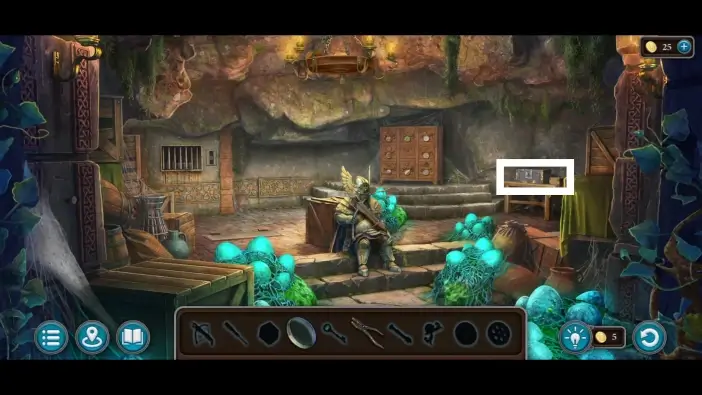
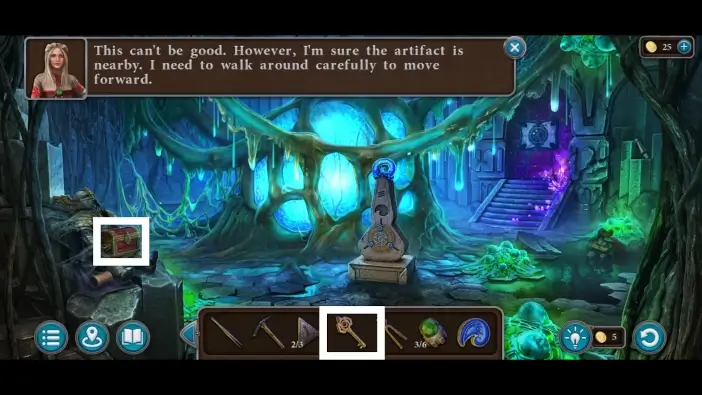
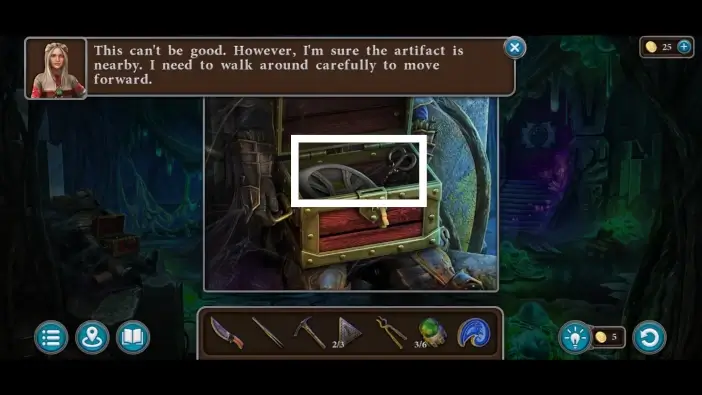
Approach the table on the right.
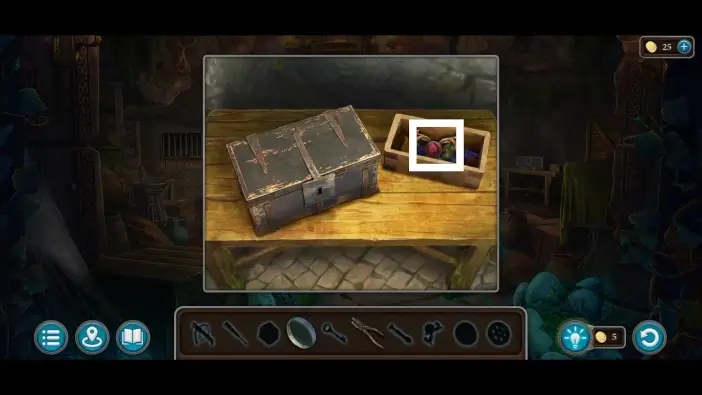
Take the handle from the right box.
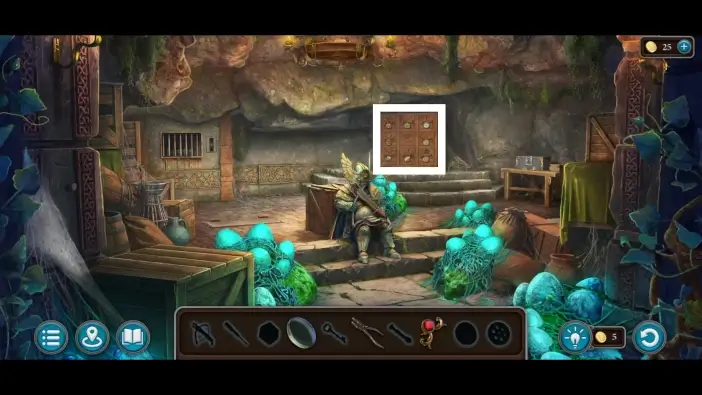
Approach the drawers.
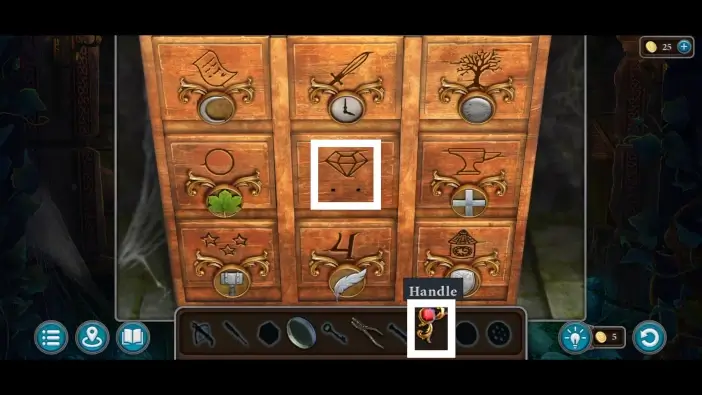
Attach the handle to the central drawer.
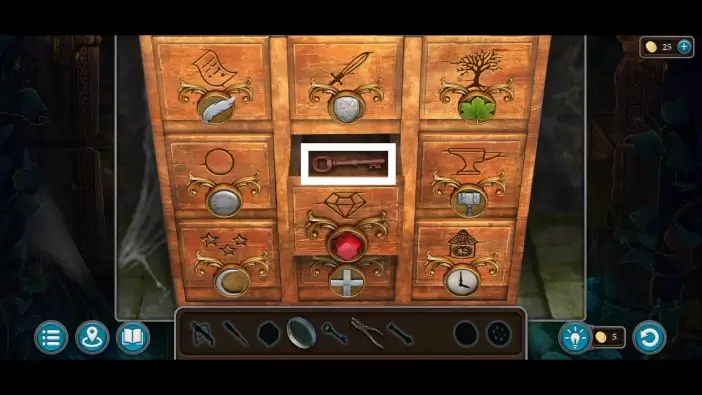
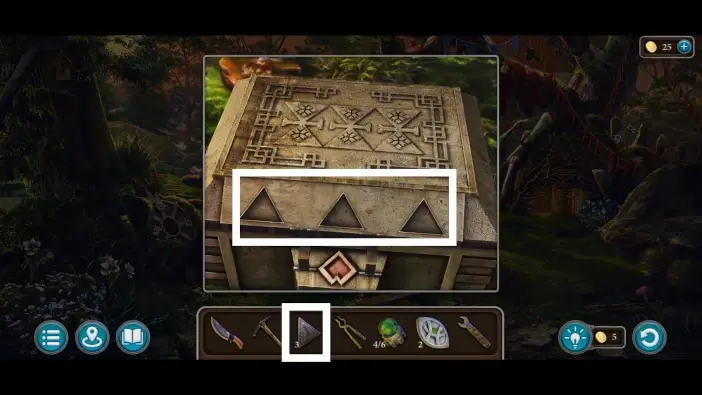
Rearrange the handles like in the picture above, so that each handle is an association to the drawing on the drawer, for example, a shield on the handle is an association of the sword on the top-center drawer. You can move the handles by swapping their positions. Once you rearrange the handles, the middle drawer will open, and you’ll be able to take the key.
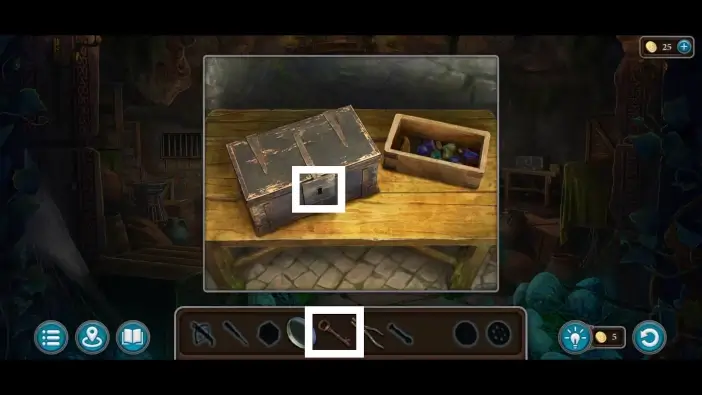
Return to the table on the right and unlock the larger box on the left with the key you just got from the drawer.
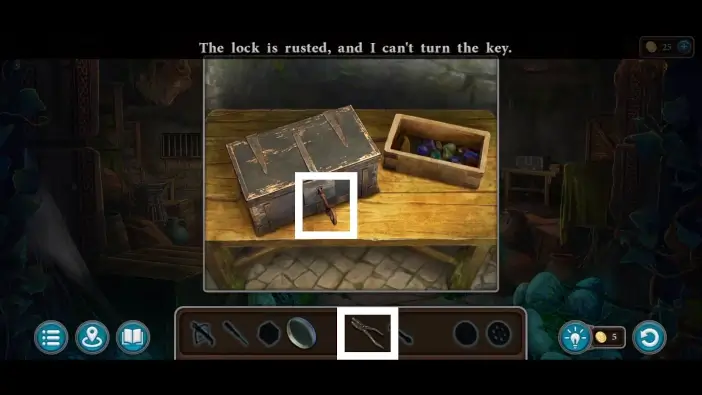
The key will be stuck in the rusted lock. Use the pliers to move the key and unlock the box.
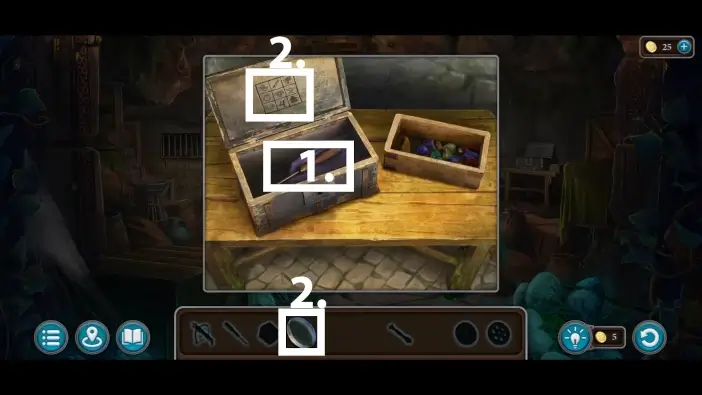
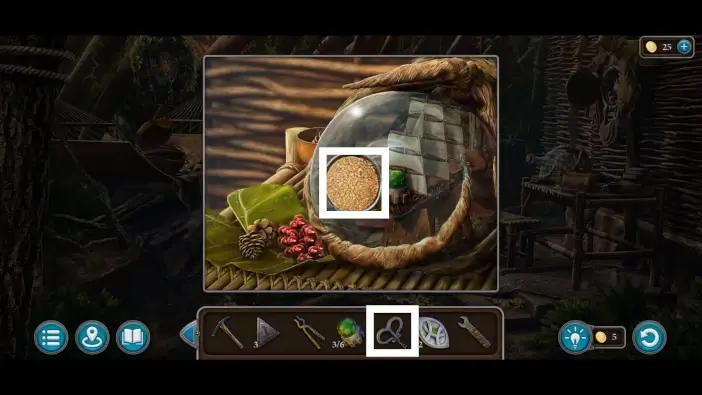
- Take the screwdriver from the box.
- Use the lens to better see the clue on the box. This clue shows which drawers you’ll need to open to unlock a hidden compartment.
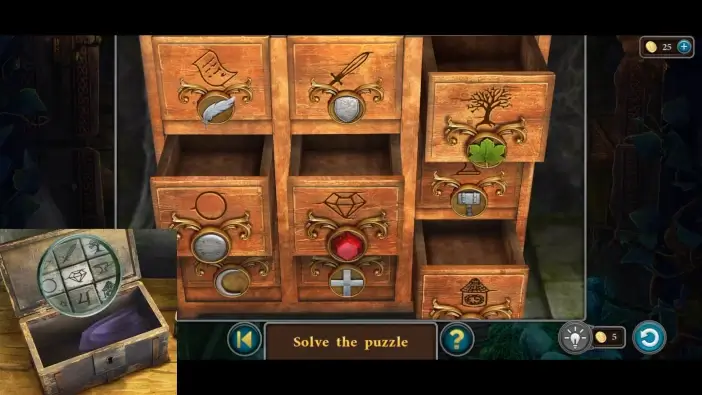
Open the drawers marked with white colors on the box’s clue, and the hidden compartment will open. The solution is in the picture above.
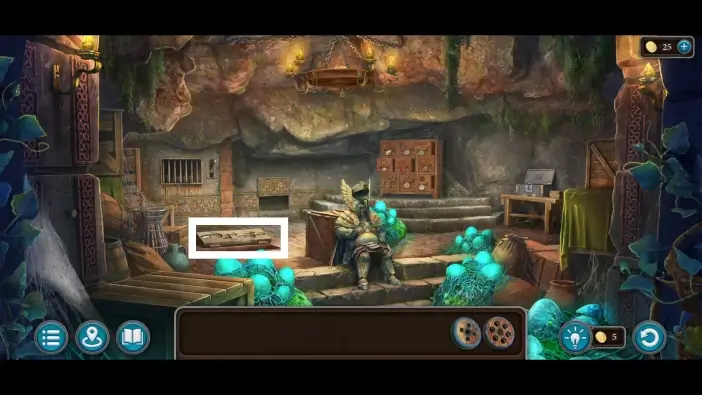
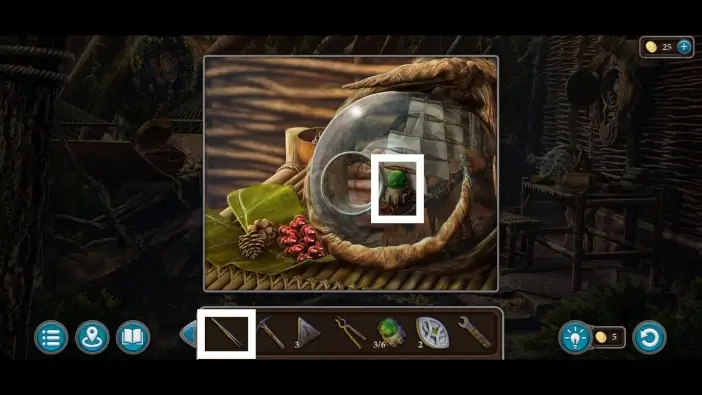
- Take the emblem from the hidden compartment (the game will automatically lead you to this location).
- Pick up the lever.
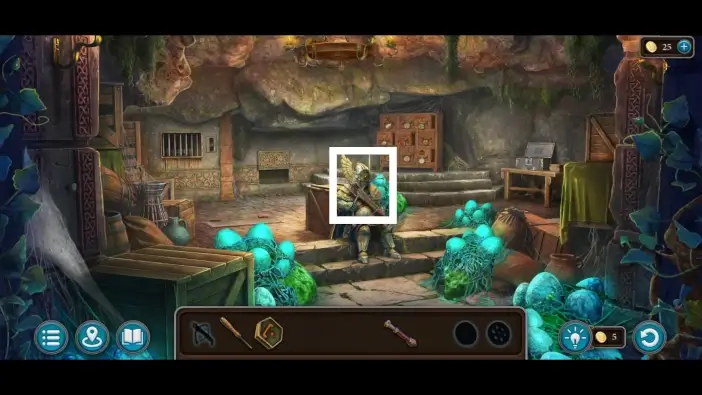
Approach the dead, armored, gmuri warrior.
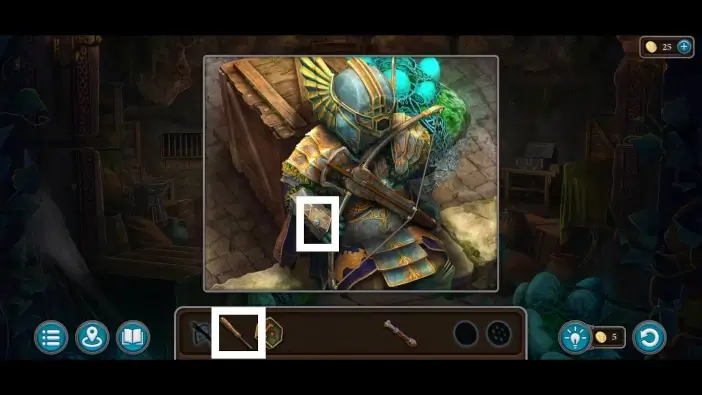
Use a screwdriver on the armor glove, and gmuri warrior will release the crossbow from his grip.
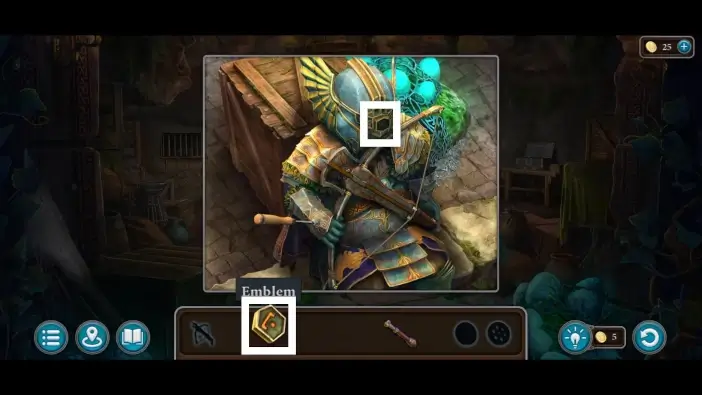
Place the emblem into the slot of the helmet to unlock it.
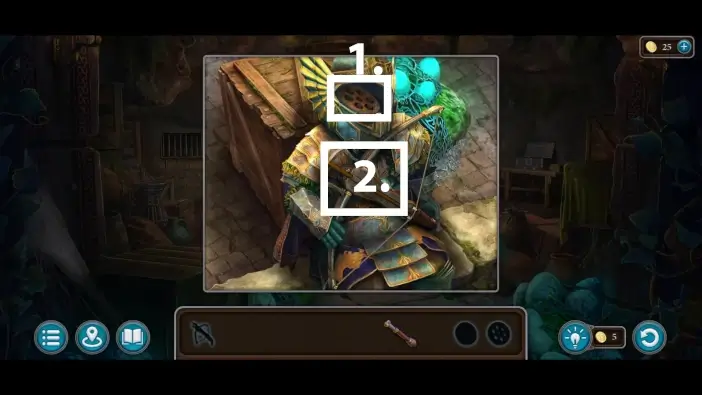
- Take the detail from the helmet.
- Take the crossbow from the gmuri’s hands.
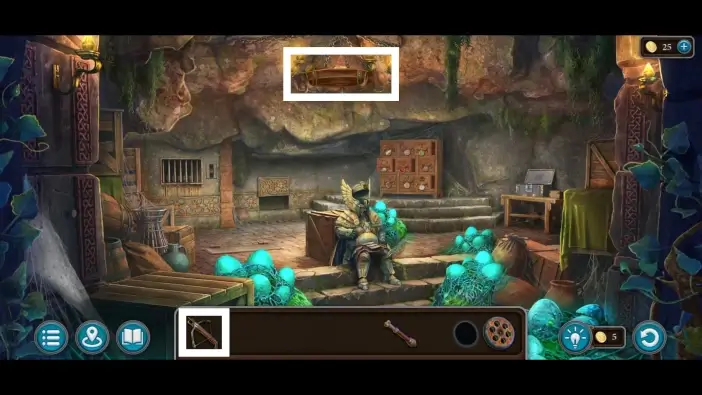
Use a crossbow to shoot down the second detail item from the chandelier.
- Pick up the second detail from the ground.
- Approach the bars on the left.
Attach the lever and activate it.
Approach the mechanism that appeared after lever activation.
Place the two details in their correct places.
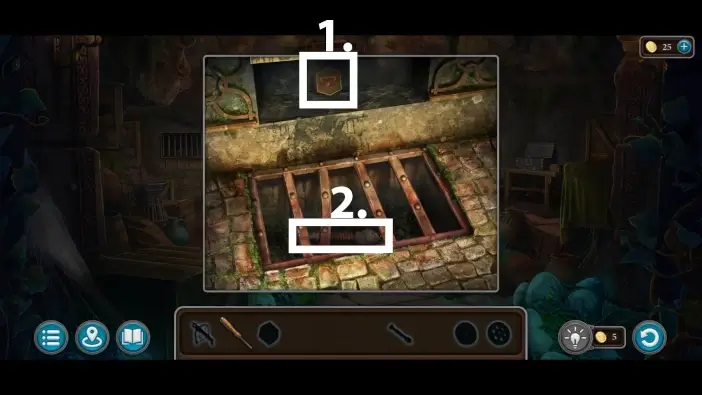
Return to the lever area, and you’ll notice that the bars are removed. Take the tile from the compartment, and the mini-game will be completed.
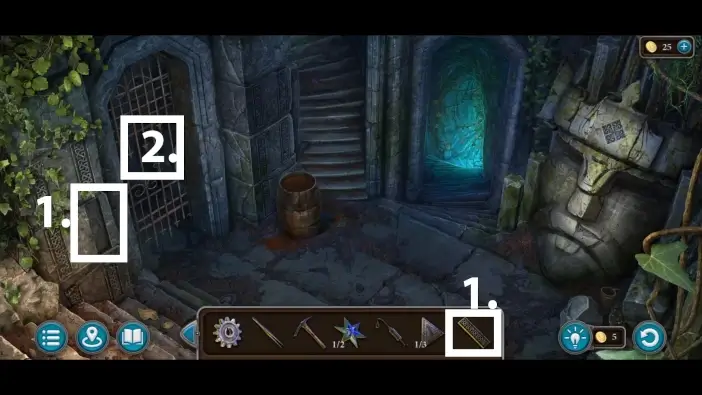
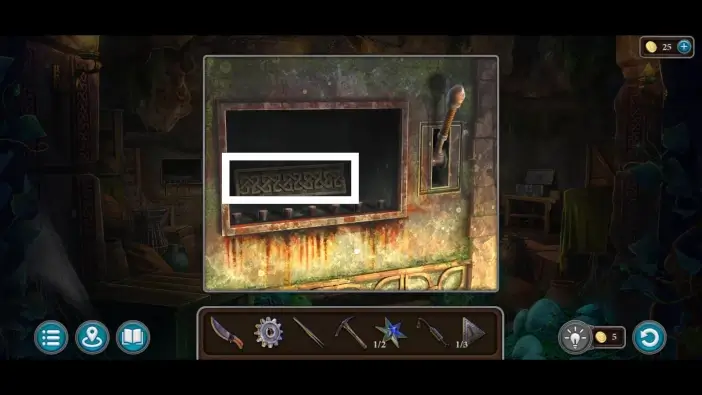
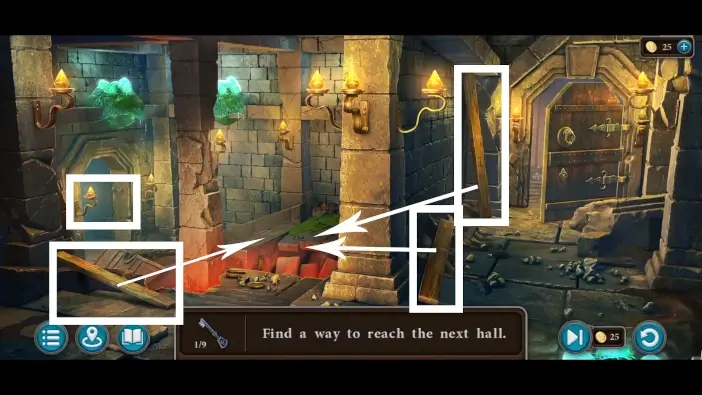
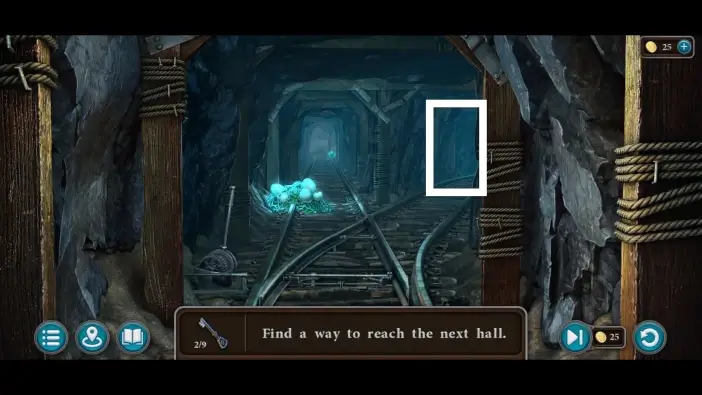
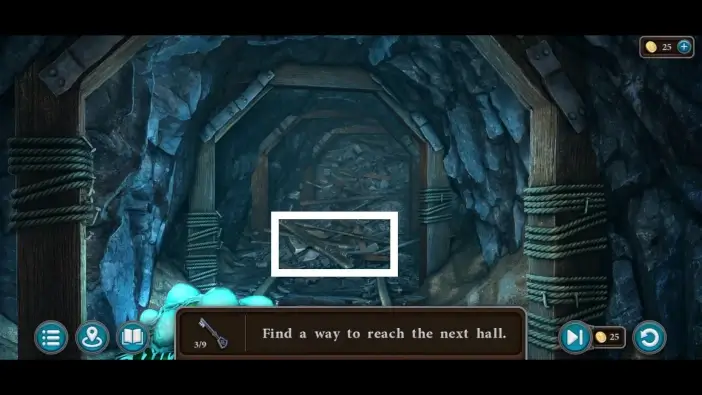
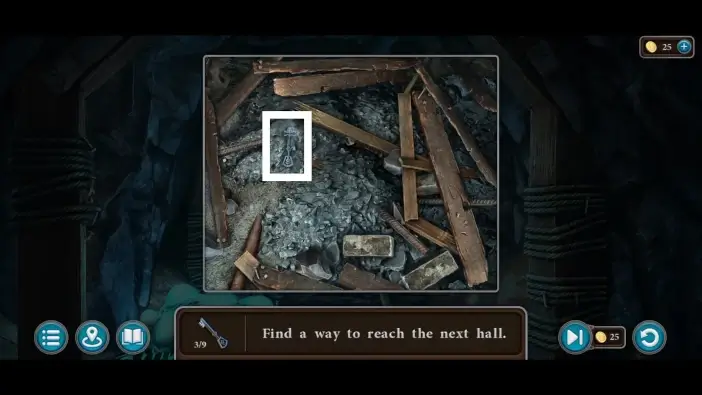
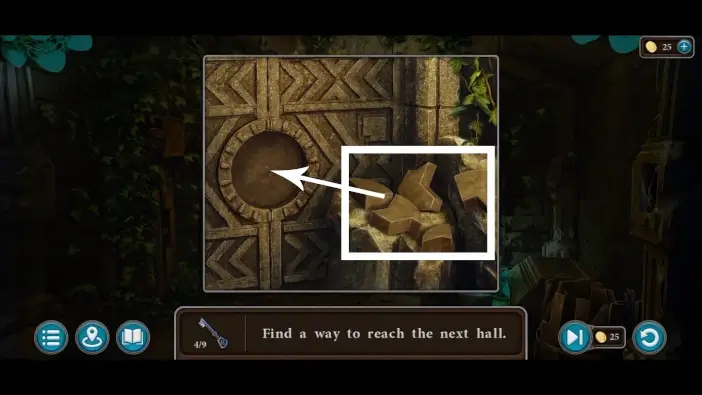
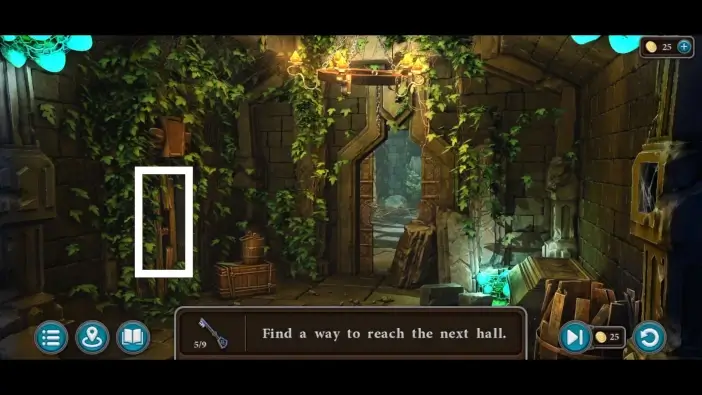
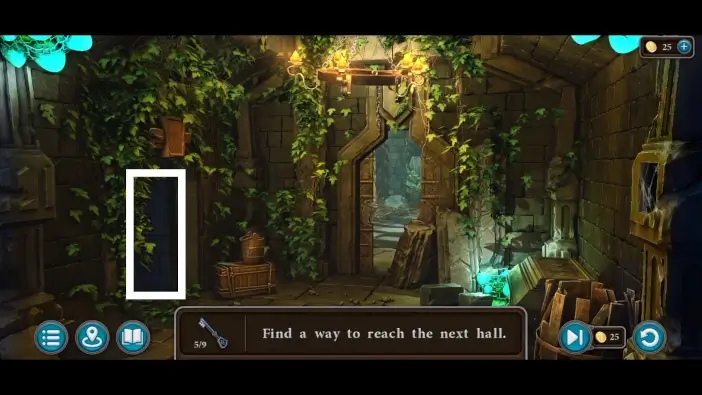
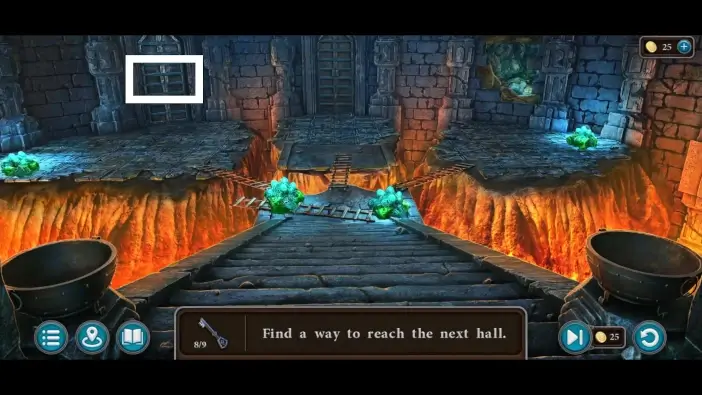
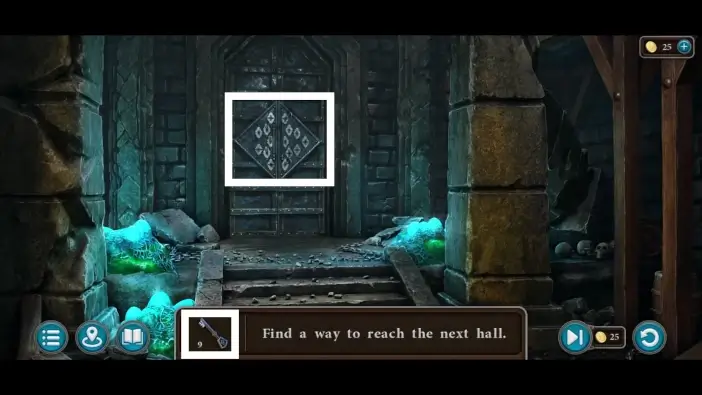
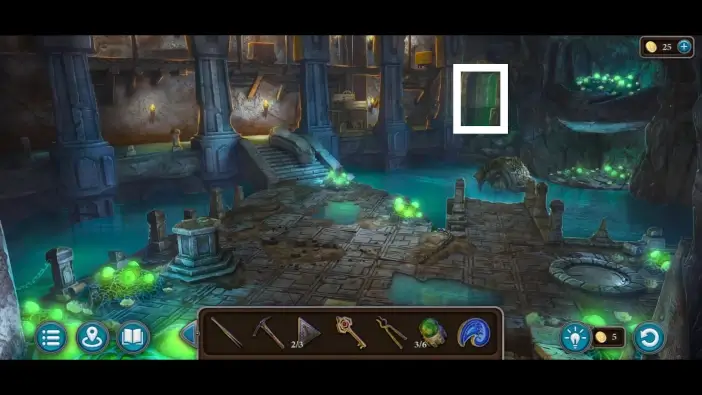
- Return to the first part of the hallway and place the bar you’ve just found in the slot on the left wall. This will unlock the left path.
- Go to the left path. You will enter the new labyrinth game.
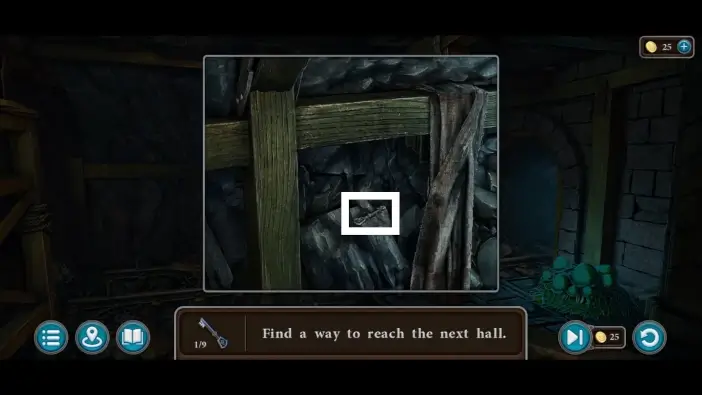
- In this labyrinth mini-game, you’ll need to find 9 keys. You’ll find the first one on the left pillar in the first area.
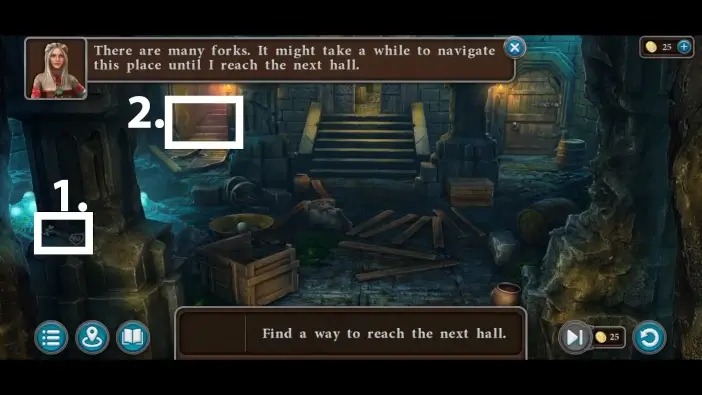
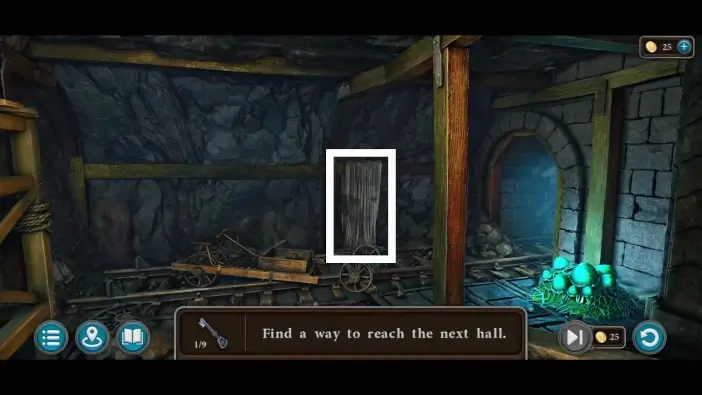
- Choose the path on the left.
Move three planks to the middle, where the whole is to form an improvised bridge, then go to the left.
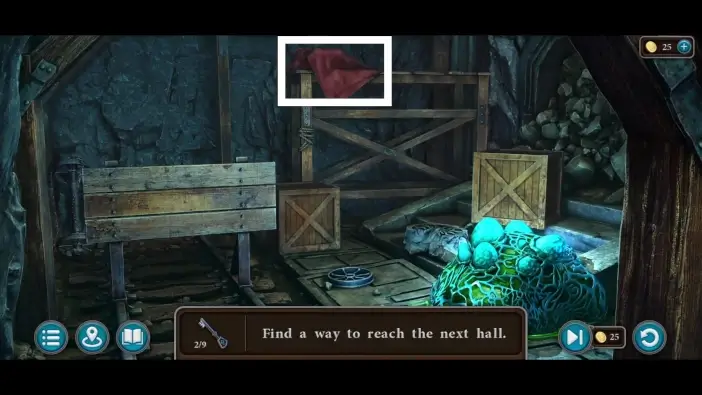
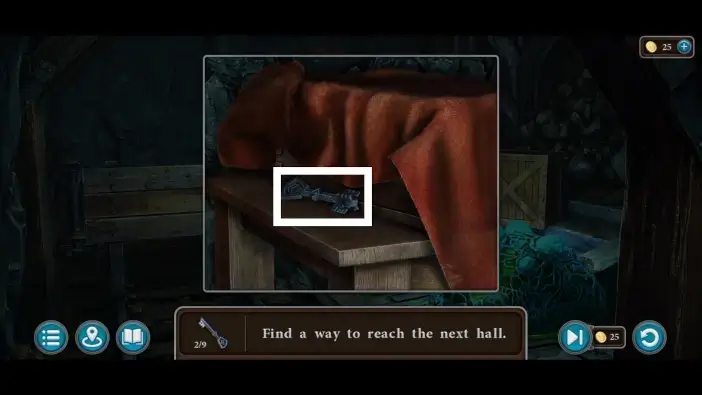
In the next area, approach the cloth.
Move the cloth and take the second key.
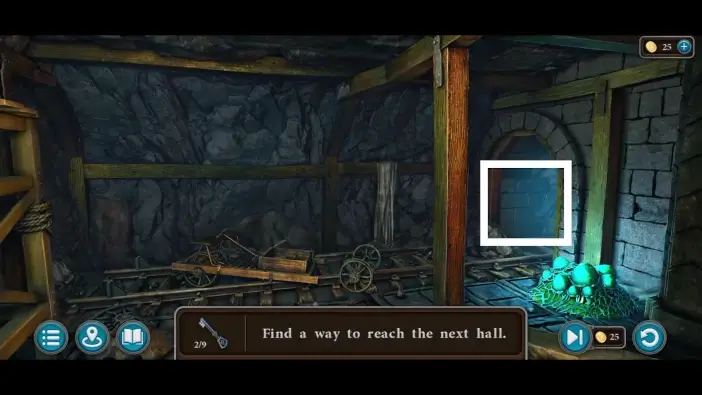
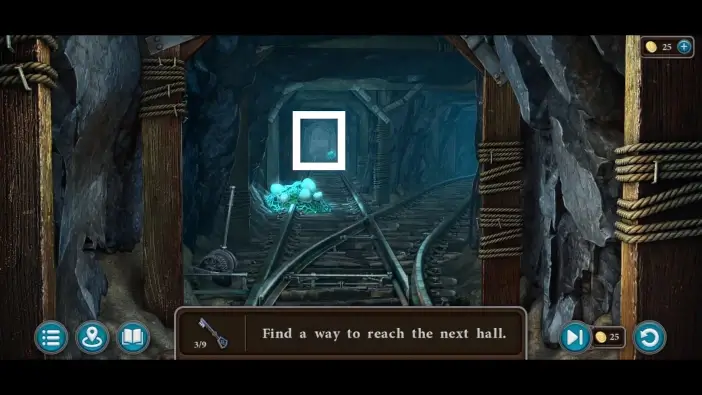
Go right, into the next area.
Choose the path on the right.
Move the cloth on the top wooden beam.
Take the third key.
Return to the previous section and choose the path forward.
Approach the rubble.
Move the rubble and pick up the fourth key.
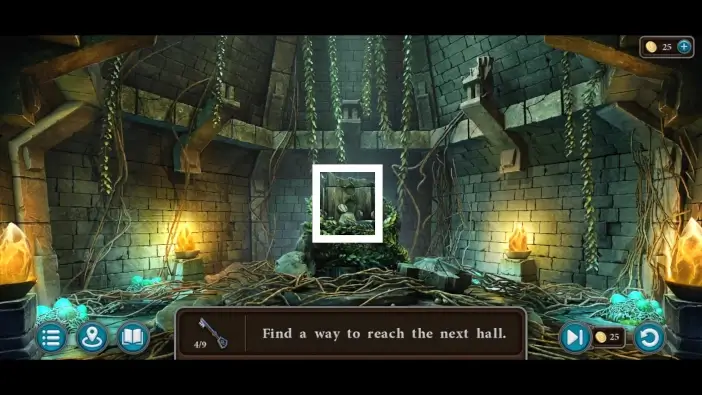
Return to the area where you formed the improvised bridge and go past the door on the right.
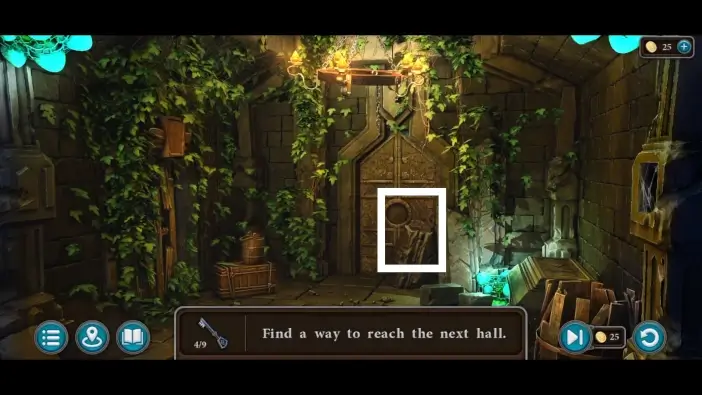
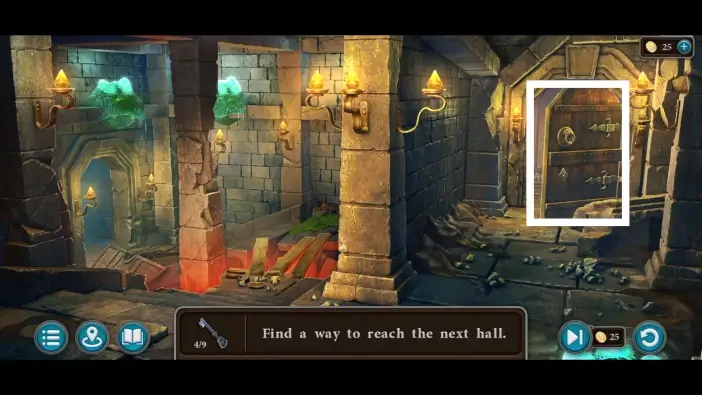
Approach the stone door.
Use the seal pieces to assemble the seal on the door. Once you complete the seal, open the door and enter the new location.
Approach the throne.
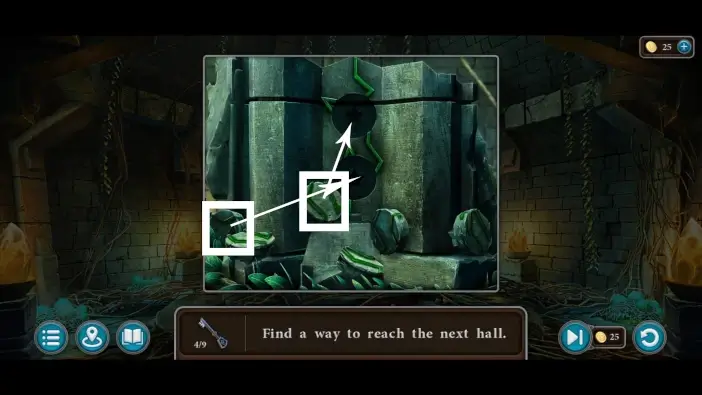
Place the stones that are marked in the picture above into the slots marked by arrows. The goal is to have a continuous green line on the throne.
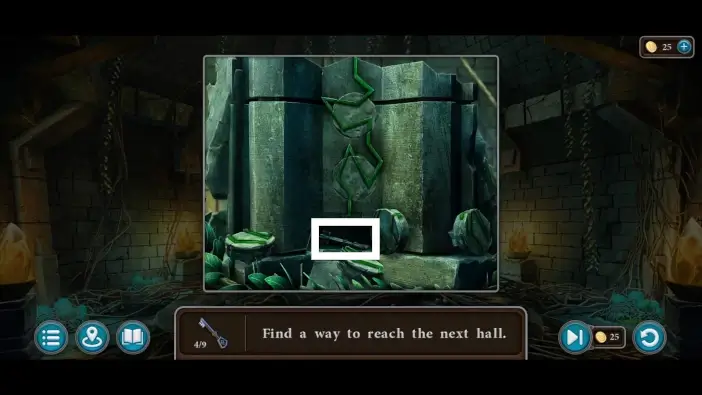
If you are successful, the hidden compartment will open, and you can take the fifth key.
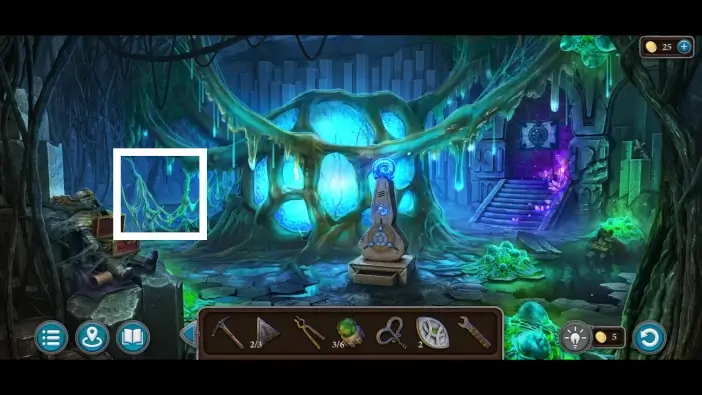
Exit the throne room and approach the barricaded path on the left.
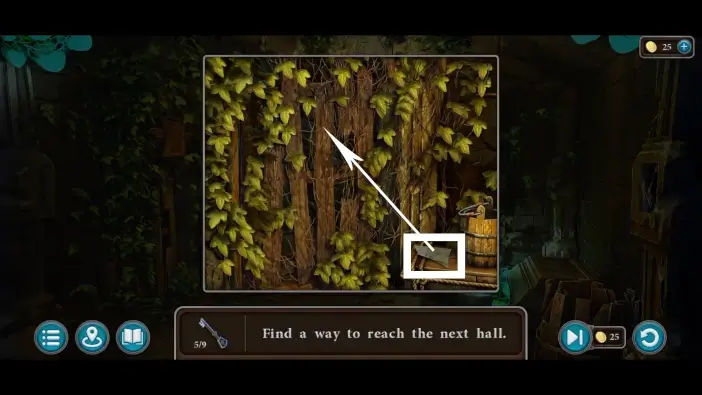
Use a piece of glass to remove the leaves and the wooden barricade.
Once you remove the barricade, enter the left passage.
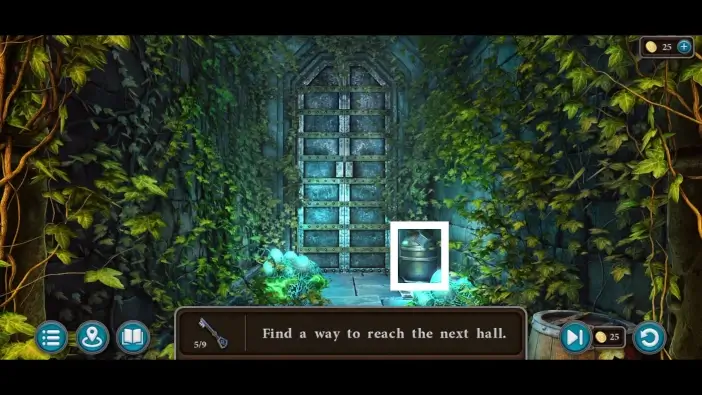
In the new hallway, approach the box in the corner.
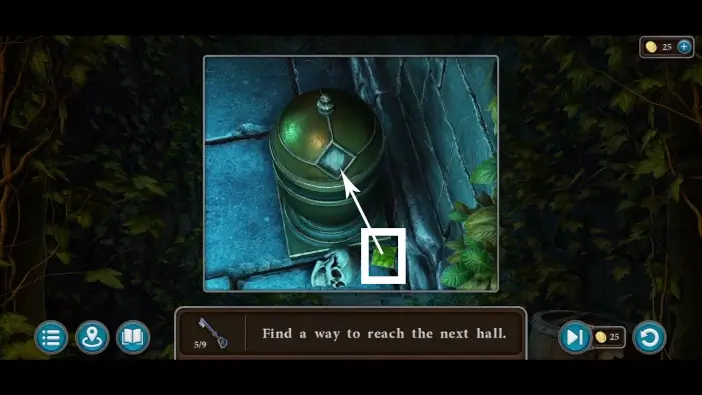
On the ground, move away the skull to reveal an item. Use that item to unlock the box and take the sixth key.
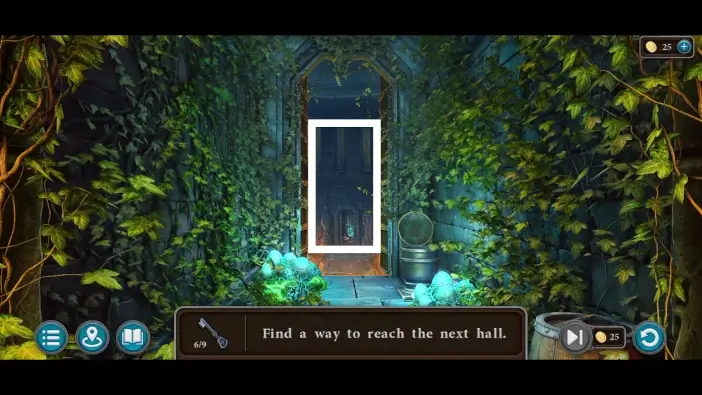
Open the next door and enter the new area.
- In the new area, take the seventh key from the brazier on the left.
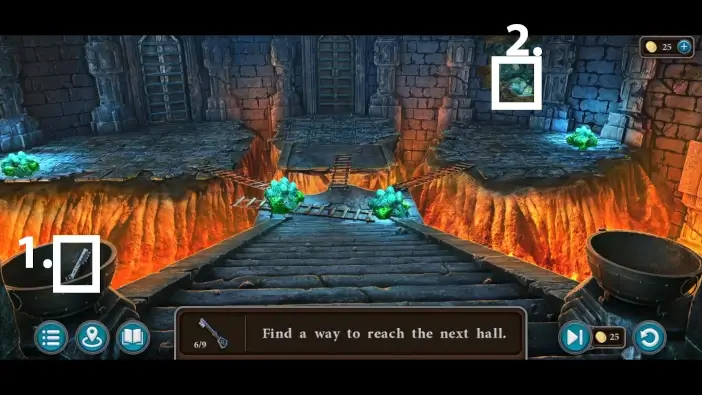
- Go through the hole in the wall to visit the new area.
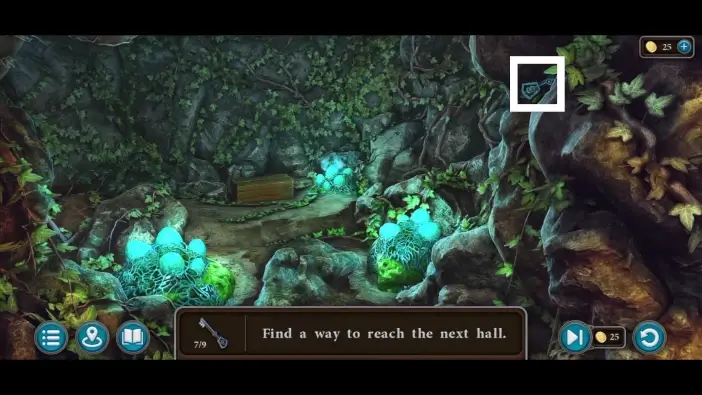
Take the key from the rock on the right.
Return to the previous area and enter the door on the left.
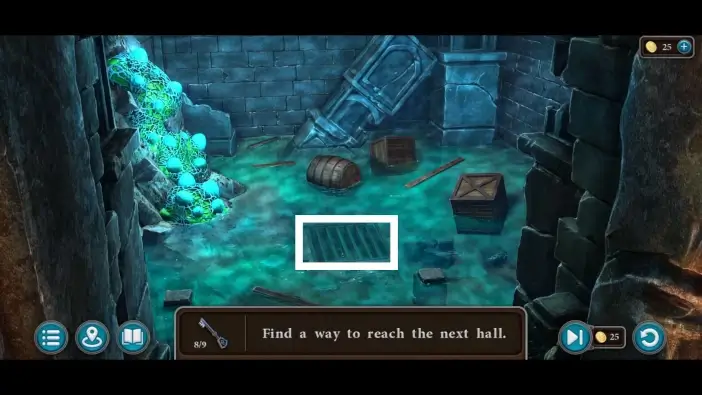
Approach the bars on the floor.
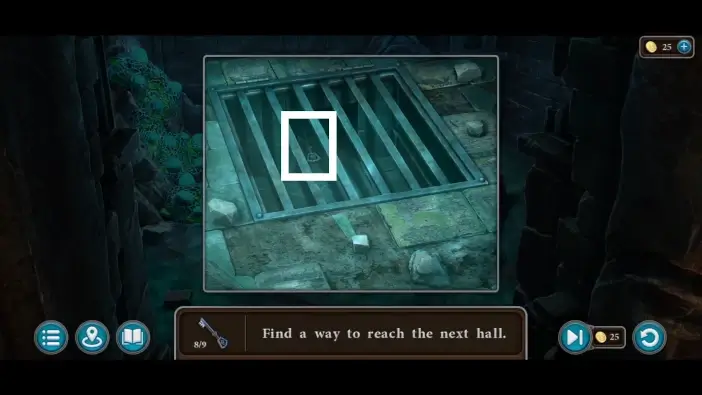
Take the final key.
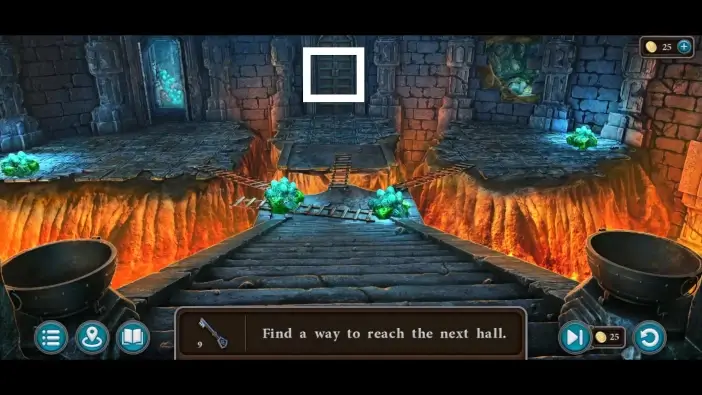
Return to the previous area and approach the door in the middle.
Use the nine keys you’ve collected to unlock the door and enter the new area. The labyrinth mini-game will be completed.
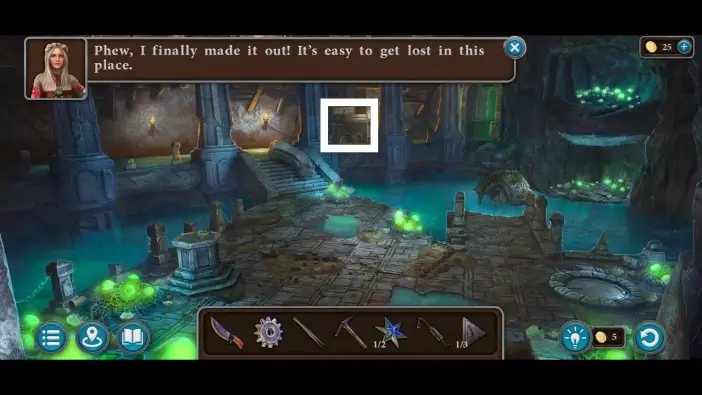
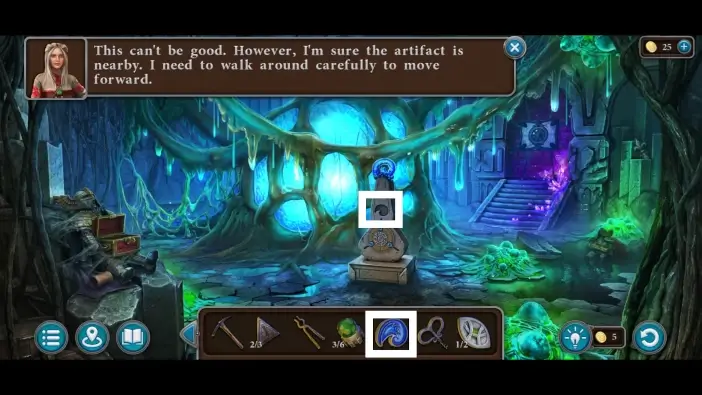
In the new gmuri area, approach the mechanism on the far side of the room.
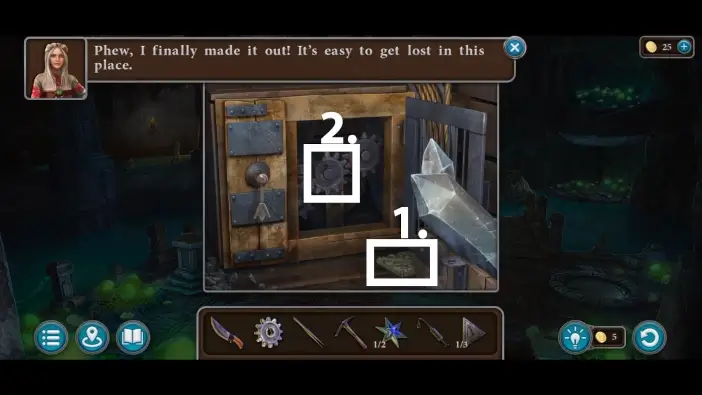
- Pick up the pattern. You’ll need it to start a puzzle challenge on the statue in the first area of the hallways.
- Remove the old gear from the mechanism.
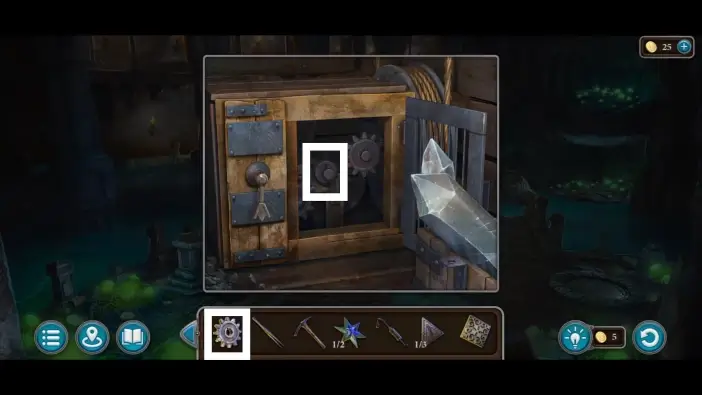
Place the new gear where the old one was.
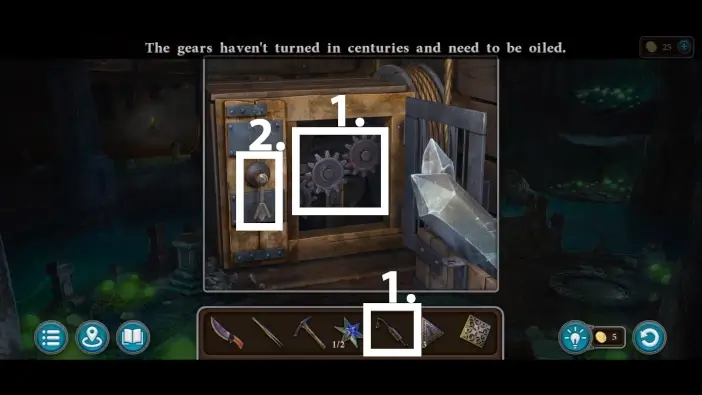
- Use the oiler on the gears.
- Activate the mechanism using the handle on the left. The elevator will start moving, and it will unblock the path to the new area.
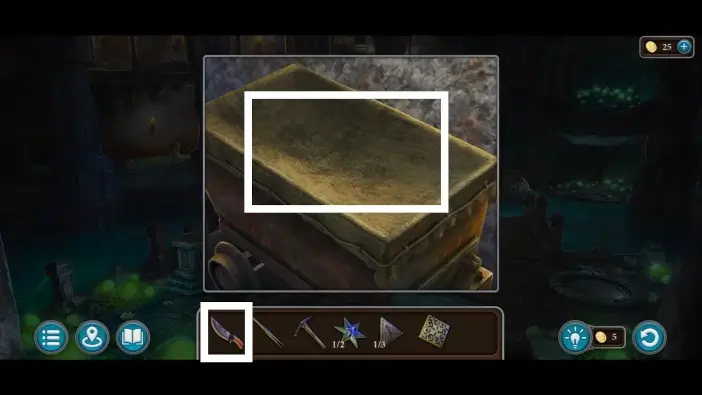
Use a knife to cut the cloth on the cart on the elevator.
Take the key and the pincers from the cart. You’ll use the key to open one chest and the pincers to get one item in the crack on the ground.
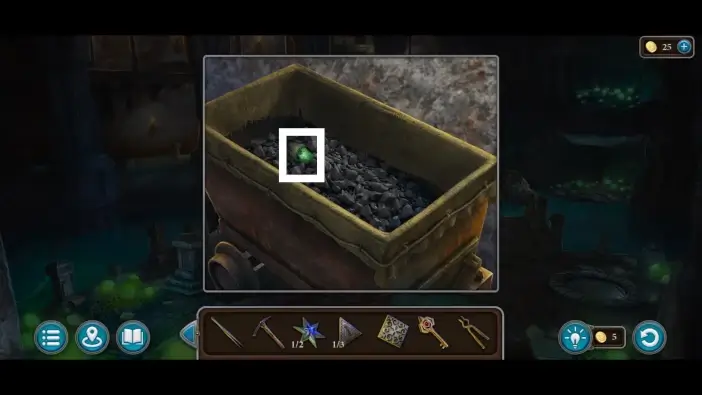
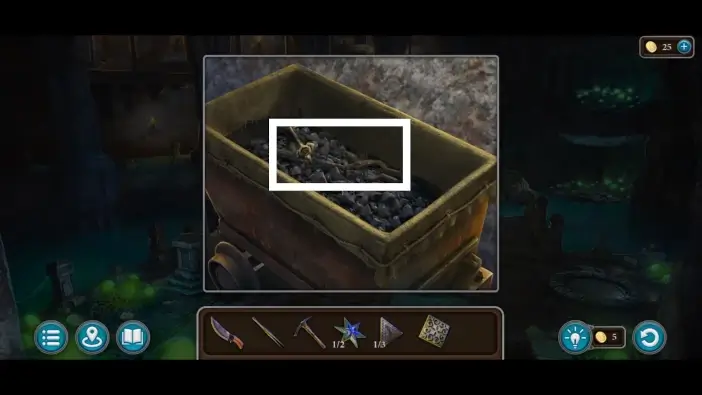
Move some charcoal in the cart to reveal an additional item. Pick up the first sphere. You’ll need six spheres in total to unlock one door later.
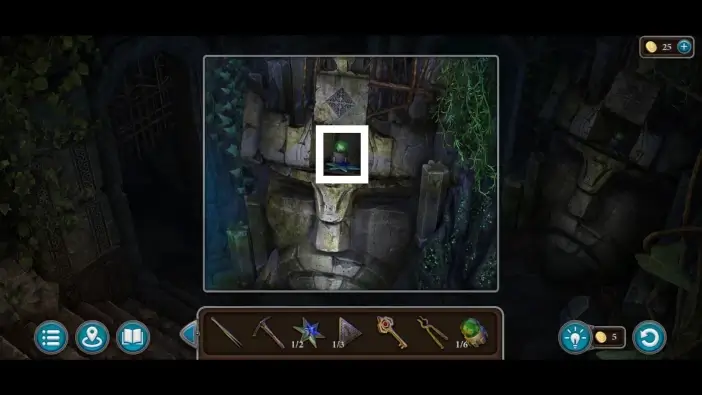
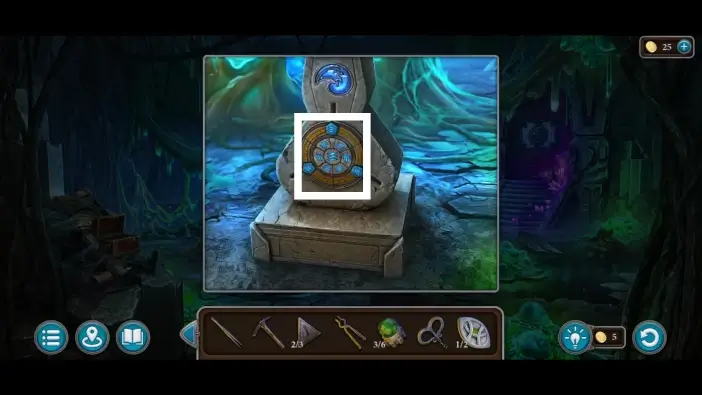
Go to the first area of the hallway of the catacombs and place the pattern on the statue on the right to start a new puzzle challenge.
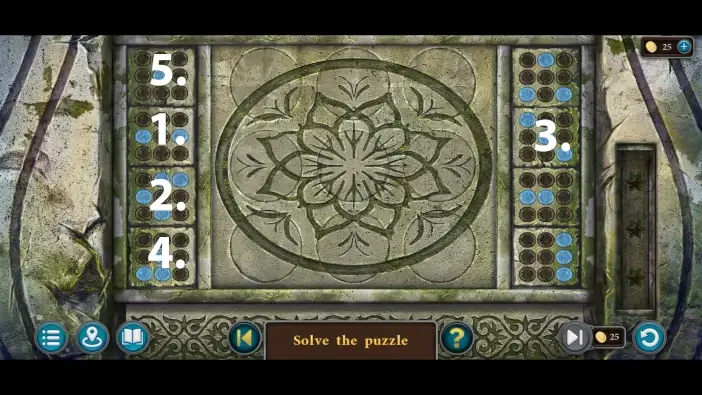
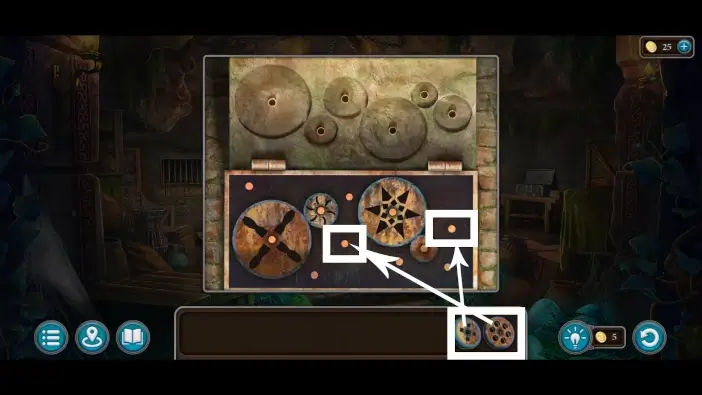
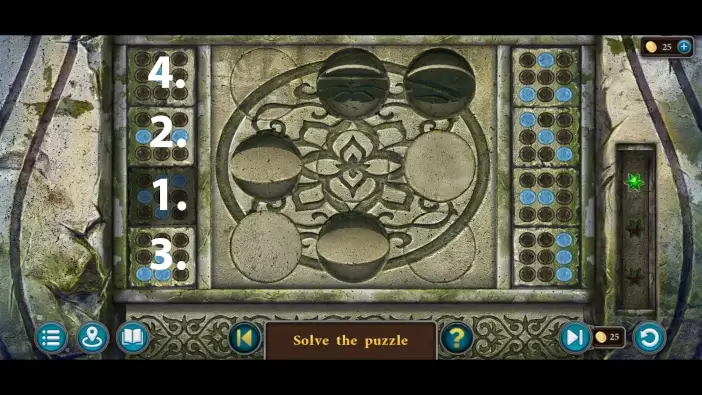
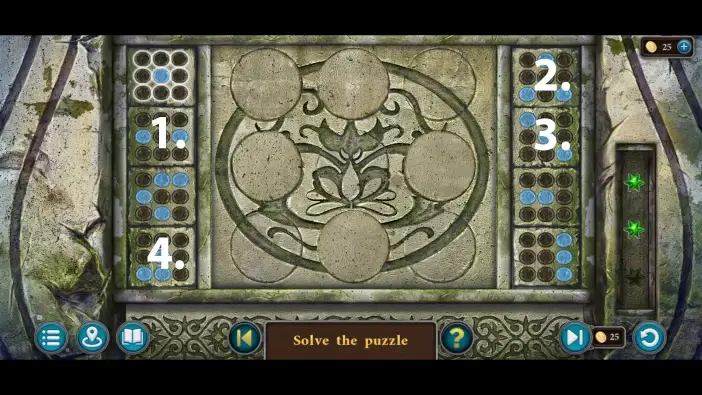
In this puzzle challenge, there will be buttons on the sides that will flip certain circular fields. You’ll need to click on the buttons in the correct order to form the pattern on the statue. There will be three phases of this challenge. Follow the numbers on the pictures in this guide to easily solve this puzzle.
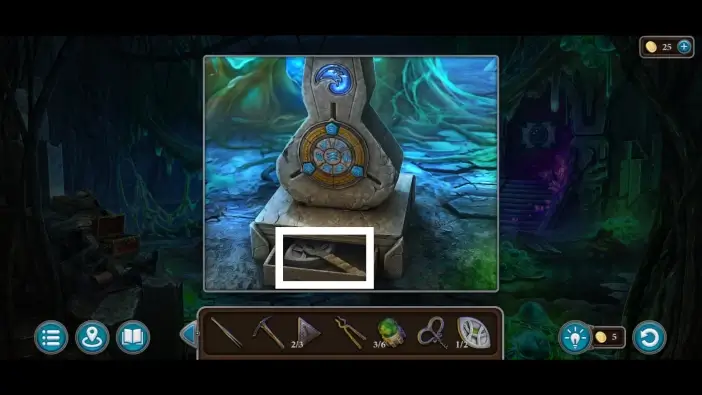
Once you complete the previous puzzle challenge, a compartment in the statue will open. Take the second star-shaped object and the second sphere from the compartment.
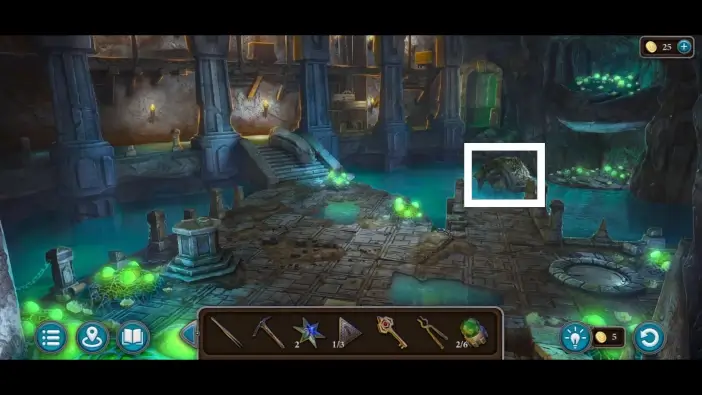
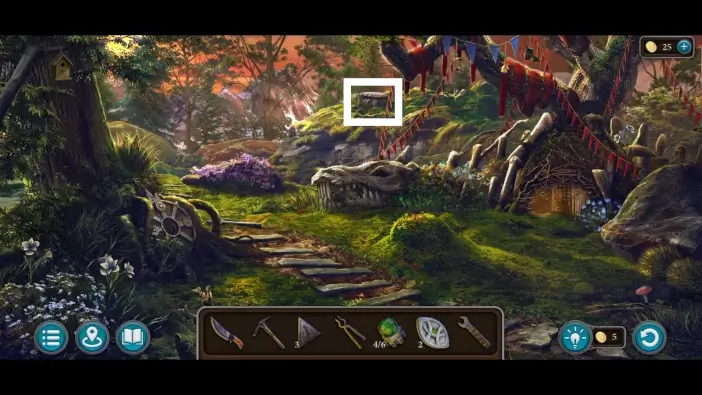
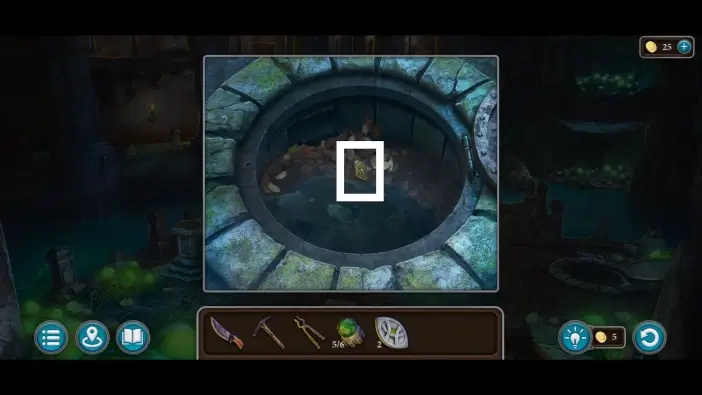
Return to the area in the picture above and approach the sunken statue.
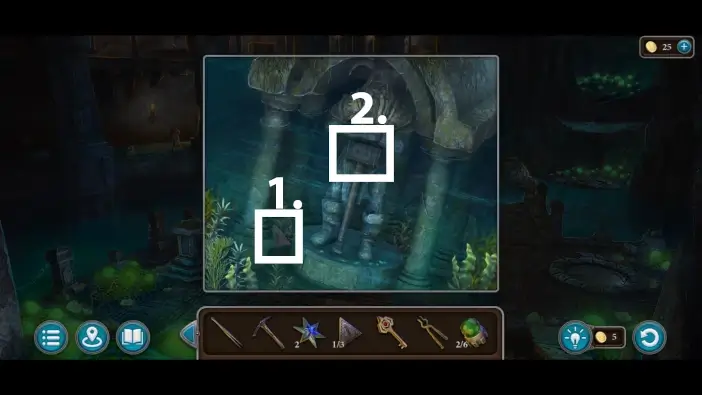
- Pick up the second triangle.
- Approach the hammer part of the statue.
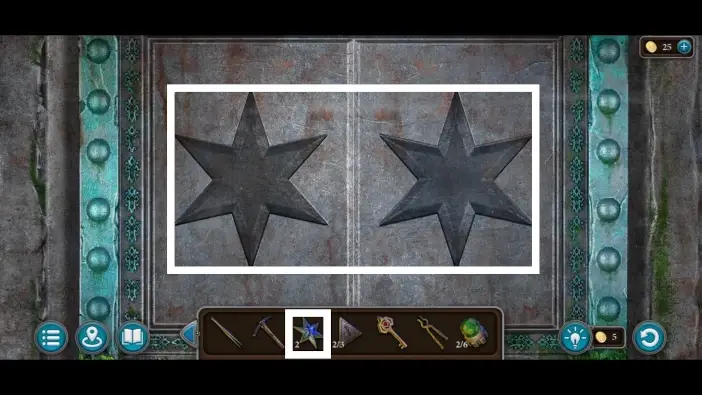
Place the two star-shaped items on the hammer to start a new puzzle challenge.
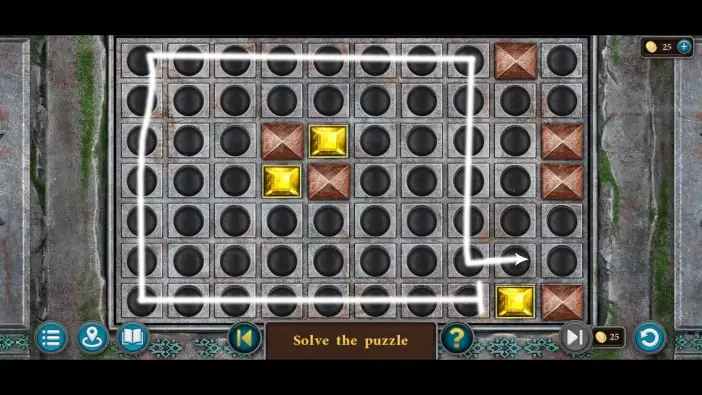
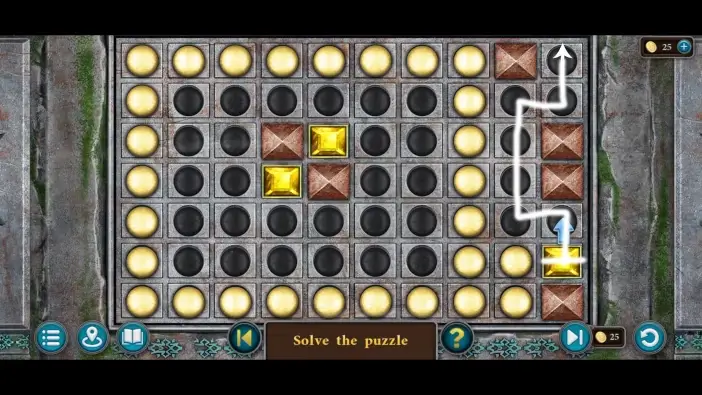
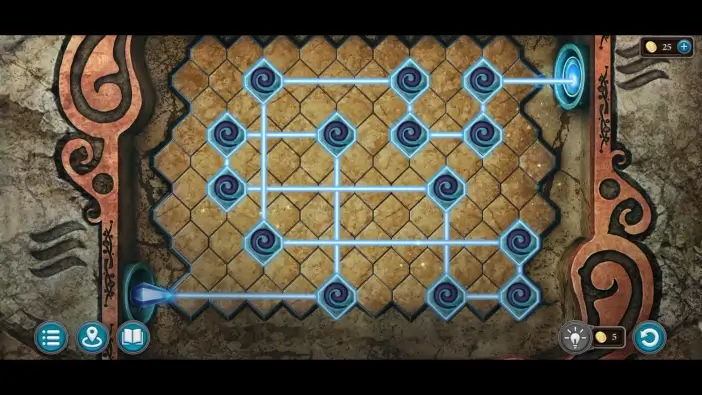
In this puzzle challenge, you’ll need to mark all circles on the board. You can mark them by moving the gold gem, and whenever the gold gem moves, it will leave a trail of marked circles. Follow the arrows and paths in the pictures in this guide to solve this puzzle in no time.
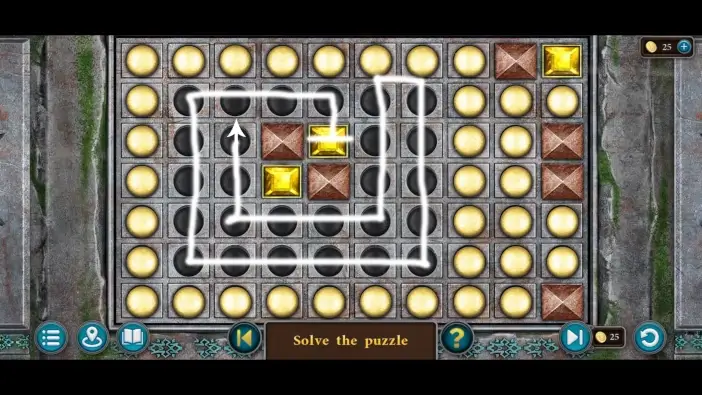
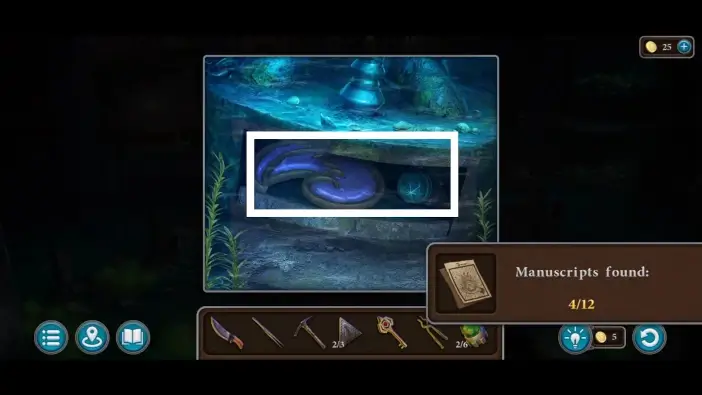
Once you solve the previous puzzle challenge, the compartment beneath the statue will open. After taking the manuscript, take the blue stone symbol and the third sphere. You’ll use the stone symbol for the next stone monument.
Go to the new area on the right.
The next area of the catacombs is the Xorhi nest. Use the key to unlock the small chest on the left.
Take the corkscrew and the first eye-shaped item from the chest.
Place the stone symbol in the slot in the monument.
Approach the lower part of the symbol to start a new puzzle challenge.
In this puzzle challenge, you’ll need to click on the runes in a specific order to guide the ray from the crystal in the bottom-left corner to the stone in the top-right corner. Follow the ray from the crystal in the picture above to click/tap on the runes in the correct order.
Once you solve the previous puzzle challenge, the drawer below the monument will open. Take the wrench and the second eye-shaped item.
Approach the left part of the room.

Pick up the third triangle from the ground.
Go back inside Radictis’s nook and approach the bottle on the right.
Use the corkscrew to open the bottle.
Use the tweezers to get the fourth sphere.
Exit the Radictis’s nook and in the forest area, approach the large chest in the distance.
Use the three triangles to unlock the chest.
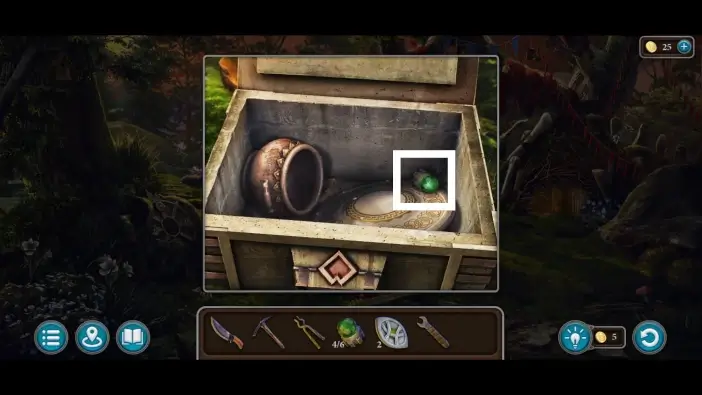
Take the fifth sphere from the chest.

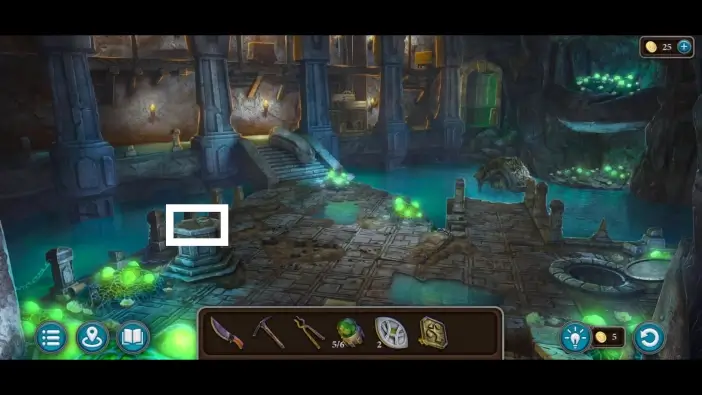
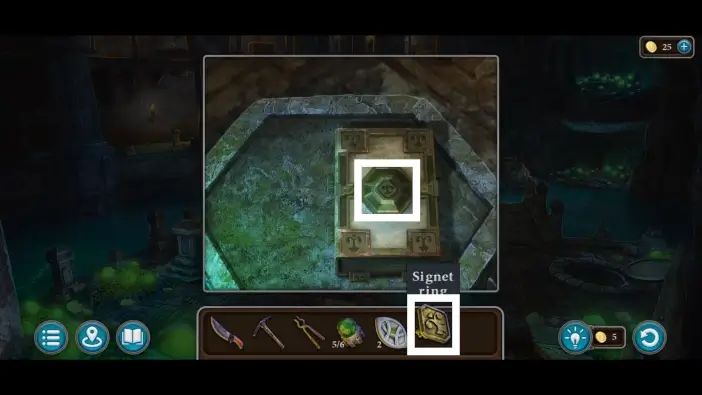
Return to the catacomb area in the picture above and use the wrench to open the lid on the right.
Take the signet ring.
In the same area, approach the book on the pedestal on the left.
Use the signet ring to unlock the book.
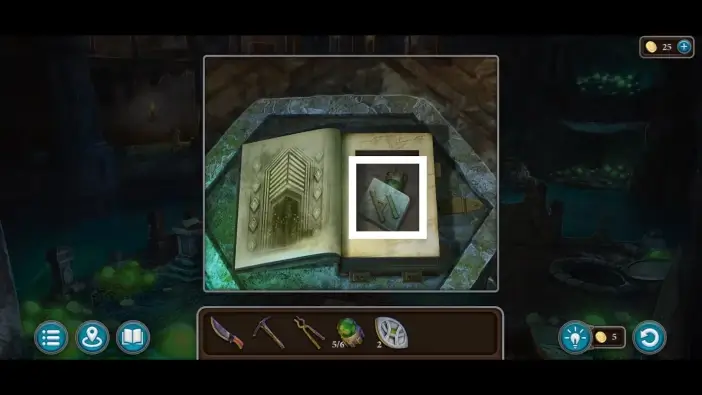
Pick up the first rune and the last sphere from the book. You’ll need four runes to acquire the artifact and finish Chapter 1.
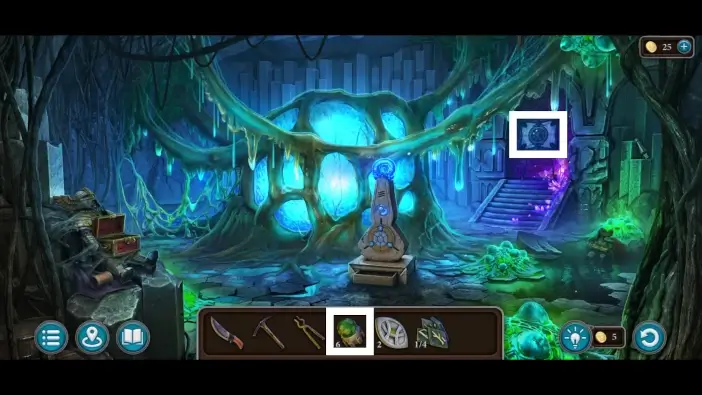
Go to the Xorhi-infested location. Place the six spheres on the right wall, and a new puzzle challenge will start.
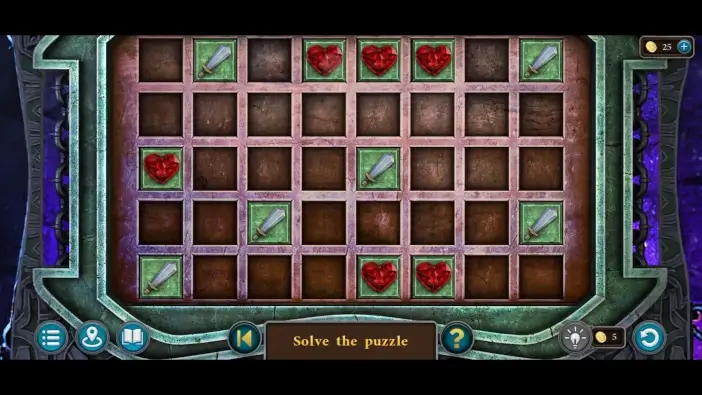
Rearrange the hearts to be in positions like in the picture above to solve this puzzle challenge. Hearts should not touch any sword.
Once you solve the previous challenge, the wall on the left will move, and a new path will appear. Use a knife to cut some of the Xorhi’s web and go through that path. A new cutscene will begin.
This will mark the end of Part 3 of our guide for Chapter 1 of Legendary Tales 5.
Thank you for reading!