Legendary Tales 5 – Chapter 1: Secret of the Island | Part 1
Intro
Welcome to our walkthrough for Part 1 of Chapter 1 of “Legendary Tales 5” from “FIVE-BN GAMES”. Lucia may have found shelter on the mythical island, but she’s not giving up seeking a way to help her friends.
Walkthrough
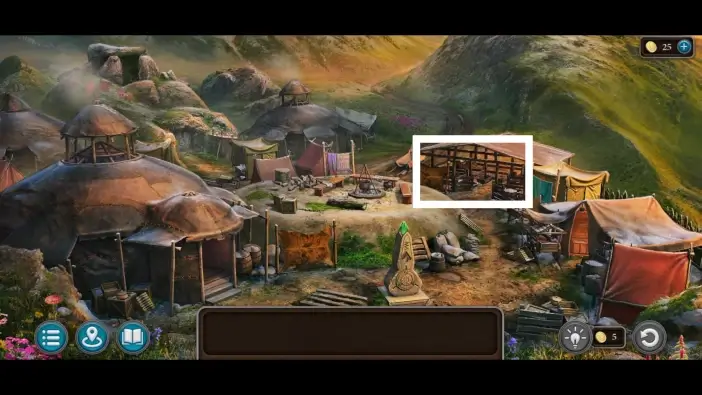
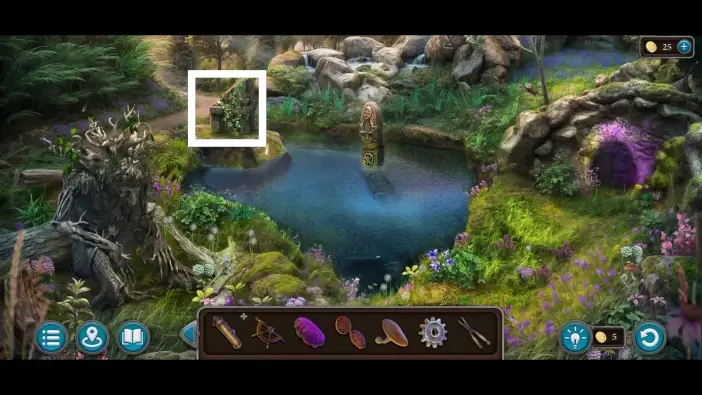
After the cutscene ends, in the camp, go to the stables.
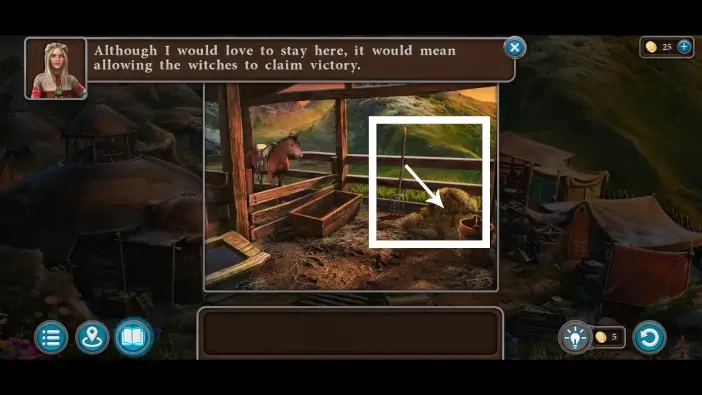
Use the pitchfork to move the hay to feed the horse.
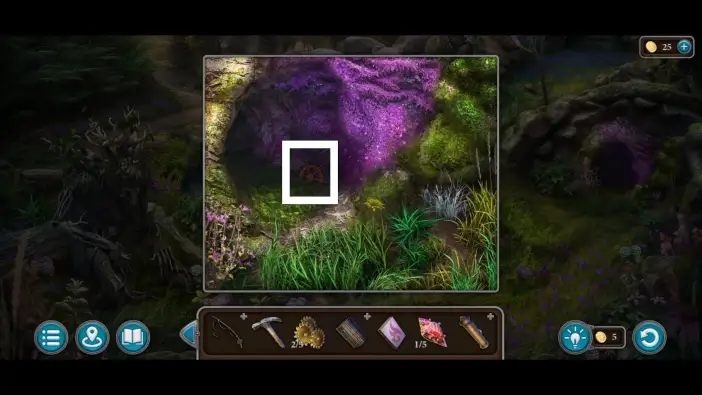
While the horse is eating hay, take the bag from the horse’s back. You’ll need to find the item that can unlock the bag.

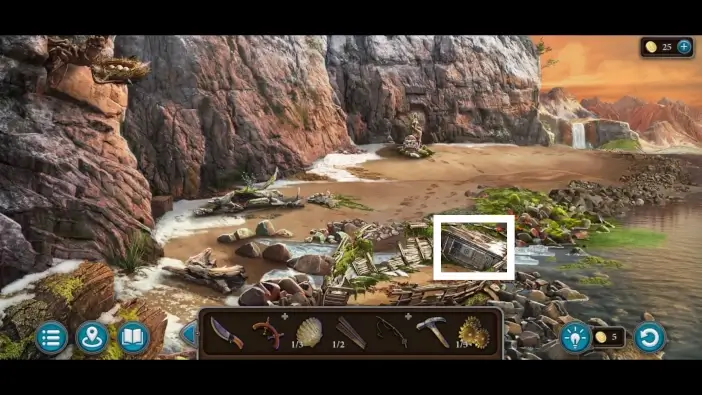
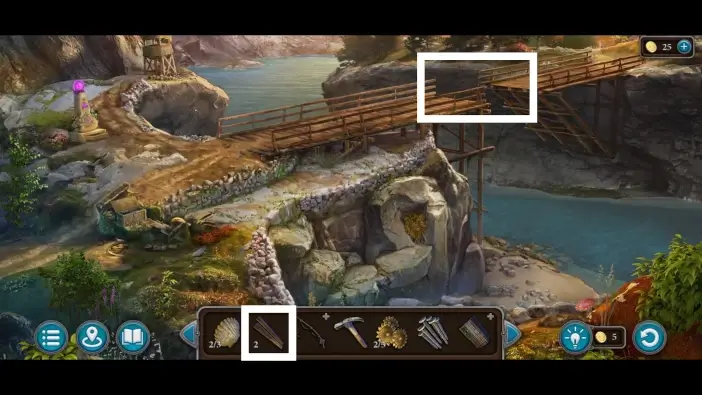
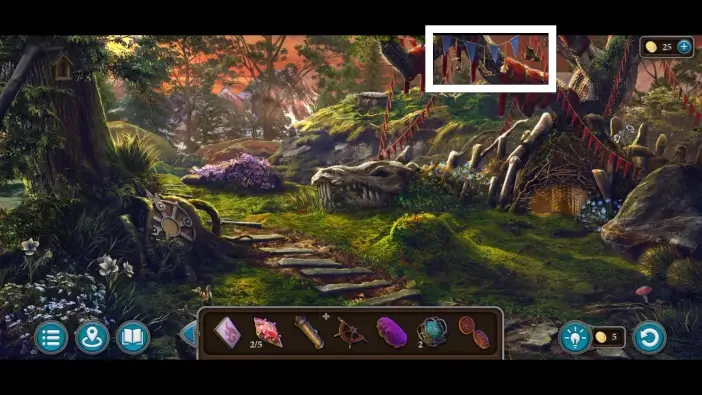
Go to the northern road towards the broken bridge.
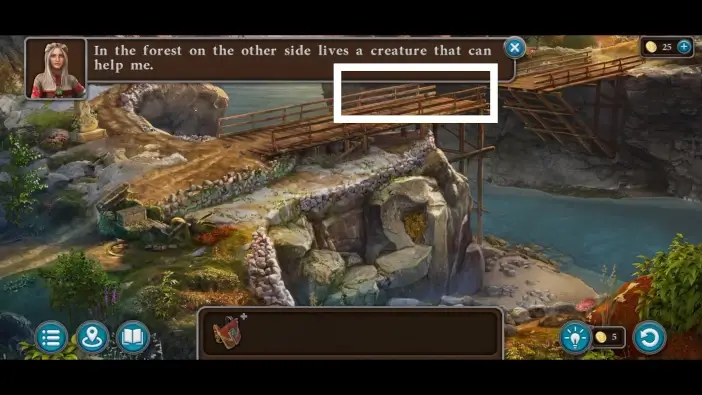
Approach the broken part of the bridge.
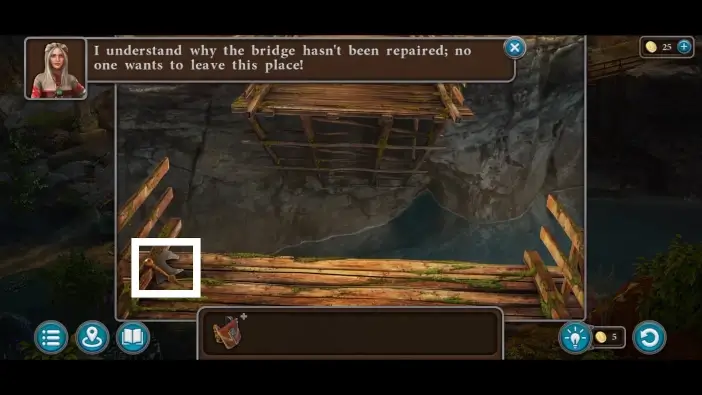
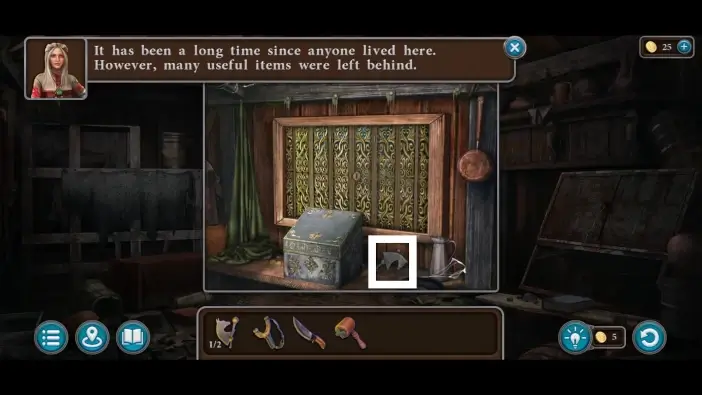
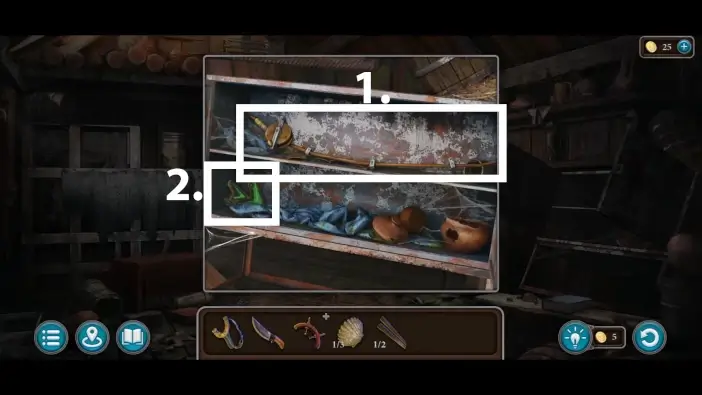
Take the first horse-shaped item from the bridge. You’ll need one more horse-shaped item to unlock the chest near the bridge.

Approach the chest near the bridge.
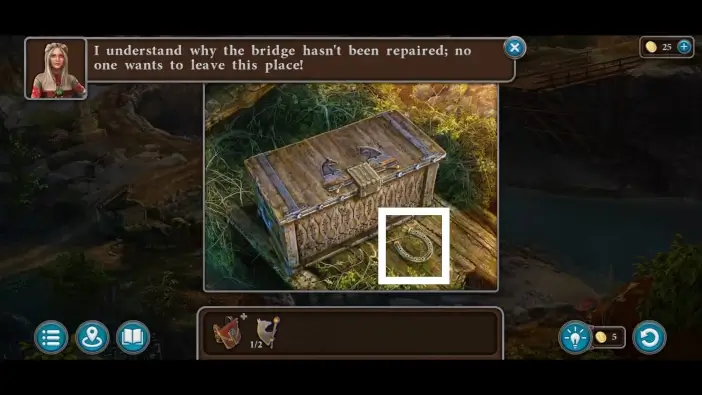
Pick up the horseshoe near the chest.

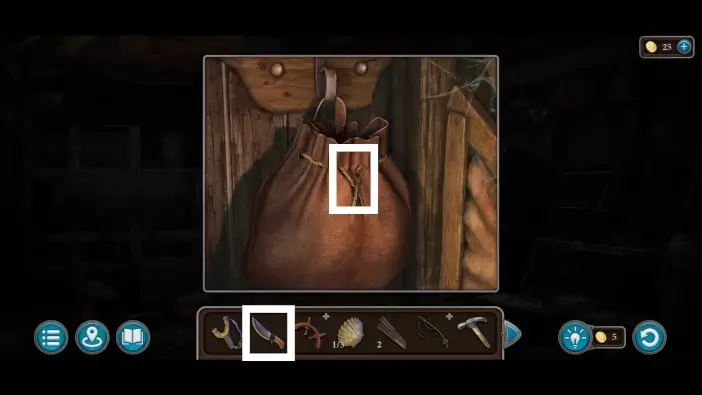
- Click on the bag in your inventory to examine it more closely.
- Place the horseshoe you’ve just found to unlock the bag.
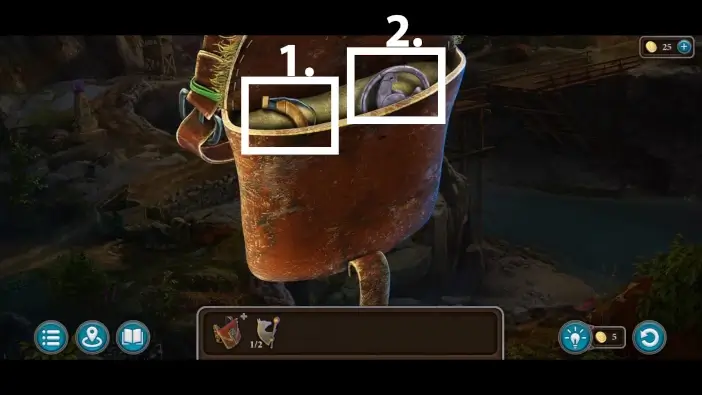
- Take the slingshot from the bag. You will use it to shoot at the item that will hang on a high tree branch later.
- Pick up the key from the bag. It is a key for the trapdoor in Lucia’s tent.

Return to the camp area and enter Lucia’s and Ulf’s tent on the left.
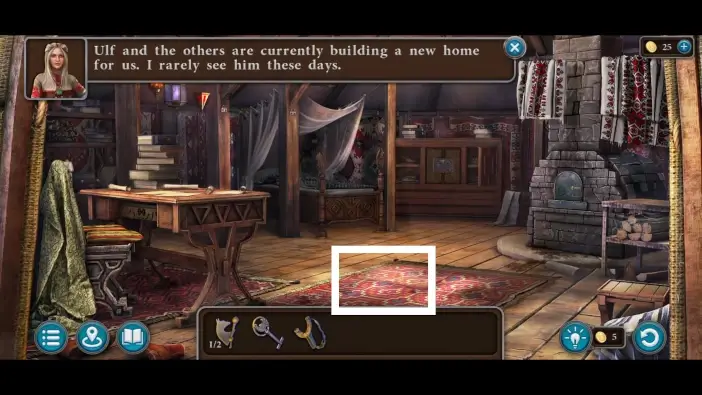
Inside the tent, remove the carpet to reveal the trapdoor.

Use the key you got from the bag to unlock the trapdoor.
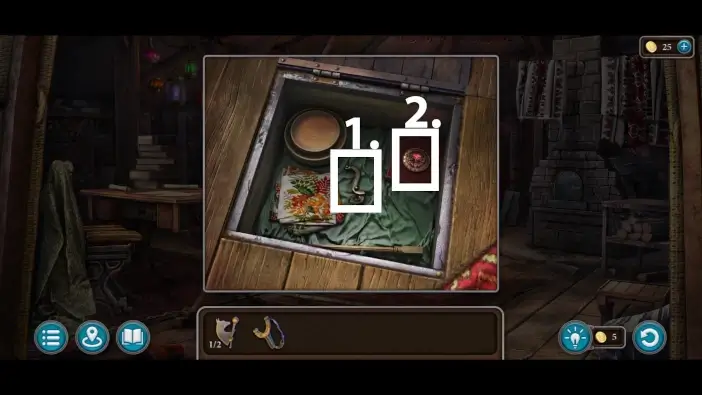
- From the compartment on the floor, take the handle. You’ll use the handle to open the furnace in Lucia’s tent.
- Take the first butterfly token. You’ll need to find one more butterfly token to unlock a cupboard in the same tent.
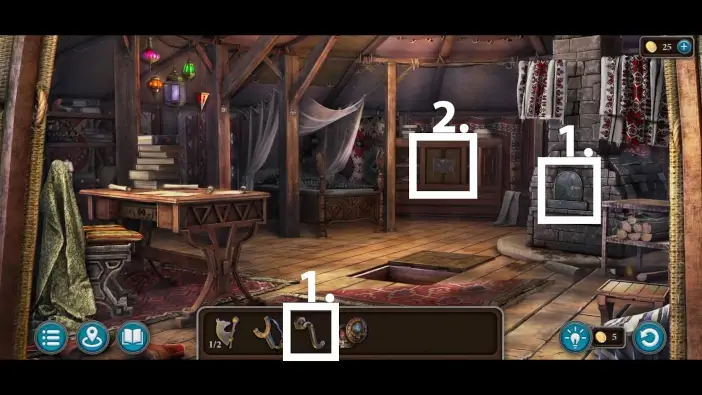
- Use the handle to open the furnace on the right and take the second butterfly token.
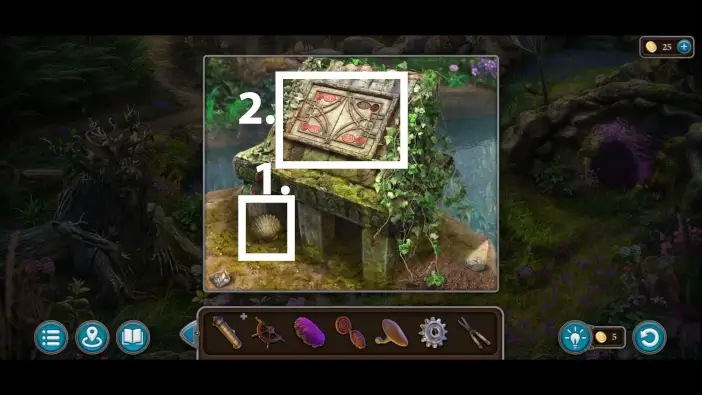
- Approach the cupboard.
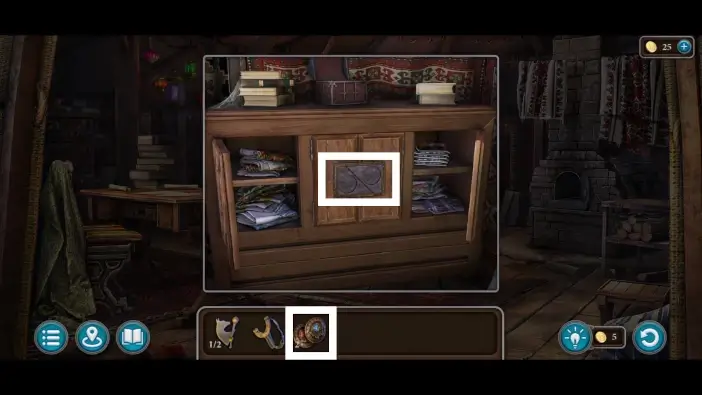
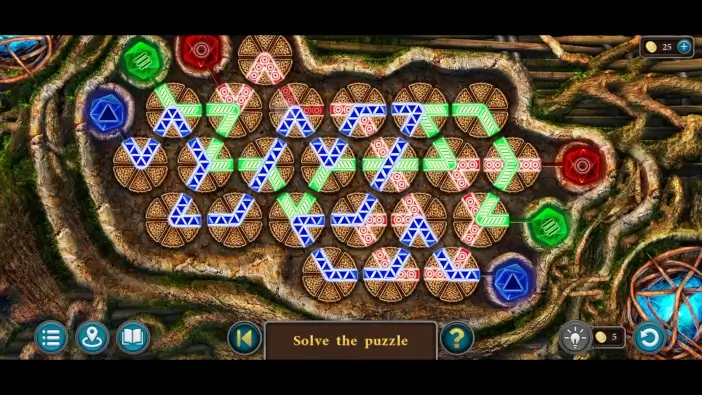
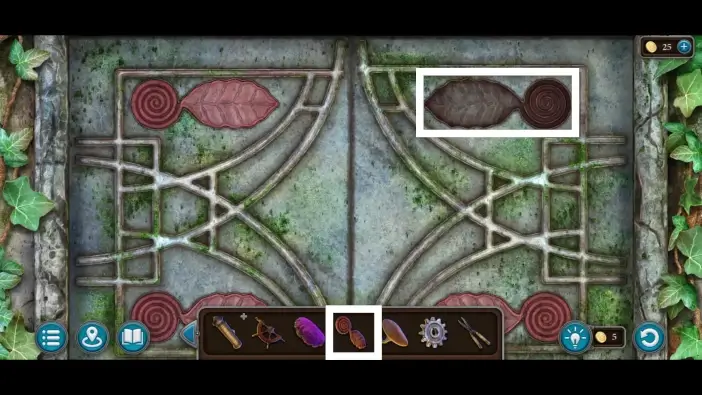
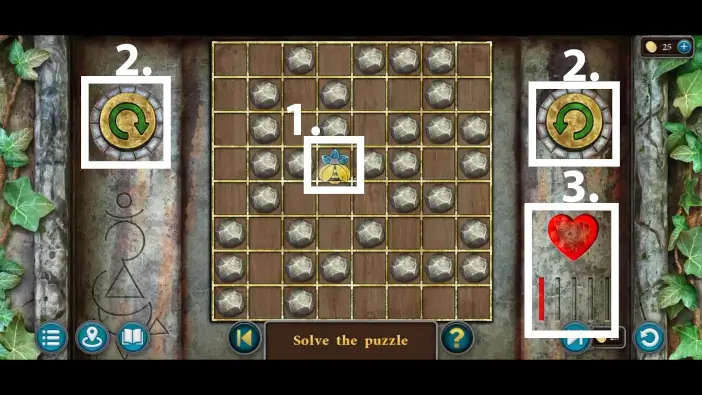
Place the butterfly tokens into the slots of the cupboard door. This will start a new puzzle challenge.
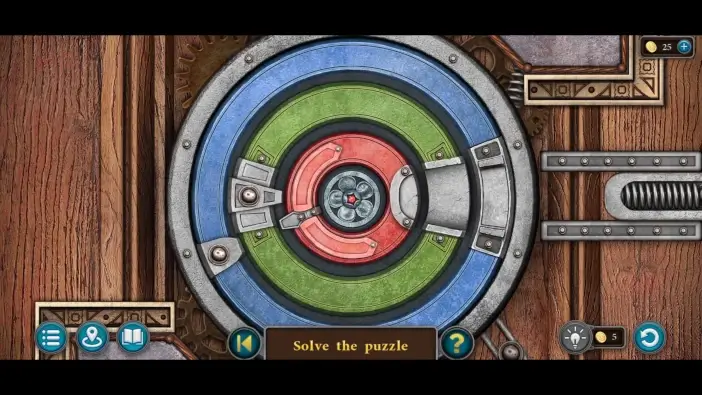
In this puzzle challenge, you’ll need to rearrange all the circles so that the entire grey lock area is connected on the right, like in the picture above. Each circle has a part of the grey lock area. When you move one circle, that circle can move the other ones, so you’ll need to turn them in a correct sequence to unlock the cupboard. Once you unlock the cupboard, take the lockpick.
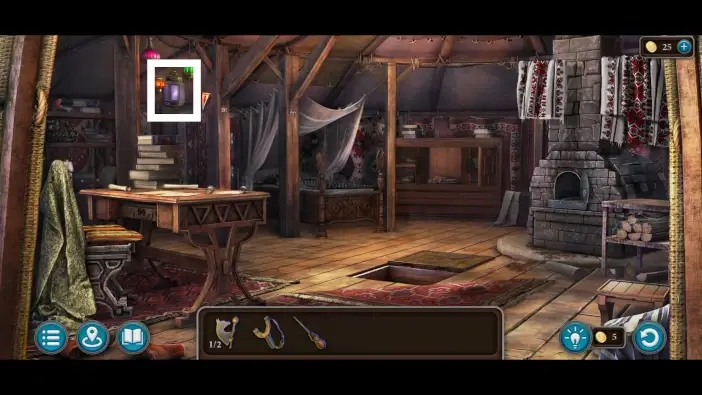
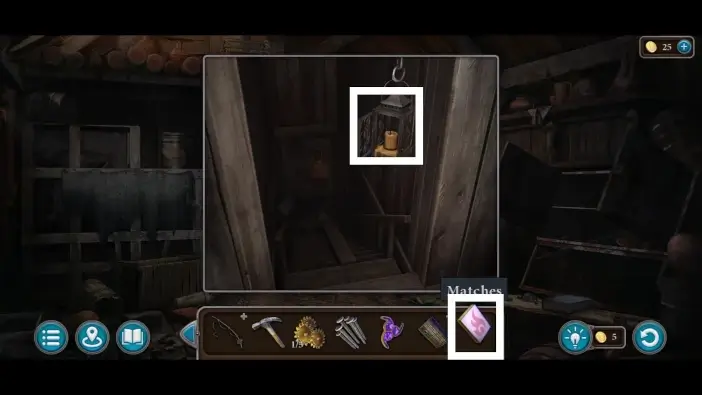
Approach the lantern on the left.
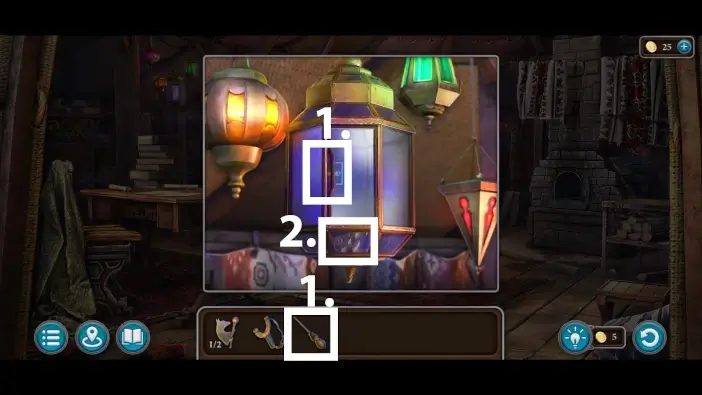
- Use the lockpick to open the lantern.
- Take the detail item from the lantern.
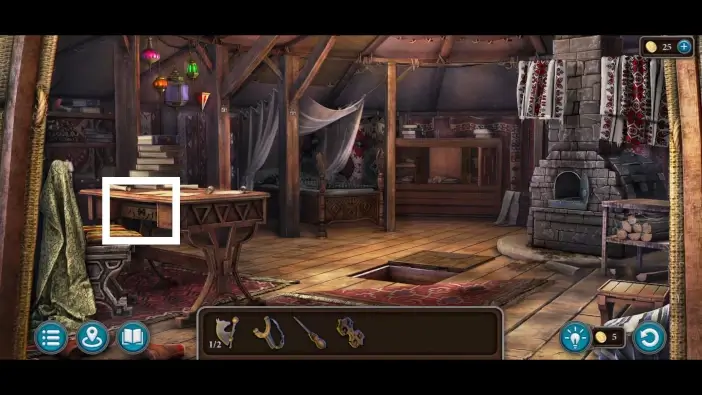
Use the detail item you just acquired to unlock and open the drawer of the work desk.
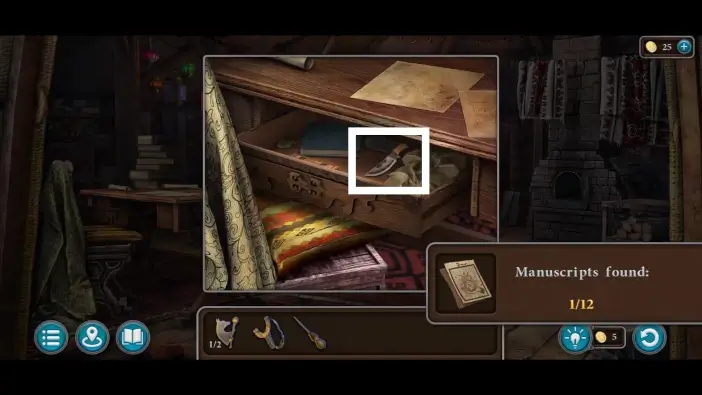
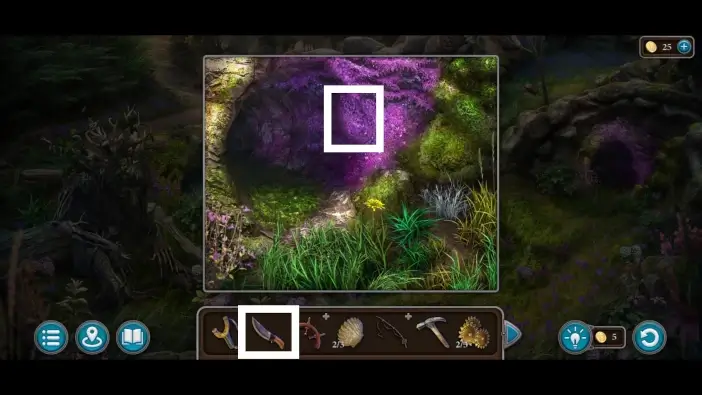
Take the knife from the drawer. You’ll use it multiple times later.

Go to the bridge area and click on the beach below the bridge to access a new beach location.
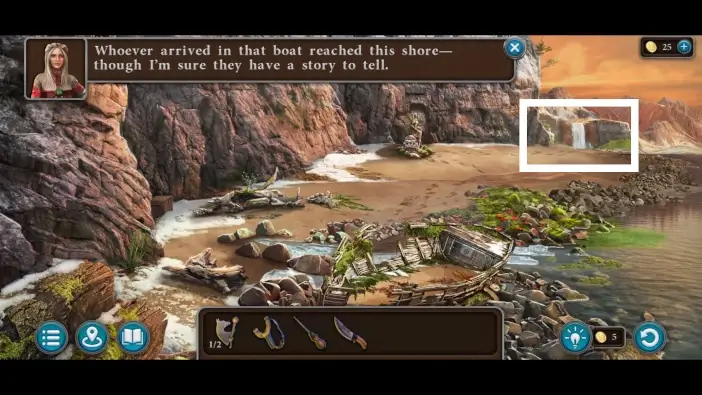
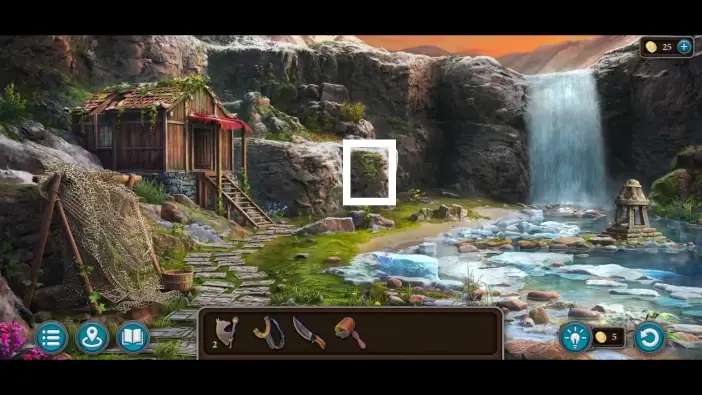
In the beach area, go towards the waterfall.
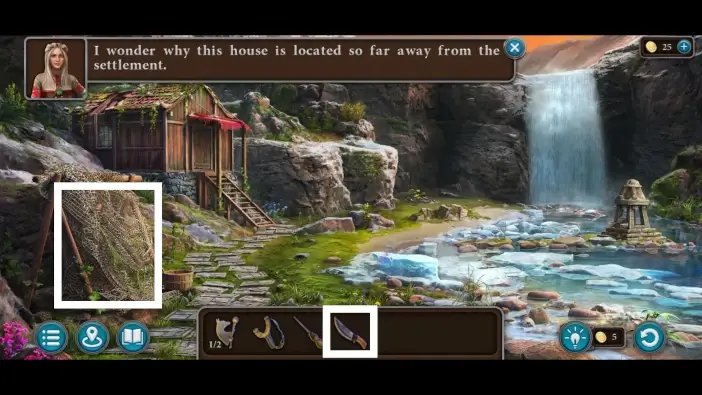
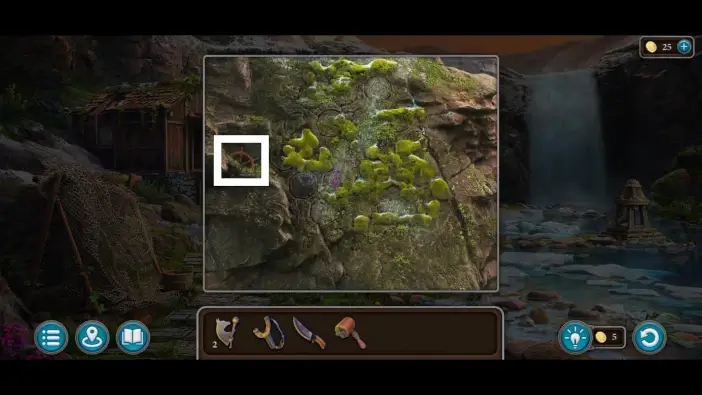
In the waterfall area, approach the net on the left and use a knife to cut the net.
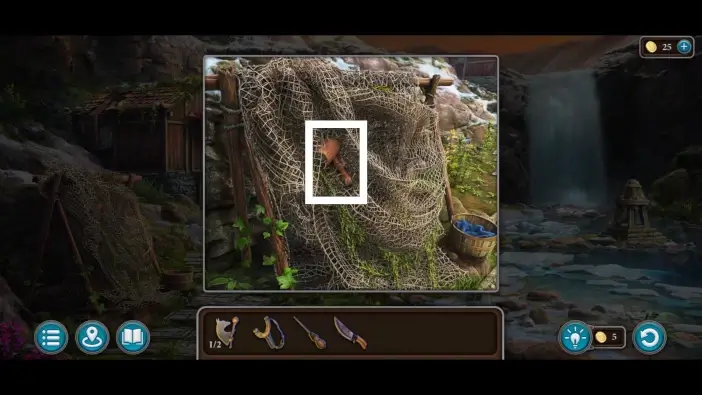
After cutting the net, take the handle. You’ll use it to access the watchtower in the bridge area.

Approach the door of the wooden hut.

Use the lockpick you’ve found in the cupboard to unlock the door of the hut and enter.
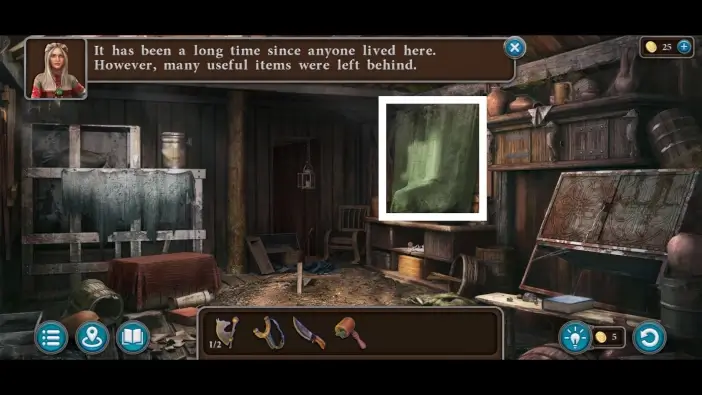
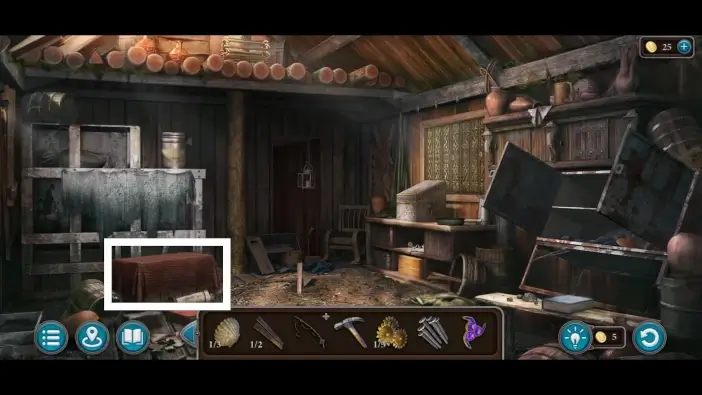
Approach the table on the right and remove the curtain.
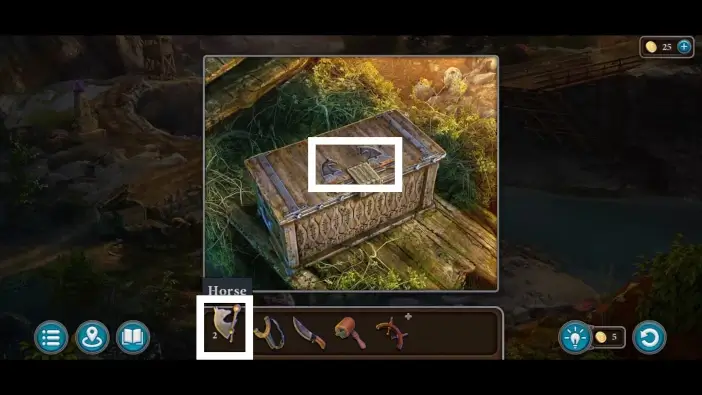
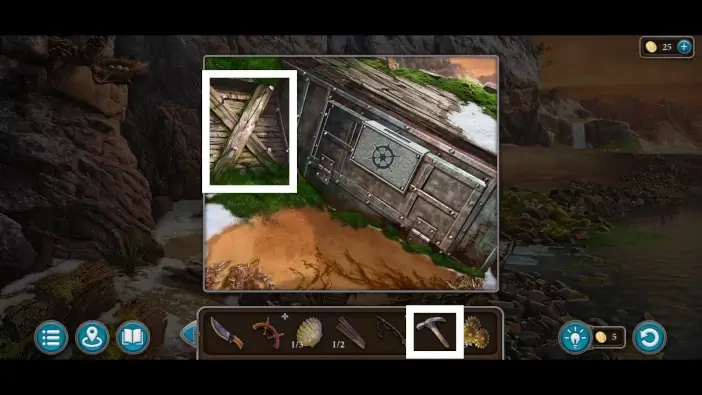
Take the second horse-shaped item.
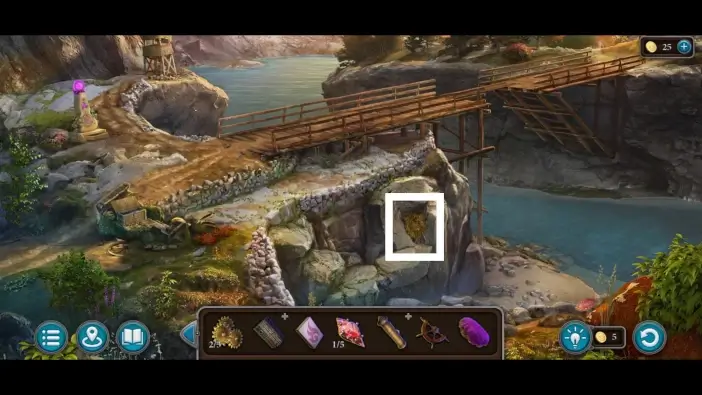
Exit the wooden hut and approach the stone cliff in the center.
Take the first steering wheel part from the stone cliff. You’ll need to find the second part, and after merging the two parts, you will be able to open a chest in the ruined boat on the beach.
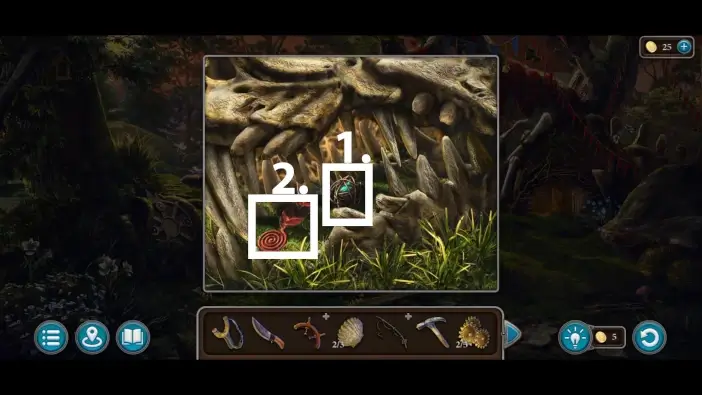
Go to the bridge area and use the two horse-shaped items to unlock the chest near the bridge. Take the wire cutters and the first shell from the chest. You’ll use the wire cutters to open one cabinet in the wooden hut. As for the shells, you’ll need three shells in total to start a puzzle challenge at the stone siren statue in the beach area.
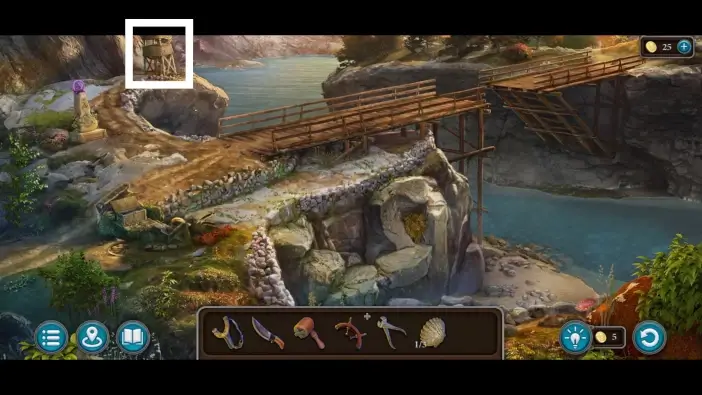
Go to the watchtower.

Attach the handle you’ve found on the net and use it to open the trapdoor, then climb the watchtower.
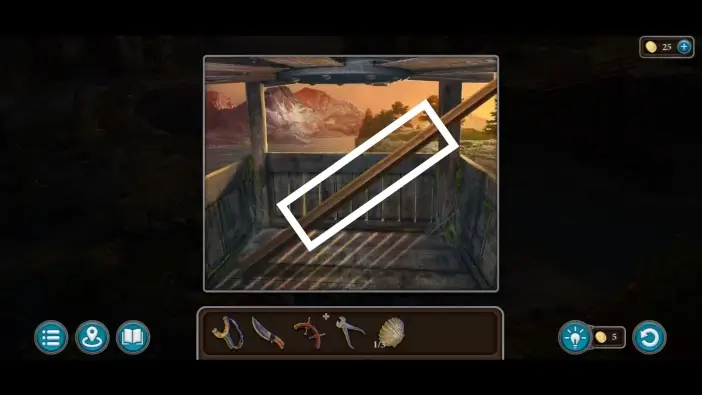
In the watchtower, take the first board. You’ll need two boards to repair the broken bridge.
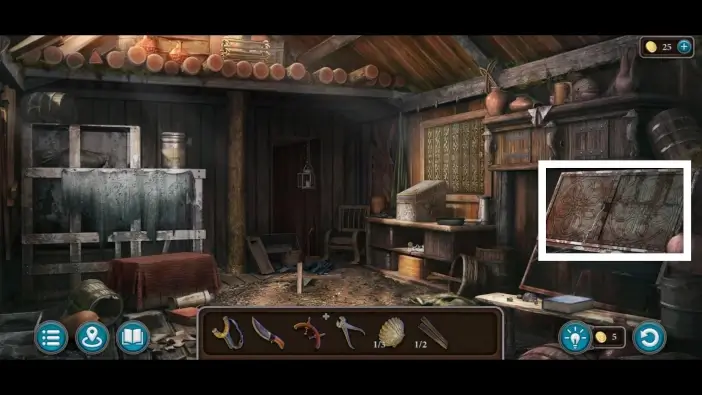
Return to the wooden hut in the waterfall area and approach the cabinet on the right.
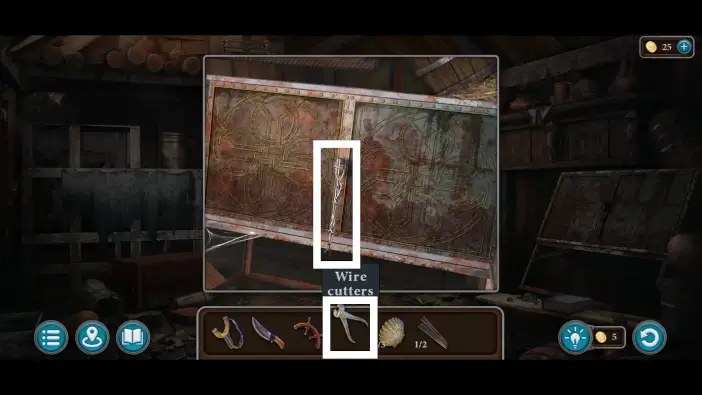
Use the wire cutters to cut the wire and open the cabinet.
- Once you open the cabinet, take the fishing rod. You’ll need to attach the magnet to it much later.
- Pick up the stone symbol.
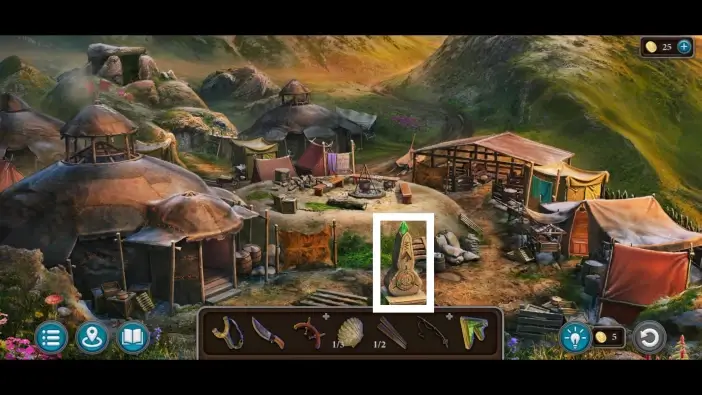
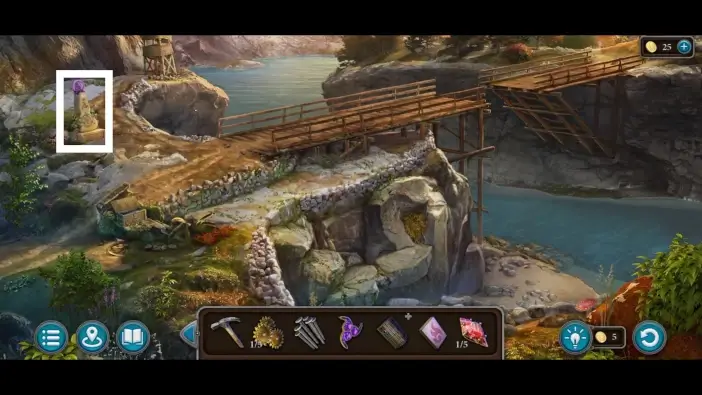
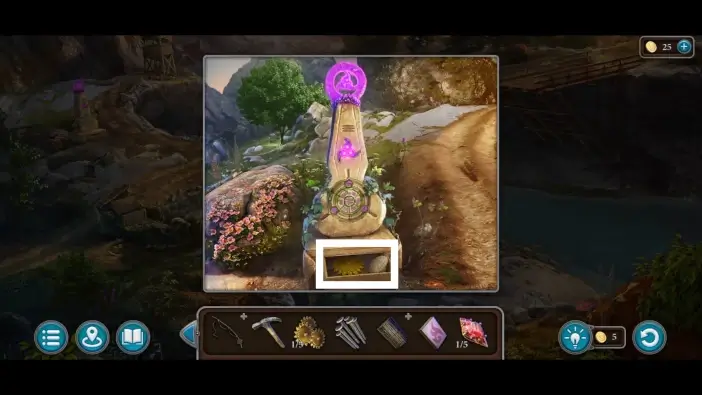
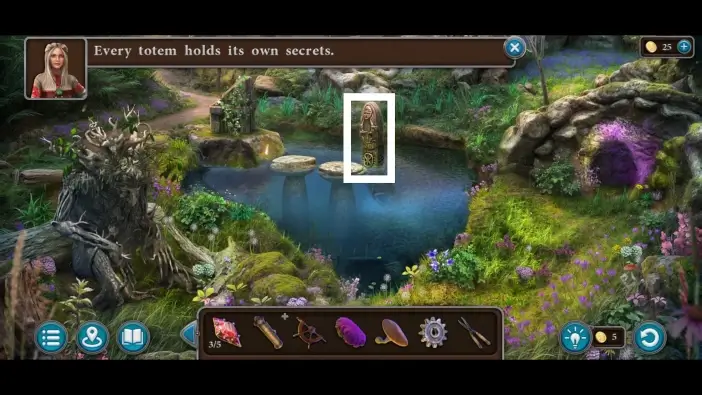
Go to the camp area and approach the monument in the middle.
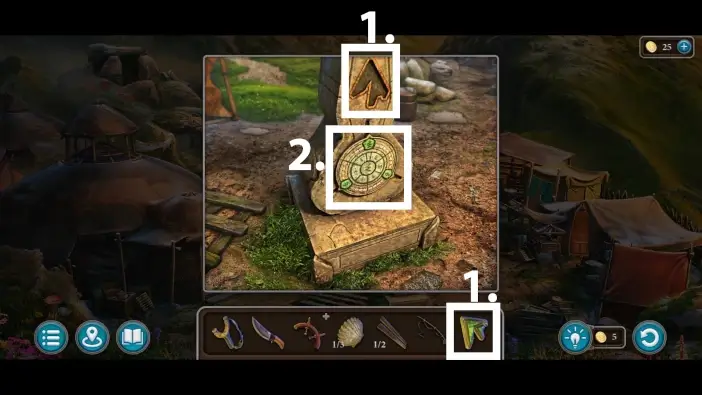
- Place the stone symbol in the empty slot on the monument.
- Approach the circle on the monument to start a new puzzle challenge.

Click/tap on different arrows to move the rays. Arrange the rays like in the picture above, so every ray should be connected with the runes of the same color.
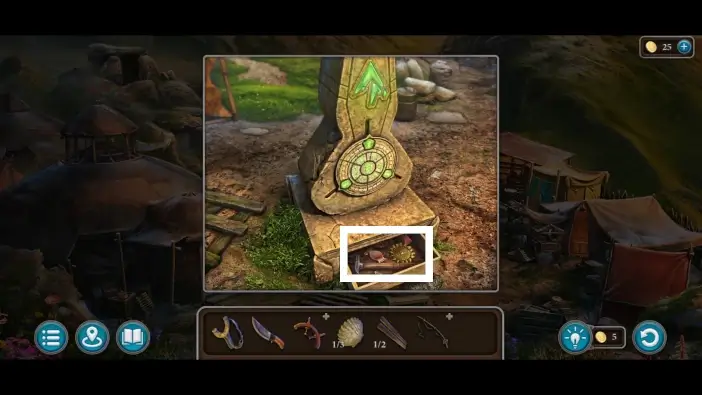
Once you complete the previous puzzle challenge, a drawer will open in the lower part of the monument. Take the hammer and the first flower. You will use the hammer multiple times, and you’ll need to collect two more flowers to unlock a stone door to enter the cave at the camp area.
Go to the beach area and approach the ruined boat.
Use the hammer to get the nails.
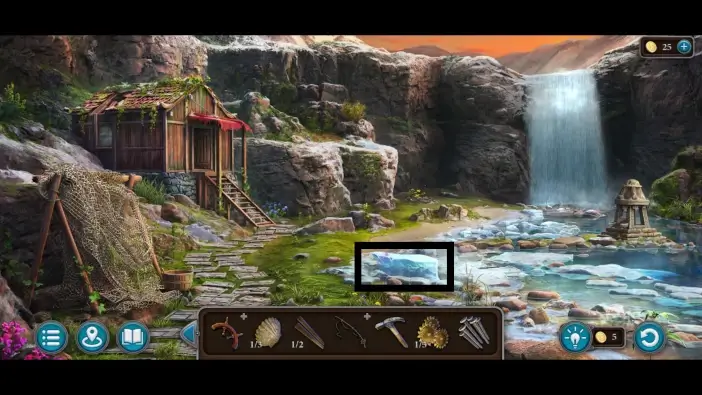
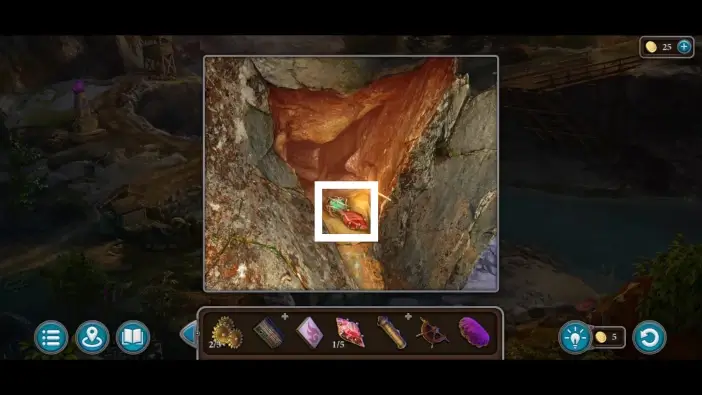
Go to the waterfall area and approach the block of ice.
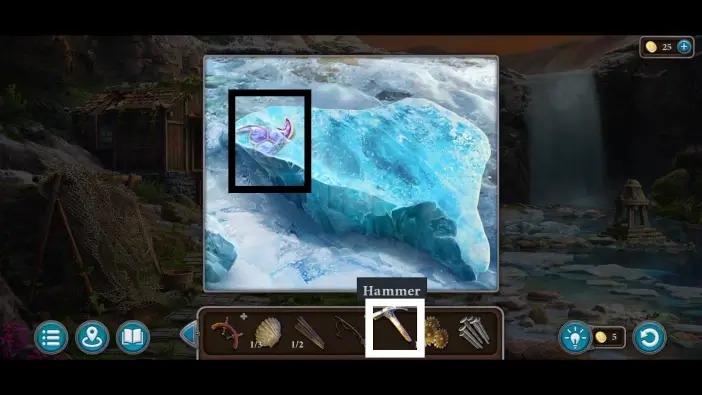
Use a hammer to break the ice and take the stone symbol. You’ll use it similarly to the previous stone symbol to start a puzzle challenge on a different stone monument.
Enter the wooden hut and remove the cloth from the crate on the left.
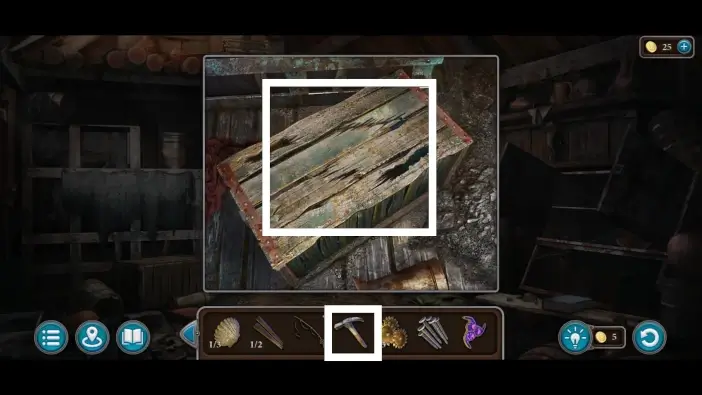
Hit the crate with the hammer.
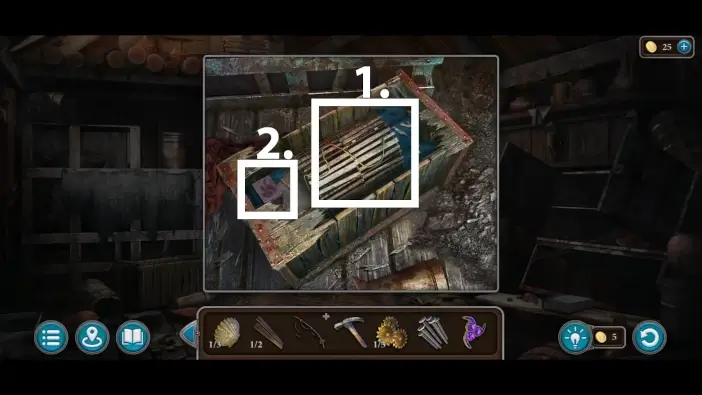
- Take the empty crab trap from the crate.
- Take the box of matches. You’ll use it many times.
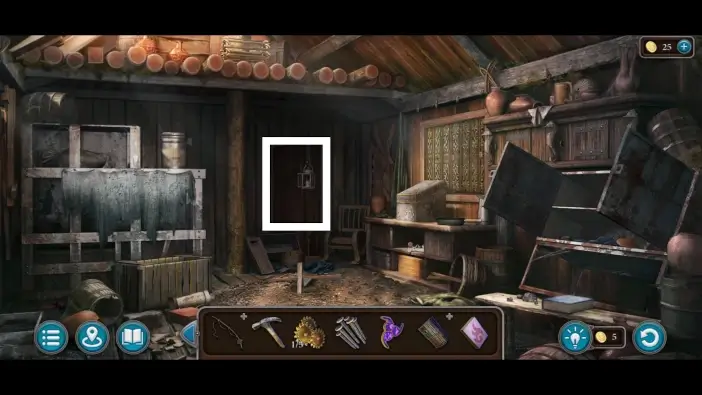
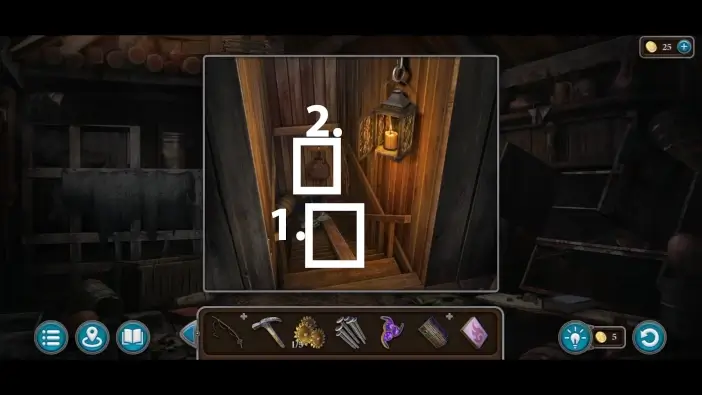
Approach the hanging lantern.
Burn the candle using the matches. This will illuminate the space downstairs.
- Remove the clothes to reveal the second board. You’ll need it to fix the broken bridge.
- Approach the little sack.
Use a knife to open the sack and take the first piece of quartz. You’ll need to have five quartz pieces in total to unlock one box later.
Go to the bridge area and approach the monument.

- Place the stone key into the monument’s empty slot.
- Approach the circle on the monument to start the next puzzle challenge.
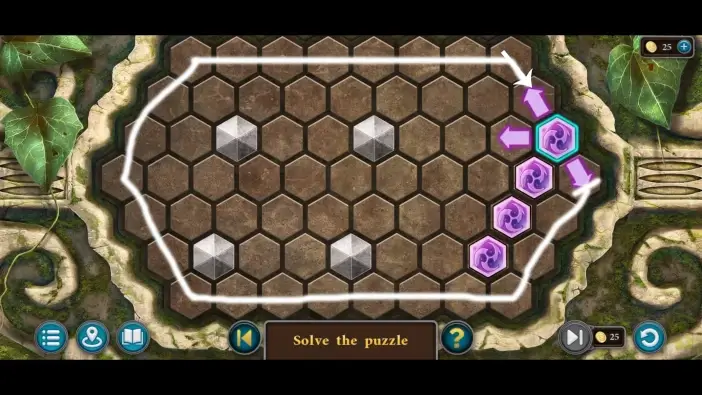
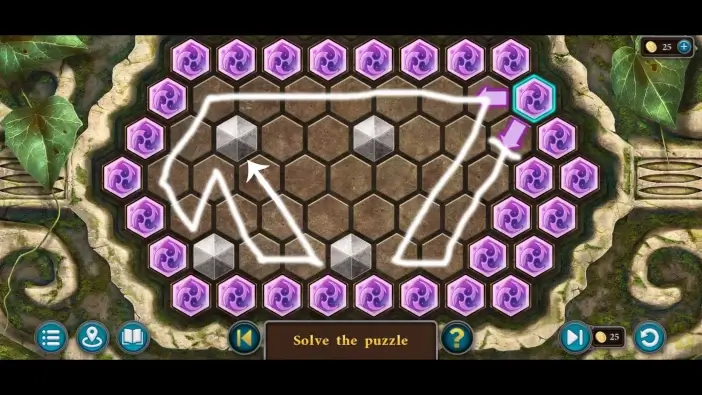
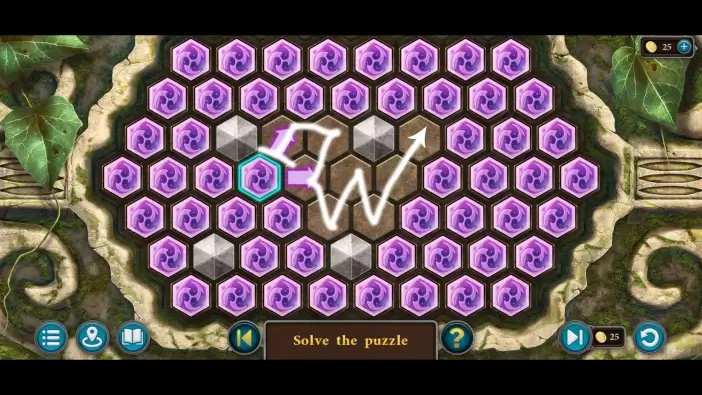
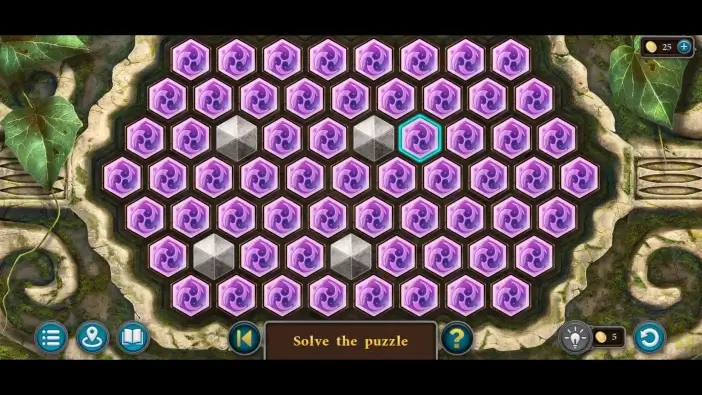
In this puzzle challenge, you’ll need to choose directions where the new runes will appear. The runes will fill the empty hexagon fields until they touch the edge, the grey obstacle hexagons in the middle, or the hexagon already marked with the rune. You’ll need to mark all empty hexagon fields with the runes to solve this puzzle challenge. Feel free to follow the paths in the pictures in this guide.
Once you complete the puzzle challenge, the drawer will open, just as it did in the previous monument. Pick up the second flower and the second shell.
Approach the broken part of the bridge and place the boards.
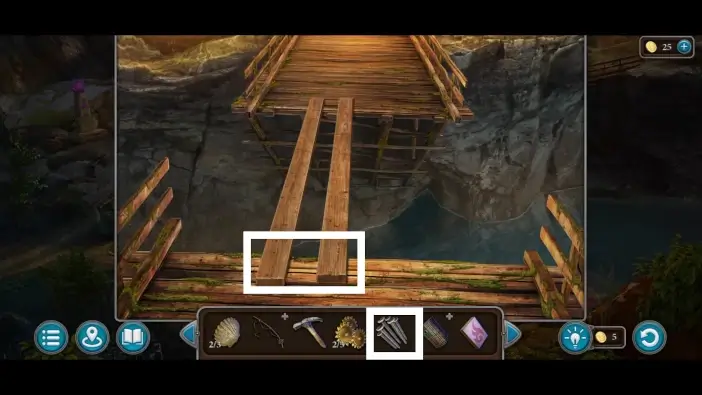
Place the nails on the boards.
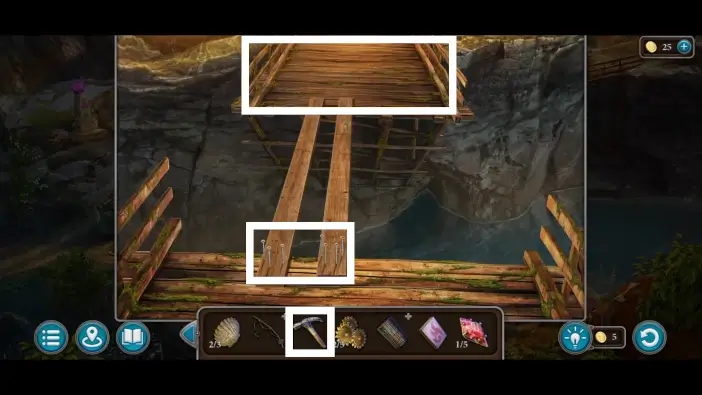
Use a hammer to drive the nails. Cross the bridge to enter the new area.
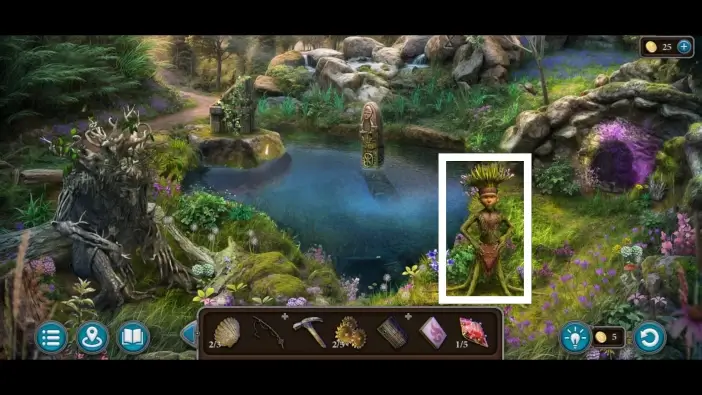
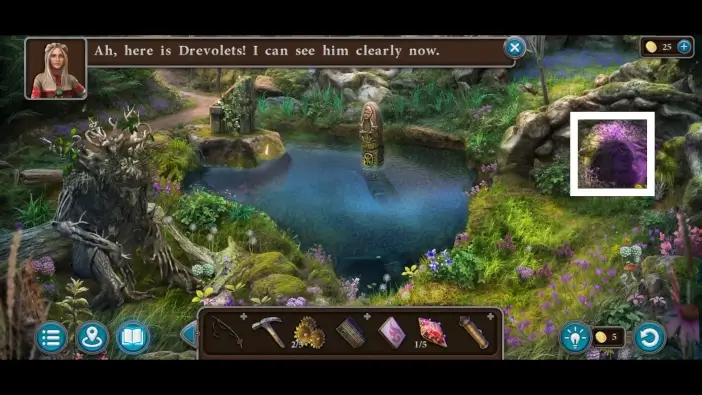
In the lake area, speak with the Skimroot. A new cutscene will begin.
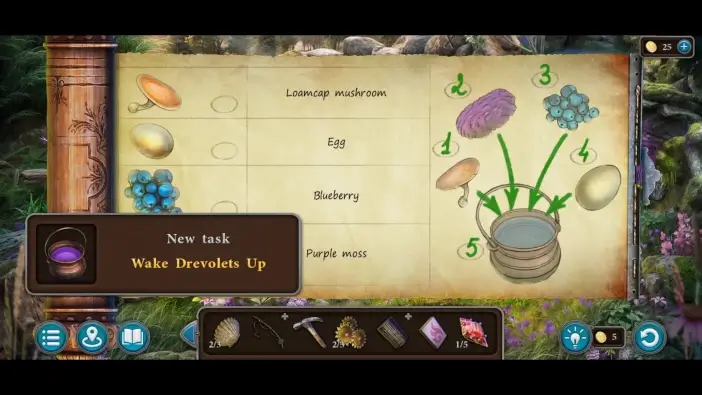
After the conversation is over, the recipe will be added to your inventory. It contains all the ingredients for making a potion to wake up Drevolets.
Approach the small cave on the right.
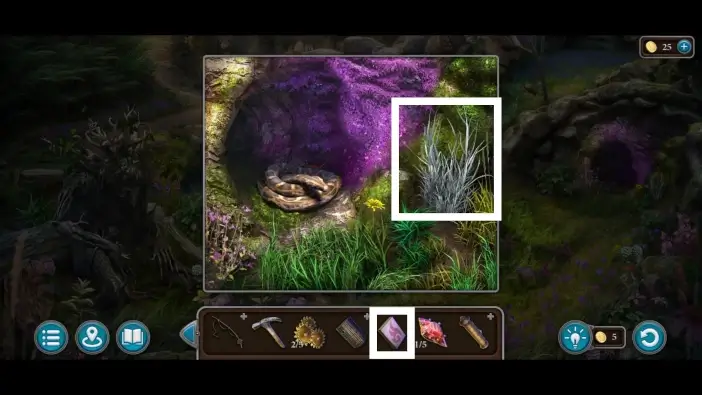
Use matches to burn the weed. This will scare off the snake, and she will leave.
Pick up the second part of the steering wheel.
Use a knife to gather some purple moss. You’ll need it for the potion.
Return to the bridge area and approach the crack on the cliff.
Remove the leaves to reveal the opening, then use matches to illuminate the opening.
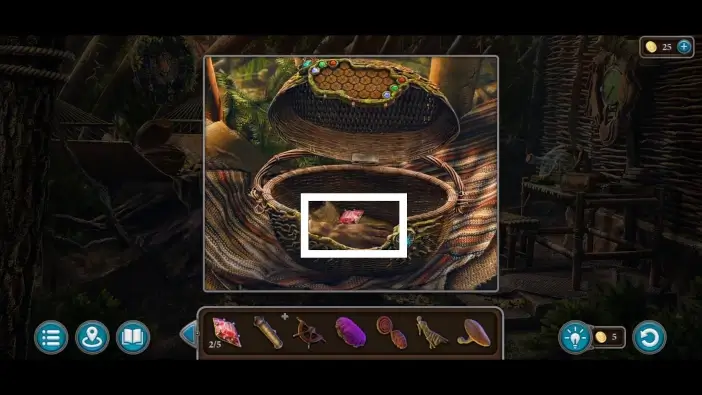
Unwrap the cloth to reveal items. Take the second piece of quartz and the first wrapped stone. You’ll need two wrapped stones to unlock one basket in the Radictis’s nook.
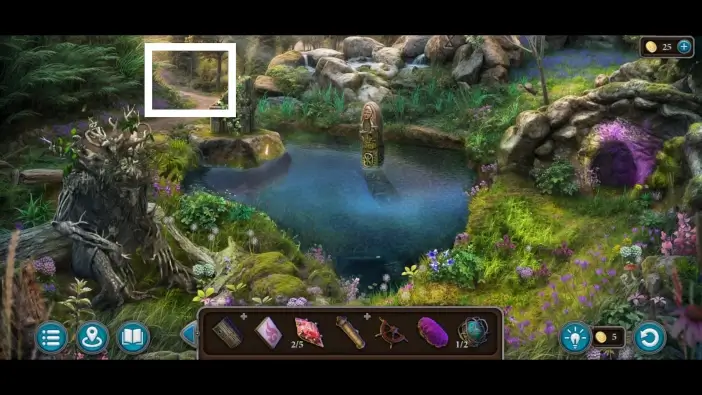
Return to the lake area and choose the path on the left to discover a new location.
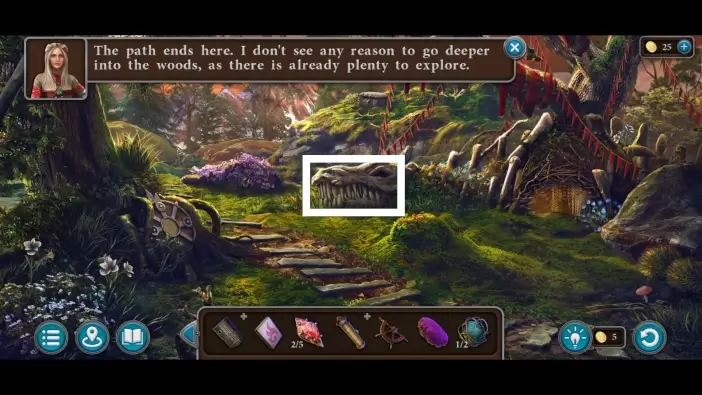
In the forest, approach the giant skull.
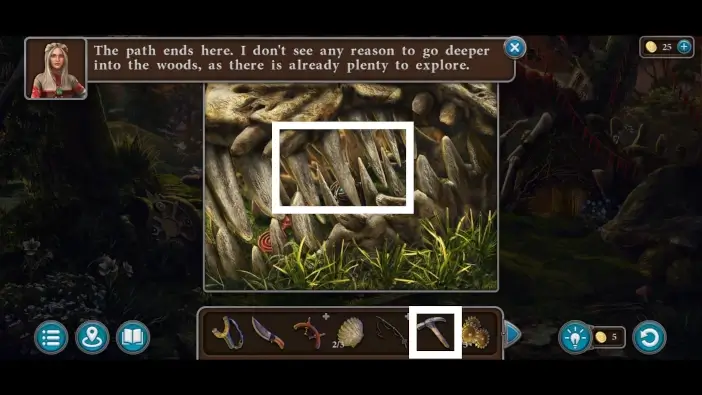
Use a hammer to break the teeth.
- Take the second wrapped stone.
- Take the leaf. You’ll use it to start one puzzle challenge in the lake area.
Approach the tree branches in the top-right.
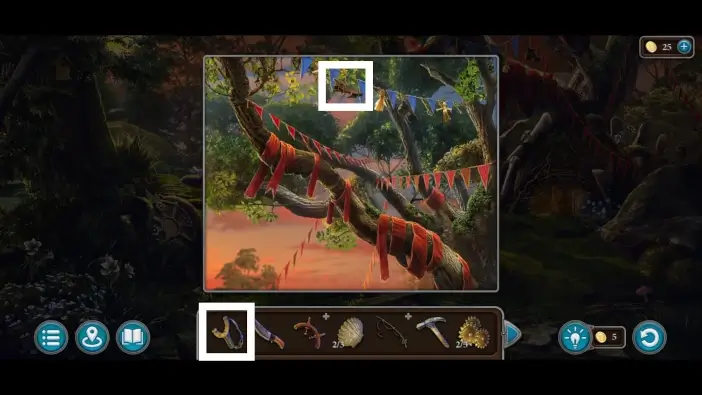
Use a slingshot to shoot at the rabbit-shaped item. It will be added to your inventory. You will use the rabbit-shaped item on the clock in the Radictis’s nook.
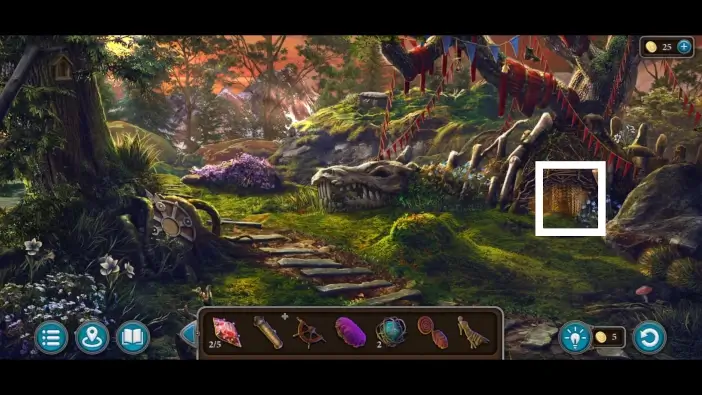
Enter the Radictis’s nook.
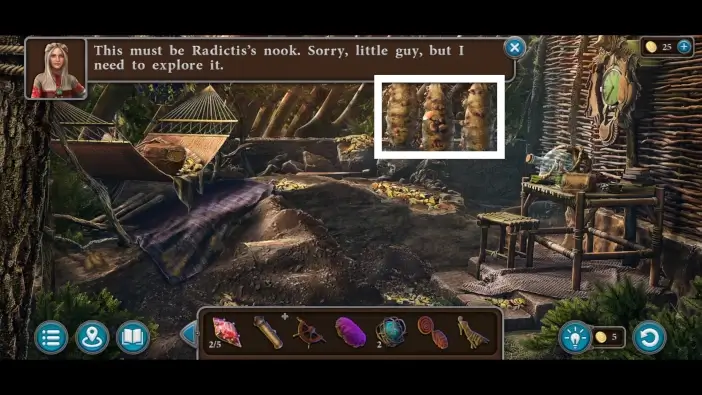
Approach the mushrooms that are on the hanging sacks.
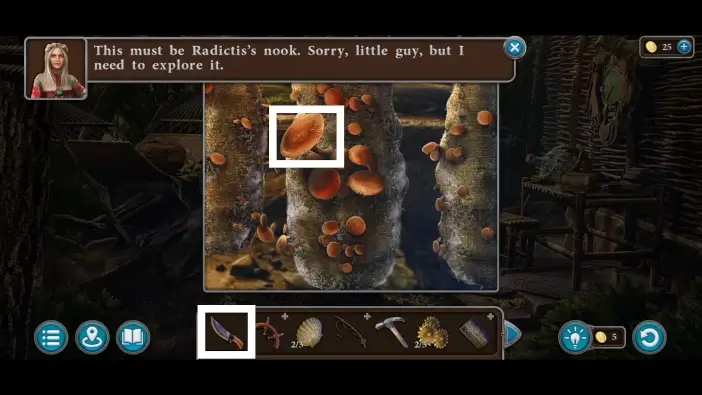
Use a knife to get one Loamcap mushroom. It is one of the ingredients for the potion.
Approach the basket on the left.
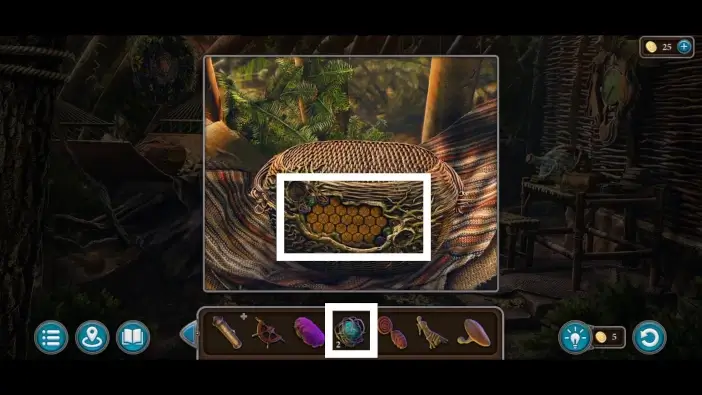
Place the two wrapped stones in the basket’s slots to start a new puzzle challenge.
In this puzzle challenge, you’ll have three crystals of different colors on the left and three crystals of different colors on the right. You’ll need to spin the circles in the middle to connect the left and right crystals of the same color with the uninterrupted line of the same color. The solution is in the picture above.
Once you solve the previous challenge, the basket will open. Take the third piece of quartz and the glove.

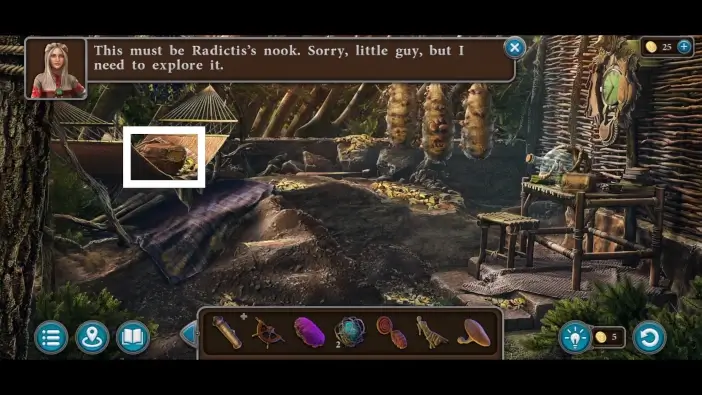
Approach the clock on the right.
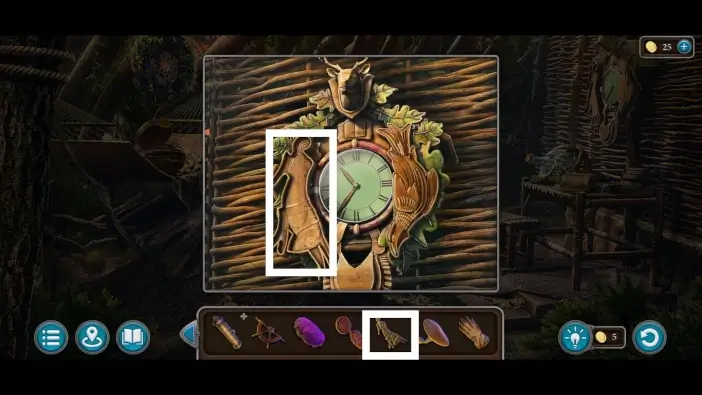
Place the rabbit-shaped item on the left side of the clock frame. Once the clock opens, take the gear. You’ll use it to fix one mechanism much later.
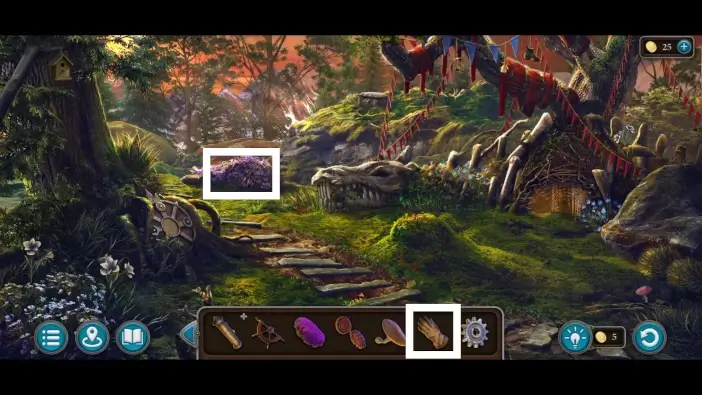
Exit the Radictis’s nook and approach the bush on the left. Use the glove you’ve found in the basket to move the leaves and take the garden scissors. You’ll use it to remove obstacles.
Go to the lake area and approach the stone table.
- Take the third shell from the ground.
- Approach the stone table.
Place the leaf into the empty spot to start the next puzzle challenge.
- In this puzzle challenge, you’ll need to move the bee to the flower (in the picture above, the bee is on the flower). The bee will have the green arrows around her in any direction that has empty fields. Choose one of the arrows to move the bee in that direction. The bee can’t move on the fields that have rocks.
- Use the rotation buttons on the sides to rotate the entire grid, which allows the bee to teleport to a different location.
- When you plan to rotate the grid using buttons, think about whether the bee will land on the rock. You should avoid that because each time this happens, the bee will lose 1 HP. Bee has 5 HP in total, and if she loses all of it, you’ll need to start the puzzle from the beginning.
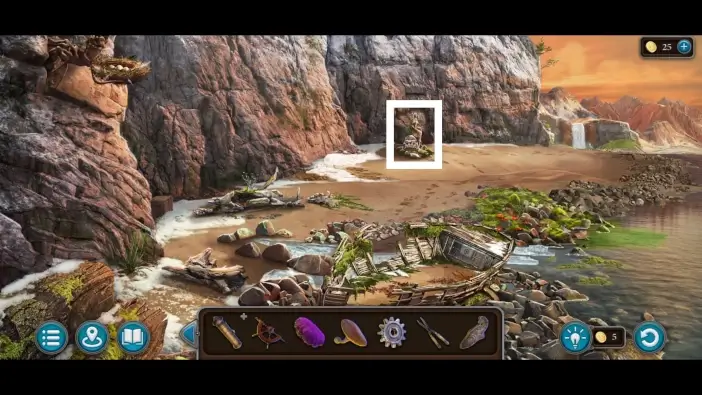
When you solve the previous puzzle challenge, a few rocks in the lake will rise to the surface, and you’ll be able to reach the totem in the middle of the lake. Open the totem and take the fourth piece of quartz and the fish-shaped item. You’ll use the fish-shaped item to unlock a chest in the attic of the wooden hut.
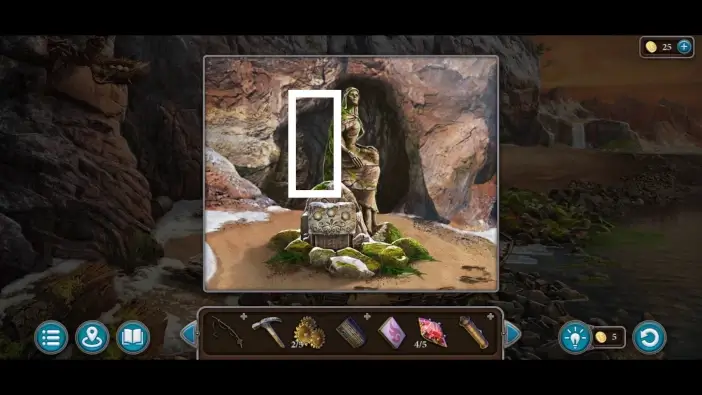
Go to the beach area and approach the statue of the siren.
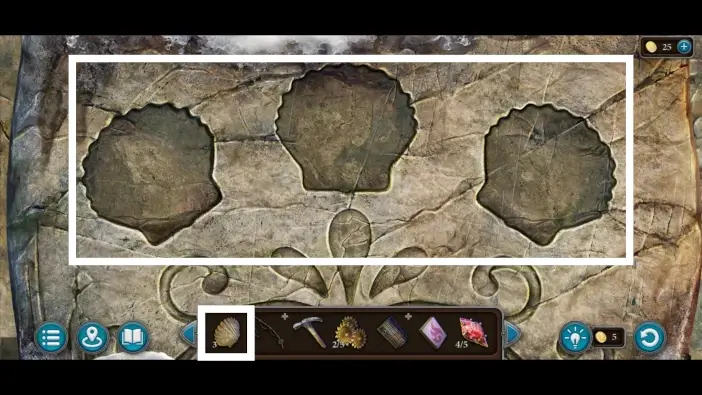
Place the three shells you’ve collected so far into the empty slots to start a new puzzle challenge.
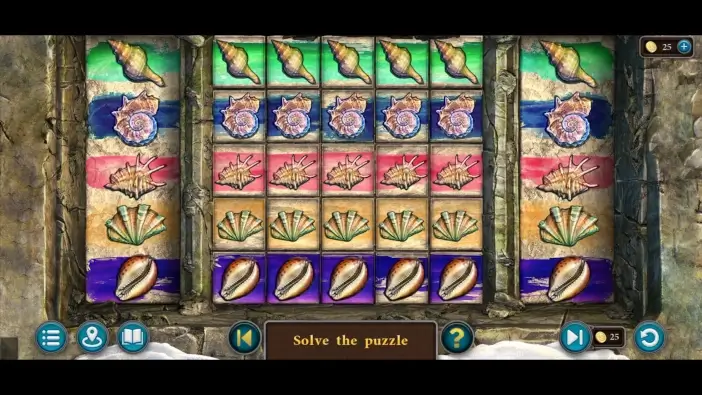
In this puzzle challenge, you’ll have the different types of shells in the left and right columns. You’ll need to rearrange the shells in the central grid so that each row contains only one type of shell, the same type as shown in the side columns of the same row. The solution is in the picture above.
Once you complete the previous puzzle challenge, a boulder behind the statue will move, revealing a hidden passage to the cave. Enter the cave to start a new mini-game.
This will mark the end of Part 1 of our guide for Chapter 1 of Legendary Tales 5.
Thank you for reading!