100 Doors Escape from Prison Level 01 – 10
Hello everyone and welcome to the walkthrough for 100 Doors: Escape from Prison. On this page, you can find the solution for levels 01-10.
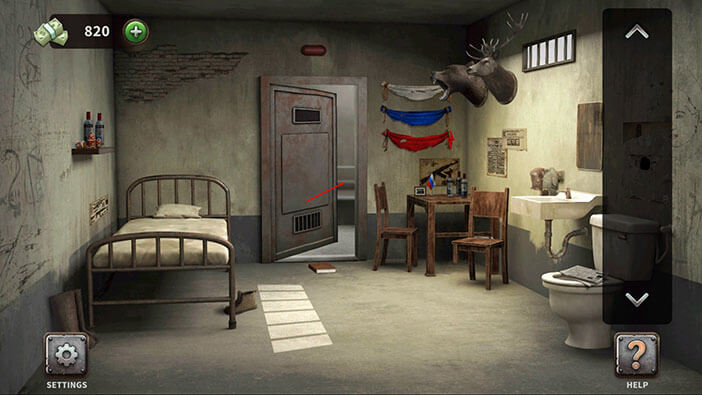
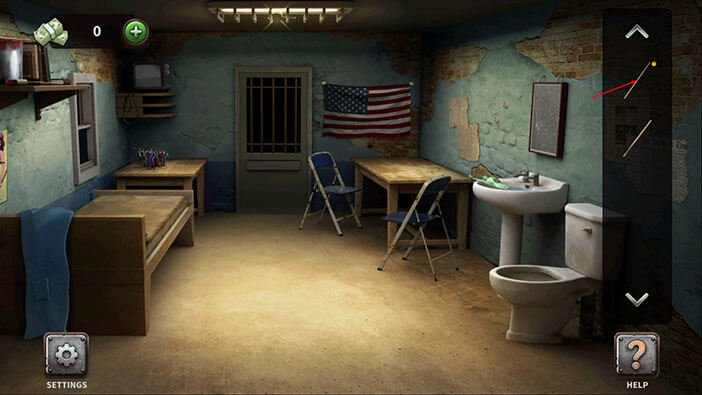
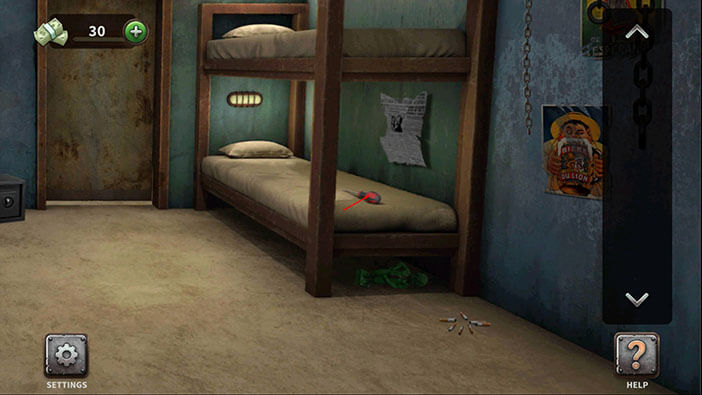
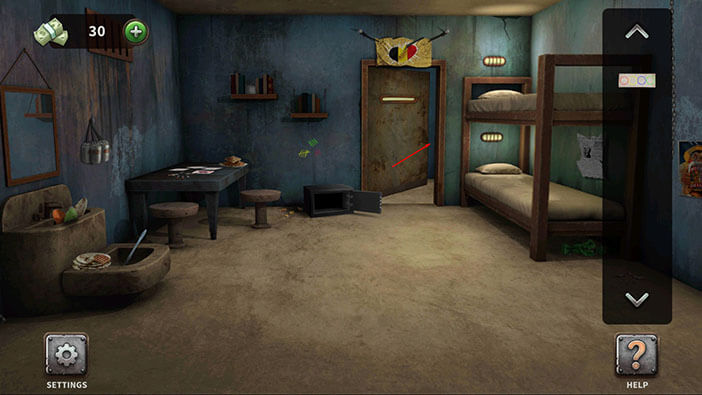
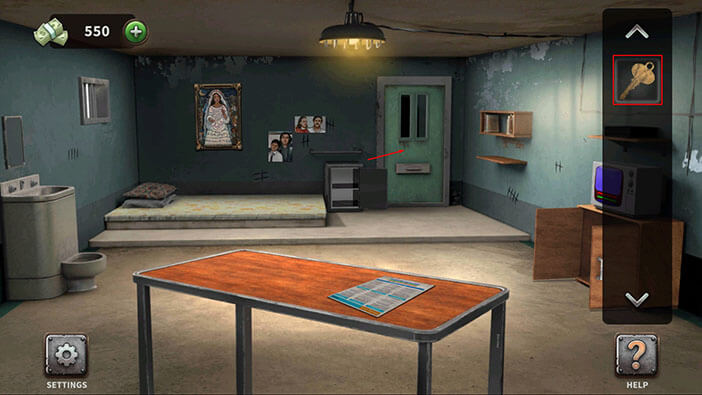
Level 1: American cell
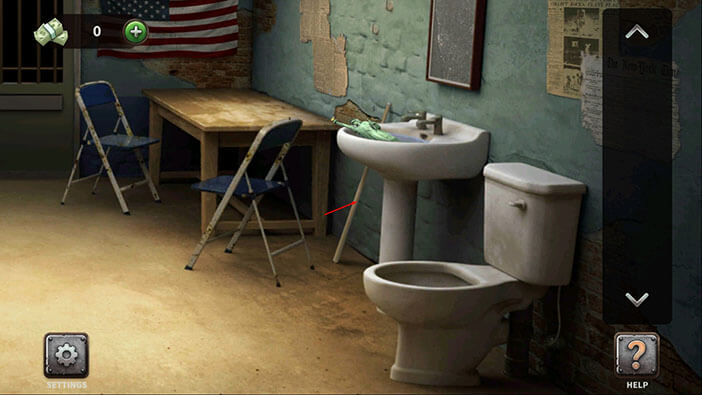
Tap on the stick, behind the sink to pick it up.
Next, tap on the blue blanket to move it aside.
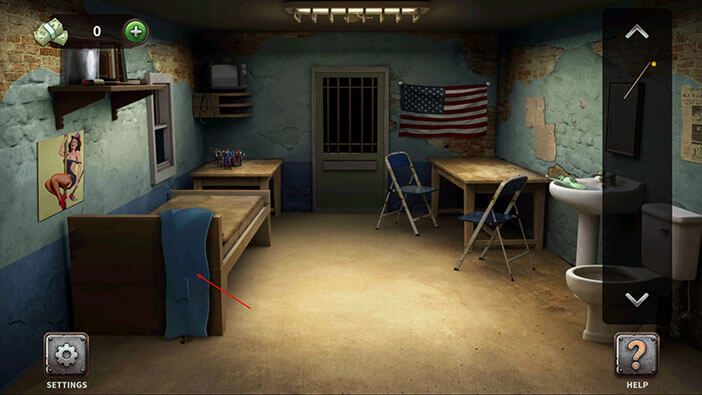
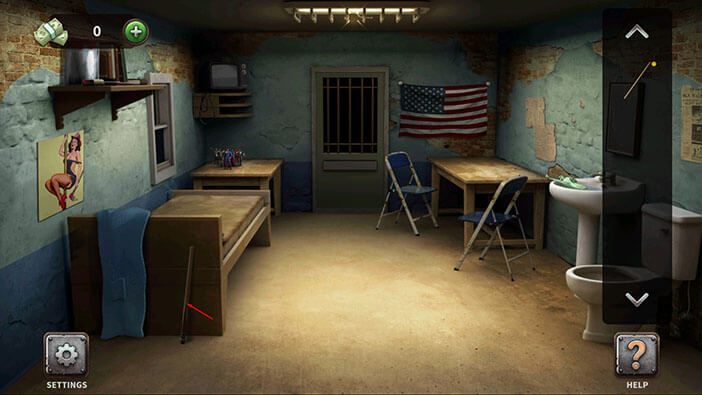
Below the blanket, you will discover another stick. Tap on it to pick it up.
Ok, now we should merge the two sticks. To do that, tap on the first stick in your inventory (marked with a yellow circle) to select it.
After that, drag the other stick from the inventory to the middle of the screen and align its lower end with the upper end of the first stick.
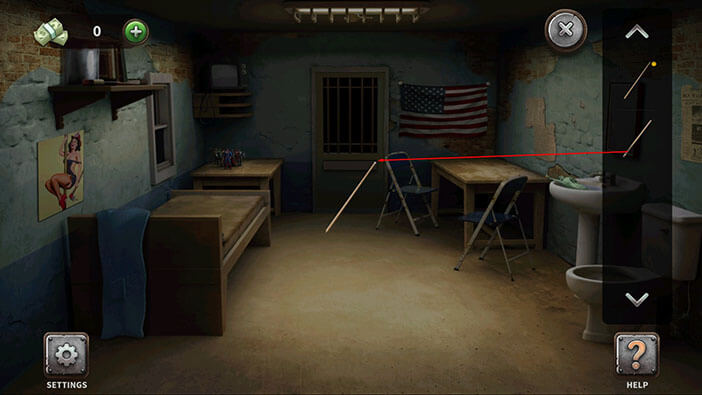
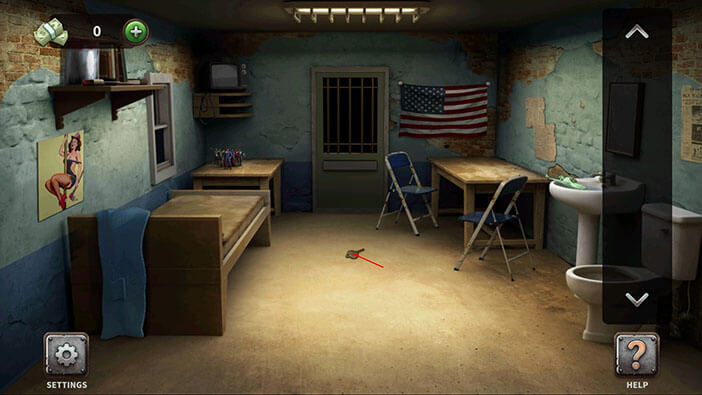
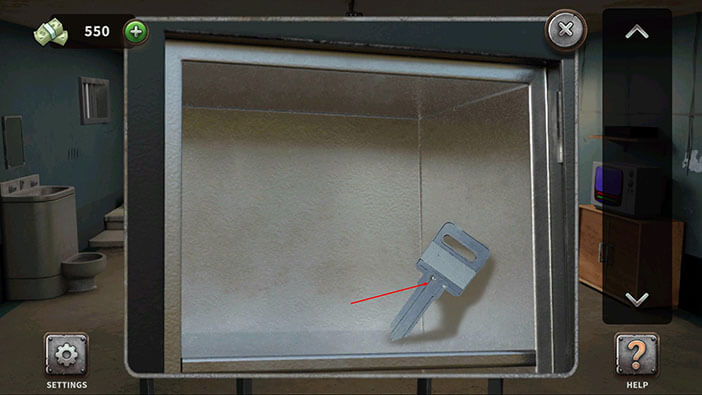
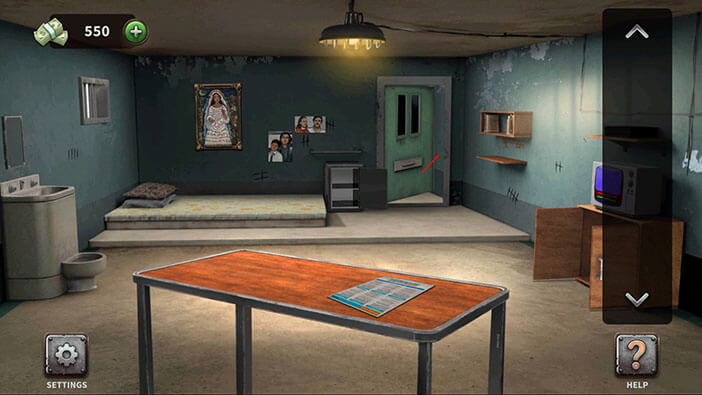
Next, select the “long stick” from the inventory and tap on the shiny item on the ceiling to knock it down.

Looks like we found a key. Tap on it to pick it up.
Select the key from the inventory and tap on the cell door to unlock it.
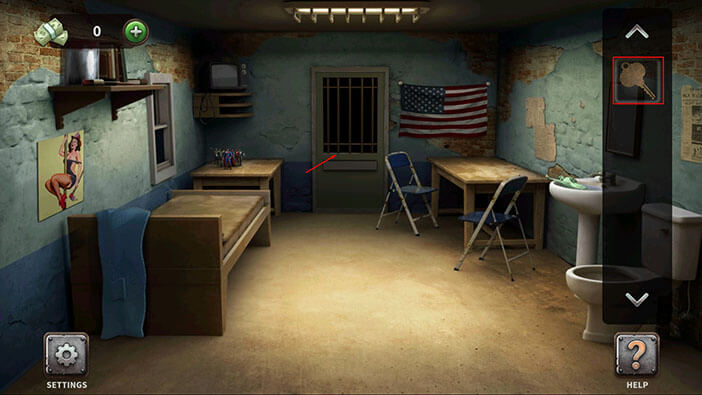
Finally, tap on the cell door to escape and you will complete the first level.

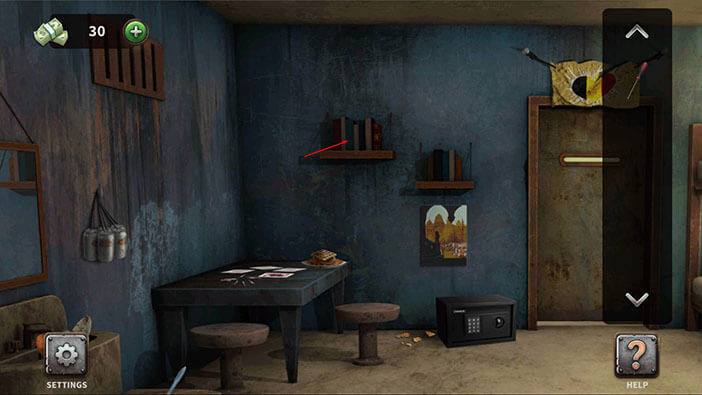
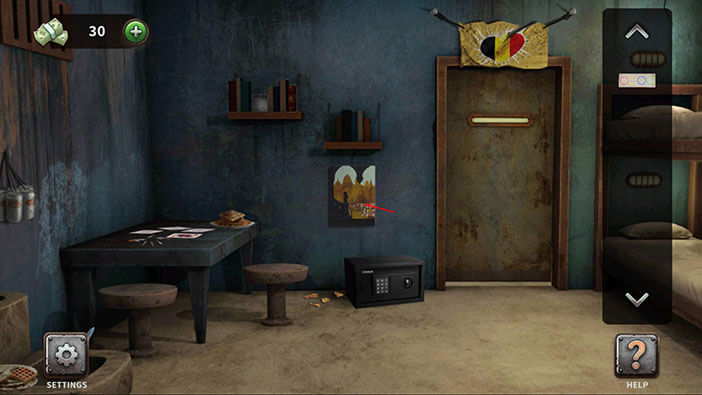
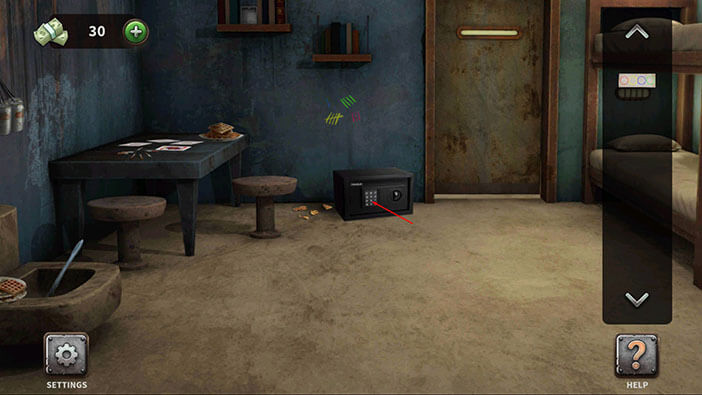
Level 2: Belgian Cell
On the bed, on the right, you will see a screwdriver. Tap on it to pick it up.
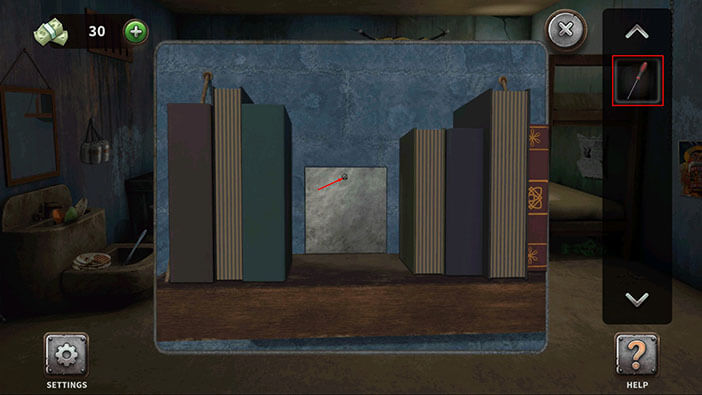
Next, tap on the bookshelf to take a closer look at it. After that, tap on the books to move them aside, and you will discover a small metal panel.

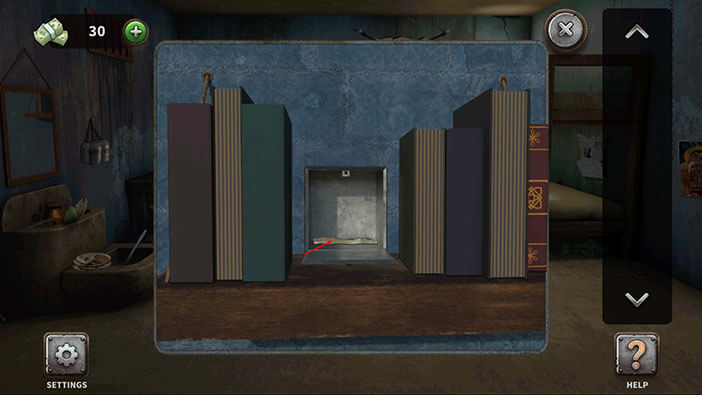
Select the screwdriver from the inventory and use it to remove the screw – you will open the panel.
Tap on the note inside the small compartment to pick it up.
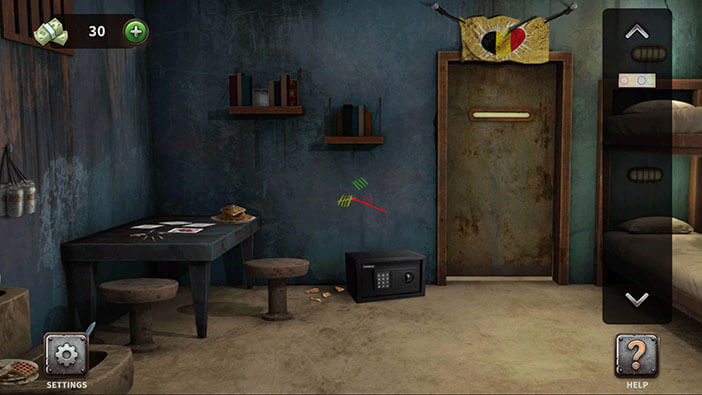
Tap on the poster on the left side of the door, to remove it.
You will discover some markings on the wall behind the poster. Tap on these markings to take a closer look.
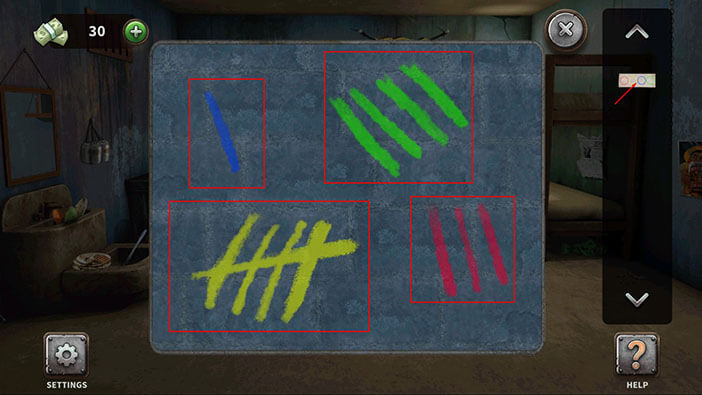
Ok, let’s memorize/write down the number of lines of each color because we will need this information for the next puzzle. So, we have
One blue line
Three red lines
Four green lines
Five yellow lines
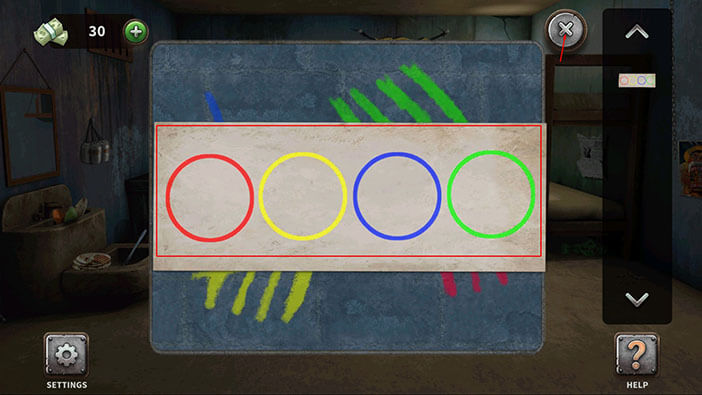
When you’re done, tap on the note on your inventory to examine it.
Here, we can see four circles, red, yellow, blue, and green. We should now assign a number to each circle, based on the number of lines of matching color.
So, looking from left to right, we have
Red Circle (first) = 3 (three red lines on the wall)
Yellow Circle (second) = 5
Blue Circle (third) = 1
Green Circle (fourth) = 4
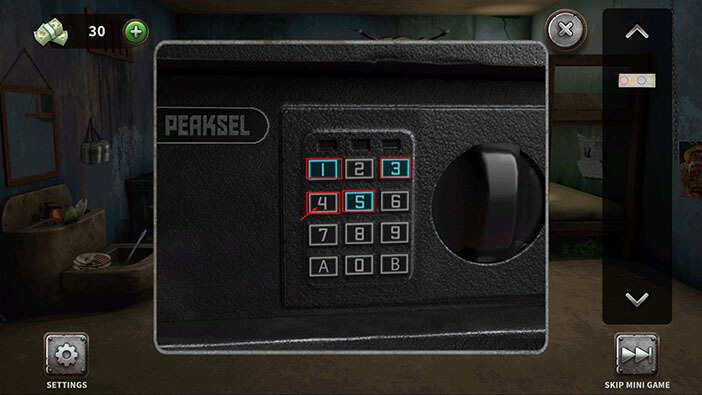
So, if we replace the circles with numbers, we will get the code “3514”
Memorize/write down this number, then tap twice on the “X” button in the upper right corner to go back.
Next, tap on the safe to take a closer look at it.
Enter the code “3514” that we previously discovered, and you will open the safe.
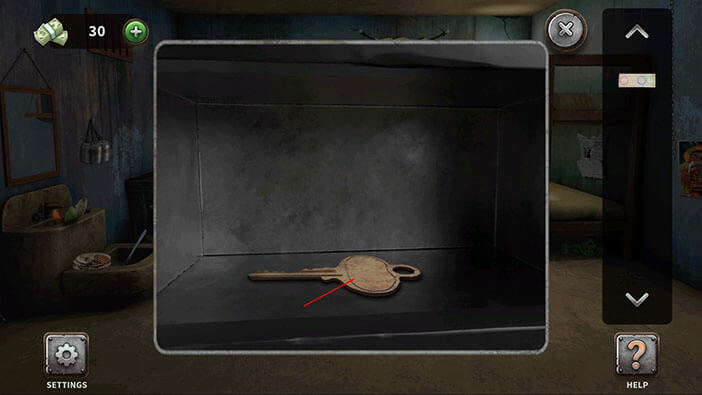
Inside the safe, you will find a key. Tap on it to pick it up.
Select the key from the inventory and tap on the cell door to unlock it.
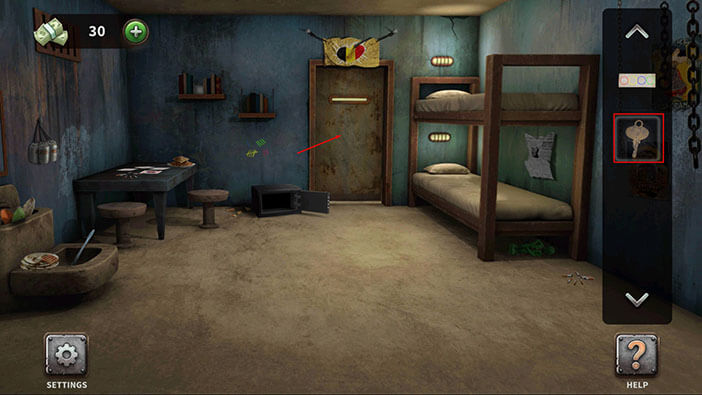
Finally, tap on the cell door to escape and you will complete the second level.
Level 3: Argentinian Cell
In the left corner of the room, just below the boots, you will see a box cutter. Tap on it to pick it up.
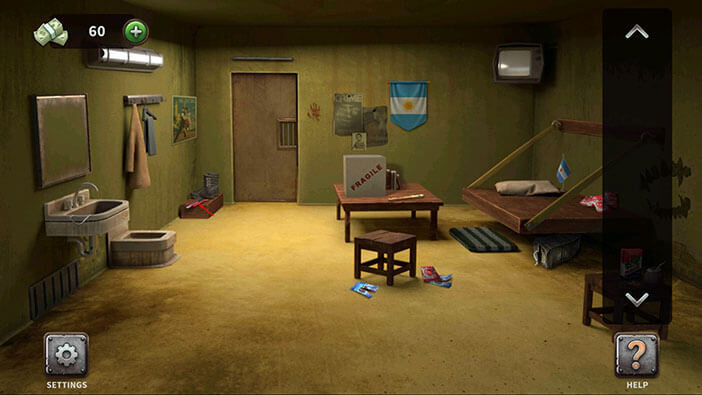
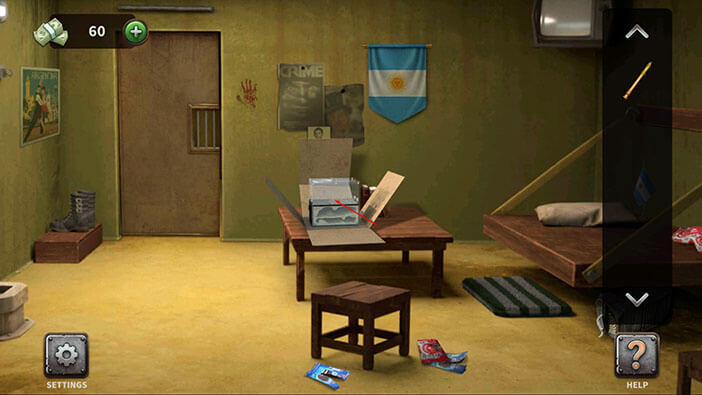
Next, tap on the small tube, located on the table, just below the box, to pick it up.

The box is marked with the “Fragile” inscription, so drag the box cutter from the inventory and use it to open the box.

Hmm, it’s some kind of an aquarium. Tap on it to take a closer look.
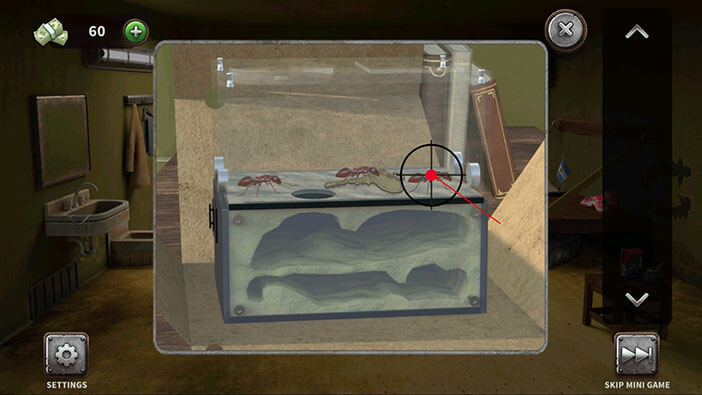
Actually, this is an ant tank. We can see a key inside the tank, but it is covered with ants. Drag the tube from the inventory and drop it on the ant tank to start the interaction.
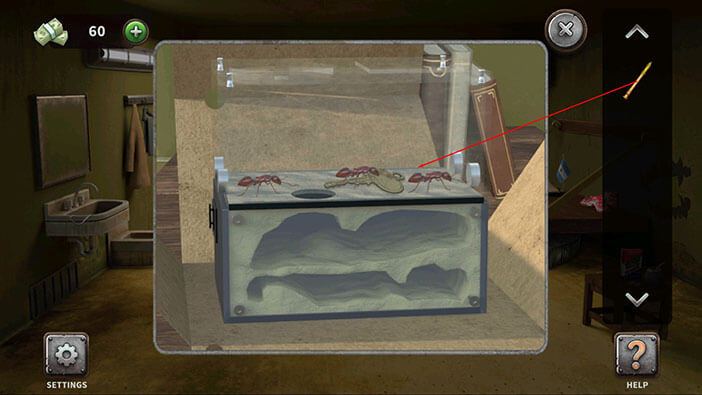
The next part is very straightforward. The reticle will move around the screen, and you should use it to target the ants. After tapping on the reticle, our character will pump in some kind of a repellant, and the ants will run away into the lower part of the tank. The goal is to force all ants into the lower part of the tank.
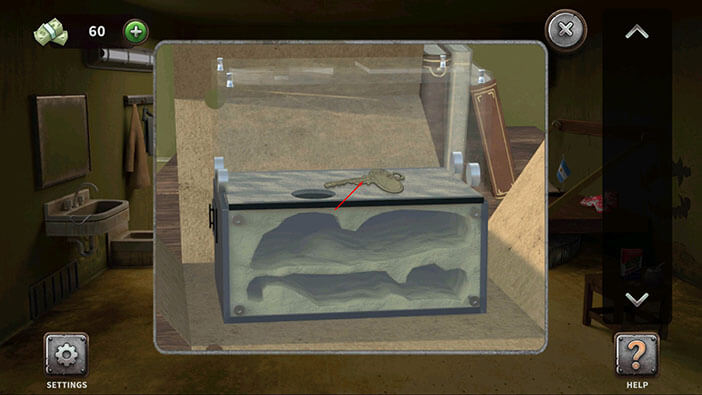
Once you get rid of that ants, you can tap on the key to pick it up.
Select the key from the inventory and tap on the cell door to unlock it.
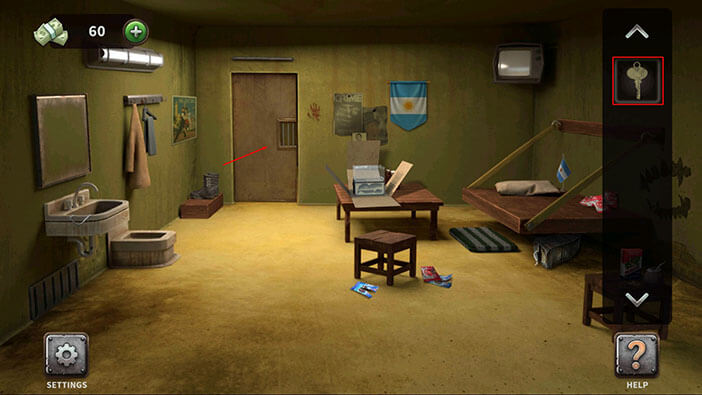
Finally, tap on the cell door to escape and you will complete the third level.
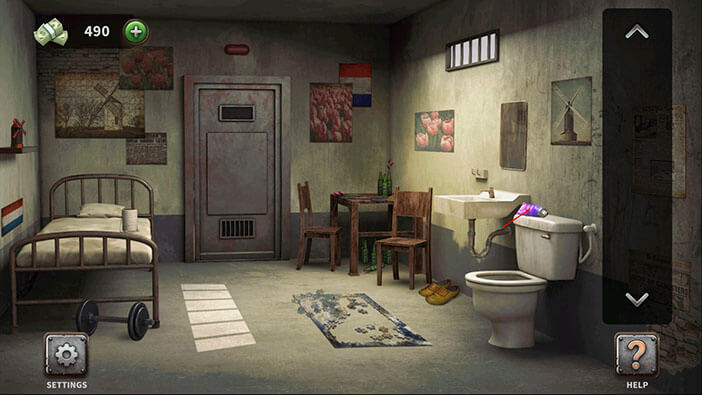
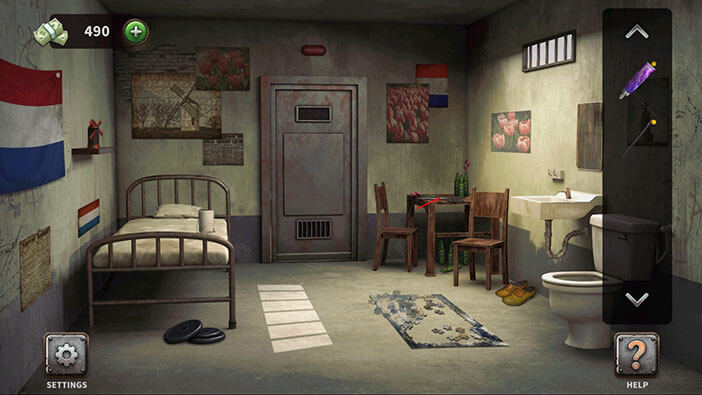
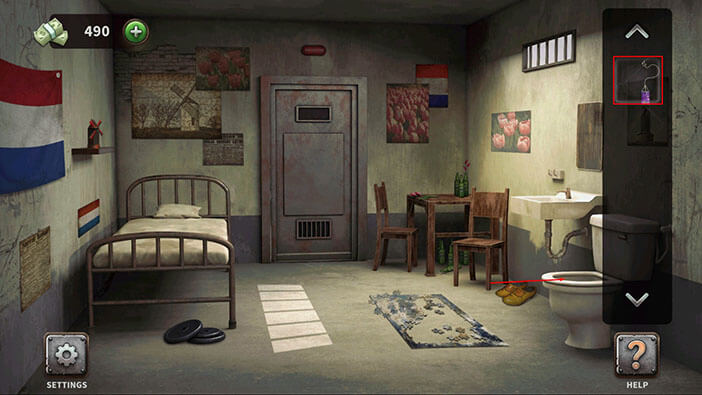
Level 4: Dutch Cell
Look to the right and, above the toilet, you will see a purple tube. Tap on it to pick it up.
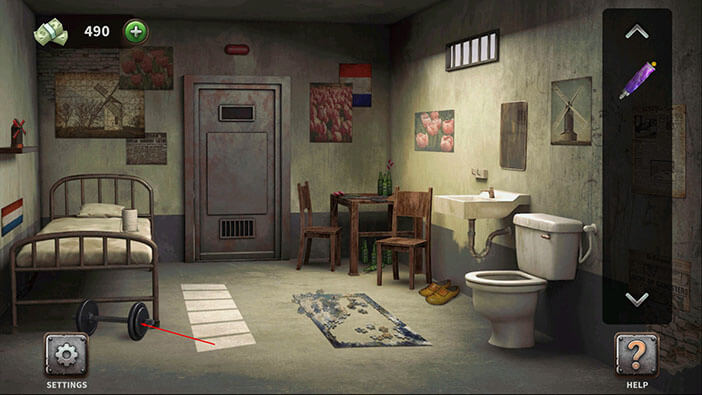
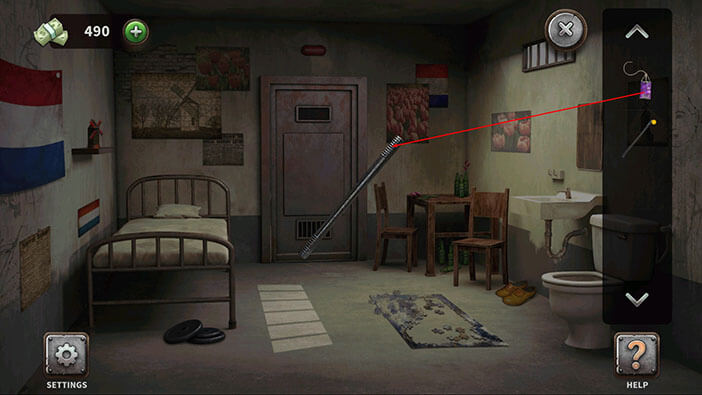
Next, tap on the weights, locate just below the bed, to take a closer look.
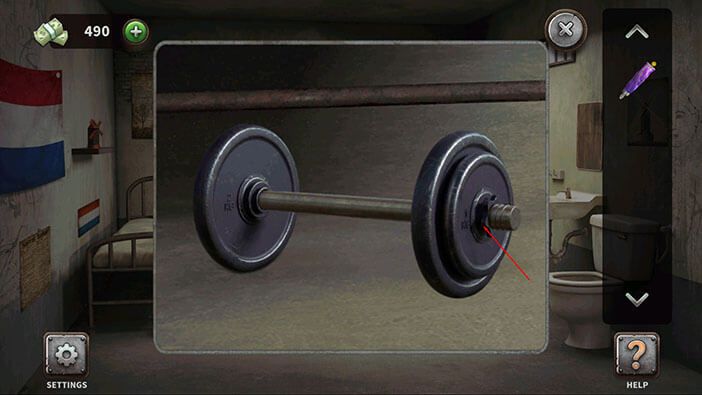
Tap on the disks on the right side of the bar to remove them.
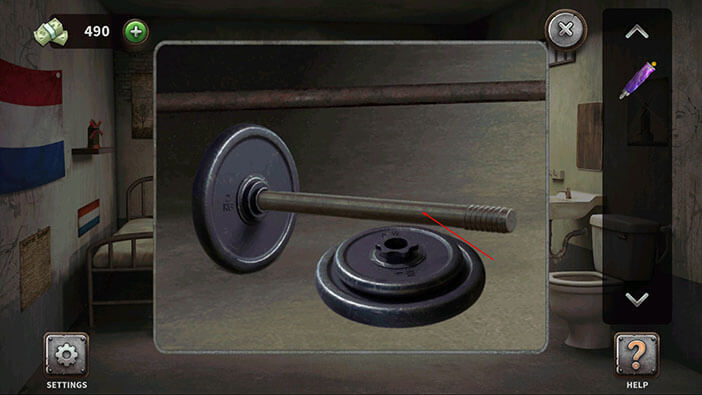
Next, tap on the bar to remove the other disks, and our character will pick up the bar.
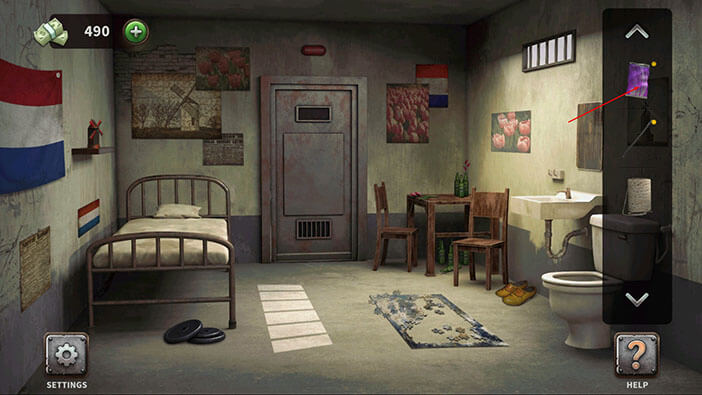
Next, tap on the scissors, located on the table in the upper right corner of the room, to pick them up.
Next, tap on the rope yarn, located on the bed, to pick it up.

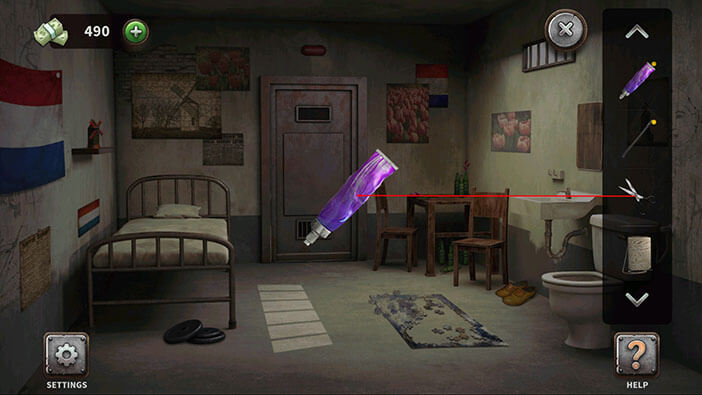
Ok, now let’s select the purple tube from the inventory.

Drag the scissors from the inventory and use them to cut the tube in half. The lower half of the tube will be added to your inventory, and the upper half will be discarded.
Select the remaining half of the tube from the inventory.
Drag the yarn of rope and drop it on the lower half of the tube (our character will tie a cord to the tube).

Next, select the bar from the inventory. After that, drag the tube with the cord from the inventory and combine it with the bar.

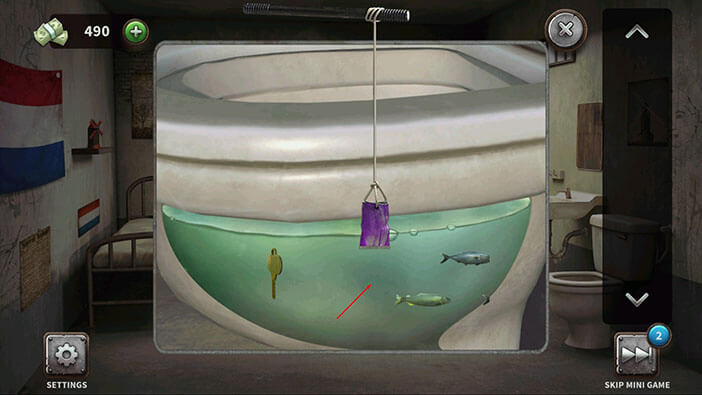
Select the bar with cord and tube from the inventory and tap on the toilet to start the interaction.
In the next minigame, we should use the improvised fishing rod to get the key. Just tap on the water to lower the half of the tube when the key gets near.
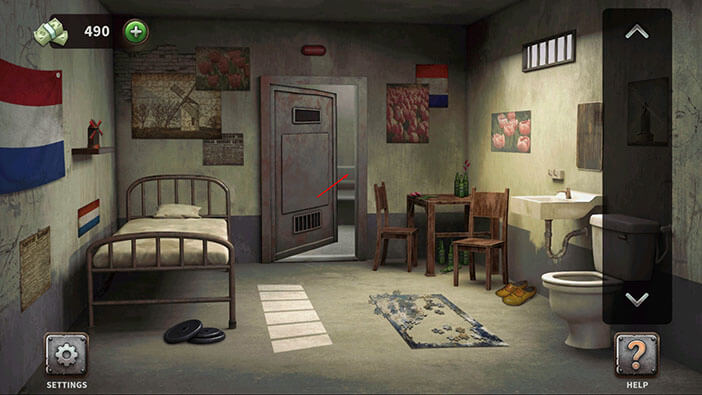
Select the key from the inventory and tap on the cell door to unlock it.
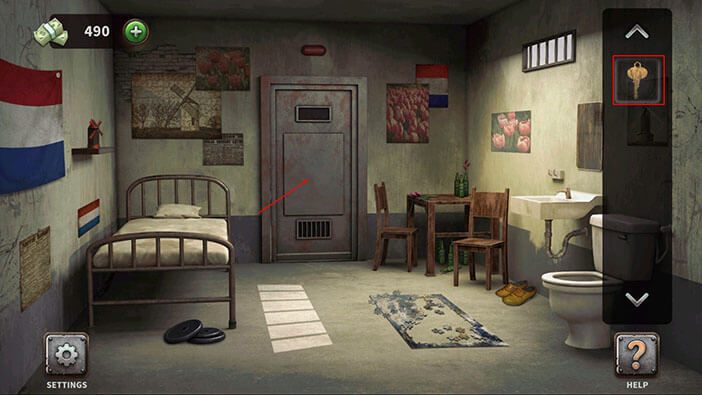
Finally, tap on the cell door to escape and you will complete the fourth level.
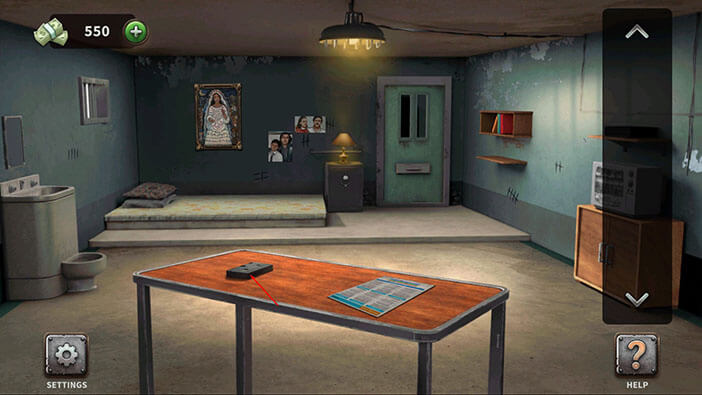
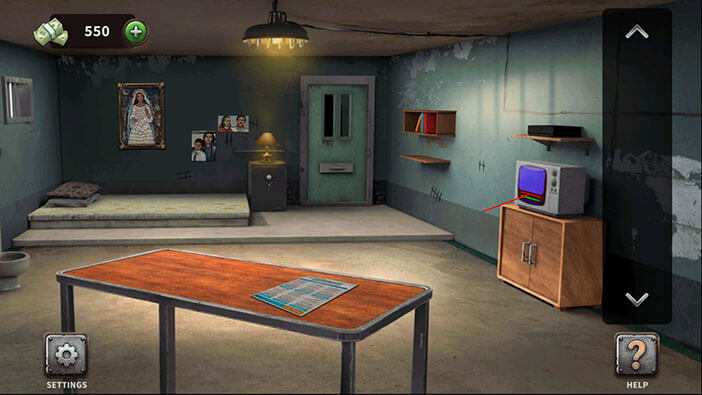
Level 5: Colombian Cell
First, tap on the VHS tape, located on the left side of the table, to pick it up.
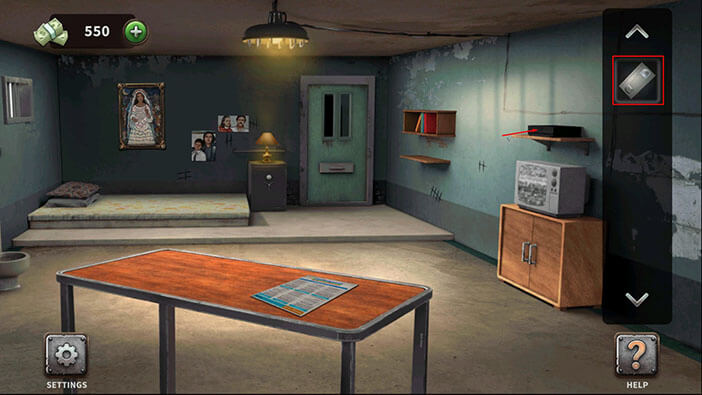
Turn to the right. Select the VHS tape from the inventory and tap on the VHS player, located on the shelf above the TV, to insert the tape.
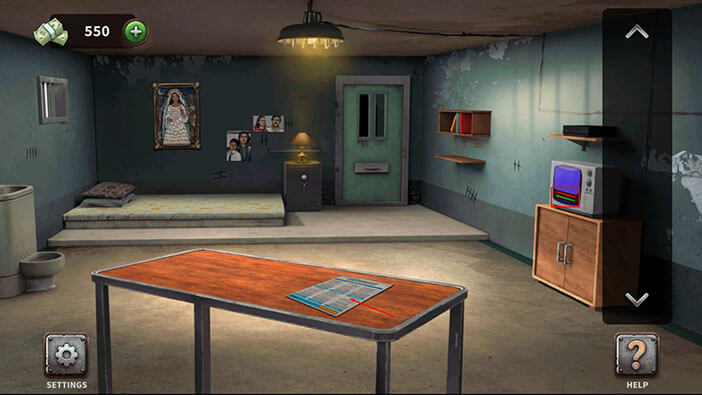
Well, we inserted the tape but looks like we will have to do some settings before we can play it. If you take a look at the TV you will notice the three lines at the bottom of the screen (red, green, and purple). Tap on the pamphlet on the right side of the table to take a closer look at it.
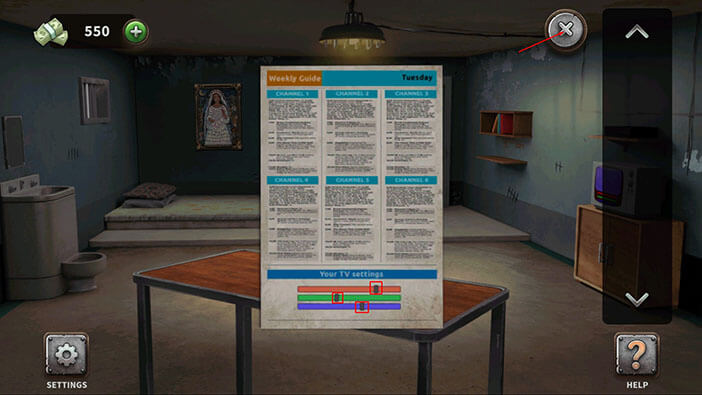
At the bottom of the pamphlet, we can see the correct setting for the TV.
The pointer on the red line should be approximately 80% to the right.
The pointer on the green line should be approximately 40% to the right.
The pointer on the purple line should be approximately 60% to the right.
Memorize/write down these positions, then tap on the “X” button in the upper right corner to go back.
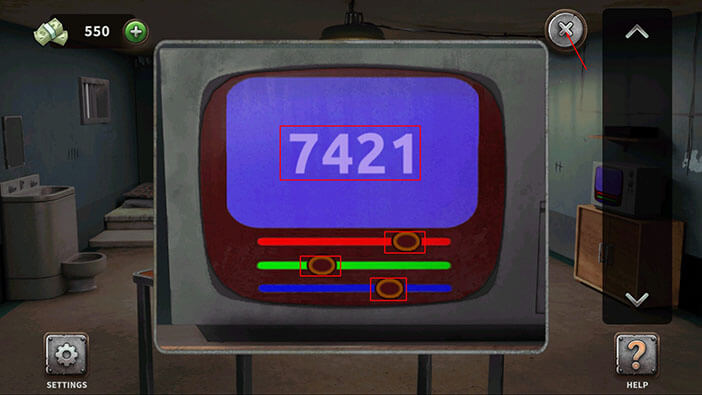
Tap on the TV to start the interaction.
Set the pointers for the three lines to the correct positions, and the number “7421” will appear on the screen.
Memorize/write down this number, because we will need it for the next puzzle, and then tap on the “X” button in the upper right corner to go back.
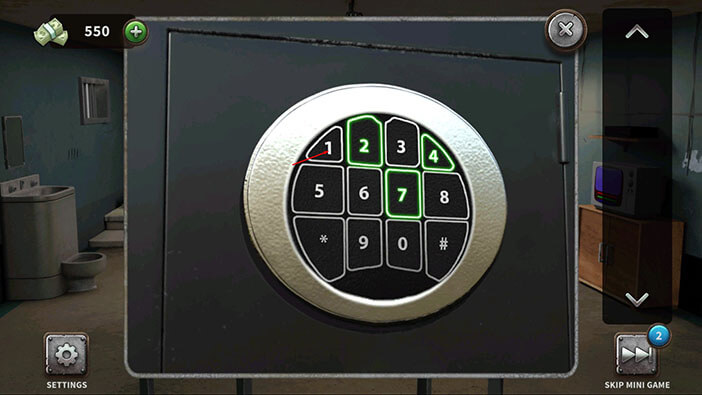
Next, tap on the safe to take a closer look at it.
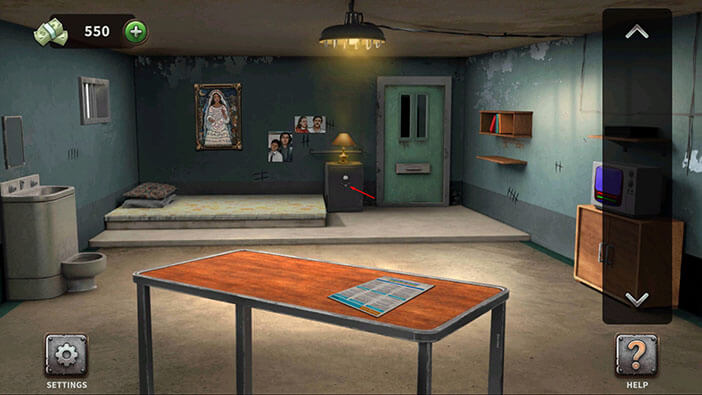
Enter the code “7421” that we previously discovered by solving the TV puzzle.
Inside the safe, you will find a key. Tap on it to pick it up.
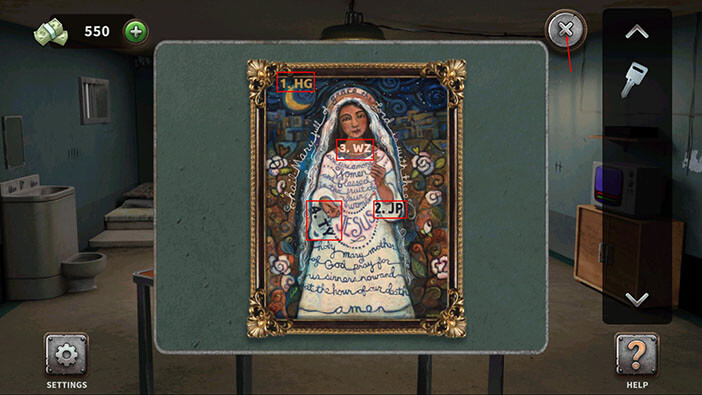
Ok, now let’s take a look at the picture on the left.

If you take a closer look at the picture, you will notice numbers 1-4, and each number has two letters assigned to it. Let’s memorize/write down these numbers because we will need them for the following puzzle. So, we have
- HG
- JP
- WZ
- TY
Once you’re done, tap on the “X” button in the upper right corner to go back.
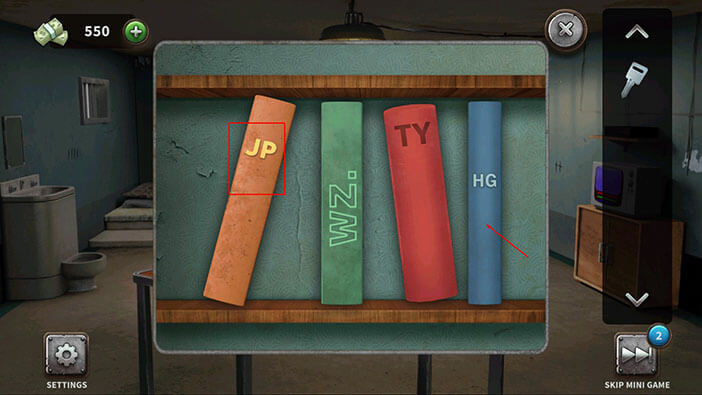
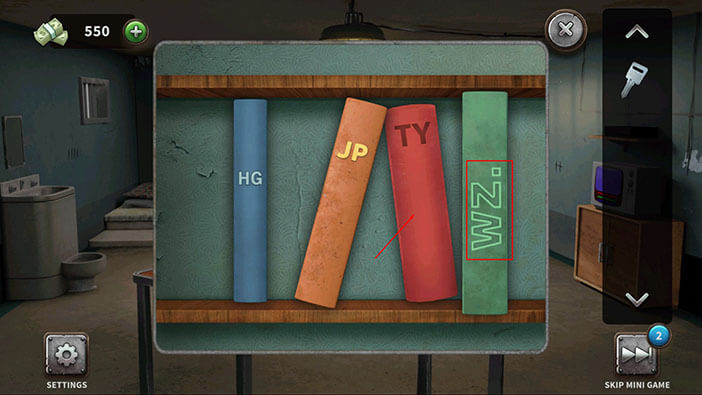
We should now take a closer look at the bookshelf on the right.

If you compare the letters on the four books with the letters that we discovered in the picture, you will notice that they’re the same (also, the color of the books matches the color of the letters on the picture). The number next to the letter (on the picture) represents the correct order of the books, looking from left to right. So, our next task is to properly rearrange the books.
In the picture, we saw 1. HG, which means that the HG book should be the first one from the left. So, tap on the HG book to select it, and then tap on the JP book to switch their positions.
Next, we had 2. JP. So, tap on the JP book to select it, and then tap on the WZ book to switch their positions.
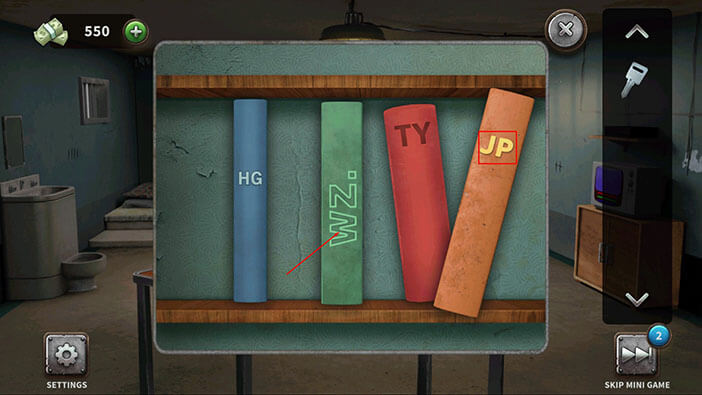
Next, we had 3. WZ. So, tap on the WZ book to select it, and then tap on the TY book to switch their positions. With this last step, you will properly arrange the books.
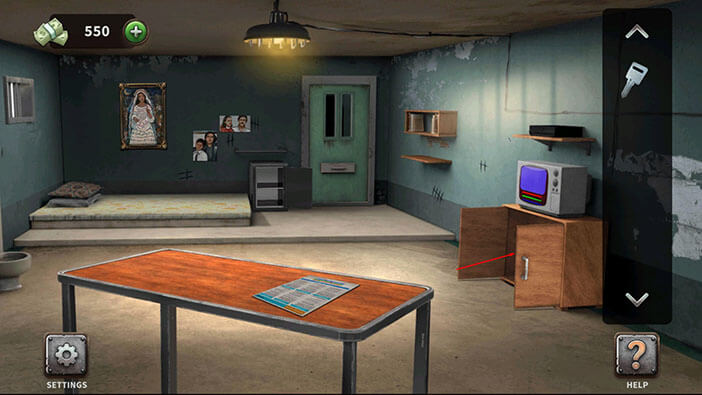
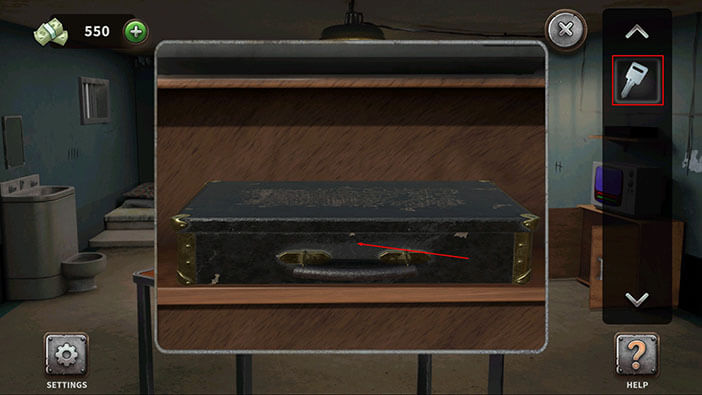
After arranging the book in the correct order, a cabinet below the TV will open. Let’s see what’s inside.
Select the key from the inventory and use it to open the briefcase.
Inside the briefcase, you will find another key. Tap on it to pick it up.
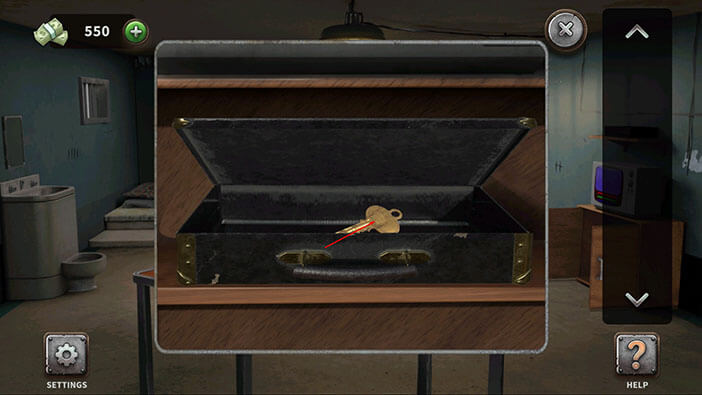
Select the key from the inventory and tap on the cell door to unlock it.
Finally, tap on the cell door to escape and you will complete the fifth level.
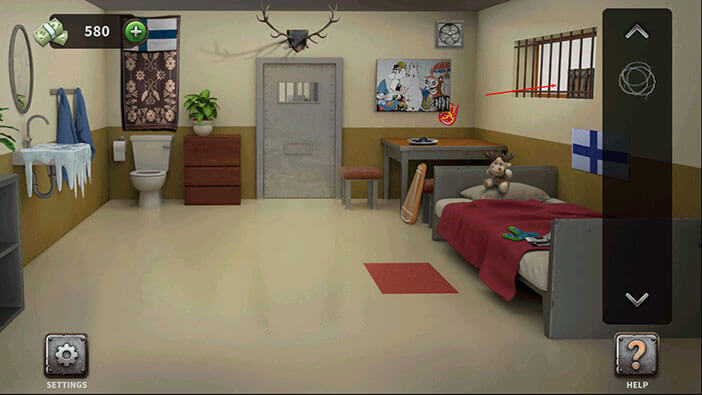
Level 6: Finnish Cell
At the start of this level, we should gather six pieces of glass.
The first piece is on the bed on the right.
The second piece is below the bed.
The third piece is located between the chair and the table in the right corner of the room.
The fourth piece is in the vase, partially hidden by the plant (left of the cell door)
The fifth piece is on the toilet paper.
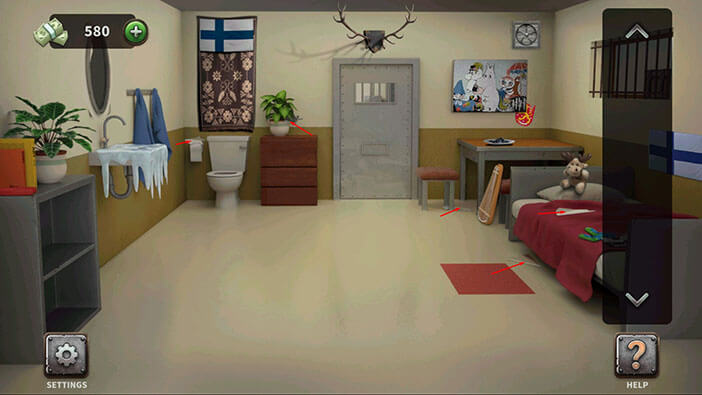
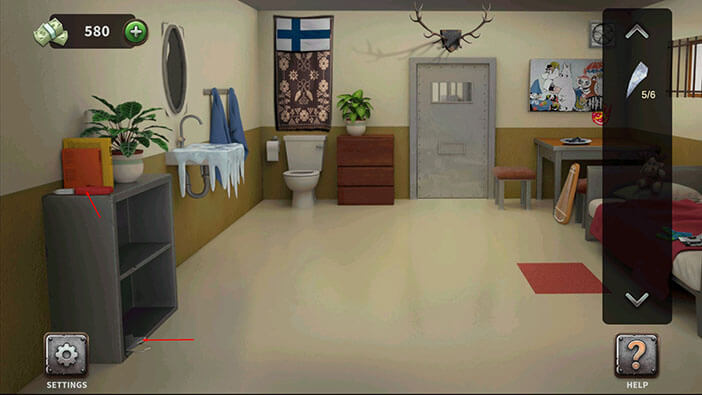
After collecting the first five pieces, turn slightly to the left and you will see the last, sixth piece, on the bottom shelf.
Also, tap on the pliers on the top of the shelf to pick them up, because we will need this item later.
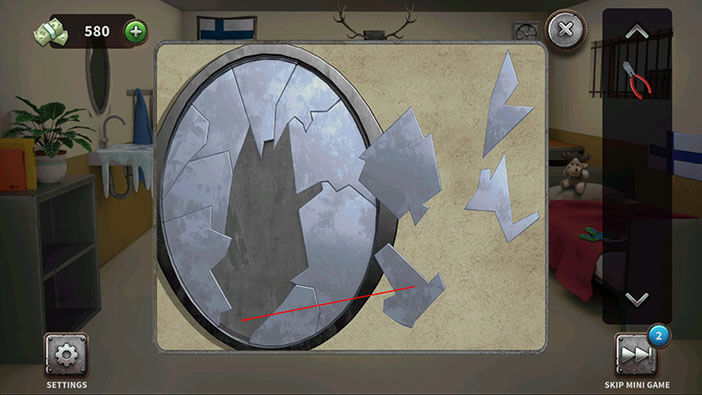
Next, tap on the mirror to start the interaction.

We can see that the mirror is broken, and our task is to assemble it. Let’s start by selecting the glass fragments from the inventory, and placing them to the right of the broken mirror.
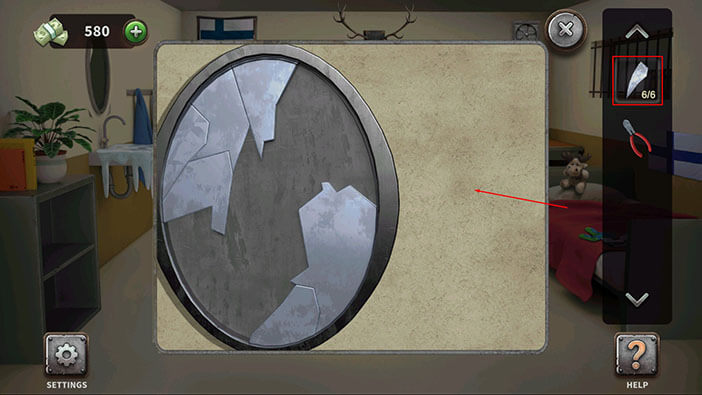
Ok, we will do this puzzle in several steps. I think that the easiest way to assemble the mirror would be to first insert the pieces that fit at the edges of the mirror, so let’s do that.
Step 1
Drag the second piece from the top row, and insert it into the right side of the mirror.
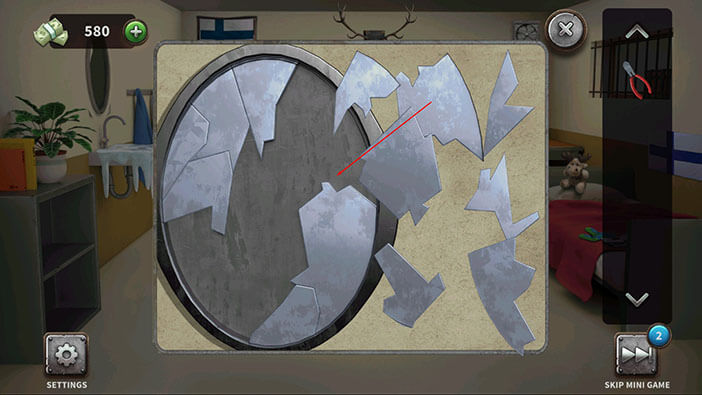
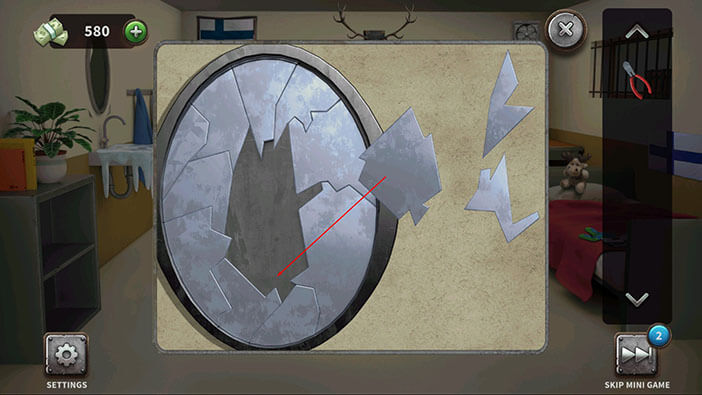
Step 2
Drag the first piece from the top row, and place it into the upper right corner of the mirror (it will align with the previous piece).
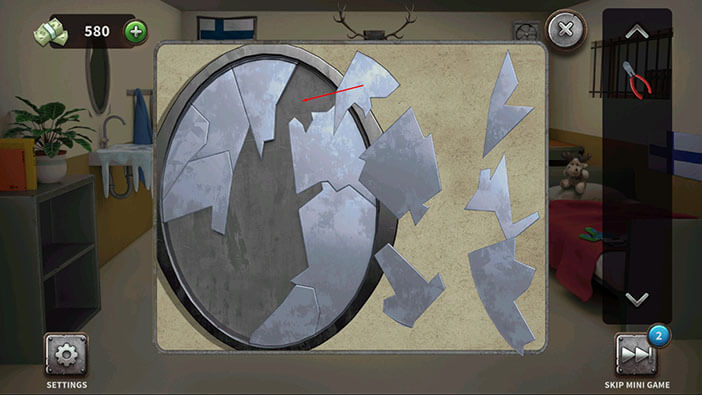
Step 3
Drag the second piece from the bottom row, and place it into the left side of the mirror.
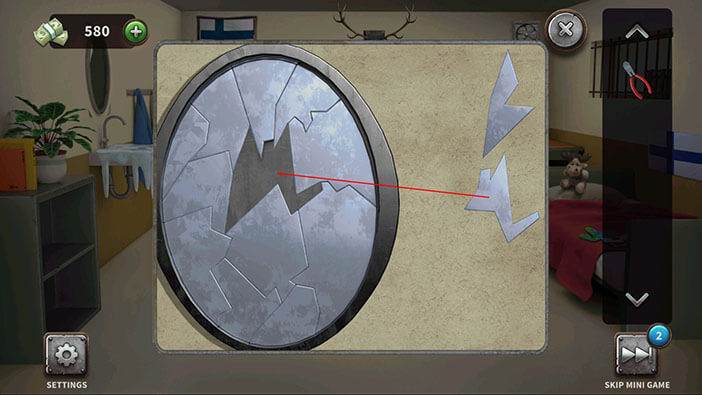
Step 4
Drag the first piece from the bottom row, and place it into the lower-left side of the mirror.
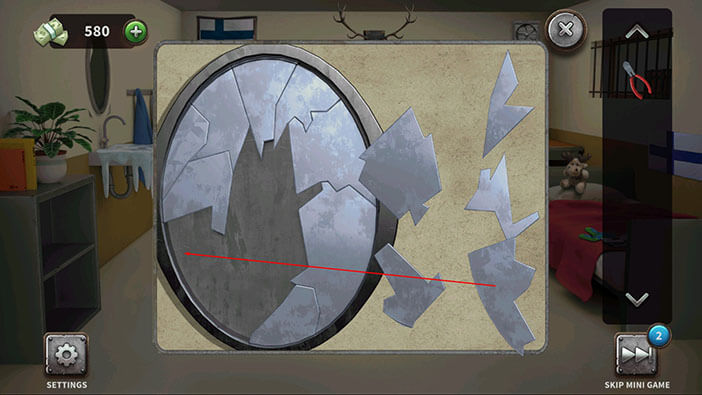
Step 5
Drag the first piece from the middle row, and place it on top of the previous piece (lower half of the mirror).
Step 6
Drag the last piece from the middle row, and place it on the right side of the hole.
Step 7
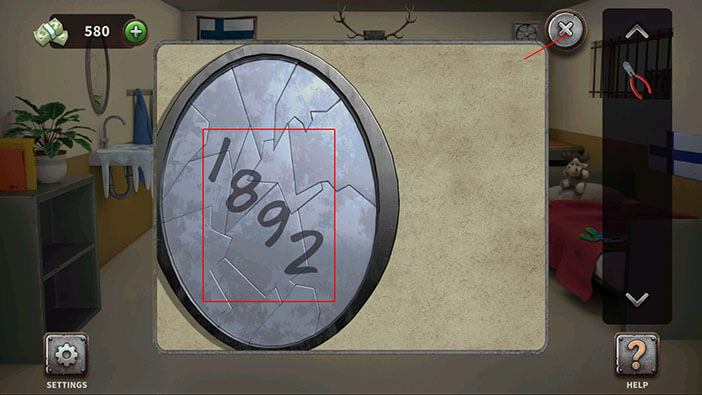
Finally, insert the last piece and you will assemble the mirror.
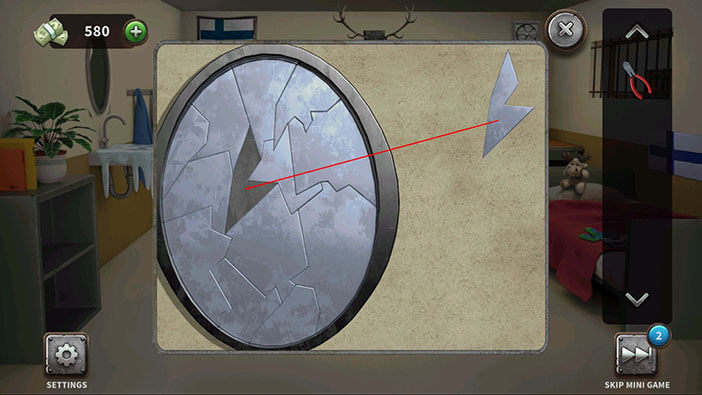
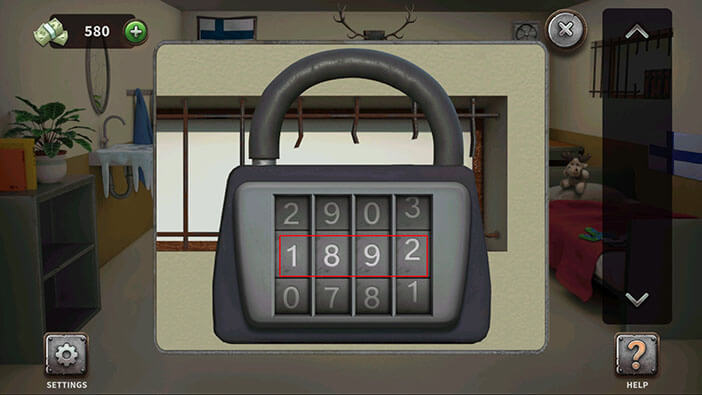
After assembling the mirror, the number “1892” will appear. Memorize/ write down this number because we will need it for the next puzzle.
After that, tap on the “X” button in the upper right corner to go back.
Next, select the pliers from the inventory and tap on the small harp to cut off one of the wires.

We should now take a closer look at the barred window on the right.
We can see a chest behind the bars, but our character can’t reach it. So, select the wire from the inventory and use it to cut the metal bars. After that, tap on the chest to start the interaction.
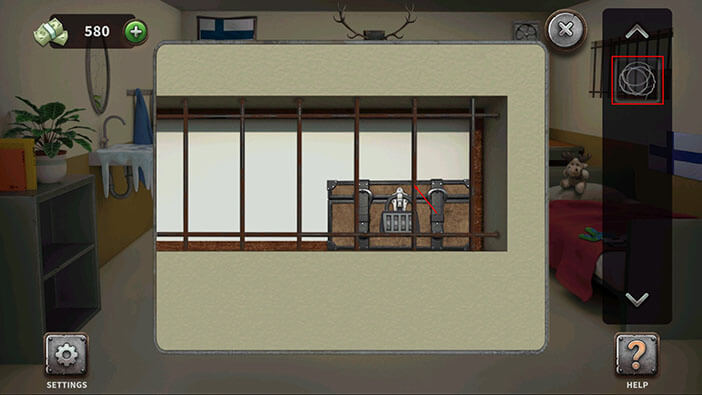
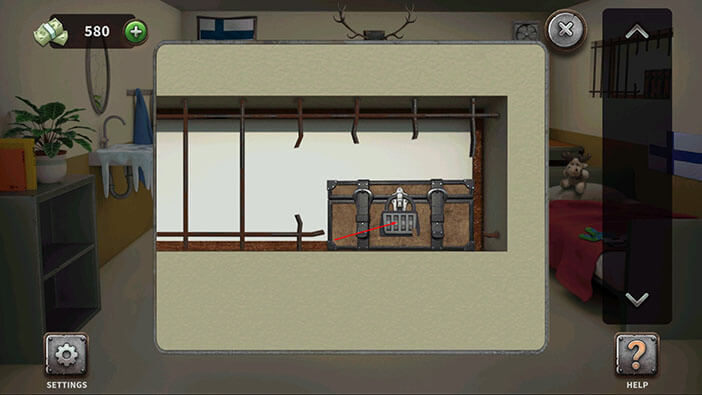
Enter the code “1892” that we discovered when we assembled the mirror.
Inside the chest, you will find a lighter. Tap on it to pick it up.

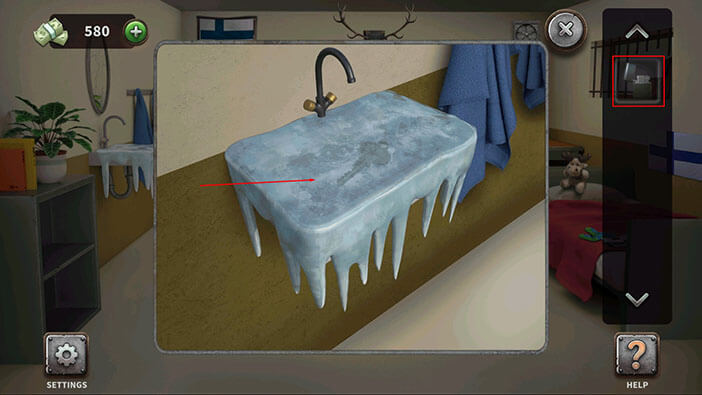
Next, tap on the frozen sink to take a closer look at it.
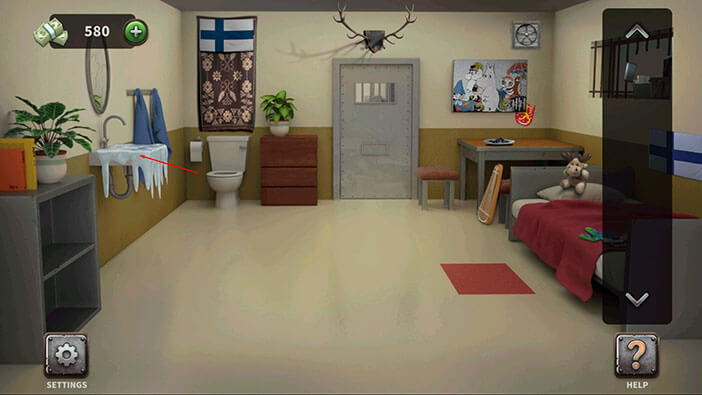
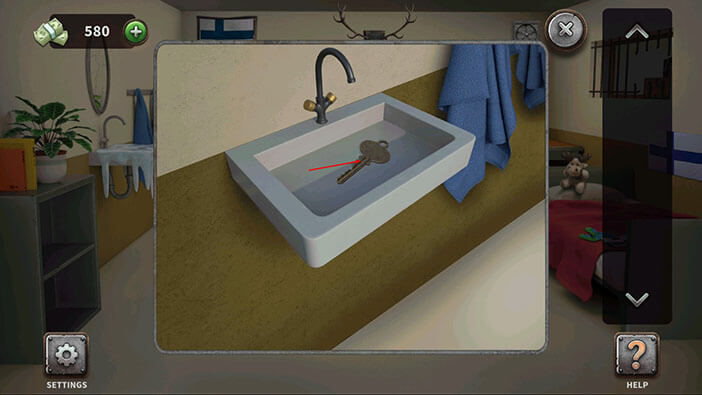
We can see the key, hidden below the ice. So, select the lighter from the inventory and use it to melt the ice.
We can now reach the key, so tap on it to pick it up.
Select the key from the inventory and tap on the cell door to unlock it.

Finally, tap on the cell door to escape and you will complete the sixth level.

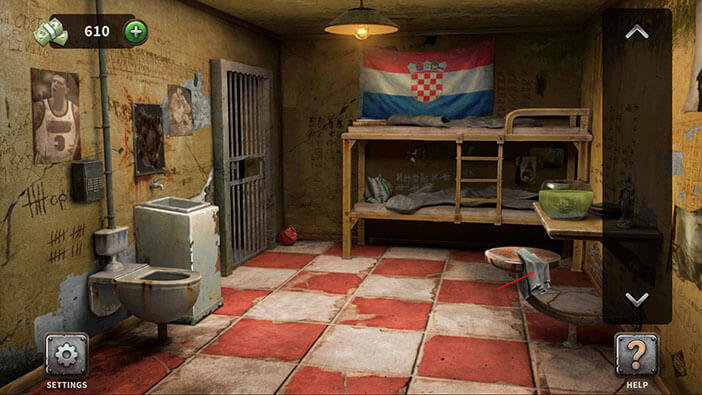
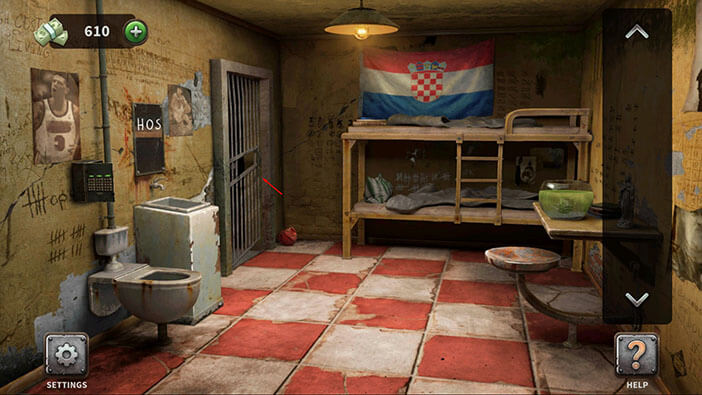
Level 7: Croatian Cell
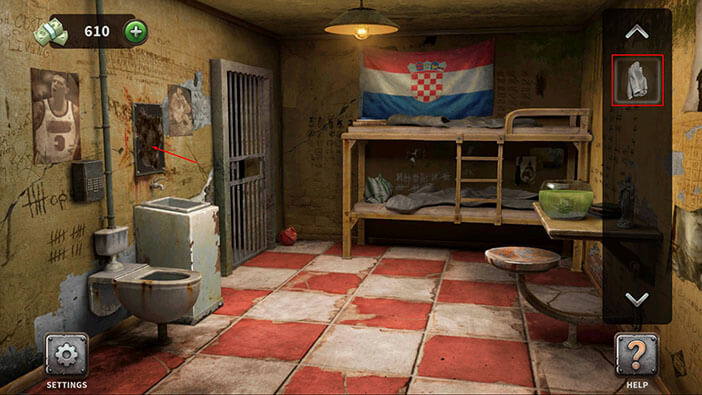
Tap on the shirt on the right to pick it up.
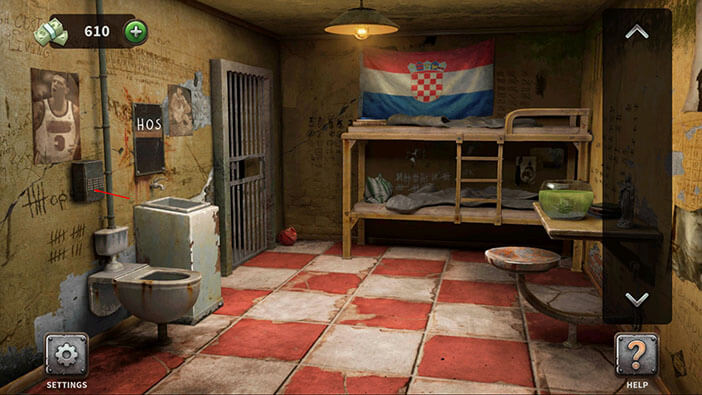
Next, select the shirt from the inventory and use it to clean the mirror on the left.
After you clean the mirror, the letters “HOS” will appear. Memorize these 3 letters, and then tap on the box on the left (above the toilet) to take a closer look at it.
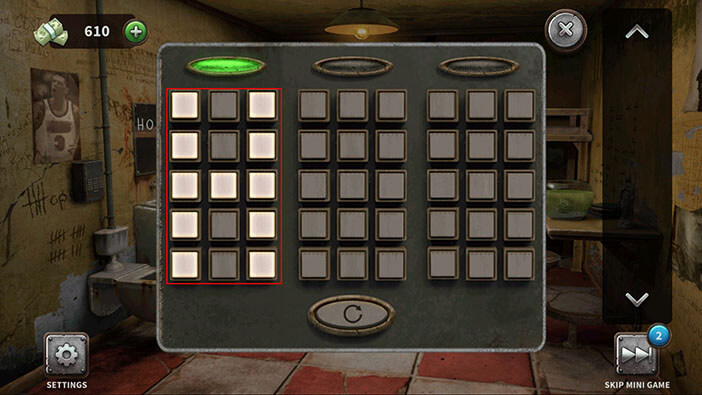
Here, we have another puzzle. We can see three 3×5 grids. You can activate each button on the grid by tapping on it (it will light up).
The goal is to light the buttons on the grid and form the letters “HOS”. So, on the first grid, we should form the letter “H”. We will do this by activating all buttons in the first (left to right) and third columns. After that, we will also activate all the buttons in the third (top to bottom) row.
As soon as you activate the correct buttons, the green light will go on above the first grid.
The second is the letter “O” so we should form it on the second grid. We will do this by activating all buttons in the first and third columns. After that, we will also activate all the buttons in the first and fifth rows.
Again, the green light will go on above the second grid.
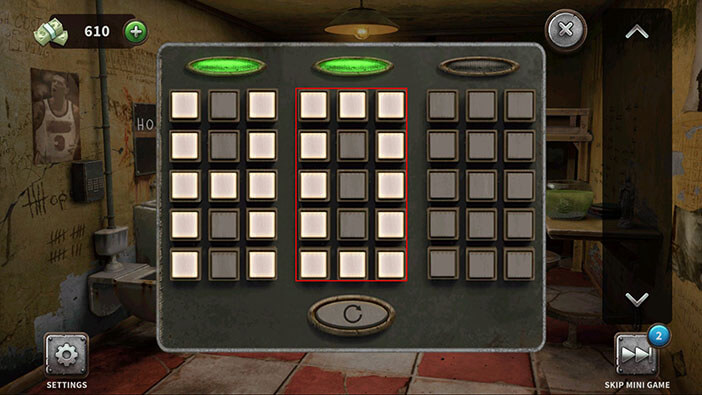
Lastly, we have the letter “S”. To form the letter “S” we will,
First, activate all the buttons in the first row,
Second, activate the first three (top to bottom) buttons in the first column,
Third, activate all the buttons in the third row,
Fourth, activate the last three buttons in the third column,
And finally, activate all the buttons in the fifth row.
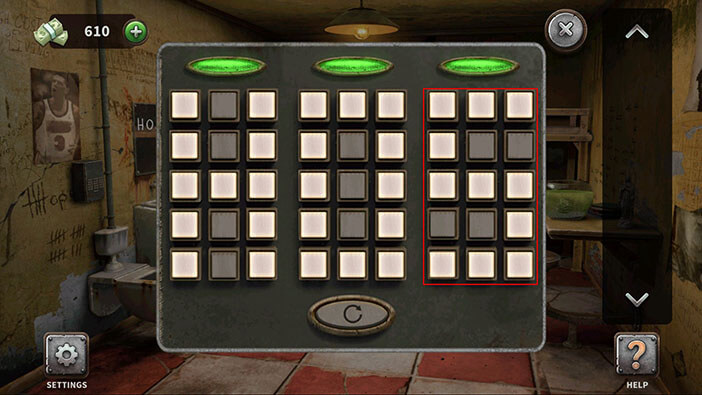
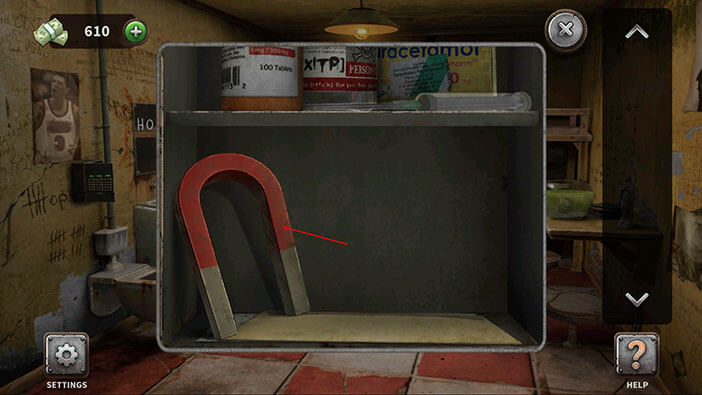
After you activate the correct buttons on all three grids, the secret compartment will open. Tap on the magnet inside the compartment to pick it up.
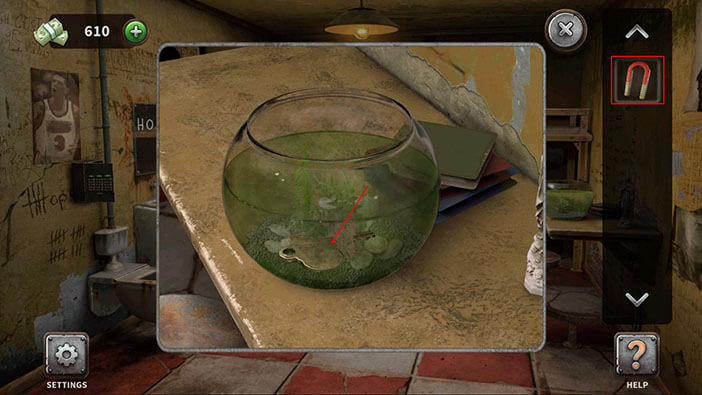
Next, tap on the fishbowl on the right to take a closer look at it.
We can see that there’s a key at the bottom of the bowl. So, select the magnet from the inventory and use it to pull out the key.
Select the key from the inventory and tap on the cell door to unlock it.

Finally, tap on the cell door to escape and you will complete the seventh level.
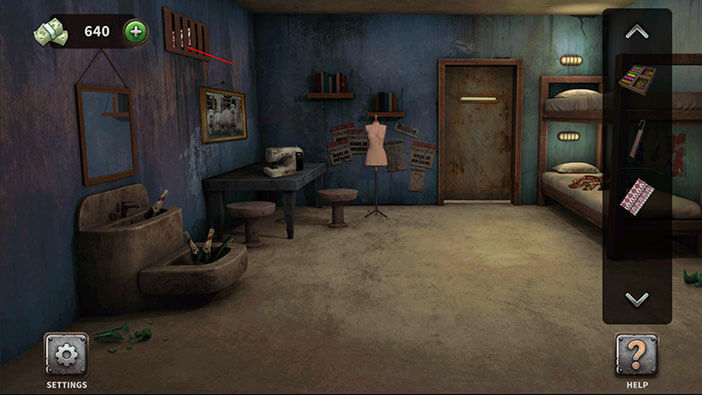
Level 8: Moldovan Cell
At the start of this level, we can pick up two items.
The scissors, located below the bed.
And, the box of sewing materials, located on the wall, above the top bed.

Next, tap on the plank between the lower and top bed to pick it up.
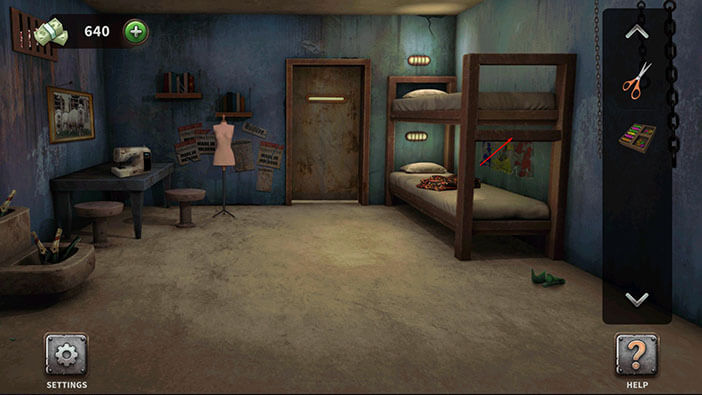
Next, select the scissors from the inventory and use them to cut off the piece of fabric from the dress, located on the lower bed.
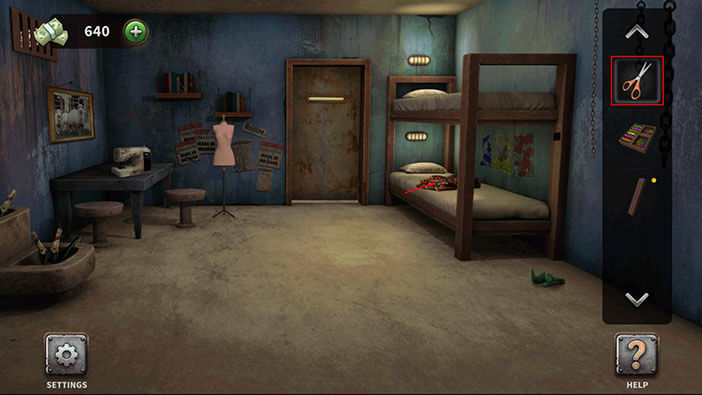
If you look very closely, you will see a hook on the top shelf. Tap on it to pick it up.

Tap on the plank to select it. After that, drag the hook from the inventory and combine these two items.
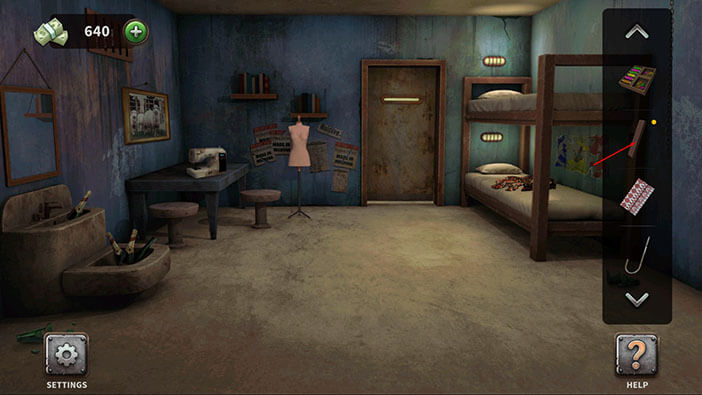
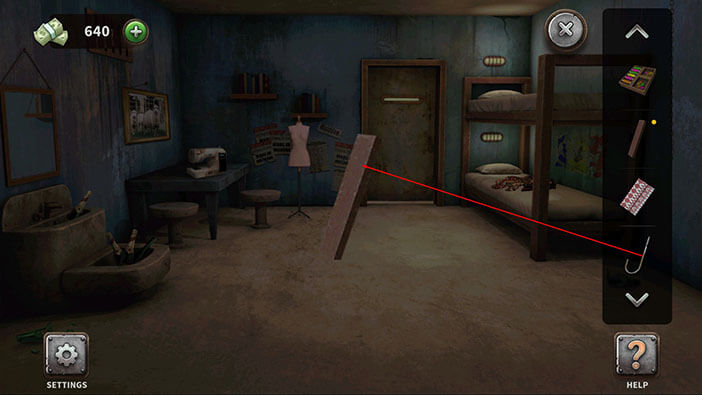
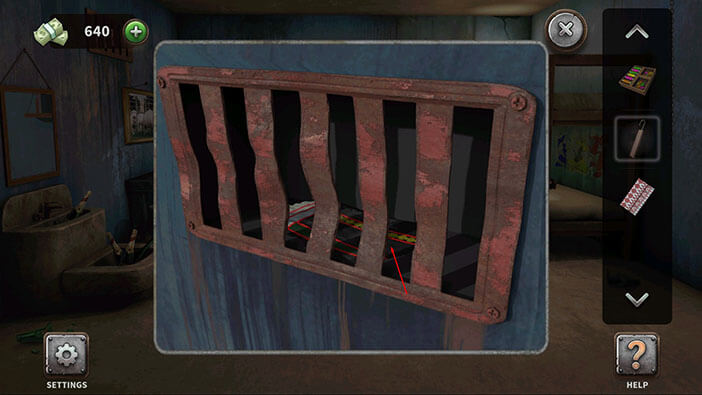
Next, tap on the bars on the wall on the left to take a closer look.
We can see another piece of fabric behind the bars, but our character can’t squeeze his hand in to reach it. So, select the plank with the hook from the inventory and use it to reach another piece of fabric.
Next, tap on the sewing machine on the table on the left to take a closer look at it.
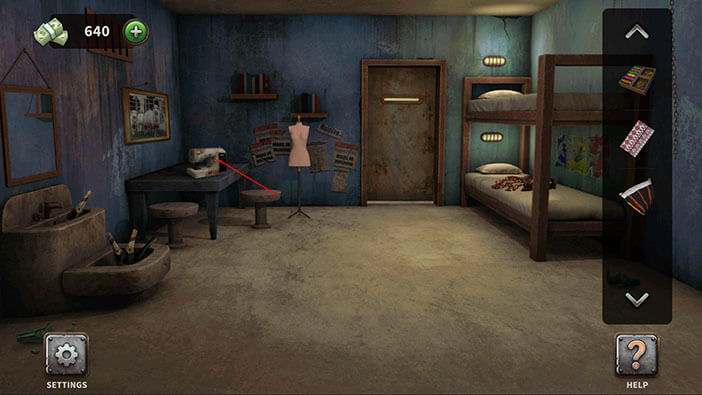
Select both pieces of fabric from the inventory and place them on the sewing machine.
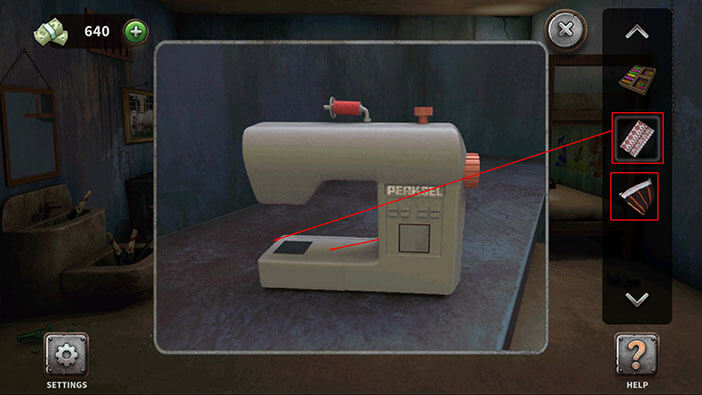
After that, select the box of sewing materials from the inventory and add them to the sewing machine.
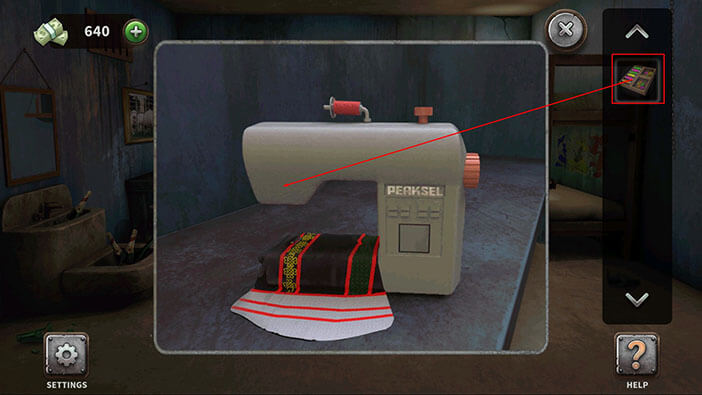
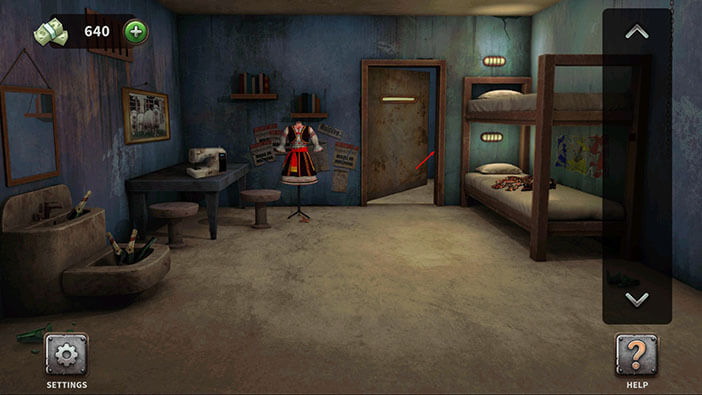
Our character will start the machine, and craft a dress. Select the dress from the inventory and tap on the dress stand to display the dress.
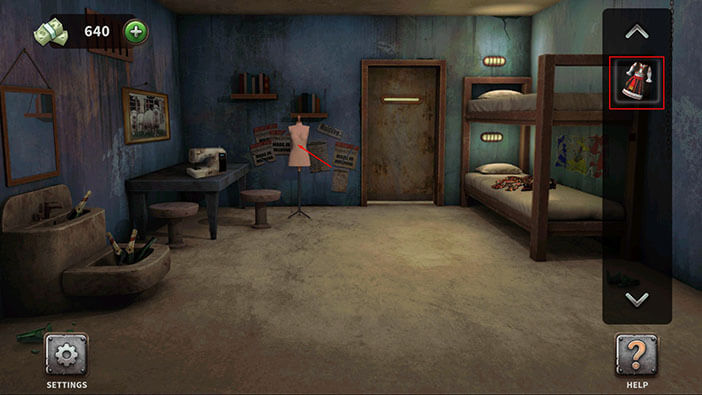
As soon as you place the dress on the dress stand, a key will drop to the floor and our character will pick it up, automatically.
Select the key from the inventory and tap on the cell door to unlock it.

Finally, tap on the cell door to escape and you will complete the eighth level.
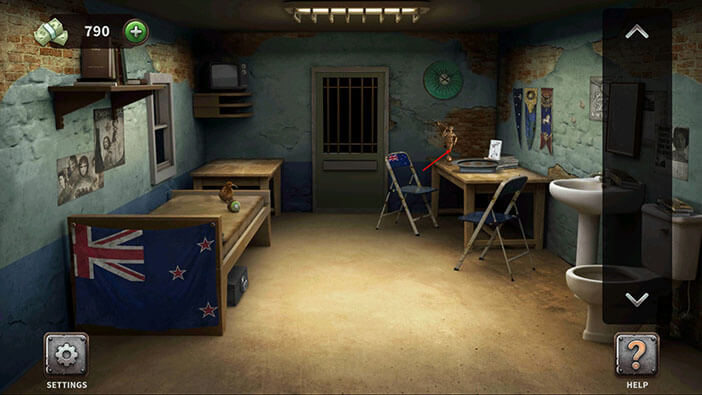
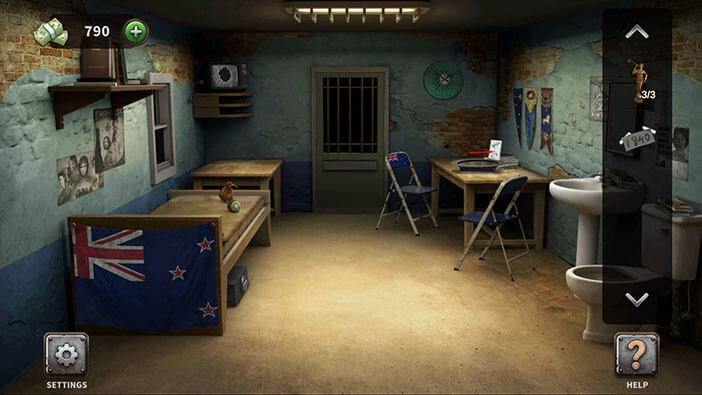
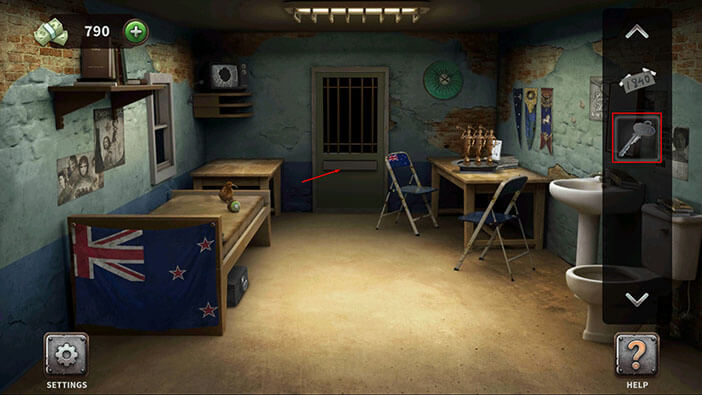
Level 9: New Zealand Cell
Tap on the trophy, located on the table in the right corner of the room, to pick it up. We will have to collect three trophies to complete this level.
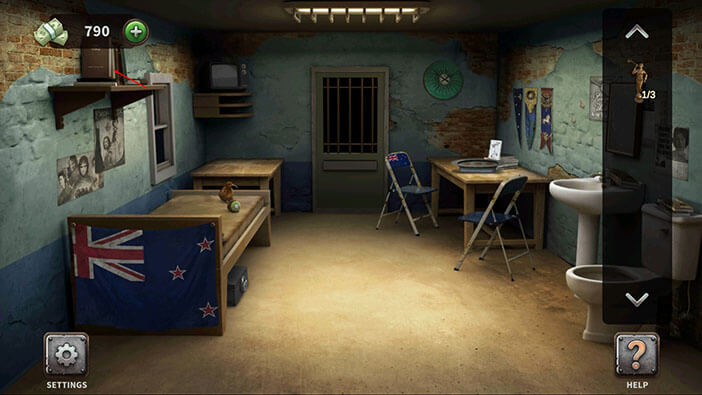
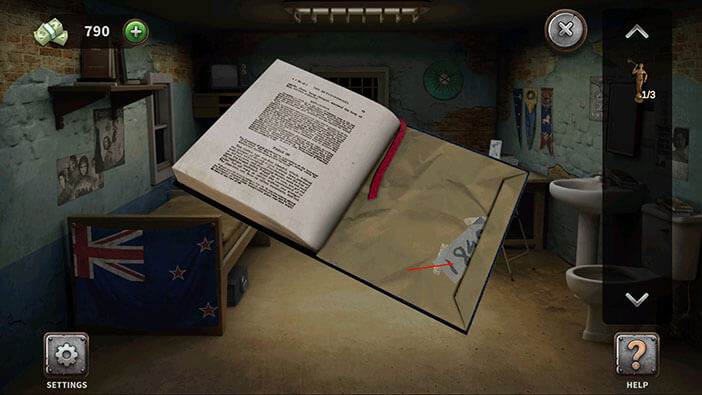
Next, tap on the bookshelf on the wall on the left to take a closer look at it, and you will discover a note in one of the books.
Tap on the note to pick it up. Also, on the note, we can see the number “1840”, and we will need it for the next puzzle.
Tap on the safe, below the bed, to start the interaction.

Enter the code “1840” that we discovered on the note, and you will open the safe.
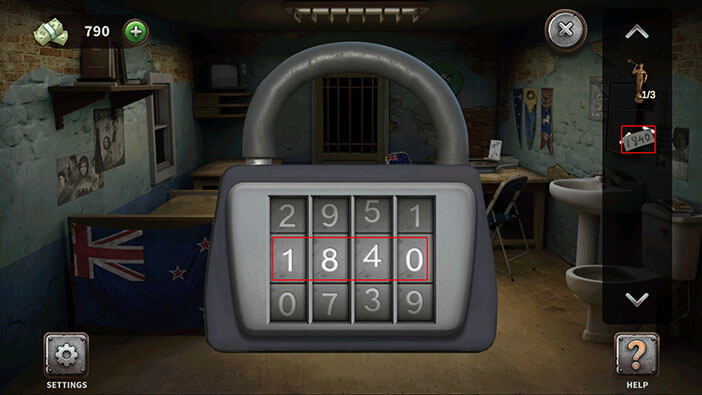
Inside the safe, you will find another trophy. Tap on it to pick it up.

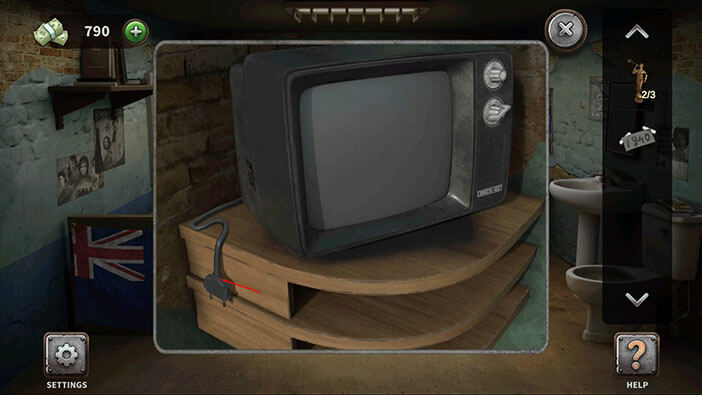
We should now take a closer look at the TV, located in the left corner of the room.

Tap on the cable to plug it into the outlet.
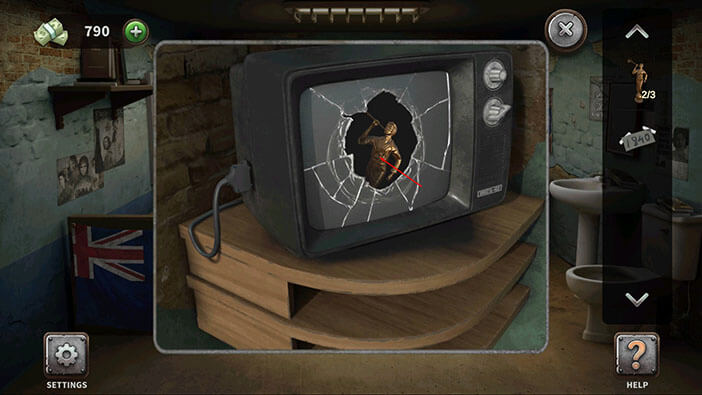
The TV screen will explode, revealing another Trophy that was hidden inside it. Tap on the Trophy to pick it up.
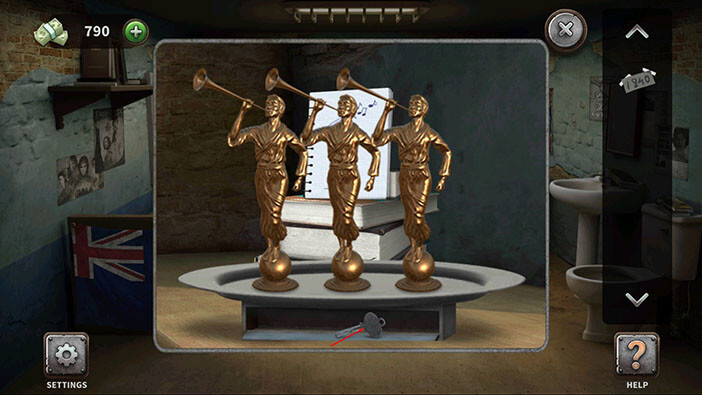
Ok, we collected all the trophies. We can also see that there’s some kind of a note on the table on the right. Tap on the note to take a closer look at it.
On the note, we can see three trumpets, and an arrow pointing to the scales. Below the note, we can see scales with three slots. So, let’s select the three trophies from the inventory and insert them into the empty slots.
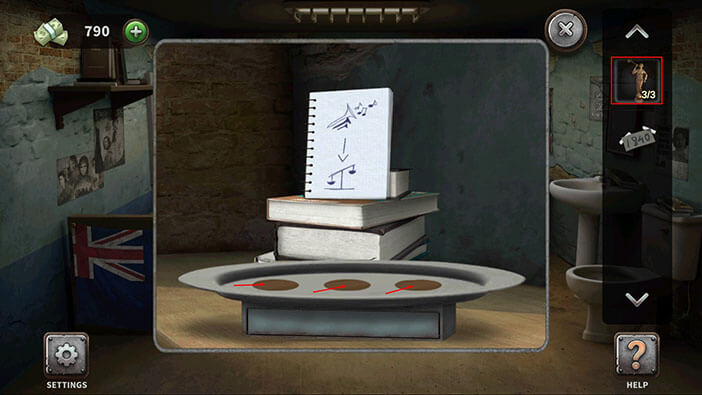
After you place the trophies, a small compartment below the scales will open, and you will find a key. Tap on it to pick it up.
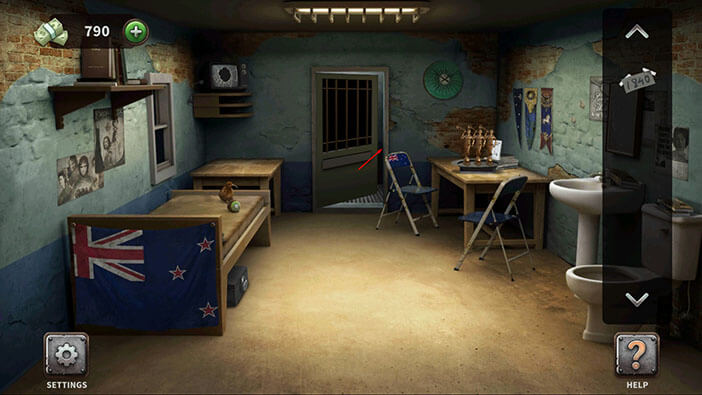
Select the key from the inventory and tap on the cell door to unlock it.
Finally, tap on the cell door to escape and you will complete the ninth level.
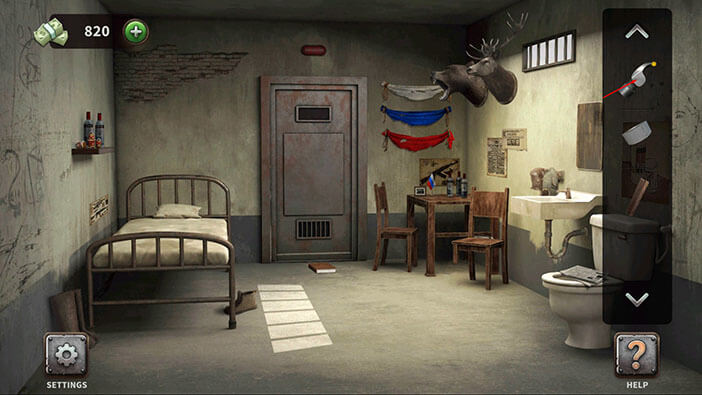
Level 10: Russian Cell
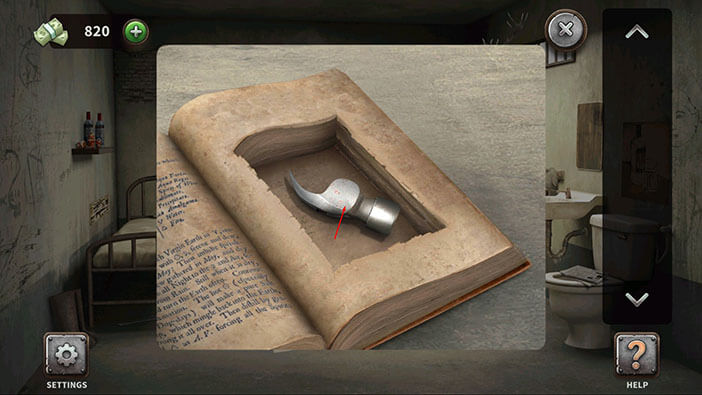
Tap on the book, located on the floor, below the cell door, to take a closer look at it.
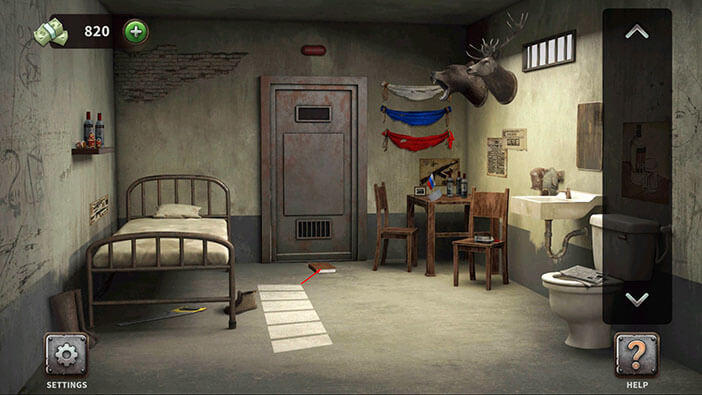
Tap on the book to open it, and inside you will find a hammerhead. Tap on it to pick it up.
Next, on the table in the left corner of the room, just below the Russian flag, you will see duct tape. Tap on it to pick it up.
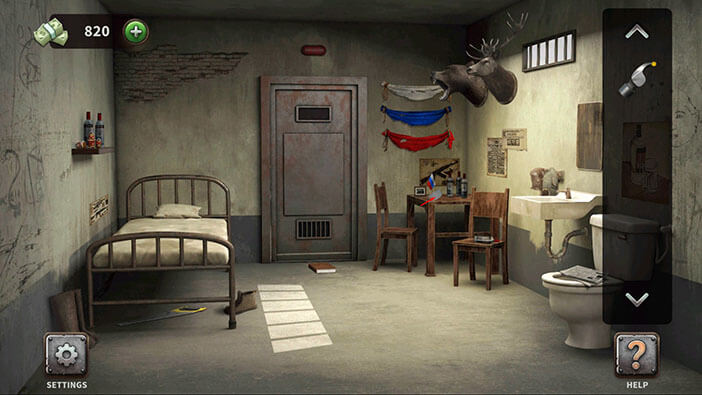
On the left, below the bed, you will find a handsaw with a yellow handle. Tap on the handsaw to pick it up.

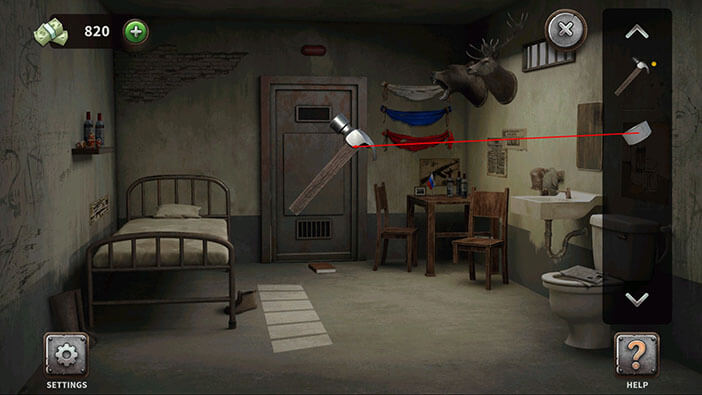
Ok, now let’s take a closer look at the chair on the right.
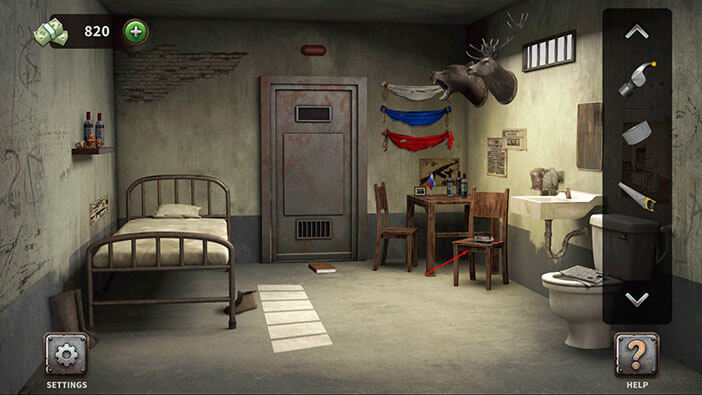
Select the handsaw from the inventory and tap on the chair to cut off one of the legs.
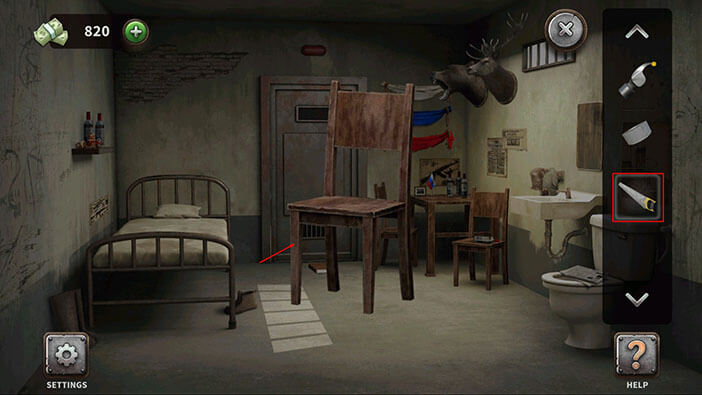
Next, tap on the metal item in your inventory (which we found inside of the book) to select it.
After that, drag the wooden plank from the inventory and combine it with the hammerhead. Our character will create an improvised hammer.
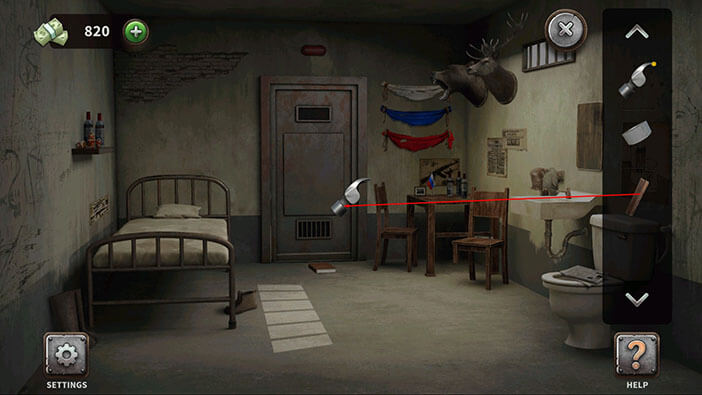
Finally, drag the duct tape from the inventory and use it to tap the hammerhead to the shaft.
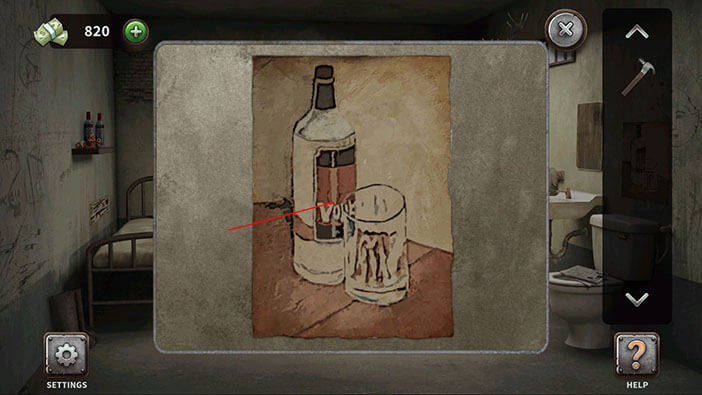
Ok, now we have a functioning hammer, so let’s take a closer look at the poster on the right (above the toilet).
Tap on the poster to tear it down.
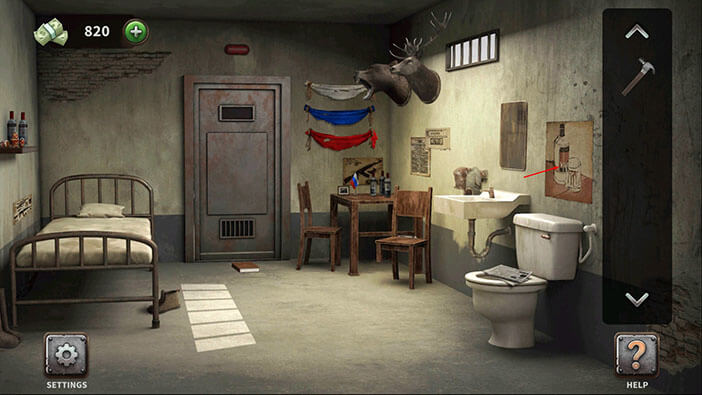
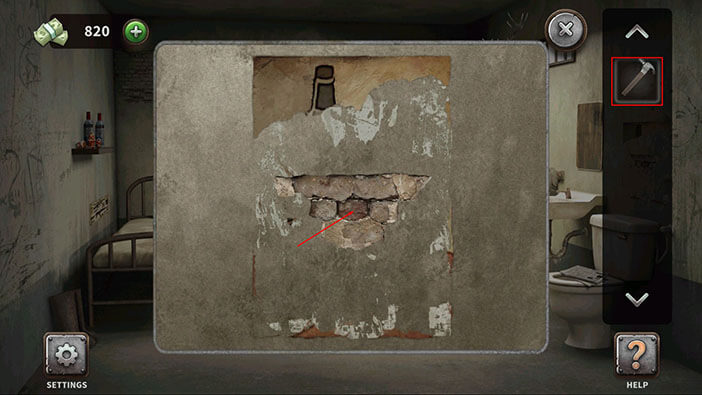
Select the improvised hammer from the inventory and use it to smash the bricks.
Behind the bricks, you will find a key. Tap on it to pick it up.
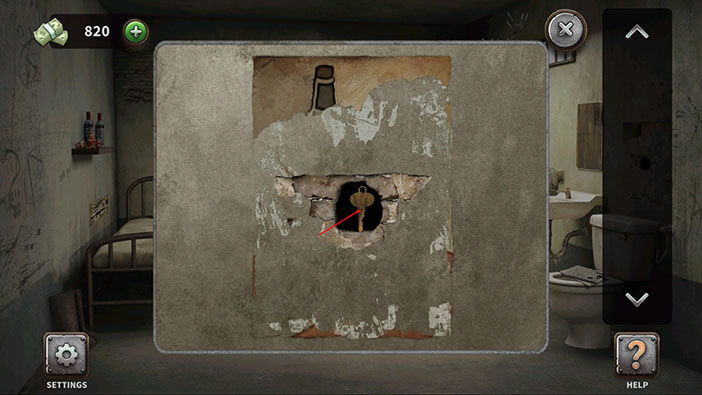
Select the key from the inventory and tap on the cell door to unlock it.

Finally, tap on the cell door to escape and you will complete the tenth level.