Strange Case 2 Asylum Escape Chapter 1
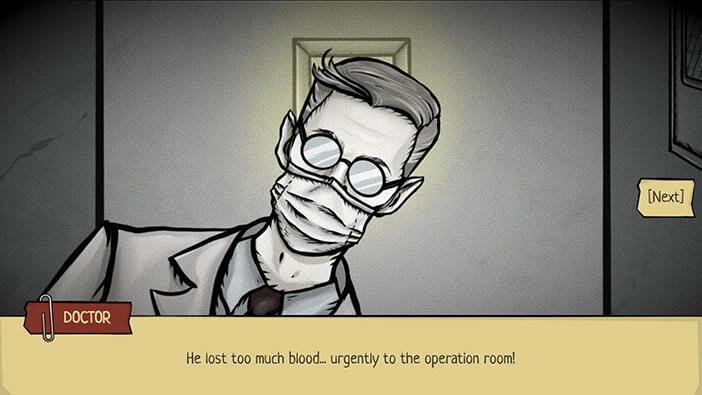
Hello everyone and welcome to the walkthrough for Chapter 1 of ” Strange Case 2: Asylum Escape”. At the end of the previous part of the game, “Strange Case: The Alchemist” our character managed to eliminate the demon, but he was seriously injured in the process. The last thing he remembers is a doctor standing over him, shouting that his condition is critical. With that, our character was urgently transported to the operating room. The story of “Strange Case 2 Asylum Escape” begins at this point.
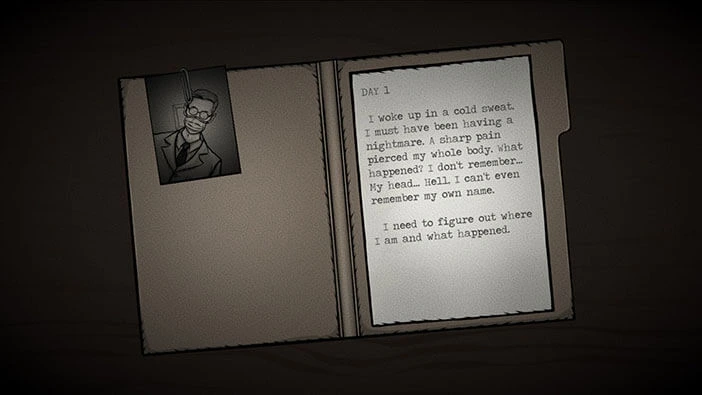
When our character finally woke up after the surgery, he felt the sharp pain pulsing through his entire body. He was terrified because, besides the pain, he also couldn’t remember anything. Not even his name.
So, our character doesn’t remember how he got here but, if you played the first part of the game, you should know. In the first game, after a lengthy investigation, he found some kind of otherworldly creature (demon) that could take the shape of an ordinary human. However, the detective provoked it to show its true face, and after a quick battle, he managed to eliminate this villain. Unfortunately, our character also suffered several serious injuries in this battle and was transported to a hospital. Now, we also found out that he has amnesia, and can’t remember these events.
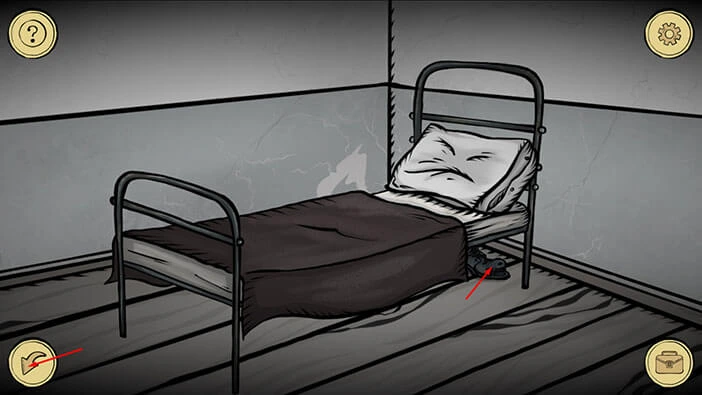
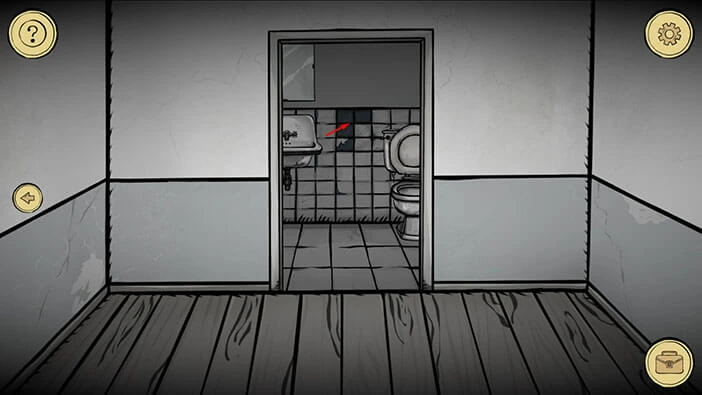
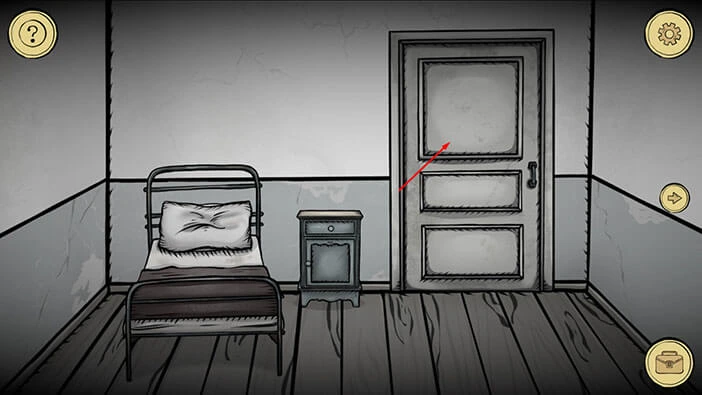
Our character woke up in a small room. He is probably still in hospital. Let’s explore this room.
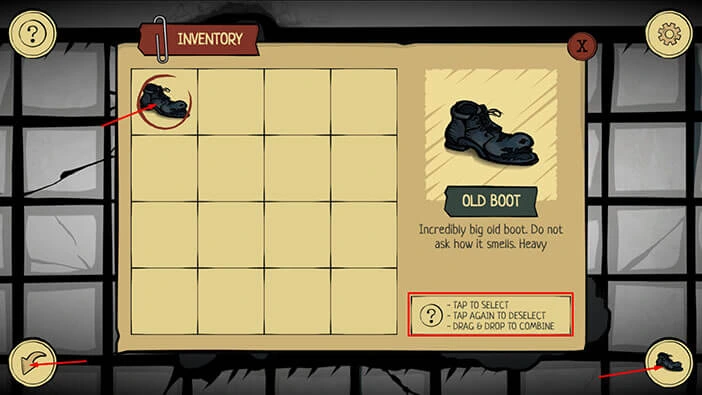
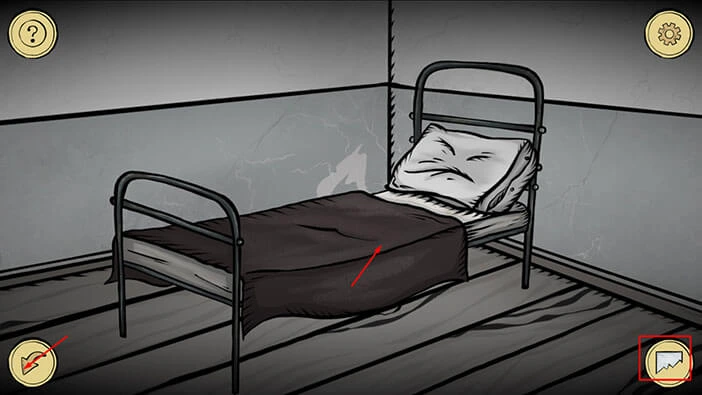
Tap on the bed on the left to take a closer look at it, and you will notice an “Old boot” under the bed. Tap on the “Old Boot” to examine it, and tap again to pick it up.
After that, tap on the arrow in the lower left corner to go back.
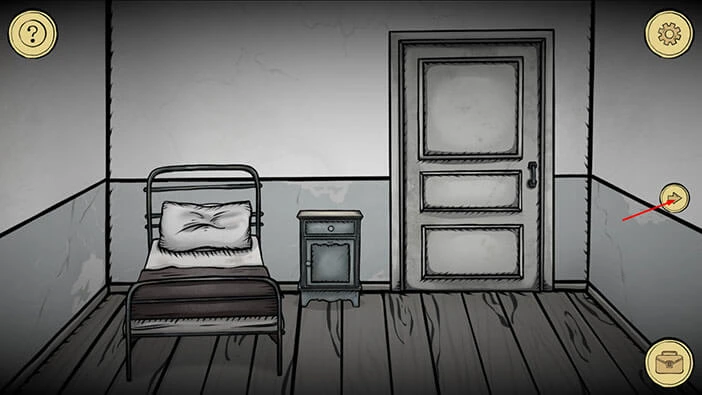
Next, tap on the arrow on the right side of the screen to proceed to the next room.
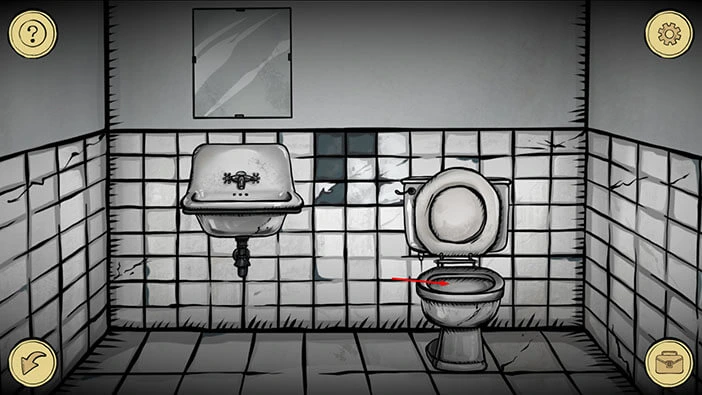
You will find yourself in front of a bathroom. Let’s tap on the wall tiles, located between the sink and the toilet, to take a closer look.
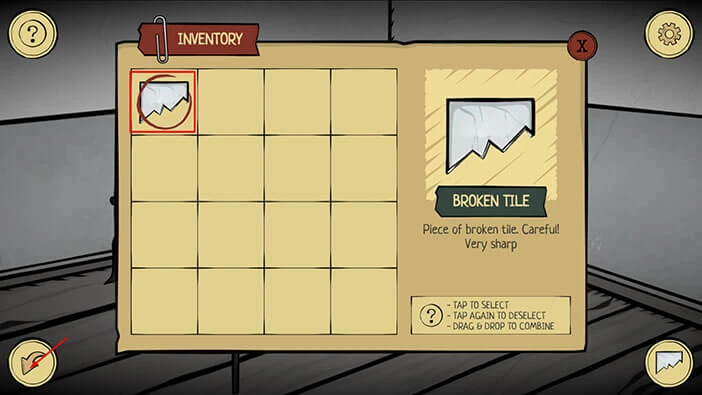
You will notice the broken, dark tile in the top left. Let’s tap on the suitcase icon in the lower right corner to open the inventory, then tap on the “Old boot” to select it.
After that, with the “Old Boot” selected, tap on the arrow in the lower left corner to bring down the inventory menu.
With the “Old Boot” selected, tap on the dark, broken tile in the top left, and our character will remove it.
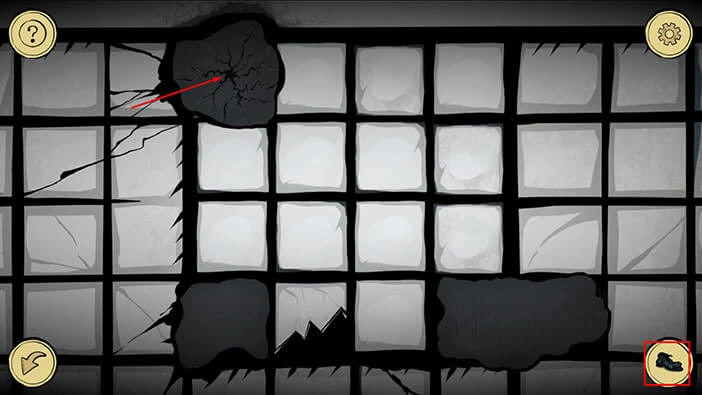
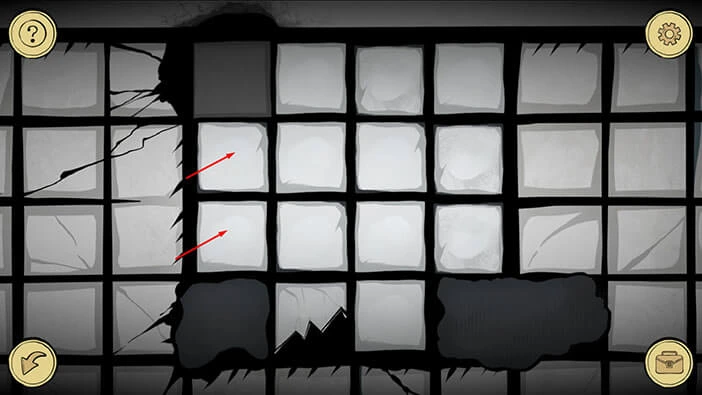
Next, if you pay attention to the bottom row of the tiles, you will notice that the second tile in this row is broken in half. Our task is to get this tile to the empty space in the top left because then we can pick it up. We will do this puzzle in several steps. Let’s begin.
Step 1
Tap on the first tile (left to right) in the second row (top to bottom). After that, tap on the first tile in the third row.
Step 2
Tap on the second tile in the third row. After that, tap on the broken tile (the second in the fourth row).
Step 3
Tap on the third tile in the fourth row. After that, tap on the third tile in the third row.
Step 4
Tap on the third tile in the second row. After that, tap on the second tile in the second row.
Step 5
Tap on the broken tile (the second tile in the third row). After that, tap on the first tile in the third row.
Step 6
Tap on the first tile in the second row. After that, tap on the broken tile (second tile in the second row).
Step 7
Tap on the second tile in the first row. After that, tap on the first tile in the first row.
Step 8
Lastly, tap on the broken tile (the first tile in the second row). Once you get the tile to the first slot in the first row you can tap on it to pick it up, and a “Broken Tile” will be added to your inventory.
Once you’re done, tap twice on the arrow in the lower left corner to go back.
Let’s go back to the first room. Tap on the arrow on the left.
Tap on the bed on the left to take a closer look at it.
Tap on the suitcase icon in the lower right corner to open the inventory, and select “Broken Tile”. After that, tap on the arrow in the lower left corner to go back.
With the “Broken Tile” selected, tap on the bed sheet, and our character will use the broken tile to cut out a “Piece of bed sheet” – it will be automatically added to your inventory.
After that, tap on the arrow in the lower left corner to go back.
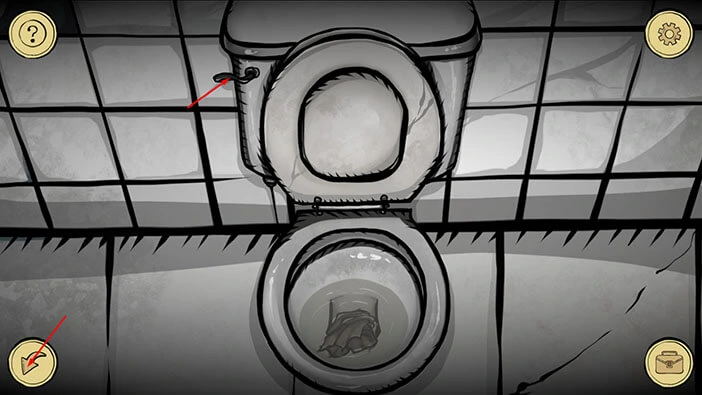
Let’s go back to the bathroom. Once there, tap on the toilet to take a closer look at it.
Tap on the suitcase icon in the lower right corner to open the inventory and select “Piece of bed sheet”. After that, tap on the toilet. Our character will use a “Piece of bed sheet” to clog the toilet.
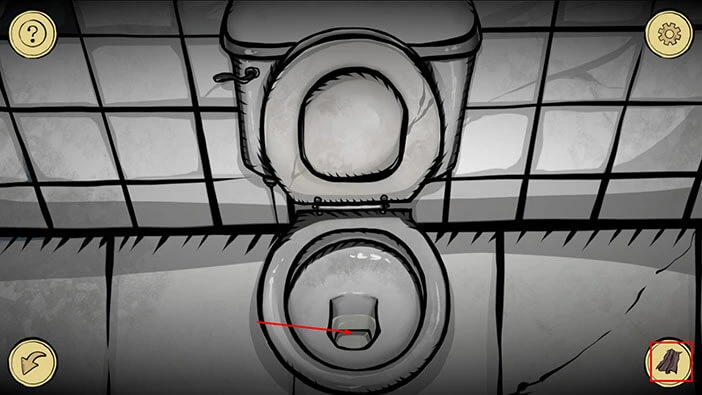
Next, tap twice on the handle on the left to flush the toilet. After that, tap on the arrow in the lower left corner to go back.
OK, let’s go back to the first room. Once there, tap on the front door to start the interaction.
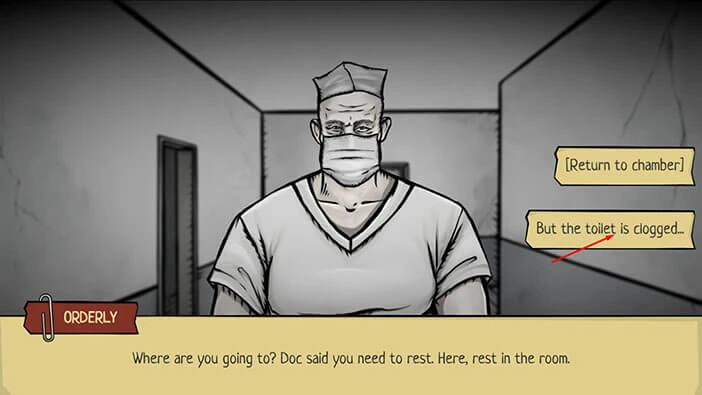
Our character will be stopped by one of the staff members, as soon as you step out of your room. He will inform you that you should go back to your room and rest because that’s the doctor’s order.
However, we created a problem in our room by clogging the toilet, and this should be enough to convince this guy to let us out. Let’s try. Tap on the second option “But the toilet is clogged…”
After that, tap on the “Yes, it pours right over the edge!”
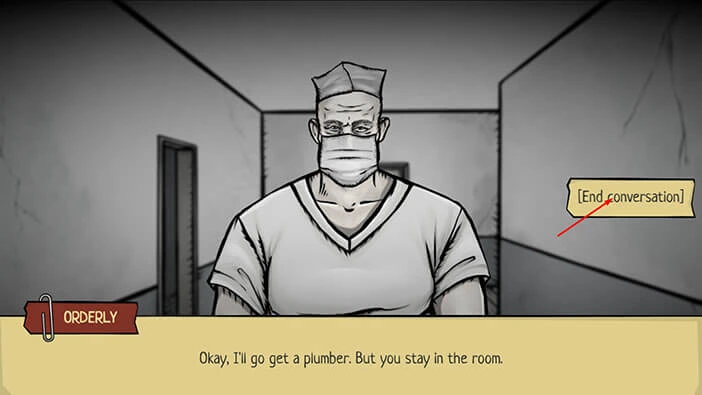
The big guy will inform you that he will go and get the plumber immediately, but he will warn you that you should wait for him inside your room.
Naturally, we won’t obey his orders, and we should have plenty of time to explore until he gets back. Tap on the “End conversation”
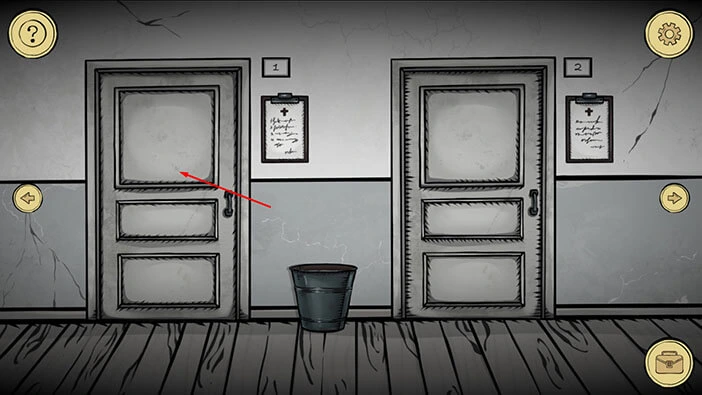
OK, we are now in the hallway and, as I already mentioned, we should have plenty of time to explore.
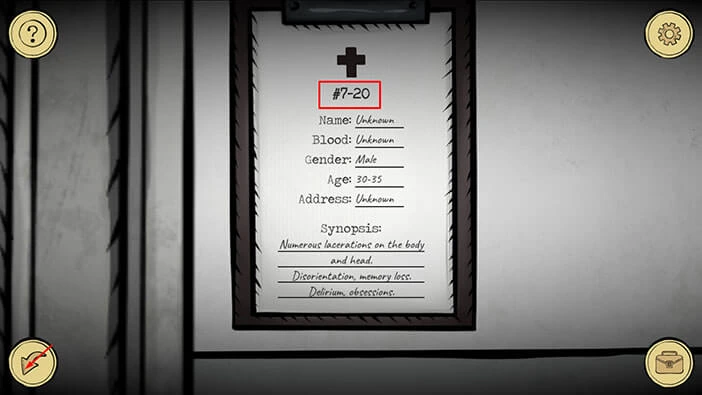
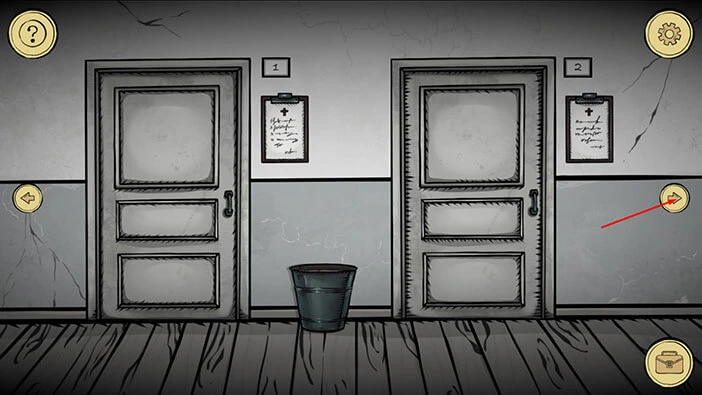
Tap on the notice board on the left (below the number 1) to take a closer look at it.
Here, you will see #7 – 20. Memorize/ write down this information because we will need it for the next puzzle.
After that, tap on the arrow in the lower left corner to go back.
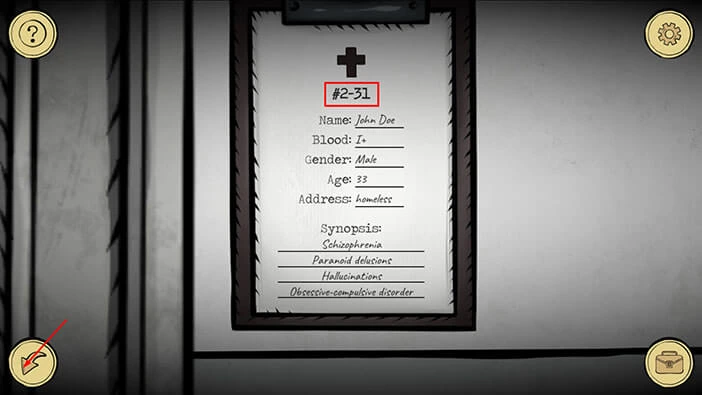
Next, tap on the notice board on the right (below the number 2) to take a closer look at it.
Here, you will see #2 – 31. Memorize/ write down this information because we will need it for the next puzzle.
After that, tap on the arrow in the lower left corner to go back.
Let’s explore the next room. Tap on the arrow on the right.
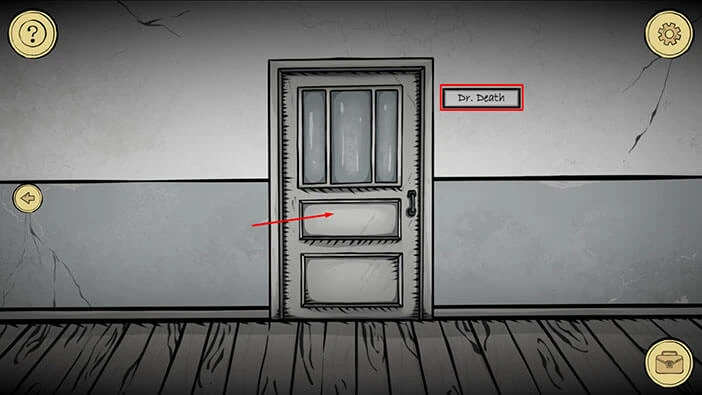
Here, you will see a door to the office of “Doctor Death”. Wow, pursuing a career in health care must have been very difficult with that name. I can’t imagine this guy having any willing patients. Imagine the conversation.
“Doctor Death will see you now.”
“Ahem, I think I want to see another doctor.”
Well, I guess that’s why he takes care of the unconscious patients – like our character.
Tap on the door to proceed into the office.
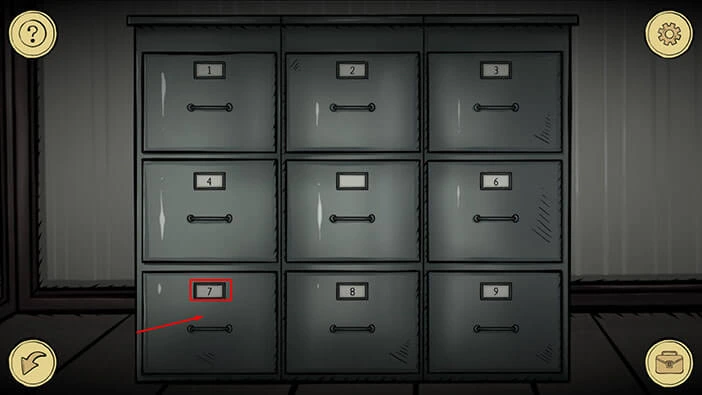
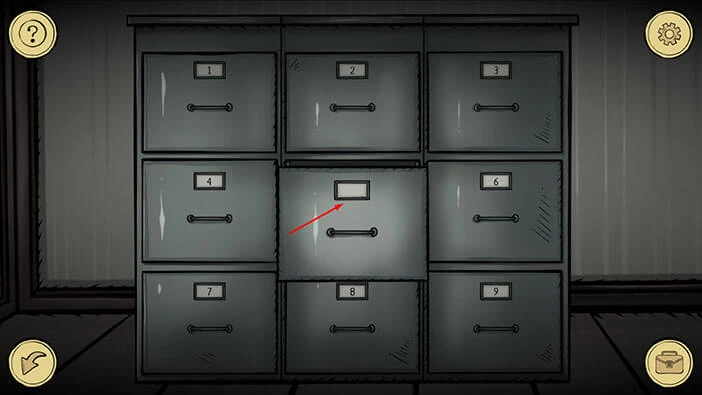
Next, tap on the large locker in the right corner of the room to take a closer look at it.
Here, you will see 9 smaller lockers arranged in 3 rows. The two numbers that we saw previously represent the code for these lockers. So, let’s unlock them.
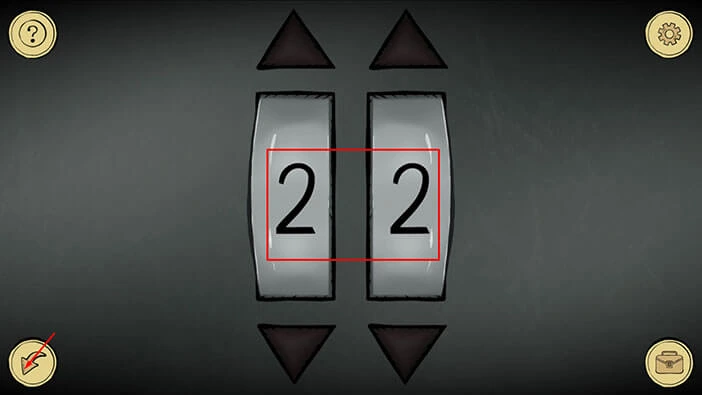
First, we had #7 – 20. So, let’s tap on the locker with the label “7” to take a closer look at it.
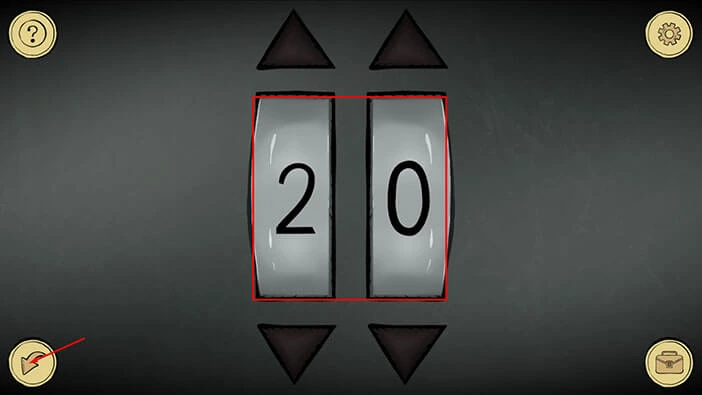
Tap on the two small numbers at the bottom to start the interaction, and enter the code “20”.
After that, tap on the arrow in the lower left corner to go back.
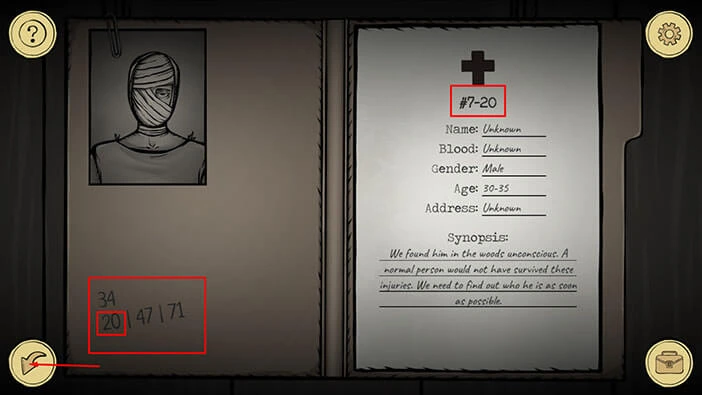
You will unlock the file, so tap on it to examine it.
Here, we can see three numbers in the bottom row 20|47|71. Above them, we can see the first number in the middle row, 34. Memorize/write down these numbers and their position. The position is also important as you will see in a moment. You will also notice the first number in the bottom row, 20 is the same as the code for this locker.
Once you’re done, tap on the arrow in the lower left corner to go back.
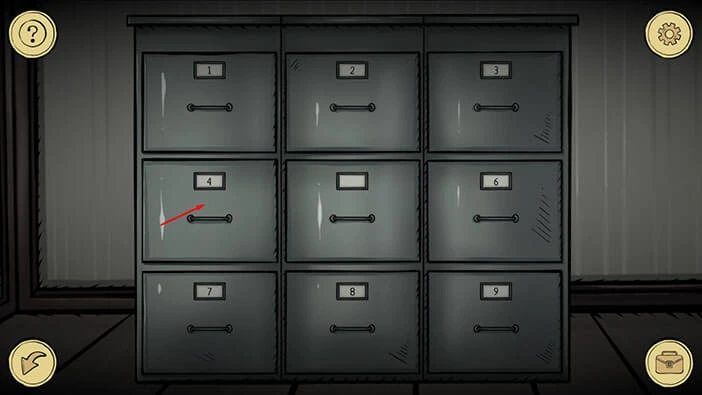
So, the lockers are arranged in three rows. We can see that the number 7 locker is the first in the third row, and the code for this locker was “20”. In the file, we saw the number 34 above the number 20, so the code for locker number 4 (above locker 7) should be 34. Let’s test this theory.
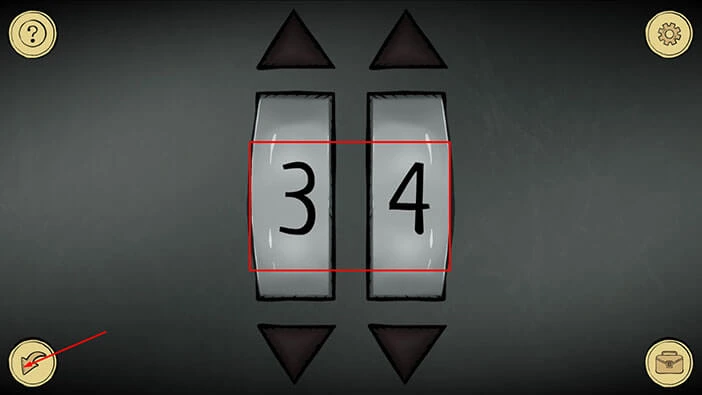
Tap on locker number 4 to take a closer look at it. After that, tap on the two numbers at the bottom to start the interaction.
Enter the code “34” to unlock the locker. After that, tap twice on the arrow in the lower left corner to go back.
Next, tap on the locker number 8. Next to the number 20, we saw the number 47 (“20|47|71”). So, let’s tap on the locker number 8 to take a closer look at it, and after that tap on the two numbers at the bottom to start the interaction.
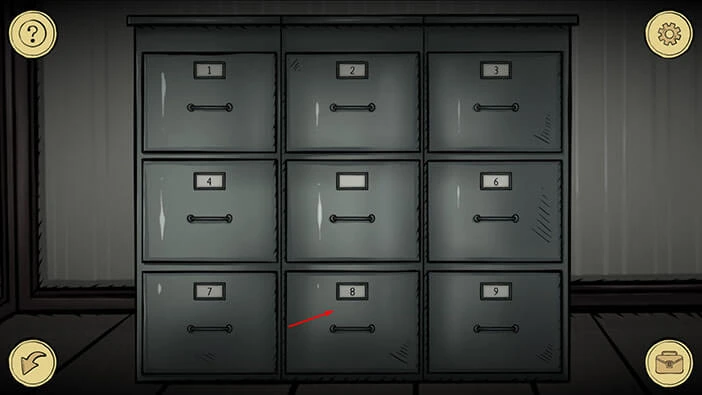
Enter the code “47” to unlock the locker. After that, tap twice on the arrow in the lower left corner to go back.
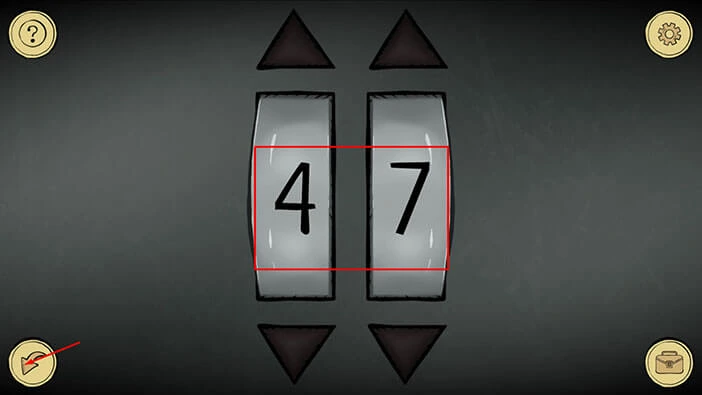
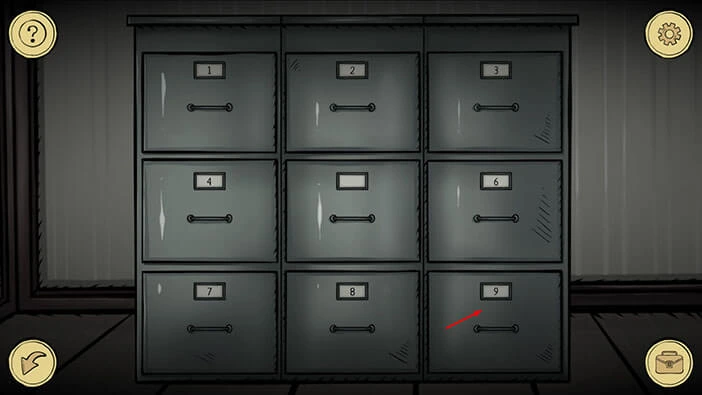
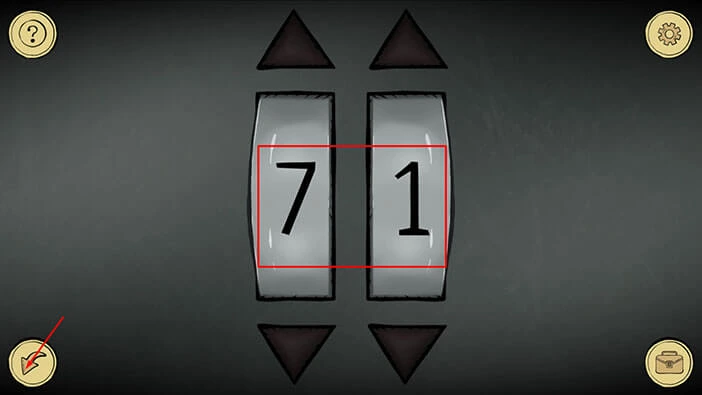
Next, let’s tap on the locker number 9 to take a closer look at it, and after that tap on the two numbers at the bottom to start the interaction.
Enter the code “71” (third number in the bottom row) to unlock the locker. After that, tap twice on the arrow in the lower left corner to go back.
Next, on the other notice board, we saw #2 – 31. So, let’s tap on locker number 2 to take a closer look at it, and after that tap on the two numbers at the bottom to start the interaction.
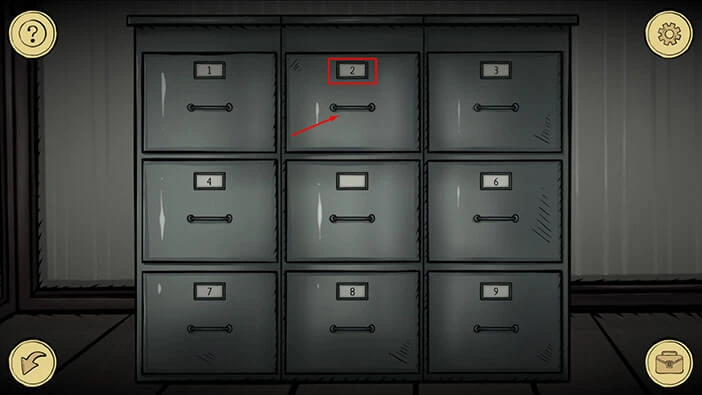
Enter the code “31” to unlock the locker. After that, tap once on the arrow in the lower left corner to go back.

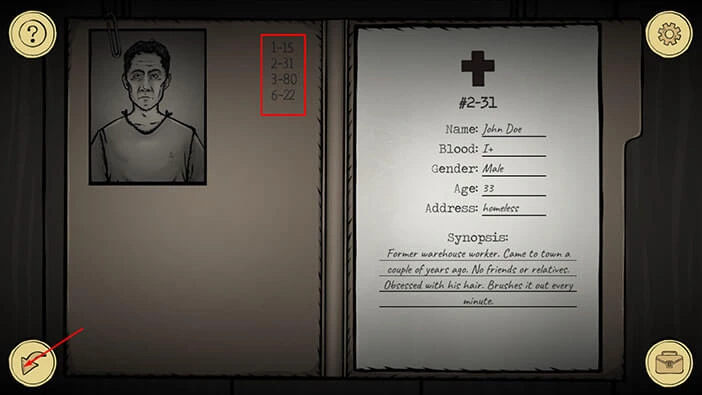
We unlocked the locker, so let’s tap on the file inside to examine it.
On the left, we can see four numbers. Let’s memorize/write down these numbers, and unlock the rest of the lockers. Here, we have
1 – 15 | 2 – 31 (this locker) | 3 – 80 | 6 – 22.
Once you’re done, tap twice on the arrow in the lower left corner to go back.
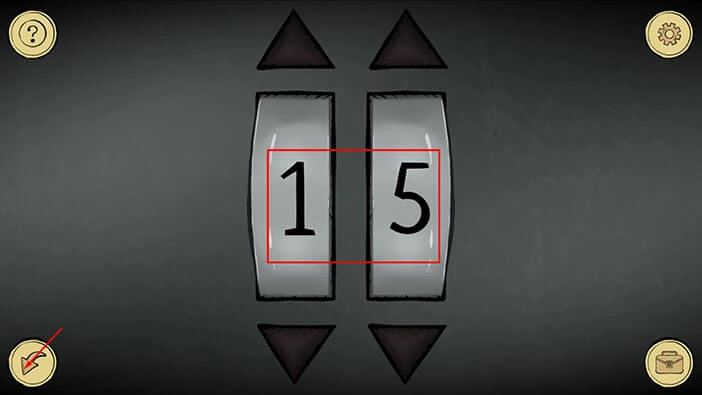
Next, let’s tap on locker number 1 to take a closer look at it, and after that tap on the two numbers at the bottom to start the interaction.
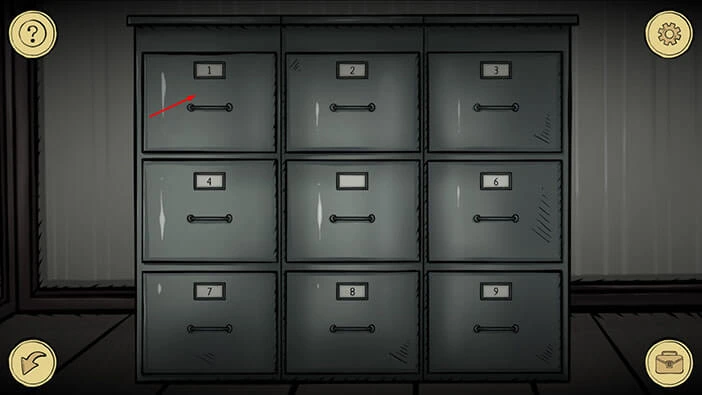
Enter the code “15” to unlock the locker. After that, tap twice on the arrow in the lower left corner to go back.
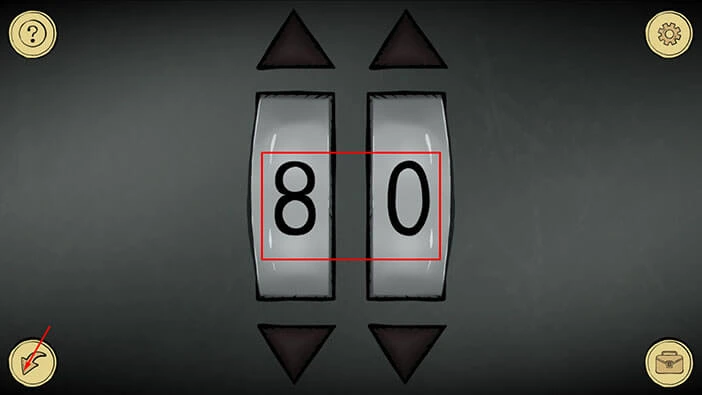
Next, let’s tap on locker number 3 to take a closer look at it, and after that tap on the two numbers at the bottom to start the interaction.
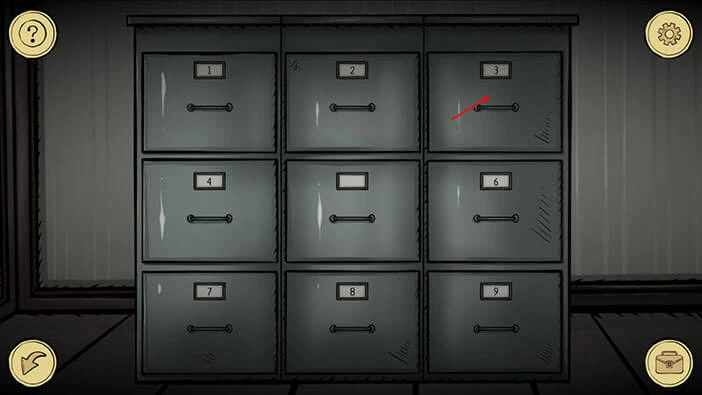
Enter the code “80” to unlock the locker. After that, tap twice on the arrow in the lower left corner to go back.
Next, let’s tap on locker number 6 to take a closer look at it, and after that tap on the two numbers at the bottom to start the interaction.
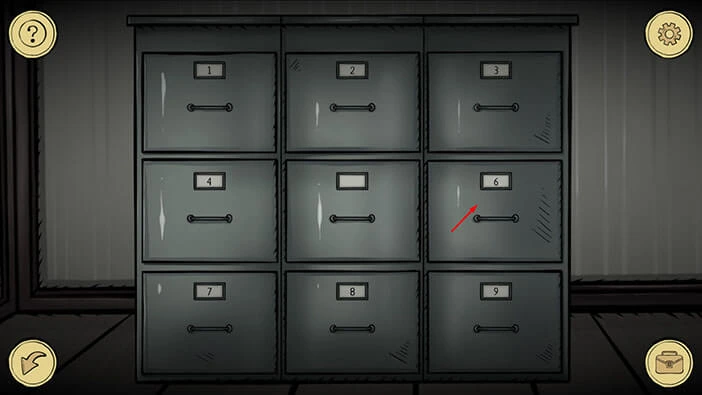
Enter the code “22” to unlock the locker. After that, tap twice on the arrow in the lower left corner to go back.
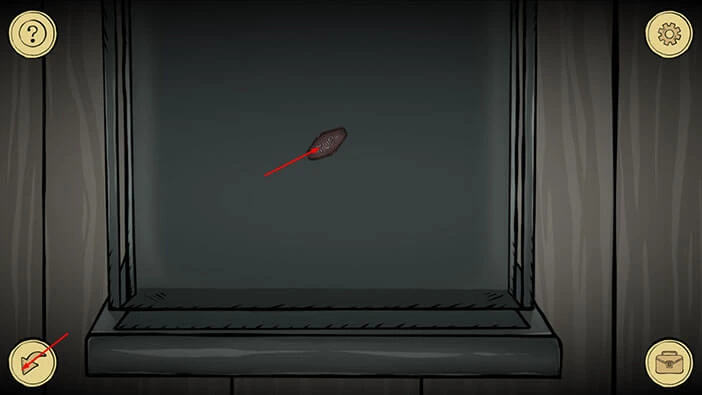
After unlocking locker number 6, we unlocked all the lockers except the one in the middle (number 5). However, locker number 5 will be automatically unlocked. So, let’s tap on it to look inside.
Tap on the “Trinket” to pick it up. After that, tap on the arrow in the lower left corner to go back.
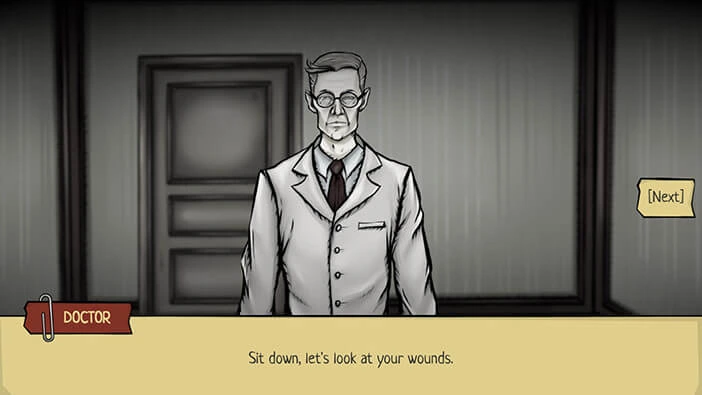
The Doctor Death will appear behind you as soon as you pick up the trinket. He is surprised to find you in his office, but he doesn’t seem upset, which is good news for our character. After the initial surprise, he will say that he is glad because you are back on your feet. He will then tell you to sit down because he wants to examine your wounds.
After examining you, the doctor will frown because your wounds were very serious and you should be resting, as he ordered. He will also ask do you remember how serious your state was when you were admitted to the hospital, and our character will reply “No”.
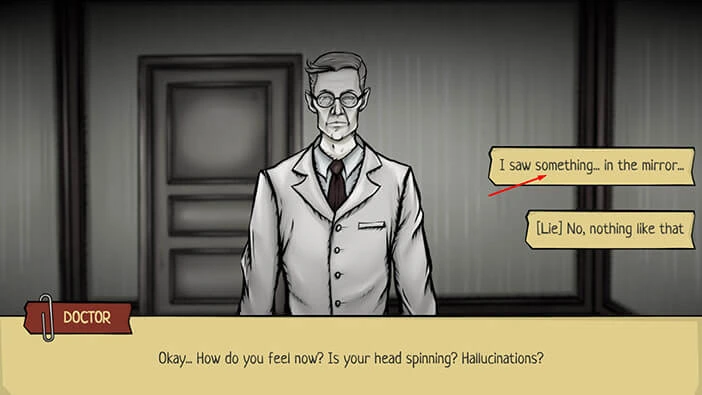
Next, he will ask “How do you feel now?” Is your head spinning? Hallucinations? Let’s tap on the first option “I saw something… in the mirror…”.
Doctor Death will say that minor hallucinations are normal, considering your state. He thinks that you should get more rest because you have not recovered from your wounds.
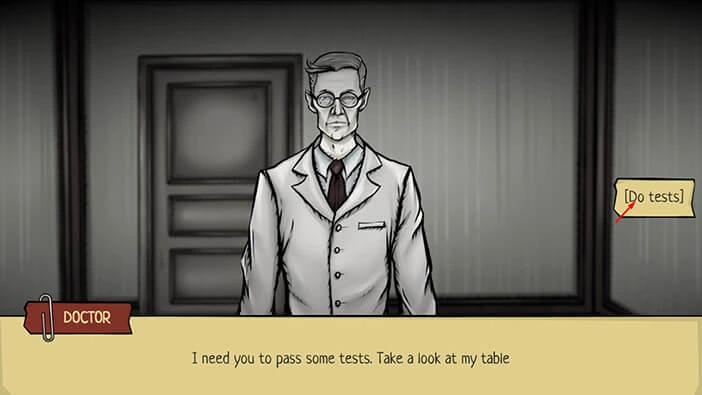
Next, he says that we should do some tests. Let’s do that, tap on the “Do tests” button on the right.
Tap on the papers on the table to start the interaction.
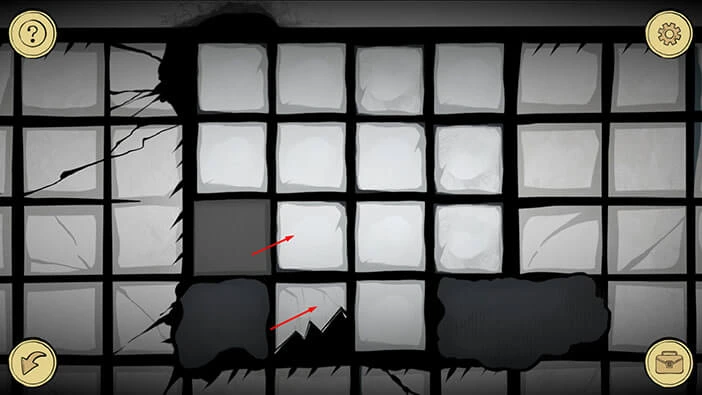
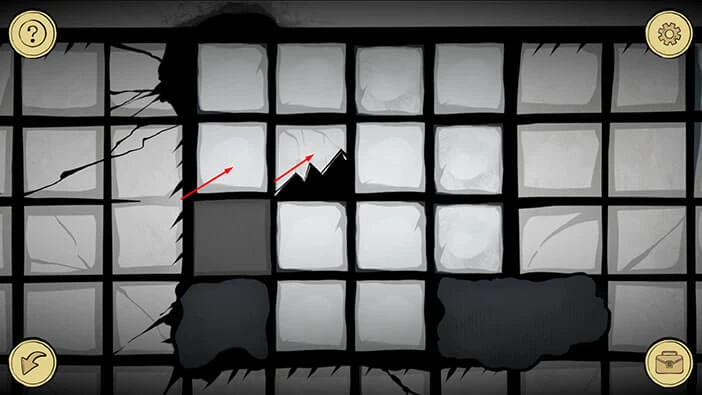
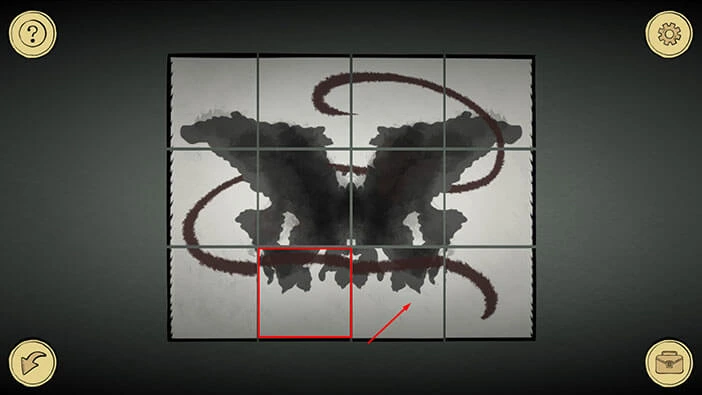
Hmm, this looks like a “Rorschach’s Inkblot Test”. Well, our next task is to rearrange the pieces of the puzzle, so let’s do that.
These puzzles are randomized, so the pieces of the puzzles might be shuffled around from playthrough to playthrough. Because of that, I can’t write a step-by-step process for these puzzles. However, I can show you the solution in the image below.
Just complete the last step. Select the second piece in the third row, then tap on the third piece in the third row to swap their positions.
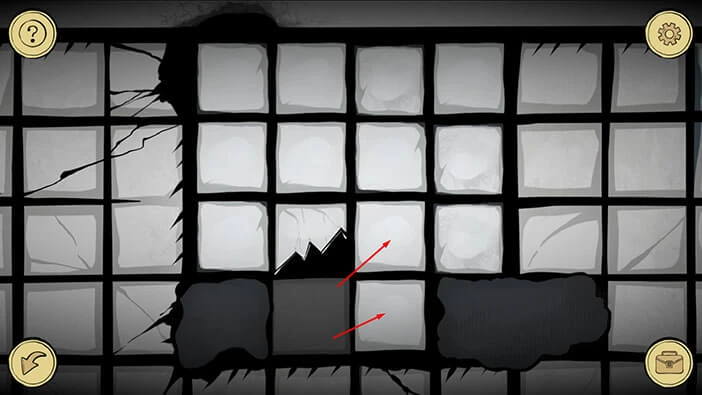
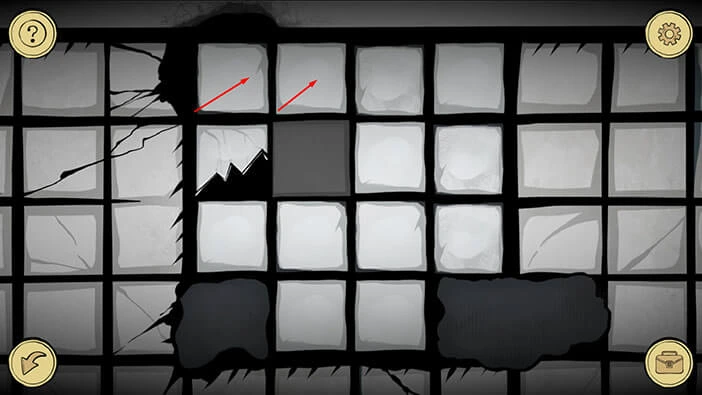
Second puzzle. Again you can see the solution in the image below. Just complete the last step. Select the second piece in the third row, then tap on the second piece in the fourth row to swap their positions.
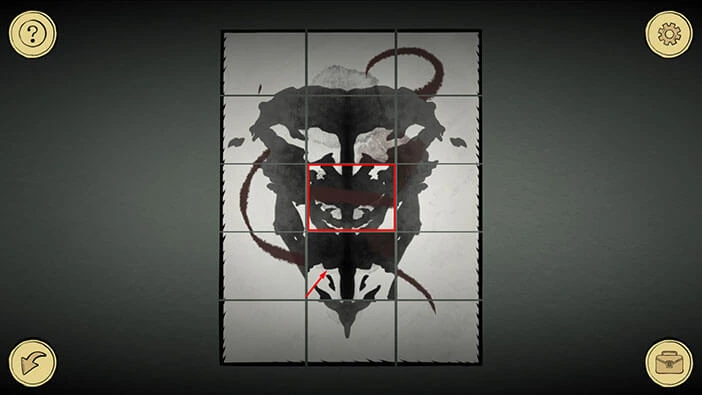
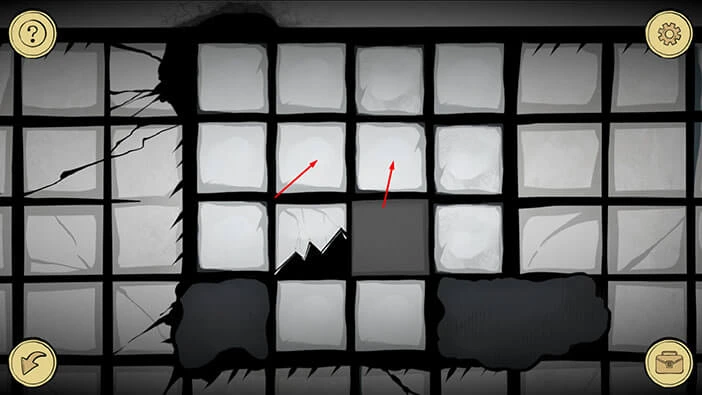
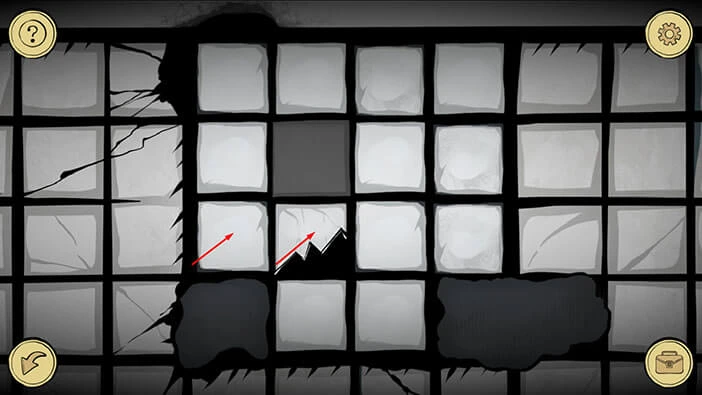
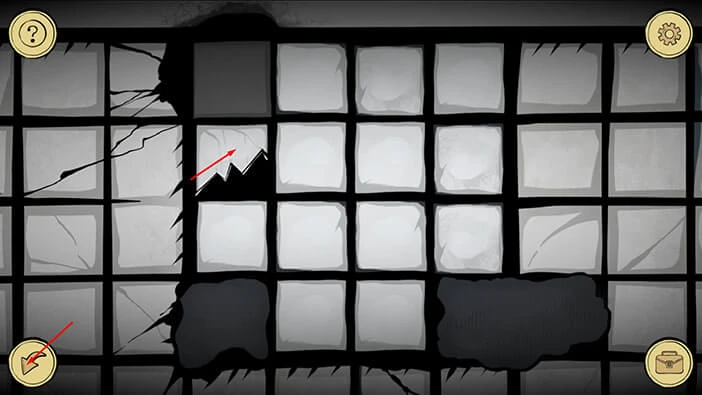
Third puzzle. Again you can see the solution in the image below. Just complete the last step. Select the third piece in the second row, then tap on the third piece in the fourth row to swap their positions.
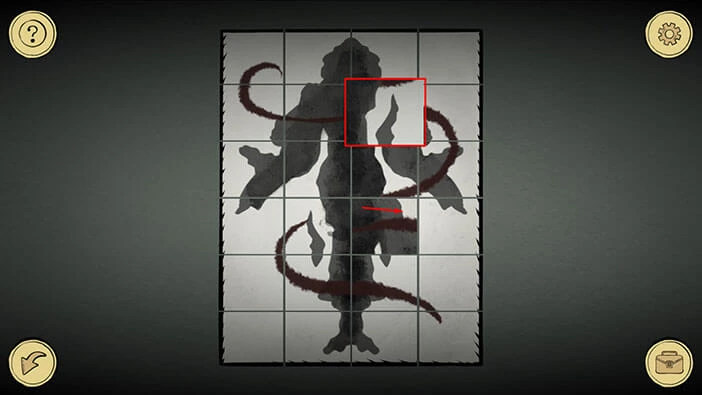
When you complete the third puzzle, you will see a female demon that attacked your character.
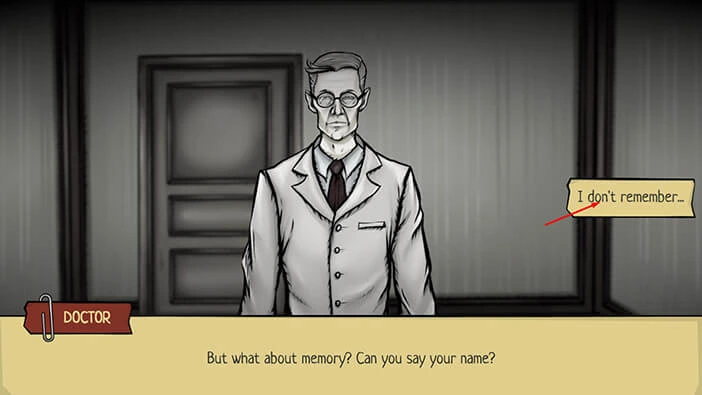
On the bright side, the doctor is pleased, because we passed all tests. However, it seems that our character still can’t remember his name.
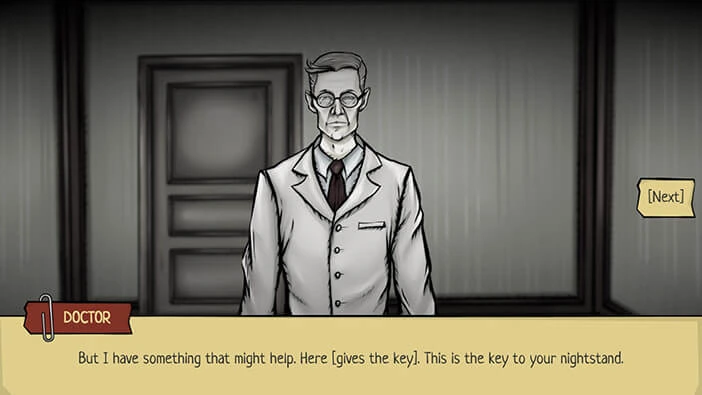
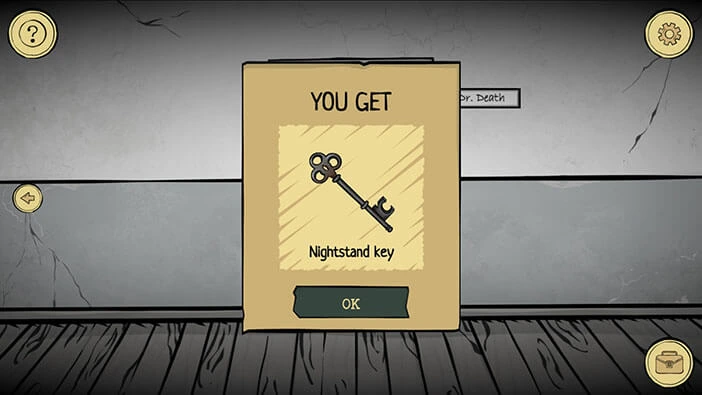
After that, Doctor Death will give you a “Nightstand Key”. He thinks that looking at some of your personal items might trigger some of your memories. Well, that’s perfectly reasonable.
After that, he will advise you to go back to your room and have some rest.
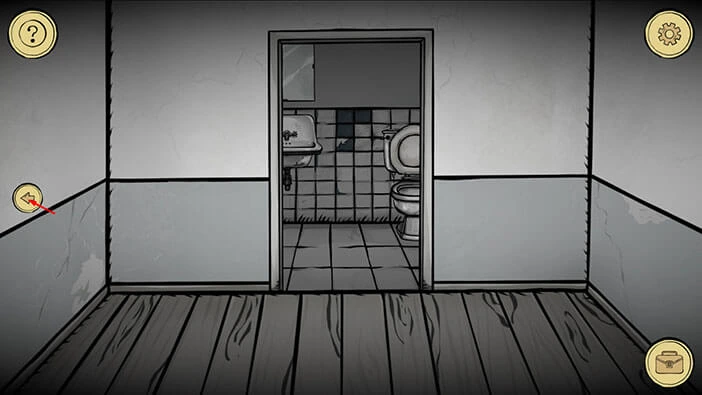
Tap on the arrow on the left to go to the other side of the hallway. After that, tap on the door with label number 1 to go back to your room.
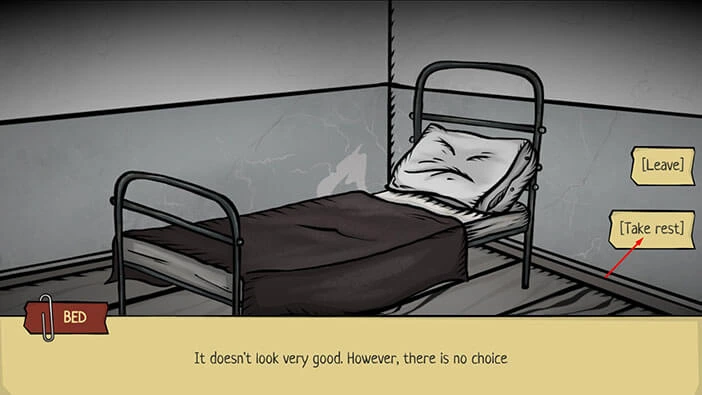
Next, tap on the bed to start the interaction. Our character isn’t pleased because he was ordered to go to sleep, but he has no choice. Overall, I think that the interaction with Doctor Death went better than expected. He was perfectly reasonable and wasn’t too upset when he caught us sniffing around his office. Also, we now have access to our personal belongings since he gave us the “Nightstand Key”, reasoning that our personal items might trigger the recovery of our memory. Again, perfectly reasonable. Maybe he is not such a bad guy after all. We shall see.
Tap on the “Take rest” button to go to sleep.
Looks like our character is dreaming. In his dream, he heard some weird noises coming out of the procedural room, so he decided to investigate…
Inside he saw a man in the chair, and he seemed terrified. The other man held him firmly in the chair, while some shadowy substance came out of his mouth.
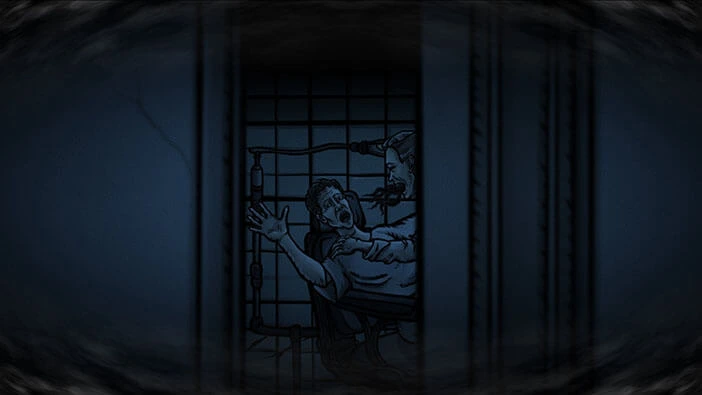
Well, we reached the end of the first chapter. You can check out the second Chapter by tapping on the “Next Part” button.
Thank you for reading.