Nowhere House | Part I
Hello everyone and welcome to Part 1 of our walkthrough for “Nowhere House” an escape room game created by the Dark Dome. Nowhere House is the third game in the series, and like the other games, the story is set in Hidden Town, which is filled with all kinds of mysteries. In this walkthrough, we will show you how to solve all the puzzles and finish the game.
NOTE: Some puzzles will CHANGE with each playthrough, but the logic behind solving the puzzles will always remain the SAME. For example, in one playthrough a code to open a safe could be 1234, and in another playthrough, the code could be 4321. However, you will always discover the numbers for the code at the same location and by using the same hints.
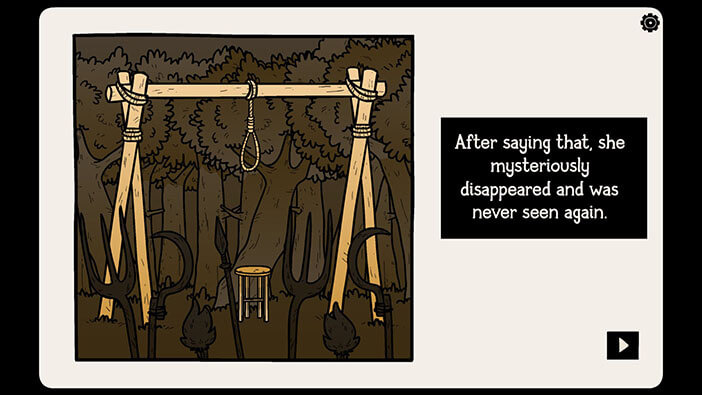
The story begins a long time ago, with villagers hunting down and capturing the witch that lived in a house close to the hidden town. The villagers wanted to hang the witch, but as the noose was set upon her neck, she uttered a curse. She said, “You will never see me again but I will remain with you”. “I will take possession of the soul of everyone who comes near my house”. After saying the curse, the witch vanished into the thin air, and the villagers looked in shock at the empty noose.
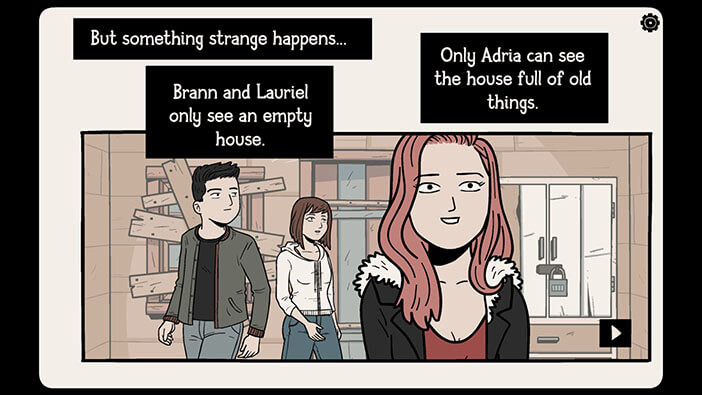
The house of this old witch is still standing on the nearby hill. Some people say that there’s nothing mystical about it and that it’s just an old, empty house that will collapse in the nearby future. However, the rumors are also circulating around the Hidden Town, about people that entered the house and never came back. Determined to see if there’s any truth to the legend about the witch and the old house, the three friends from the Hidden Town decided to go in and see for themselves. However, when they entered the house Brann and Lauriel saw an empty house, but Adria saw a room filled with old things.
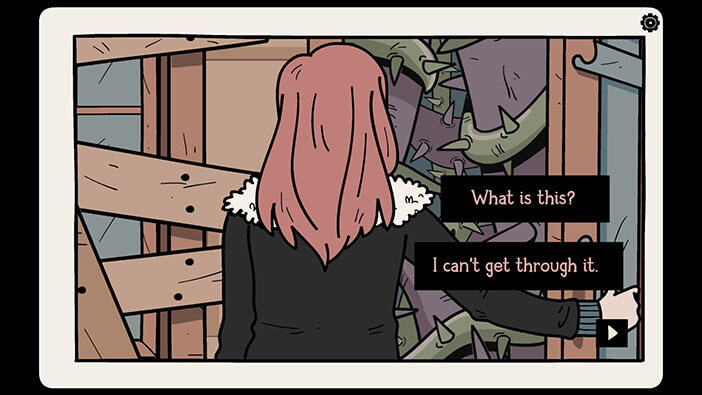
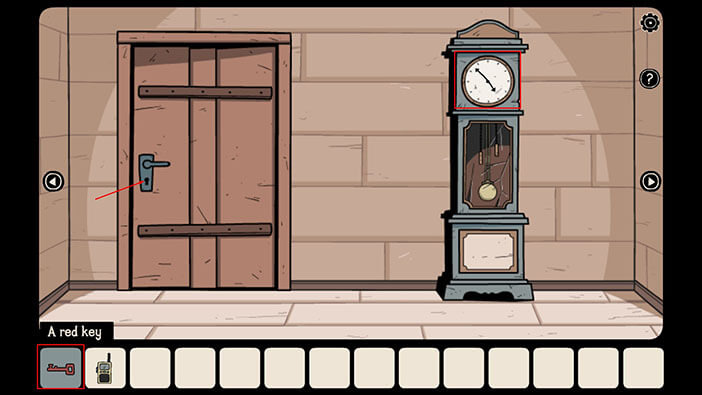
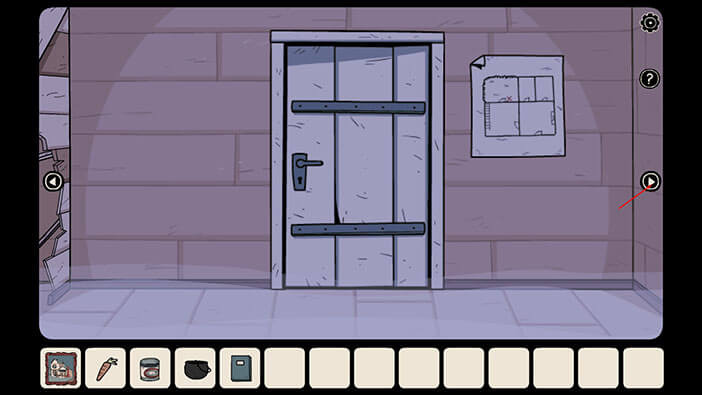
A cold shiver ran down her spine, when she realized that she is alone, and trapped in the, allegedly, cursed house. Adria immediately ran toward the exit, but when she reached the front door, she was that the way out was blocked by a thick wall of thorns. She concluded that she will have to find another way out…
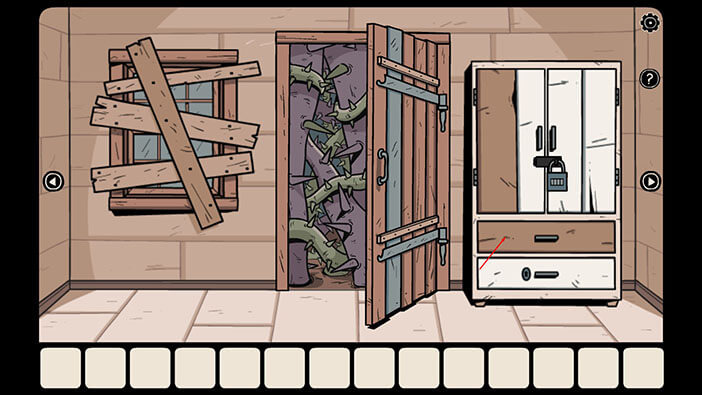
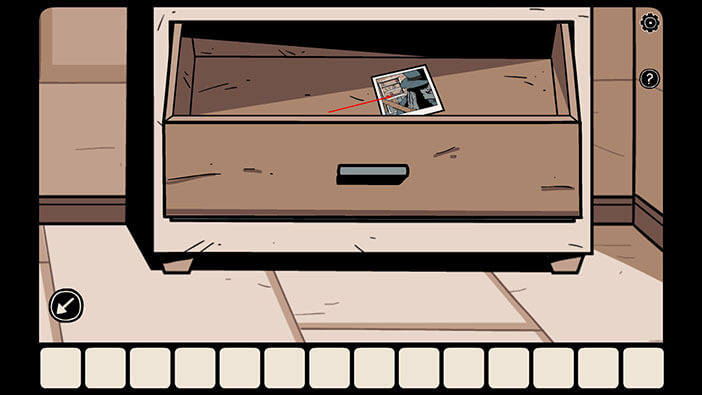
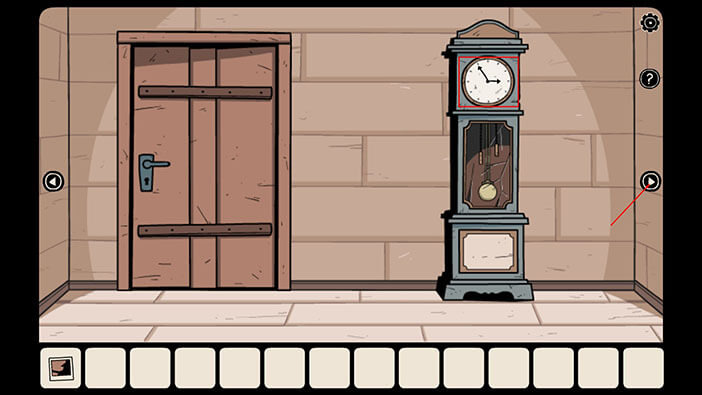
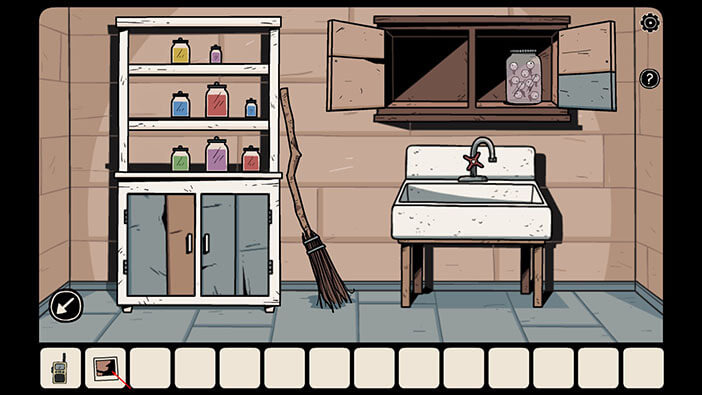
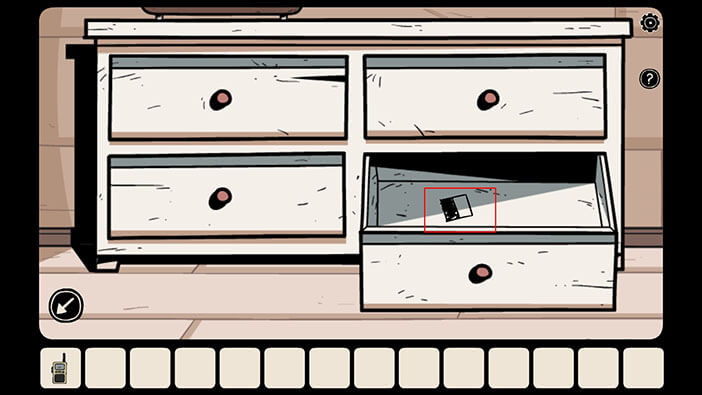
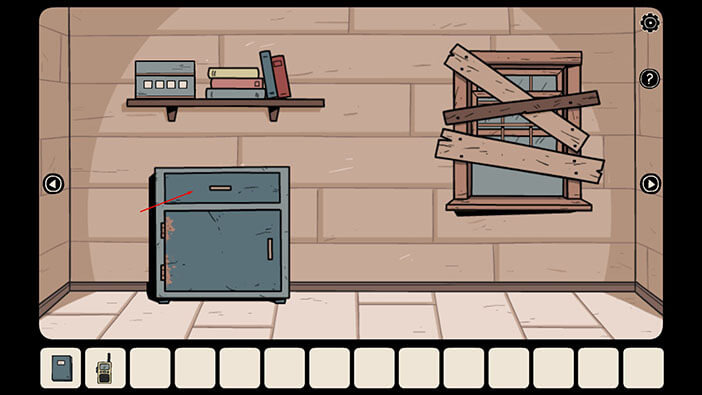
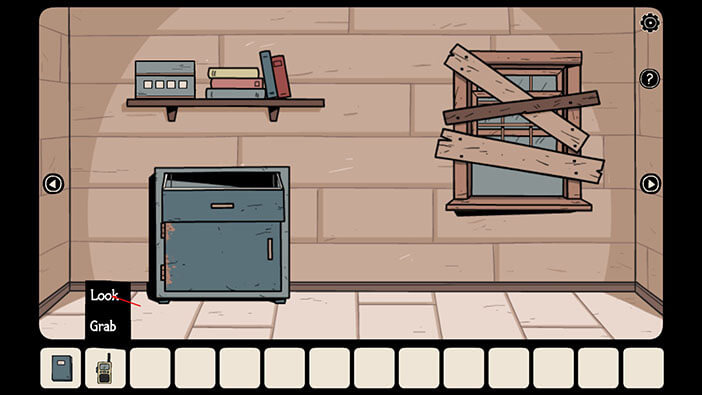
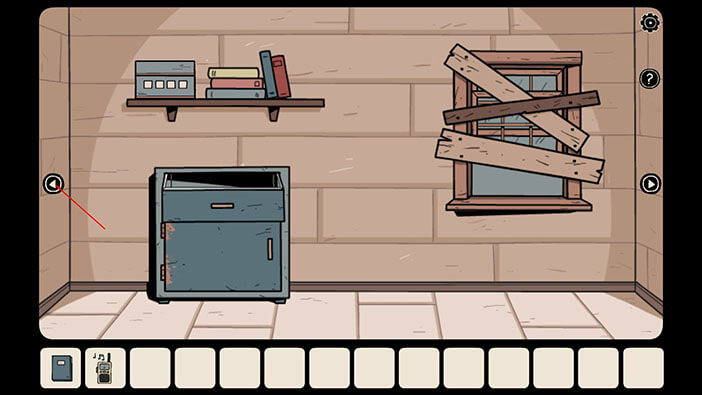
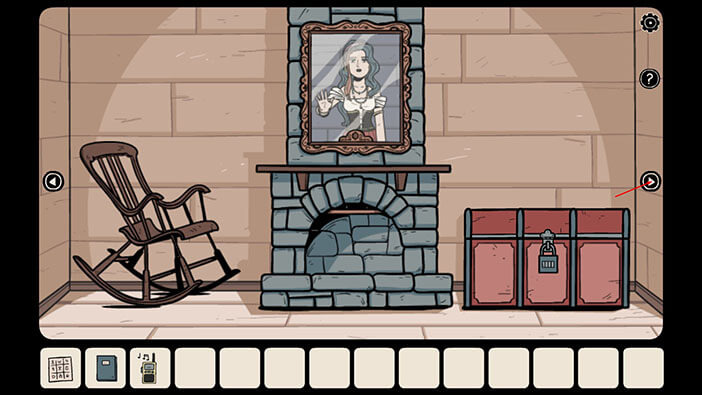
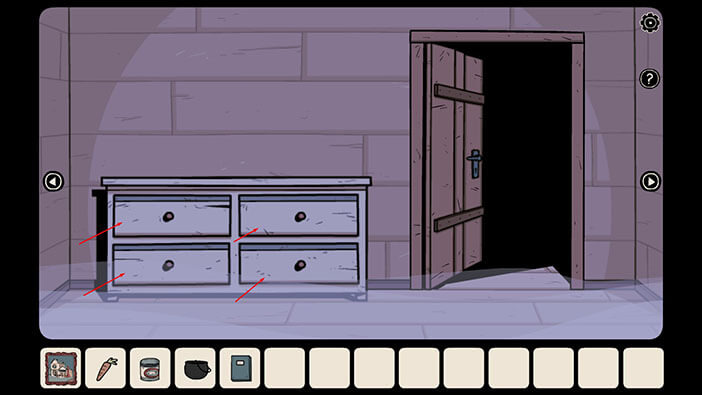
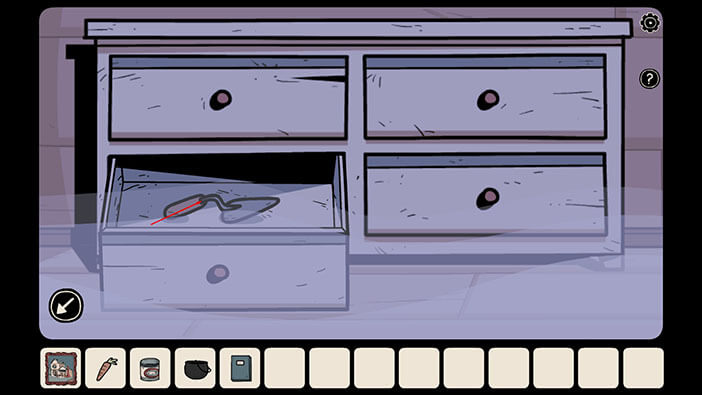
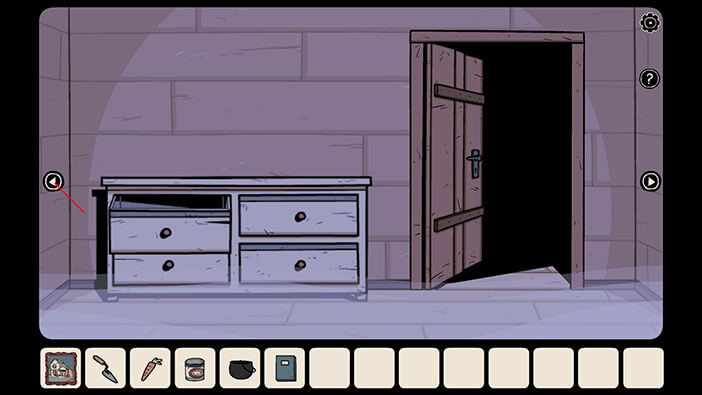
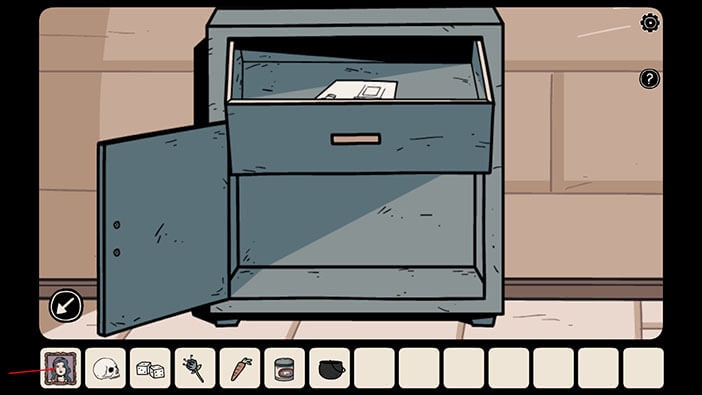
Tap on the brown drawer to take a closer look at it, and tap once more to open it.
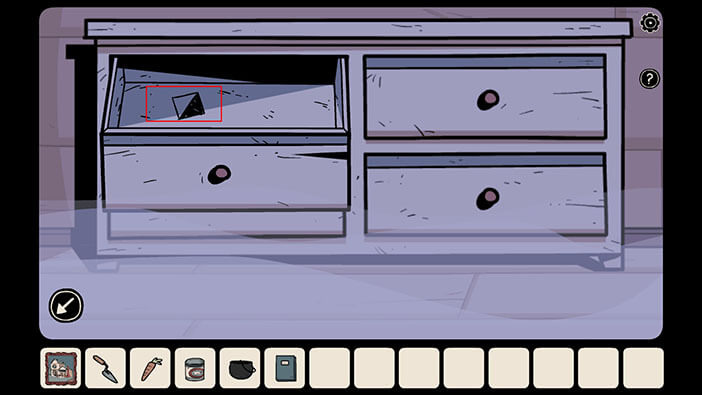
Tap on the photo inside to pick it up.
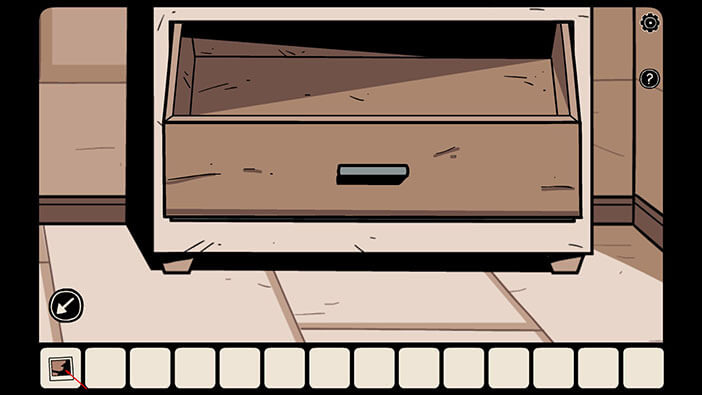
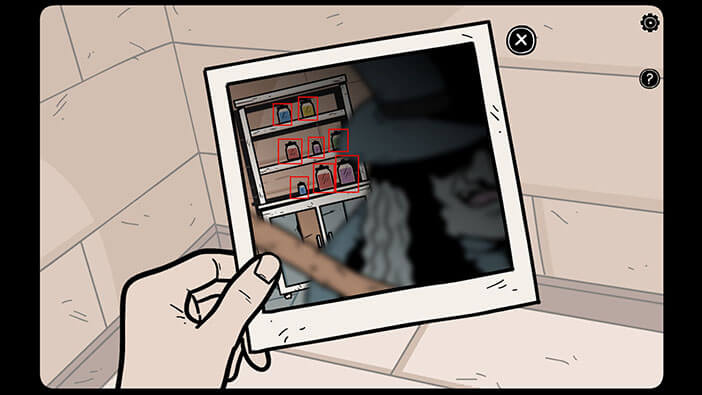
Now we have the first item in our inventory. Tap on the photo in your inventory to take a closer look at it.
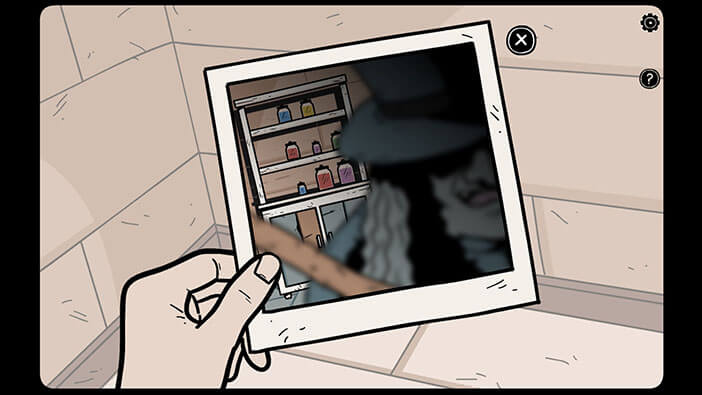
We can see a witch, and behind her is a shelf filled with some kind of potions of various colors. Ok, this photo might come in handy a bit later.
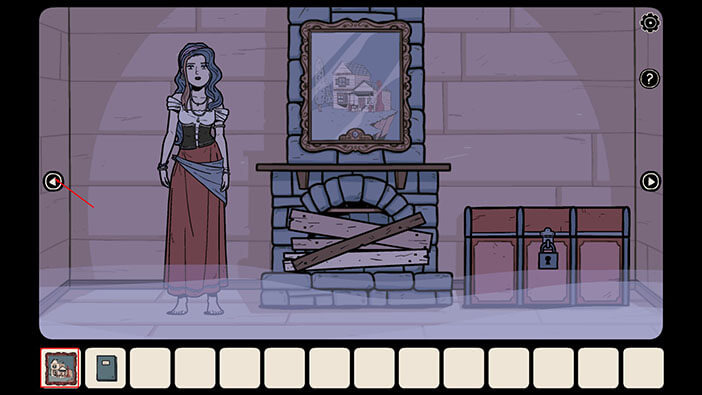
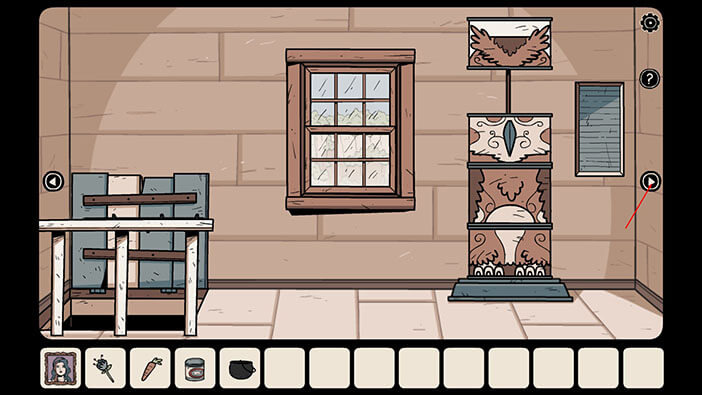
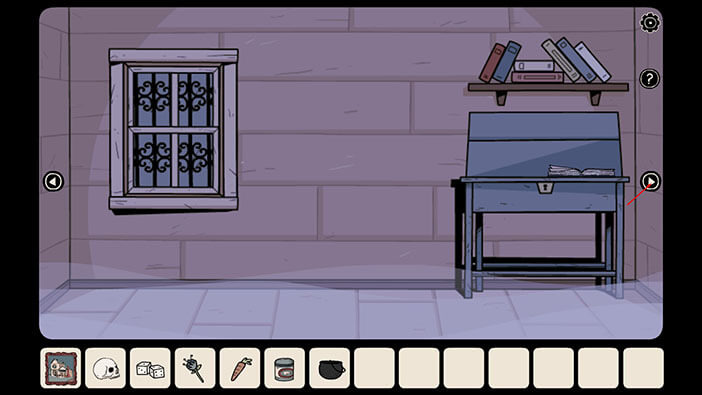
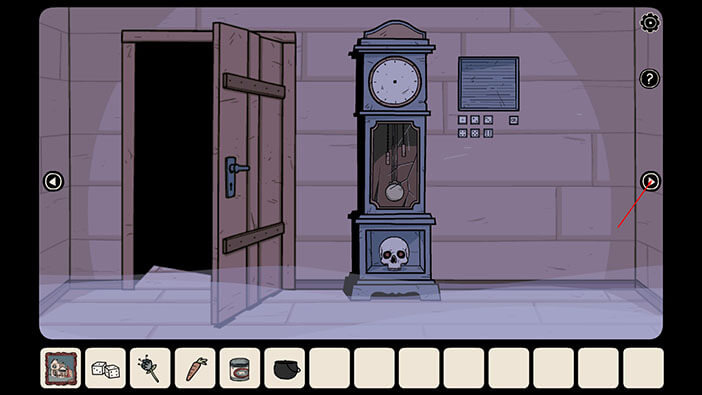
Let’s explore a bit. Tap on the arrow on the right to go to the next room.
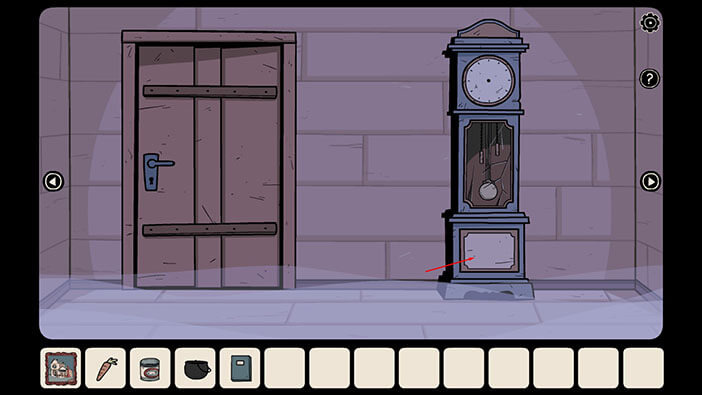
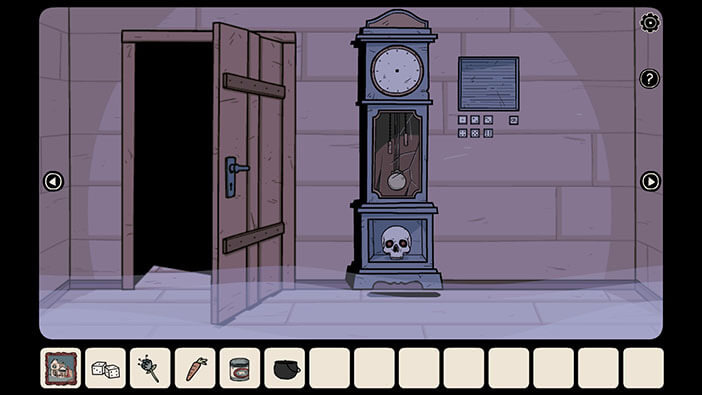
Take note of the time on the clock. You will notice that the time on the clock changes every time we enter this room. Ok, let’s continue into the next room on the right.
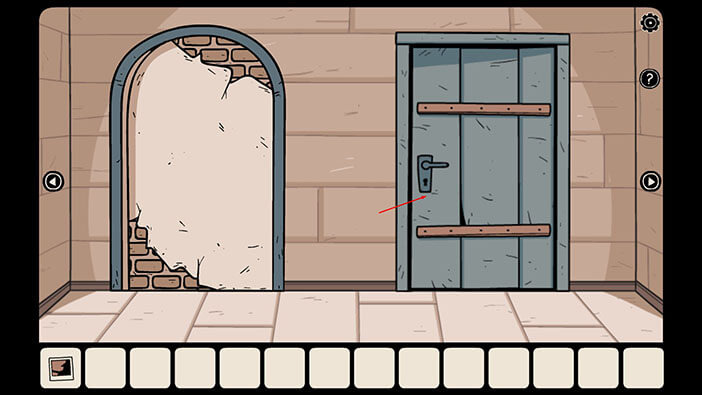
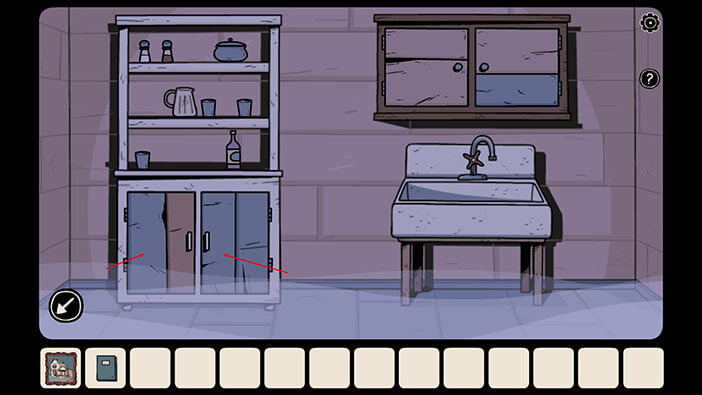
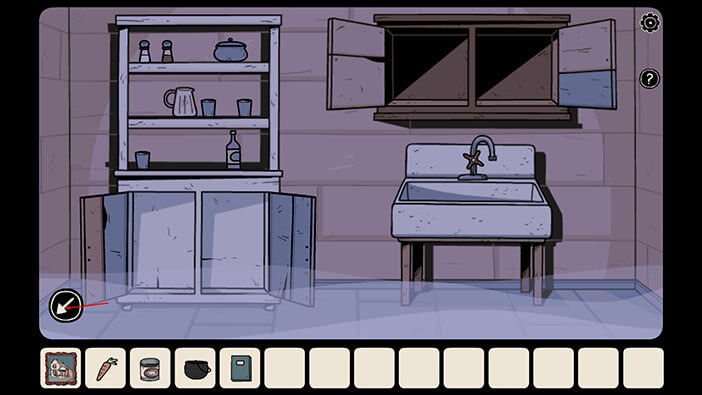
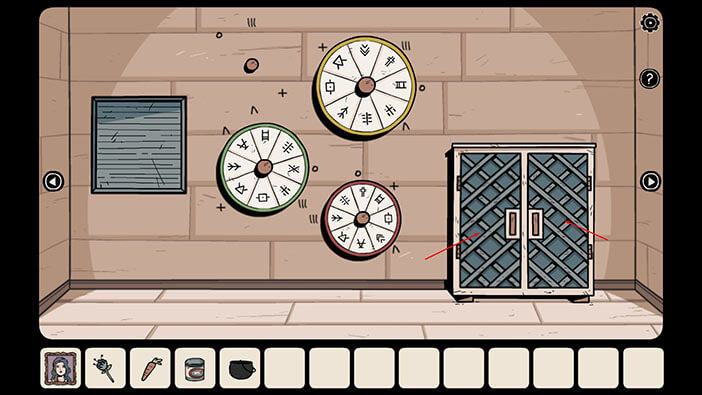
Tap on the blue door to open them, and tap once more to enter.
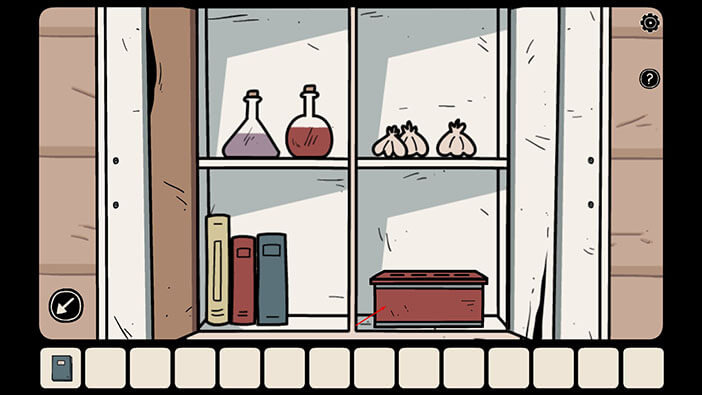
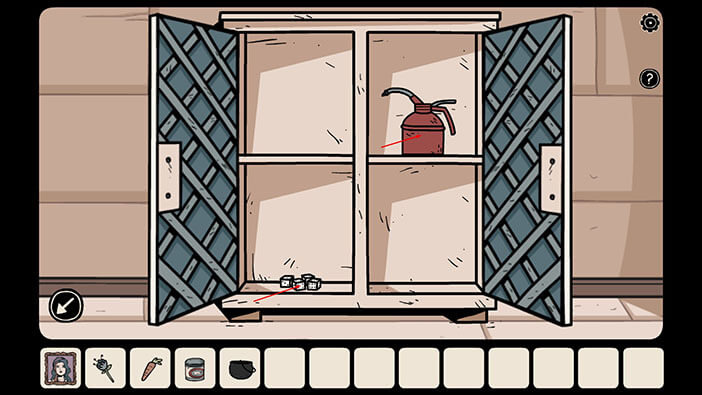
Tap on the cabinet above the sink to take a look at it. Then, tap on both cabinet doors to open them.
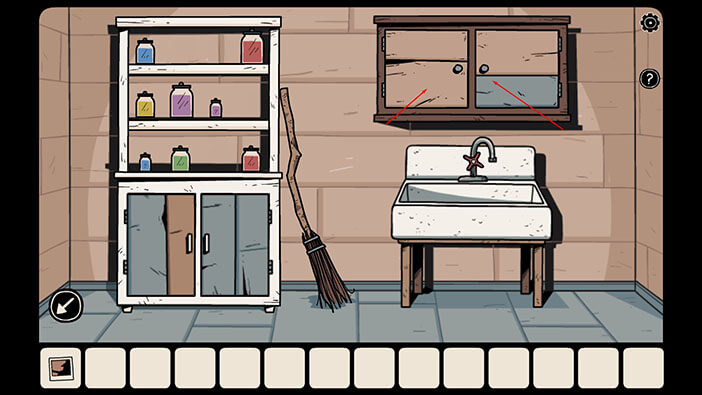
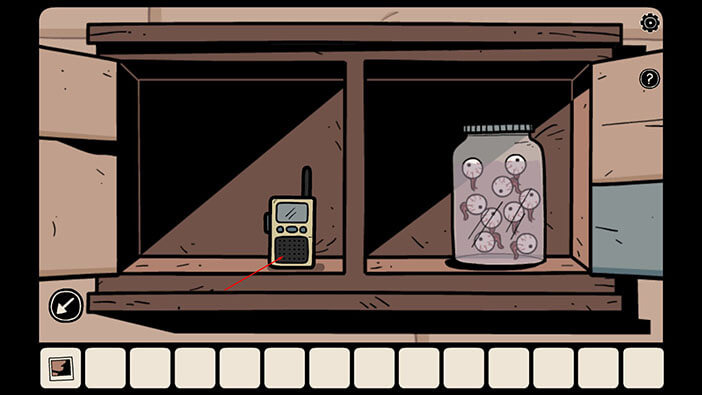
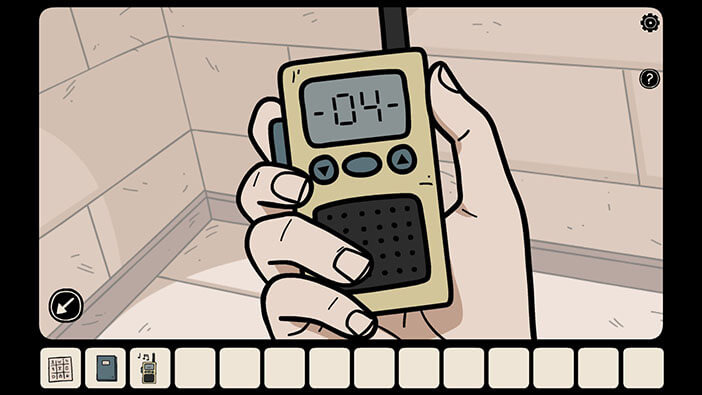
Inside the left compartment, you will some a “Walkie-Talkie”. Tap on it to pick it up and it will be added to your inventory.
Ok, we can see that the shelf with potions in this room looks very similar to the one in the photo we found. So, tap on the image in your inventory to take a look at it again.
Ok, we can see that there are 2 blue, 2 yellow, 2 purple, and 2 red potions on the photo (1 smaller, and one larger of each color). The same potions are also on the shelf in this room, but they are arranged differently. So, let’s memorize/write down the positions of the potions on the photo, and arrange them in the same manner on the shelf in front of us. We can see that there are three shelves, and there is enough space for four potions on each of them. So, let’s mark these positions of the potions.
Top Shelf:
Large Blue Potion = Middle-left
Large Yellow Potion = Middle-right
Middle Shelf:
Small Red Potion = Middle-left
Small Purple Potion = Middle-right
Large Green Potion = Far right
Bottom Shelf:
Small Blue Potion = Middle left
Large Red Potion = Middle right
Large Purple Potion = Far right
NOTE: The potions might be arranged differently in your game (both on the shelf and on the photo), but you can still determine the correct position of the potions by looking at the photo.
Ok, tap on the shelf to take a closer look at it. Then, tap on the potions and place them in the correct position.
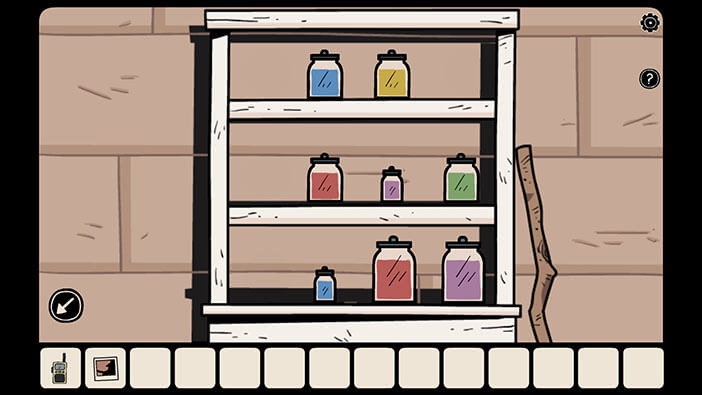
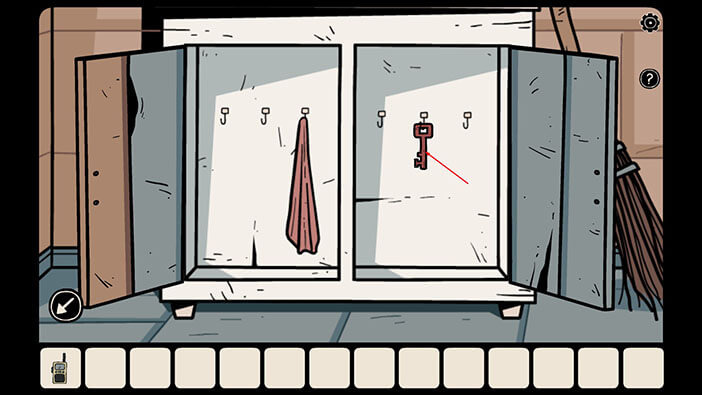
As soon as you arrange the potions in the same way as in the image, the bottom cabinet will open up. Tap on the key inside it to pick it up and a “Red Key” will be added to your inventory.
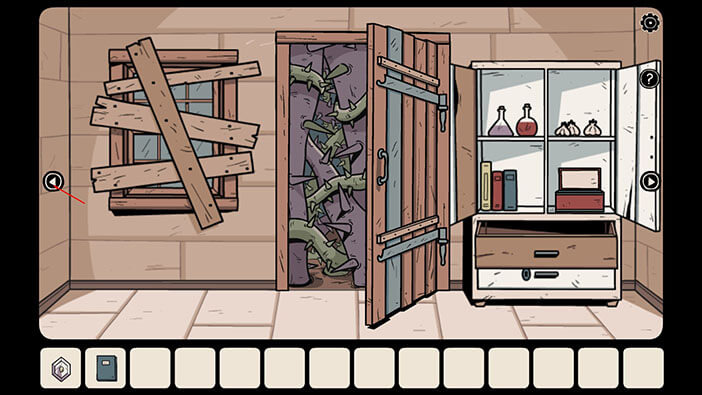
Tap on the arrow on the left to step away from the drawer, and you will saw a broom flying away. Let’s keep exploring. Tap on the arrow in the lower-left corner to leave this room, then go to the next room on the right.

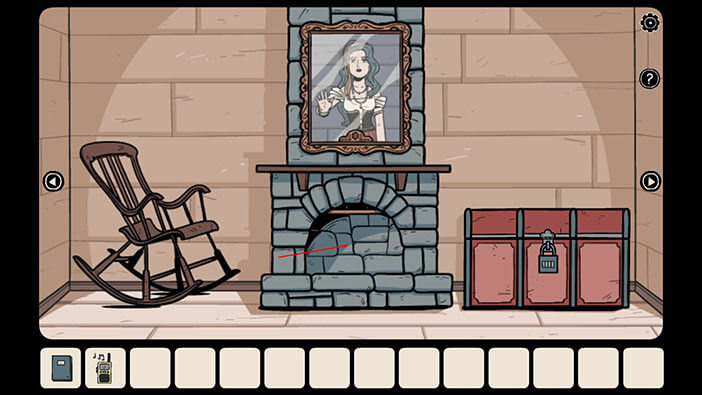
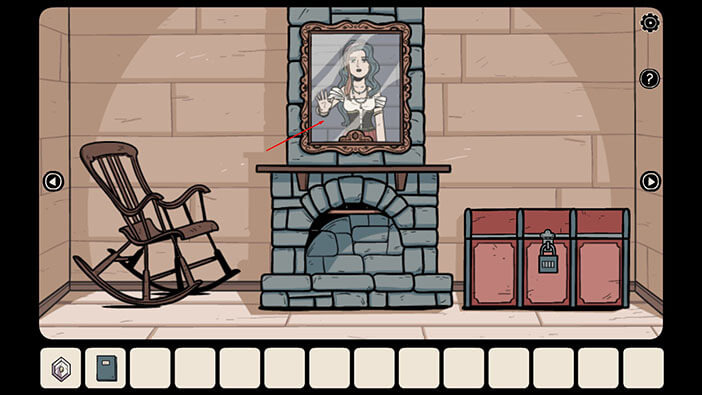
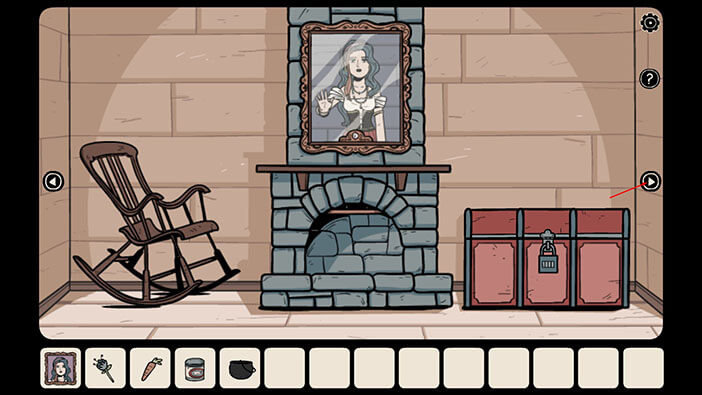
Tap on the curtain to pull it down.
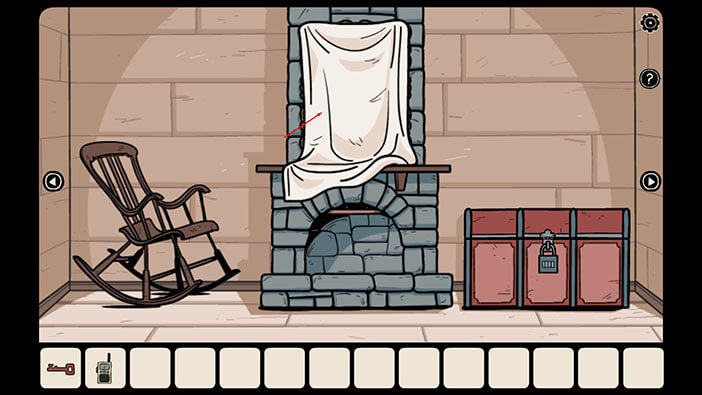
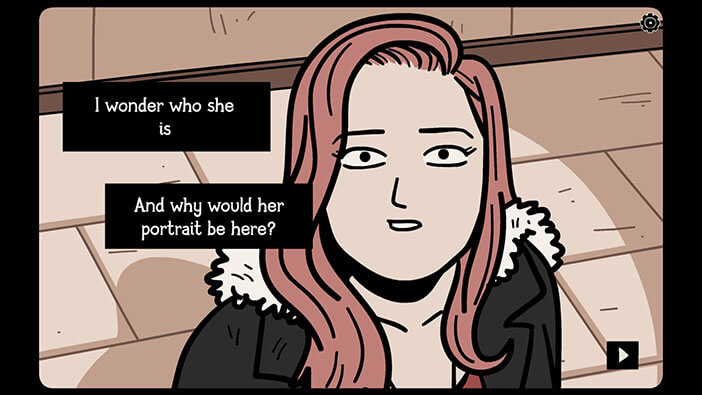
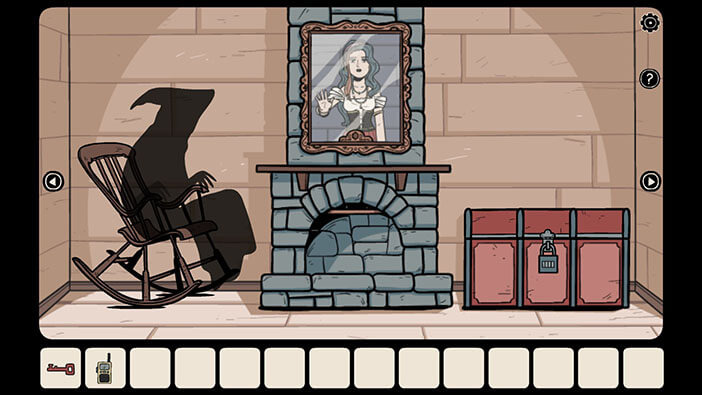
Our character (Adria) will uncover the portrait of the blue-haired woman. Adria remembered that she saw this woman earlier today while they were walking through the Hidden Town. Adria felt intrigued and approached the blue-haired woman, but her friends called out to her, and she left before she had a chance to talk to her. So, our character is wondering why is there a portrait of this woman inside the cursed house.
After discovering the portrait, the shadow of a witch will appear in the chair in front of us.
Ok, let’s continue going to the right. We already searched the first room, so let’s go to the second room on the right.
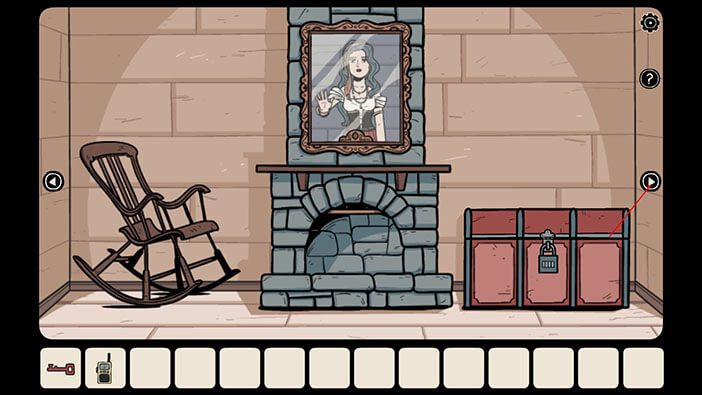
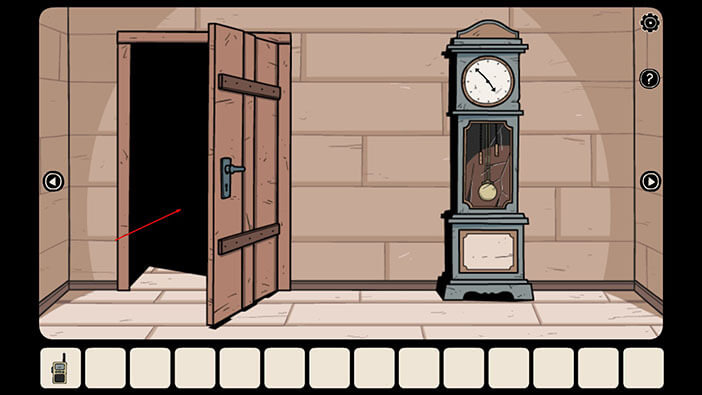
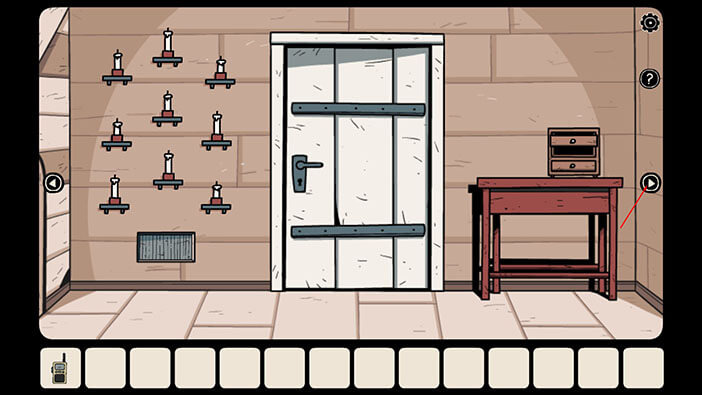
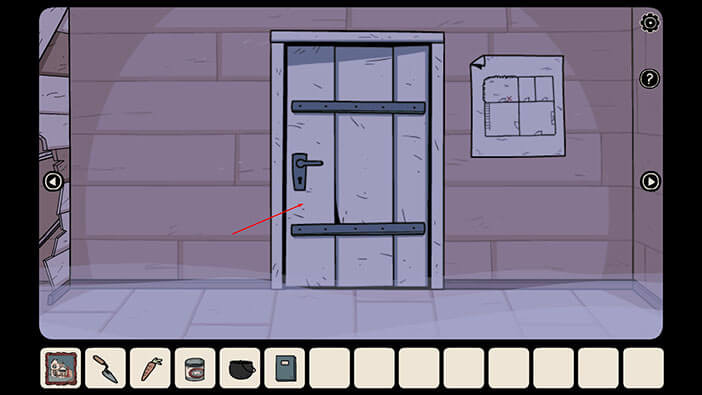
Select the “Red Key” from the inventory and tap on the keyhole on the brown door to unlock it. Also, take another look at the time on the wall clock (it should be different than when we previously entered inside this room)
Tap on the door to open it, and tap once more to proceed inside.
Ok, now let’s go to the first room on the right.
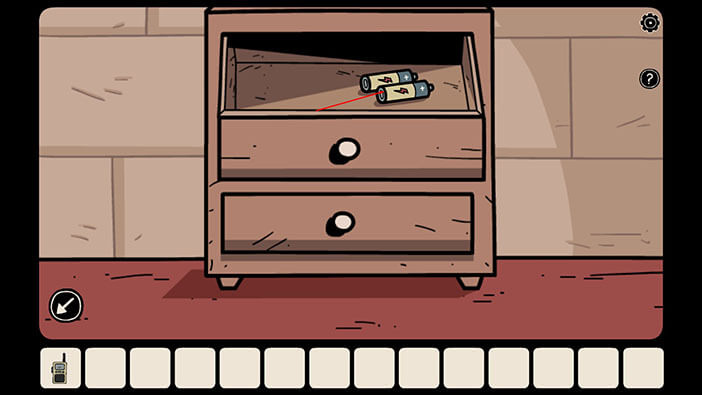
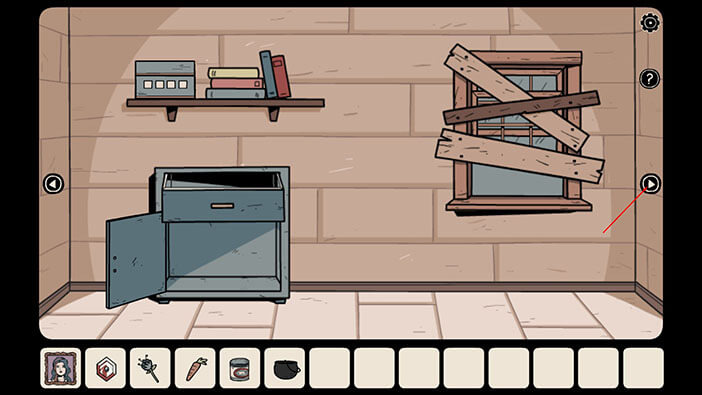
Tap on the top drawer to take a closer look at it, and tap once more to open it.
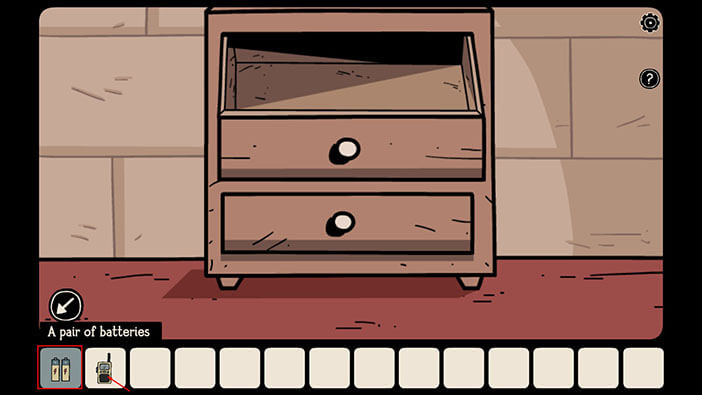
Inside the drawer, you’ll find a “Pair of Batteries”, tap on them to pick them up, and they will be added to your inventory.
Ok, now select the “Pair of Batteries” from the inventory and tap on the “Walkie-Talkie” to put them inside.
That’s it for this room. Let’s go to the next room on the right.
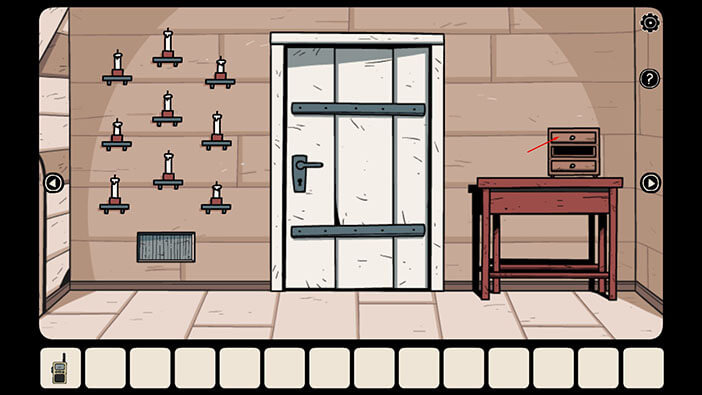
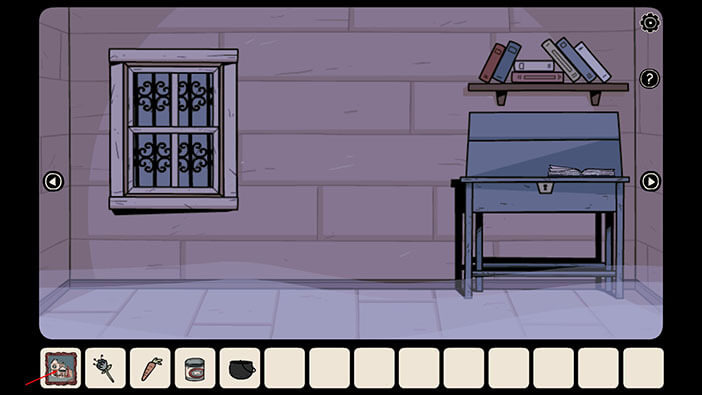
Tap on the white drawers to take a look at them, then tap on each one to open it. Inside one of the drawers, you will find a hint for the puzzle that we will have to solve, later on. Just take note of it, for now.
Also, take note of the radio and the grid above it – we will use these two items to solve our next puzzle.
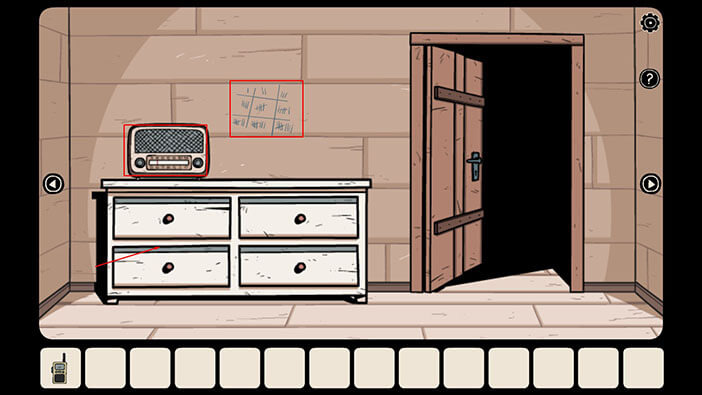
Let’s go to the next room on the right.

Tap on the books on the top shelf to take a closer look at them, then tap on the smaller blue book to pick it up.
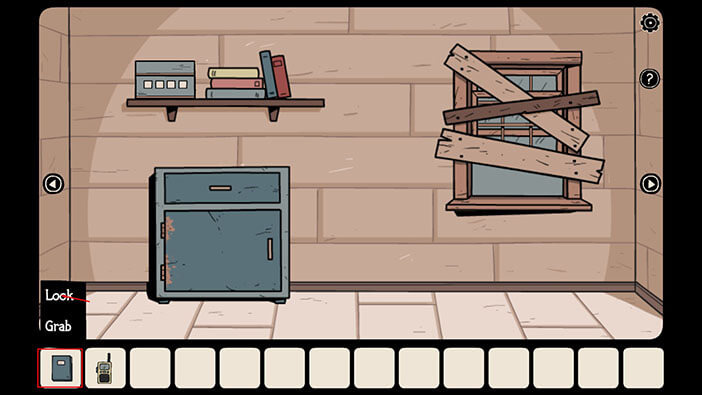
Let’s check out this book. Select it in your inventory and tap on the “look” option.
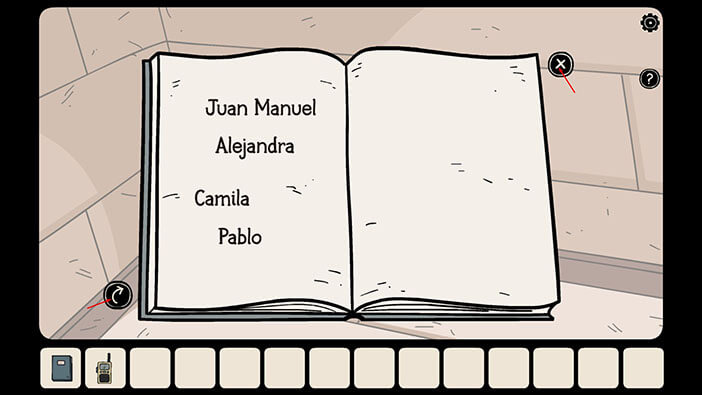
Tap on the arrow on the right to open the book and flip through the pages. We can see that there are outlines of the portraits of the four people in this book. At the end of the book, we can see their names. This will come in handy later on. For now, let’s go back and further explore this room.
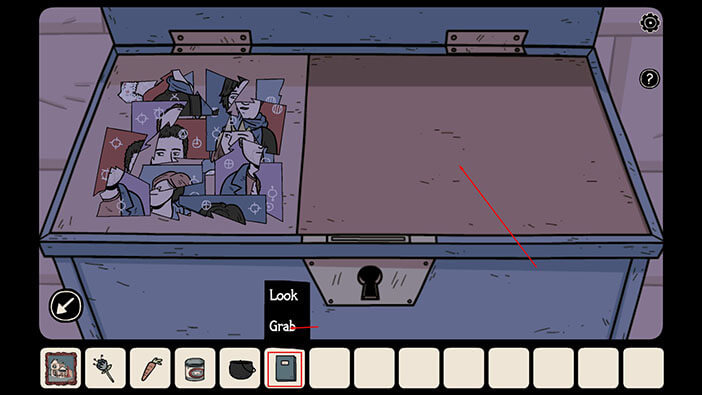
Tap on the blue drawer to take a closer look at it, and tap once more to open it.
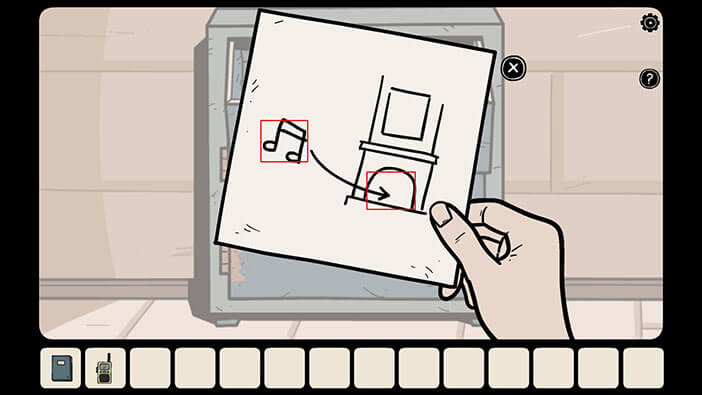
You’ll see some kind of note inside. Tap on the note to examine it.

We can see a musical note and it seems that it is pointing toward the fireplace. So, we should probably play the music in front of the fireplace.
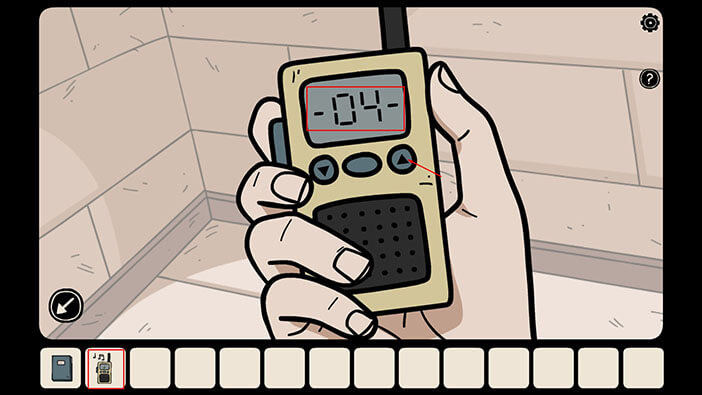
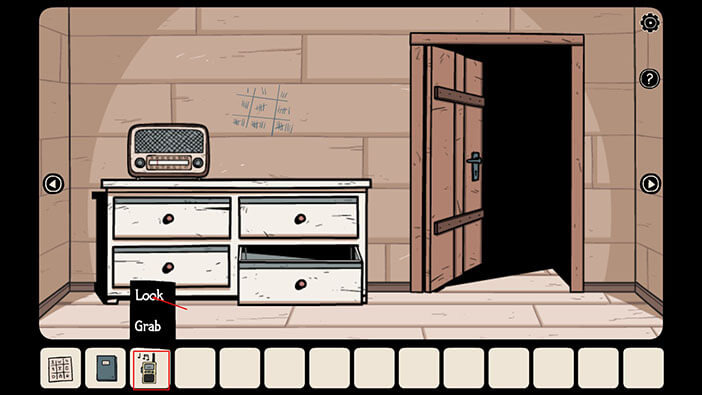
So, let’s try to play the music on our walkie-talkie. Select the “Walkie-Talkie” from the inventory and tap on the “Look” option.
Tap on the up arrow until you hear the music (it should be channel 4). Also, an icon of the note will appear above the walkie-talkie in the inventory when it’s playing the music.
Ok, let’s go back to the room with the fireplace. Go to the first room on the left, then through the brown door.
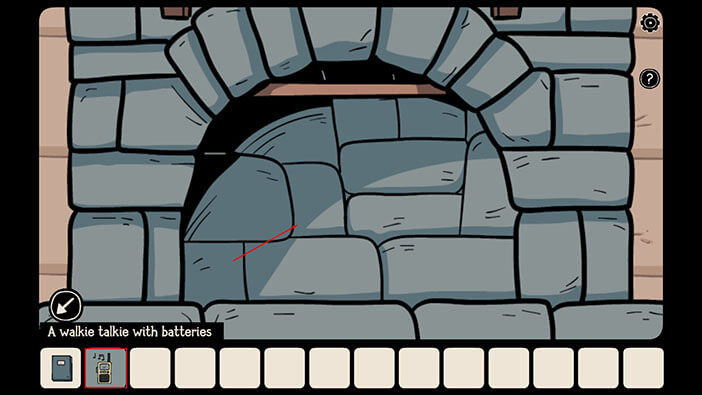
Tap on the fireplace to take a closer look at it.
Our walkie-talkie is already playing the music, so tap to select it in your inventory and tap on the “Grab” option. Then tap on the fireplace.
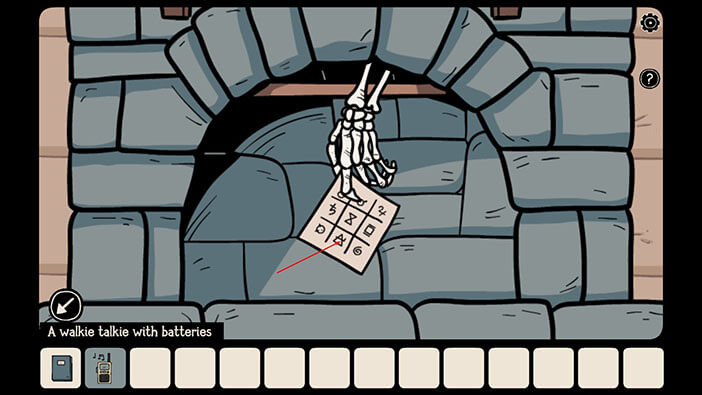
The skeletal arm will appear, offering us some kind of a note. Tap on the note to pick it up, and it will be added to your inventory.
Ok, we should now go back to the room with a radio. To get there, tap twice on the arrow on the right, then go through the brown door, then go to the second room on the right.
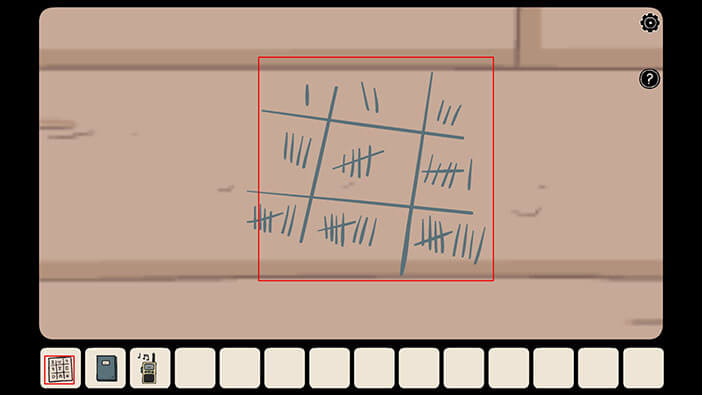
Tap on the grid above the radio to take a closer look at it.
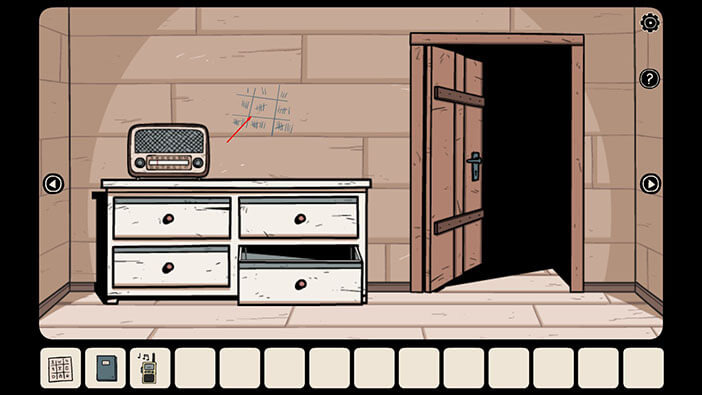
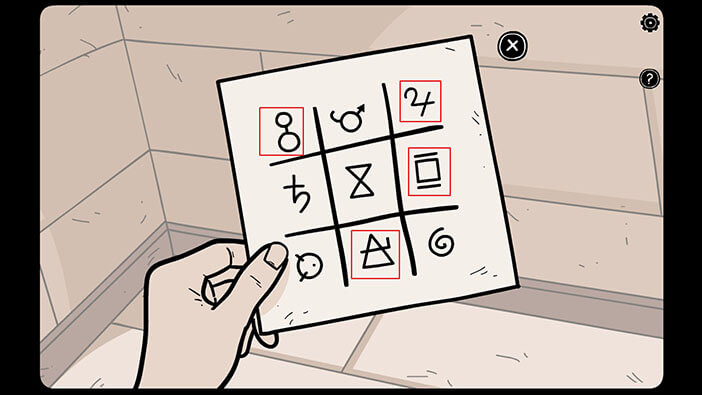
You will notice that it is a 3×3 grid, just like the note in our inventory. The hashtag on the grid determines the numerical value (or order) of the symbol on the note. So, we have numbers from 1 to 9, and we have 9 symbols on the note. We will more closely check the symbols on the note a bit later.
Ok, for the next part you have to turn on the sound if it isn’t already on. Select the “Walkie-Talkie” from your inventory and tap on the “Look” option. Listen to music for 5 or 10 seconds. The goal is to memorize the melody that is playing on our walkie-talkie.
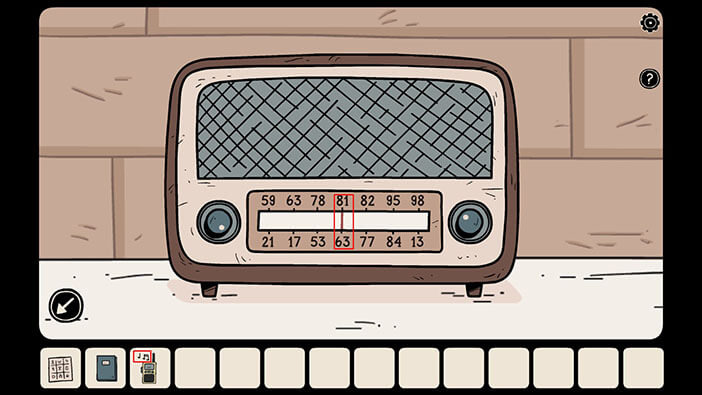
Now, tap on the radio to take a closer look at it.

Use the dials on the left and right to set the frequency of the radio, until you find the same music as the one that you heard on the walkie-talkie. In my game, the frequency “8163” plays the same music as the one on the radio. Memorize/Write down this number.
NOTE: In your game walkie-talkie might be playing a different song, or the songs might have a different frequency on the radio (so the frequency “8163” might not be the correct solution for the puzzle in your game). However, you can discover the correct frequency just like we did. Gy matching the song from the walkie-talkie to the song on the radio.
Ok, now let’s take a look at the note in our inventory.

The frequency “8163” from the radio actually represents the position of the four symbols that we will need to unlock the next puzzle. So, by looking at the grid on the note, we can determine which are these symbols. So,
First Symbol = number 8 = Triangle intersected by a “hooked” line
Second Symbol = number 1 = two circles connected by vertical line
Third Symbol = number 6 = a square with a line above it and a line below it
The fourth Symbol = number 3 = number 4 with a “hook” (well, that’s how it looks to me)
Memorize/Write Down these symbols.
NOTE: The symbols in your game might be different, but you can discover the correct combination by using the same method – as we showed in this guide.
Ok, now let’s go back to the room with the front door. To get there, go through the brown door, then go to the first room on the right.

Tap on the padlock twice to take a closer look at it.

Enter the symbols that we discovered. Looking from left to right, we had
First Symbol = Triangle intersected by a “hooked” line
Second Symbol = two circles connected by a vertical line
Third Symbol = a square with a line above it and a line below it
Fourth Symbol = number 4 with a “hook” (well, that’s how it looks to me)
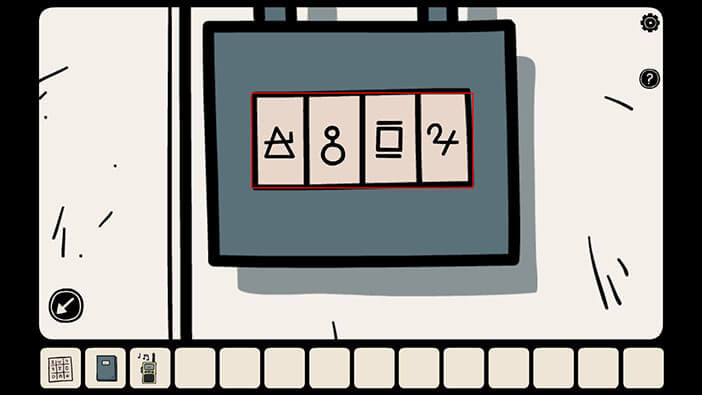
The padlock will drop as soon as you enter the correct symbols. Tap on the cabinet doors to open them. You will notice a red box in the lower right compartment. Tap on the box to take a closer look at it.
Here we can see buttons with one, two, three, four, and five dots. Each button has its pair (another button with the same number of dots). Pair up buttons by drawing the line (drag) from one button to the other. The easiest way for me to solve this puzzle was to go from the top. Pair up 1 dot buttons, then 4 dot buttons, then 2 dot buttons, then 5 dot buttons, and finally 3 dot buttons.
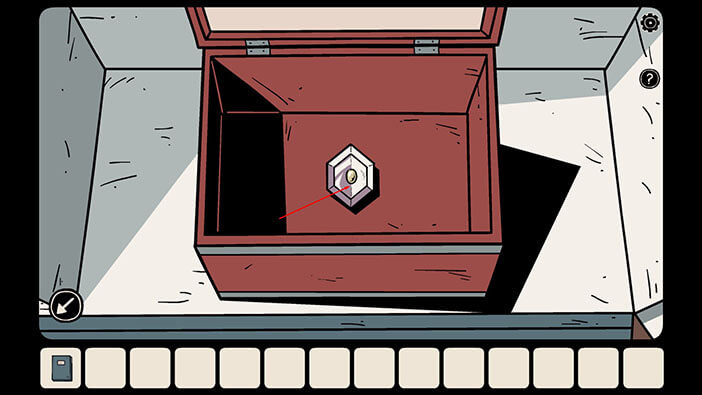
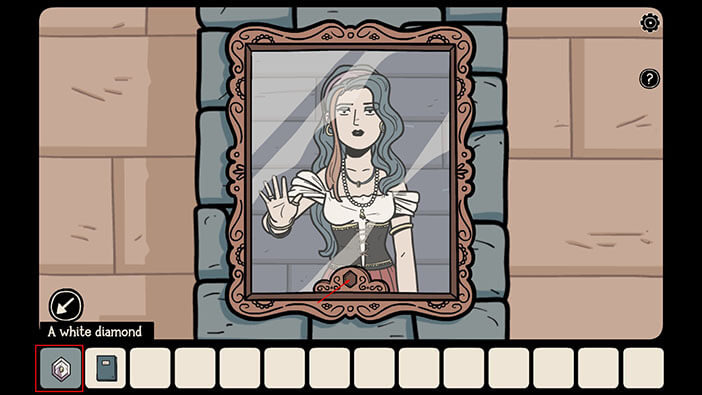
As soon as you pair up the buttons, the box will open. Tap on the diamond inside it to pick it up, and a “White Diamond” will be added to your inventory.
Go back to the room with the portrait and fireplace – the first one on the left.
Tap on the portrait to take a closer look at it.
Select the “White Diamond” from the inventory and tap on the slot below the painting to insert it.
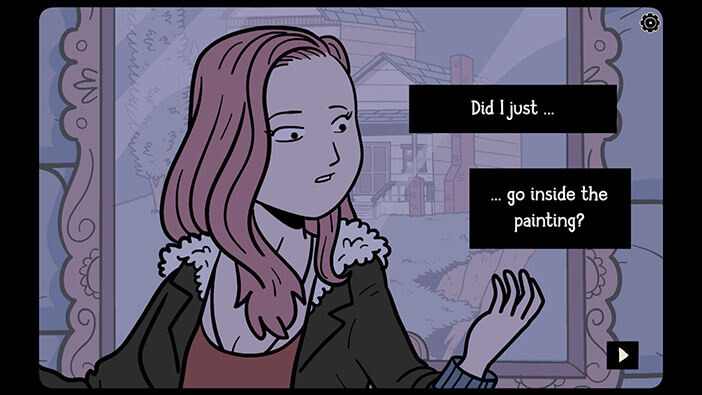
After inserting the diamond, the portrait started to magically change the colors, and when Adria touched it, she was drawn inside the painting, into another world.
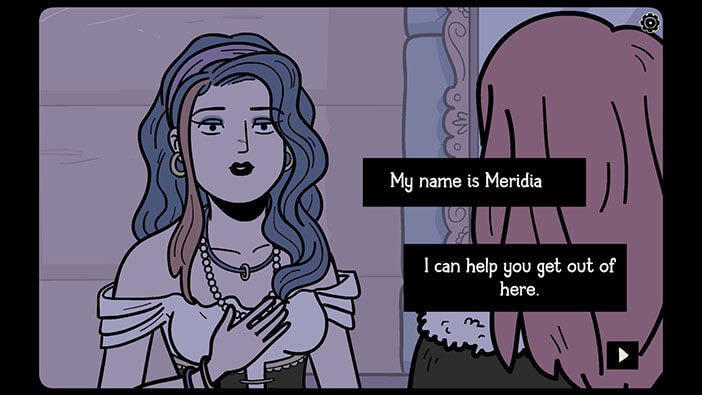
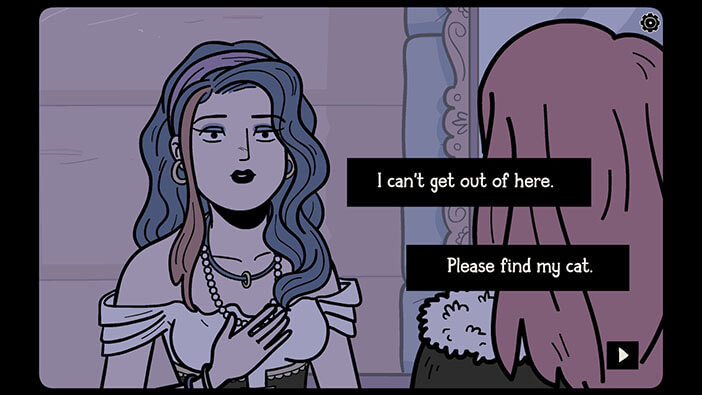
Tap on the woman to start the interaction.
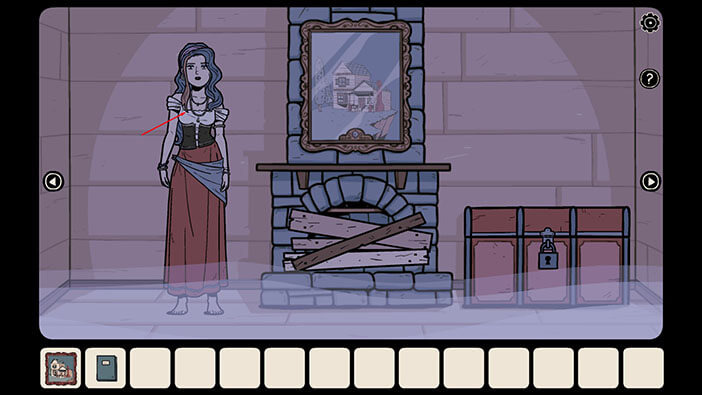
The woman will say that her name is Meridia, and she can help if we find her cat. When Adria asked her to come with her, Meridia explained that she can’t leave, but said again that she would be very grateful if we could find her cat.
From now on, we can switch between Our world and Meridia’s world, by tapping on the first icon in the inventory. But for now, let’s stay here, in Meridia’s world, and go to the room on the left.
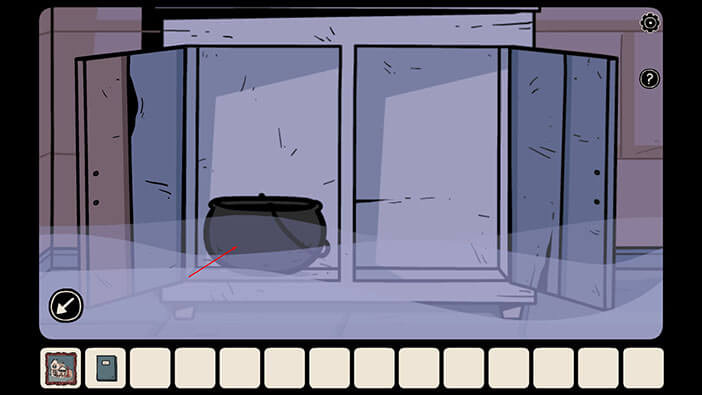
Tap on the blue door to open it, and tap once more to proceed.
Tap on both doors of the cabinet to open them.
Tap on a “Cauldron” inside the left compartment to pick it up and it will be added to your inventory.
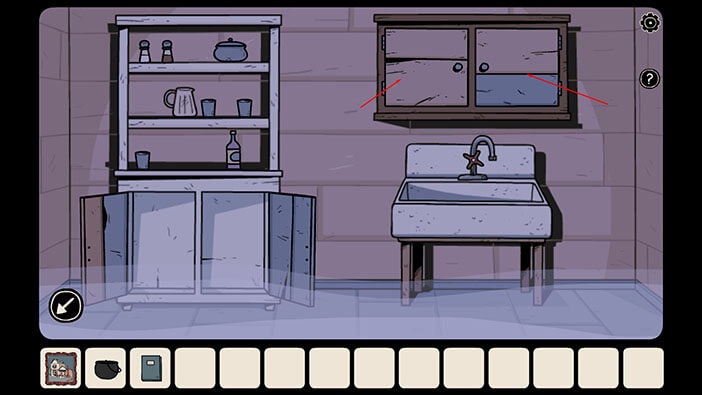
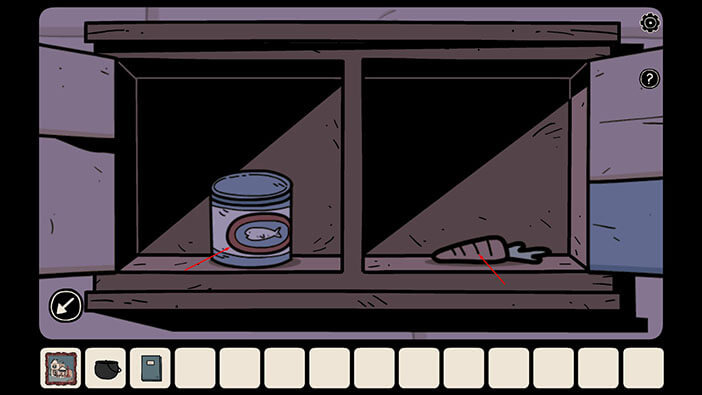
Tap on the cabinet above the sink to take a closer look at it. Tap on both cabinet doors to open them.
Inside you will find a “Tuna Can” and a “Carrot”. Tap on both items to pick them up and they will be added to your inventory.
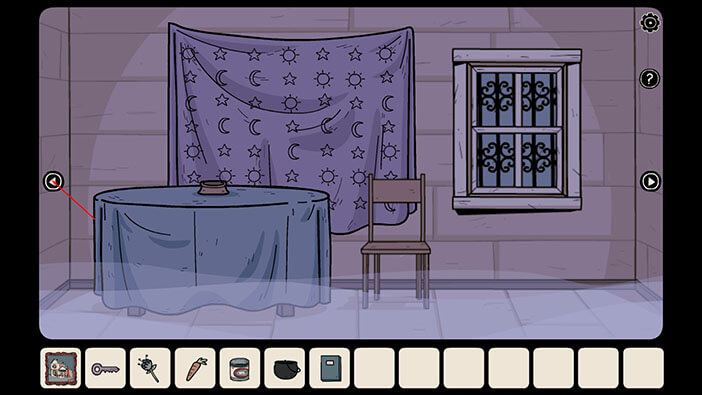
Ok, let’s go to the room with the wall clock. Tap on the arrow in the lower-left corner to leave this room, then go to the first room on the left.
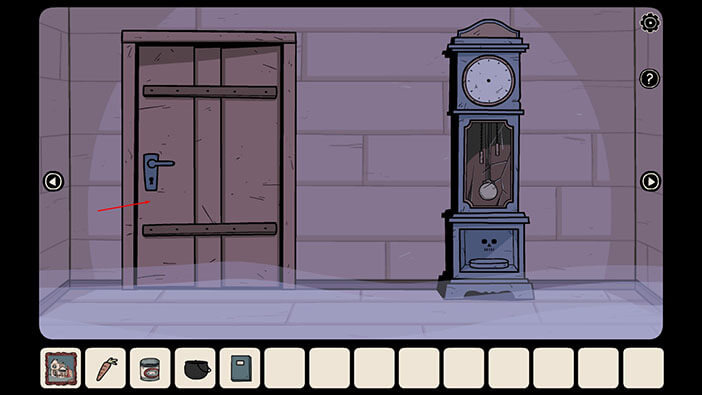
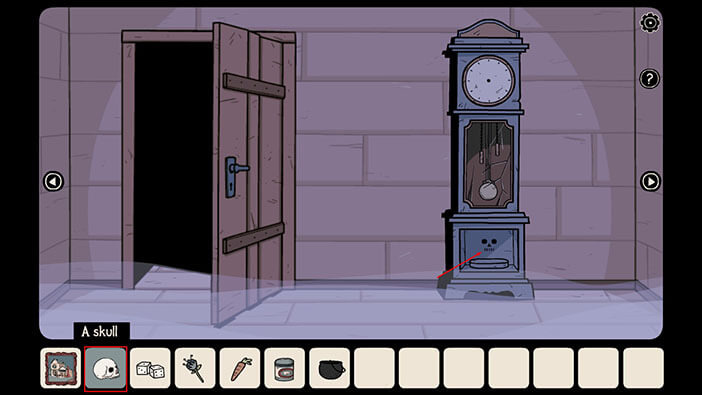
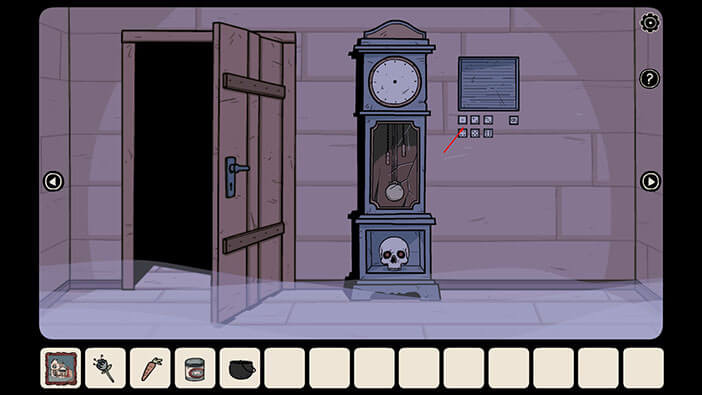
Tap on the compartment below the clock to take a closer look at it, and tap again to open it. You will uncover the Skull slot.
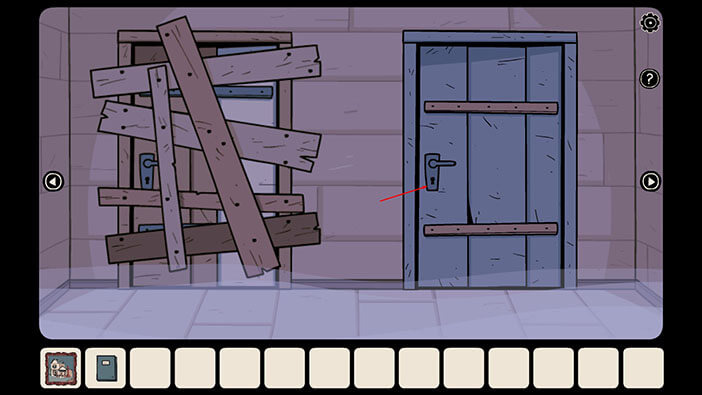
Tap twice on the brown door to open it and proceed into the next room.
We can see that the staircase is broken in Meridia’s world. Tap on the arrow on the right to go to the next room.
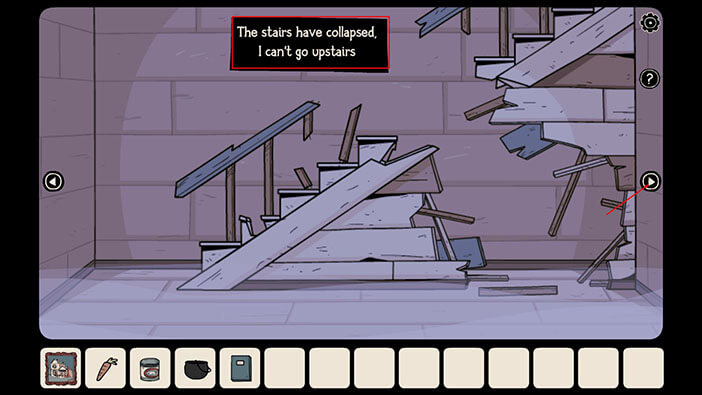
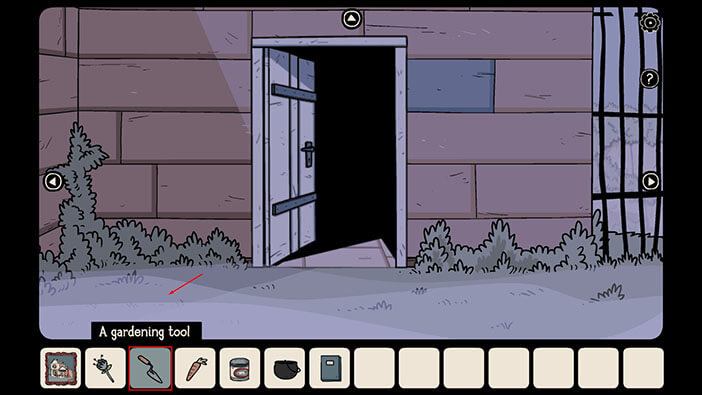
The white door in this room would lead to the backyard. We will explore the backyard in a few moments, for now, let’s continue to the next room on the right.
Check all four white drawers.
Inside the lower left drawer, you will find see one item. Tap on it to pick it up and a “Gardening tool” will be added to your inventory.
Also, inside one of the drawers, you will see a drawing of a square, and some of its parts will be painted black. Just take note of it for now, because we will need this hint to solve a certain puzzle, further down the line.
Ok, now let’s go back to the previous room.
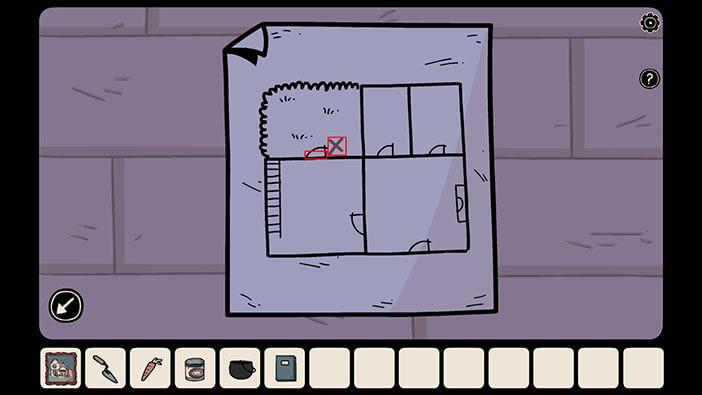
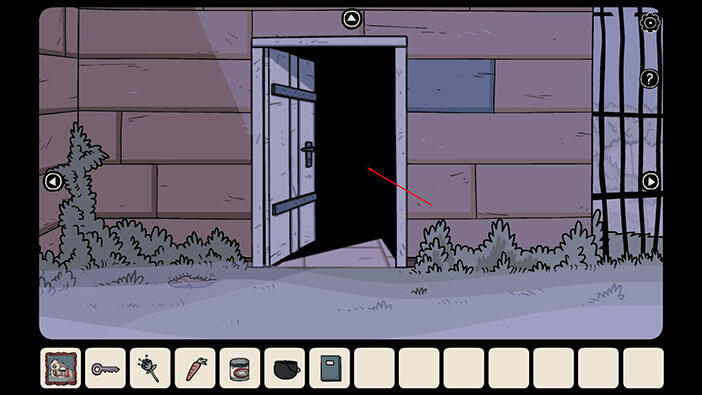
Tap on the map on the wall to take a closer look at it.
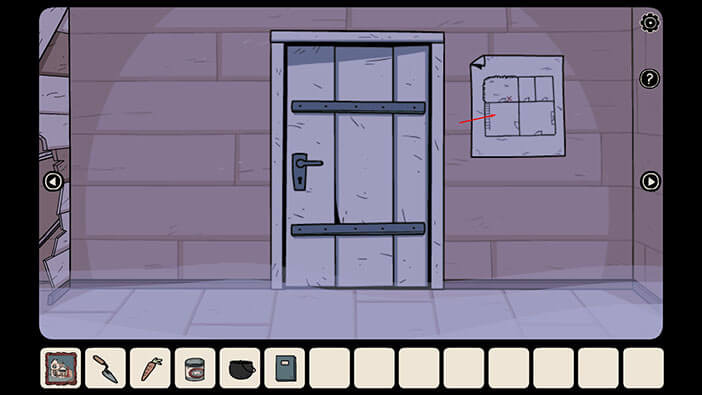
By looking at the map, we can see that the location just to the right of the front door has been marked with the letter “X”. Let’s check it out.
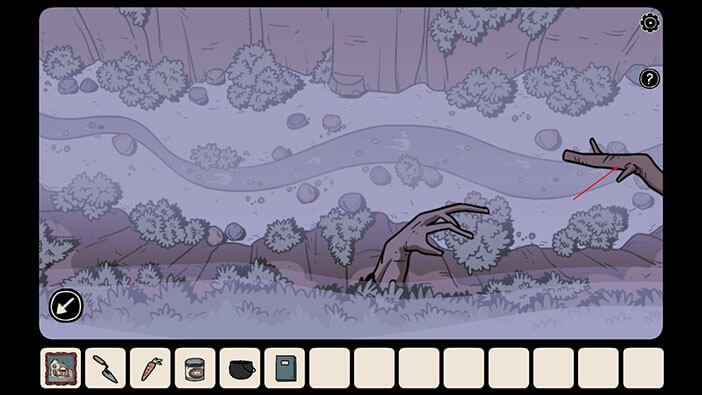
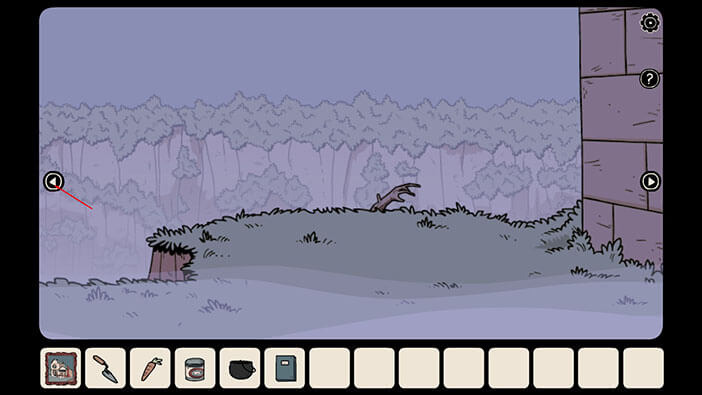
Tap on the white door twice to open it and proceed outside.
Tap on the branch to take a closer look at it.
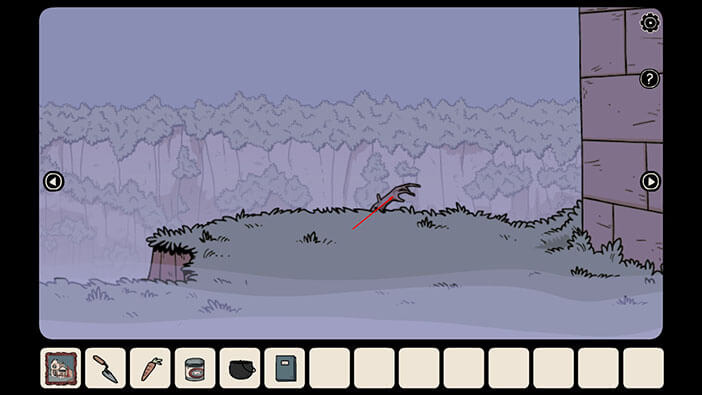
Tap on the branch on the right, and you will discover your first Owl.
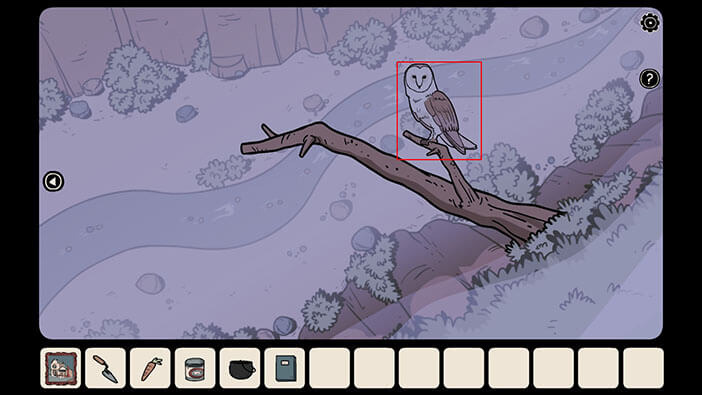
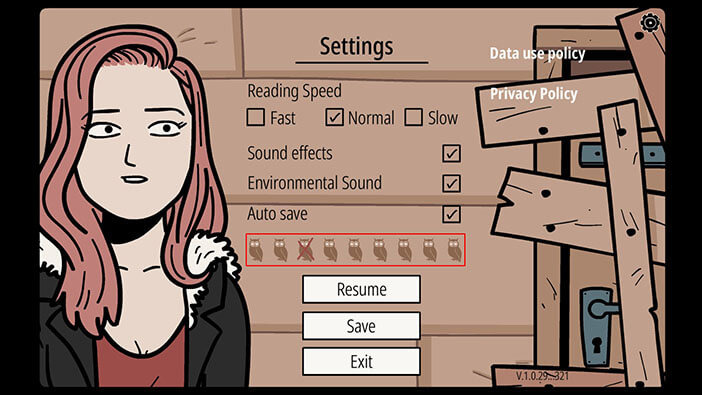
Owls are hiding in various places and finding them is kind of a minigame. There are 9 of them in total. You can check how many Owls you found by tapping on the settings icon in the upper right corner.
Let’s explore the left side.
Tap on the rock to see what’s behind it.
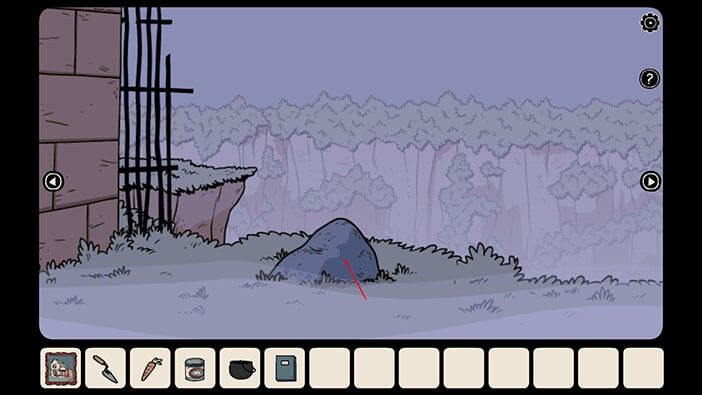
Tap on the flower behind the rock to pick it up and a “Blue Flower” will be added to your inventory.
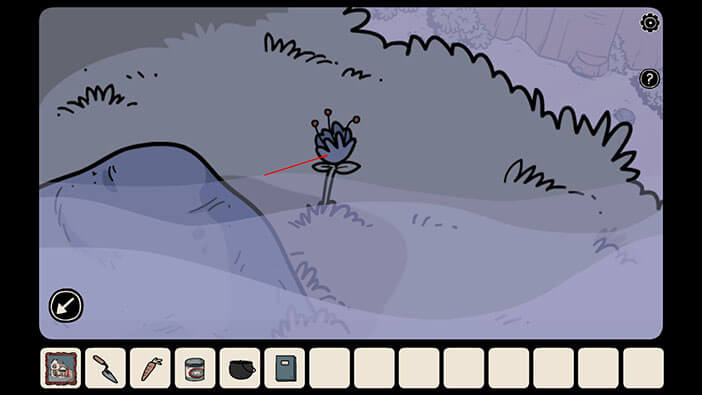
Let’s continue to the left.
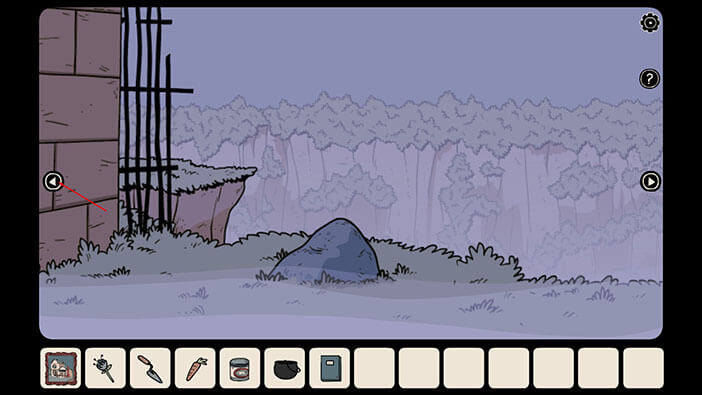
We remember that the digging location (“X”) on the map was on the right side of the door when looking from the entrance outside. However, we are now looking at the entrance, so the digging location is on our left. So, select the “Gardening Tool” from the inventory and tap on the patch of ground to the left of the door.
Tap on the hole to take a closer look at it, and inside you’ll see a key. Tap on the key to pick it up and a “Purple Key” will be added to your inventory.

Ok, let’s go back inside and use this key.
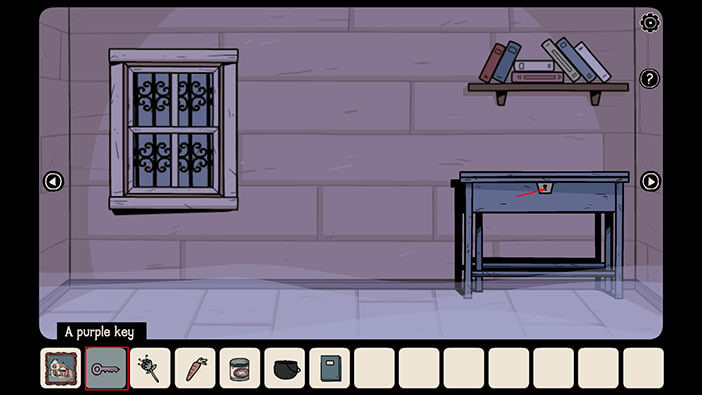
The key that we found unlocks a blue desk. To get there go to the first room on the left, then through the brown door, and after that into the first room on the right.
Select the “Purple Key” from the inventory and tap on the keyhole on the blue desk to unlock the drawer.
Select the “Blue book” from the inventory, tap on the “Grab” option, and then tap to place it in the right compartment of the drawer.
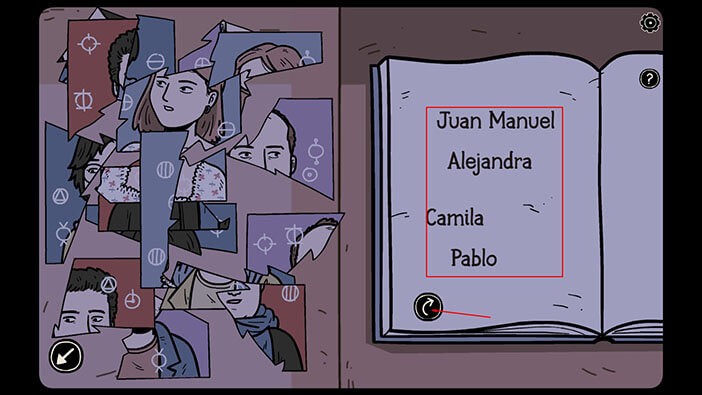
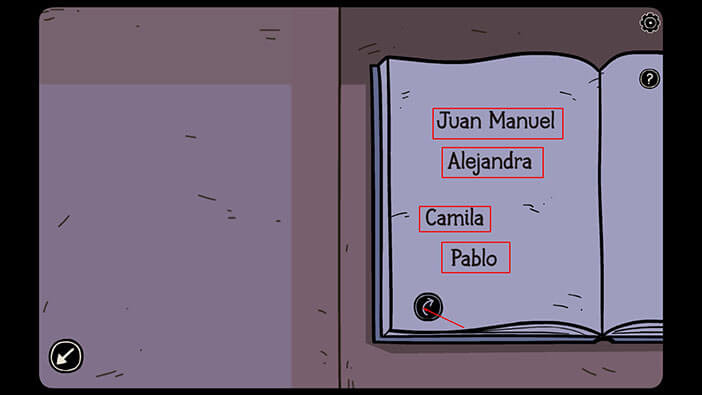
On the last page, we can see the chronological order of the characters (top to bottom). Just take note of it, because we will soon need it. For now, let’s turn to the next page on the left.
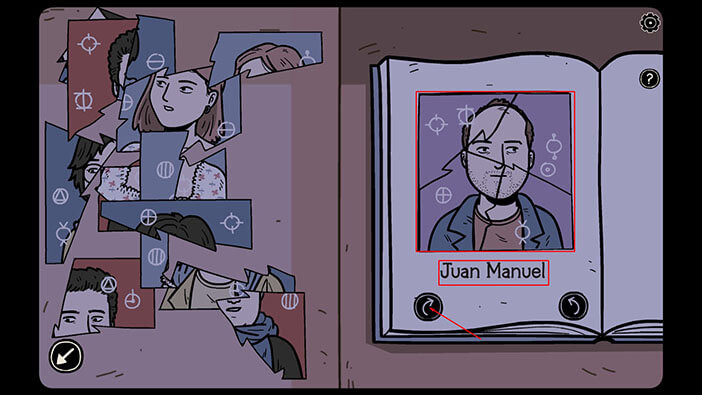
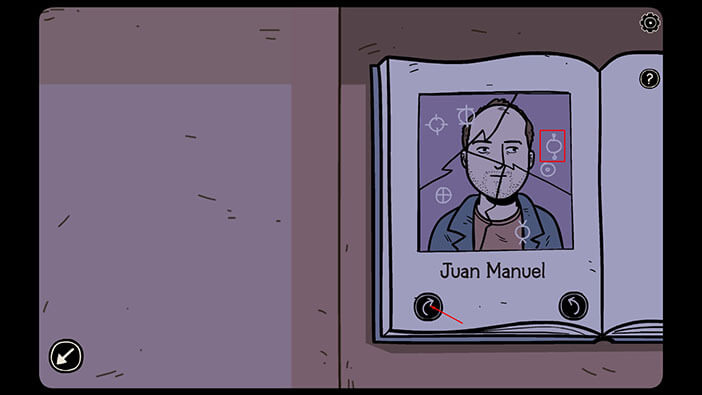
Our task here is to assemble the photo of Juan Manuel by finding the correct four pieces on the left side. You can see the solution in the image below. When you’re done, tap on the left arrow to flip to the next page.
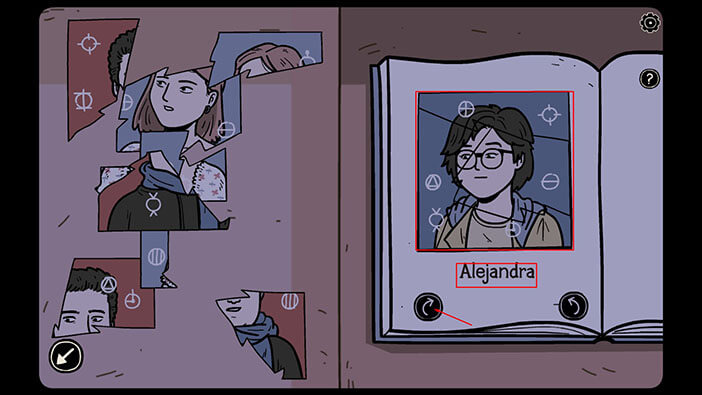
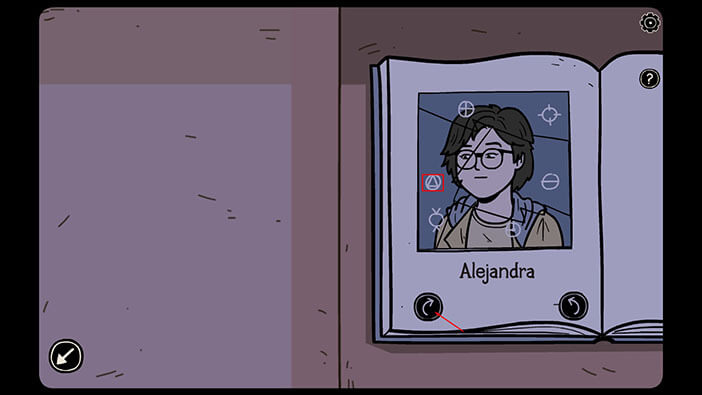
Next is Alejandra. You can see the solution in the image below. When you’re done, tap on the left arrow to flip to the next page.
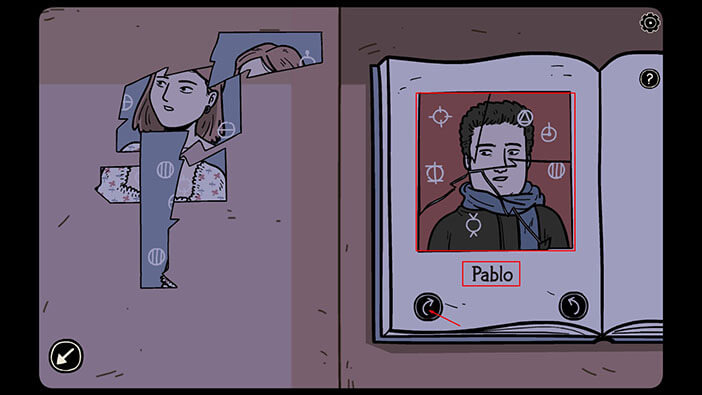
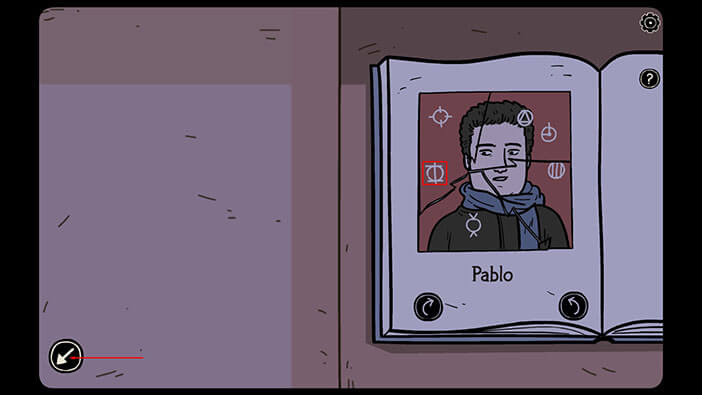
Next is Pablo. You can see the solution in the image below. When you’re done, tap on the left arrow to flip to the next page.
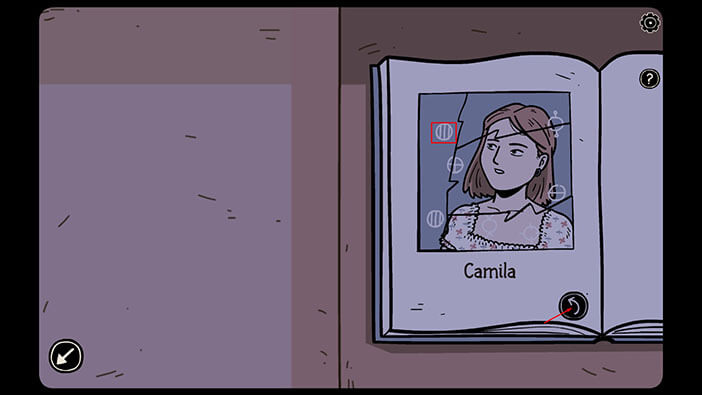
Finally, we have Camila. You can see the solution in the image below. When you’re done, go back to the last page and take a look at the order of characters.

So we have,
First: Juan Manuel
Second: Alejandra
Third: Camila
Fourth: Pablo
Let’s take a look at Juan Manuel’s photo. It’s the first one on the left.
Look at Juan Manuel’s eyes, and you will notice that he is looking at a certain symbol on the right. This is our first symbol, and we will need it to solve a puzzle, so let’s memorize/write it down.
First Symbol = A circle, connected by lines to two smaller circles above and below it
Ok, let’s take a look at the photo of Alejandra. It’s the first one on the left.
NOTE: The characters in your game might be looking at the different symbols.
We can see that Alejandra is looking at the triangle inside of a circle. So,
Second Symbol = a triangle inside a circle
Now, let’s take a look at the photo of Camila. It’s the second one on the left.
Camila is looking at the circle with vertical stripes (or bars). So,
Third Symbol = a circle with vertical stripes
Finally, let’s take a look at a photo of Pablo. It’s the first one on the right.
We can see that Pablo is looking at some complex symbol. So,
The fourth Symbol = A circle, intersected by a vertical line, with two horizontal lines below and above him. Well, that’s a long description.
Memorize/Write down all these symbols, and let’s go back to our world.
Tap on the picture of the house in the lower right corner to go back to Adria’s world.
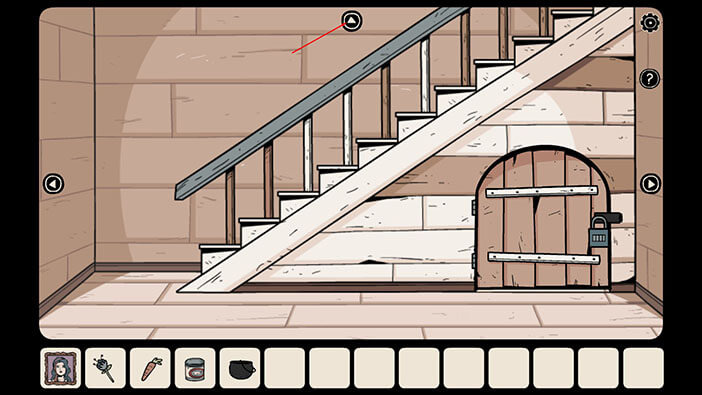
Ok, we should now go upstairs. To get to the stairs, go two rooms to the right, and then through the brown door.
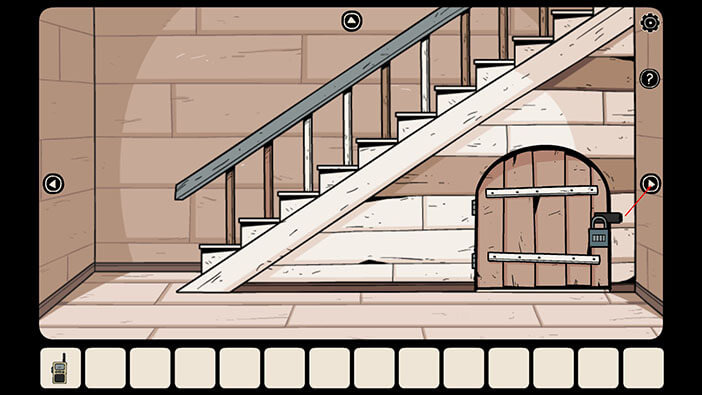
Tap on the arrow on the top of the screen to go up the stairs.
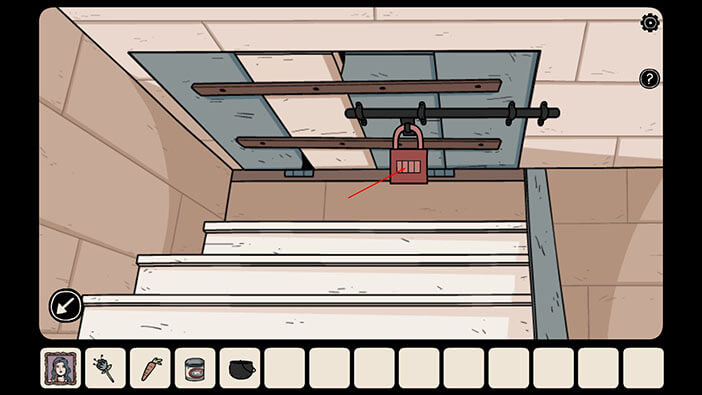
Tap on the padlock to take a closer look at it.
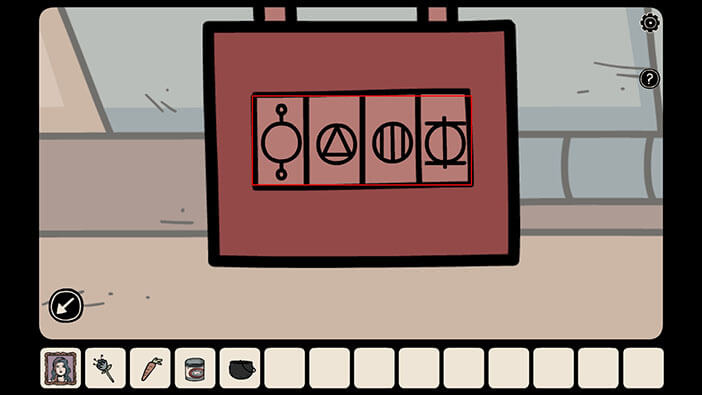
Ok, now enter the symbols that we discovered by looking at the eyes of the four characters in the pictures. So, we have
First Symbol = A circle, connected by lines to two smaller circles above and below it
Second Symbol = a triangle inside a circle
Third Symbol = a circle with vertical stripes
Fourth Symbol = A circle, intersected by a vertical line, with two horizontal lines below and above him.
NOTE: If it’s easier for you, you could also switch between Adria’s and Meridia’s world and look at the symbols one by one. As I already mentioned, in your game the characters might be looking at the different symbols. If that’s the case, this combination won’t work, but you can discover the correct combination by using the same method.
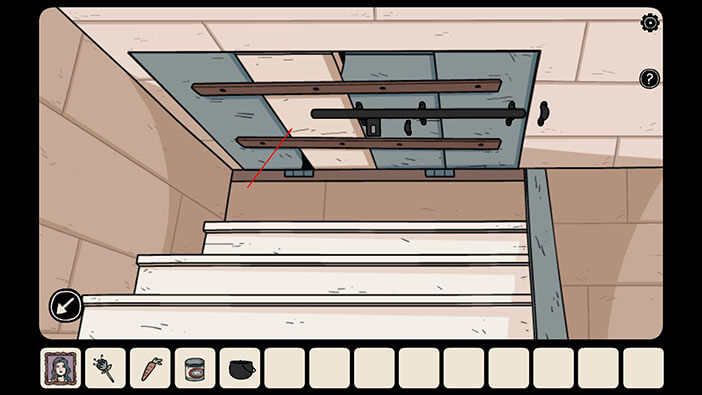
Ok, as soon as we entered the correct combination the padlock dropped down, and we unlocked the hatch to the attic. So, tap on the hatch to open it, and tap once more to go to the attic.
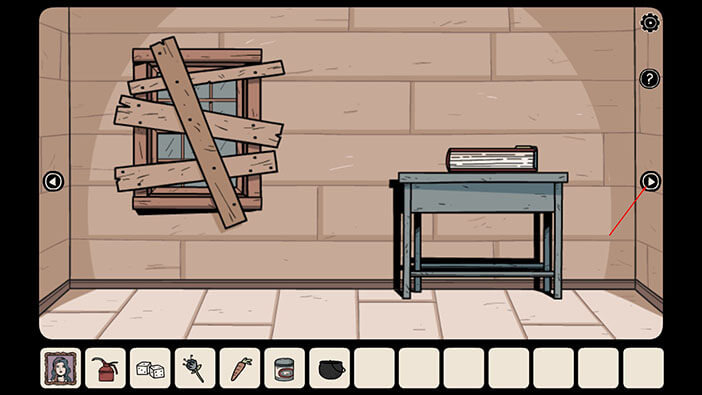
Here we have some kind of a totem. Just take a note of it for now, and let’s go to the next room on the right.
Tap on both cabinet doors to open them.
Inside the cabinet, you will see two items. Tap on them to pick them up and a “Four Dice” and an “Oil Can” will be added to your inventory.
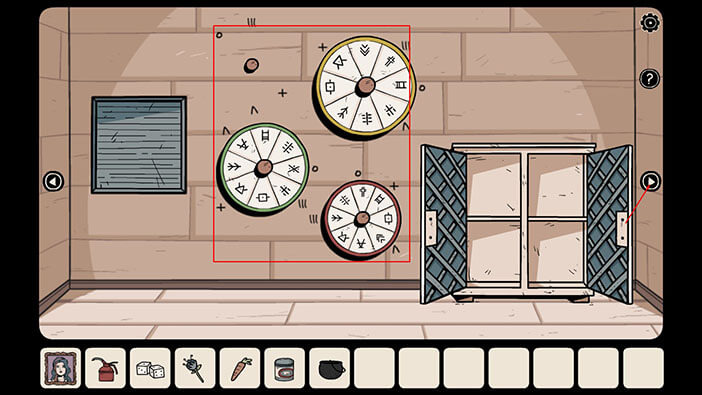
Take a note of the four wheels on the wall, because we will get back to this puzzle, much later. For now, let’s go to the next room on the right.
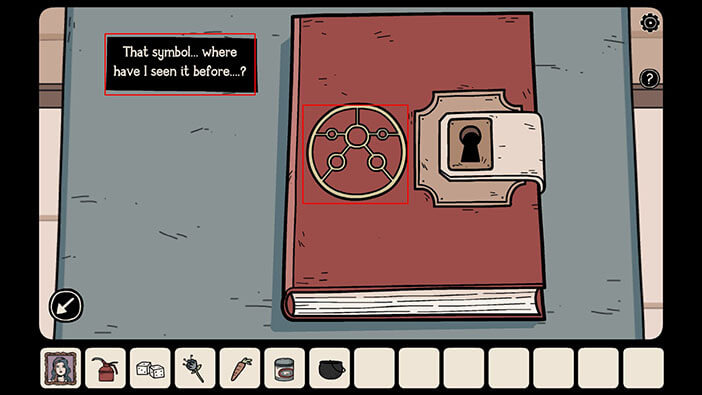
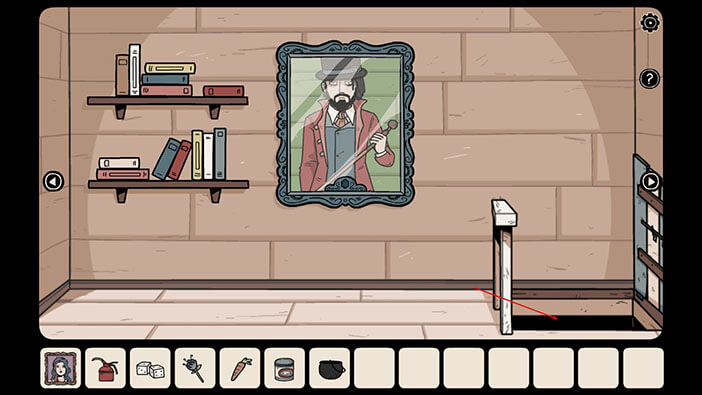
Let’s take a closer look at the Red Book. We can see that the book is locked, but it seems that Adria recognized the symbol on the book.

Ok, let’s proceed to the next room on the right.
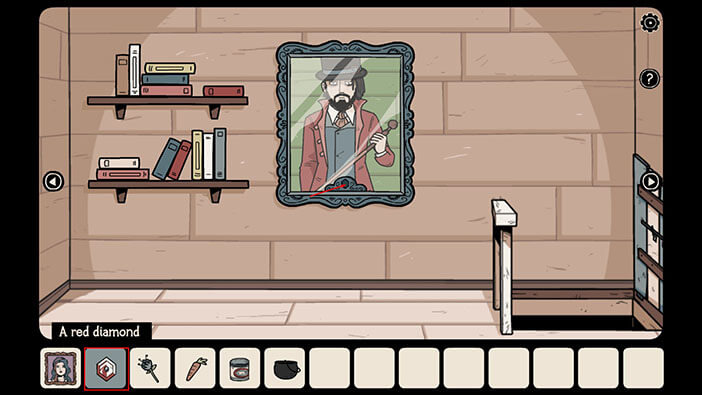
Tap on the sheet to pull it off, and our character will reveal another portrait.
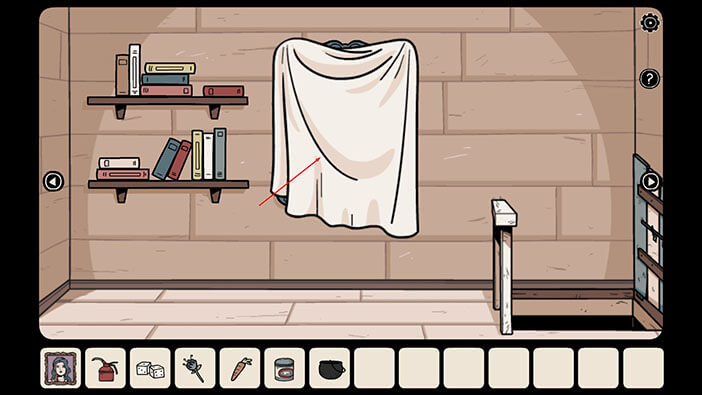
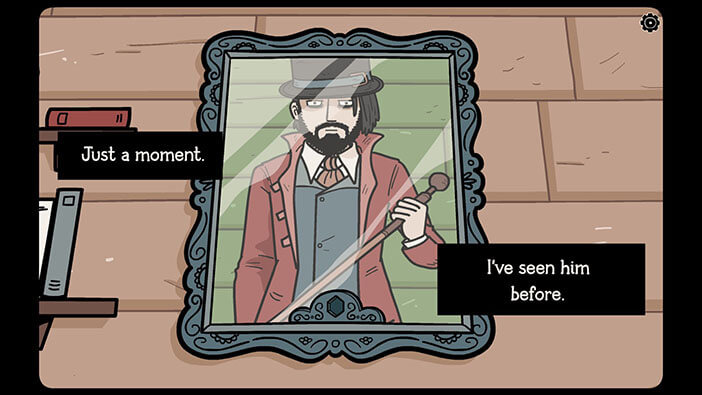
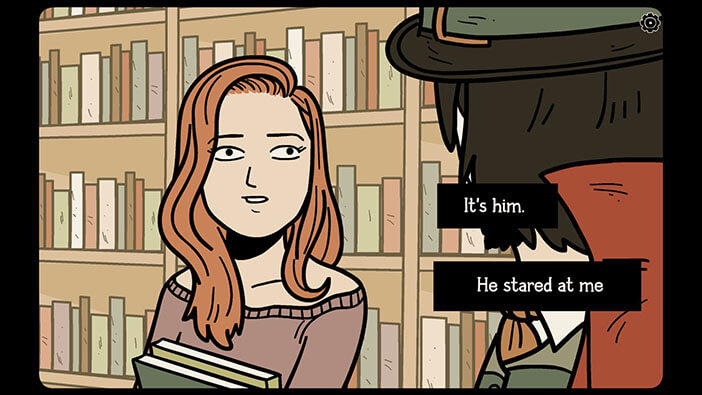
This is the portrait of the magician. Adira remembered that she saw the man on the portrait earlier today when she was at the library. The man looked at her, but they didn’t speak to each other. Adria is now very curious, because she found the two portraits in this house, and she saw the people on the portraits, this morning.
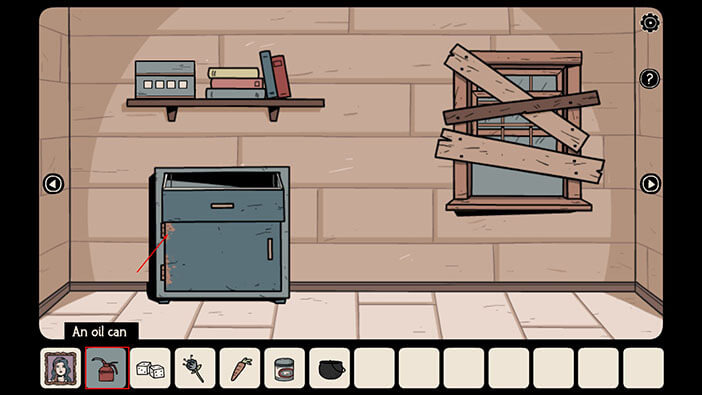
Ok, earlier we saw a rusty cabinet downstairs, so let’s go there. To get to the room with the rusty cabinet, go downstairs (through the hatch), then to the first room on your left.
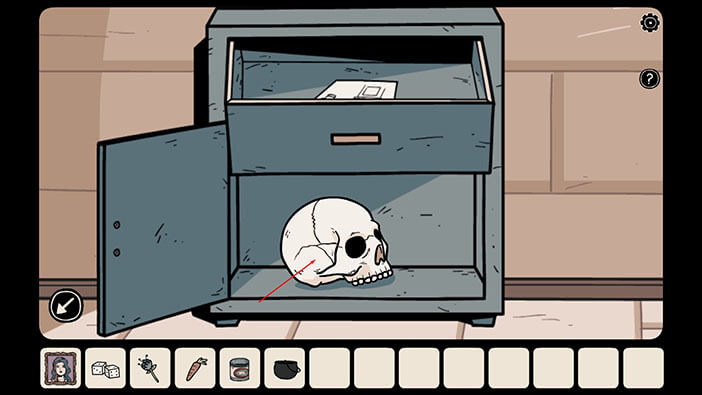
Tap on the rusty cabinet to take a look at it, then select the “Oil Can” from the inventory and tap on the rusty part.
After applying the oil, tap on the cabinet door to open it. Tap on the “Skull” inside to pick it up and it will be added to your inventory.
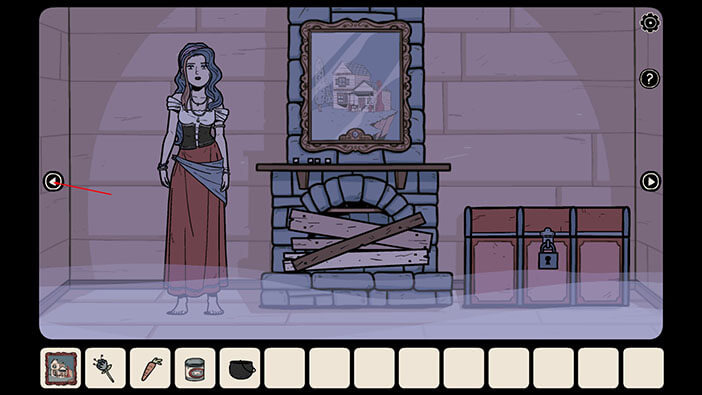
Ok, a bit earlier we discovered a slot for skull below the wall clock in Meridia’s world. So, tap on Meridia’s icon in the bottom left corner to switch to her world.
To get to the wall clock, go to the first room on the right.
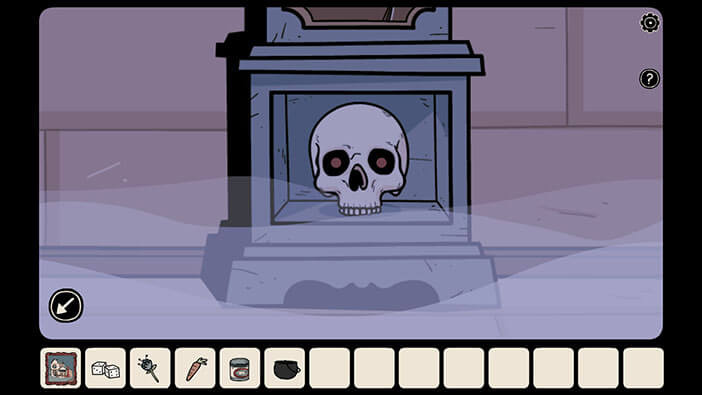
Select the “Skull” from the inventory and tap on the slot below the wall clock to insert the skull.
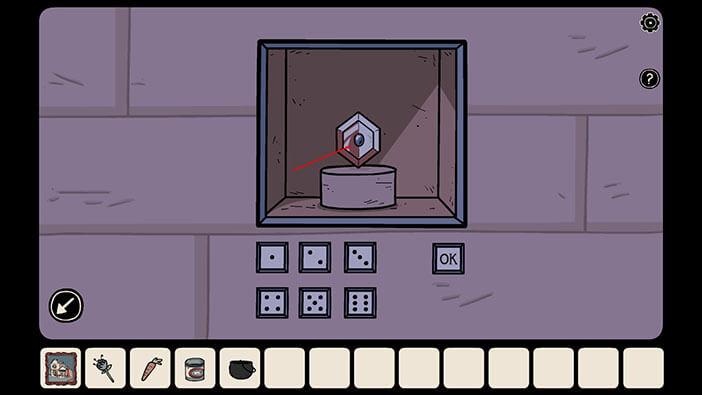
The eyes of the skull will start glowing red, and the clock will magically hop to the left, revealing a puzzle with the dice, that was hidden behind it.
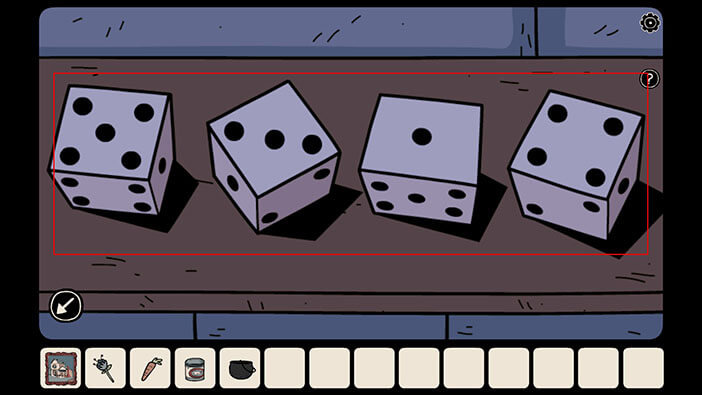
Ok, let’s talk to Meridia. She is in the second room on the right.
Select the “Four Dice” from the inventory and tap on Meridia to give them to her.
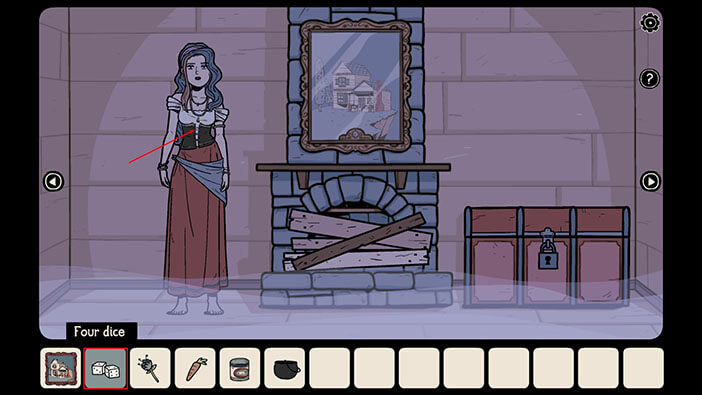
Meridia will throw the dice, so tap on them to see the result. We have 5, 3, 1, and 4. Memorize/Write down this information.
NOTE: Every throw is randomized, so you might get a different result in your game.
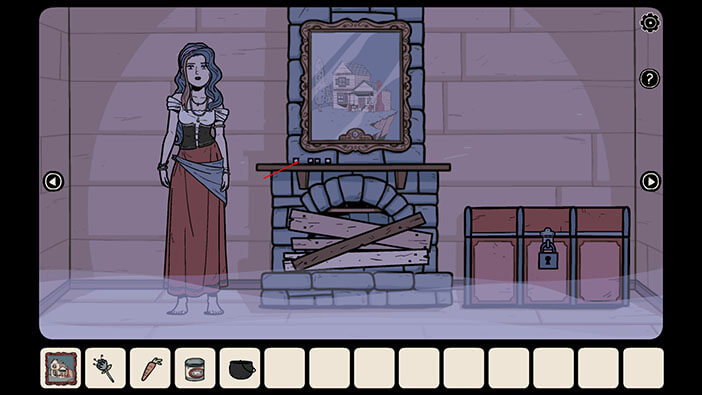
Ok, let’s go back to the room with the wall clock. It’s the second one on the left.
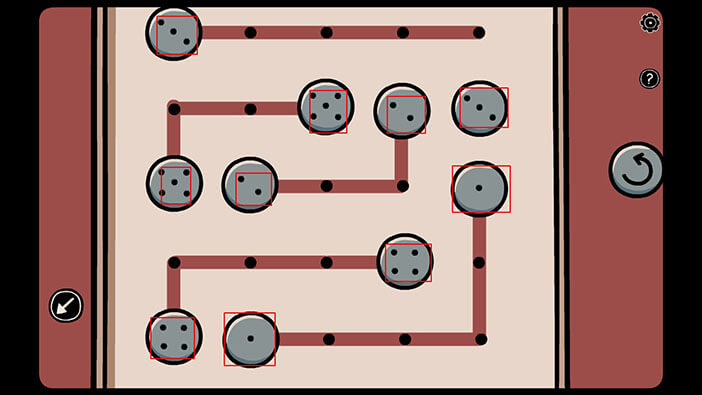
Tap on the dice on the wall to take a closer look at them.
Enter the dice values after Meridia’s throw by tapping on the dice. So, we had 5, 3, 1, and 4 (the order of the dice is important). Once you’re done, tap on the “OK” button on the right.
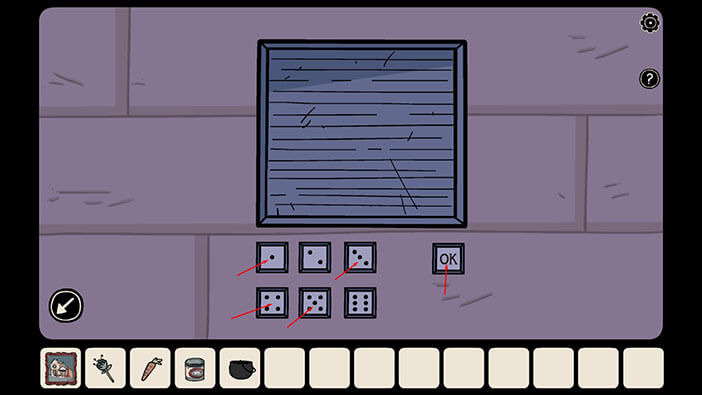
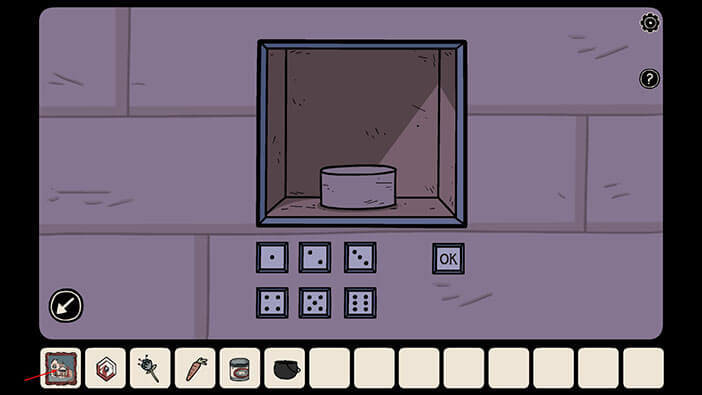
The locked compartment will open up and we can see that there’s a diamond inside it. Tap on the diamond to pick it up and a “Red Diamond” will be added to your inventory.
Ok, let’s switch to Adria’s (our) world and put the diamond inside the slot located below the portrait of the magician.
To get to the room with the portrait of the Magician, go to the first room on the right, then up the hatch to the attic. Once you get there, the room with a portrait is the first one on the left.
Tap on the portrait to take a closer look at it. Then select the “Red Diamond” from the inventory and tap on the slot below the portrait to insert it.
After inserting the diamond, Adria will be teleported inside the painting, into the Magician’s world.
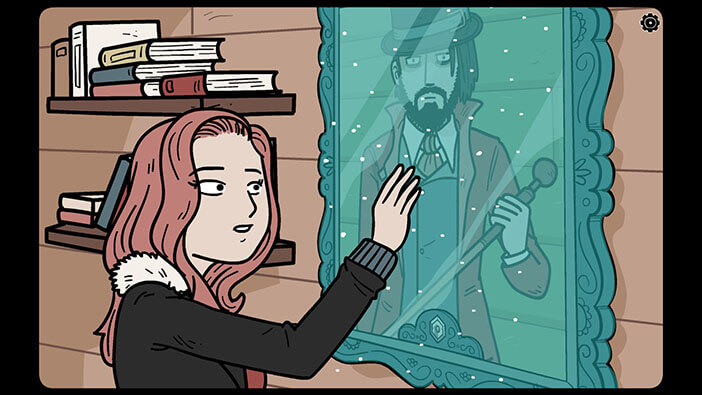

We will end the first part of the walkthrough here. You can check out the second part by tapping on the “Next Part” button.