Legendary Tales 4 – Chapter 2: Strange Coincidence | Part 2
Intro
Welcome to our walkthrough for Part 2 of Chapter 2 of “Legendary Tales 4” from “FIVE-BN GAMES”. Find out where the maps of magical creatures are coming from and destroy their source.
Walkthrough
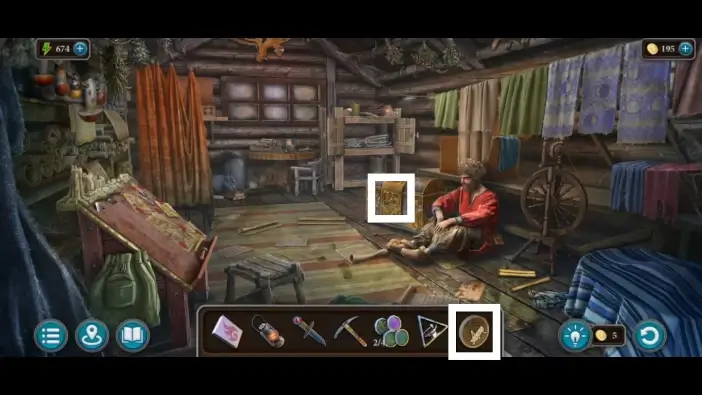
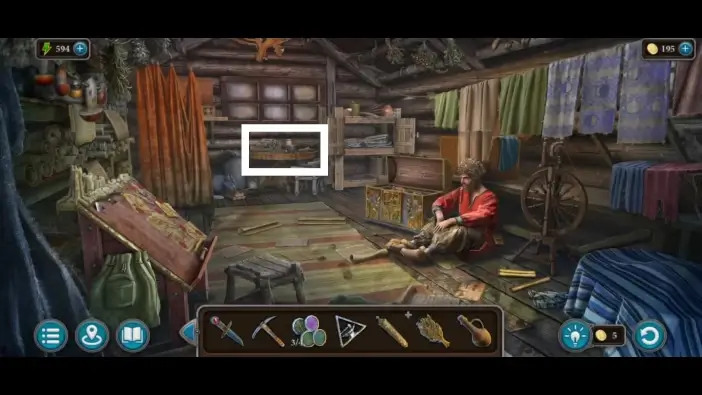
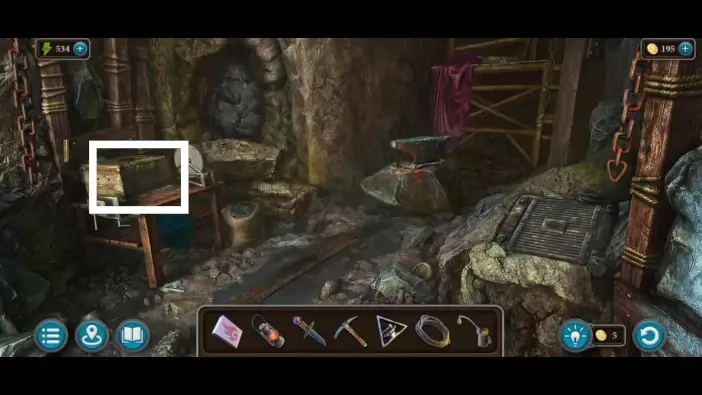
Go inside the forest cabin and approach the large chest.
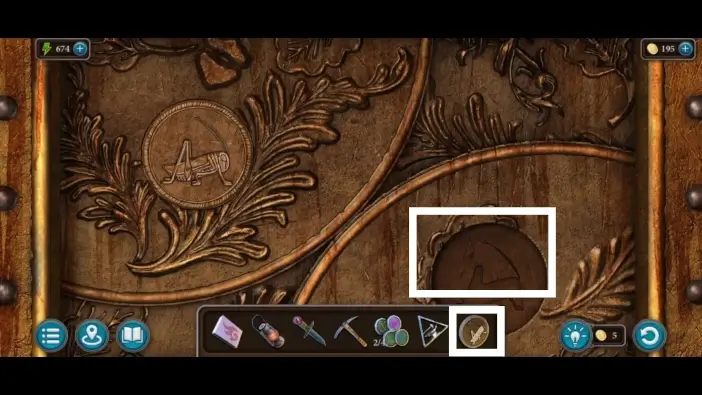
Unlock the large chest with the medallion you found in the aviary in the birder’s house. This will start a new puzzle challenge.
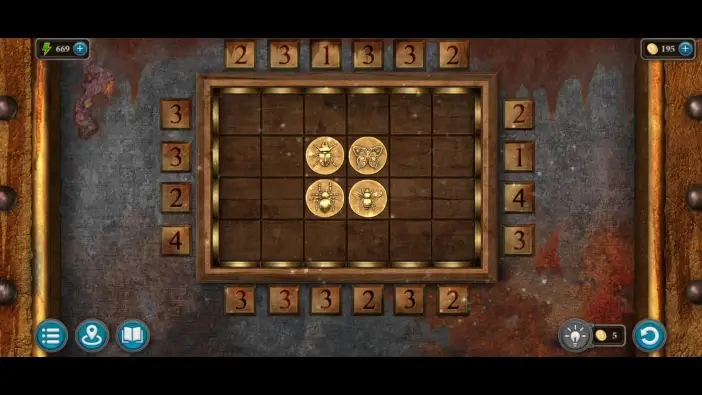
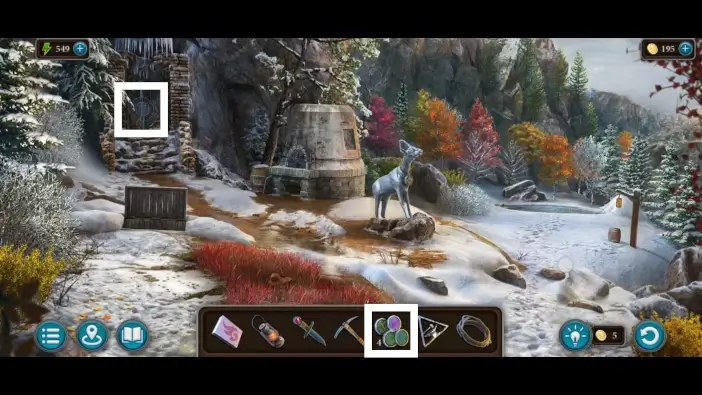
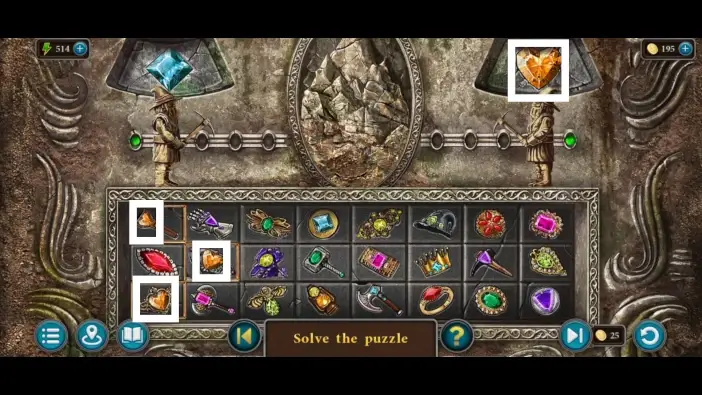
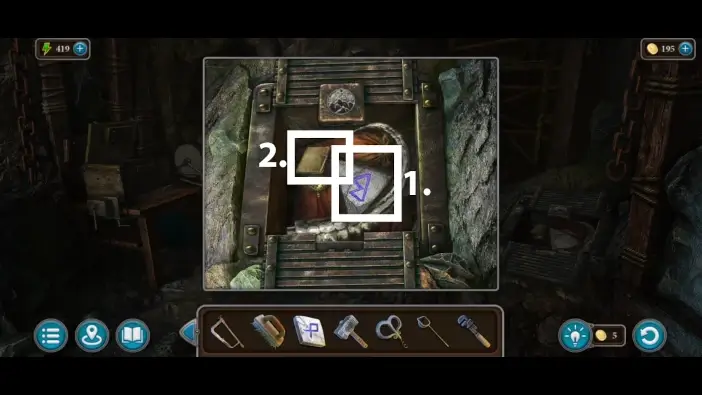
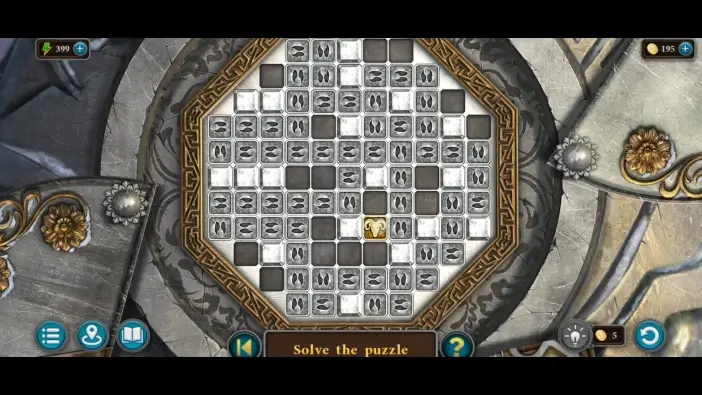
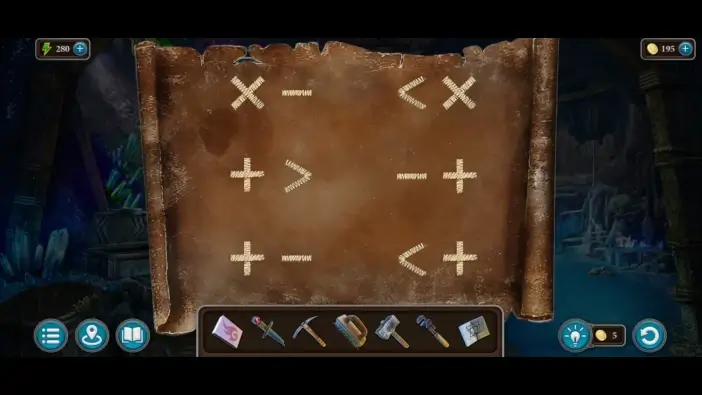
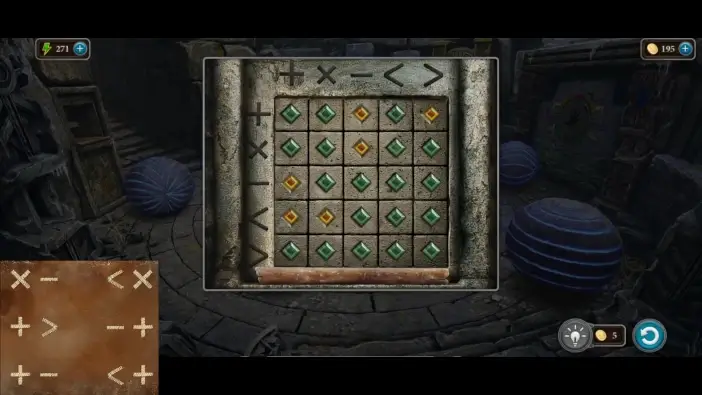
In this puzzle challenge, you need to move the tokens to their correct places. For example, a token that has a butterfly should be on the butterfly tile. Same rule for other insects and tokens. To move the tokens, you’ll need to press numbers around the table. A pipe will appear from the number and push the token. How long the pipe is and how much it will push the token depend on the number you clicked. The higher the number, the longer the push will be. Once you complete this puzzle challenge, the chest will be unlocked.
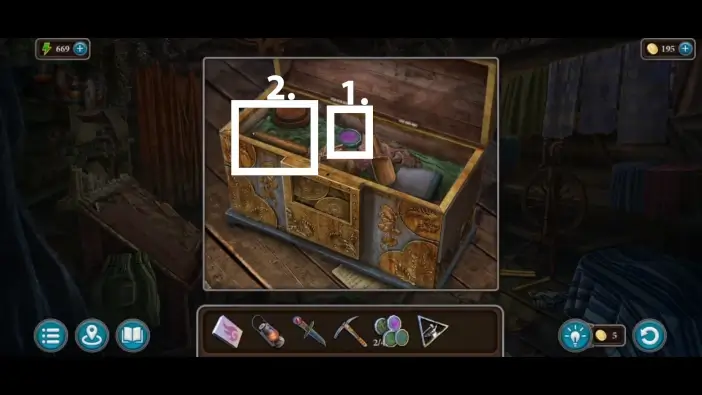
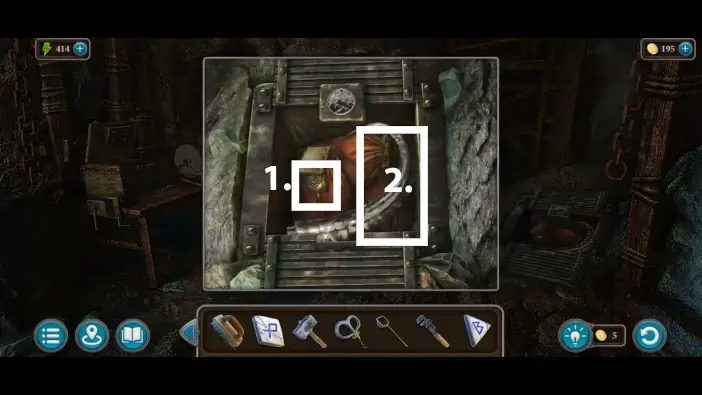
- Take the third chip.
- Take and read the truth elixir recipe.
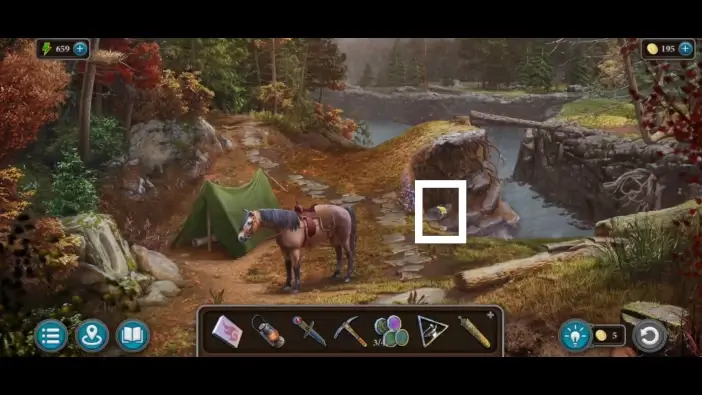
Take the velvet flower from the camp area. You’ll need it for the truth elixir.
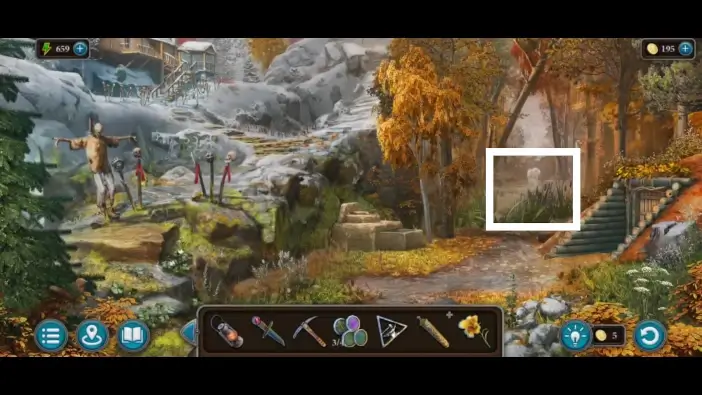
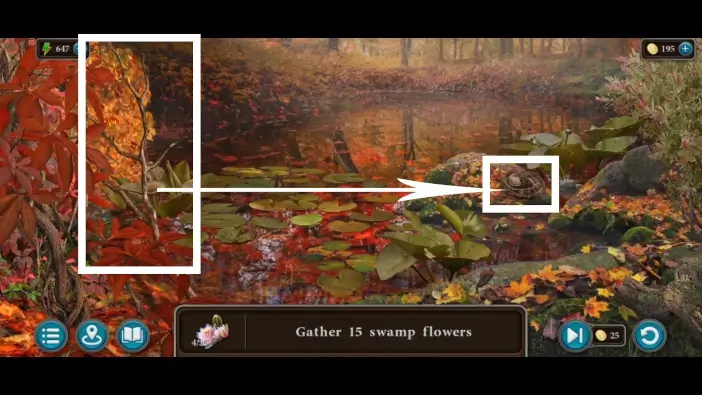
Go to the area near the birder’s house. Go towards the swamp.
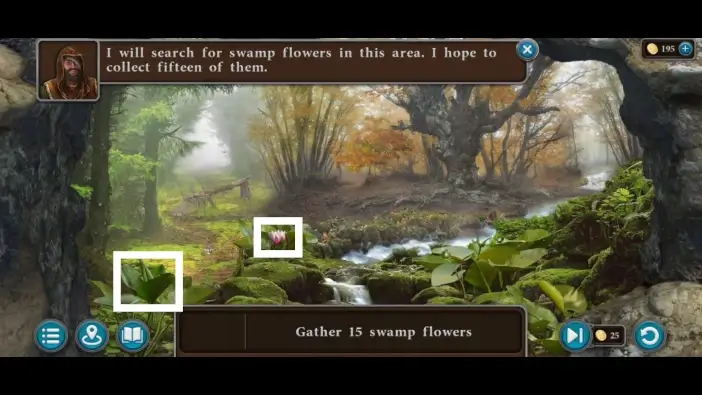
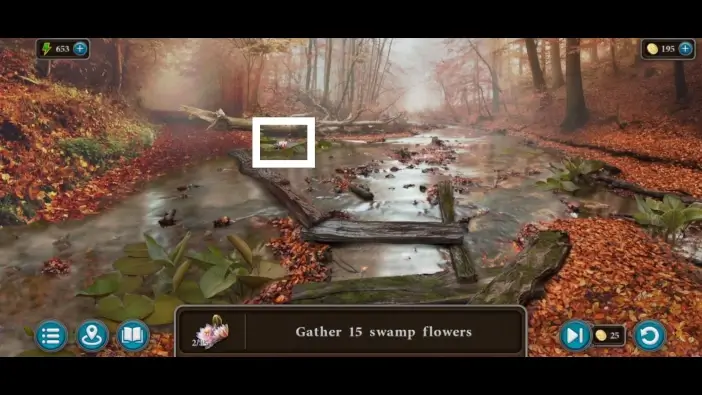
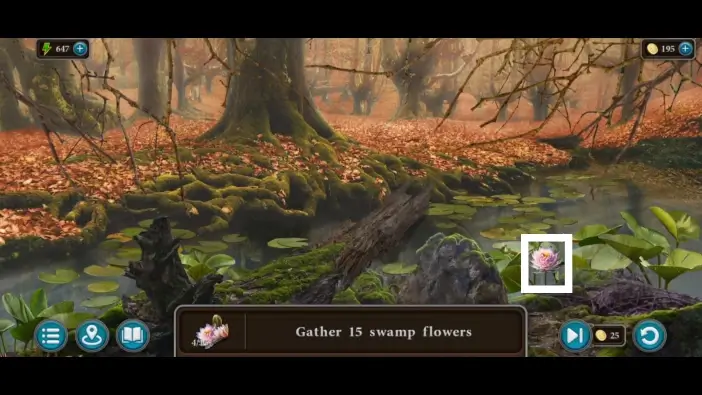
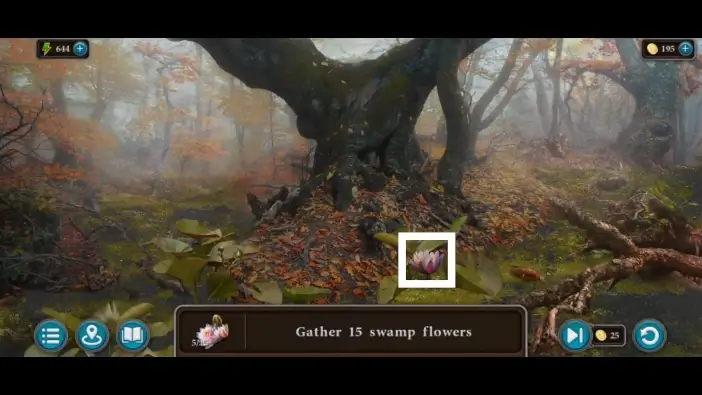
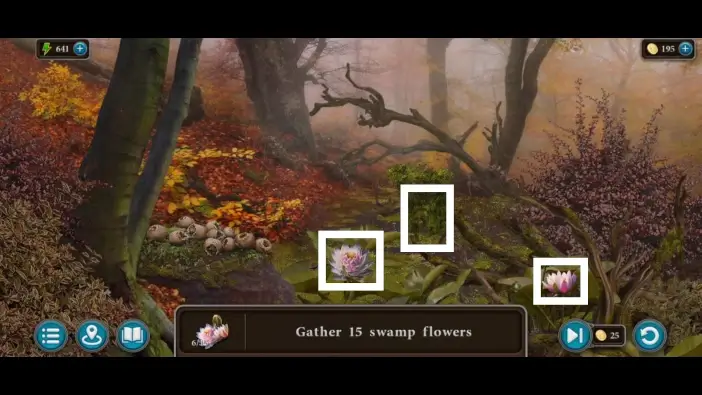
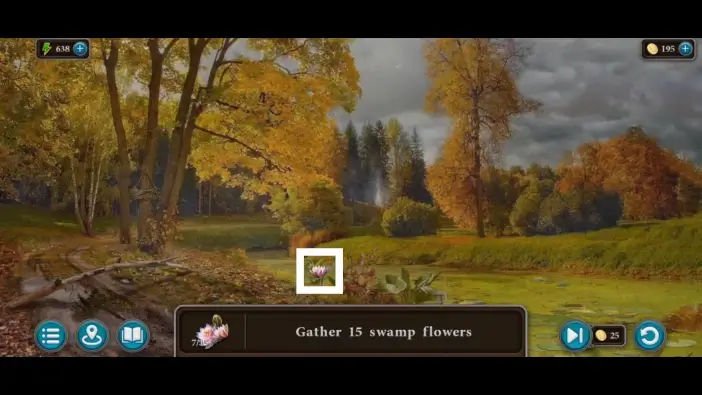
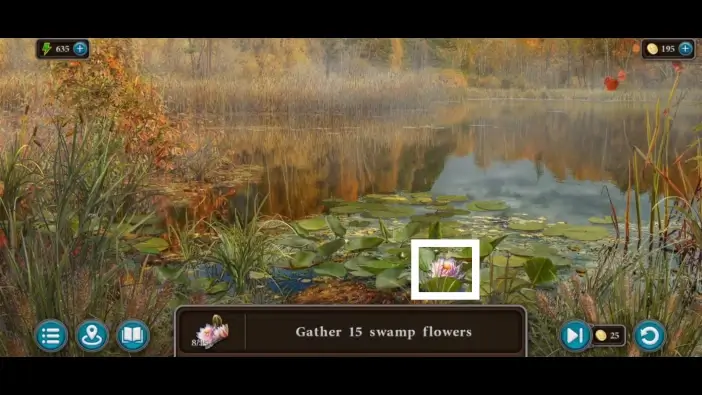
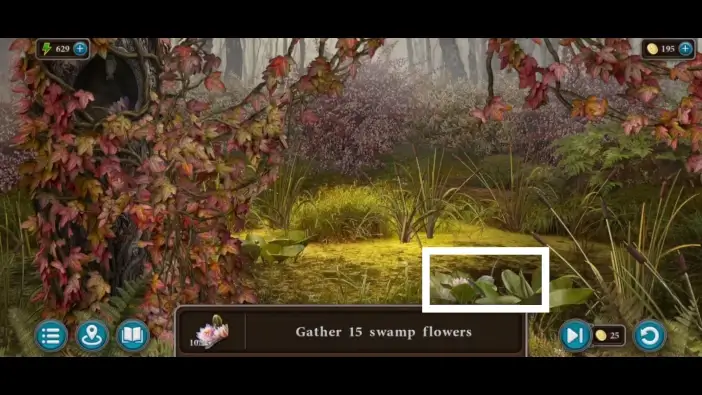
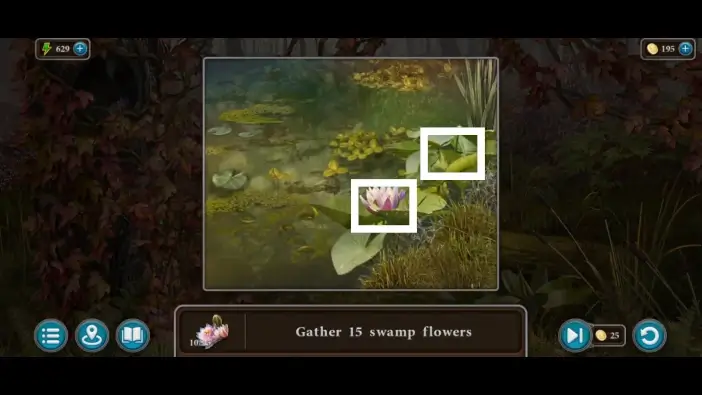
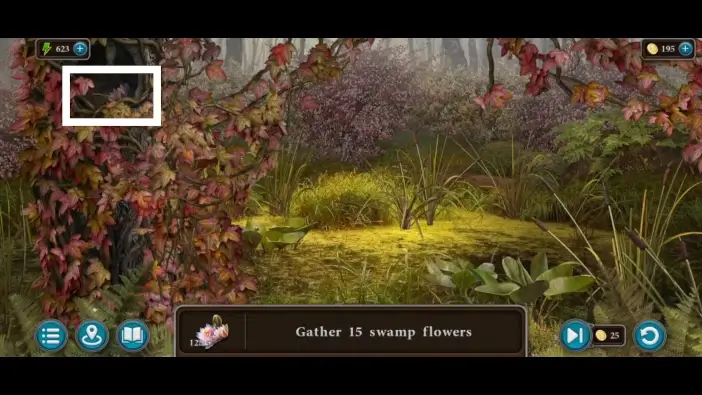
Explore the swamp and find fifteen swamp flowers for the truth elixir. Look at the pictures in this guide to see the marked locations of the flowers. To reach certain areas, you’ll need to remove the obstacles from the path.
To reach this flower, you’ll first need to place pieces of wood to create a bridge. Then you’ll be able to access the flower.
Use a branch to scare off the snake.
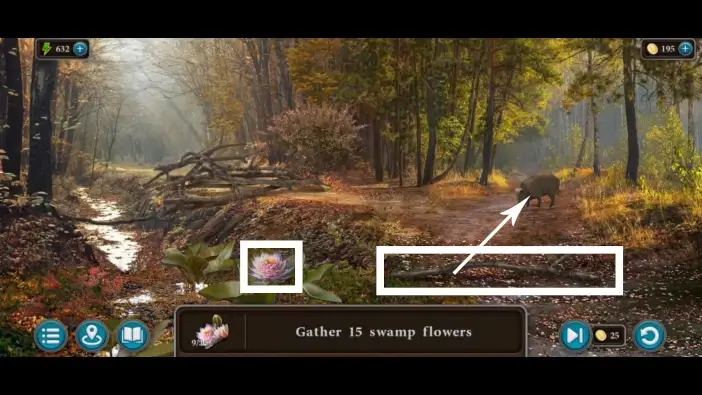
Use a branch to scare off the boar so you can pass through the right path.
Once you find all fifteen swamp flowers, they will be added to your main inventory. You can use them to create a truth elixir.
Go to the birder’s house and approach the table.
- Take the mountain tea. It’s the last ingredient you’ll need for the truth elixir.
- Pick up the jug. You will save the truth elixir in it.
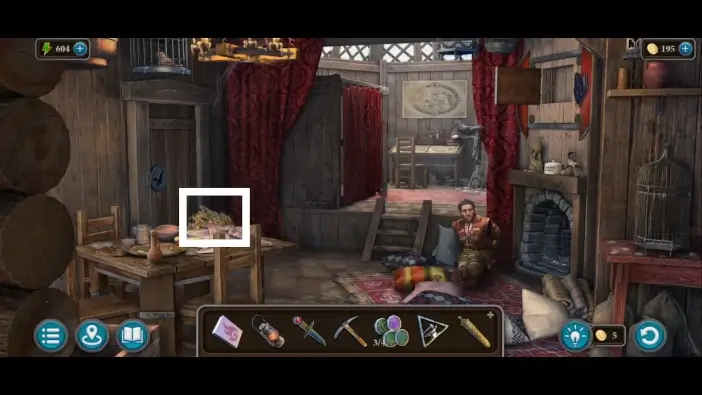
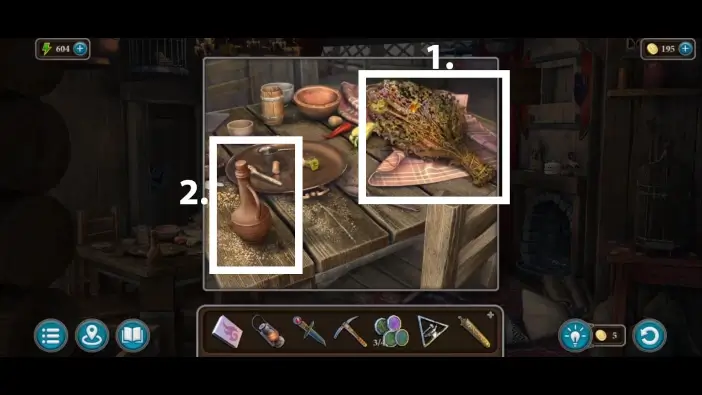
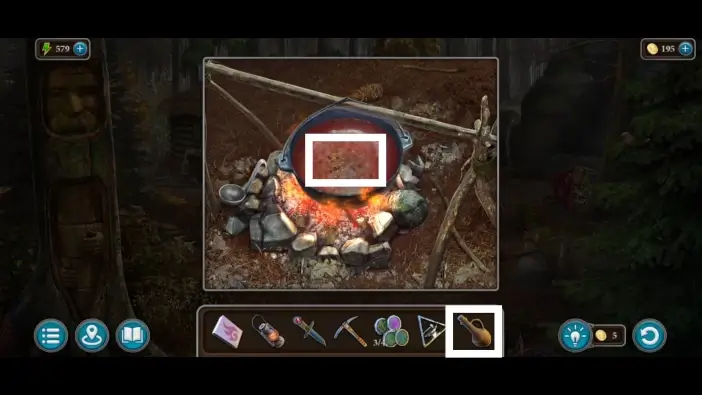
Go to the forest cabin and approach the table on the far side of the room.
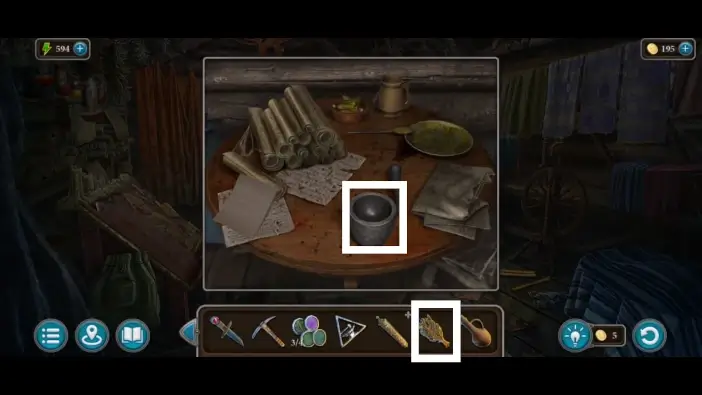
Place the mountain tea inside the mortar. The mountain tea in the mortar will be added to your inventory.
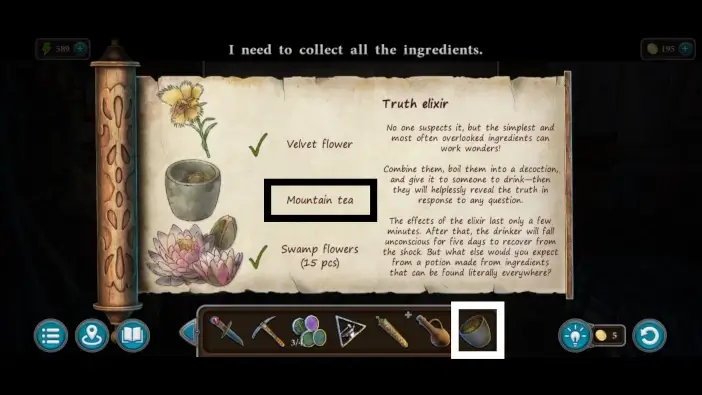
Open the Truth Elixir in your inventory and place all ingredients from your inventory into the list to tick off the list. The ingredients are velvet flower, mountain tea, and fifteen swamp flowers. Once you finish with the list, the “ingredients” item will be added to your inventory.
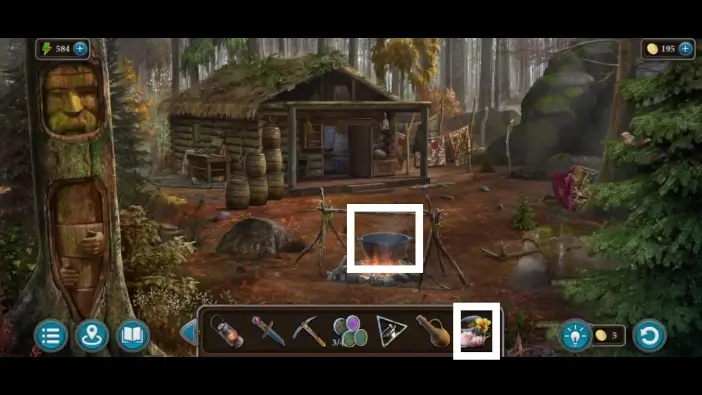
Go to the forest cabin area. Place the ingredients for the Truth Elixir into the cauldron.
Fill the jug you found in the birder’s house with the Truth Elixir.
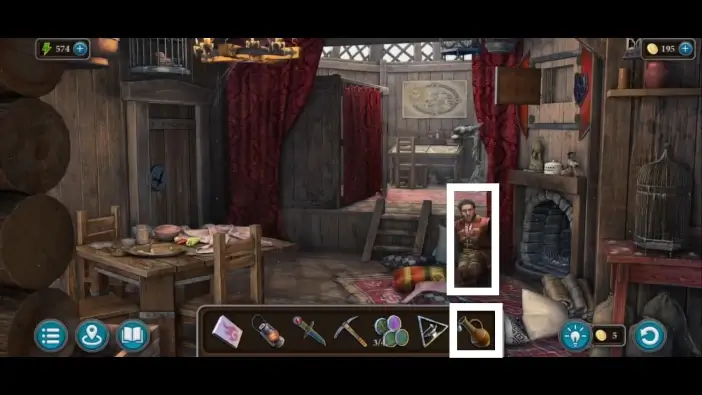
Give the jug of Truth Elixir to the birder. A cutscene will begin.
- Take the key from the birder. It is a key for the chest buried in snow, in the mountains.
- Take the rope. You’ll need it again, and the birder is asleep because of the elixir.

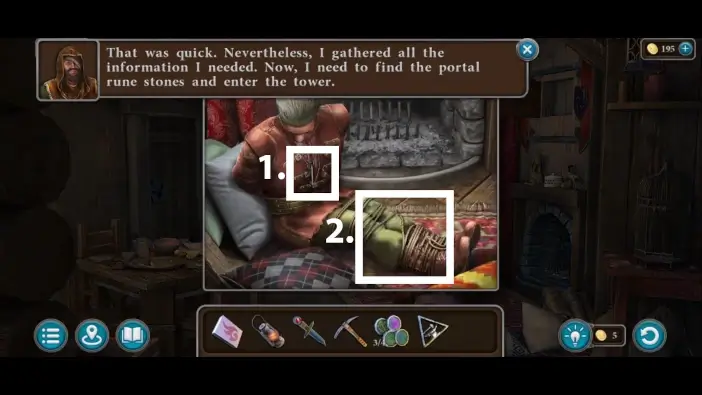
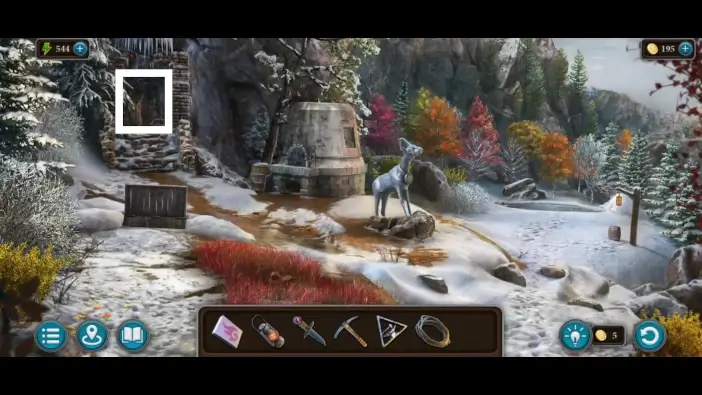
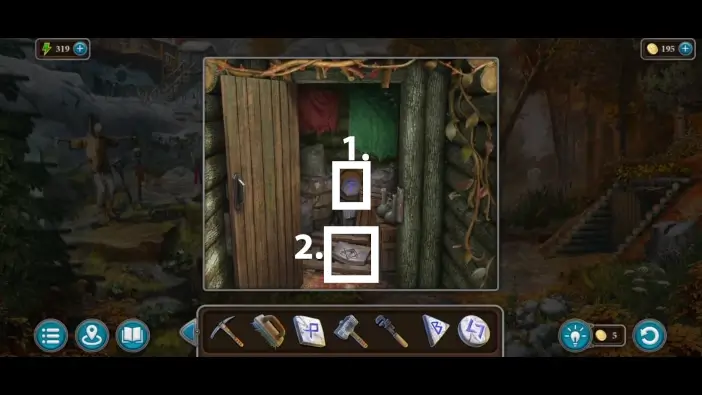
Go to the mountains and find the chest on the left. Tap on the snow to reveal it. Use a key you took from the birder to unlock the chest.
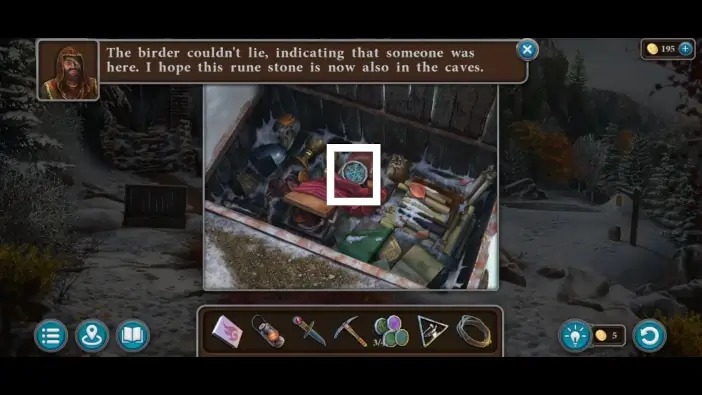
Move the red handkerchief to see a fourth chip. Take it.
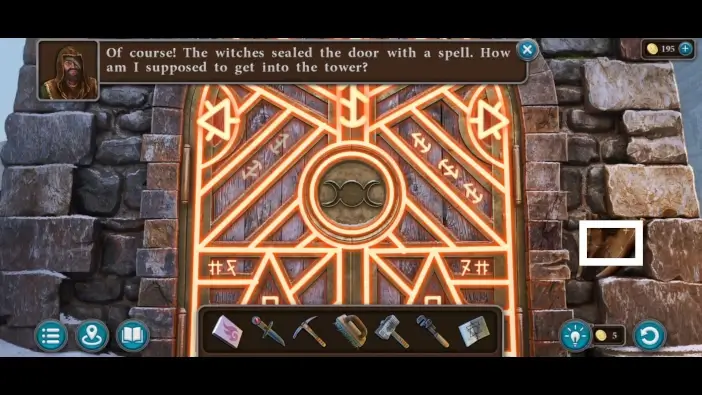
Approach the door to the cave. Place the four chips you found to start unlocking the door. To unlock the door, you need to solve the next puzzle challenge.
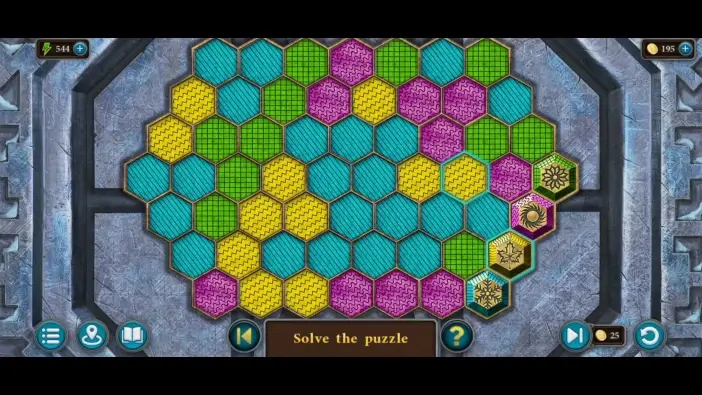
Move the chips to their designated places on the right side of the door. When you move a chip to the next hexagon field, it will color a previous hexagon field into another color: a green chip will leave pink hexagons behind, a pink chip will leave yellow hexagons behind, a yellow chip will leave grey, and grey will leave green. Chips can only move on the hexagons that have the same color. For example, the green chip can only move on green hexagons while leaving pink hexagons behind.
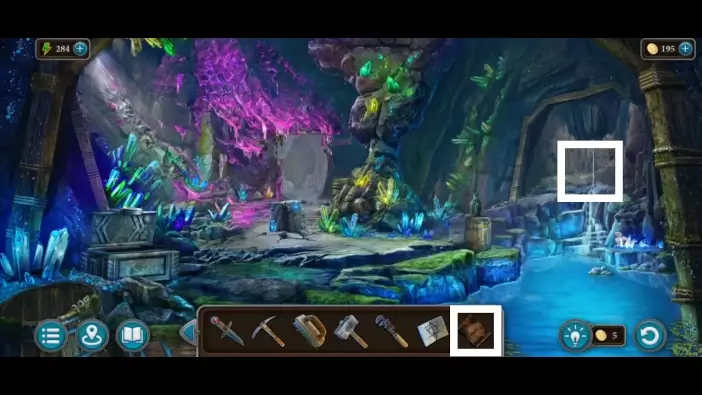
Once you finish the previous puzzle challenge, the door will open. Enter the caves.
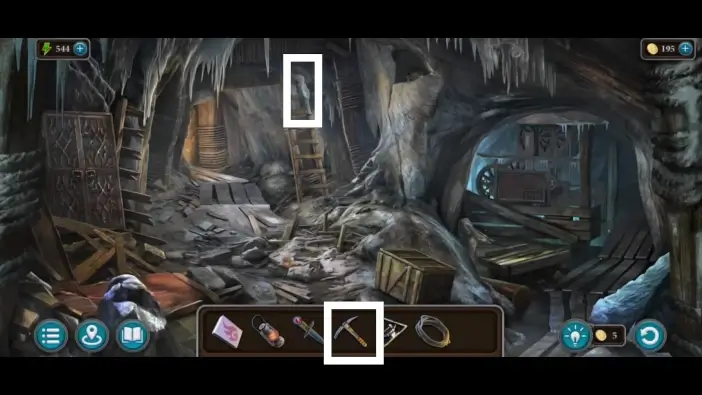
Approach the ice on top of the ladder. Use a pickaxe on the ice. This will free the ladder. Move the ladder to the crack on the wall on the right.

- Take the oil from the crack in the wall. You’ll need it to open a cabinet in the caves.
- Go deeper into the caves.
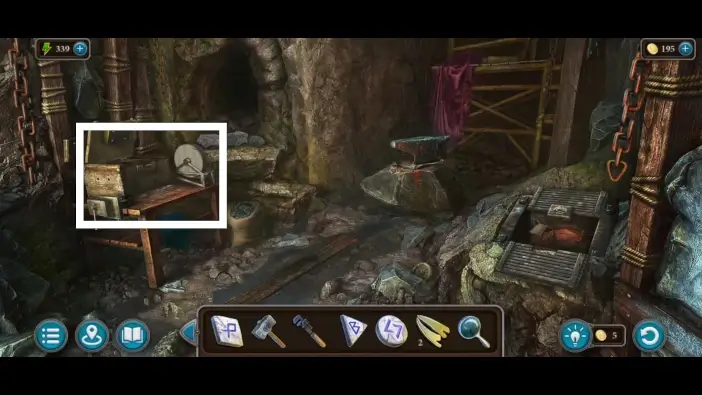
In the cave’s workshop, approach the table on the left.
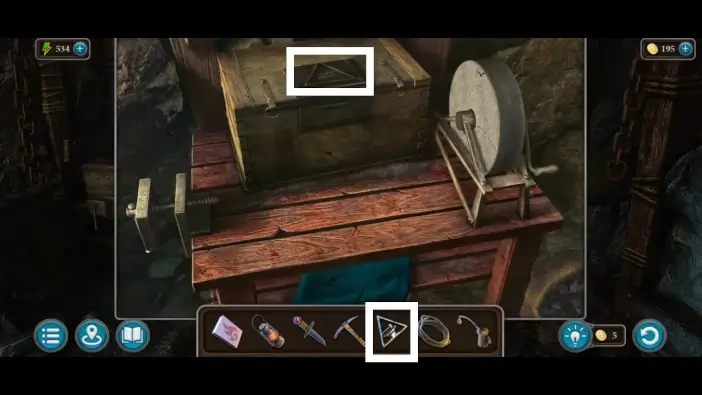
Use a figurine you found behind the shield in the birder’s house to open the chest. Take the crowbar from the chest. You will use a crowbar to open a box inside the first area of the cave.

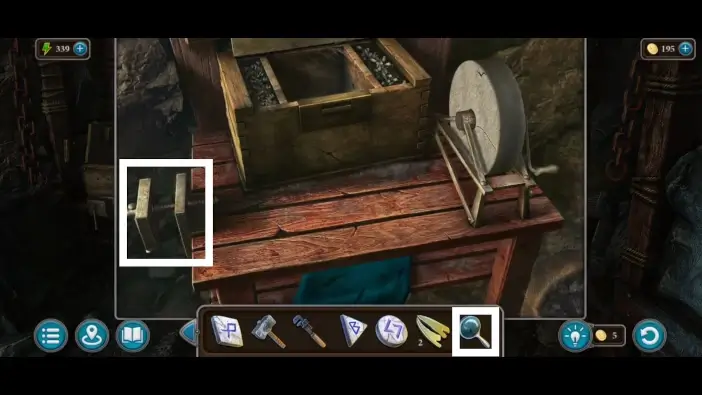
Approach the scaffolding. There are items on top of it. Take the hacksaw and the brush. You’ll use a brush on the crystal obelisk on the top of the mountain, near the oracle’s tower.
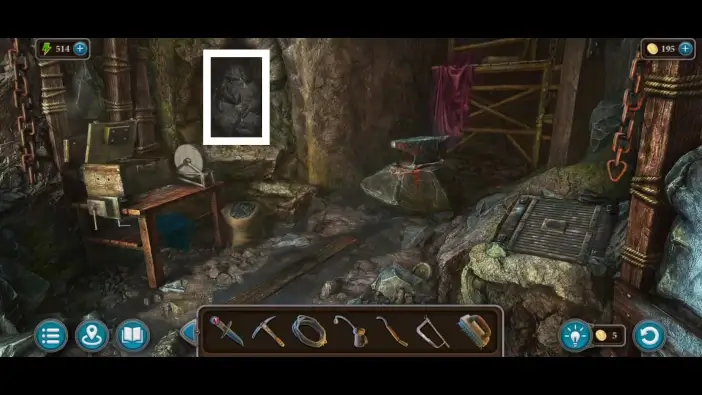
Approach the boulder on the left.
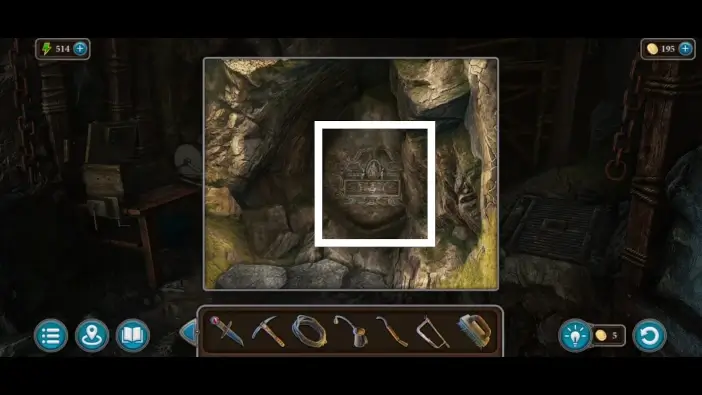
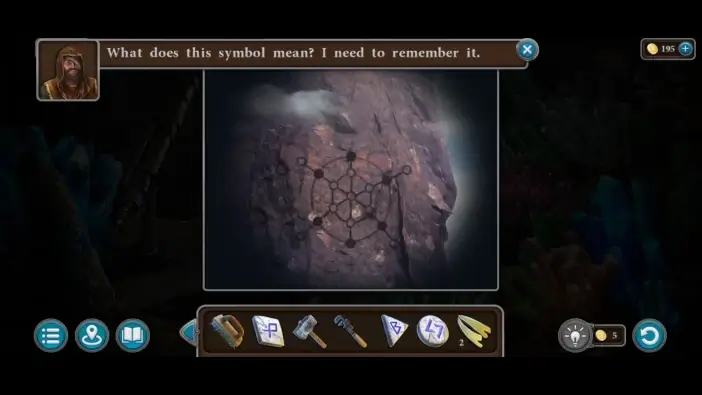
Remove the smaller stones to reveal a large boulder that has carvings on it. Approach it. A cave spirit will appear, and a cutscene will start. After the conversation with the cave spirit, return to the boulder once again to start a new puzzle challenge.
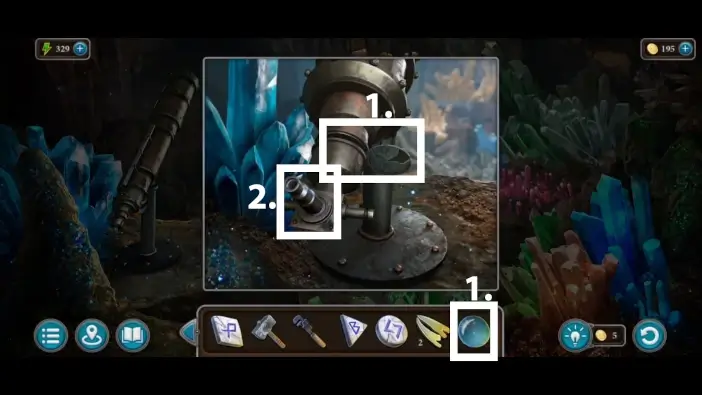
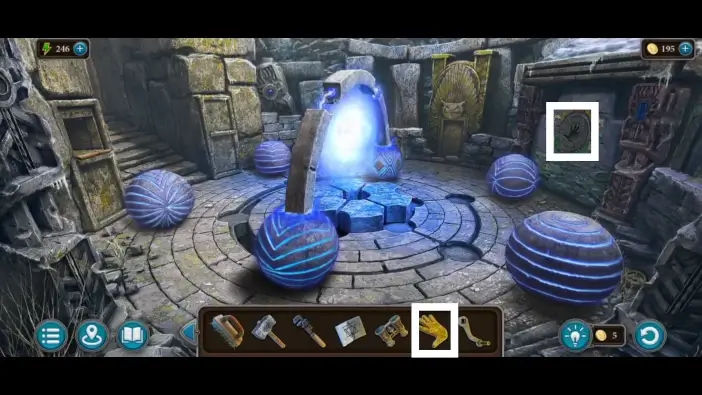
Pay attention to the symbols on the top side of the boulder, both left and right. Remember one of them, then find all the items that have the same symbol on them. On each row, there is one item that has it. Tap and drag the active gloving frames and release them on the items you want, in each row. After you finish this step, a new symbol will appear at the top. Once you complete all the steps, a yellow button will appear at the top-center. Press it to remove the boulder.
Once the boulder is removed, take the first handle, the rhombus rune stone, and the hammer. You’ll need handles to open a chest in the crystal part of the cave where the slug is, and you’ll use the hammer multiple times. As for the rune stones, you’ll need to collect all of them first, and then activate the portal to the top of the mountain with them.
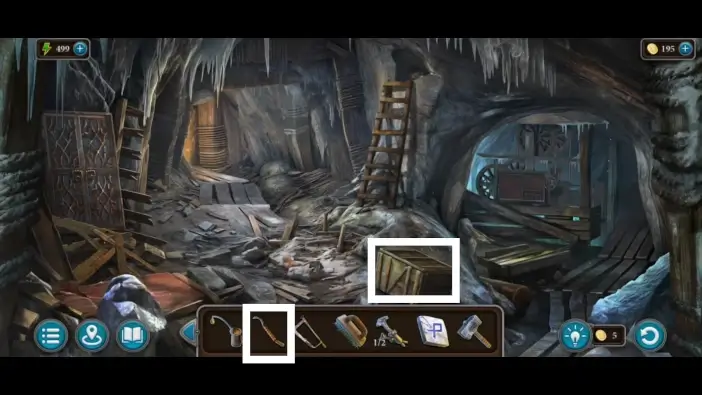
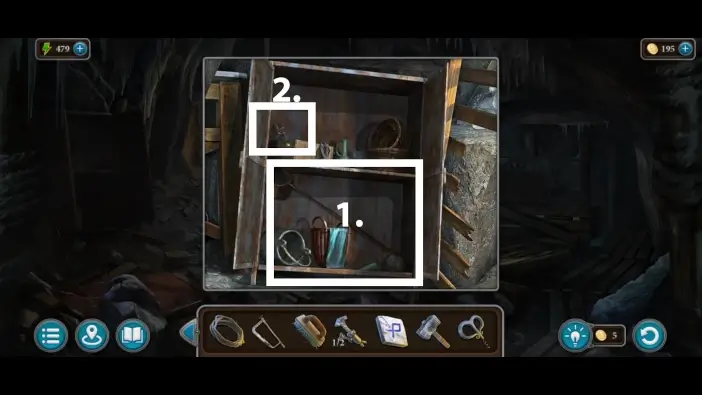
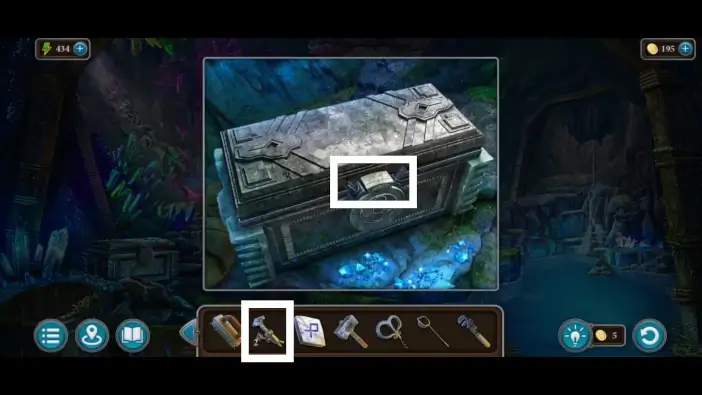
Return to the first area of the cave and use a crowbar to open a wooden chest.
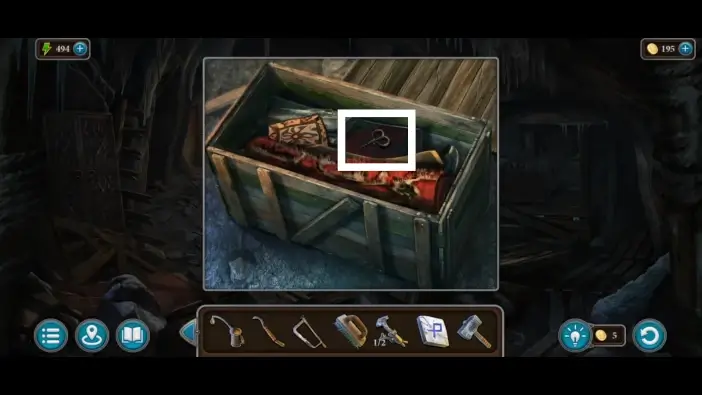
In the wooden chest, move a decorated handkerchief to see a corkscrew, then take the corkscrew. You’ll need it to open one bottle in the crystal cave.
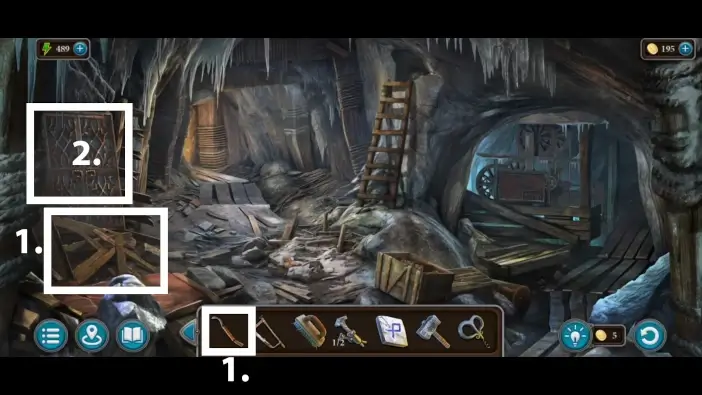
- Use a crowbar to remove the planks so you can access the cabinet on the left.
- Approach the cabinet.

Use the oil that you’ve found in the crack of the cave wall to oil the cabinet hinges, then open the cabinet.
- Take the net. You will use it to reach the bottle from the lake in the crystal cave.
- Take the wrench. You will use it multiple times.
Go to the mechanism on the right.
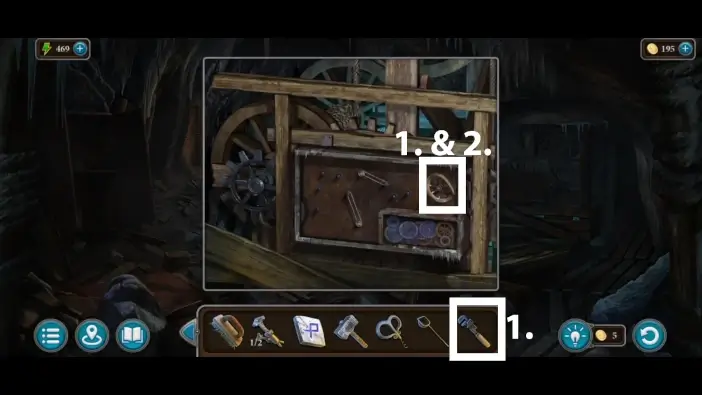
- Use a wrench you just found to unscrew the bent gear.
- Take the bent gear.
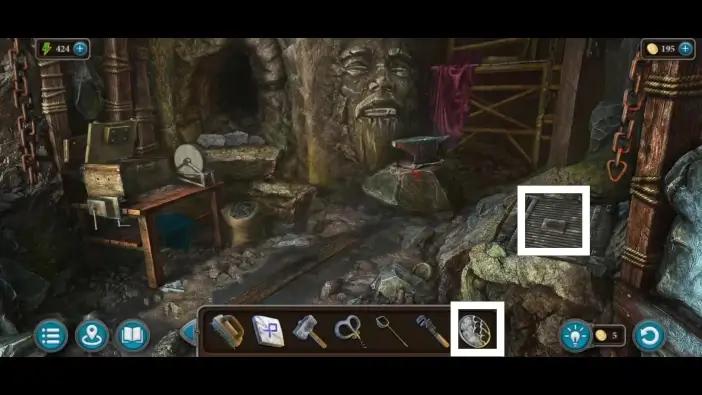
Go to the workshop in the cave and place the bent gear on the anvil.
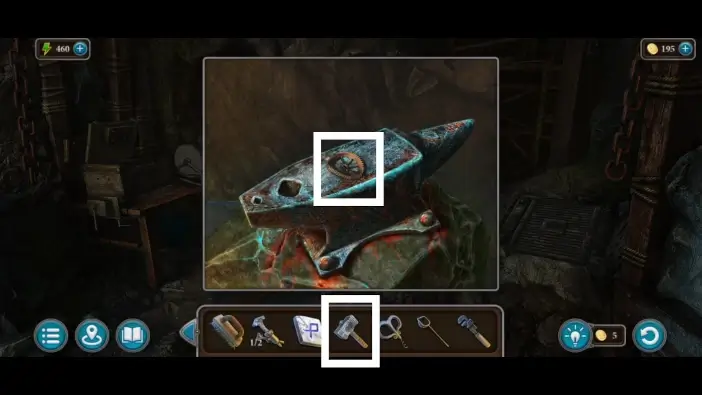
Use a hammer to fix the gear, then take the gear.
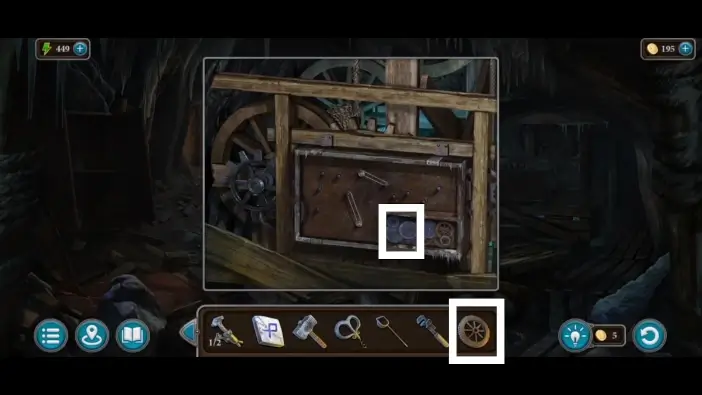
Return to the previous cave location and return the now fixed gear to its place. A new puzzle challenge will begin.
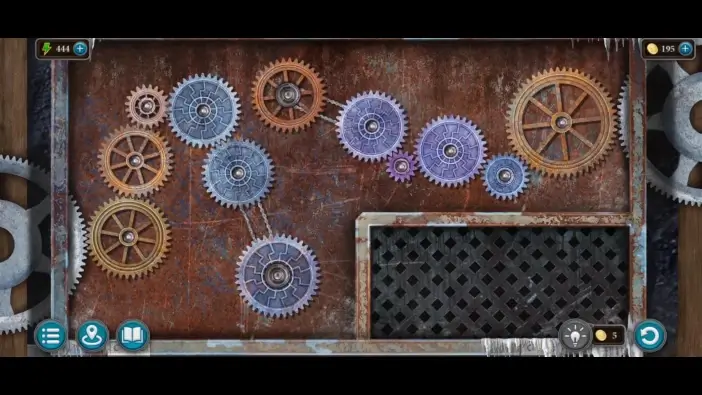
You’ll need to rearrange the gears so that all of them are connected. The solution is in the picture above. Once you solve this challenge, you will fix an elevator to the crystal cave.
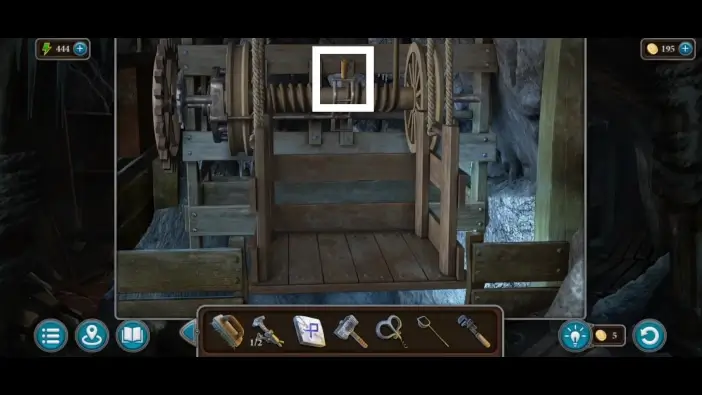
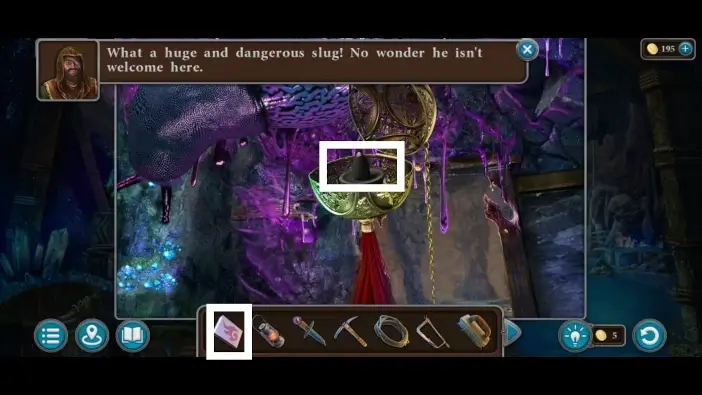
Pull the lever to descend into the crystal cave, where the giant slug resides.

Remove the cloth from the chest on the left. To open this chest, you’ll need two handles, and you have one so far.
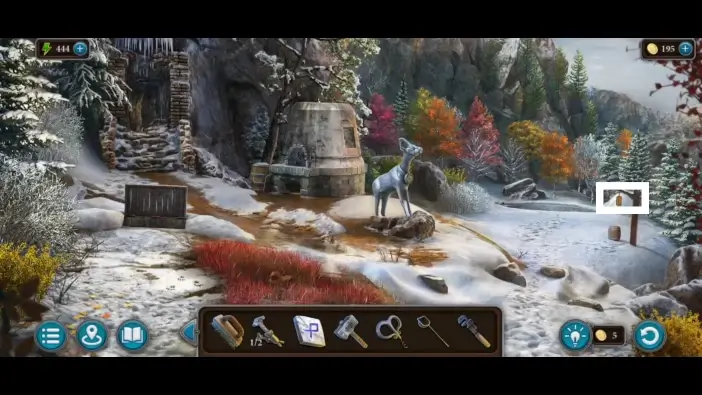
Go to the mountain area and approach the lamp on the right.
Use a wrench to open the lamp. Take the second handle.
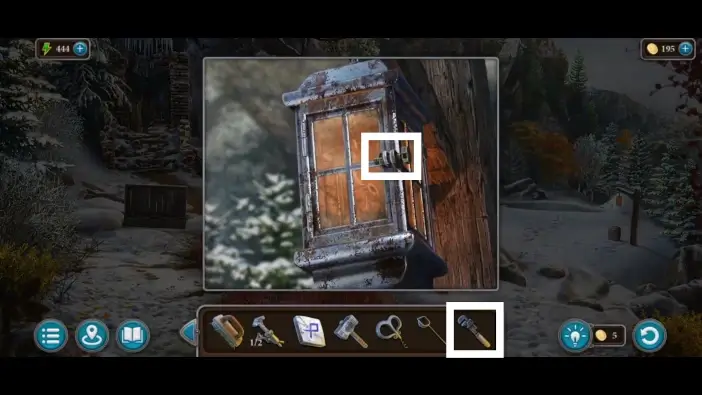
Return to the crystal cave and use the two handles to open the chest. Take the medallion.
Go to the cave’s workshop and place the medallion you just got on the lid on the right.
- Take the triangle rune stone. It is the second rune stone so far.
- Read about the slug repellent incense. You’ll need to make it to scare away the slug. If you do that, the cave spirit will gift you a rune stone.
- Take the censer. Inside is the slug repellent incense. You’ll need it to remove the slug from the crystal cave.
- Take the horn. You will need it for the goat monument in the mountain.
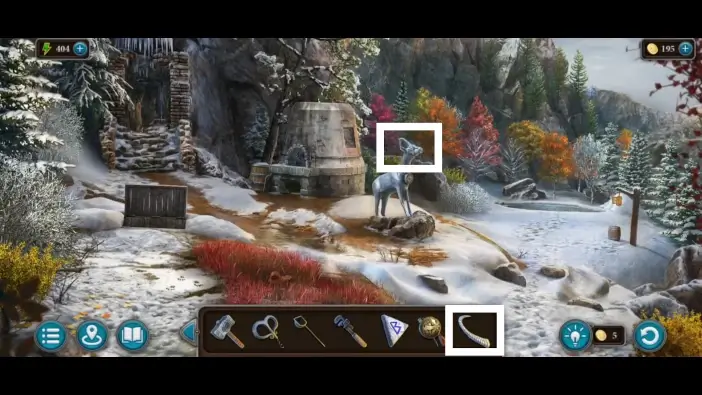
Go to the mountain and approach the goat monument. Place the horn on the monument.
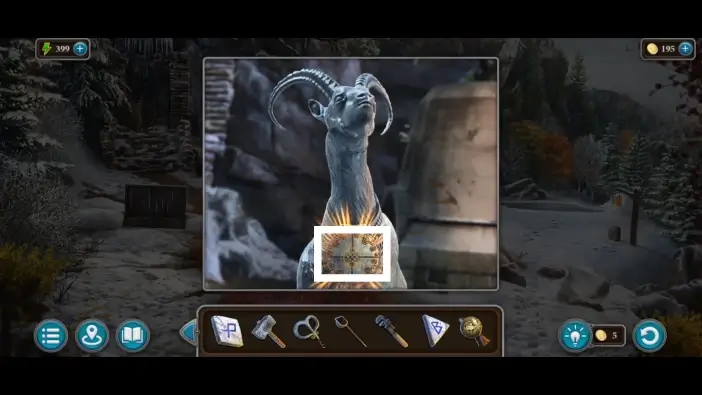
Get closer to the mechanism around the goat’s neck. A puzzle challenge will begin.
Move the goat’s token on the tiles and eat all the carrot tokens. The goat footprint tokens will mark the tile that the goat has passed. You can’t move the goat token where the footprint is, so you’ll need to think in advance where to move.
Once you complete the previous puzzle challenge, you will unlock a hidden entrance to the portal room. To activate the portal, you’ll have to find all runestones first.
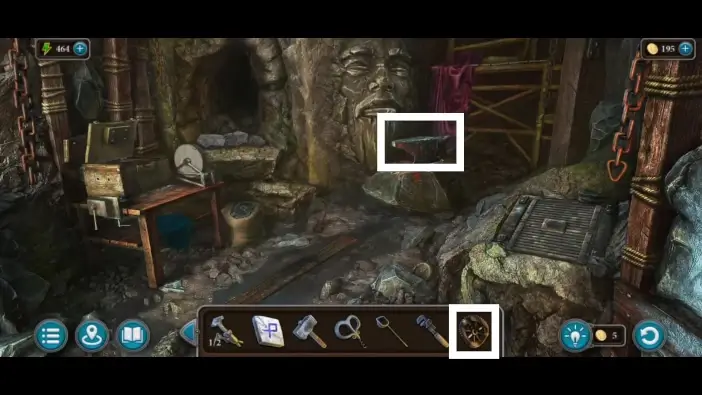
Return to the crystal cave and approach the giant slug.
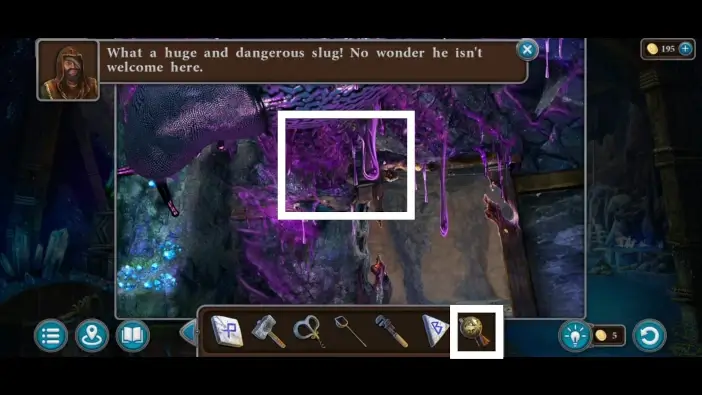
Place the censer.
Use matches to light the incense. The giant slug will go away, and the cave spirit will talk with you again.
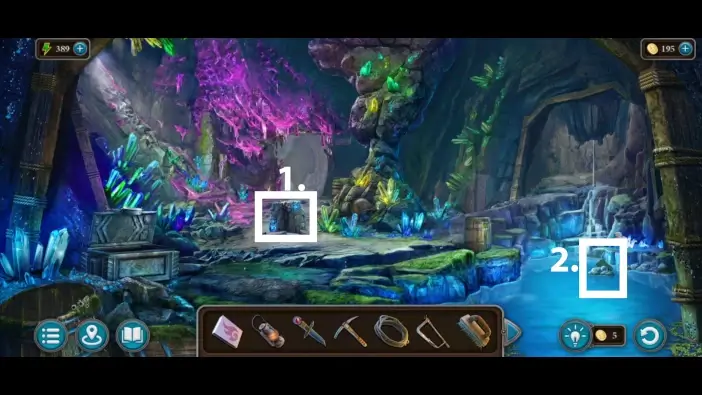
- The cave spirit will reveal a pedestal, and on it will be a circle runestone. Take it. It’s a third runestone.
- Approach the lake.
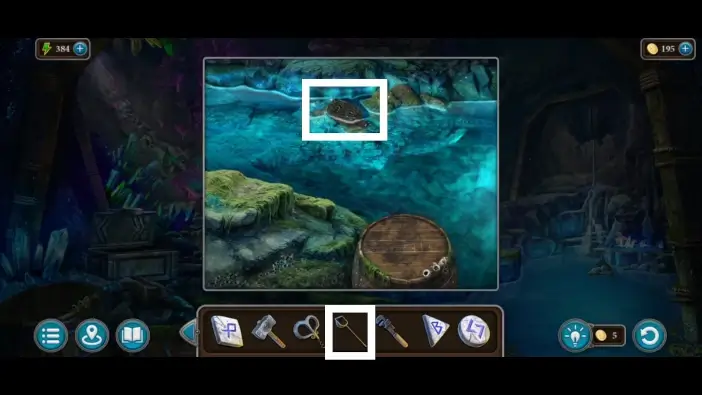
Use the net you found in the cabinet in the cave earlier to catch the bottle in the water.
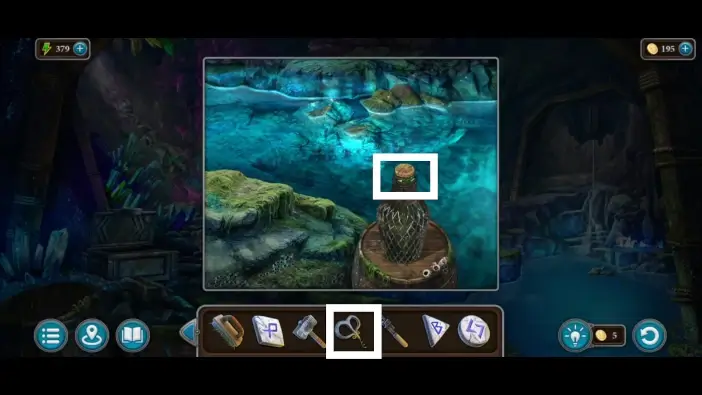
Use the corkscrew you found in the wooden box in the cave earlier to open the bottle. Take the first claw. You’ll need two claws to unlock a door near the birder’s house.
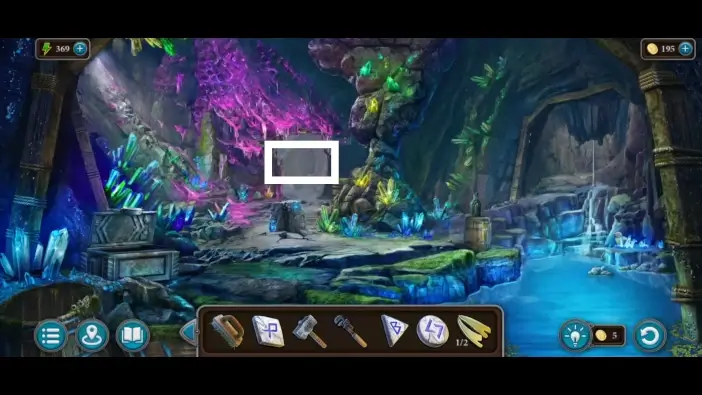
Go further into the crystal cave.
Approach the dark corner of the room.
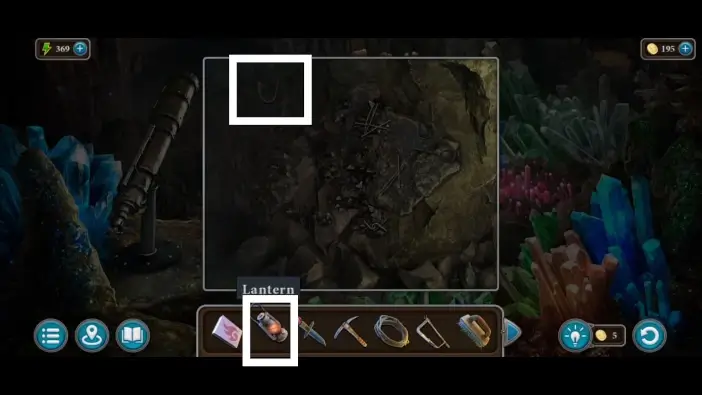
Hang the lantern that you’ve found in the forest cabin’s attic.
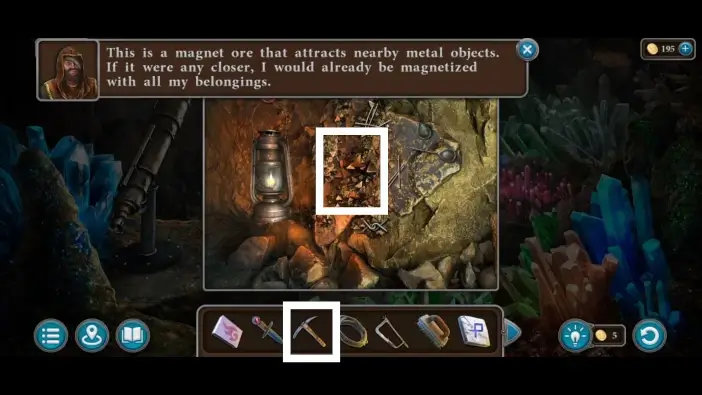
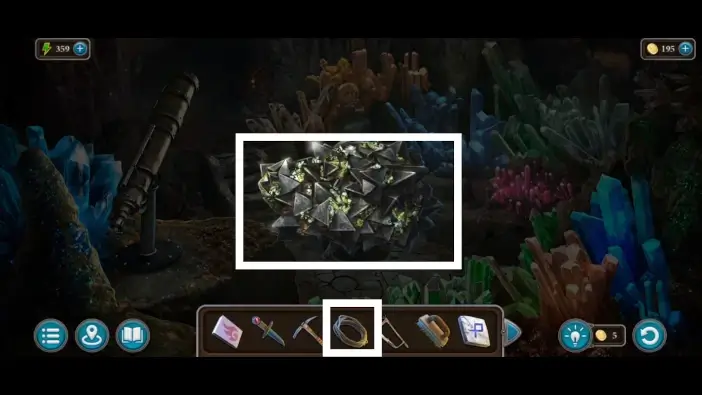
Use a pickaxe to mine the magnetic ore.
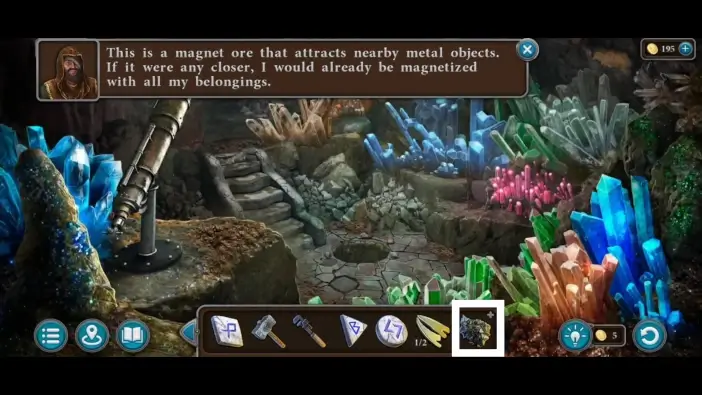
Tap on the magnetic ore in your inventory to examine it.
Tie the rope to the magnetic ore. The “rope with ore” item will be added to your inventory.
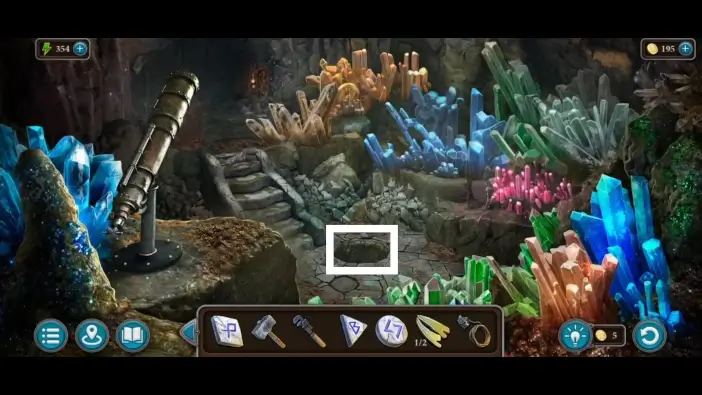
Approach the hole.
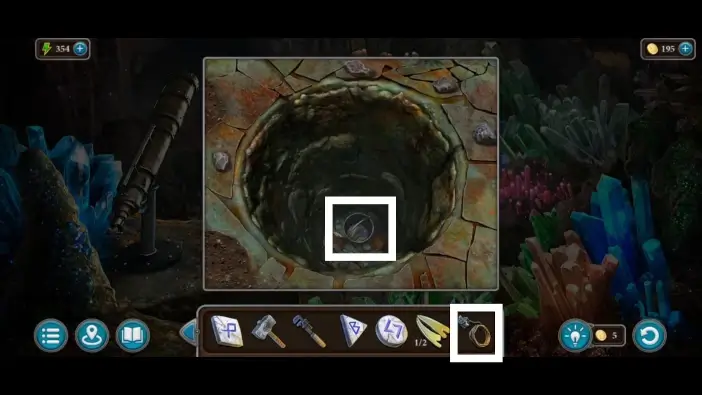
Use the “rope with ore” item to get the bucket from the bottom of the hole. Take the magnifying glass and the second pair of claws from the bucket.
Go to the cave’s workshop and approach the desk on the left.
Place the magnifying glass on the marked spot, like in the picture above.
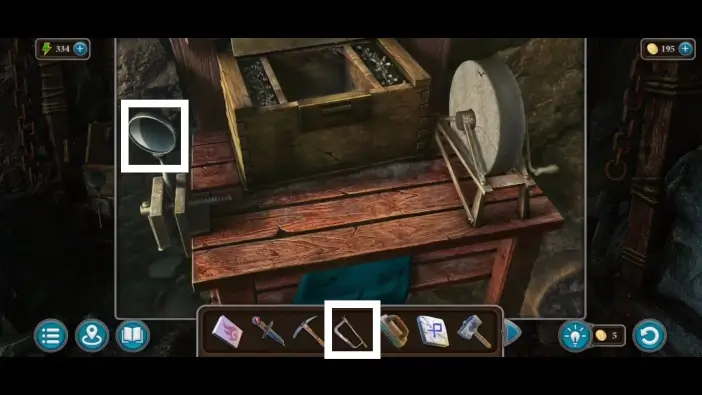
Cut the lens using a hacksaw.
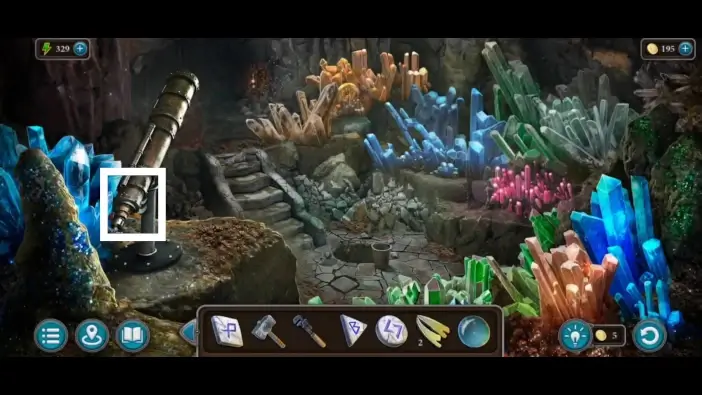
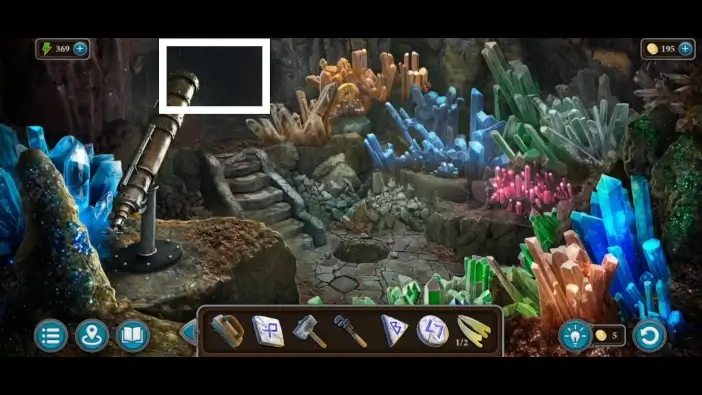
Return to the part of the crystal cave where the telescope is. Approach the telescope.
- Remove the broken lens and place the new lens.
- Use a telescope.
The protagonist will automatically move the telescope and comment. Remember the pattern on the cliff. You will need it to activate the portal.
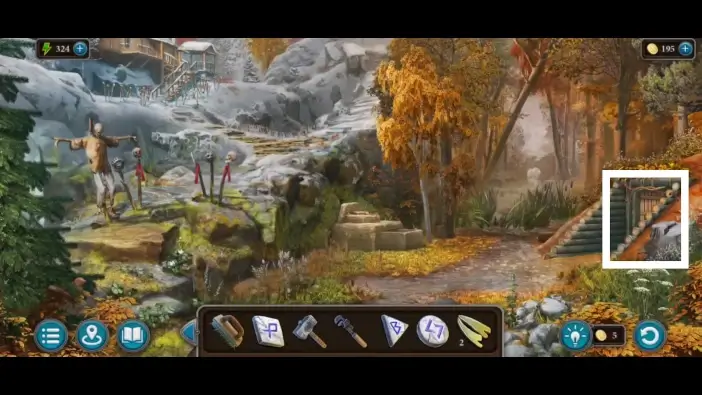
Go to the area near the birder’s house and approach the door on the right.
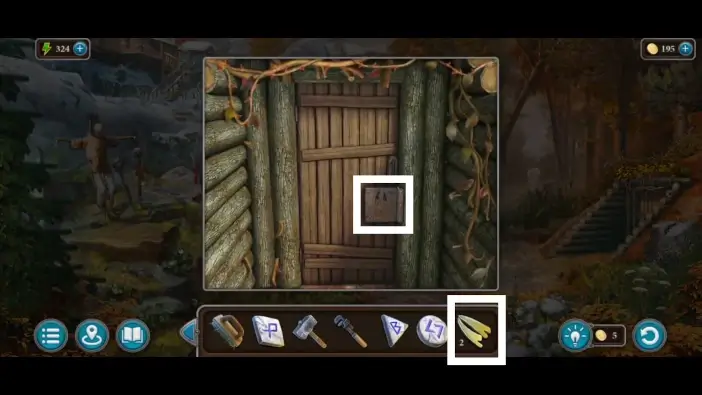
Use the two claws you collected to unlock the door.
- Take the hexagon runestone.
- Take the book. You’ll need it for a statue in the oracle’s tower.
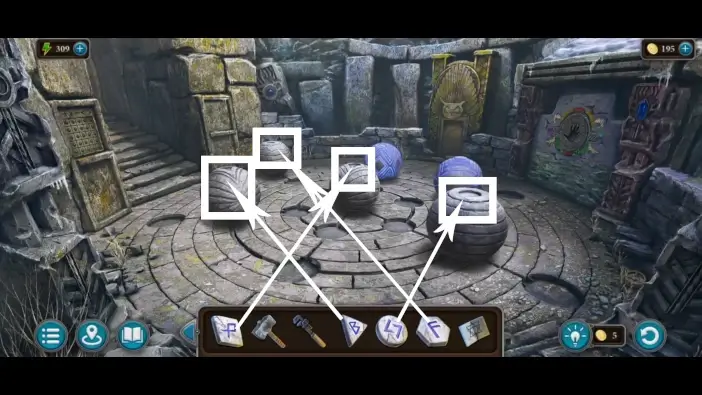
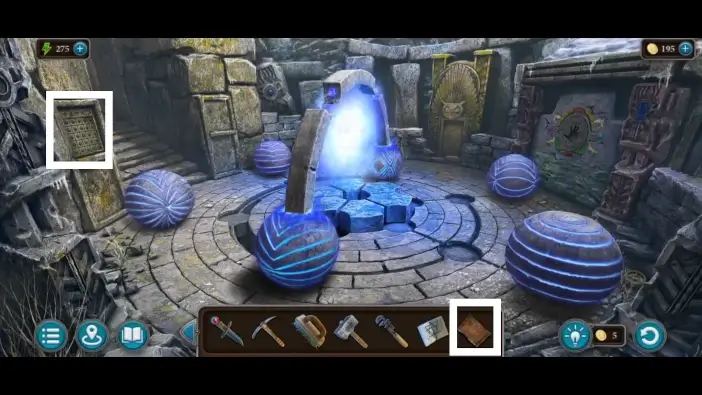
Return to the room with spheres (you can access it from the right side of the goat monument in the mountains, which you’ve unlocked earlier). Place the runestones in their correct spheres.
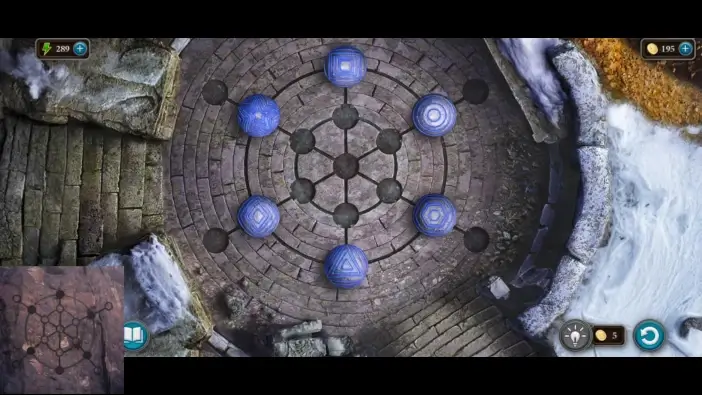
Arrange the spheres as shown in the clue on the cliff. You saw the clue via telescope. The solution and the clue are in the picture above.
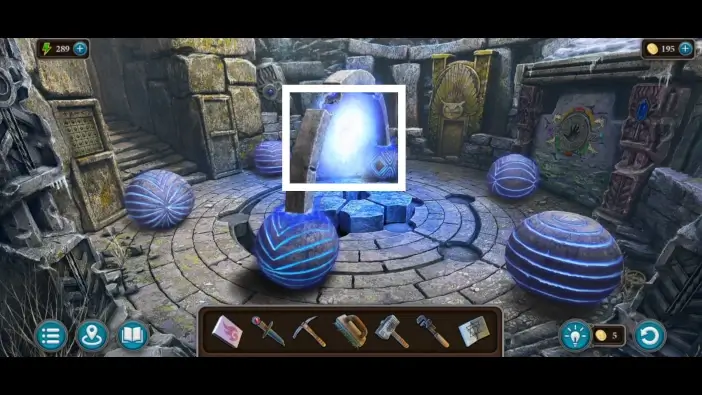
Once you rearrange the spheres correctly, a portal will open. Enter the portal.
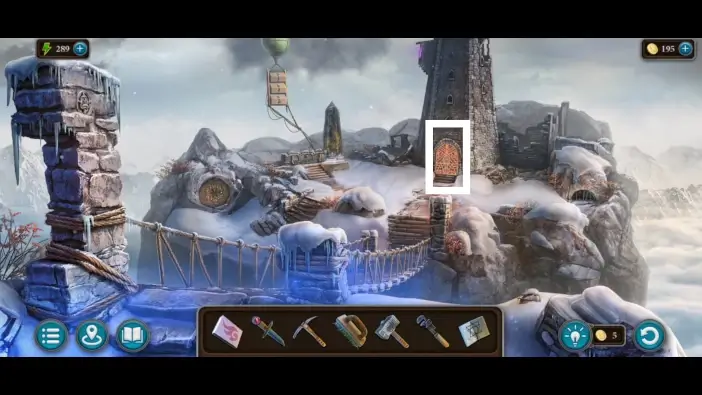
Go towards the oracle’s tower.
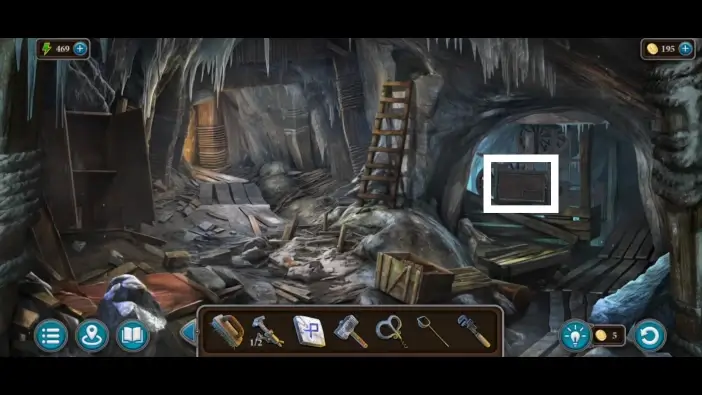
Take the dirty tablet from the wall near the door.
Go to the crystal cave and approach the waterfall. Clean the dirty tablet at the waterfall.
Read the clue.
Go to the spheres room and approach the puzzle on the left wall. Place the clue you just read on the wall. You can use it to solve the puzzle.
On the grid in the wall, you will have symbols above columns and left of rows. The coordinates of buttons you have to push are shown in the clue, as a combination of symbols. Follow the clue and press the buttons like in the picture above (the pressed buttons glow gold, inactive buttons are green). Once you complete the puzzle, take the binoculars and the stone flower.
Return to the tower area and approach the stone gate on the left. Use the stone flower you just got to unlock the gate.

- Take the cast.
- Take the handle.
Go to the spheres room and place the cast on the wall on the right. This will start a new puzzle challenge.
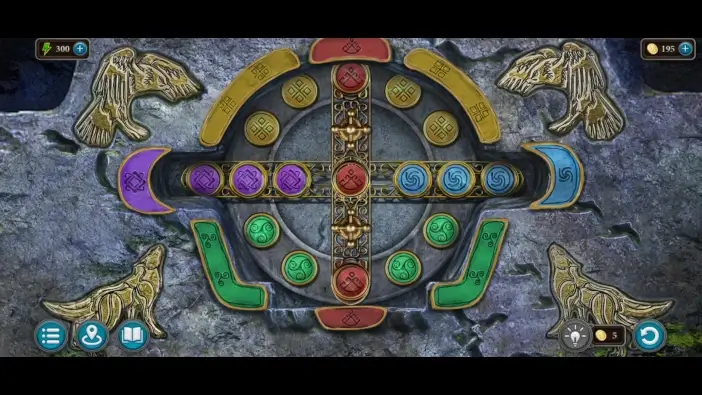
Rearrange all the tokens near the frames of the same color. You can rotate the circle to move the tokens. You can also swipe the position of tokens using the bars in the center. Once you complete this challenge, take the triple moon item. You’ll need it for the main entrance to the Oracle’s Tower. Pick up the constellations clue as well. You will need it to solve one puzzle later in the Oracle’s Tower.
This will mark the end of Part 2 of our guide for Chapter 2 of Legendary Tales 4.
Thank you for reading!