Legendary Tales 4 – Chapter 1: On the Road | Part 1
Intro
Welcome to our walkthrough for Part 1 of Chapter 1 of “Legendary Tales 4” from “FIVE-BN GAMES”. Help Lucia and her brother Ulf find the location of the werewolf camp.
Walkthrough
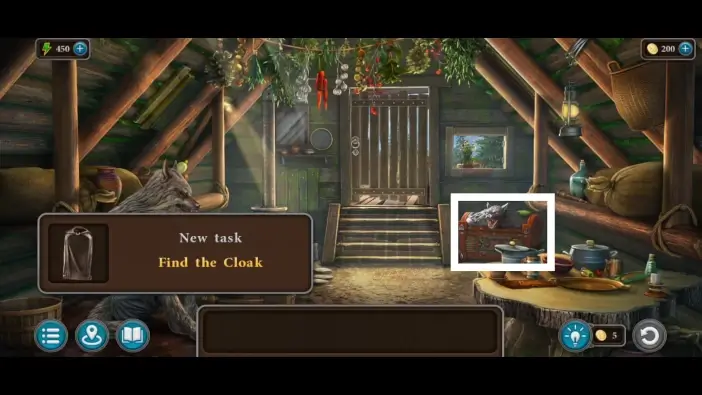
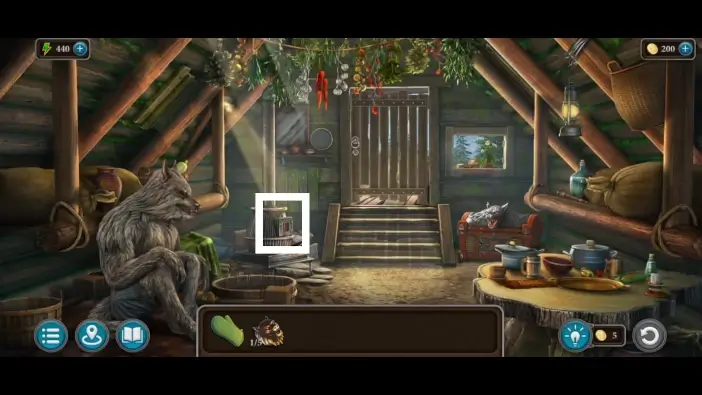
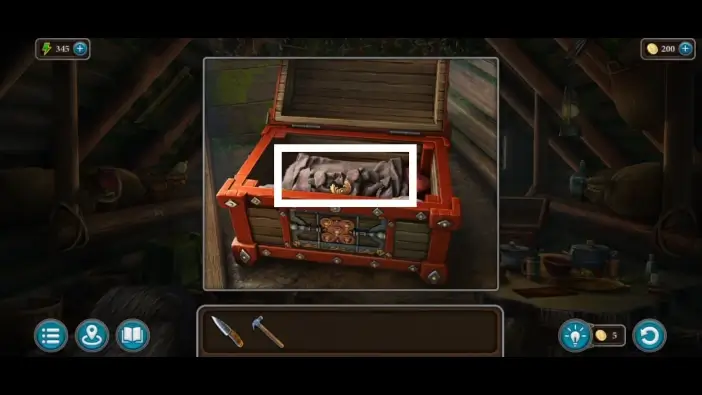
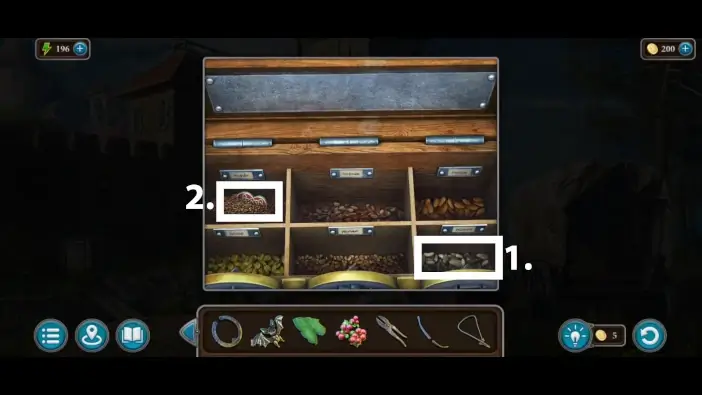
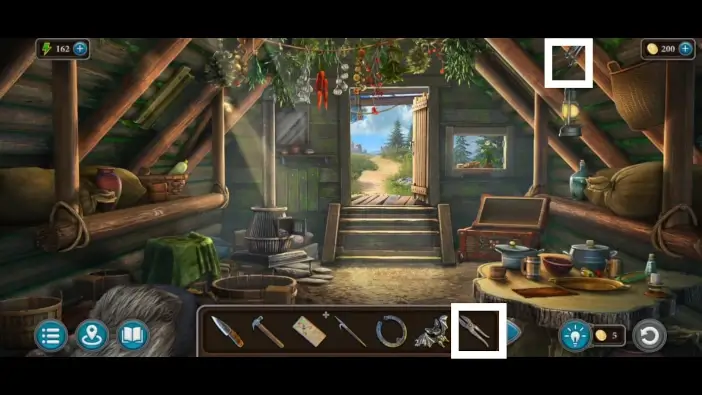
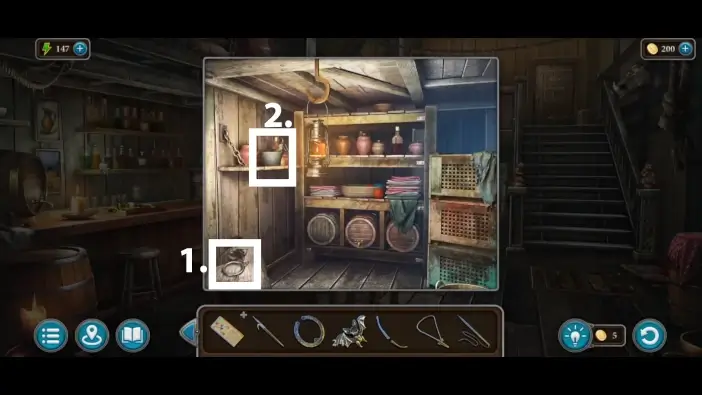
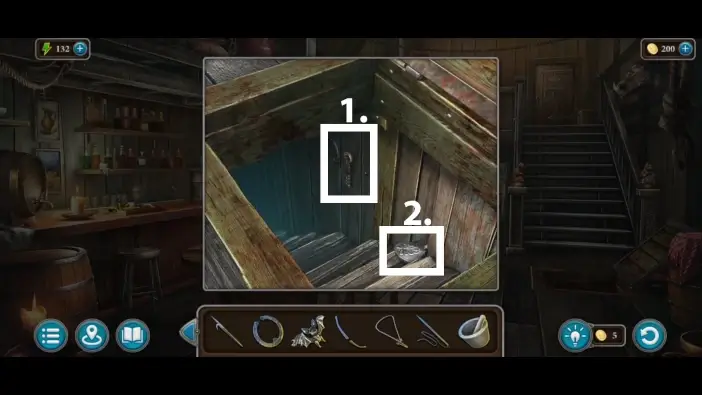
Approach the chest in the right corner.
Take the oven mitt. You will need it to open the firebox.
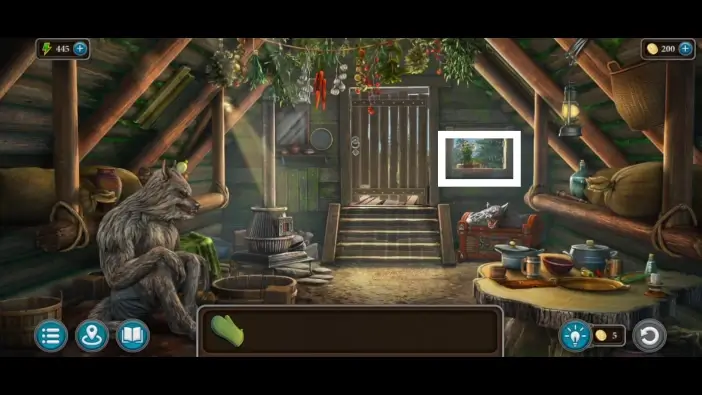
Approach the window.
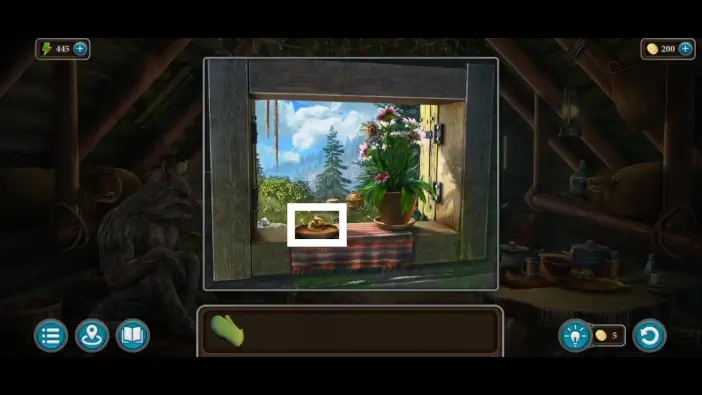
Move the flowerpot and take the first wolf amulet. You’ll need to collect five wolf amulets to unlock the wolf chest in the corner of the room.
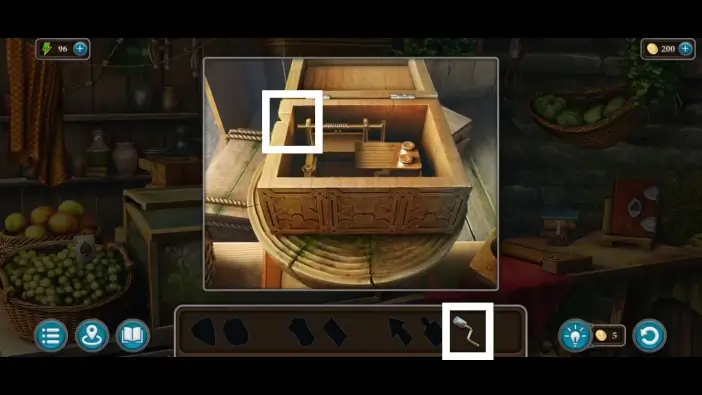
Approach the firebox.
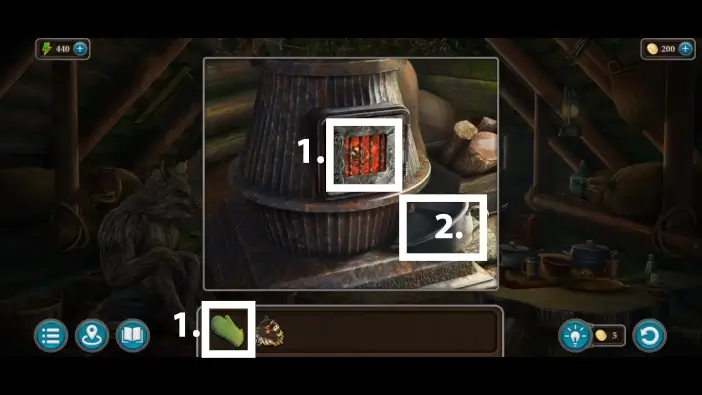
- The lid will be hot. Open it using the oven mitt you found on the chest. You won’t be able to take the wolf amulet from the firebox yet. You’ll need to find the pliers first.
- Take the dustpan. You’ll need it to find a gem for one of the wolf amulets.
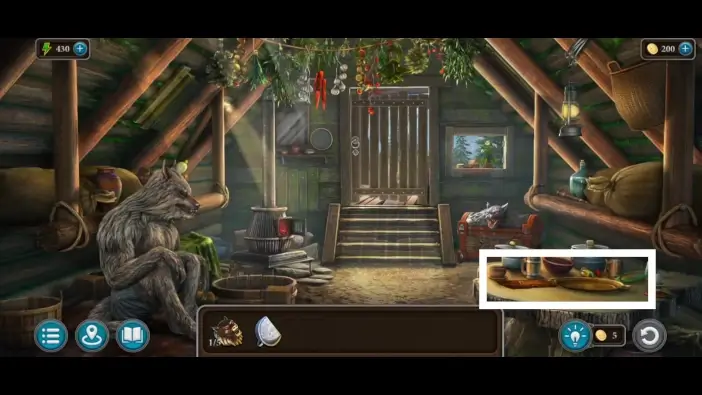
Approach the table on the right. There is the key below the rag. Move the rag and take the key.
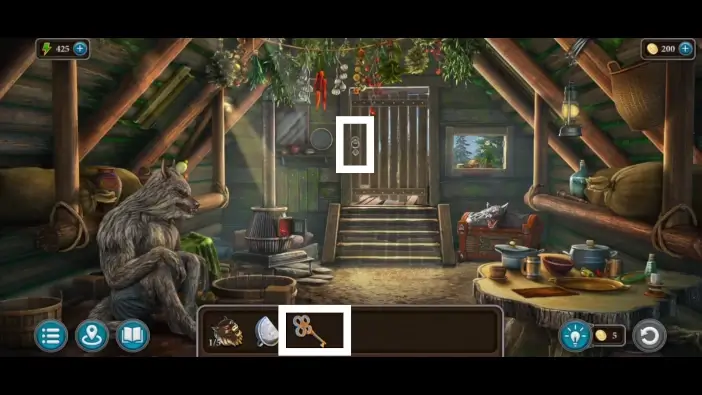
Use the key to unlock the exit door. Go outside.
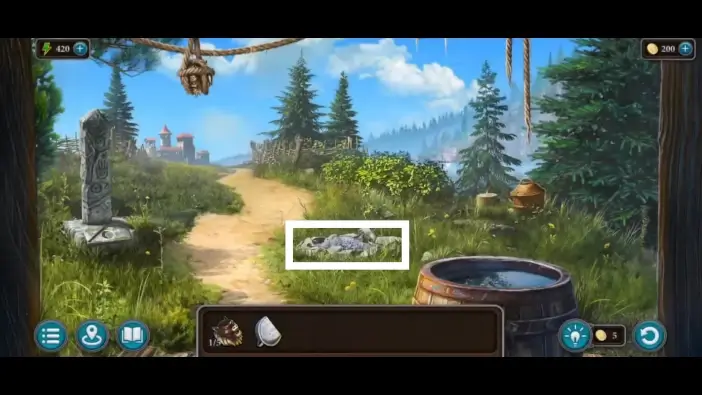
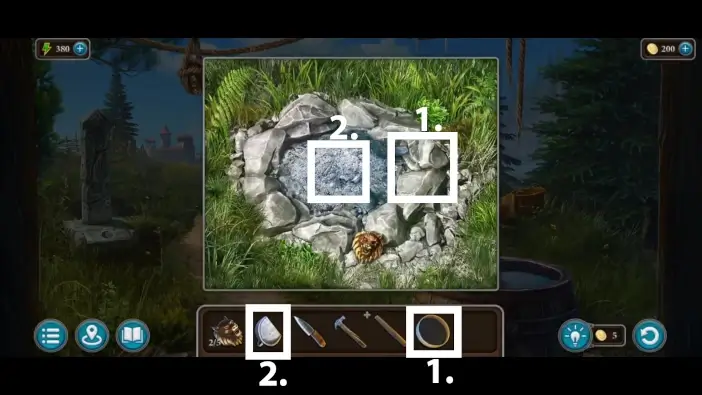
Approach the ashes.
Click on the wolf amulet, and one of the wolf’s eye gems will return to its place. The other gem is inside the pile of ash. You already have a dustpan, but you’ll also need the sieve to start searching for the gem.
Approach the stump and the basket on the right.
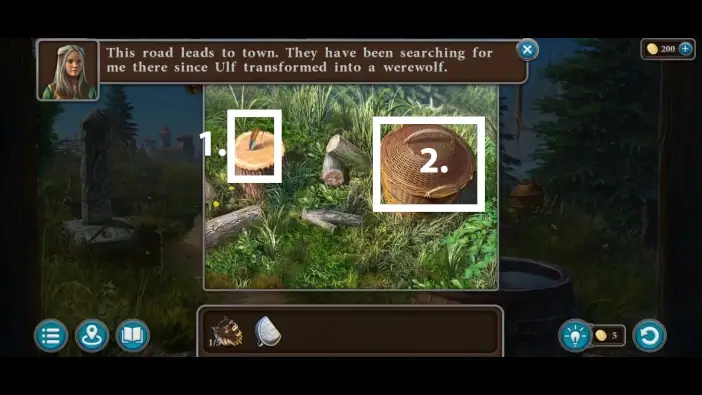
- Take the knife from the stump. You will use it multiple times.
- Open the basket and take the ladle and the broken hammer. You’ll need a ladle to take the water from the barrel and a hammer to remove the staircases, but first, you need to fix it.
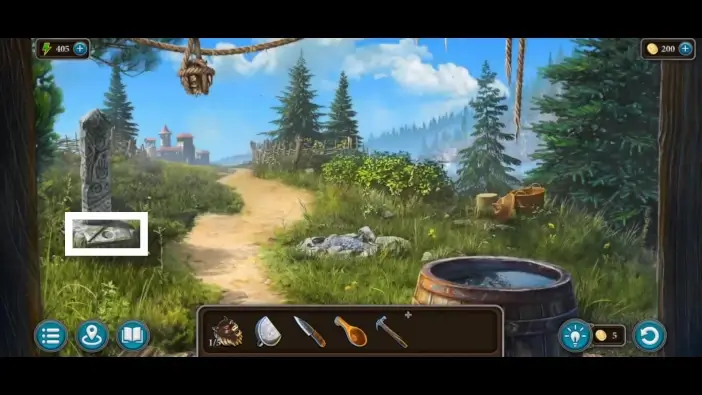
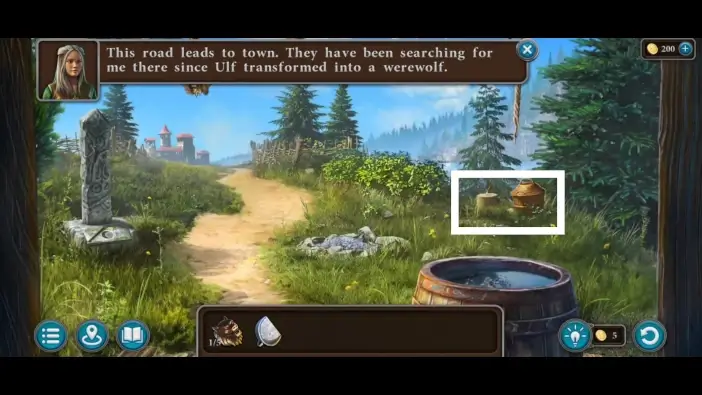
Approach the stone obelisk on the left and take the wooden handle. You will use it to fix the broken hammer.
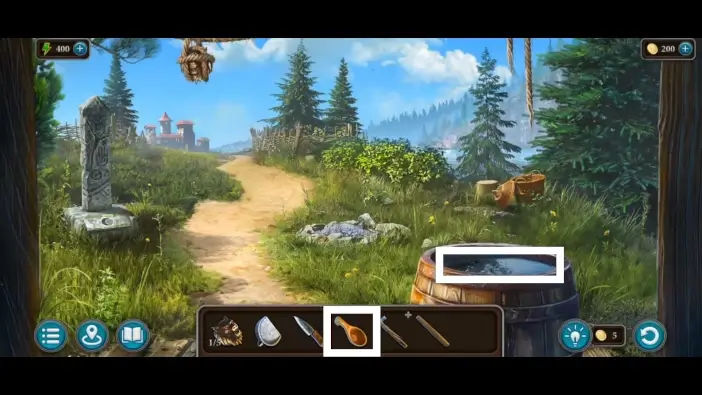
Use a ladle to take water from the barrel. The “ladle with water” will appear in your inventory.
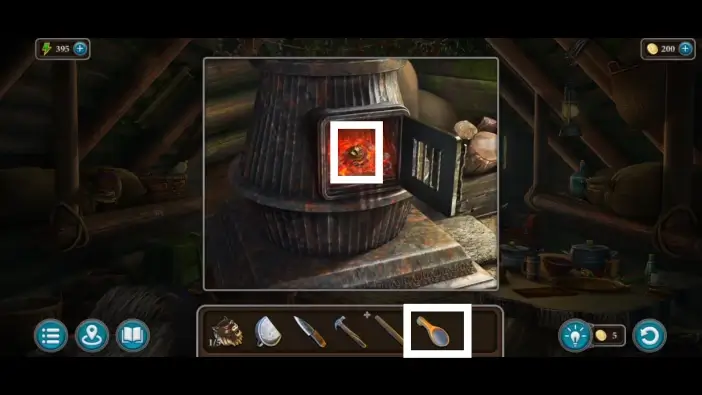
Go back inside and return to the firebox. Use the “ladle with water” to cool the coal. Take the second wolf amulet.
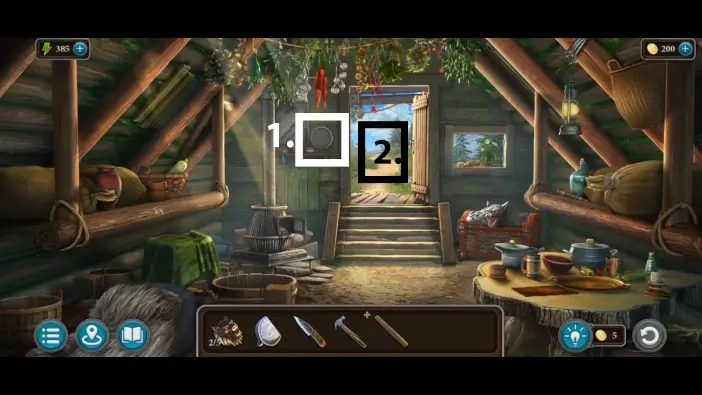
- Pick up the sieve.
- Exit the wooden hut.
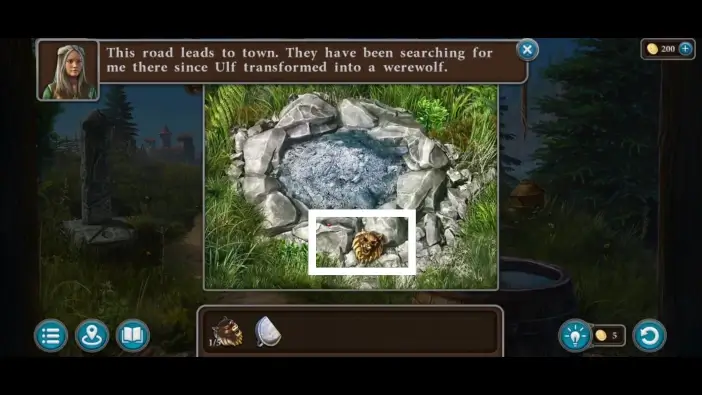
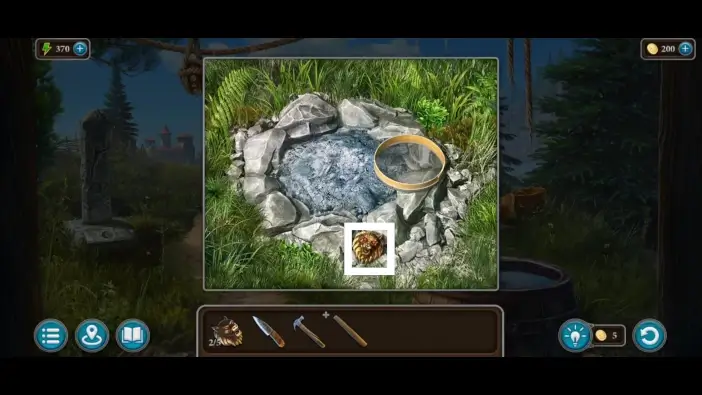
- Return to the ashes and place the sieve on the ground.
- Use the dust pan to collect some dust. Lucia will pour dust into the sieve, and she will find the second gem and place it in the second eye socket of the wolf amulet.
Take the third wolf amulet.
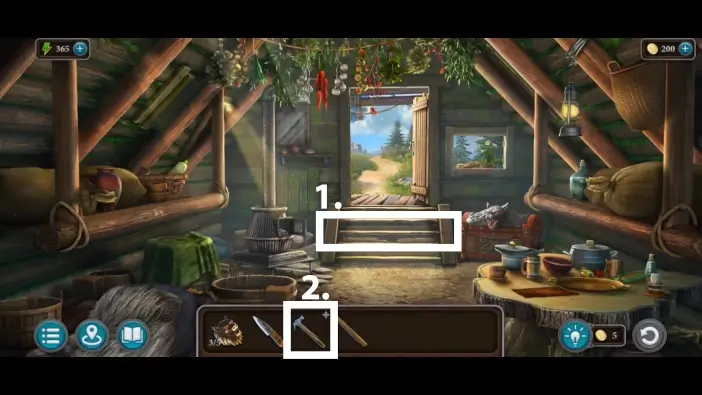
- Return to the wooden hut. Approach the stairs.
- Click/tap on the hammer in your inventory to have a detailed view of your hammer.
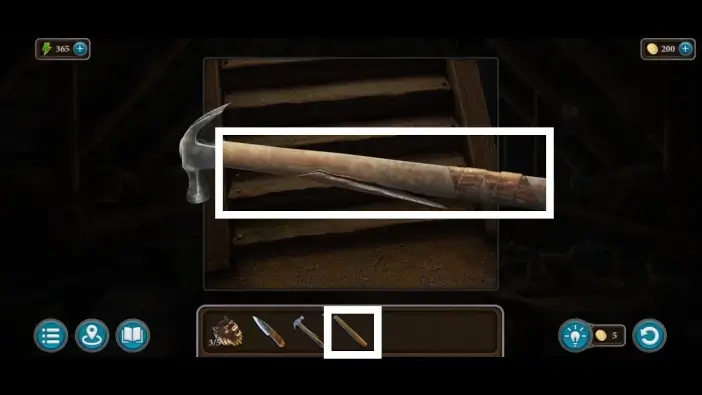
Use the wood you found on the stone obelisk outside as the new handle for the hammer. The “claw hammer” item will be added to your inventory.
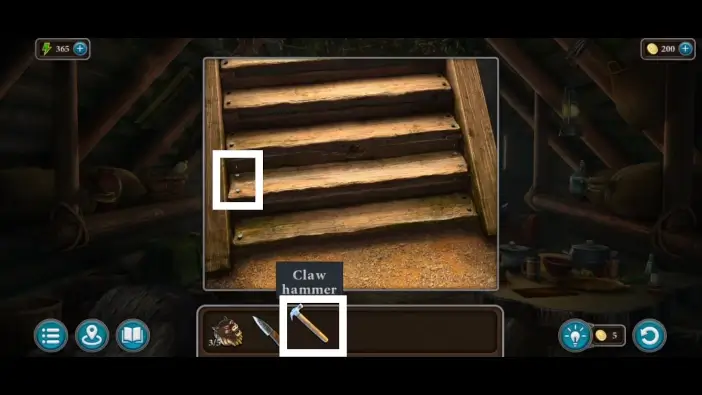
Use a claw hammer to remove all the nails from the stairs. Afterwards, tap on the stairs again to remove a few stairs.
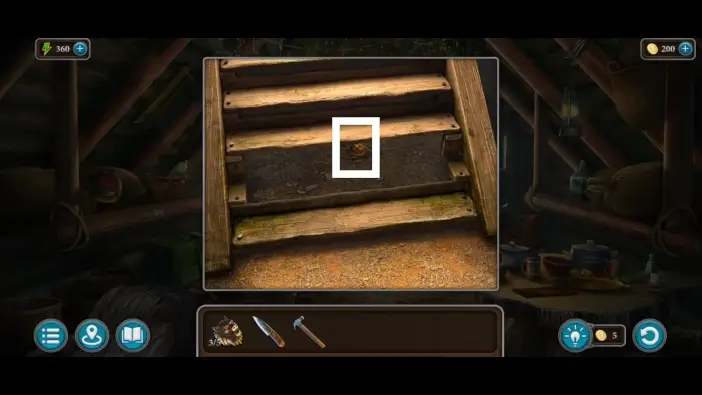
After removing the stairs, you will see a fourth wolf amulet. Pick it up.

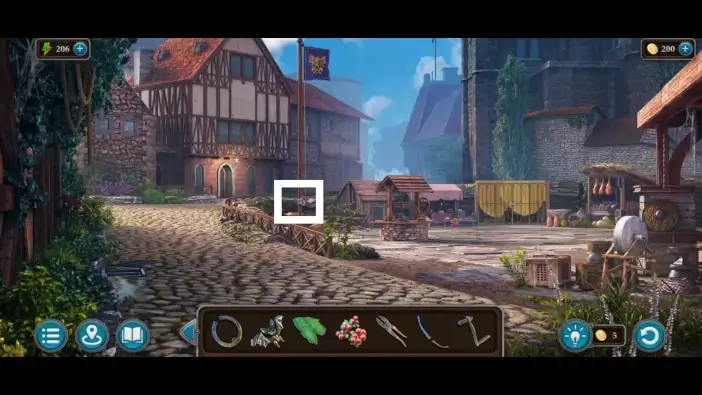
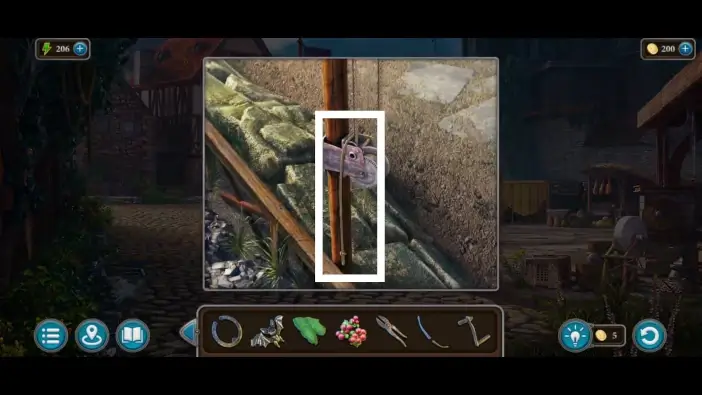
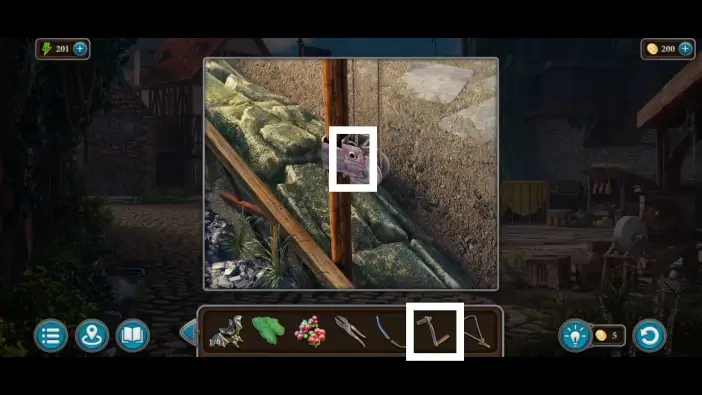
Go outside and use a knife to cut the rope above and get the fifth wolf amulet.
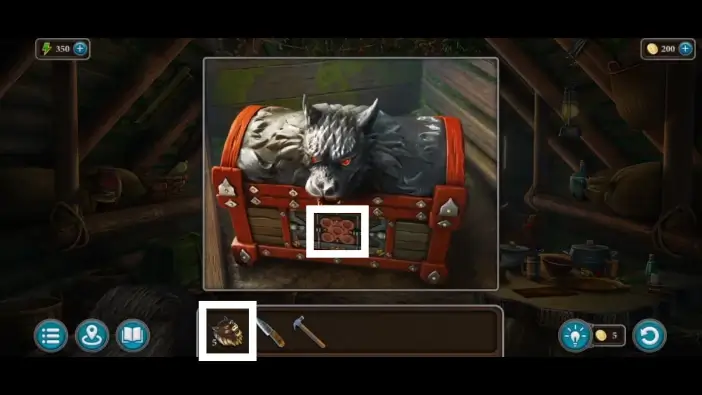
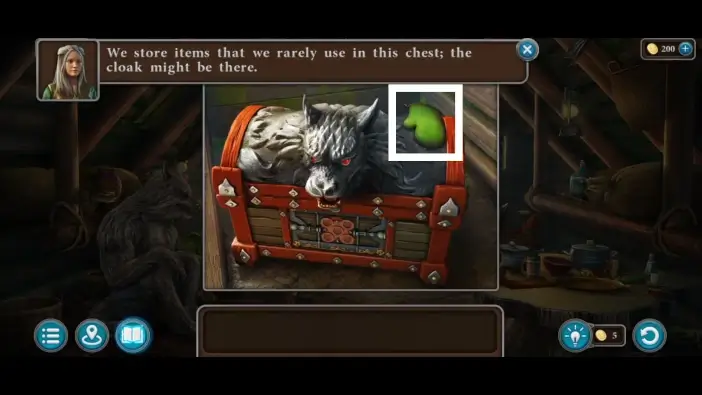
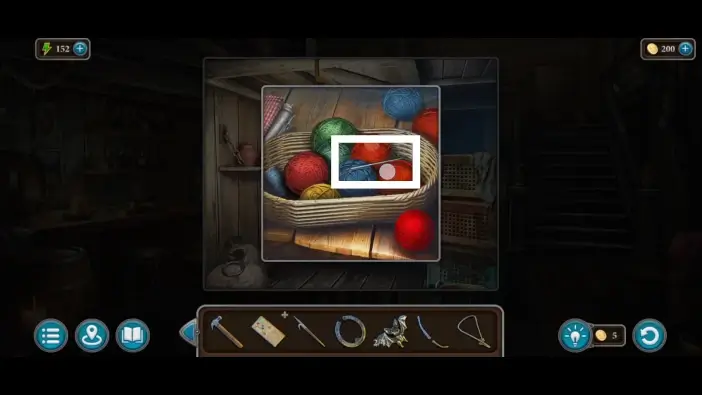
When you get all five wolf amulets, go inside the wooden hut. Approach the wolf’s chest and place all five amulets to start a puzzle challenge.
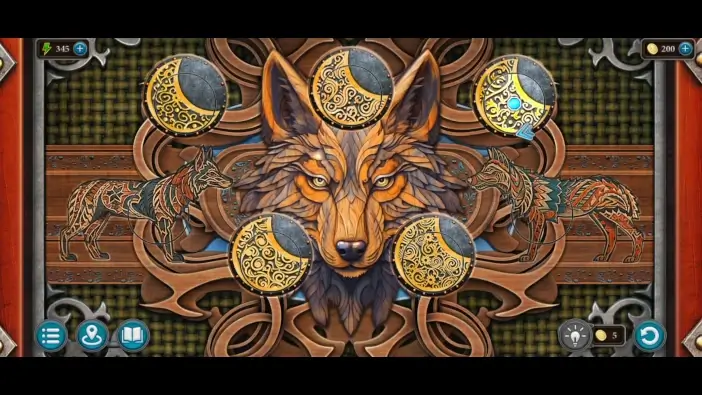
To unlock the wolf chest, you need to complete the puzzle challenge. You need to place circles in their correct positions and then rotate them correctly. To change the position of the circle, you need to swipe it with another circle. The solution is in the picture above.
Once you complete the previous puzzle, take the cloak from the chest. The cloak will not be added to your inventory, but it will progress the story and unlock new areas.
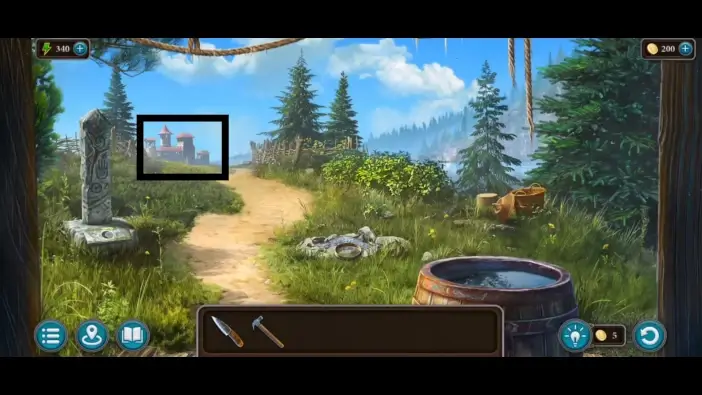
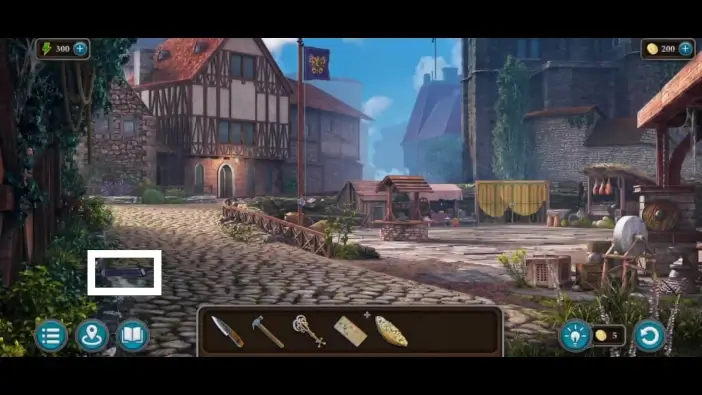
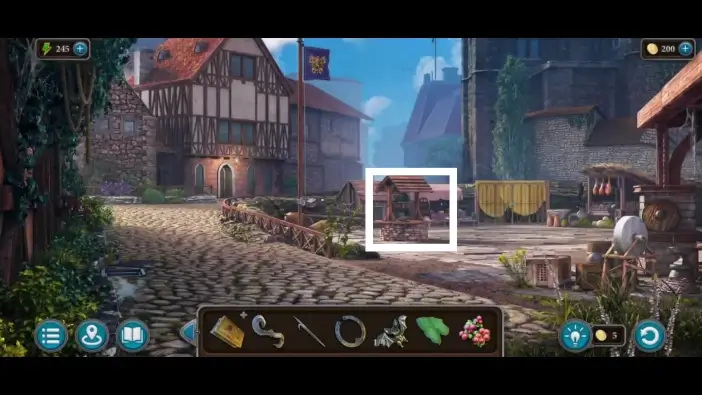
When you get the cloak, go towards the city.
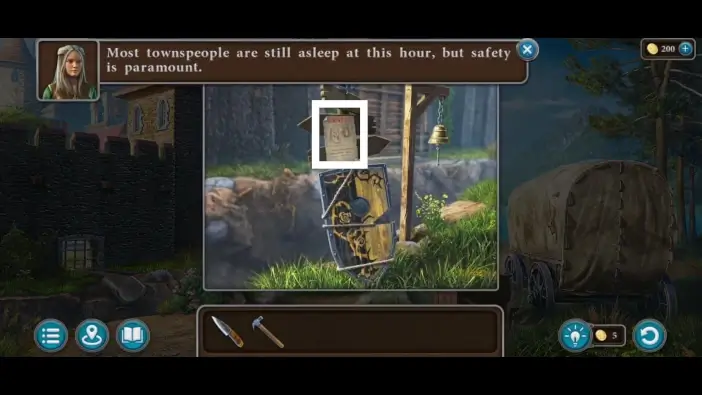
Optionally, approach the shield and the signpost in the center to read the wanted list.
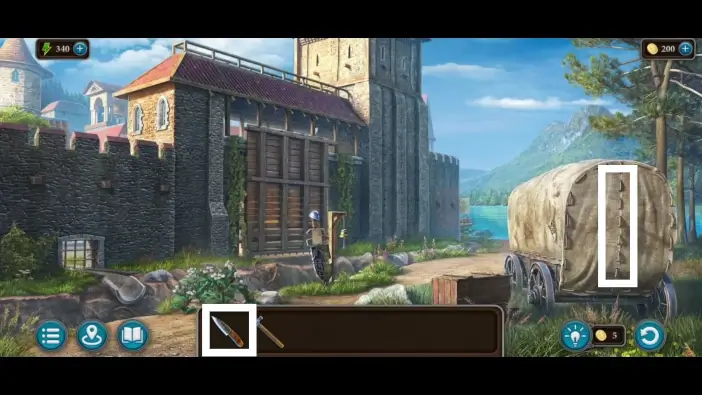
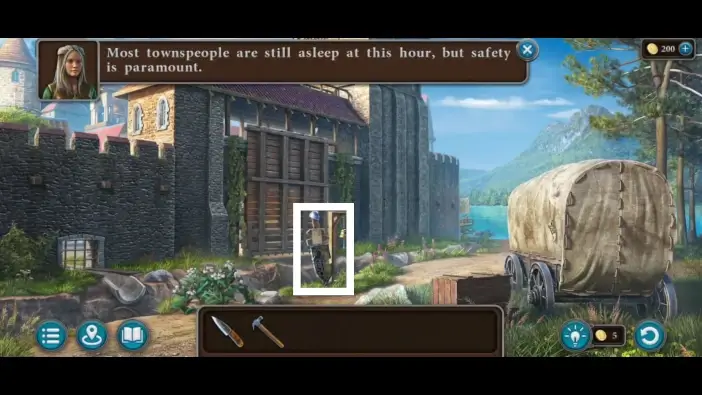
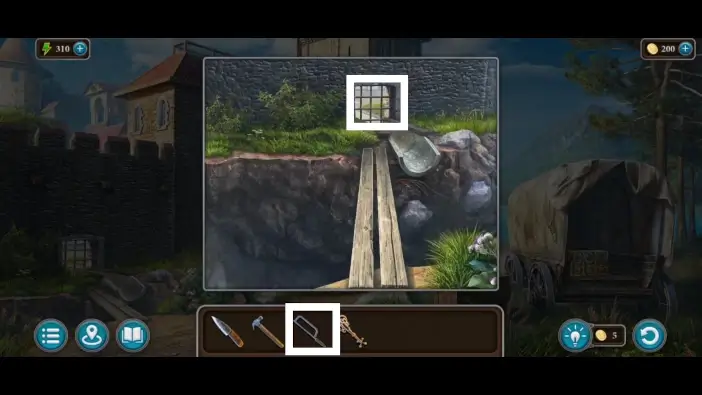
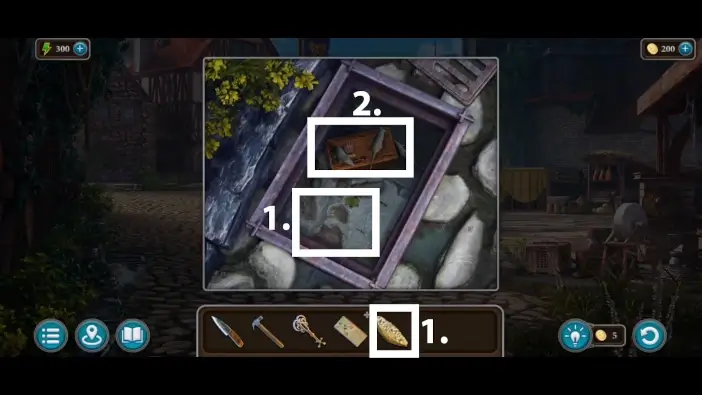
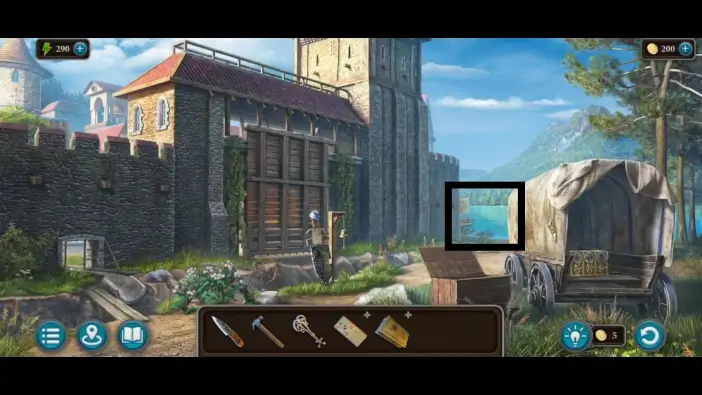
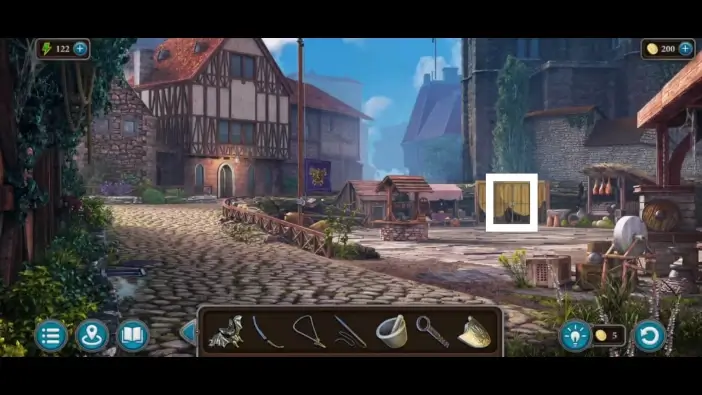
Use a knife to cut the fabric on the wagon on the right.
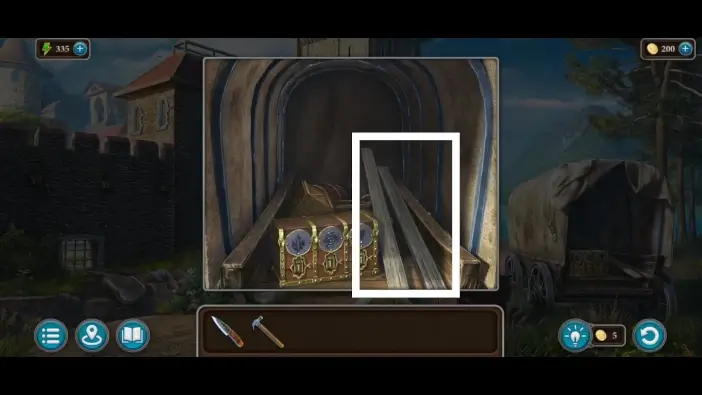
Take the planks from the wagon. You will use it as a bridge to cross the water canal.
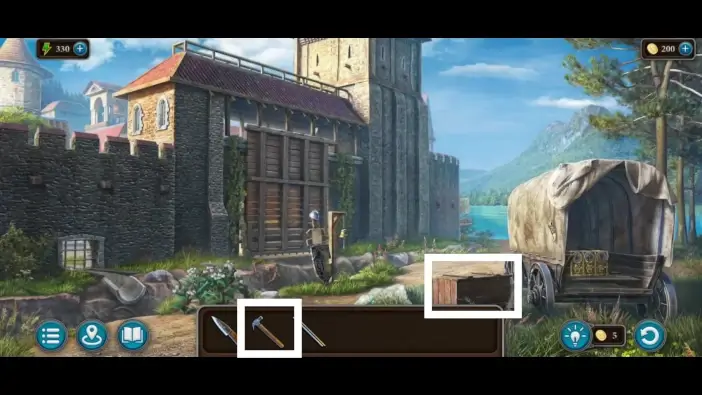
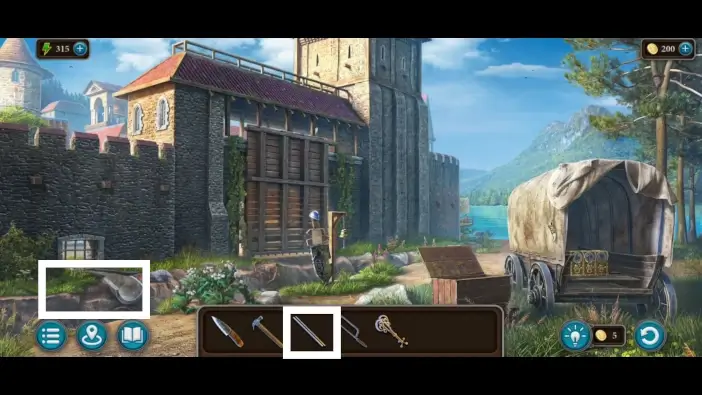
Use a claw hammer to open the wooden chest next to the wagon. Take the hacksaw and the key from the chest. You will need the hacksaw to remove the bars from the city walls. The key will be on the right side inside the chest. This key will be useful to activate a crane later.
Use the planks you found in the wagon and place them on the left across the canal. After that, you can get closer to the wall.
Approach the bars and use the hacksaw from the wooden chest to remove the bars.
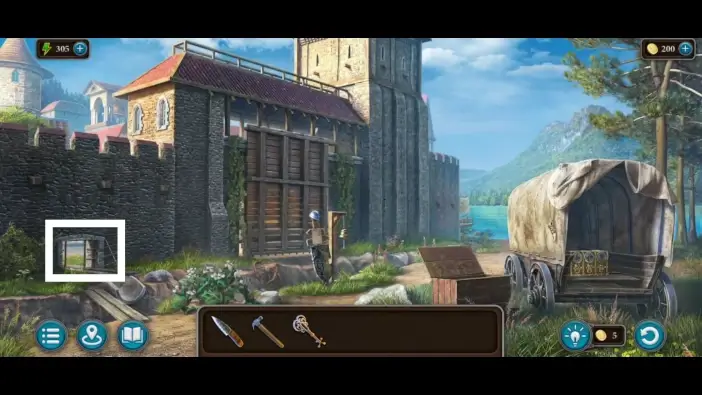
Sneak into the city.
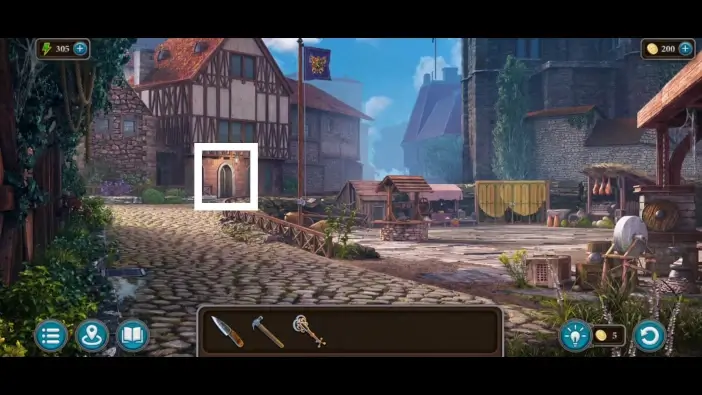
Enter the tavern.
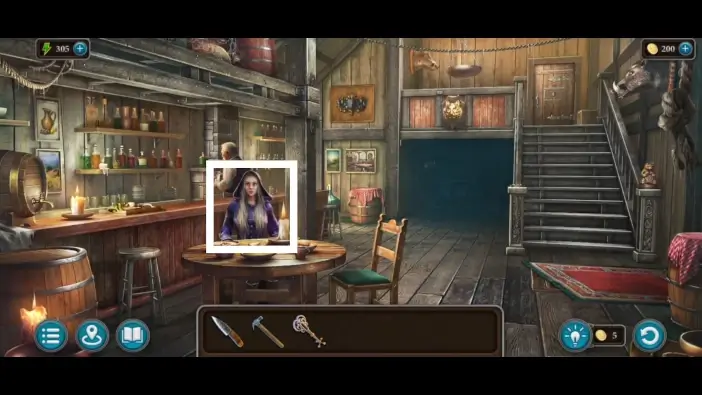
Speak with Scarlett. A new cutscene will begin. After the conversation with her, you will get the recipe for the sleeping powder.
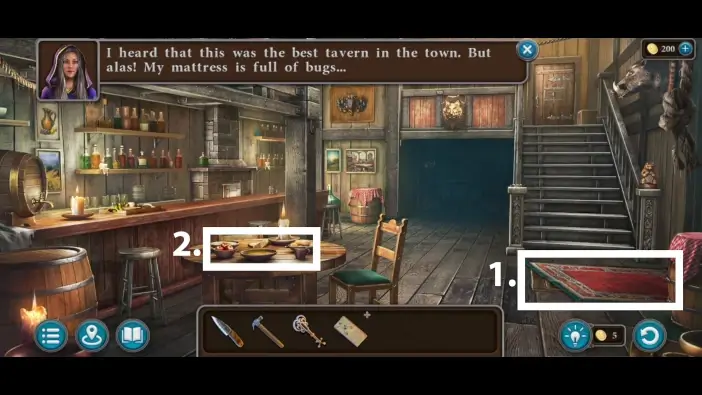
- Remove the carpet on the right side of the room. You will see a trapdoor. You’ll need to find the correct handle to open the trapdoor.
- Approach the table.
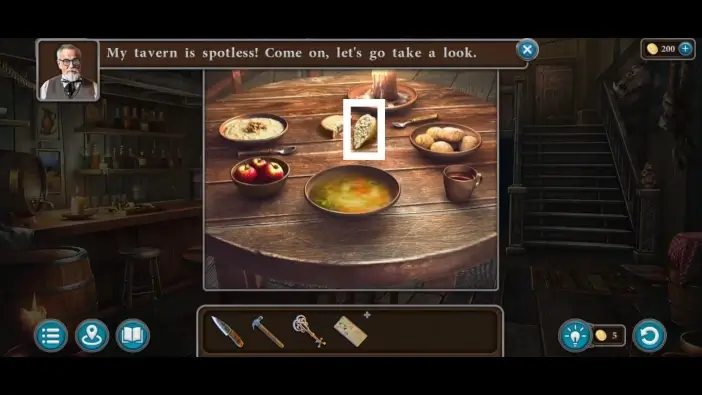
Pick up the piece of bread. You’ll use it to lure the rats.
Exit the tavern. In the city square, approach the water drainage hole on the left.
- Open the lid and throw the piece of bread from the tavern.
- Once the rats are distracted by eating bread, pick up the box. To unlock this box, you’ll need to find a paw-shaped key first.
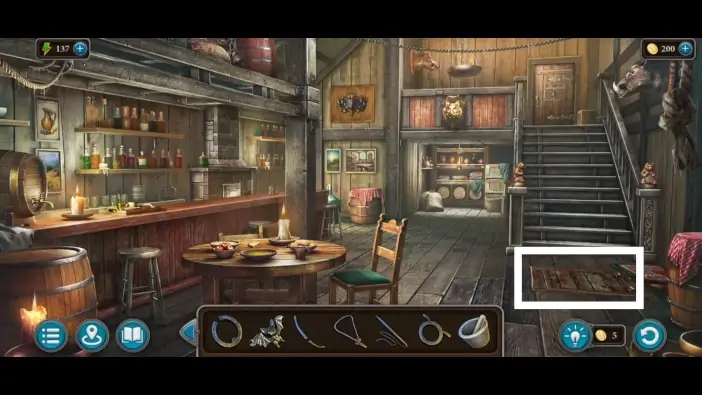
Exit the city and go towards the river.
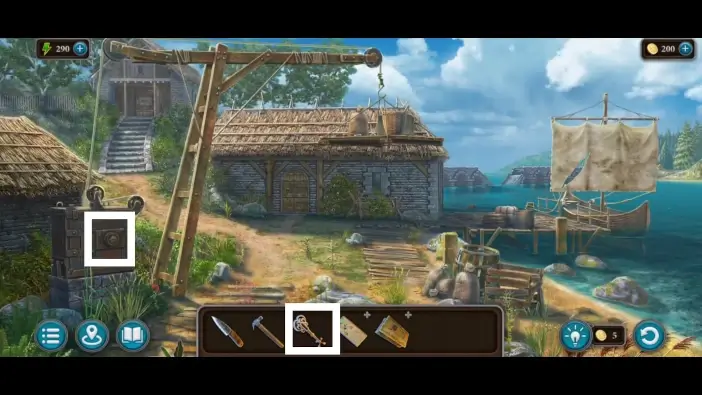
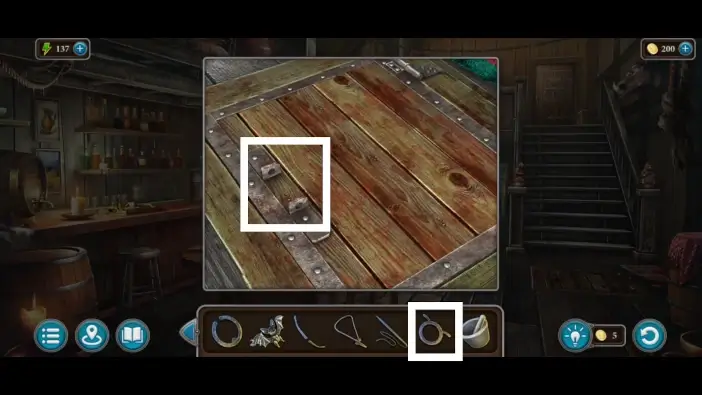
Approach the crane on the left side and unlock the crane mechanism using the key you found in the wooden box near the wagon earlier.
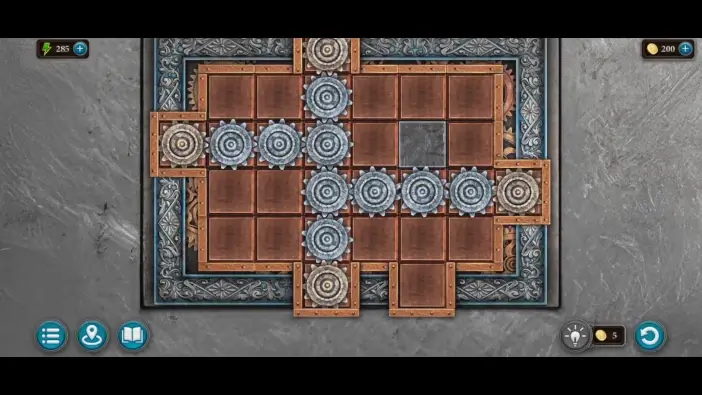
Move the tiles to rearrange the gears like in the picture above. All gears should be connected to unlock the crane.
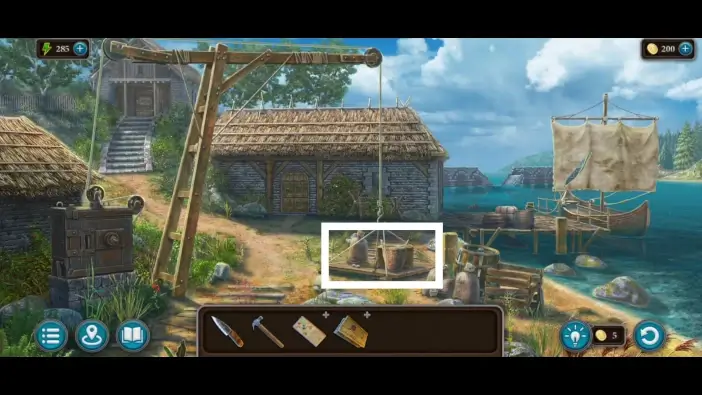
Once you solve the previous puzzle challenge, the crane will lower the pallet. Get a closer look at the items on the pallet.
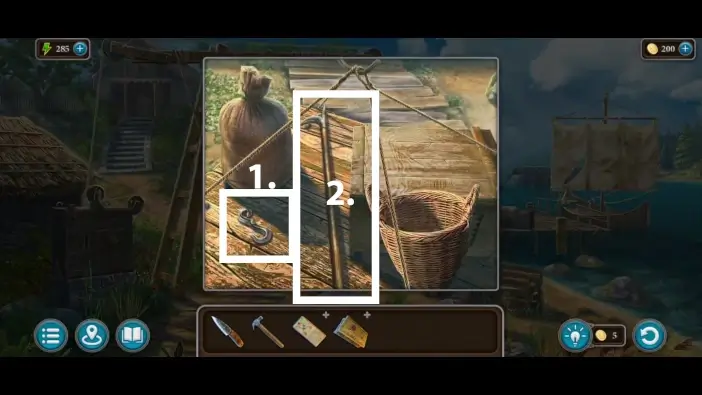
- Pick up the hook. You’ll need to attach this hook to the well’s chain in the city square.
- Take the pike pole. You will use it multiple times.
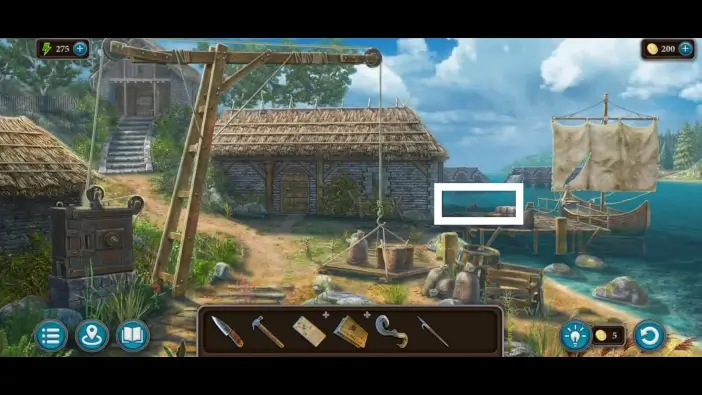
Approach the area behind the boat.
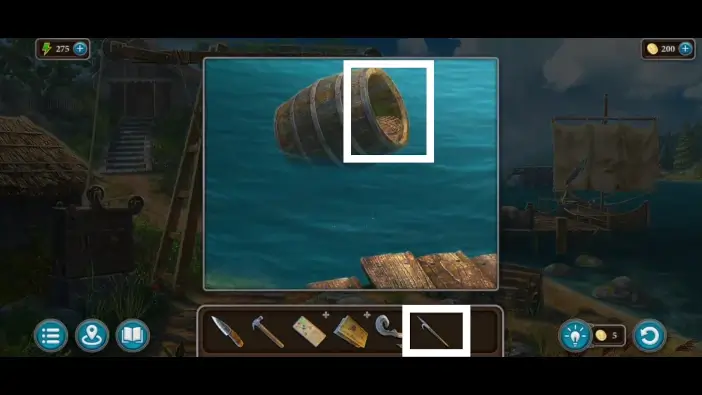
Use the pike pole to bring the barrel closer.
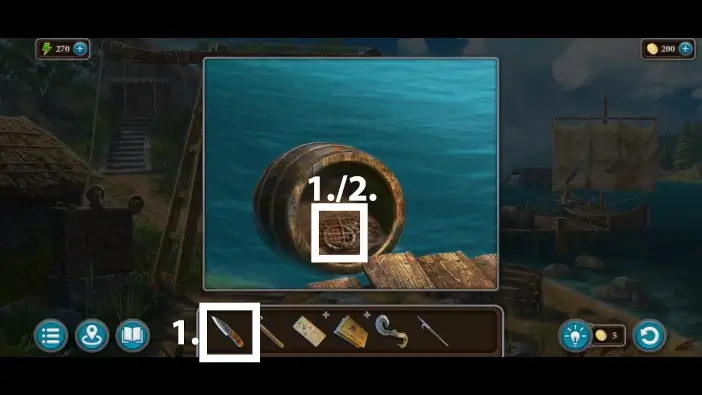
- Use the knife to remove the net.
- Take the handle. It is a handle of the drawer in the witch’s room in the tavern.
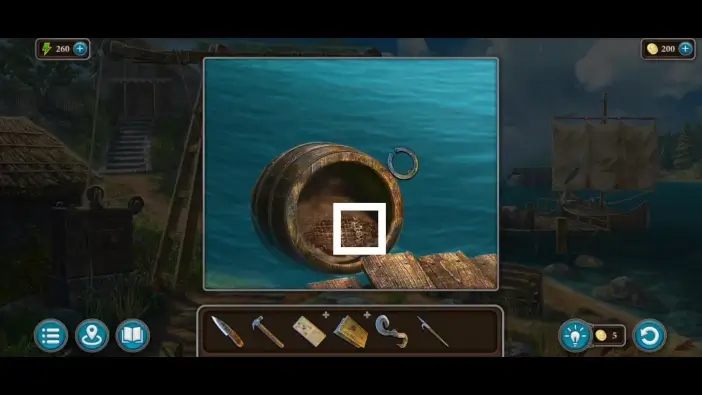
Don’t forget to pick up the first bat inside the barrel. You’ll need to collect four bats to unlock the chest in the witch’s room in the tavern.
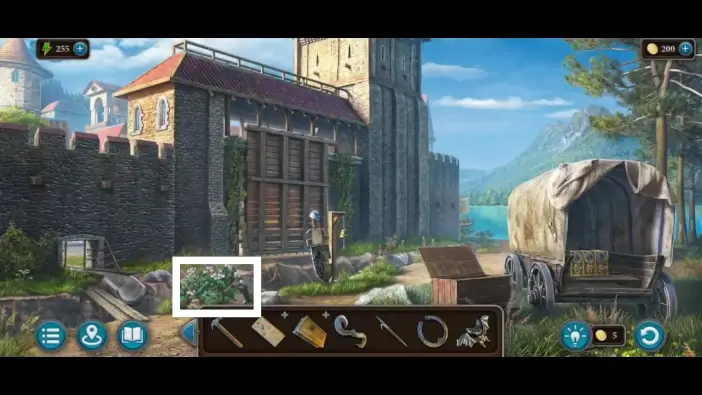
Return to the city gates and approach the bush on the left.
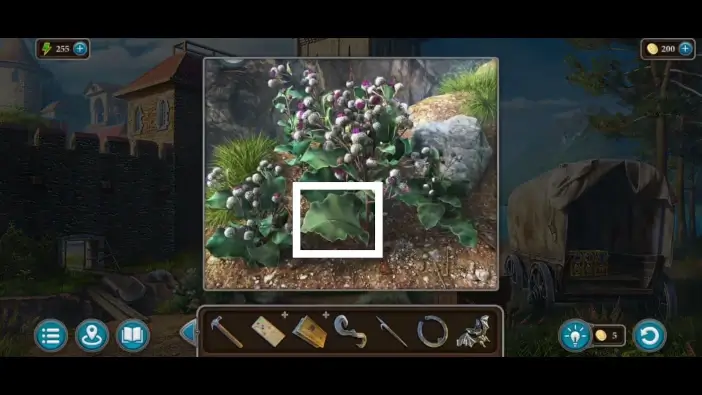
Pick up the leaf of burdock. You’ll need it for the sleeping powder.
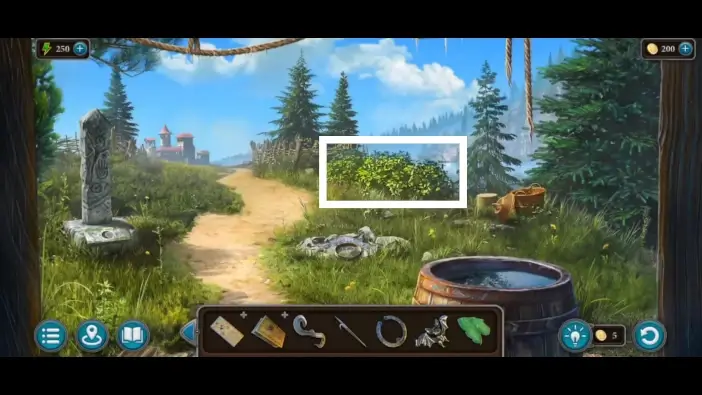
Return to the area in front of your wooden hut and approach the bushes on the right. Pick up some graya berries. It is an ingredient for the sleeping powder.
Go to the city square and approach the well.
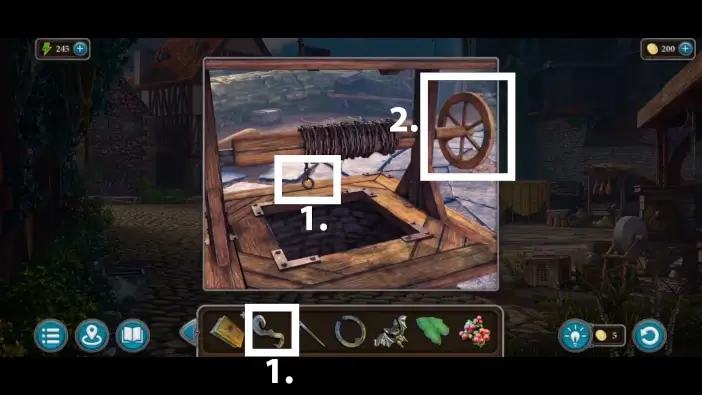
- Attach the hook you got from the pallet to the chain.
- Lower the hook into the well using the mechanism on the right.
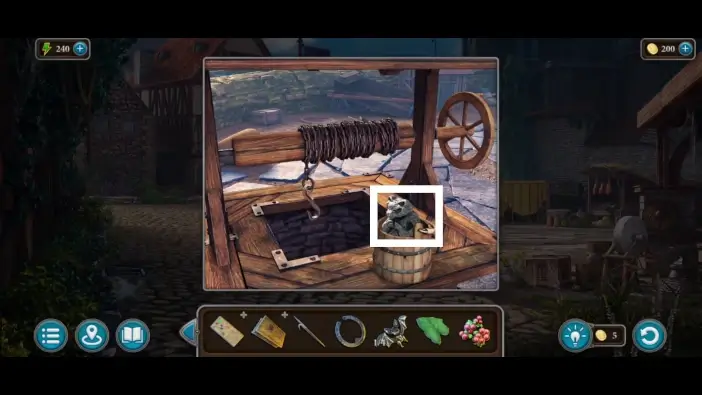
Lucia will pull a bucket out of the well. Take the bear figurine.
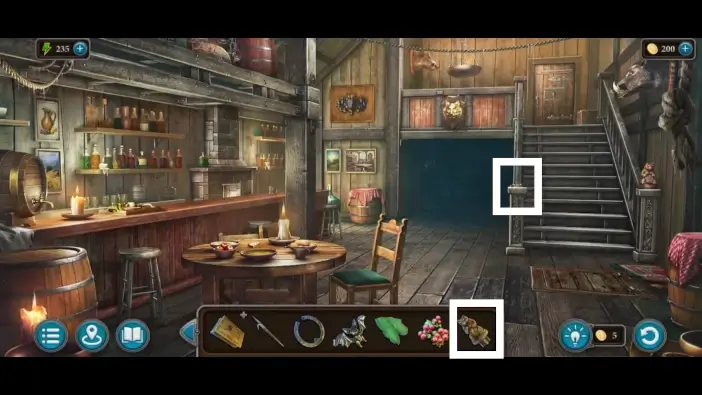
Return to the tavern and approach the staircase. Place the bear figurine you just found from the well, and place it on the balustrade post.
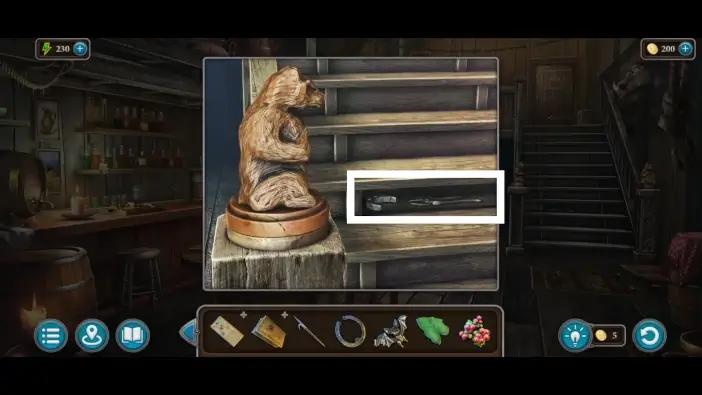
Once you place the bear figurine, the hidden compartment will appear beneath the stairs. Pick up the moon and the wire cutter. You’ll use a wire cutter later in your wooden hut to take the lantern.
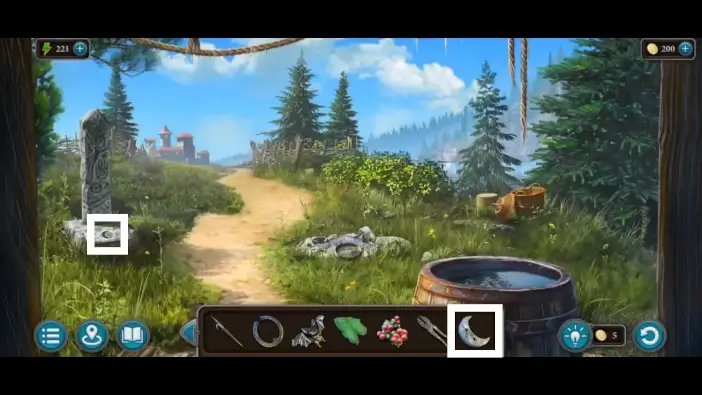
Go to the area in front of your wooden hut. Place the moon you just found into the slot on the stone obelisk. A new puzzle challenge will start.
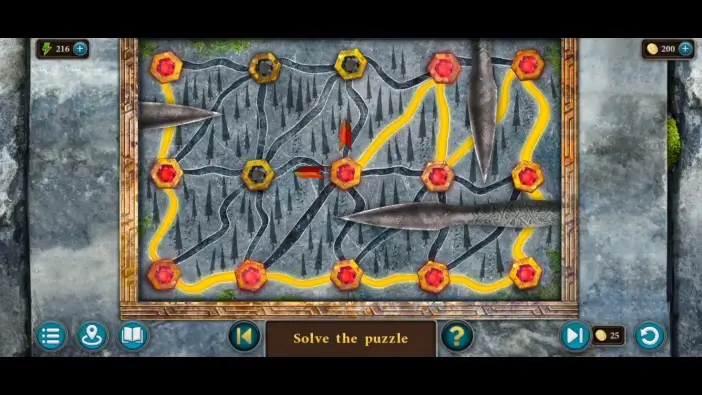
You need to tap on the gems in the correct order to connect them all. The red arrows will indicate where you can tap next. While you are making progress, metal blades will block the paths.
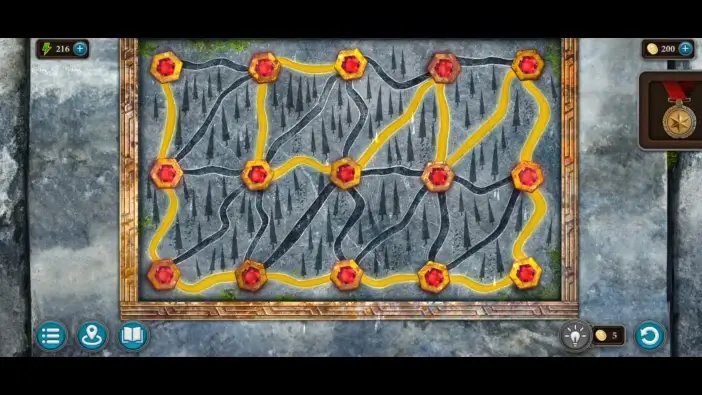
Once you solve the puzzle, take the limbs and the lever. You’ll need a lever for the flag. As for the limbs, you’ll need them much later to repair one crossbow.
Approach the flagpole.
Take the string. It’s another component for fixing a crossbow later.
Attach the lever you just got from the previous puzzle to the flag mechanism. The flag will be lowered.
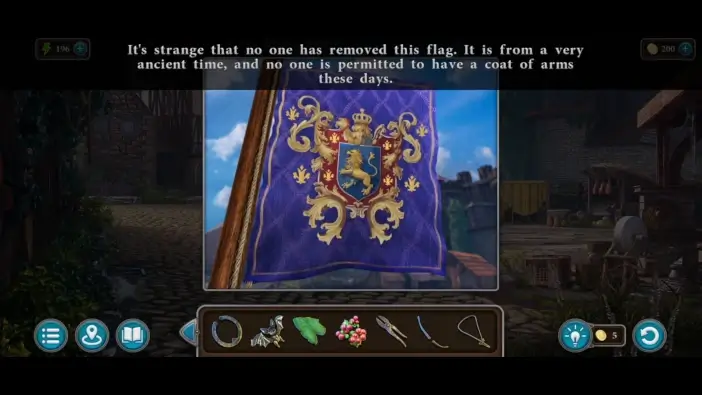
Approach the lowered flag. Remember the number of leaves on the flag. There are eight leaves. This is the first clue for a password for a chest inside the wagon.
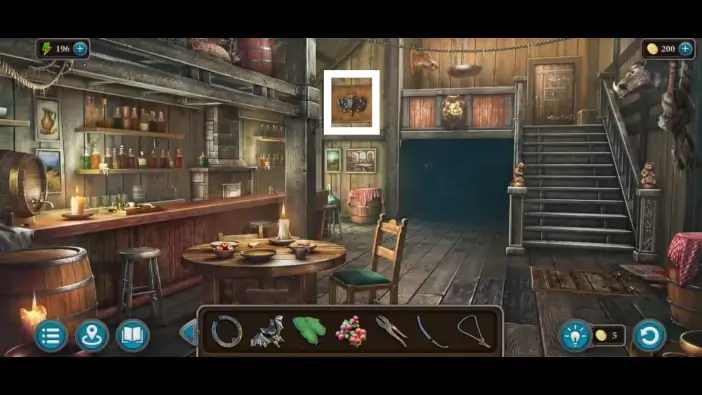
Go inside the tavern and approach the coat of arms on the wall.
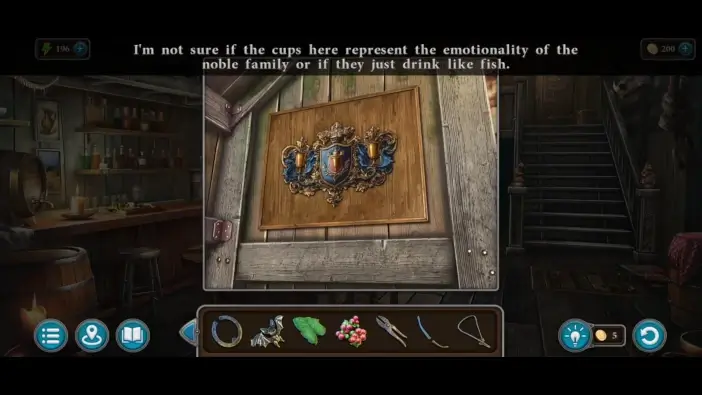
Remember the number of cups on the coat of arms. There are three cups. This is a second clue for the wagon chest.
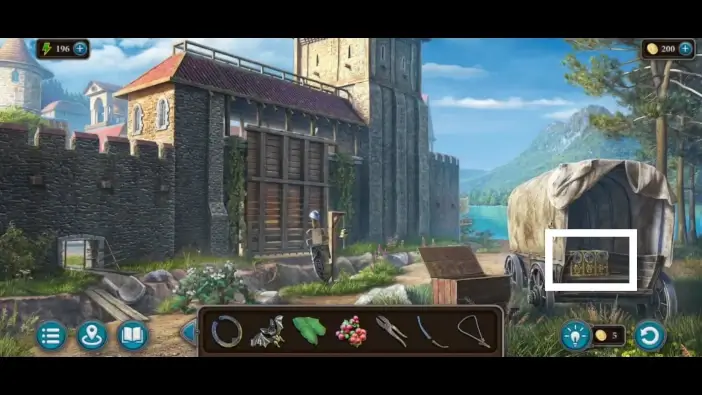
Go to the wagon area in front of the city gates. Approach the chest inside the wagon.
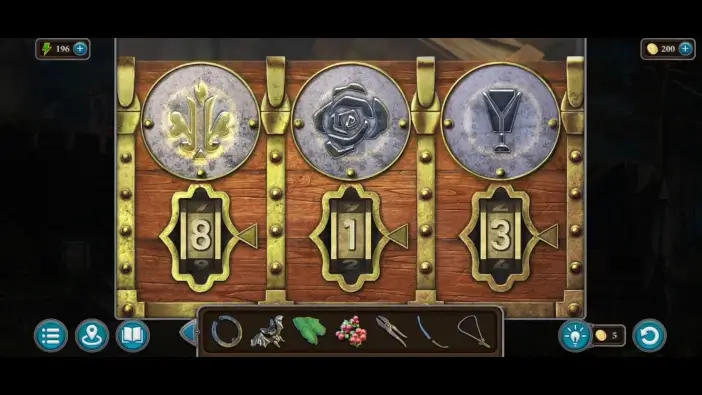
The password for the chest is 8 (leaves on the flag), 1, 3 (cups on the coat of arms).
- Take the peklen seeds from the chest. It is another ingredient for the sleeping powder.
- Take the paw key from the chest. With it, you can unlock the box you found in the drainage of the city square.
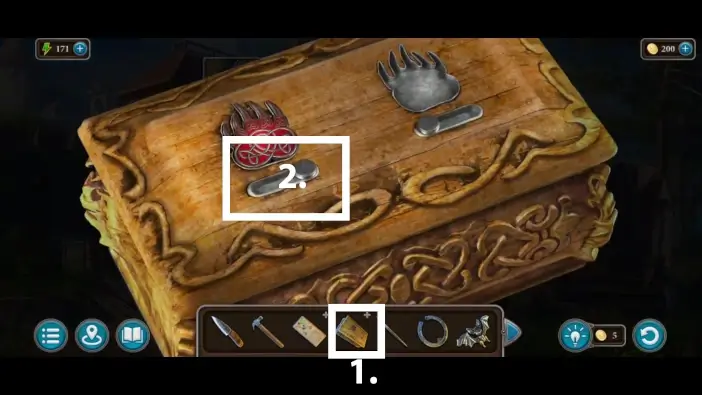
- Click on the box in your inventory.
- Activate the left lock.
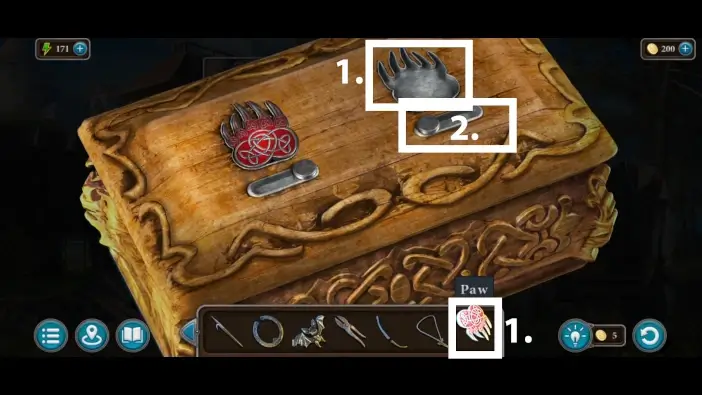
- Place the paw you just found in its dedicated place.
- Activate the right lock.
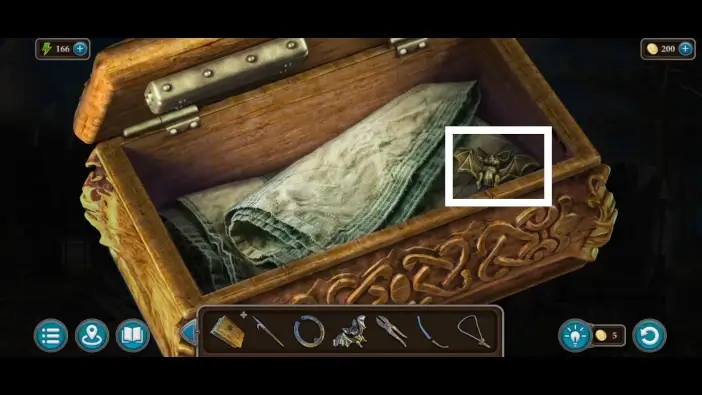
Take the second bat from the box.
Return to the wooden hut where you start the game, use the wire cutters you found in the tavern to get the lantern that is hanging on the right. You will use the lantern to illuminate part of the tavern’s main room.
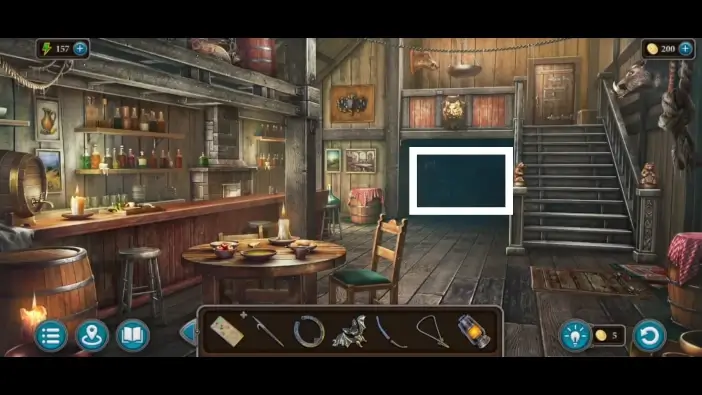
Return to the tavern and approach the dark part of the room.
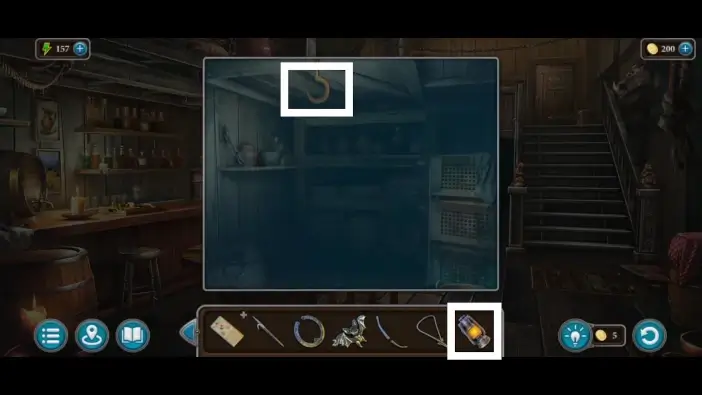
Hang the lantern that you picked in the wooden hut to illuminate the shelves.
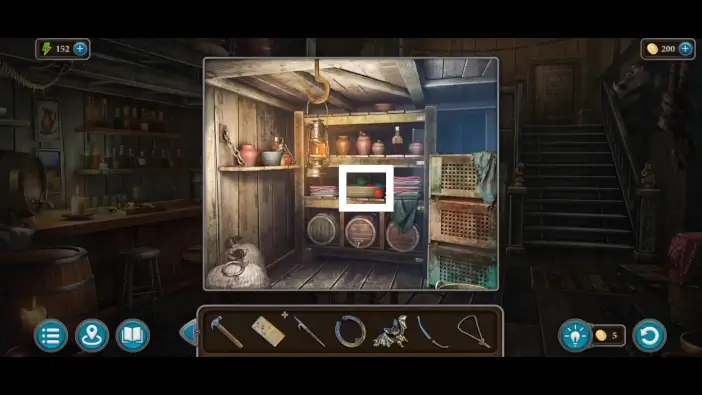
Approach the basket full of thread balls.
Move some of the thread balls to see a kneedle. Pick up a needle. The “needle and thread” item will be added to your inventory. You’ll need it to fix the boat’s sail.
- Pick up the handle from the sack. This handle is for the trapdoor in the tavern.
- Take the mortar from the left shelf. You’ll use it to create the sleeping powder.
Approach the trapdoor.
Attach the handle you just found to the trapdoor. Open the trapdoor.
- Take the key. It is a key to the workshop next to the boat.
- Pick up the shield from the stairs. You’ll need it to unlock one merchant’s stand in the city square.
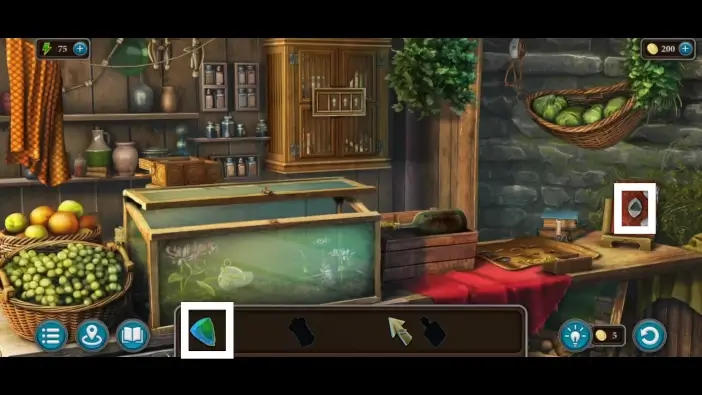
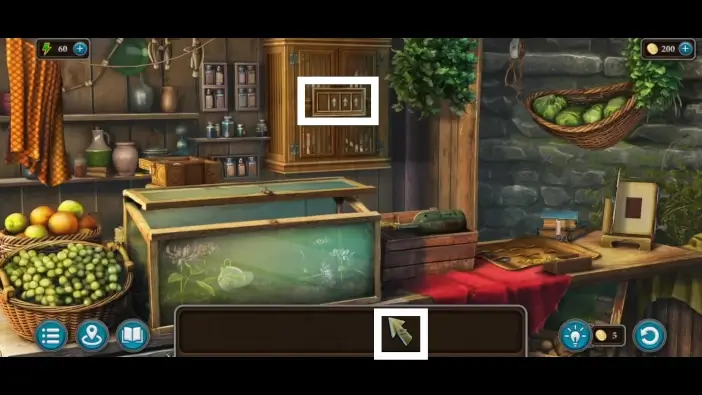
Go to the city square and approach the locked stand in the middle.
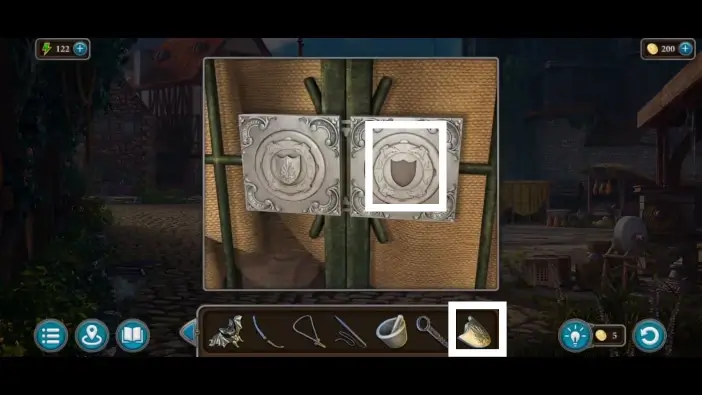
Use the shield you just found to unlock the stand. Afterwards, approach the stand to start a new challenge.
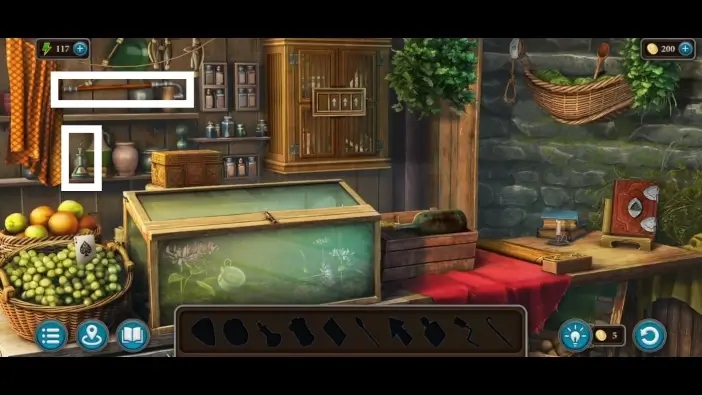
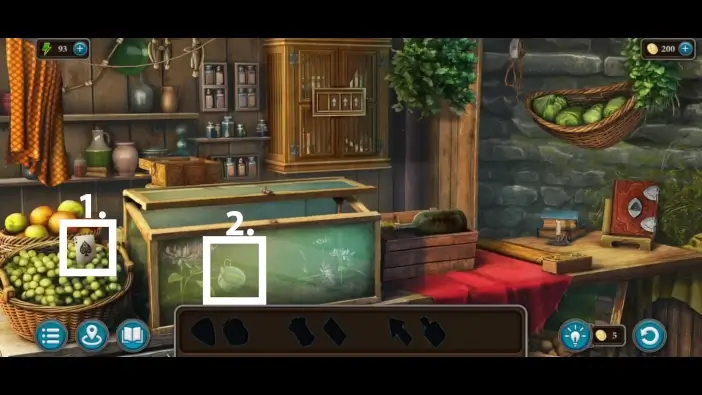
In this type of challenge, you need to find all the items. These items won’t be added to the main inventory. They can only be used to find other items in the same location. Follow the markers in the picture above and in the following pictures below to find all items. Take the oil and the cane from the shelves on the left.
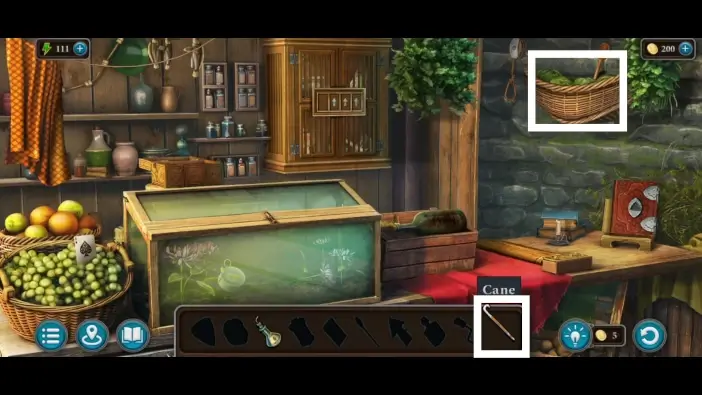
Use a cane on the basket on the right. A spoon will drop on the table, near the book.
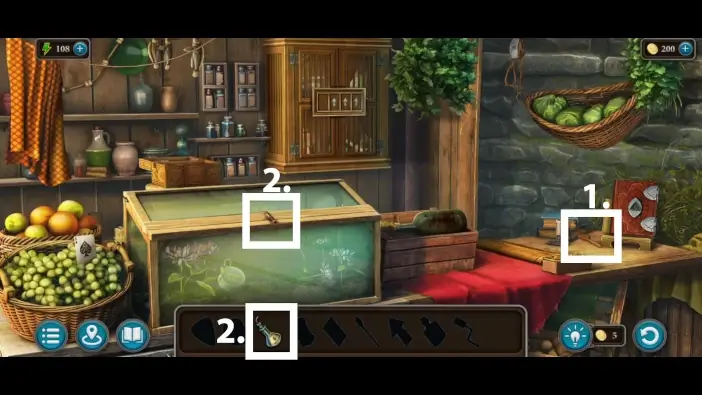
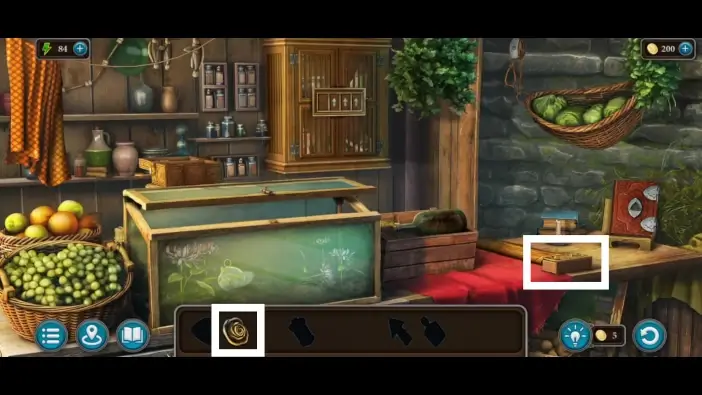
- Pick up the spoon.
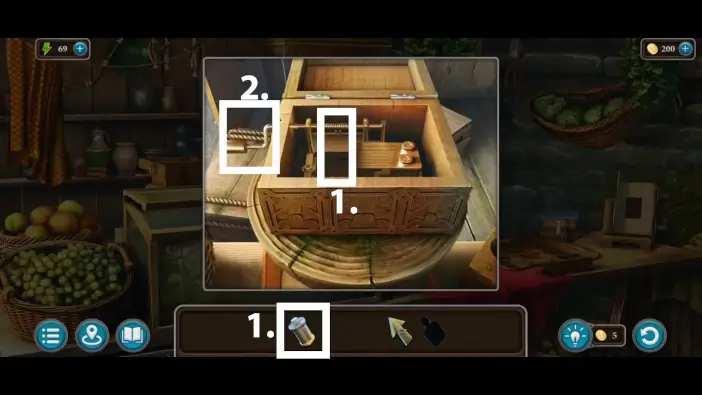
- Approach the terrarium. Use the oil to unlock it.
Use a spoon to move the handle closer to you and pick it up.
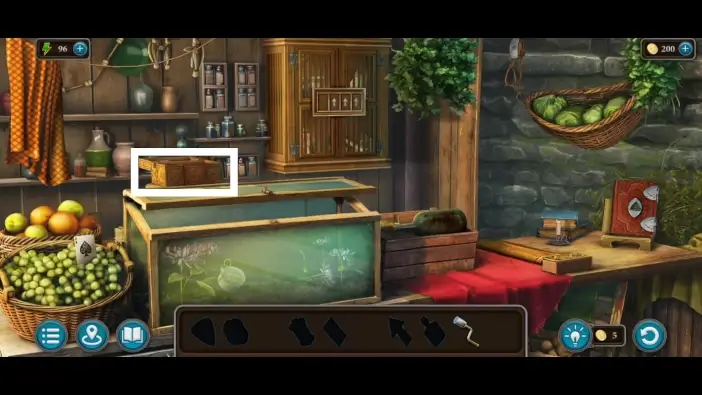
Approach the box and open it.
Attach the handle to the mechanism.
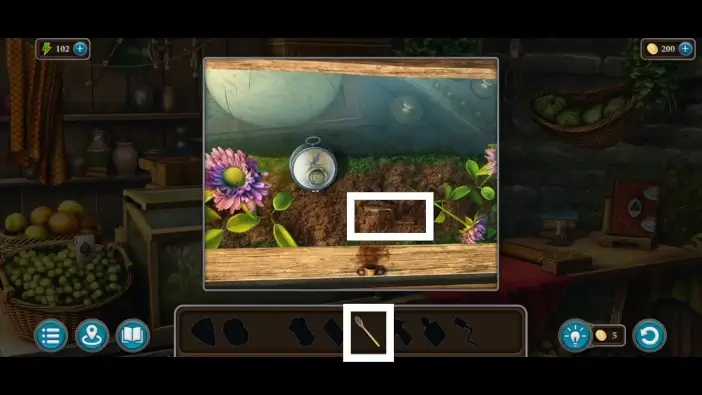
- Pick up the card from the basket full of grapes.
- Approach the compass inside the terrarium. Use the card to get the rose from the compass.
Place the rose into the empty slot on the box, near the book. This will unlock the box.
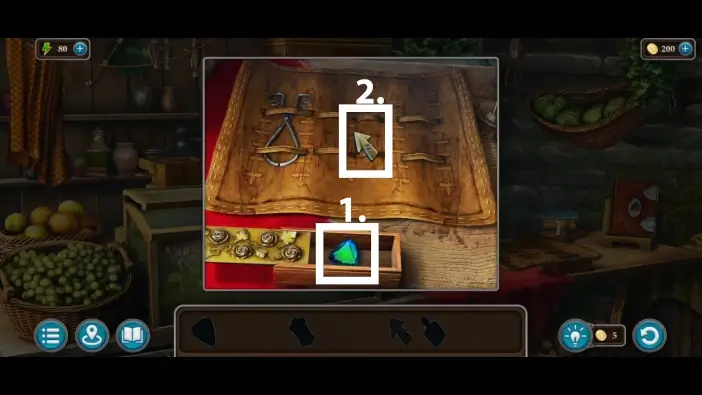
- Take the crystal from the box.
- Take the arrow.
Place the crystal into the slot on the book’s cover to open the book. Take the cylinder from the book.
- Return to the box and place the cylinder into it.
- Use the handle to activate the mechanism. The hidden compartment of the box will open. Take the bottle of acid from the compartment.
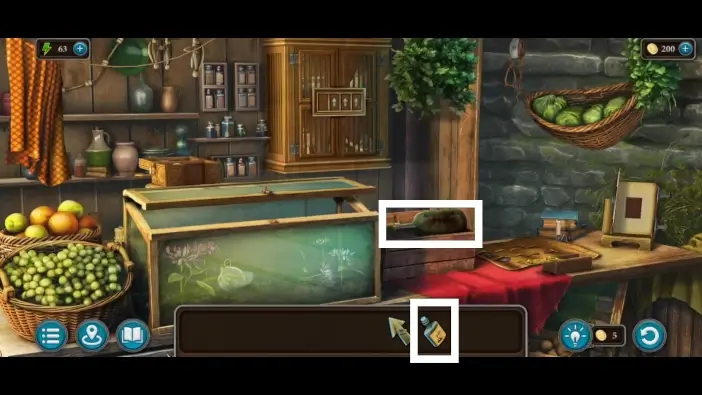
Approach the empty bottle. Pour acid on it to see the arrows better.
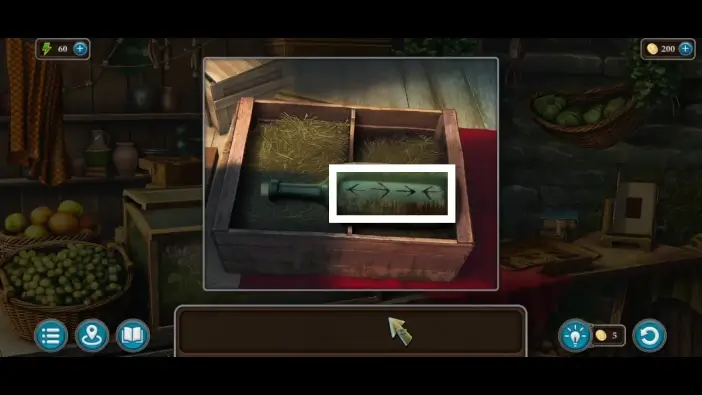
Remember the positions of the arrows.
Approach the cabinet and attach the arrow to the empty slot.
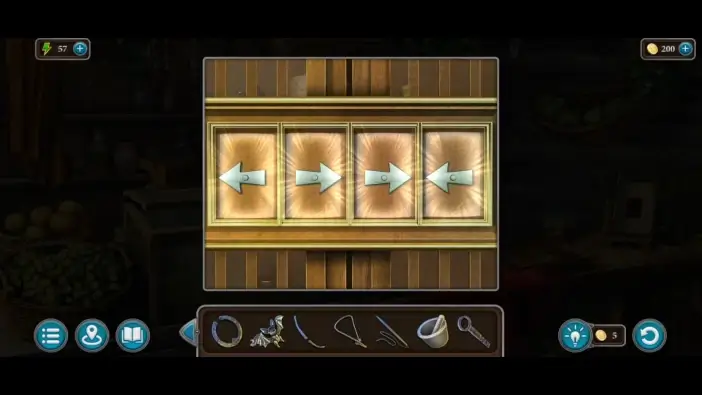
Rotate the arrows like in the hint on the bottle previously. The solution is in the picture above. Once you unlock the cabinet, take the amanita tincture, the last ingredient for the sleeping powder.
This will mark the end of Part 1 of our guide for Chapter 1 of Legendary Tales 4.
Thank you for reading!