Hidden Memories – Part 6 | Premium Content
Intro
Welcome to our walkthrough for Part 6 of Hidden Memories from Dark Dome. This part will cover premium content of the game where Mina needs to escape from the prison.
Walkthrough
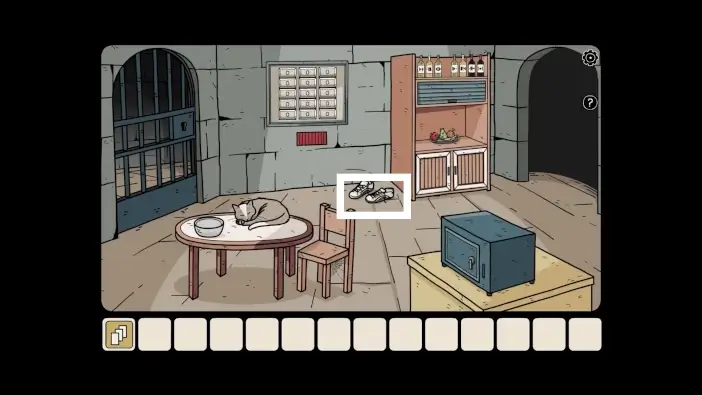
Approach the shoes.
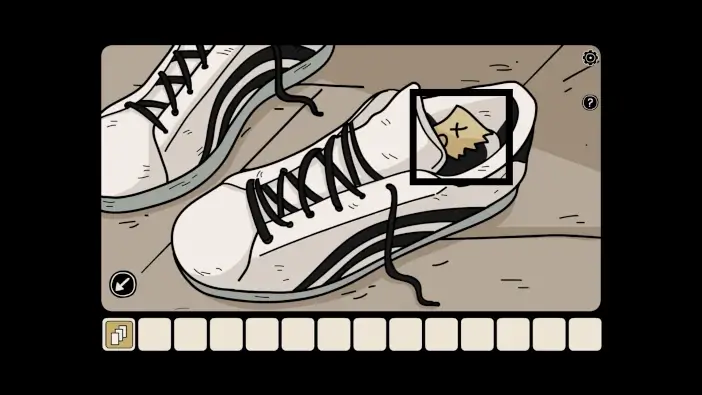
Take the note from the shoe. It is only a part of the whole note for the X-O puzzle. You’ll need two more pieces.
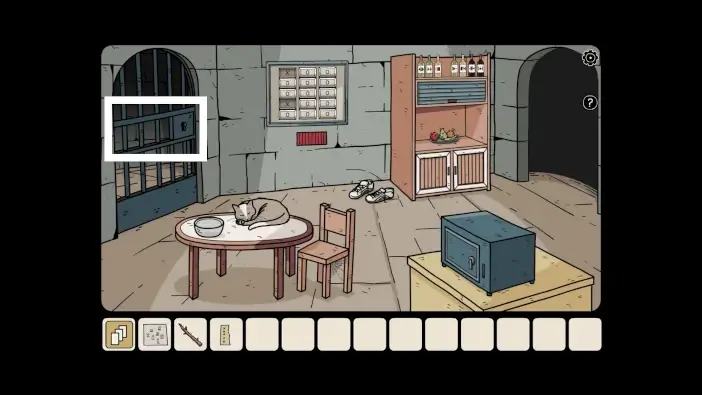
Go to the room on the right.
Check the note on the left table. It is a clue on how to make a sleeping potion for the guardsman. Take the branch next to the note. You will need it to grab the key to your cell.

- Approach the bookshelf on the right. Take a note from a book. On it are the correct positions of the animal statues.
- Approach the animal statues.
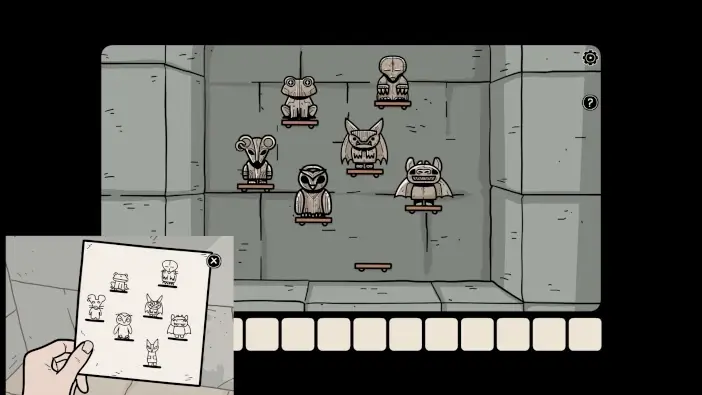
Place the statues according to the note. To finish this puzzle, you will need to find a fox statue and place it on the lowest platform.
Go to the prison cell door.
Take one of the bones from the plate.
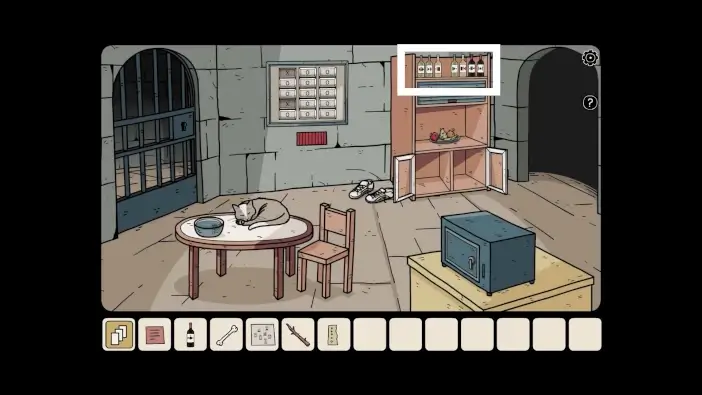
Approach the cabinet below the fruit.
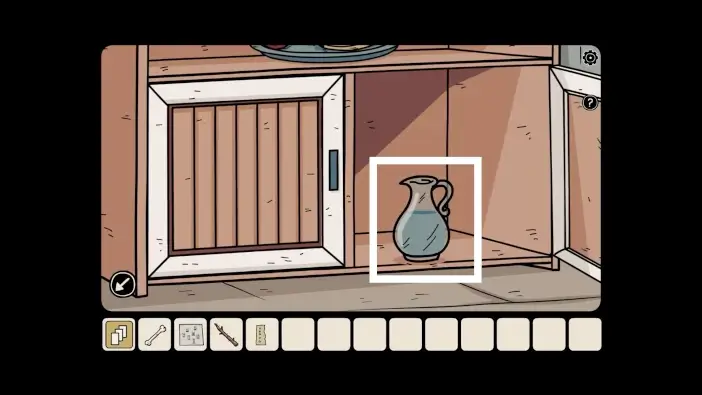
Take the pitcher of water.
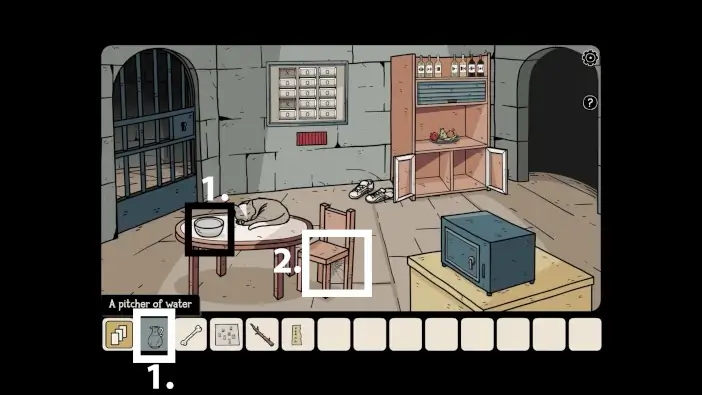
- Pour water from the pitcher into the bowl on the table, near the cat.
- Approach the chair.
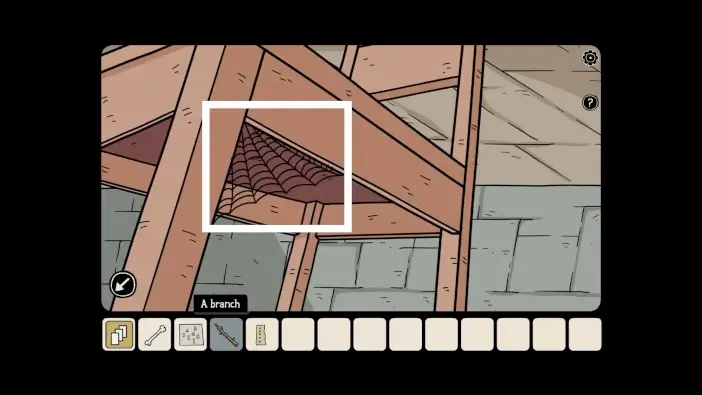
Take the spiderweb from the chair.
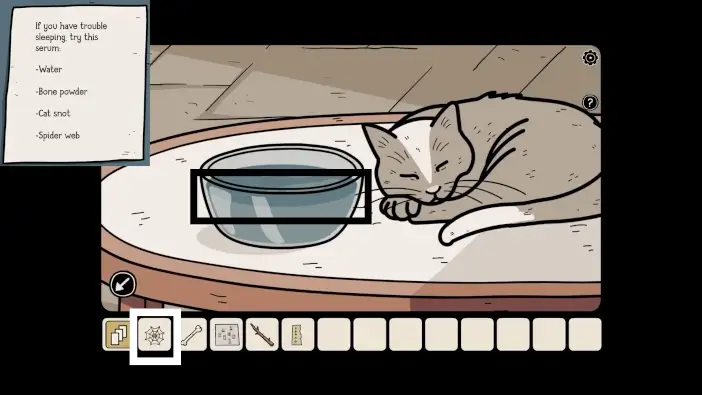
Place the spider web into the bowl.

Approach the rotten fruit.
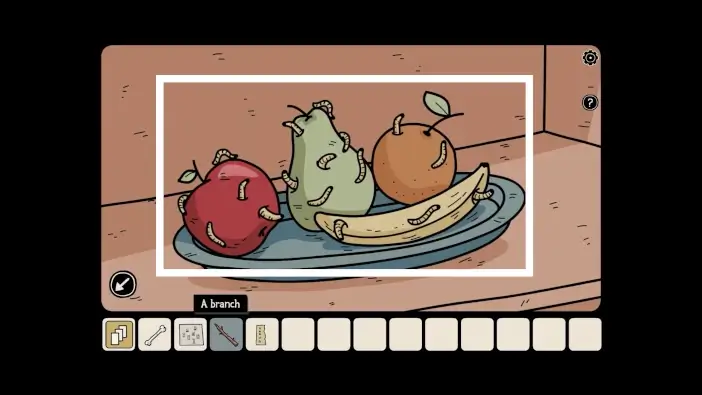
Remember the color of fruits and how many worms each fruit has.
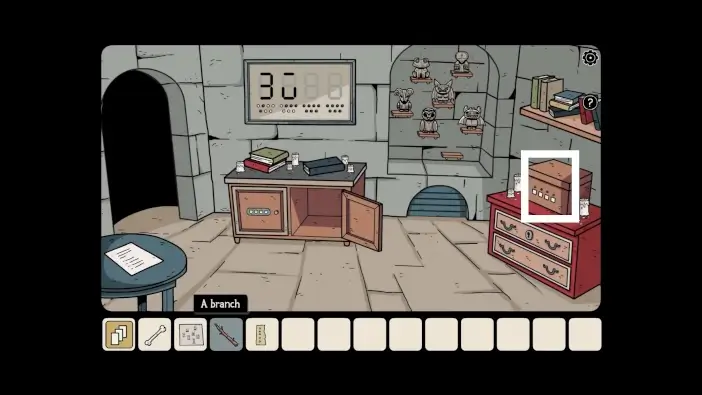
Go to the room on the right and approach the box.
The yellow circle represents a banana, and a banana has three worms. The red circle represents an apple, which has five worms, green represents a pear, which has seven worms, and orange represents an orange, which has two worms. Unlock the box like in the picture above and take the fox figurine.
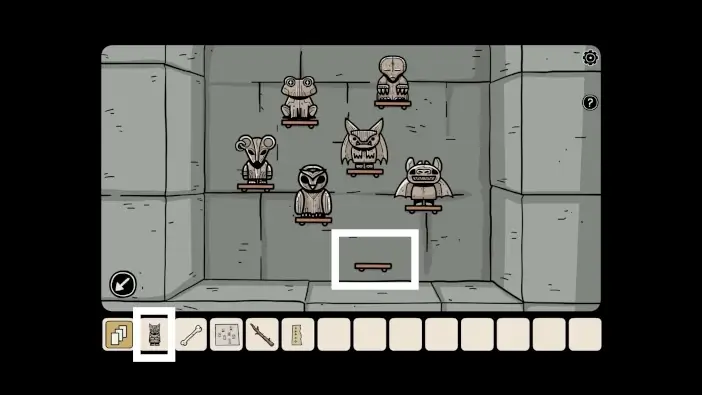
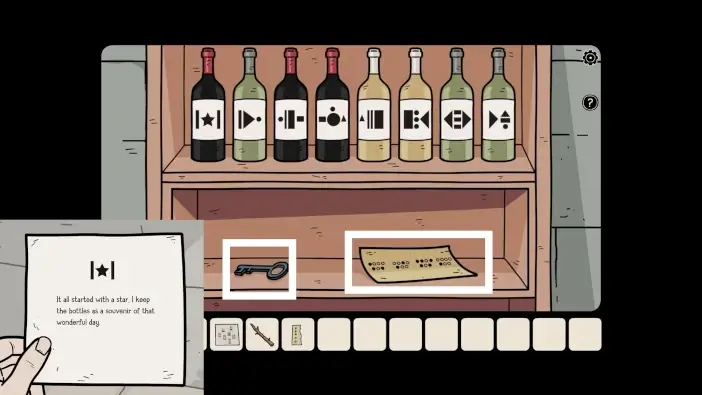
Return to the animal figurines and place the fox figurine on the lowest platform. A hidden compartment will open (the camera will automatically show its location). Take the wine bottle and the note.

Read the note you just picked up. It is a clue on how to rearrange the wine bottles on the shelf.
Go to the room where the cat is and approach the shelf.
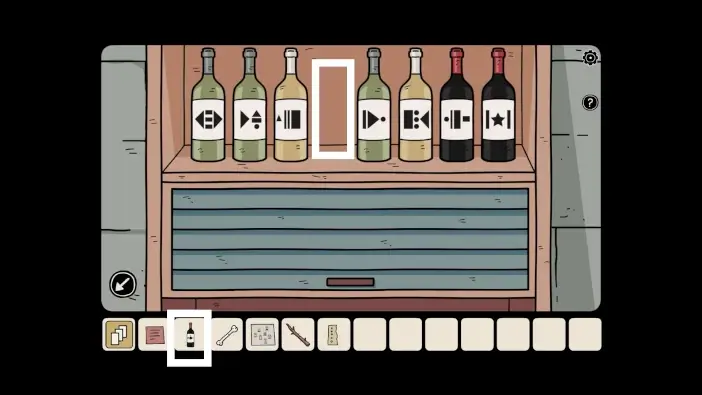
Place the wine bottle you just picked up.
Read the note to know which bottle should be the left-most. It is a bottle with a star on it. On the label of that bottle, to the right side of the star is a vertical line. Place the bottle next to the star bottle that has the same vertical line on the left side of its label. The same logic applies to the next bottles on the right. The symbol on the right side of a label of one bottle should match the symbol on the left side of the label of the other bottle. The solution is in the picture above.
Once you solve this puzzle challenge, take the key and the note for the digits puzzle.

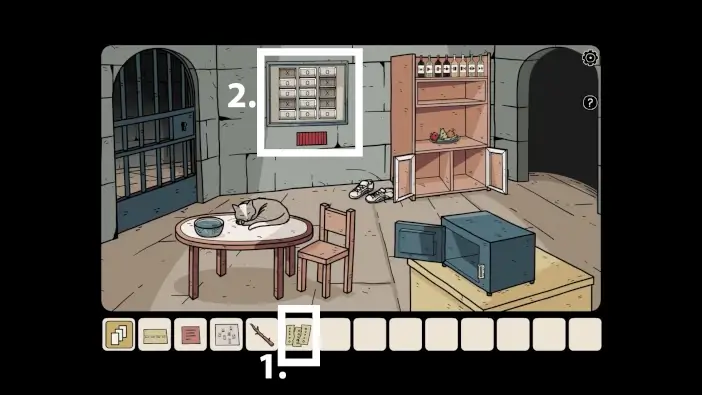
Go to the room on the right and approach the drawer. Unlock it with the key you just got. From the drawer, take the second part of the note for the X-O puzzle.
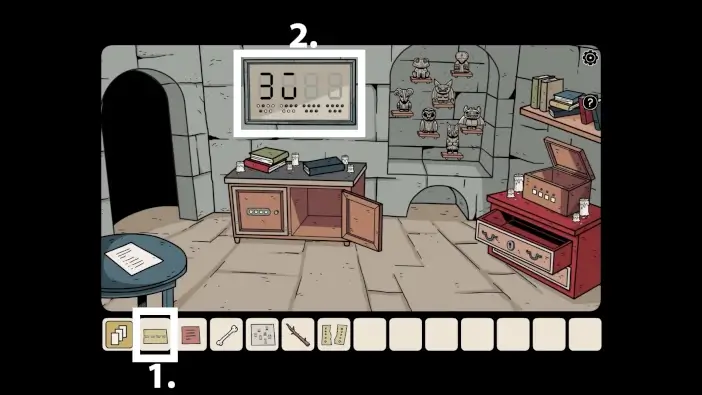
- Look at the clue for the digits puzzle.
- Approach the screen with digits.
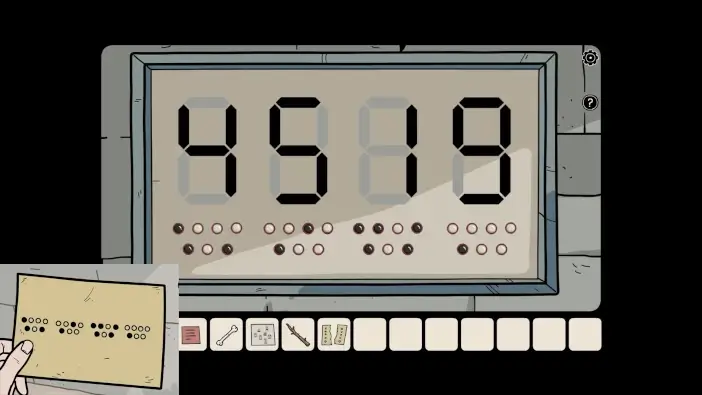
Activate the buttons below the digits to get the same color pattern from the note. You will get the number 4519 on the screen.
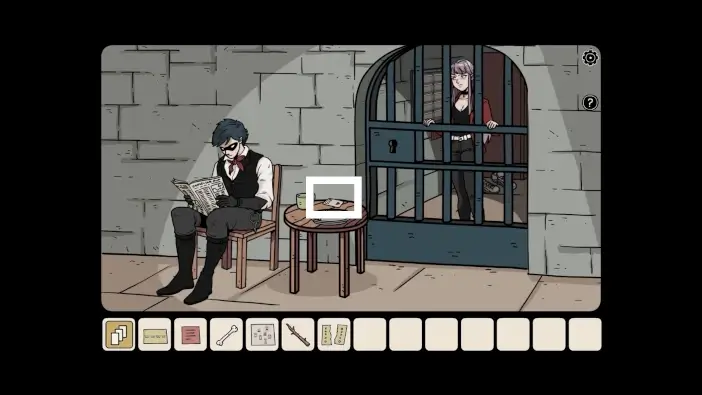
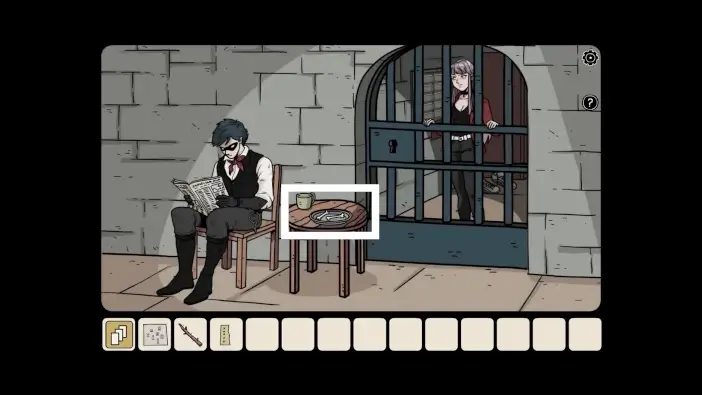
Go to the prison cell door and speak with the guard. When he asks you for the lottery number, give him the number 4519. He will give you the access card. Take it from the table.
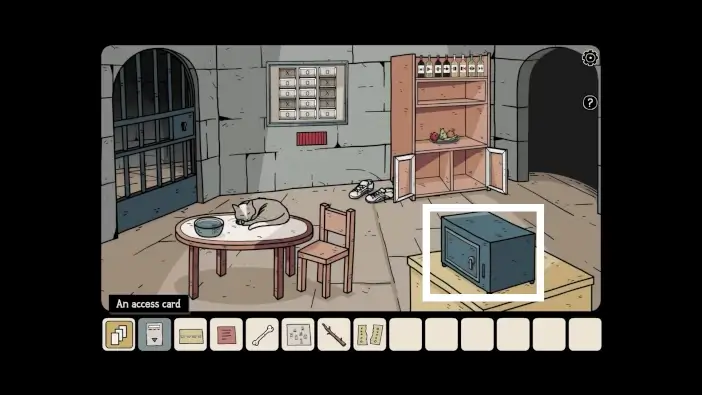
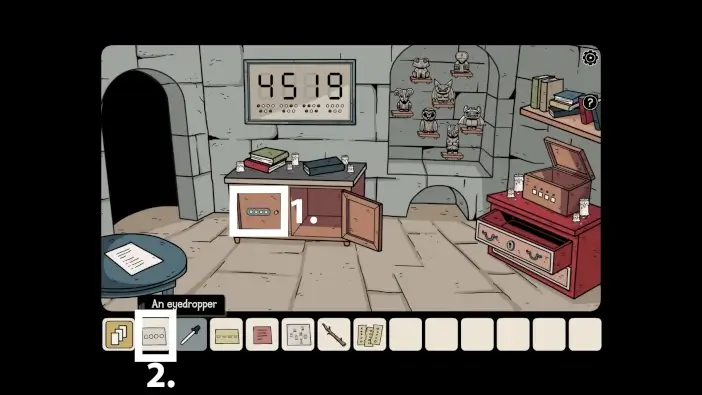
Return to your cell and approach the safe.
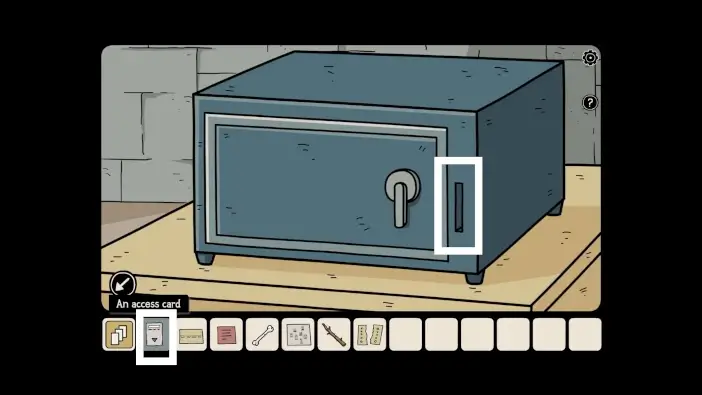
Insert the access card into the safe to unlock it. Take the grater and the third part of the note for the X-O puzzle clue.

In your inventory, use the grater on the bone to create bone dust.
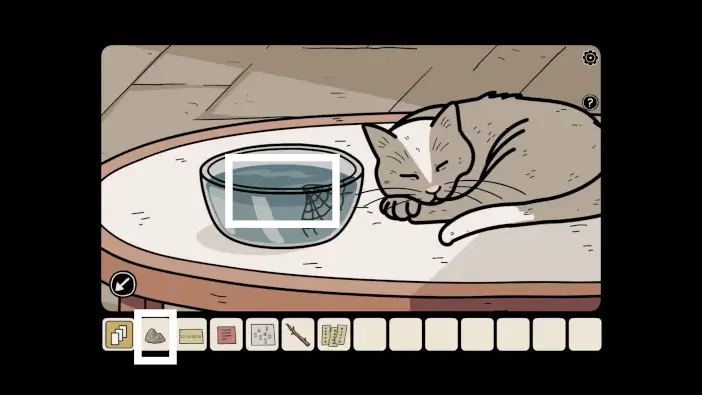
Approach the table and place the bone dust into the bowl.
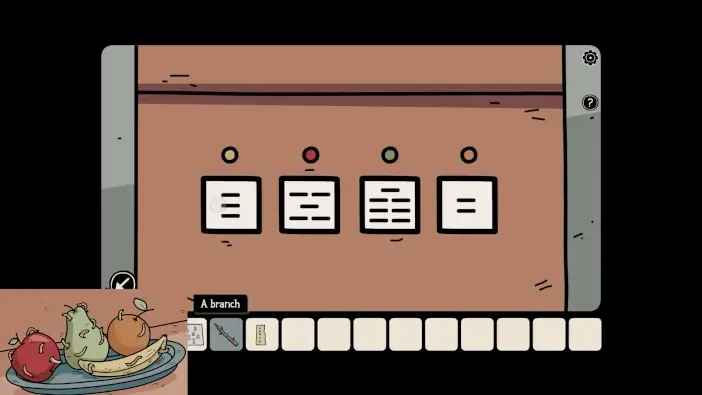
- Read all the pieces of the clue for the X-O puzzle and remember the positions of X signs.
- Approach the X-O puzzle.

When you tap on the O field, it will turn into an X field. Change the table so it has the same combination of X and O fields as on the torn note. Once you complete this puzzle challenge, take the eyedropper and another note with the clue.
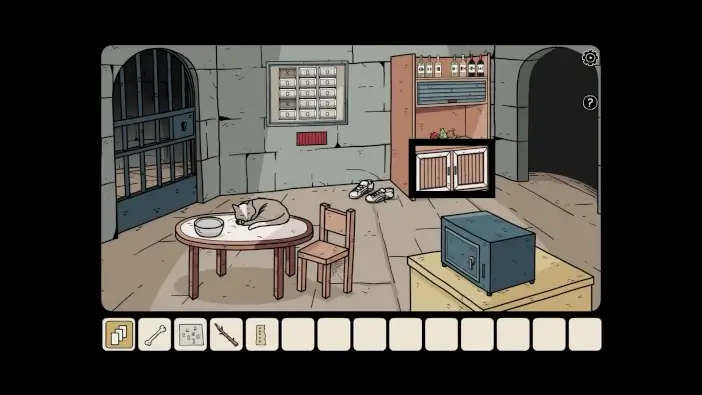
- Go to the right room and approach the left locked side of the cabinet.
- Check the note you just picked up after the X-O puzzle.
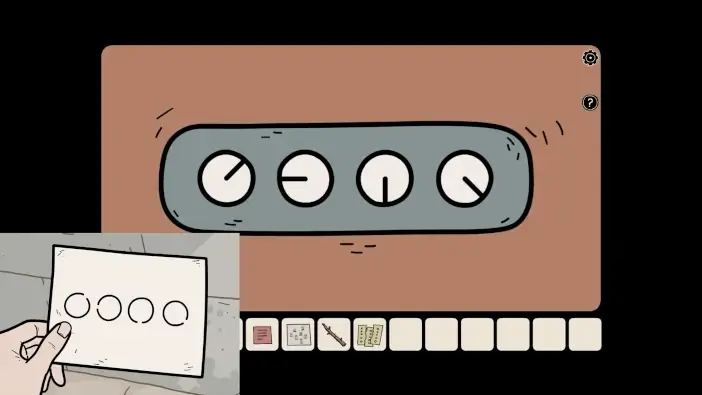
Using the clue from the note, rotate the knobs on the cabinet to unlock it. Once you unlock the cabinet, take the pepper shaker.
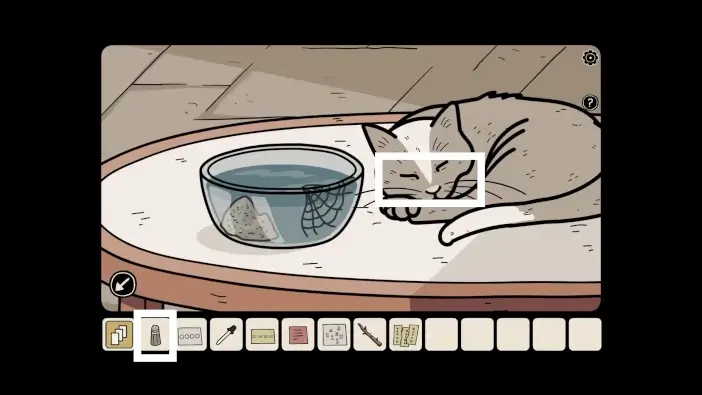
Go to the left room and approach the table. Use the pepper on the cat. The cat will sneeze into the bowl, and the sleeping potion will be completed.
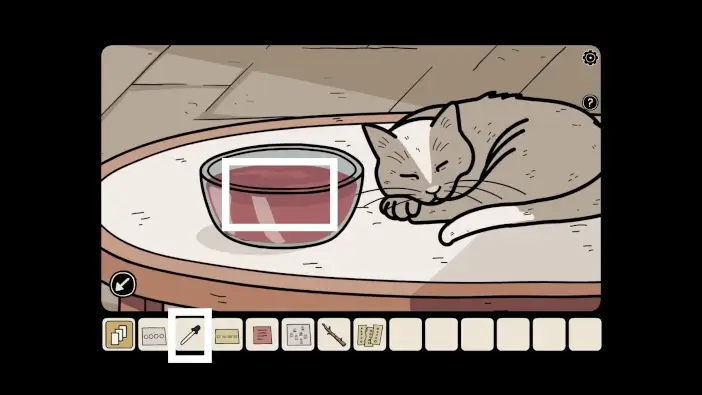
Use the eyedropper to take a sample of the sleeping potion.
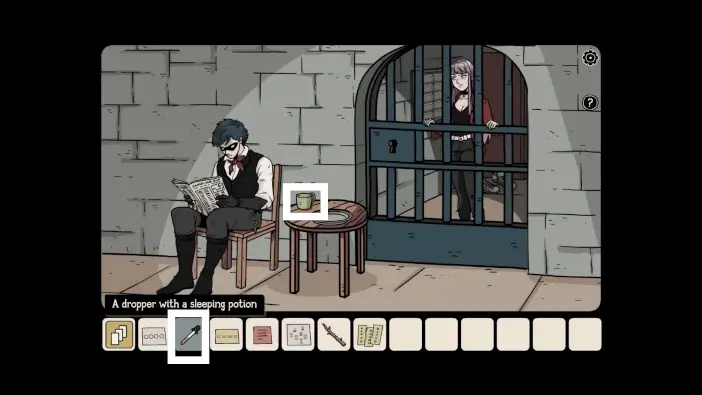
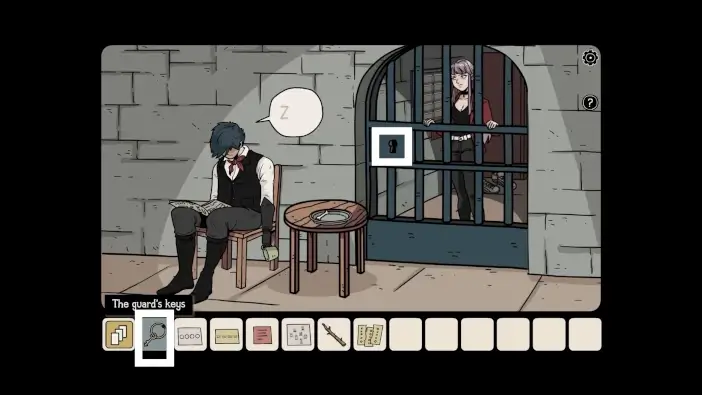
Go to the prison cell door and drop some sleeping potion into the guard’s mug.
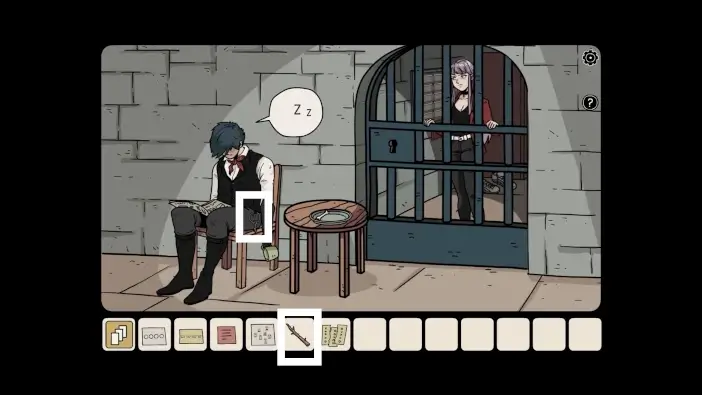
Once the guardsman falls asleep, take his key using the branch.
Unlock the prison cell door. Watch the mysterious ending and potentially an intro to the new game.
This will mark the end of Part 6 of our guide for Hidden Memories.
Thank you for reading!