Find Joe: Lumen – Chapter 2 | Part 3
Intro
Welcome to our walkthrough for Part 3 of the second chapter of the “Find Joe: Lumen” from “Mobiloids”. The virus, invented by a robot, Doug, destroyed nearly all humanity. Help Mike and his faithful robot friend Lumen survive, defeat the robots, and save humanity.
Seb’s House
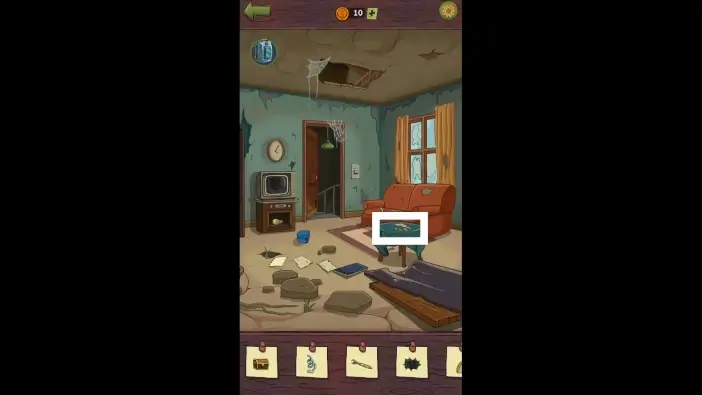
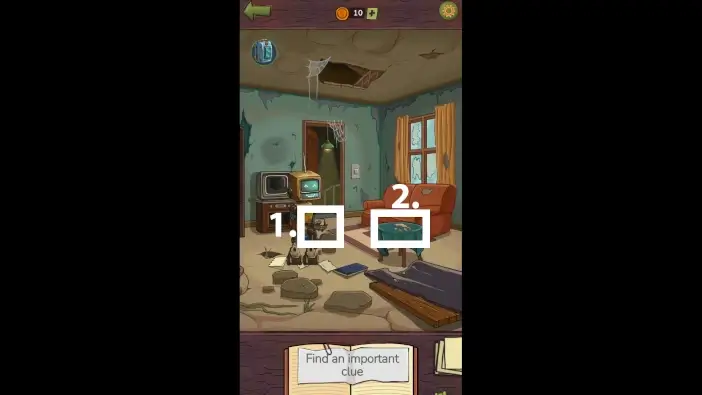
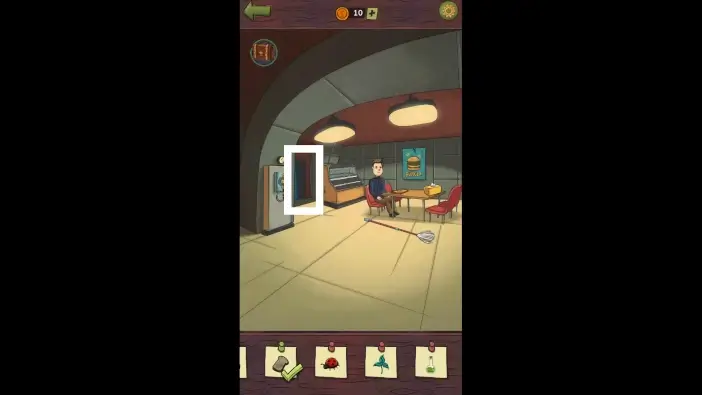
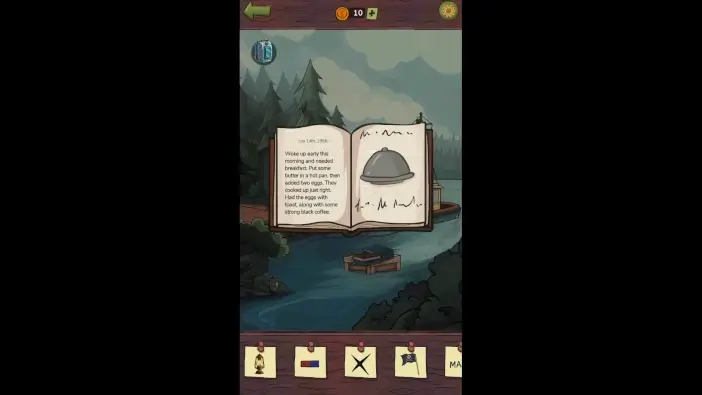
Approach the table.
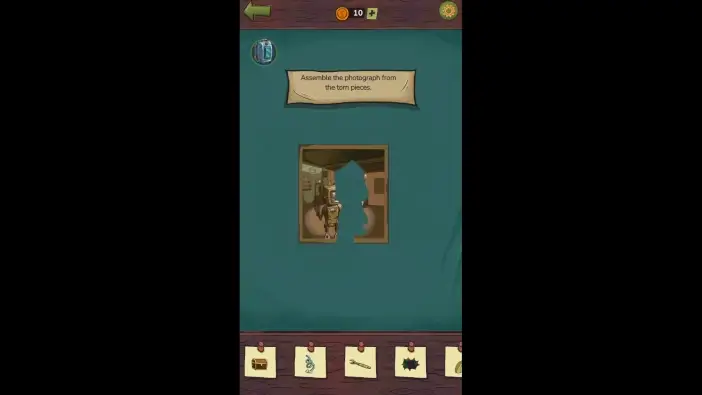
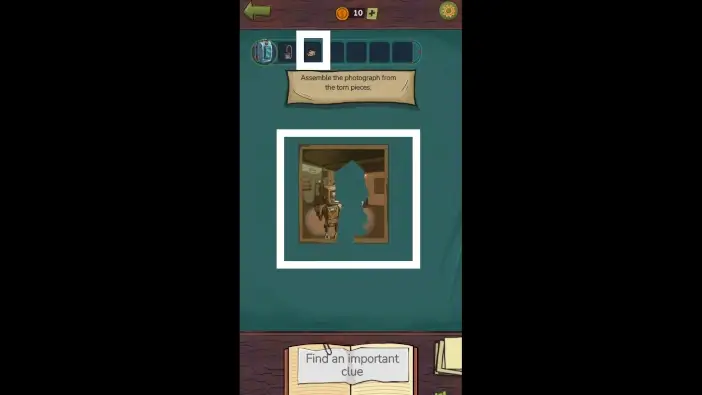
Assemble the photograph with the pieces you already have. To finish it, you will need a few more pieces, which you will get at the end of the level.
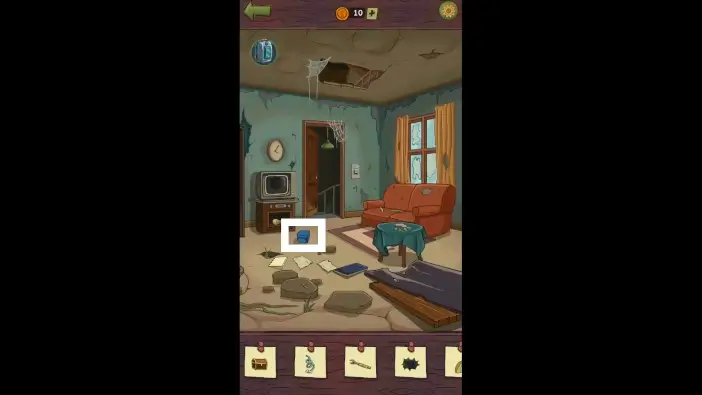
Approach the blue box on the ground.
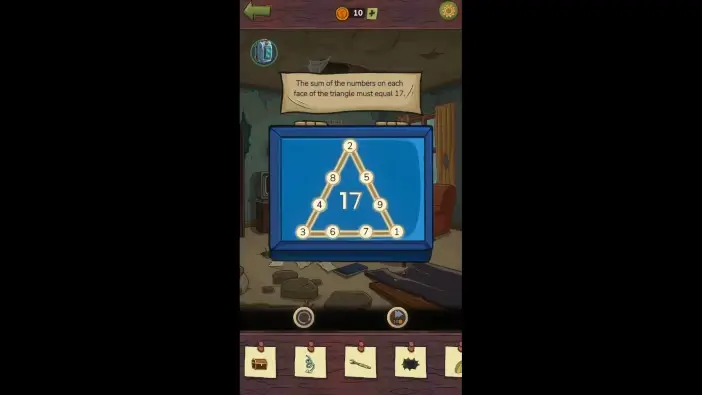
Place the numbers on the triangle so that each side of the triangle has a sum of 17. For example, the left side of the triangle can be 2 + 8 + 4 + 3 = 17.
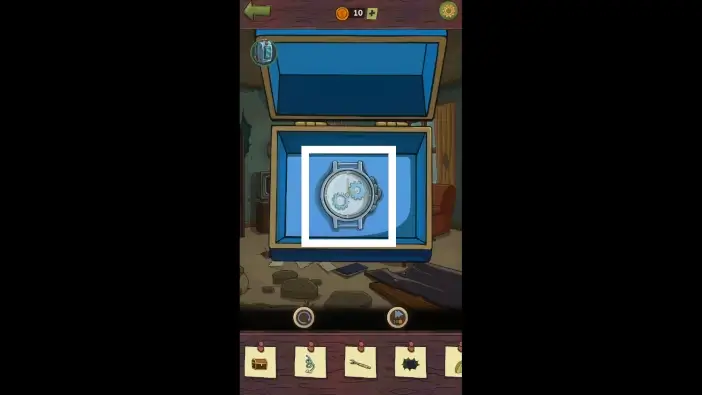
Once you finish the puzzle challenge, tap on the watch inside the box.
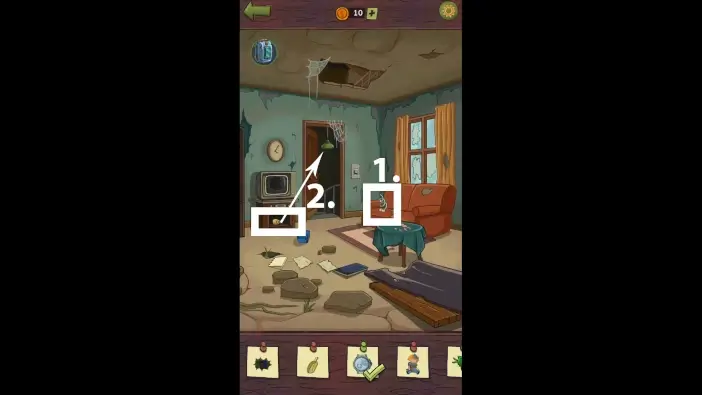
- Pull up the spring from the sofa, then tap on it.
- There is a lightbulb below the TV. Place the lightbulb into the pendant light.
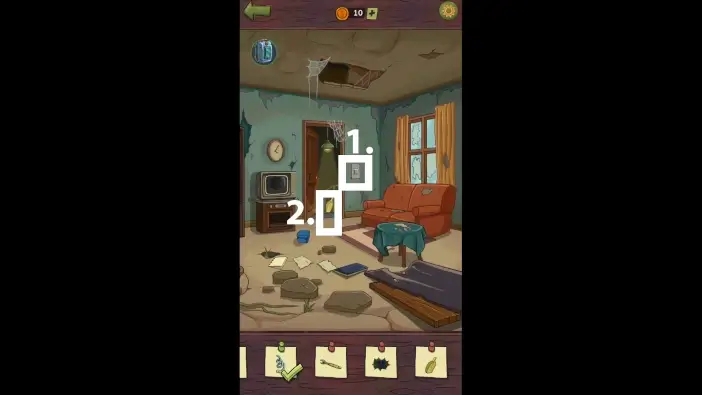
- Turn on the light in the garage using the light switch.
- Tap on the scoop.
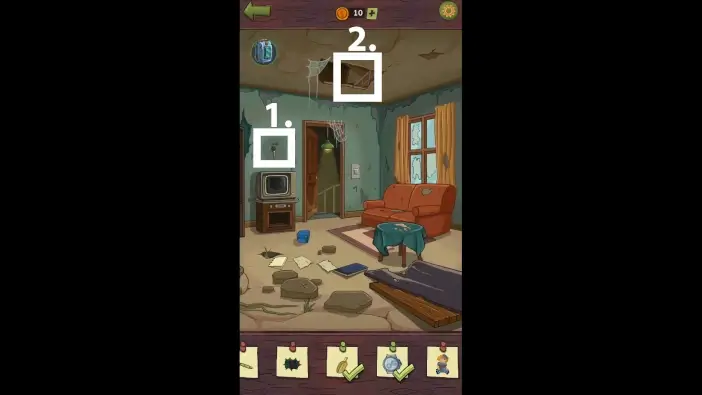
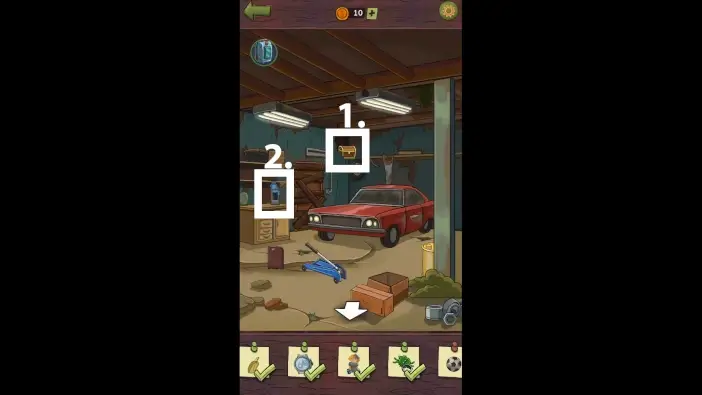
- Remove the clock to see a car key hanging on the wall. Take it to your inventory.
- Remove the stone from the attic to see the doll.
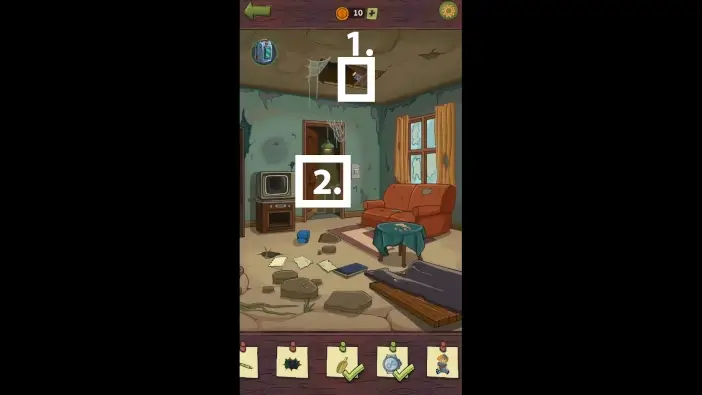
- Remove the doll from the attic. Tap on the doll once it falls to the ground.
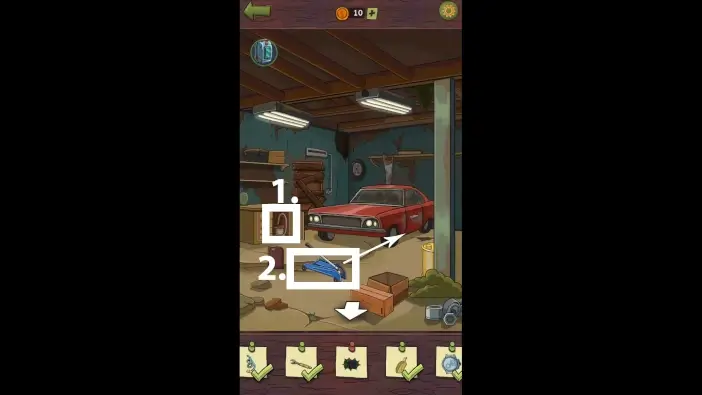
- Go to the garage.
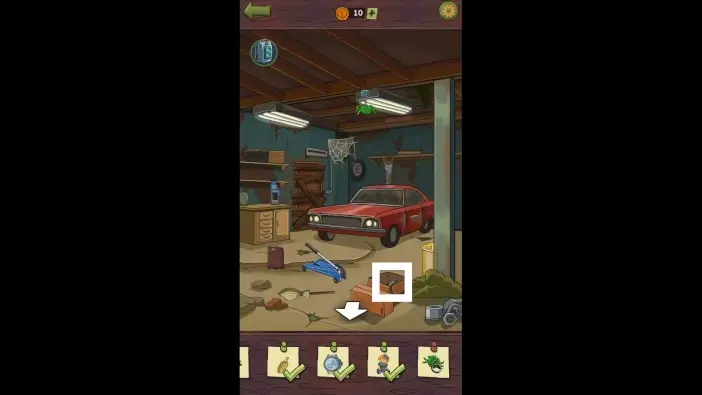
Take the screwdriver shaft from the box on the right.
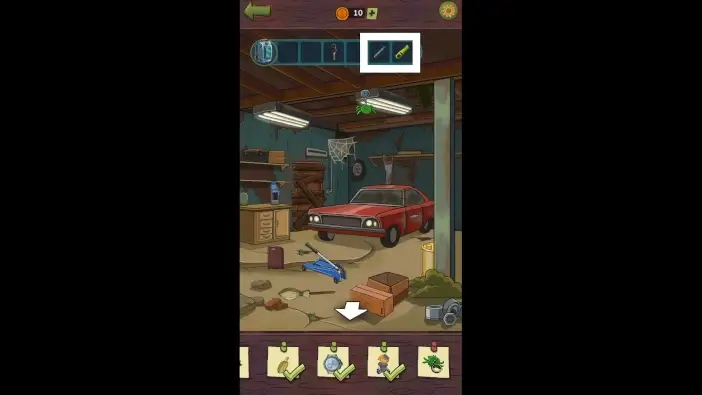
In your inventory, merge the screwdriver handle and the screwdriver shaft to create a screwdriver.
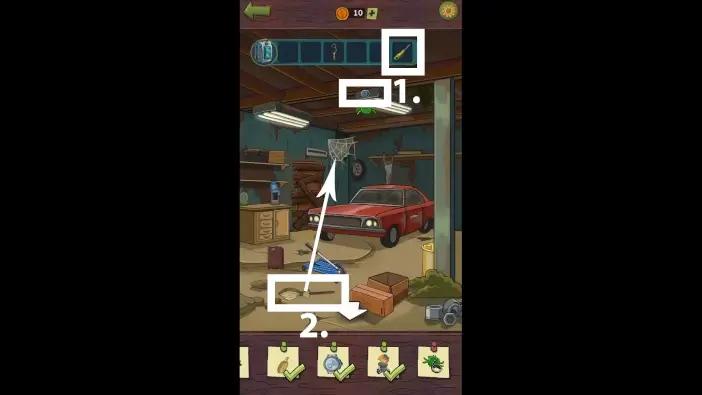
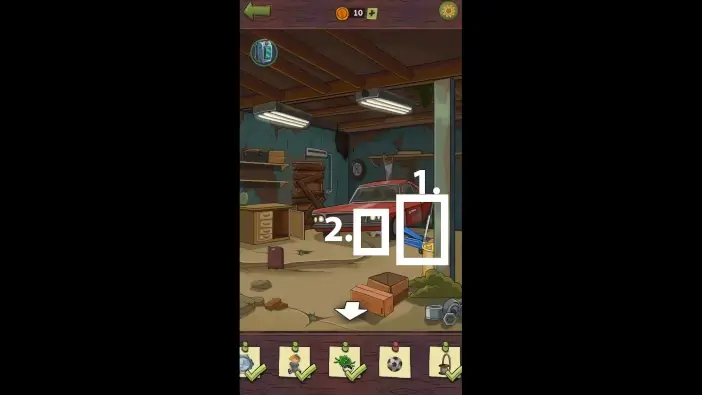
- Use screwdriver on the screw to make a green spider plushie fall to the ground. Once the spider falls, tap on it.
- Use a broom on the ground to remove the spiderweb from the crack on the wall.
- There will be a chest inside the crack. Move it slightly to see it fully, then tap on it.
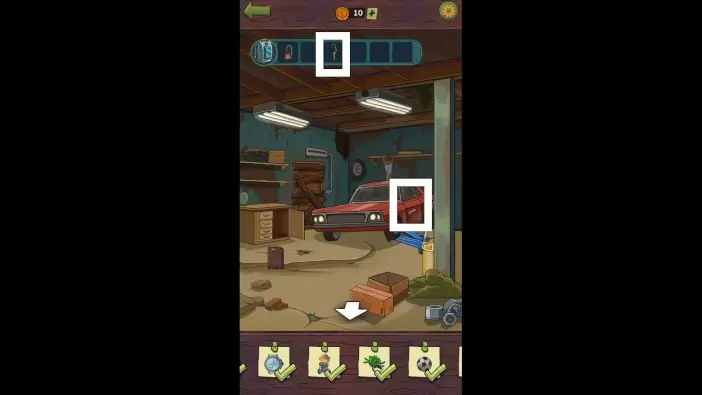
- Take the windshield washer fluid. It will be added to your inventory.
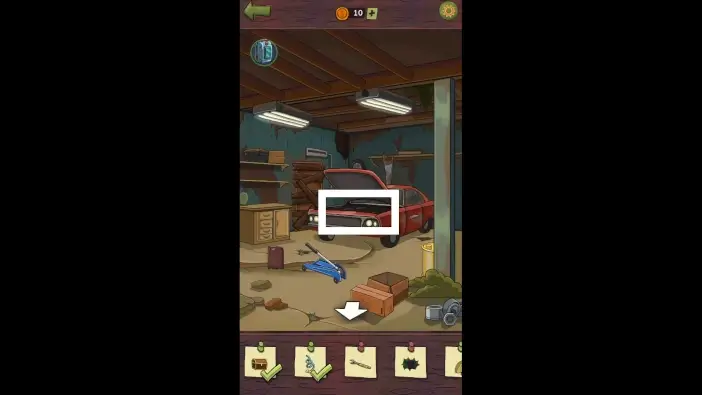
Open the car hood and approach the car.
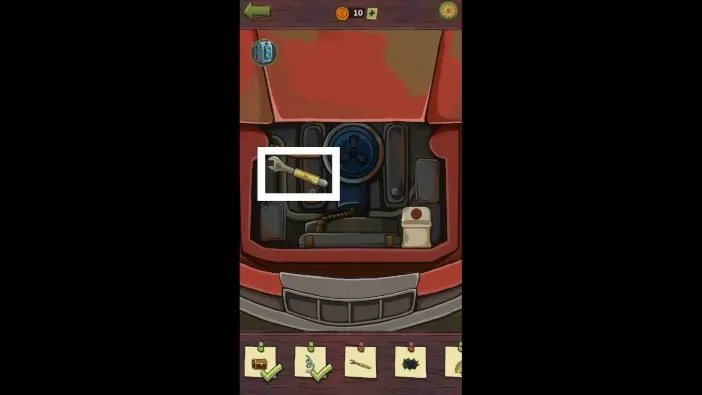
Tap on the wrench on the left.
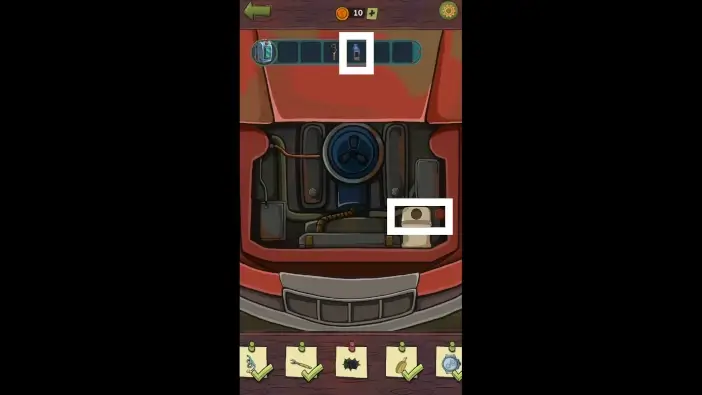
Open the container on the right and pour the windshield washer fluid inside it.
- Open the cupboard on the left and take the fishing line. It will be added to your inventory.
- Place the car jack below the car.
- Use the car jack to lift the car.
- Move the ball beneath the car. Once the ball is no longer beneath the car, tap on it.
Use a car key from your inventory to enter the car.
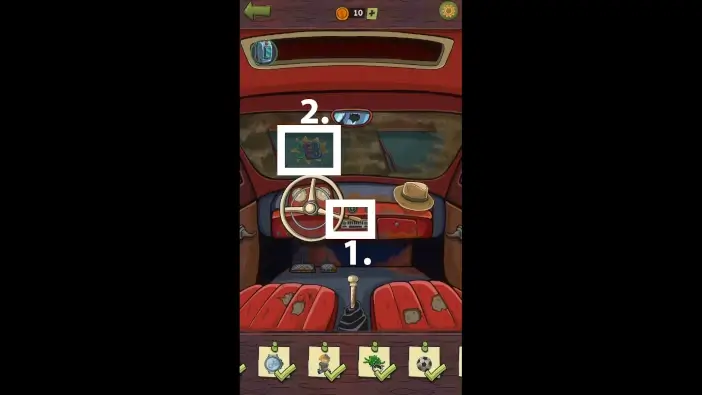
- Activate the windshield.
- Tap on the “SEB” graffiti that can be seen on the wall from the car.
- Once you find all the clues, go to the living room to talk with Seb. After the conversation is over, take the photo pieces from his hand.
- Approach the table.
Place the remaining pieces on the table.
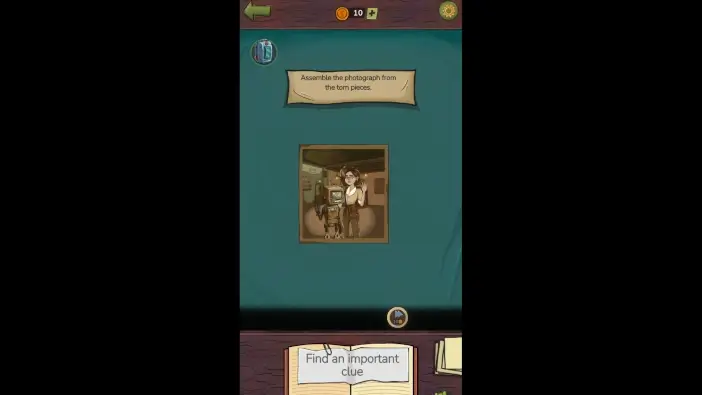
Finish assembling the photograph.
Bunker Greenhouse
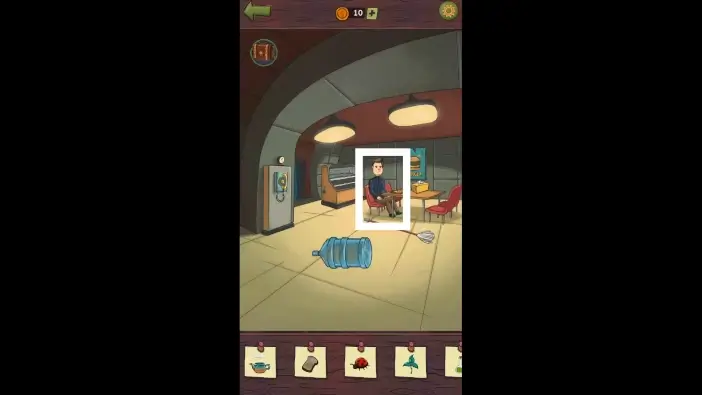
Speak with Mike’s boss. He will invite Mike to play a game he invented.

Your piece is green, and you need to capture the boss’s red piece. Each time you move your piece to an adjacent node, the boss will move his piece, trying to move away from you. Move your piece according to the numbered sequence in the picture above to win the game.
Tap on a cup that the boss is offering you as a reward.
- Move the box to reveal one of Robin’s notes on the wall. Pick the first note.
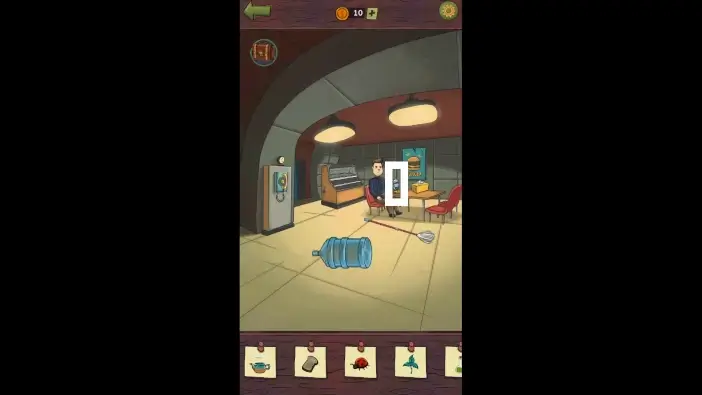
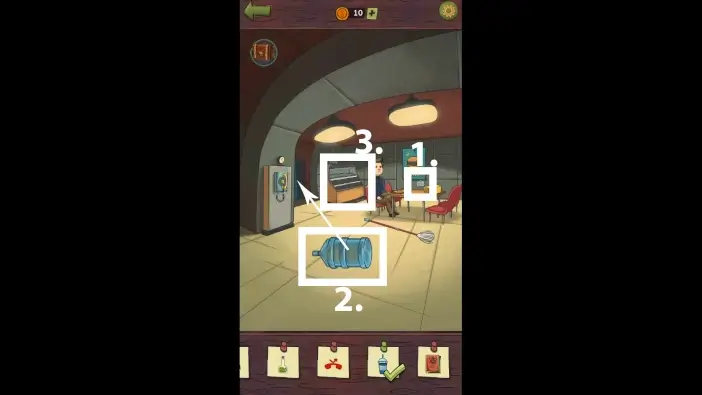
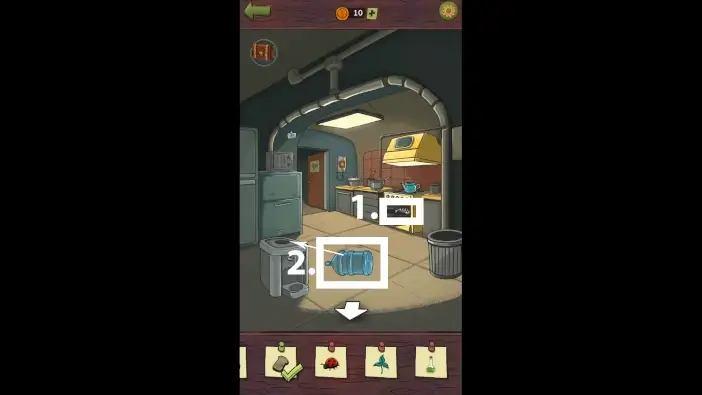
- Move the water container into the kitchen.
- Approach the food stall.
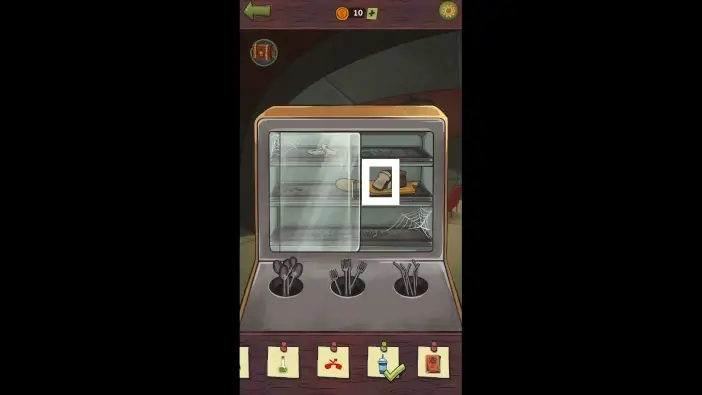
Open the display case and move the potato, then tap on the piece of bread.
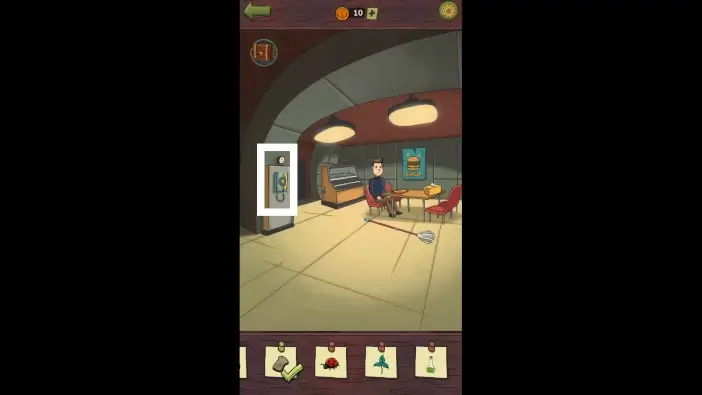
Check on the phone. This phone is out of order, but Mike will explain more about the phones in the bunker.
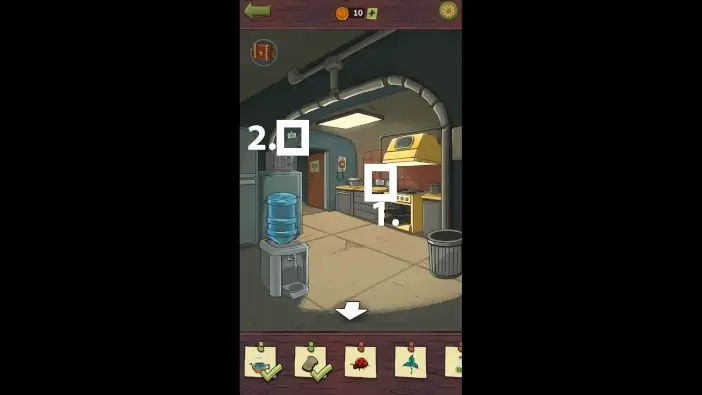
Go to the kitchen.
- Open the oven. Tap on the fish skeleton.
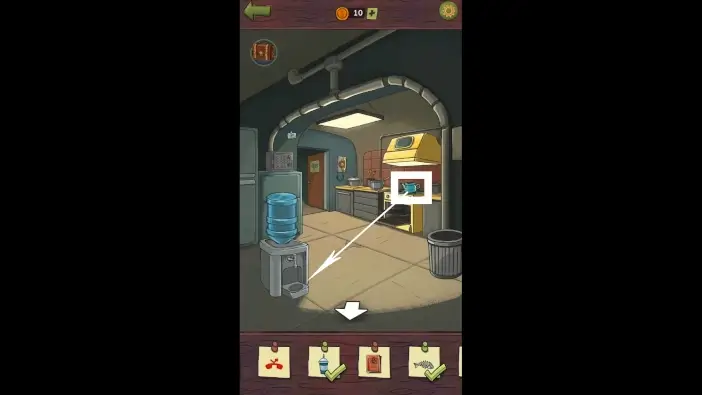
- Place the water container in the faucet on the left.
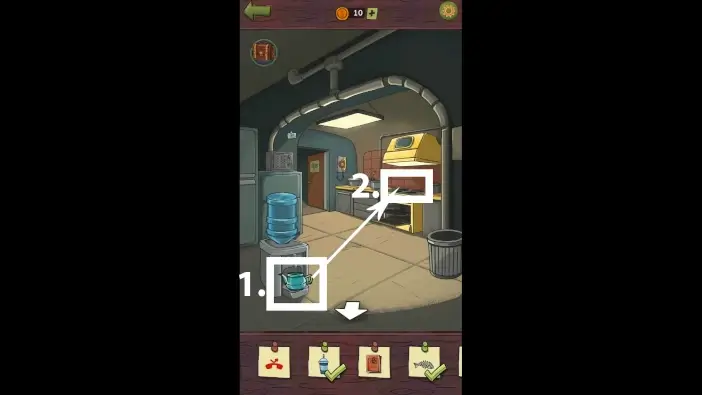
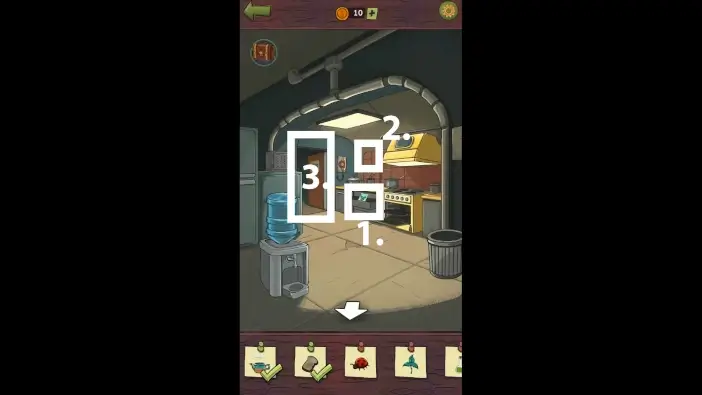
Place the teapot below the faucet.
- Fill the teapot with water.
- Place the teapot full of water on the stove. When water starts to boil, tap on the teapot.
- Move the kitchen pan to the side to see the second Robin’s note. Pick it up.
- Pick the third Robin’s note on the wall on the left.
- Open the drawer and take the basil seeds. It will be added to your inventory.
- Tap on the ceramic tile in the corner, next to the phone.
- Enter the greenhouse.
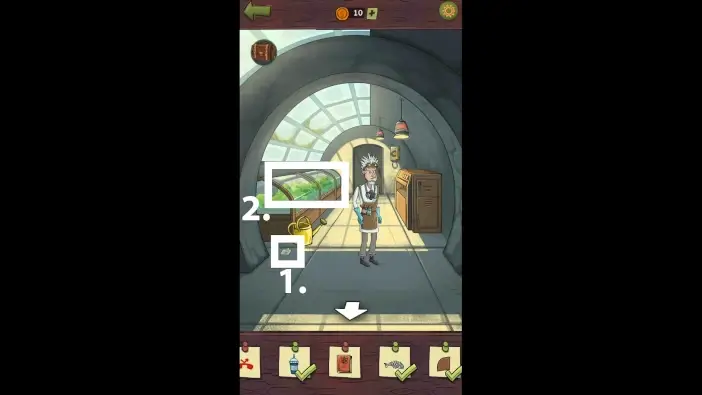
- Take the fourth Robin’s note in the left corner. All Robin’s notes act as one item in your inventory.
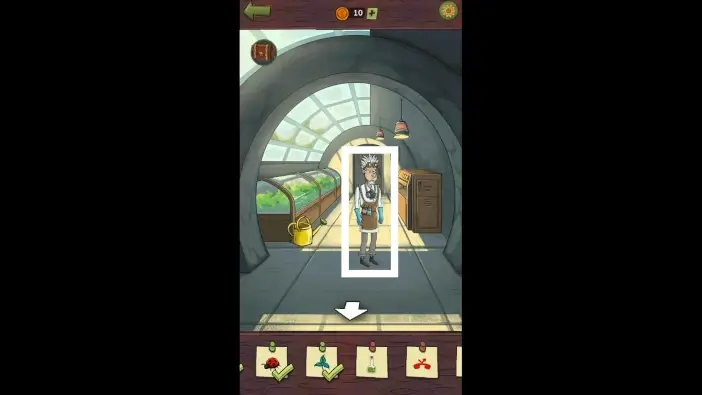
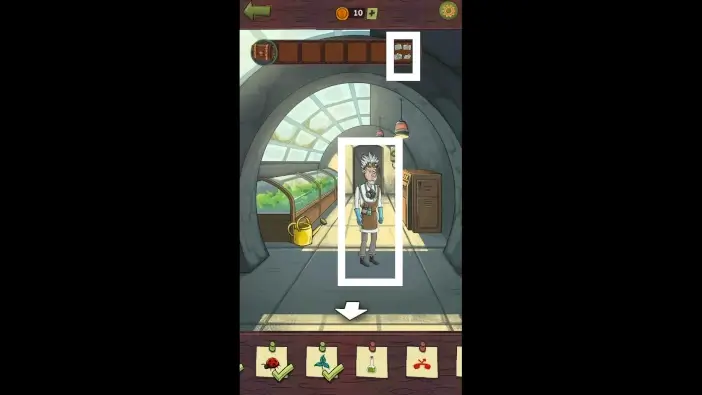
- Approach the plants.
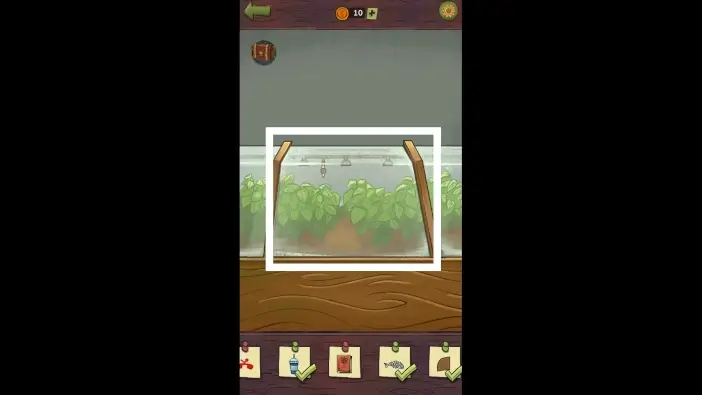
Open the display case.
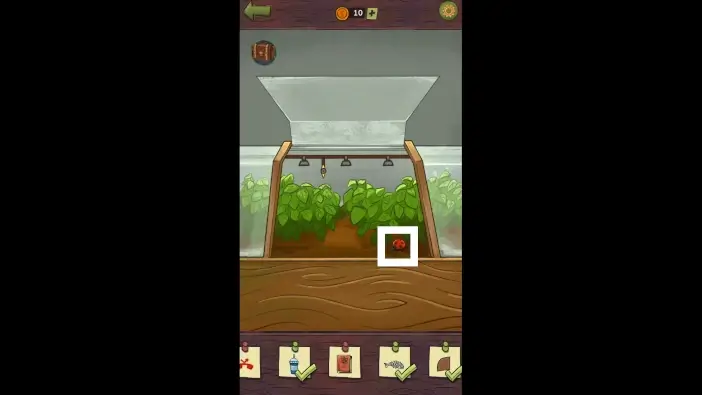
Tap on the ladybug.
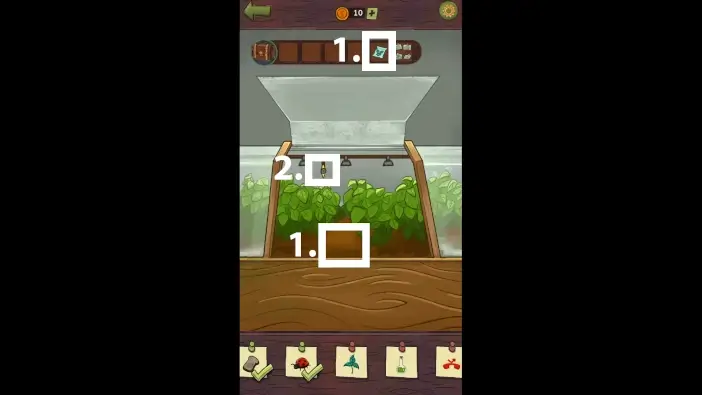
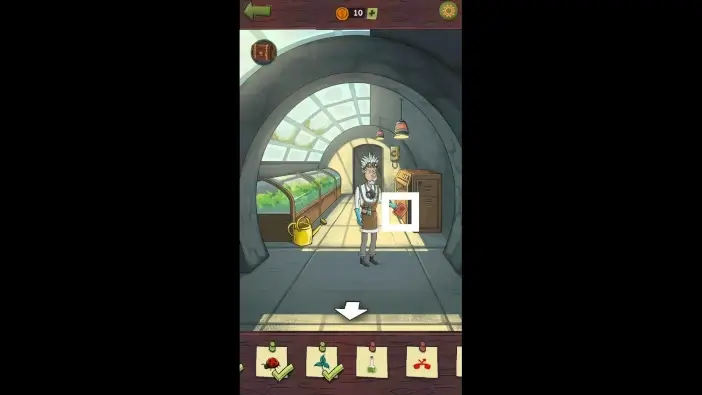
- Plant the basil seeds.
- Turn the valve to activate the water.
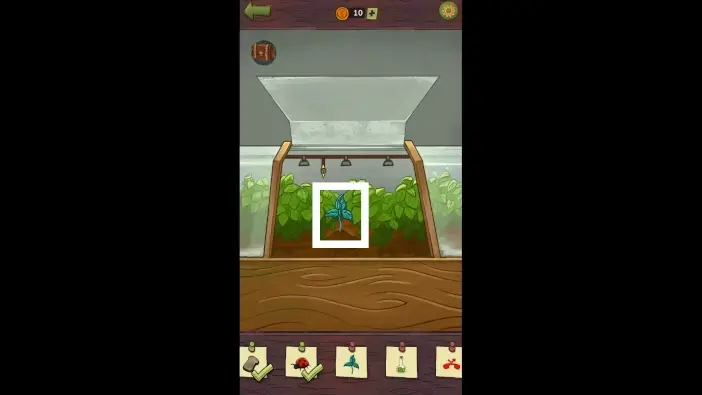
Tap on the basil once it is grown.

Approach the phone in the greenhouse.
Remember the number. You will call that number later.
Speak with Robin.
Give Robin all his notes.
Tap on the book that Robin is giving you.
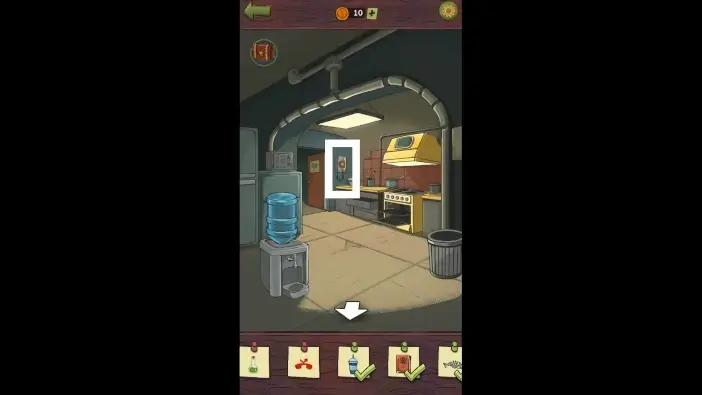
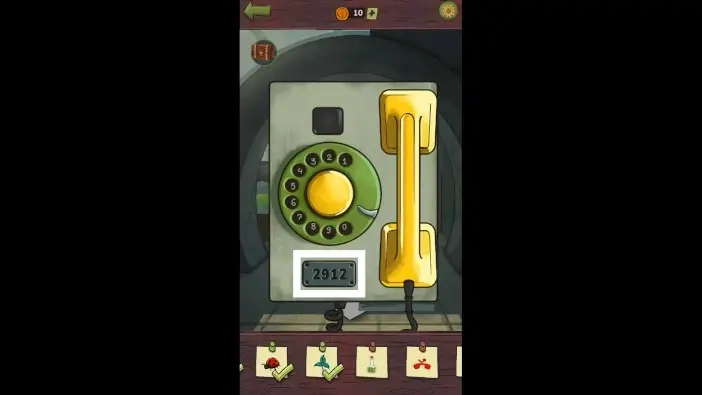
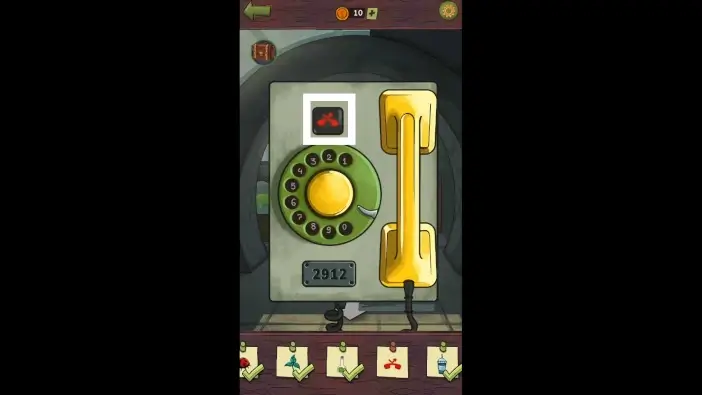
Go to the kitchen and approach the phone.
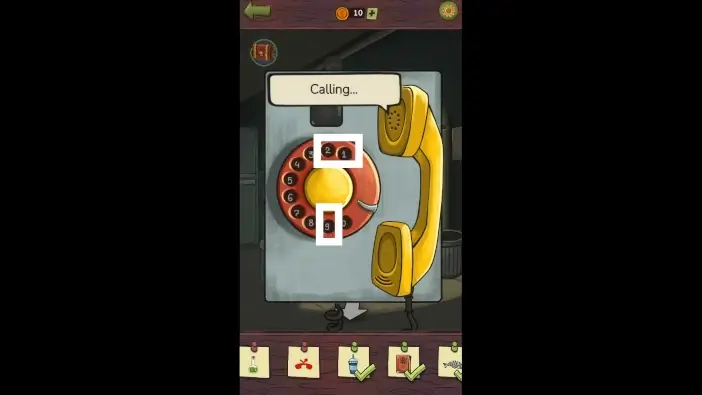
Call the number “2912”.
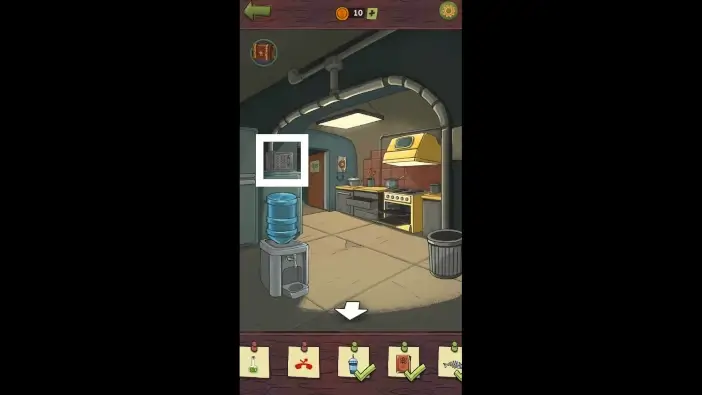
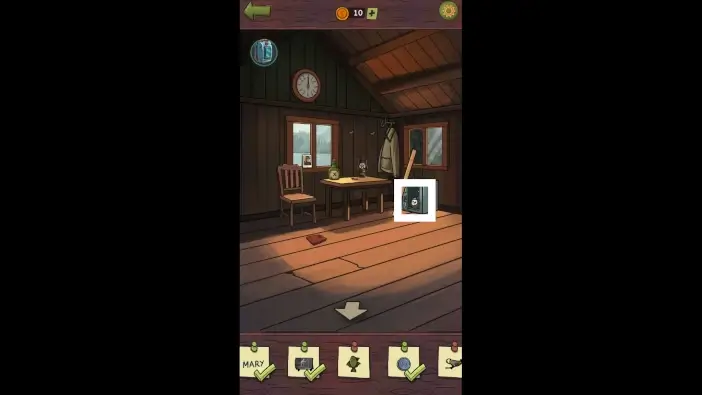
In the kitchen, approach the safe on the left.
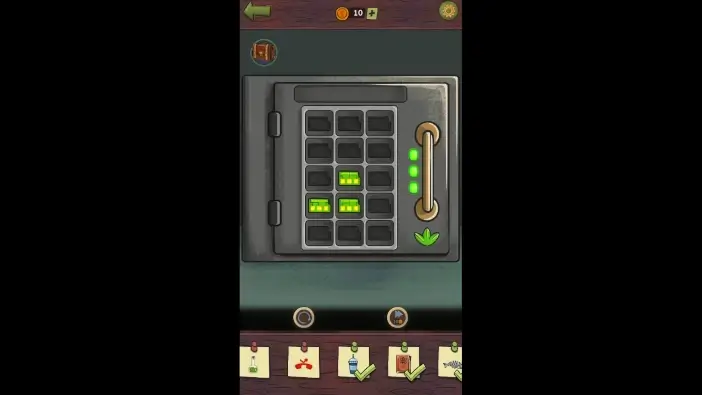
Place the chips like in the picture above to unlock the safe.
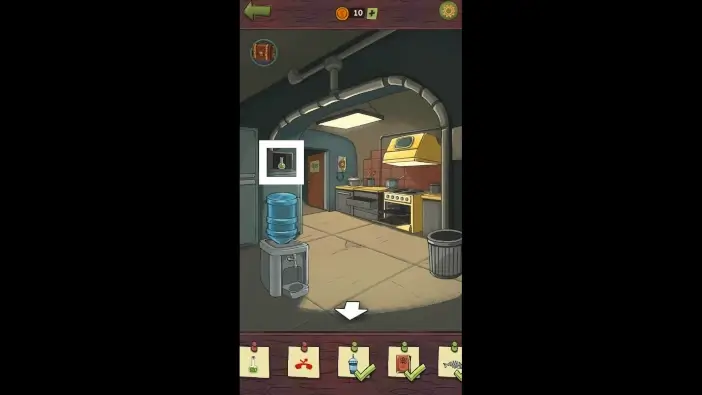
Tap on the vial.
Go to the greenhouse and approach the phone. Tap on the missed call icon.
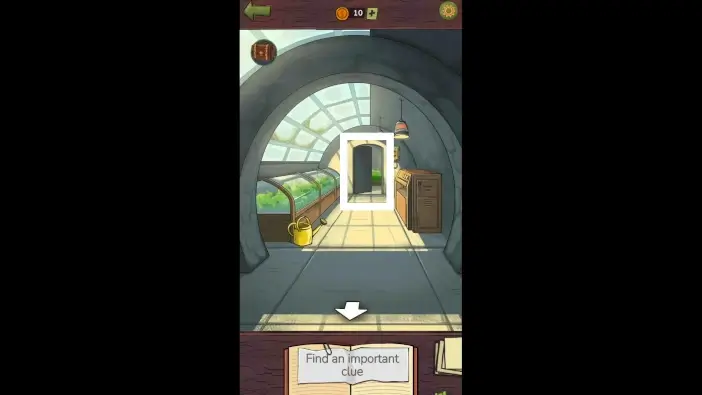
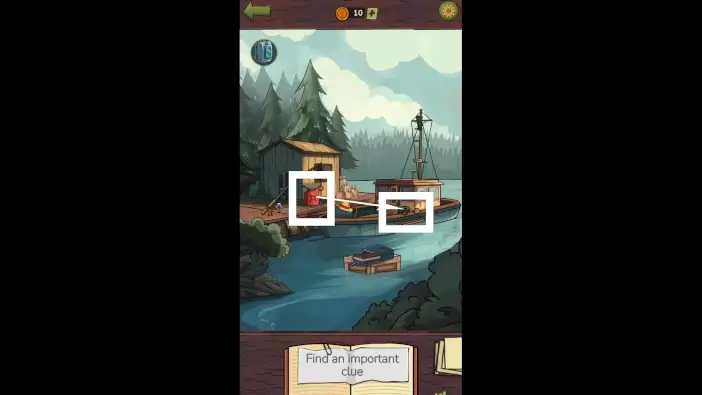
Once you find all the clues, go to the garden.
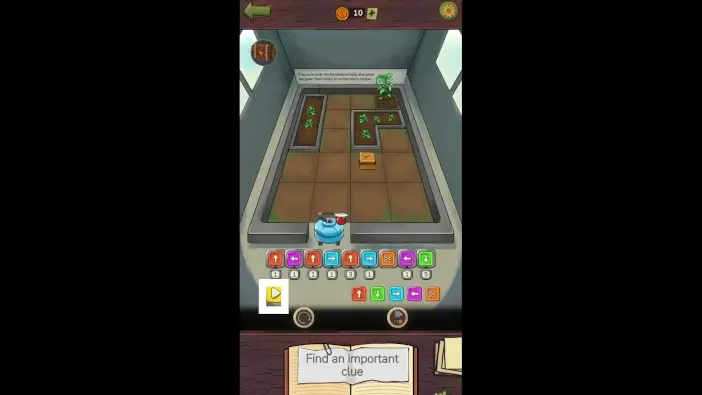
Place the sequence of movement to program a robot to harvest a tomato and return to the starting position. Some movements require a number of repetitions. The solution is in the picture above: 1 up, 1 left, 1 up, 1 right, 3 up, 1 right, harvest (scissors icon), 1 left, 5 down.
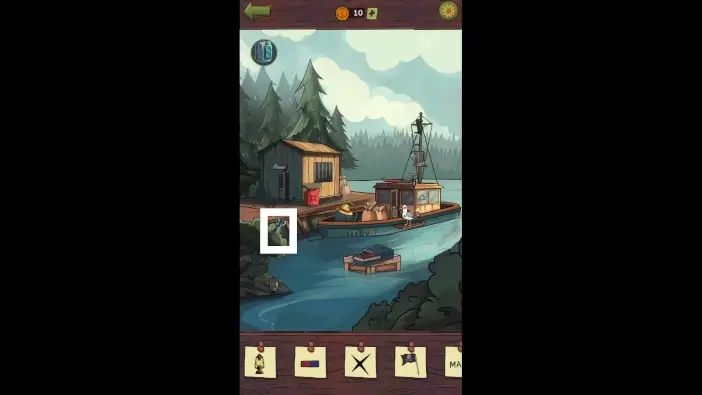
Pier
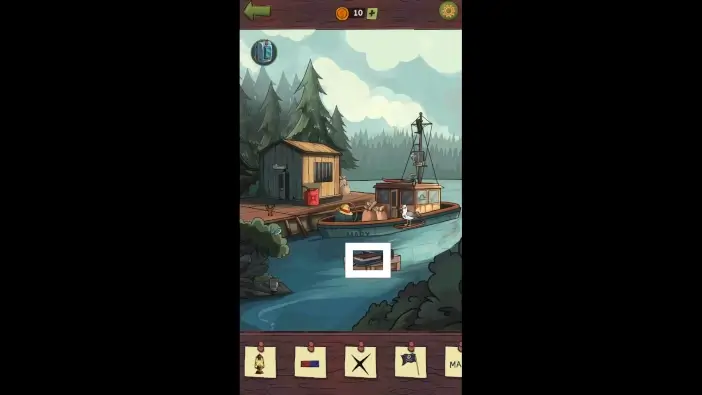
Open the bag on the floating box and read the book.
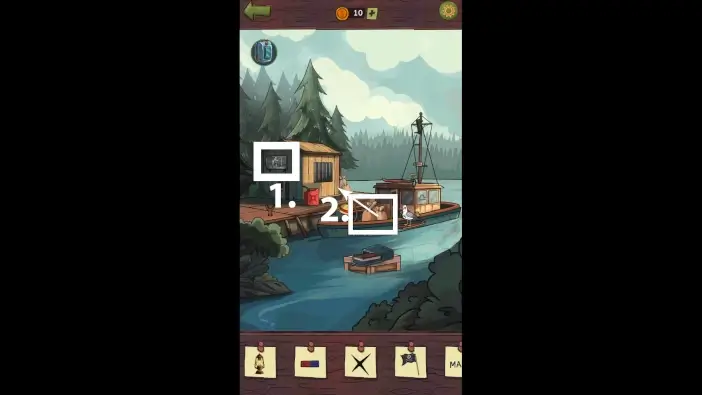
There are scissors in the bush on the left. Move the scissors to see them better, then take them. They will be added to your inventory.
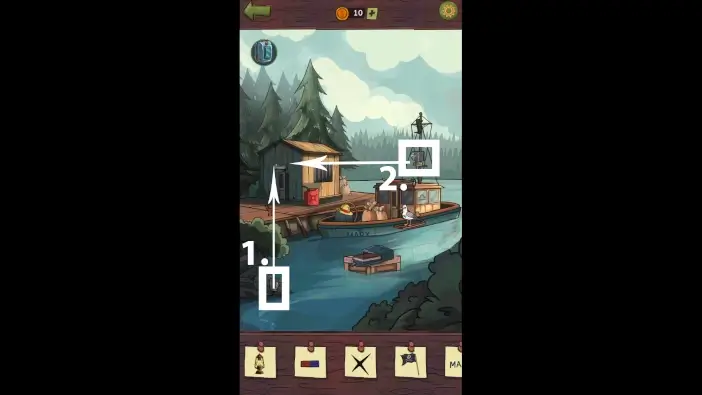
Reconstruct the sign above the cabin’s door. One part of the sign is near the bush and another at the sail.
- Tap on the sign above the cabin’s door.
- Remove the sacks from the ship. Place the sacks near the cabin.
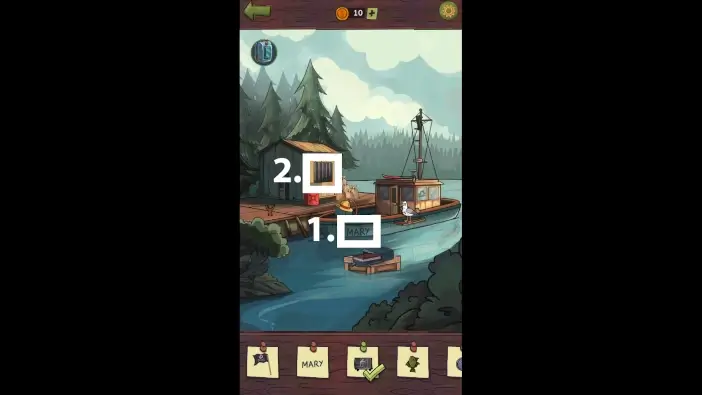
- Once you remove all the sacks, the boat will rise slightly. You will see the name of the boat completely. Tap on the “MARY” name.
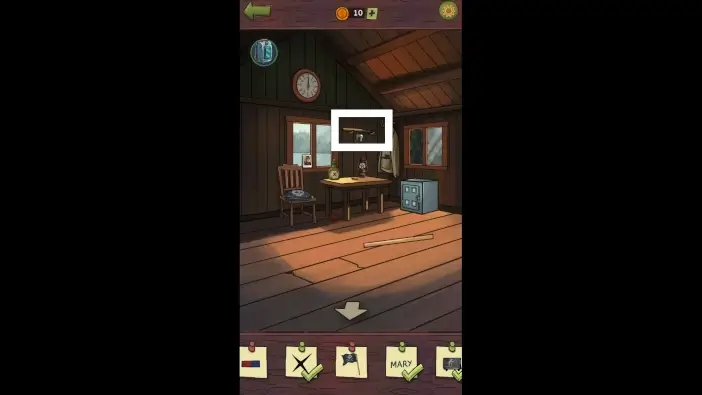
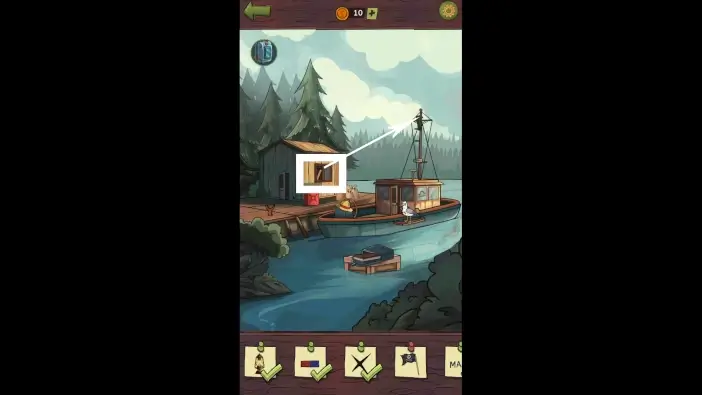
- Approach the cabin’s window.

Remove the lid and tap on the mark on the wall.

- Take the crowbar from the boat. It will be added to your inventory.
- Enter the cabin.
Inside the cabin, take the fishing rod handle.
In your inventory, merge the fishing rod handle and the fishing line to create a functional fishing rod.
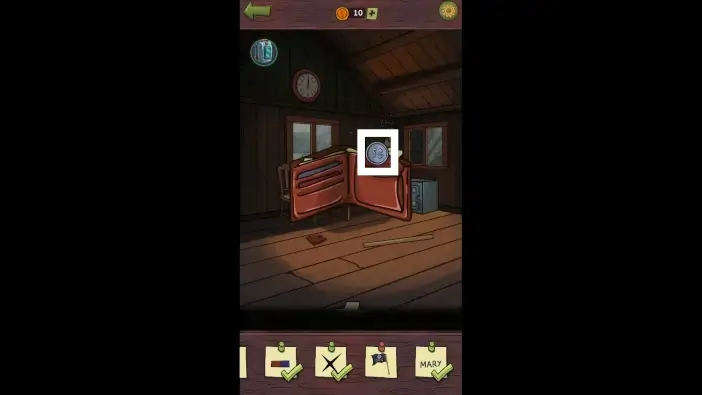
- Take the magnet from the pocket of a coat (you’ll need to move the magnet upwards first to see it better, then take it). The magnet will be added to your inventory.
- Take the flag cloth from the chair.
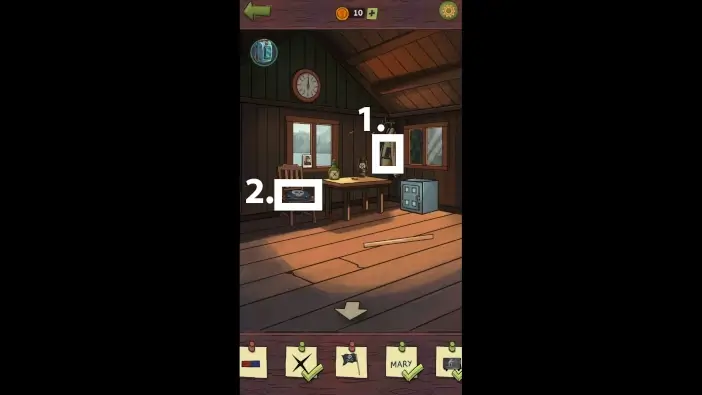
Beneath the table, there is a wallet. Move it away from the table, then take a closer look.
Search the right part of the wallet and tap on the 5-cent coin.
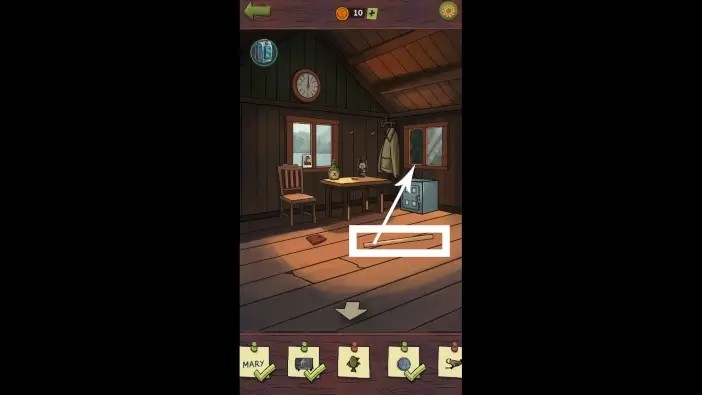
There will be a wooden bar on the floor. Place it on the safe, near the window.
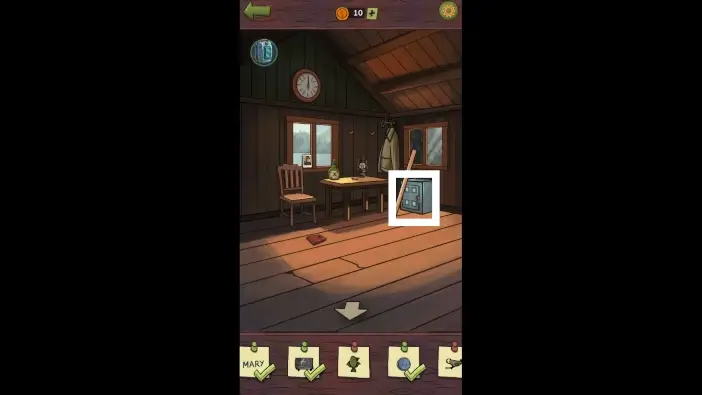
Approach the safe.
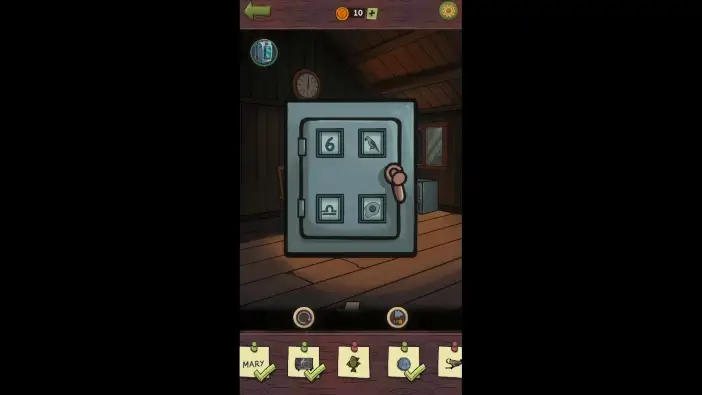
Set the four symbols like in the picture above to unlock the safe.
Tap on the bomb inside the safe.
Use a crowbar from your inventory to remove the board from the floor.
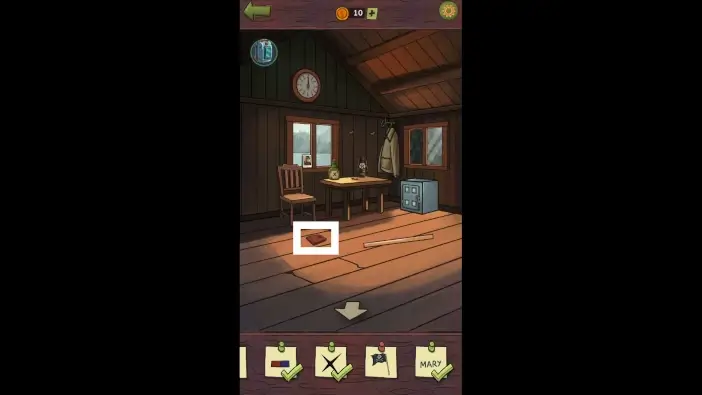
- Tap on the object that was beneath the board.
- Approach the table.
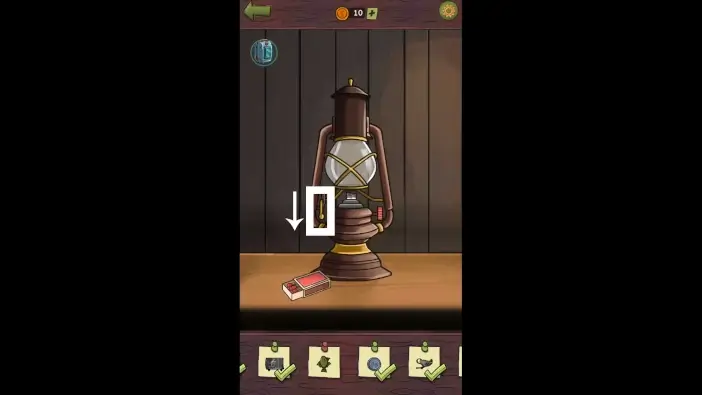
Move the lock on the left down to lift the lantern’s glass.
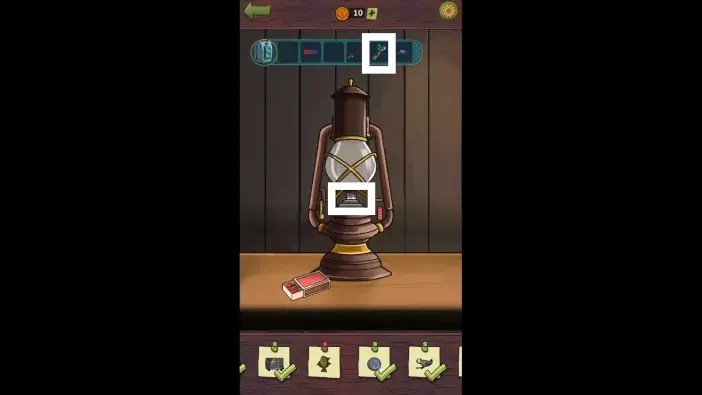
Use scissors from your inventory to cut and remove the burnt fuel cell.
- Use the wheel on the right to raise a new fuel cell.
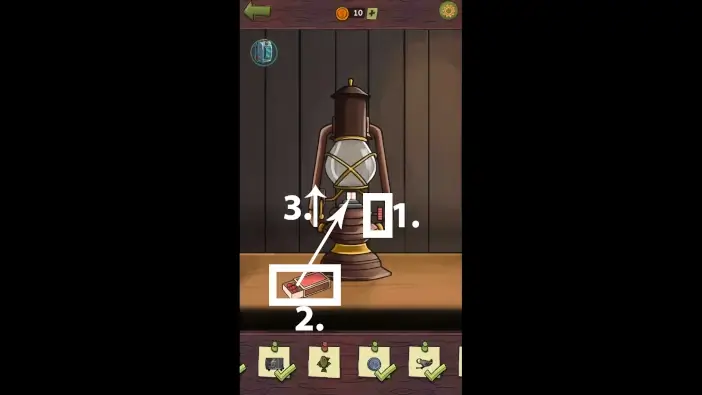
- Use matches next to the lantern to burn the fuel cell (drag and hold your finger on the screen at the fuel cell).
- Use the lock mechanism to return the glass.
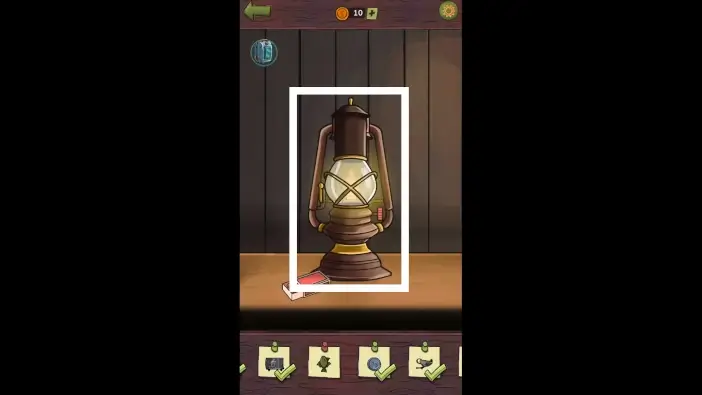
Tap on the shining lantern.
Exit the cabin. Move the wooden pole you moved recently near the window and place it at the sail.
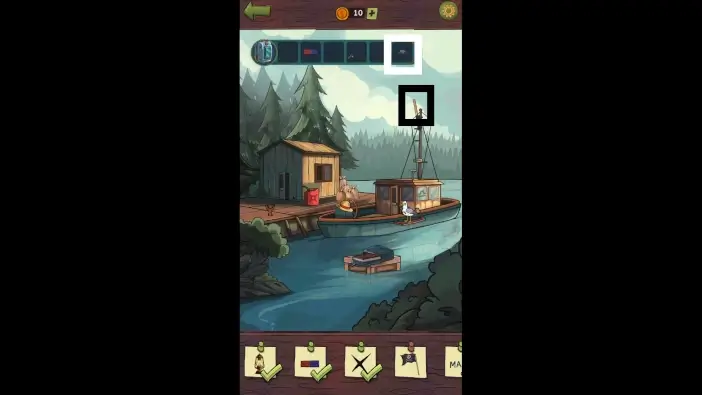
Raise the flag in your inventory on the pole.
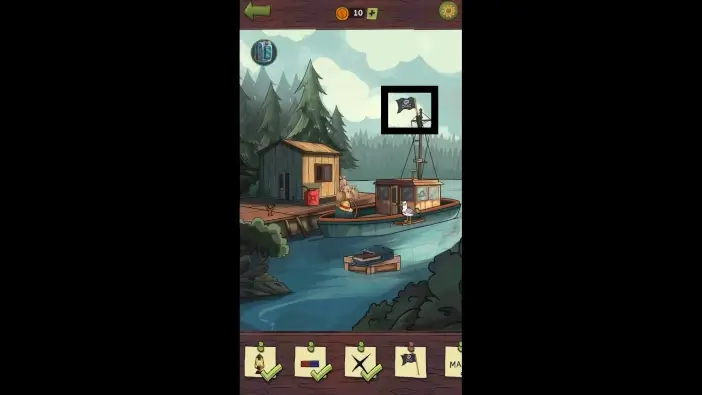
Tap on the flag.

Place the fishing rod in the holder on the left.
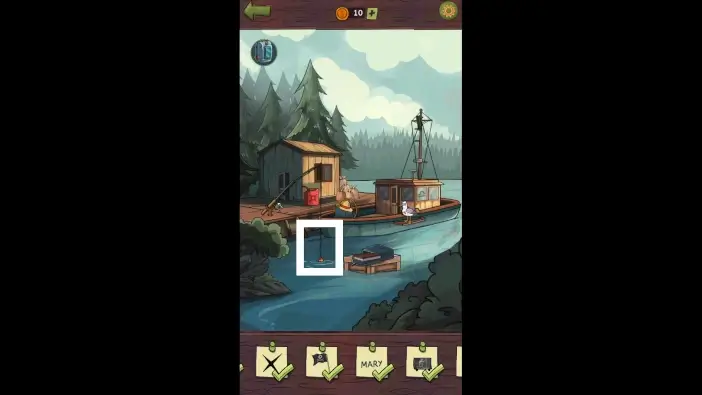
Once the fish catches the bait, move the bait upwards. Tap on the caught fish.
Once you find all the clues, use the fuel can near the cabin to fuel the boat.
This will mark the end of Part 3 of our guide for Chapter 2 of the Find Joe: Lumen.
Thank you for reading!