Find Joe: Lumen – Chapter 2 | Part 1
Intro
Welcome to our walkthrough for Part 1 of the second chapter of the “Find Joe: Lumen” from “Mobiloids”. The virus, invented by a robot, Doug, destroyed nearly all humanity. Help Mike and his faithful robot friend Lumen survive, defeat the robots, and save humanity.
Bus Station
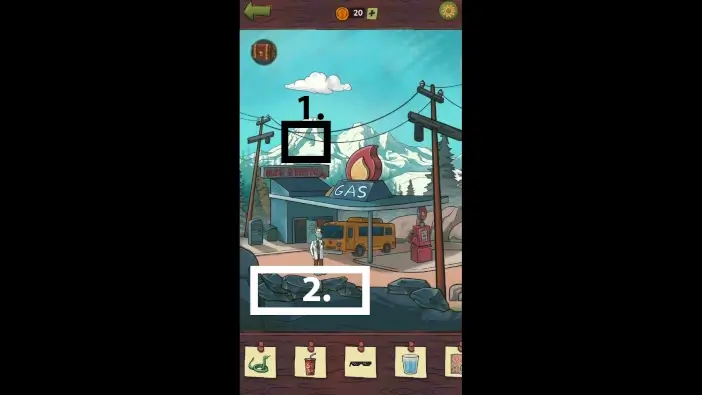
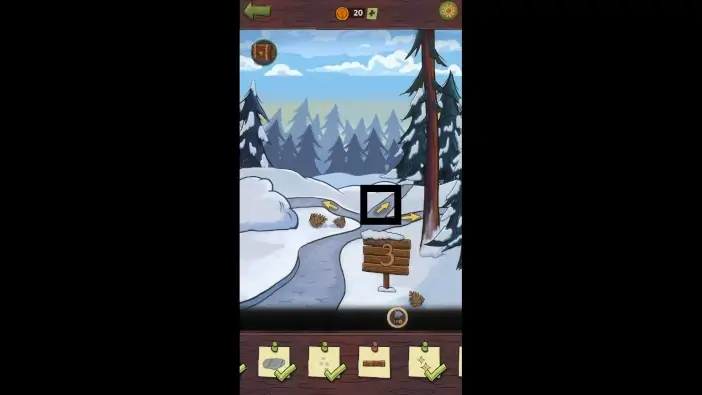
- Tap on the shape on the left mountain.
- Remove the rocks to reveal a snake.
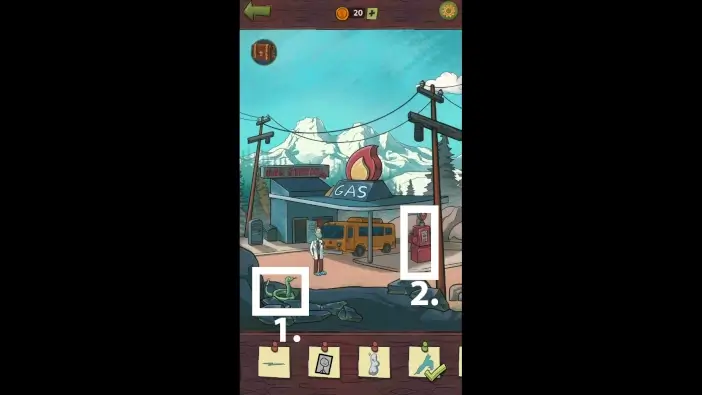
- Tap on the snake.
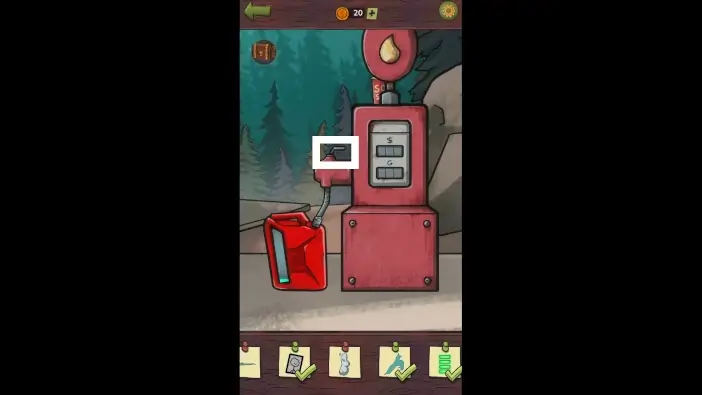
- Approach the pump.
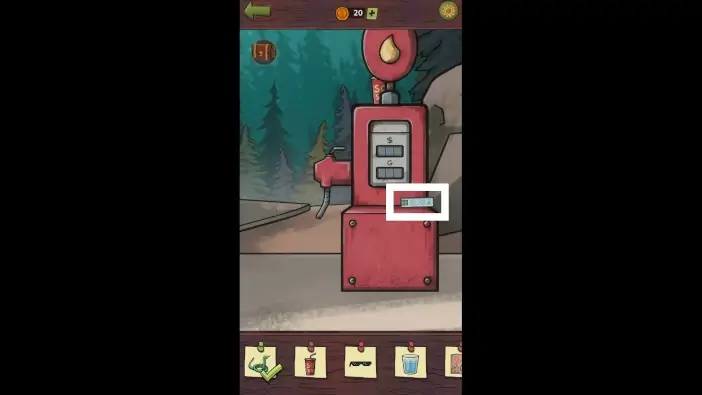
Take the first virus test kit from the pump. It will be added to your inventory.

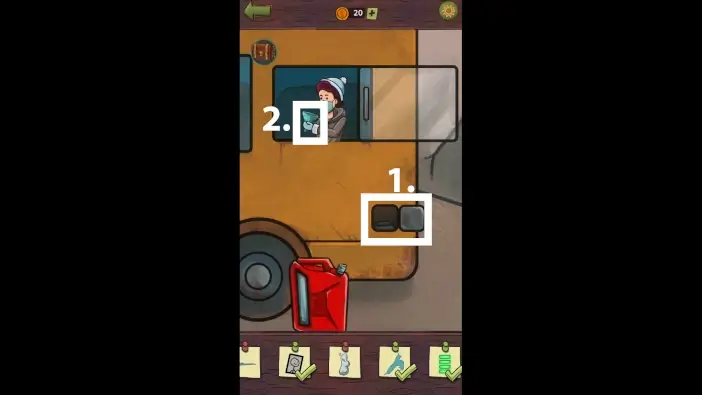
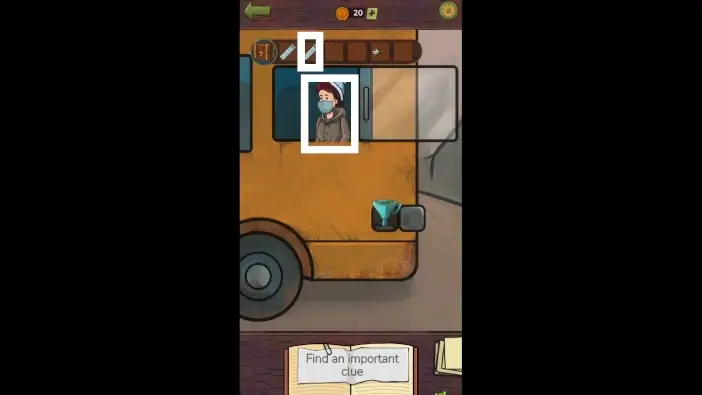
Enter the bus.
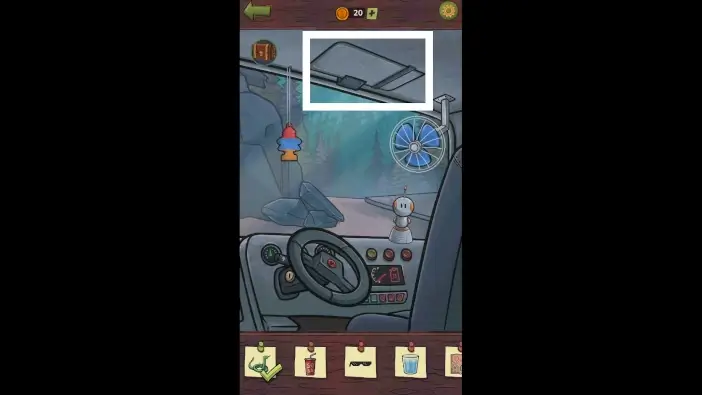
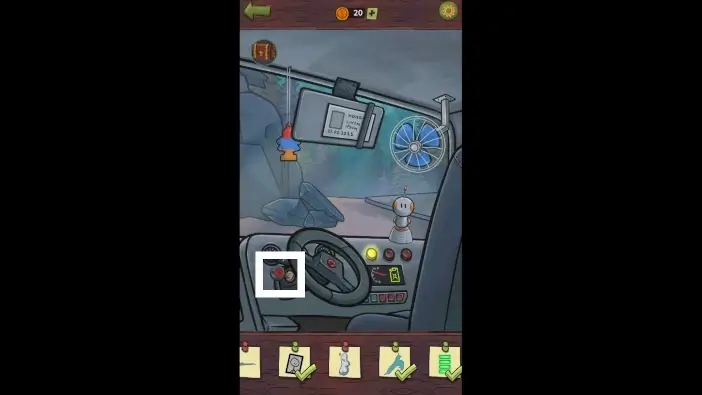
Lower the rear-view mirror.
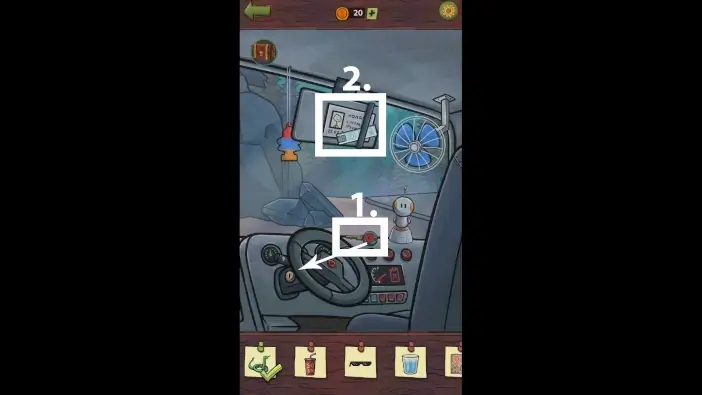
- Put the key into the steering wheel lock.
- Tap on the photo from the ID card and take the second virus test kit. It will be added to your inventory.
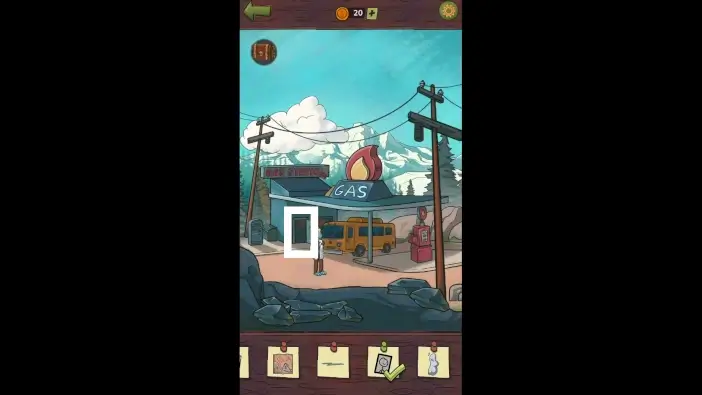
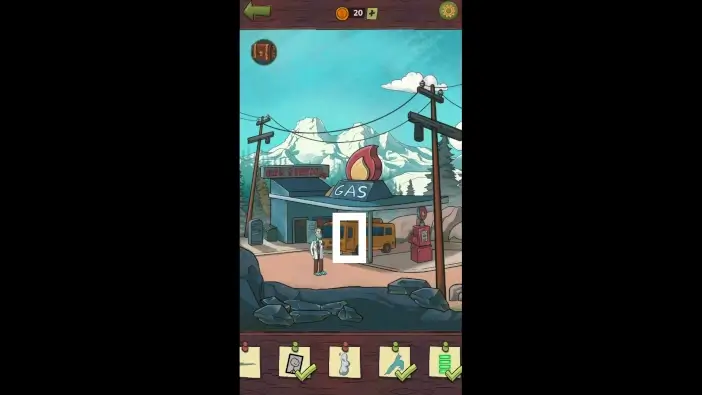
Go inside the gas station building.
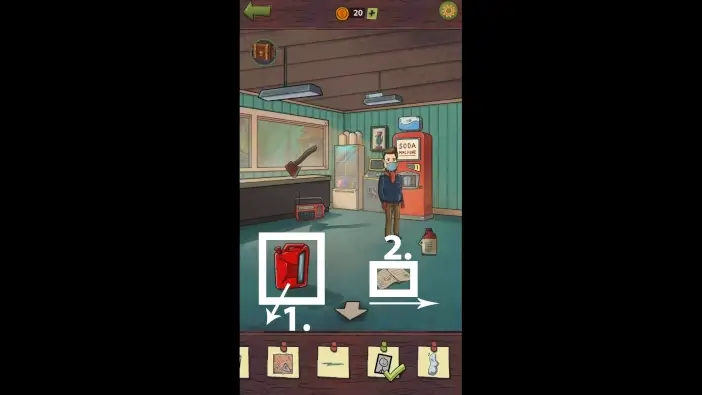
- Move the fuel container toward the exit of the building (by swiping it).
- Move the newspapers to the right to reveal a coin.
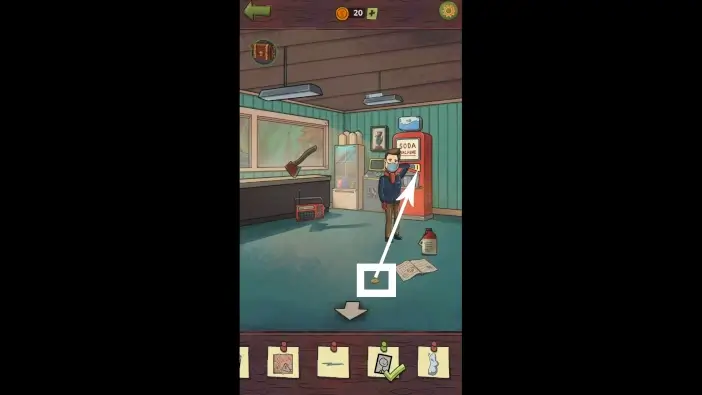
Insert the coin into the soda machine.
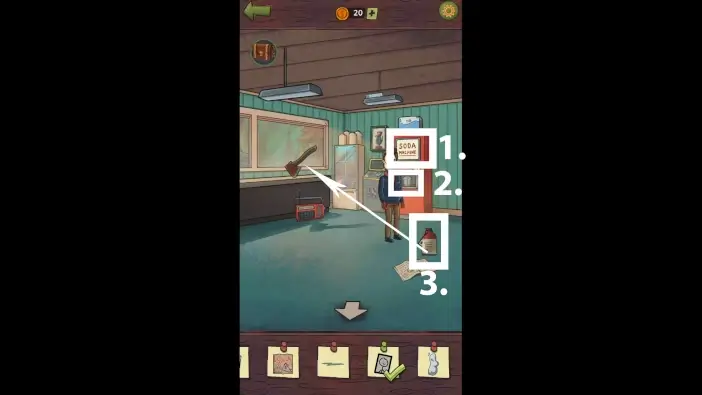
- Tap on the soda machine to shake it.
- Tap on the glass of soda.
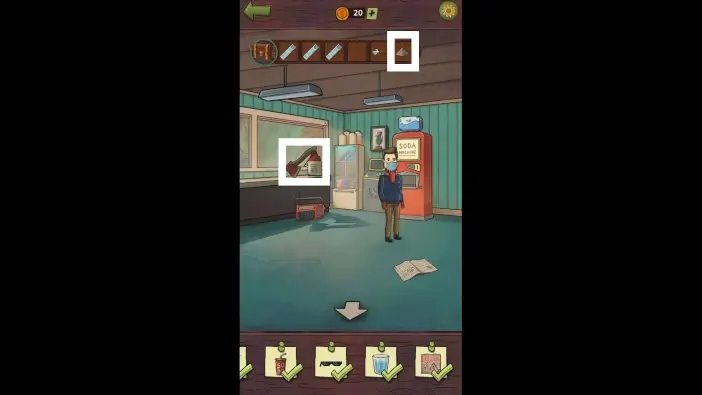
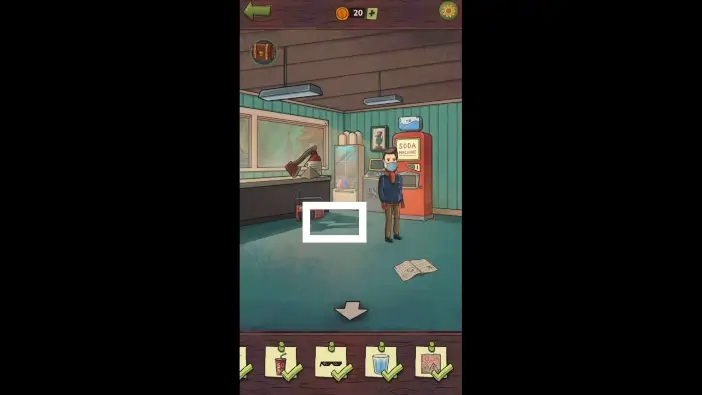
- Place the fuel bottle near the axe. The axe and the bottle will now form a different shadow on the floor. You will need one more item to create the shadow you need.
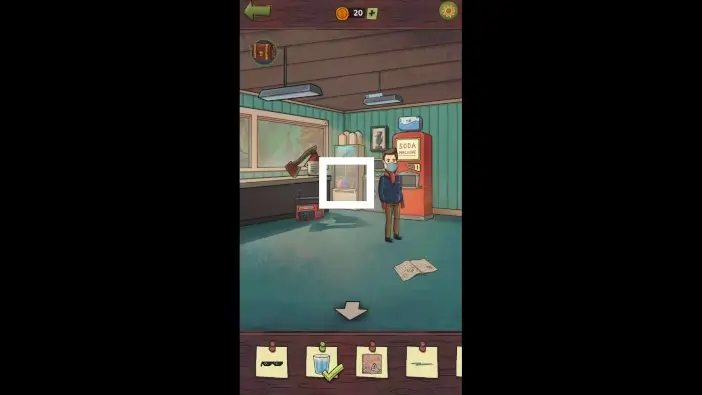
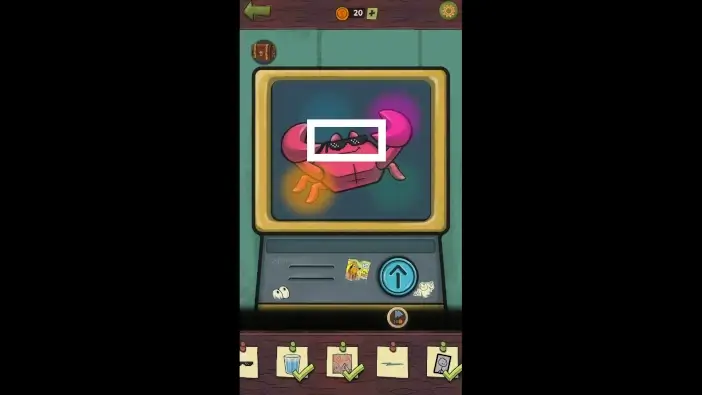
Approach the candy machine.
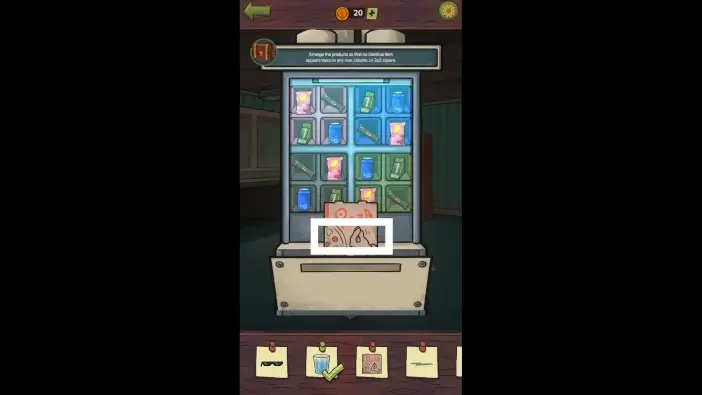
Arrange the products so that no identical item appears twice in any row, column, or 2×2 square. The solution is in the picture above. Once you finish the challenge, pull up the pizza box to see it better and then tap on it.
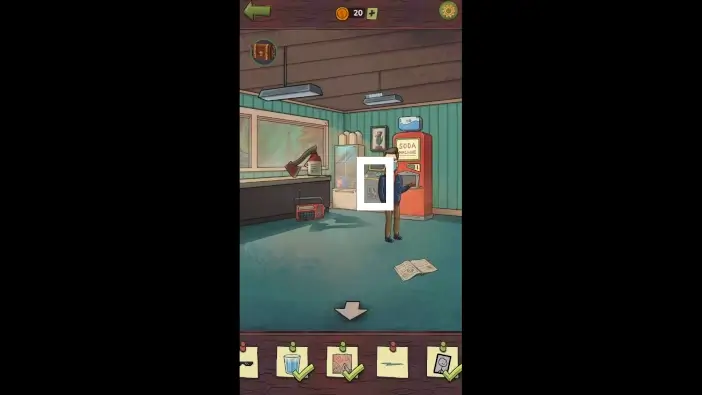
Approach the arcade game machine.
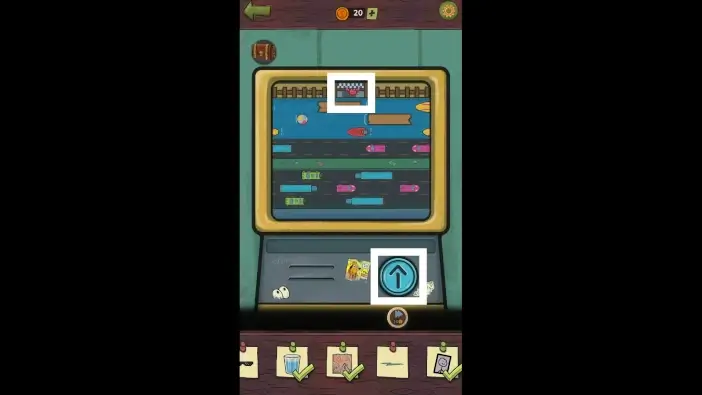
Use the button on the right to move the crab towards the goal. You need to avoid the cars and also avoid jumping into the water.
Once you finish the game, tap on the sunglasses.
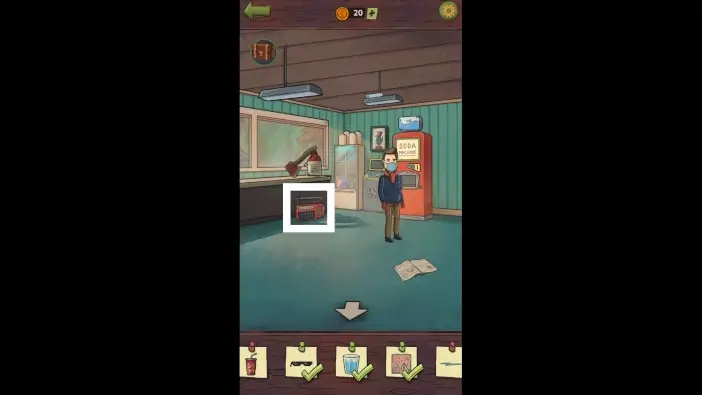
Take a closer look at the radio.
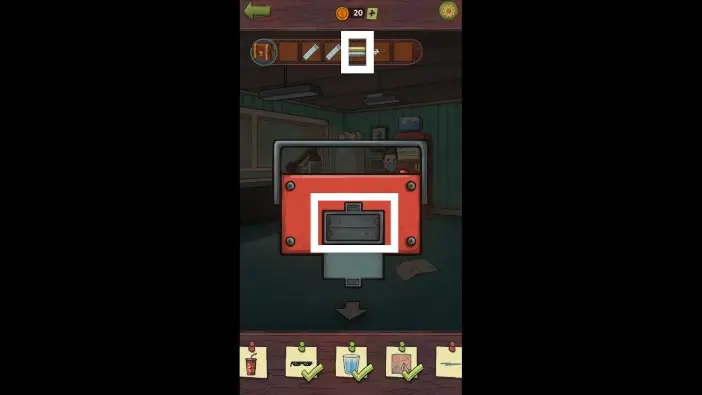
Turn the radio around, open the compartment for the battery, and place the battery from your inventory into the radio. Close the compartment.
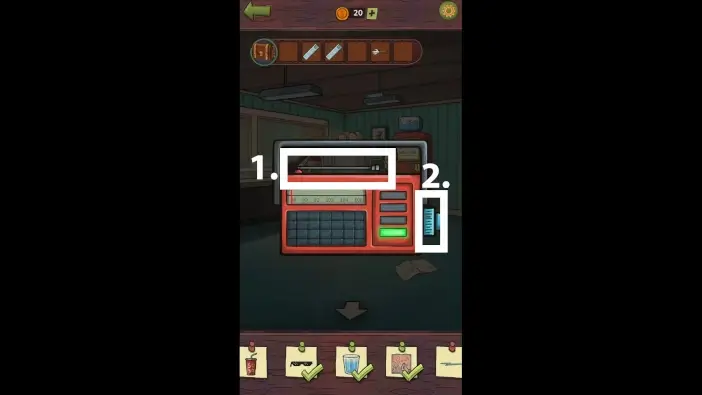
- Turn the radio around again to see the front side of it. Raise the antenna.
- Change the frequency to be between 102 and 103.
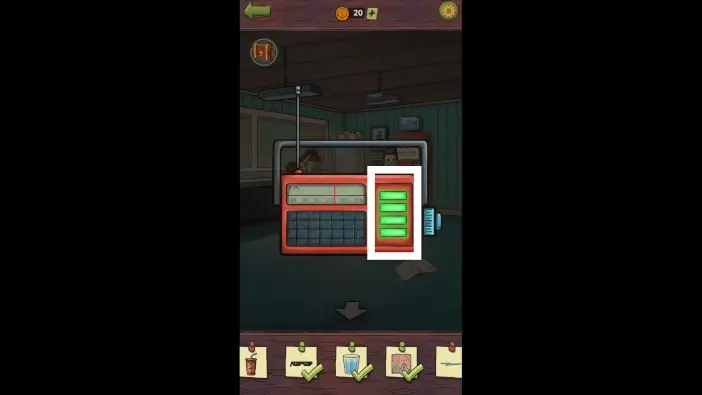
If you’ve done everything correctly, you will have four green bars on the right side. Tap on them.
- Take the third virus test kit. It will be added to your inventory.
- Exit the building.
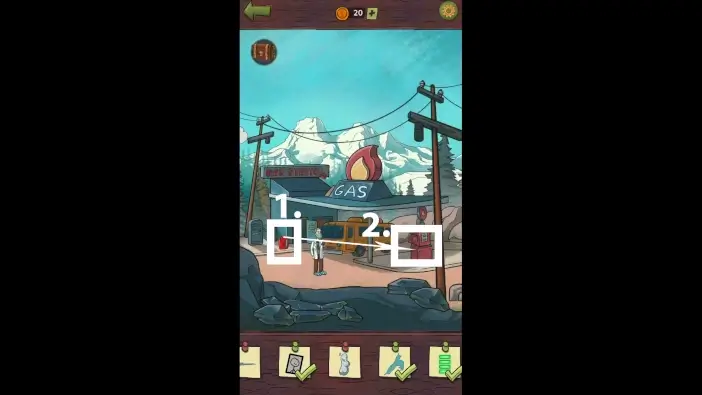
- Move the fuel bottle to the pump.
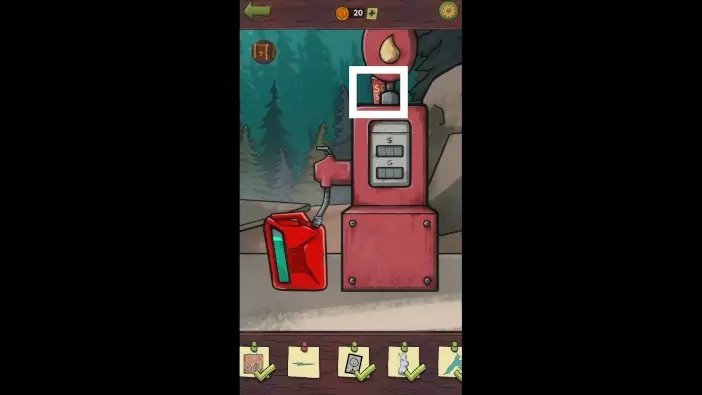
- Approach the pump.
Activate the pump to fill the fuel bottle.
- Open the lid of the fuel filler.
- Take the funnel and place it into the fuel filler.
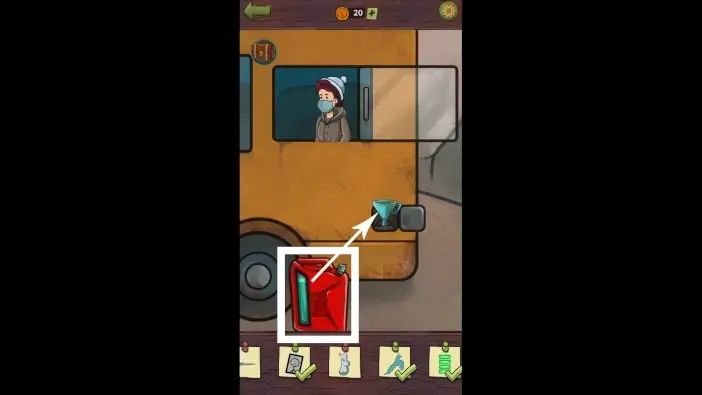
Sip the fuel into the funnel.
Enter the bus again.
Turn the key to start the engine.
- Tap on the smoke from the engine behind the bus.
- On the canopy, there is a pyramid figurine. Move it to the left to see it better, then take it. It will be added to your inventory.
Go to the pump and move the cup to the left to see it better. Tap on it.
Go inside the gas station building. Place the pyramid figurine near the axe.
After the axe, bottle, and pyramid figurine are next to each other, a specific shadow will form. In the middle of the shadow is the surface that is still illuminated by the light from the window, and this surface will look like a lightning bolt. Tap on it.
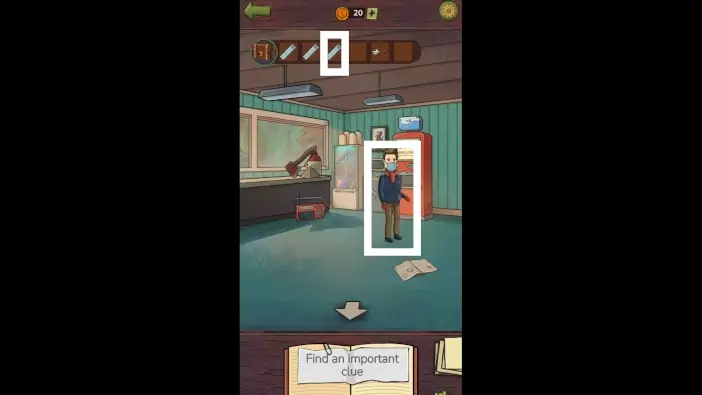
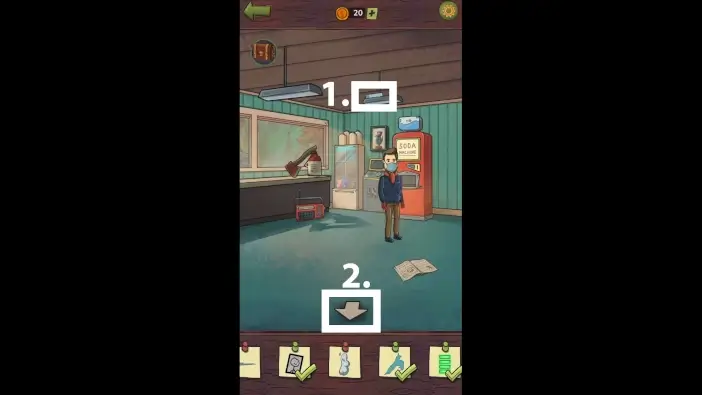
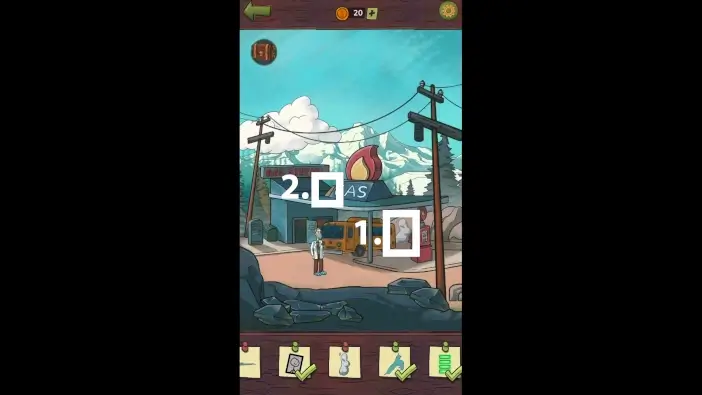
When you find all the clues, you need to give three virus test kits to three different people. One virus test kit is for Mike’s boss inside the building. His test will be negative.
Give another virus test kit to Mike’s coworker. She is on the bus. Her test result will be negative.

Give the third virus test kit to the doctor outside the gas station. His result will be positive.
Forest
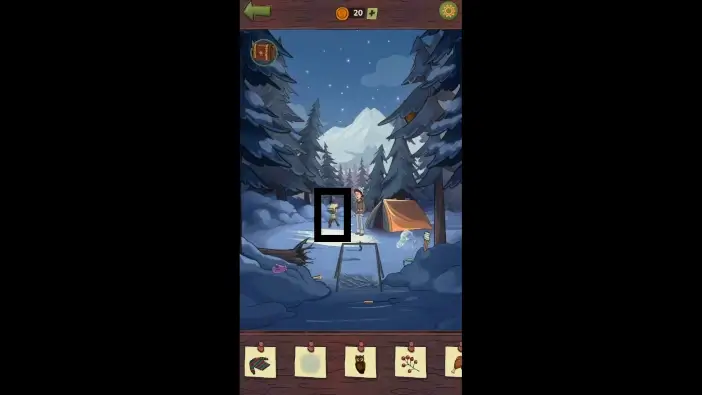
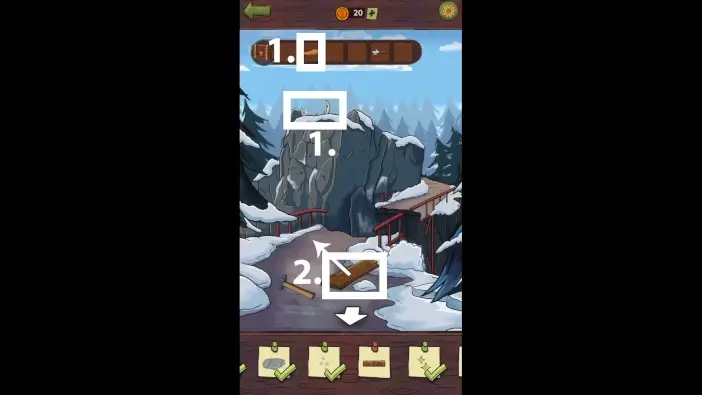
Tap on the telescope. A frame will appear on the screen.
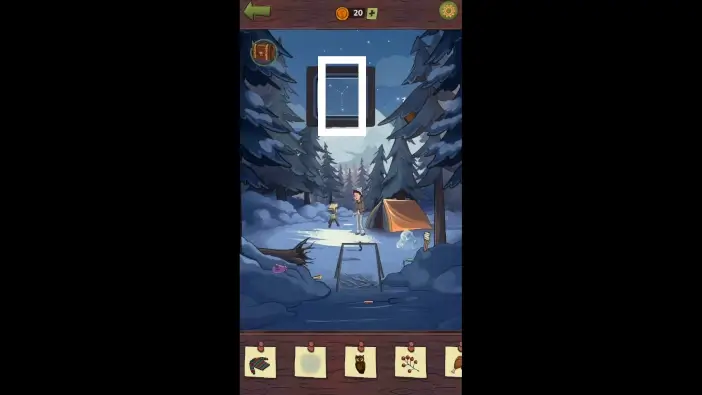
Move the frame upwards to the constellation above the mountain. Make sure that all dotted lines connect the stars. Tap on the constellation.
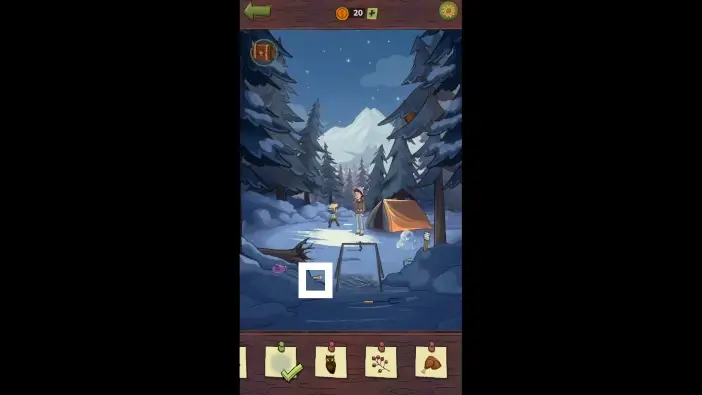
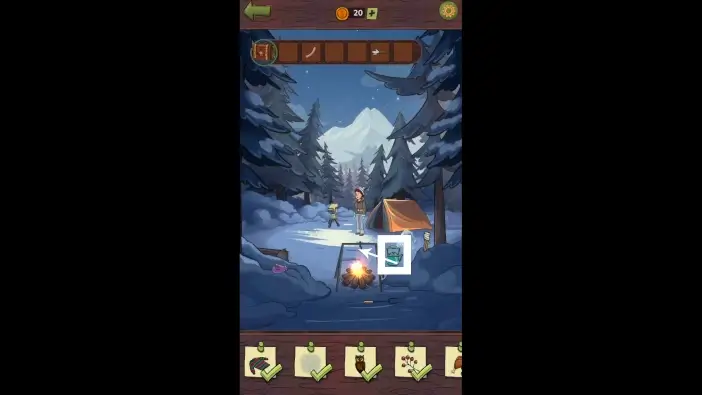
There is an axe below the tree trunk. Move it to the right to better see it.
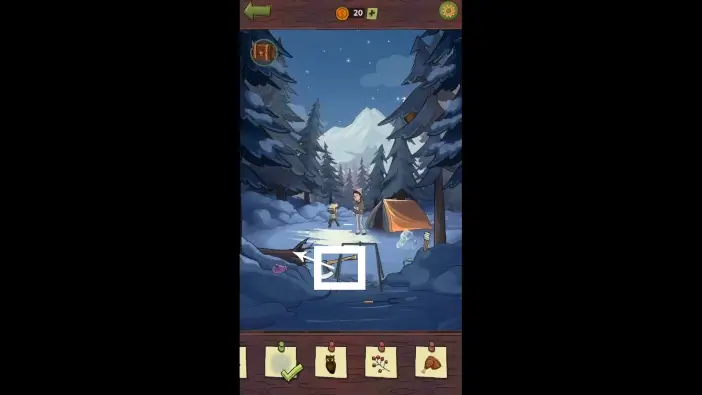
Use the axe to cut the tree trunk to get wood logs.
- Place wood logs into the campfire.
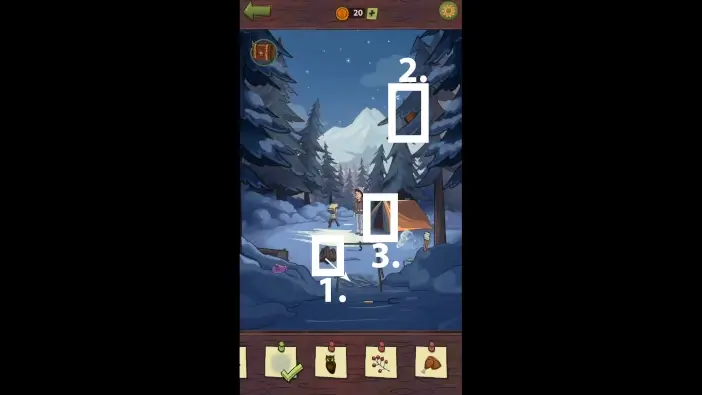
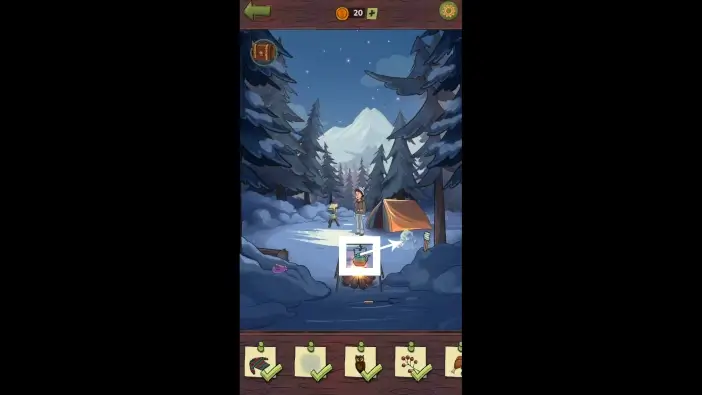
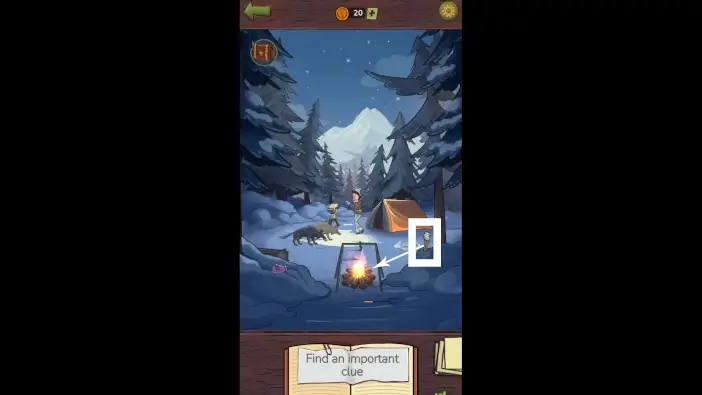
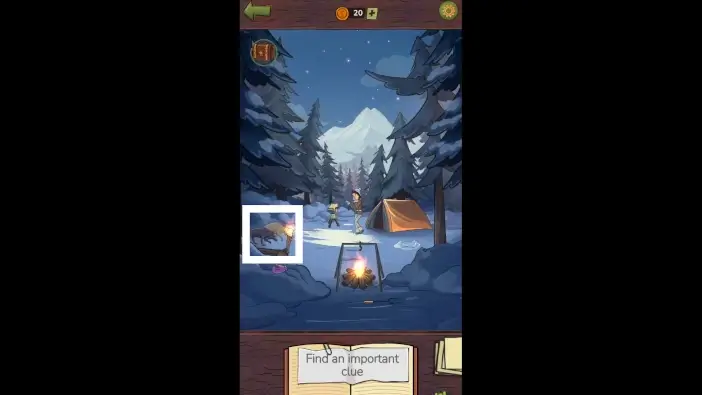
- Move the leaves on the right tree to reveal an owl. Tap on the owl.
- Enter the tent.
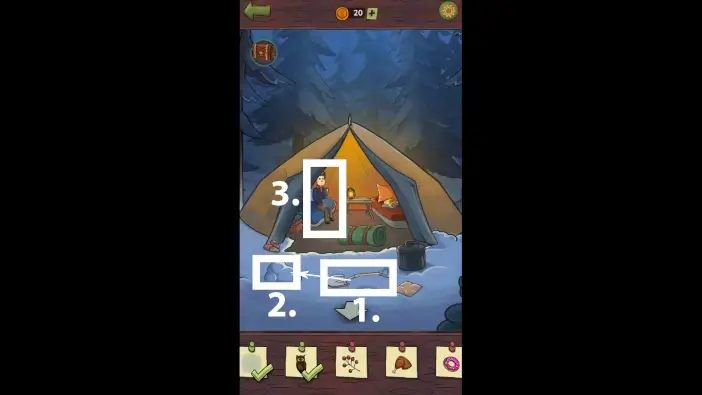
- Use a shovel in front of the tent to remove the snow on the left.
- Tap on the branch that was below the snow on the left.
- Speak with Mike’s boss.

Play a memory game against Mike’s boss. Try to find more pairs of identical pictures than he.
When you win the game, tap on the donut that Mike’s boss is offering.
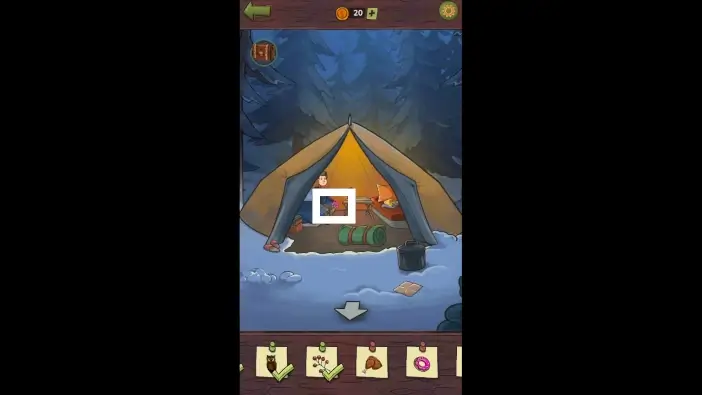
To the left of the boss is a sweater. Tap on it three times.
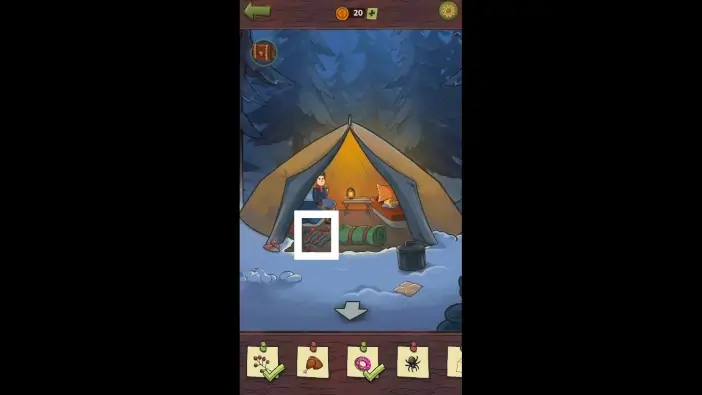
- Move the sleep bag to reveal a suitcase. Open it and take the sausage. It will be added to your inventory.
- Approach the bed on the right.
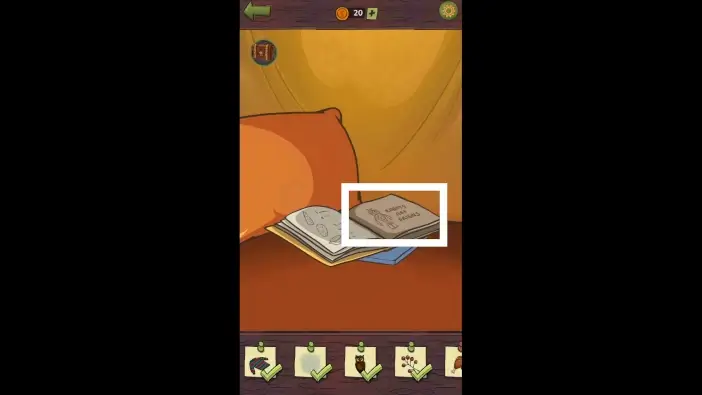
Open the book and move the pages until you see a page where it is written “Robots are friends”. Tap on that page twice to take the crumpled paper. It will be added to your inventory.

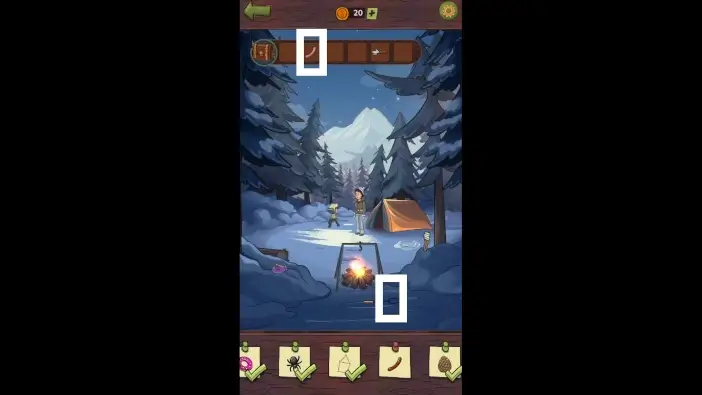
- Move the lantern to the right to see a spider. Tap on it several times. Each time, the spider will move. Once the spider is outside of the tent, tap on it once more.
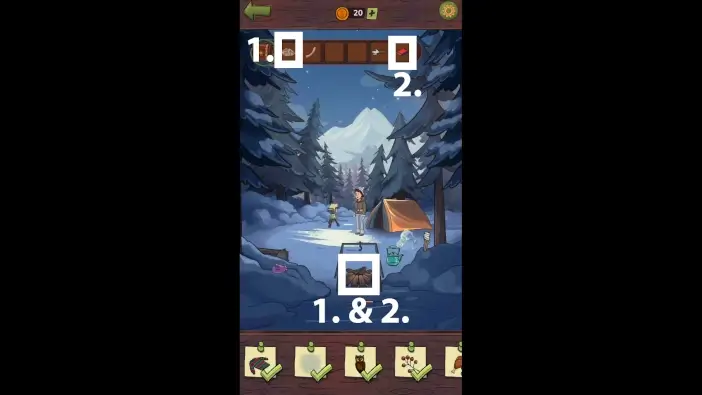
- Take a look at the paper on the ground.
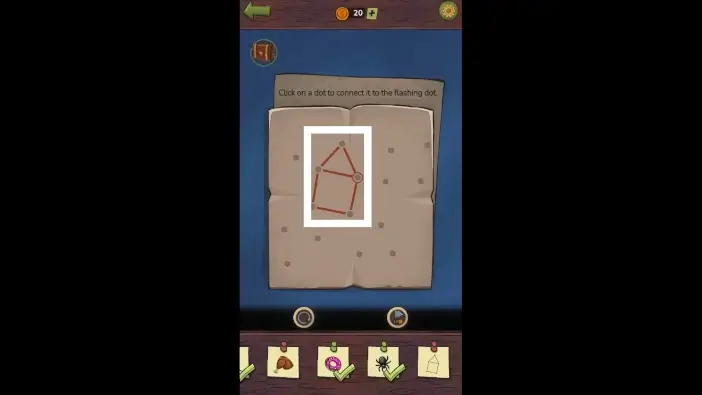
Connect the dots to form a shape of the house, like in the picture above. When you finish, tap on the shape.
Approach the safe.
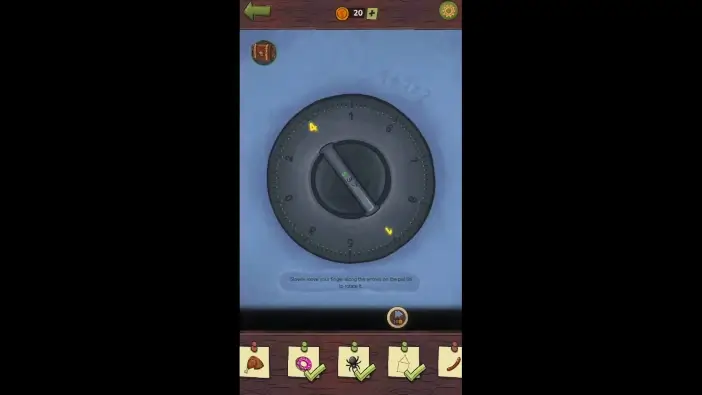
On the handle, the first number is 5. Move the handle so that the ends of the handle point to 4 and 1. 4 + 1 = 5.
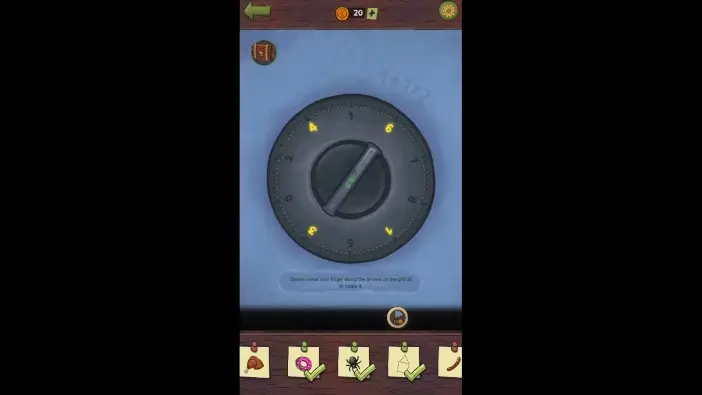
With similar logic, move the handle so it points to numbers 3 and 6 to get number 9.
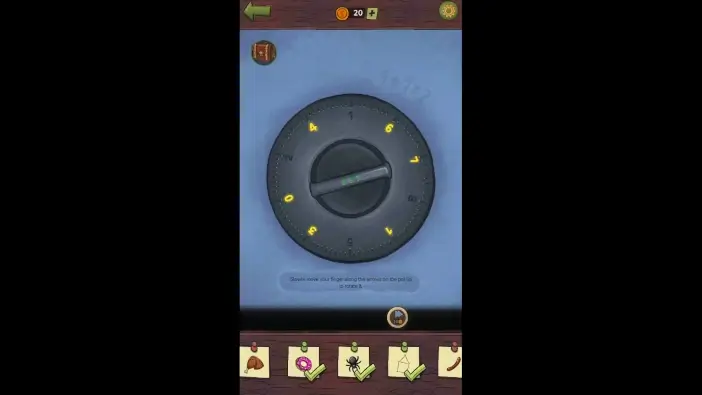
Move the handle so it points to numbers 0 and 7 to get number 7 from the handle.
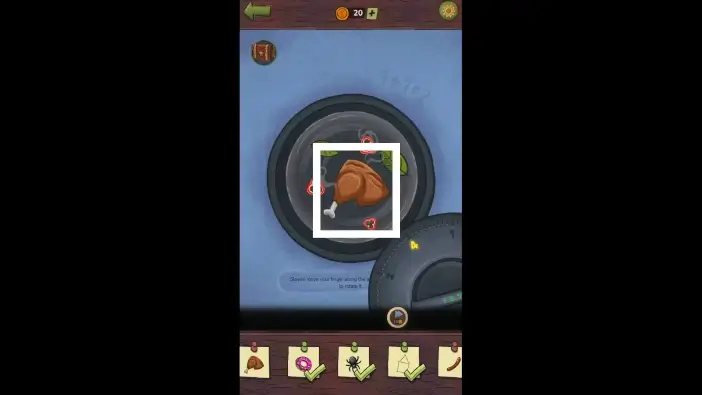
Tap on the chicken meat.
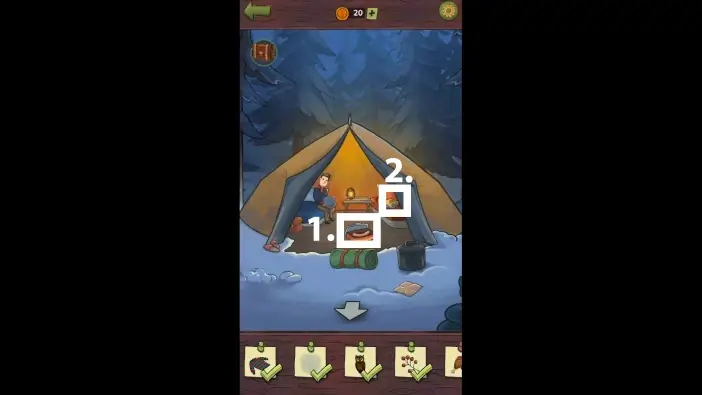
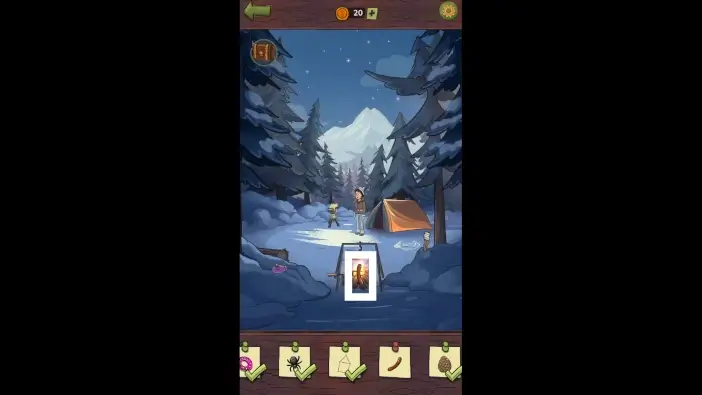
- Place the paper from your inventory on the wood logs.
- Use matches from your inventory to light the fire.
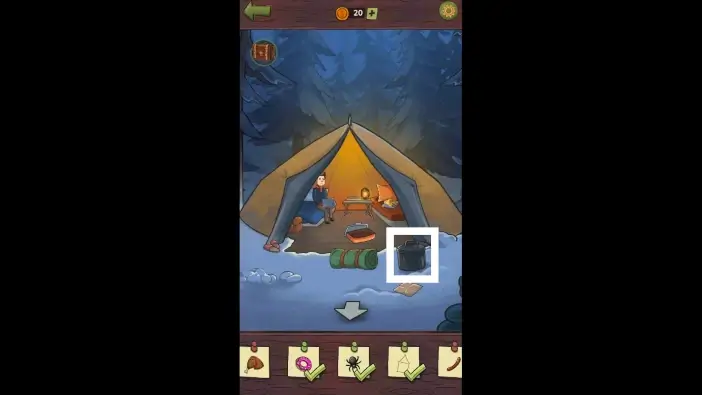
Hang the teapot above the fireplace.
When the teapot is heated (after 2-3 seconds), use the teapot to melt the ice on the right. Tap on the pine cone that was frozen.
Place the sausage from your inventory into the meat fork.
Hold the meat fork near the fire to grill the sausage. Once the sausage is grilled, leave the fork on the ground and tap on the grilled sausage.
Once you find all the clues, the wolves will appear. Take the torch on the right and burn it with the help of a campfire.
Hold the torch on fire in front of the wolves, and they will slowly back away.
Cabin

- Move the pile of snow to reveal the scoop. Take the scoop. It will be added to your inventory.
- Take the carrot from the snowman. It will be added to your inventory.
There is a saw on the roof of the cabin. Move it upwards so you can see it better, and then use it to cut the wood log. Tap on the left half of the log.
- Tap on the animal footprints on the snow.
- Enter the cabin.
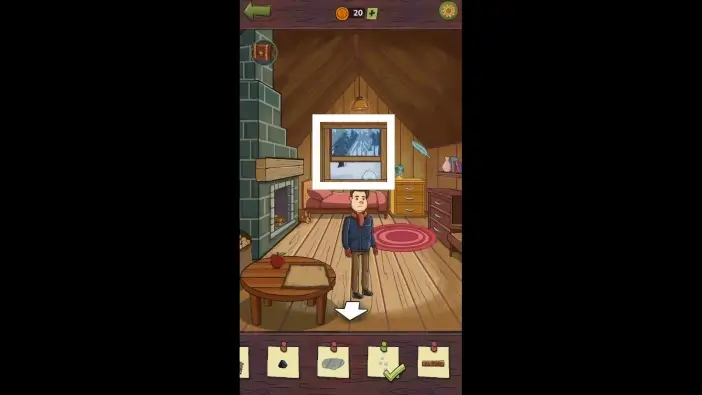
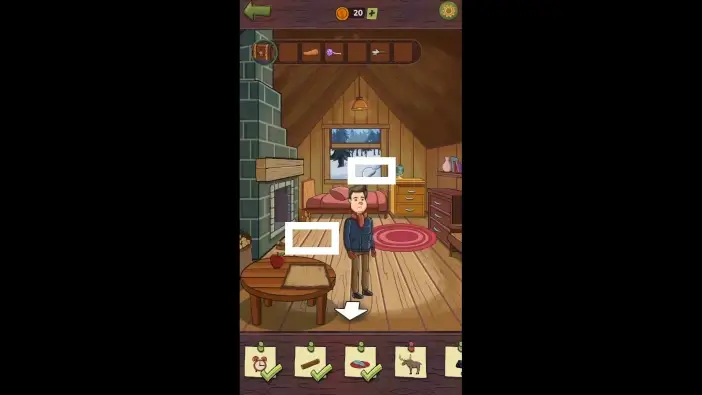
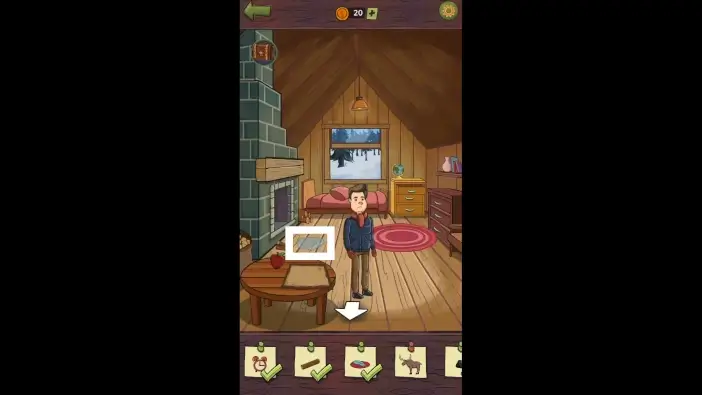
Close the window.
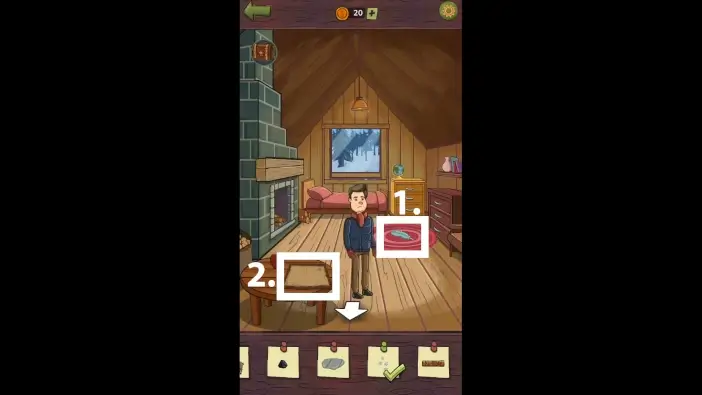
- Once you close the window, a feather will fall to the ground on the small carpet. Tap on the feather.
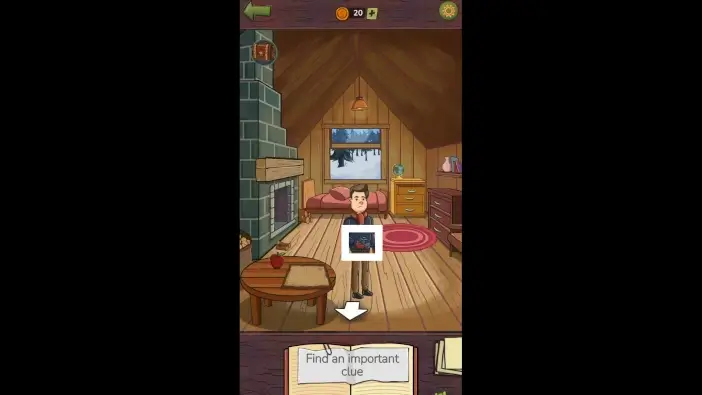
- Take a look at the map on the table.
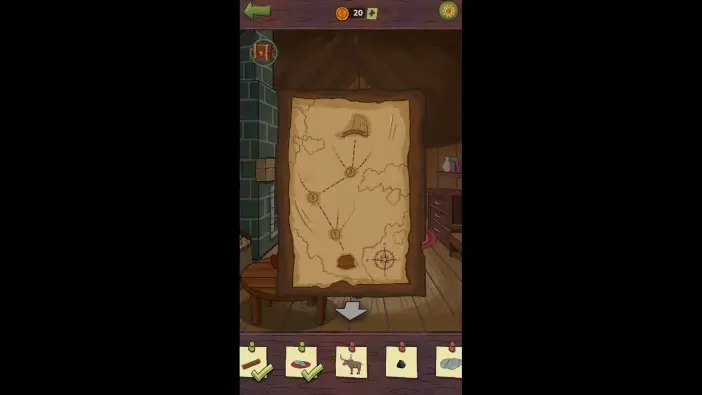
The map is a clue on where to go to reach the bunker. Memorize the path.
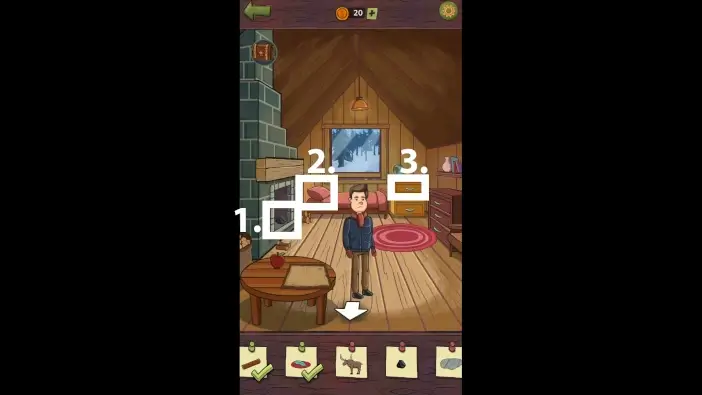
- Remove the firewood from the chimney to access the charcoal. Tap on the charcoal.
- Move the pillow to reveal a lollipop. Take the lollipop. It will be added to your inventory.
- Open the drawer and tap on the alarm clock inside the drawer.

- Open the window.
- Use the scoop from your inventory to take the snow from the window.
Place the snow on the ground near the chimney, using the scoop.
The snow will melt. Tap on the water on the ground.
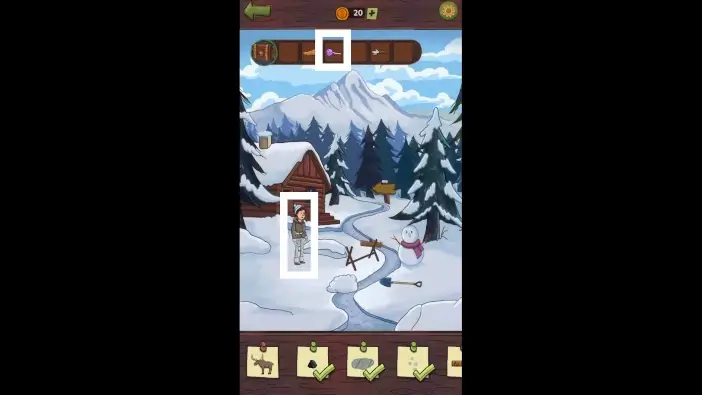
Give a lollipop to Mike’s coworker.

- After giving a lollipop, tap on the shiny symbols near Mike’s coworker.
- Go to the forest.
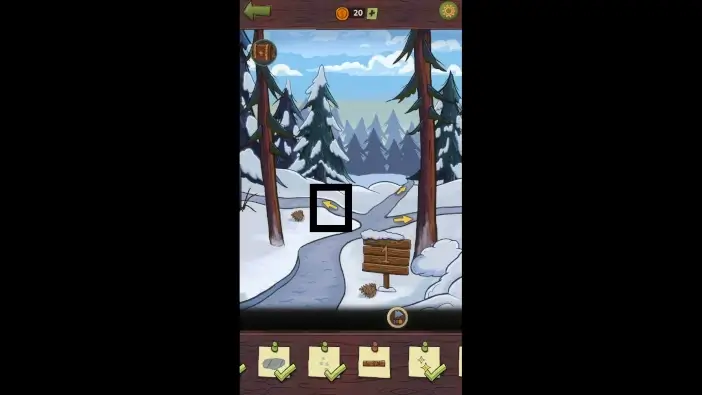
Remember the map in the cabin. Choose the left path.

Next, choose the right path.
Lastly, choose the forward path.
- Place the carrot from your inventory on the cliff edge to lure the moose. Tap on the moose.
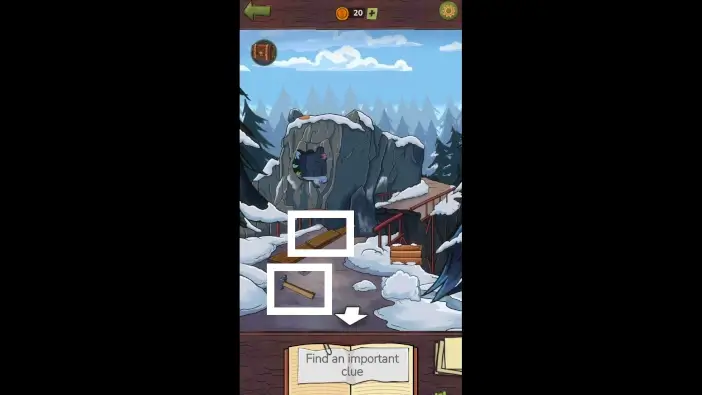
- Place all the boards near the bridge and connect them.
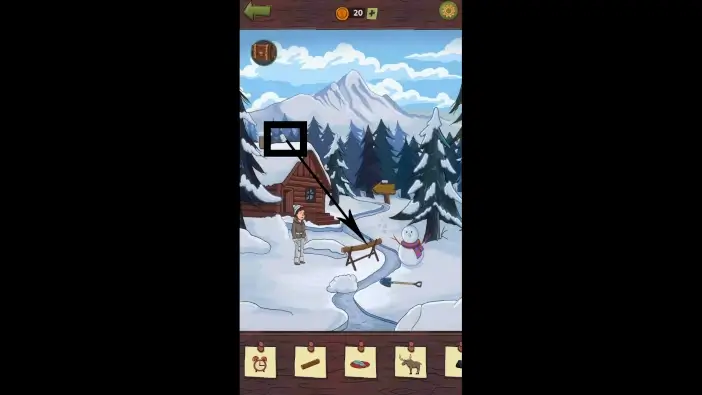
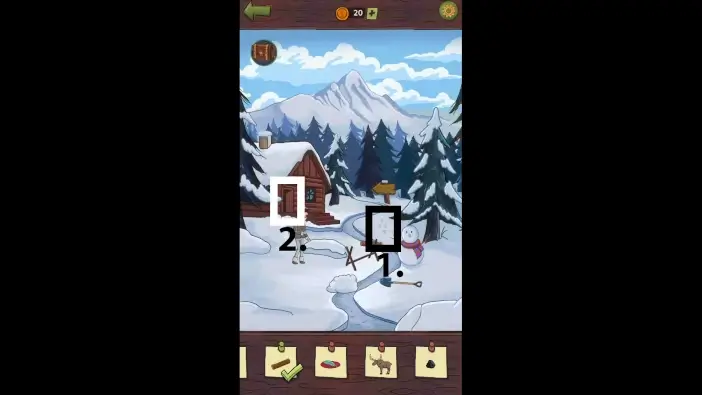
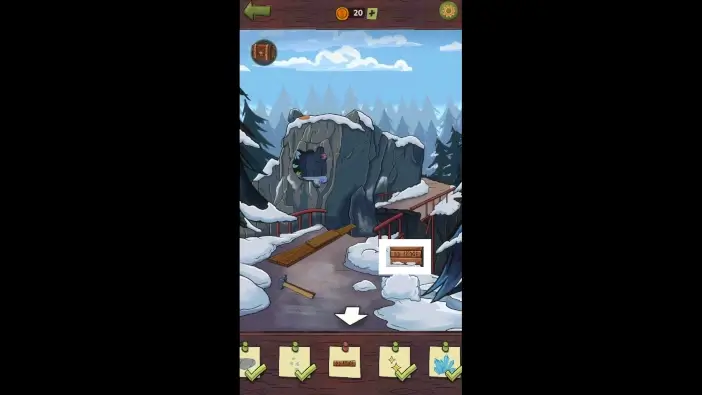
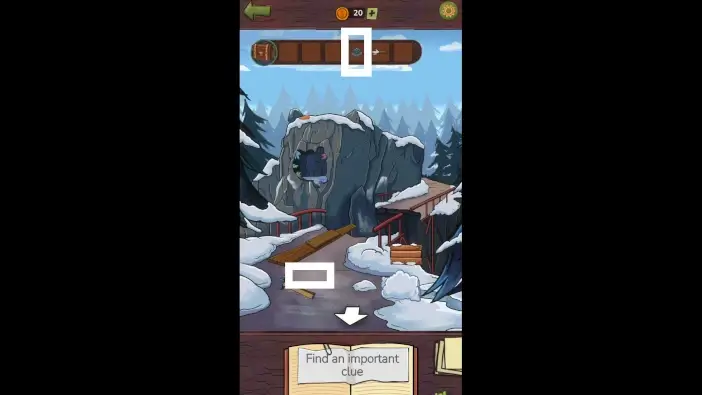
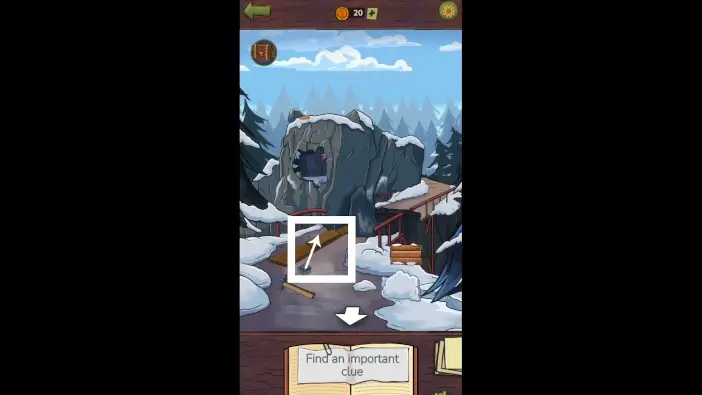
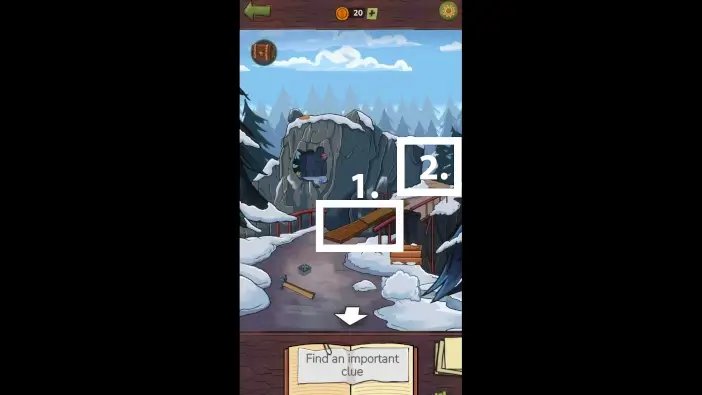
Approach the arrows on the cliff.
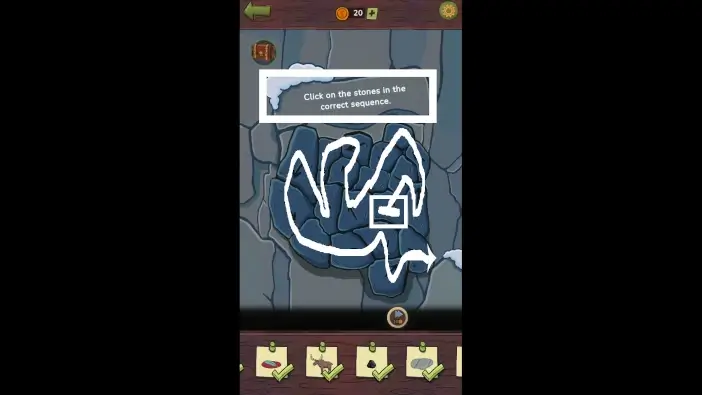
Tap on the stones in the correct sequence by following the arrows. The solution is marked in the picture above. The stone marked with the rectangle is a starting point.

Once you solve the puzzle, tap on the crystal in the middle.
Remove the snow from the sign and tap on the sign “Old Bridge”.
Once you find all the clues, go back to the cabin and speak with Mike’s boss. After the conversation, take the box of nails from him. It will be added to your inventory.
Return to the bridge area and place the box of nails on the ground, near the hammer.
Place three nails on the central board.
Use a hammer to drive the nails.
- Place the boards over the abyss to form the bridge.
- Cross the bridge and move towards the bunker.
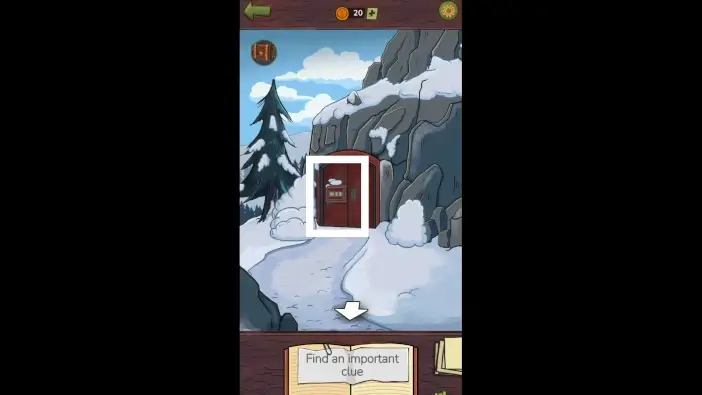
Remove the snow from the bunker’s door, then approach it.
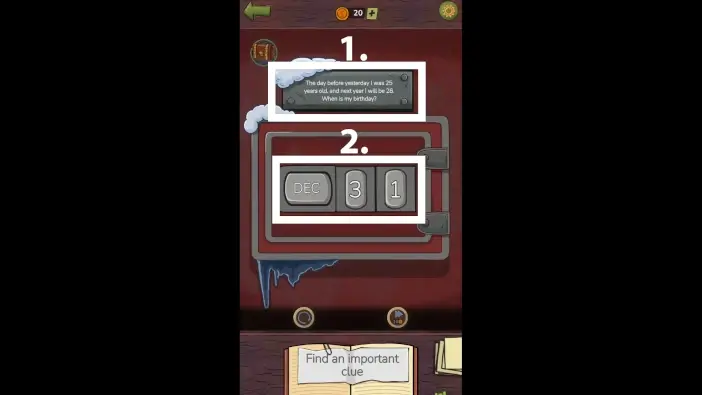
- Read the riddle to get the clue on which date you need to set to unlock the bunker.
- Set the date to 31st December.
This will mark the end of Part 1 of our guide for Chapter 2 of the Find Joe: Lumen.
Thank you for reading!