Escape Room: Mysteries School – Level 24
Intro
Welcome to our walkthrough for Level 24 for “Escape Room: Mysteries School” from “Ena Game Studio”. Help John renovate his old house and solve the mystery of the haunted abandoned school.
Walkthrough
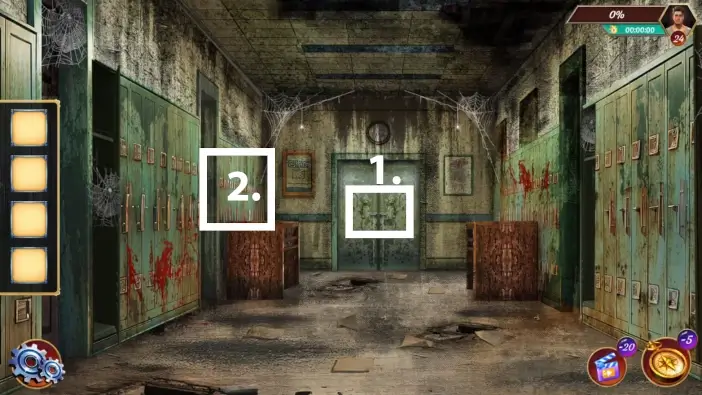
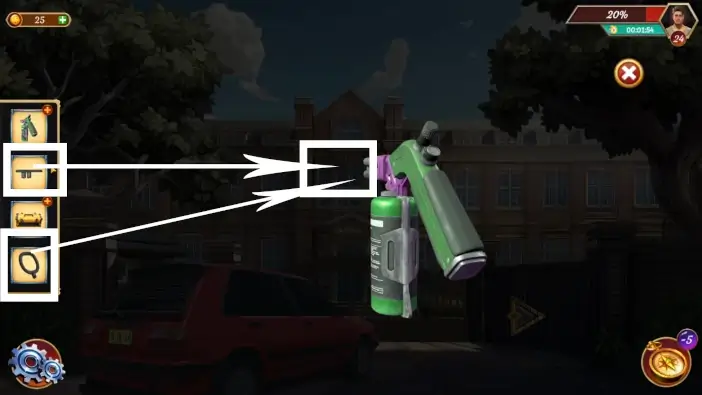
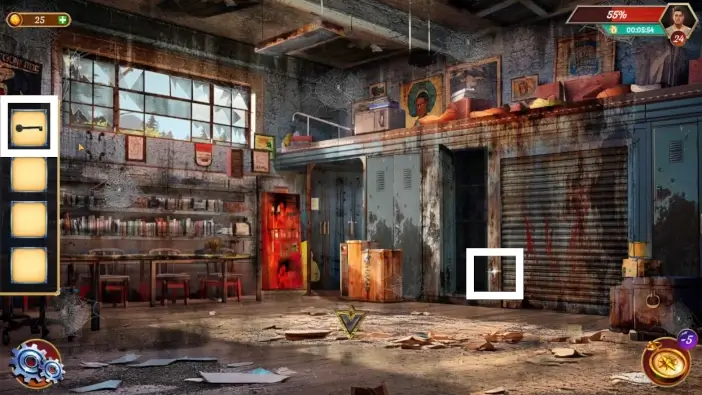
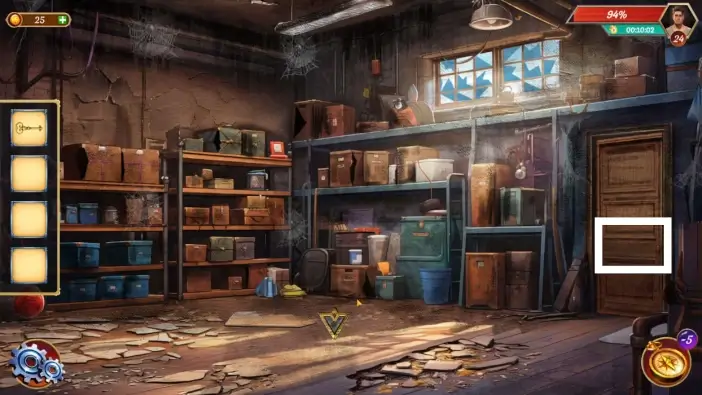
- In the school hallway, check the door lock. John will notice that it has been replaced.
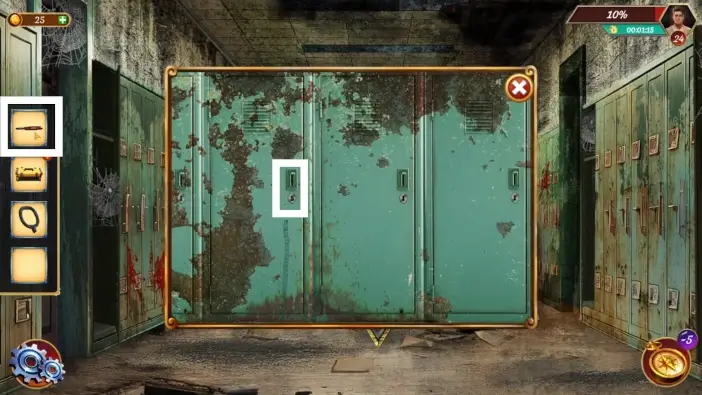
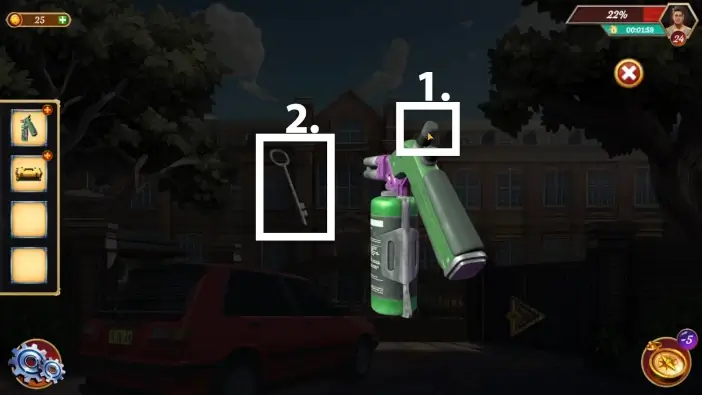
- Open the locker on the left side above the drawers.
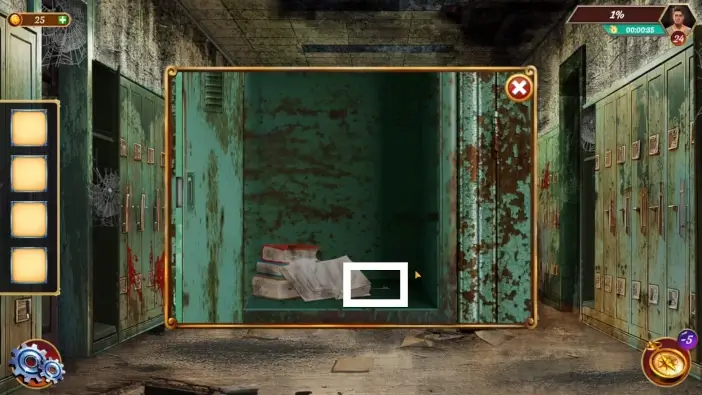
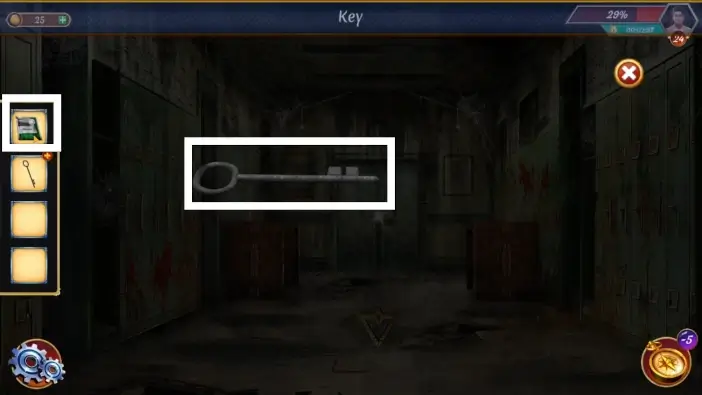
Take the key from the locker.
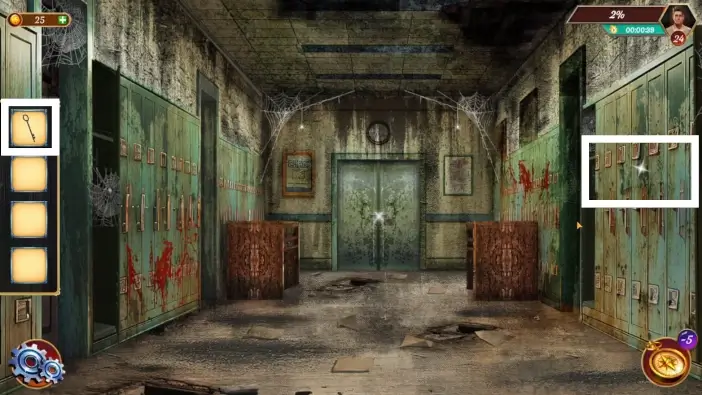
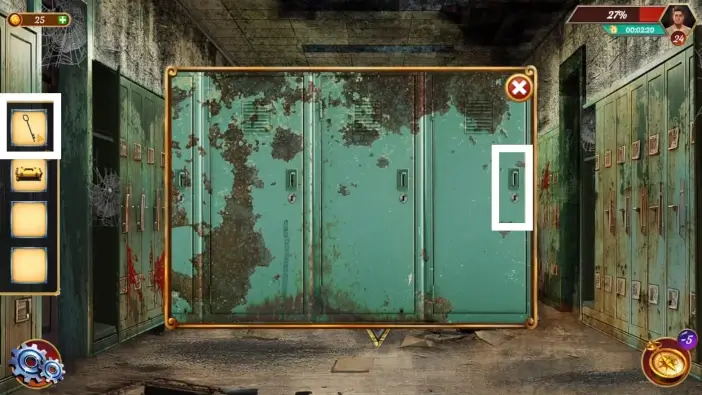
Use a key to unlock the locker on the right side of the hallway. Unfortunately, the key will break, the key head will return to your inventory but the key body will remain in the locker.
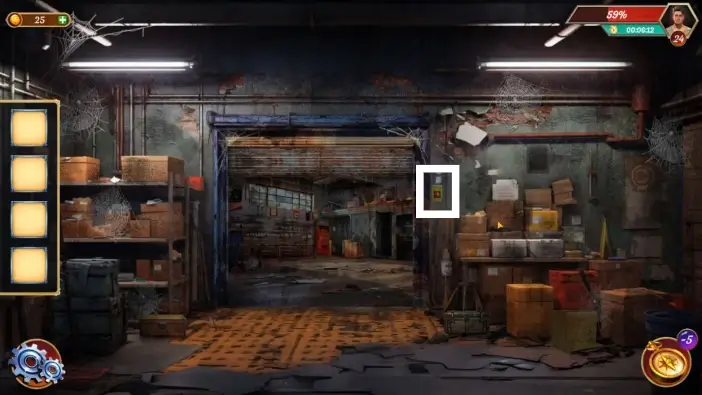
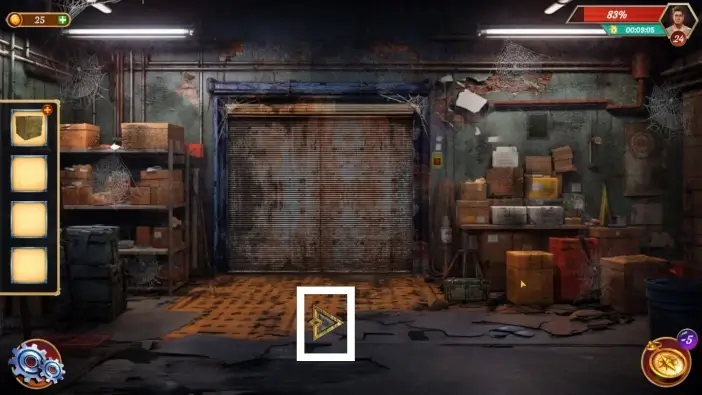
Tap on the arrow to exit the school.
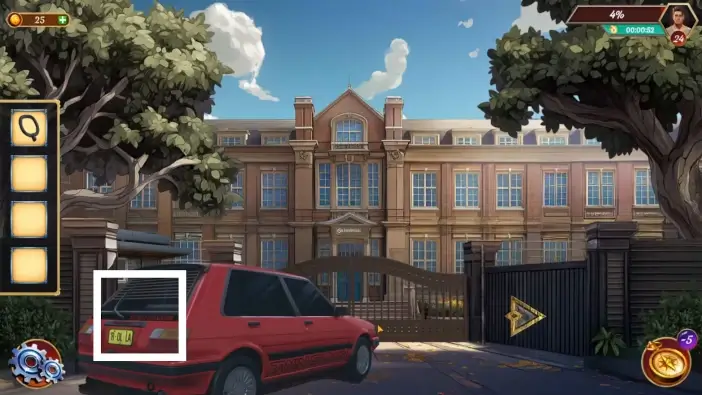
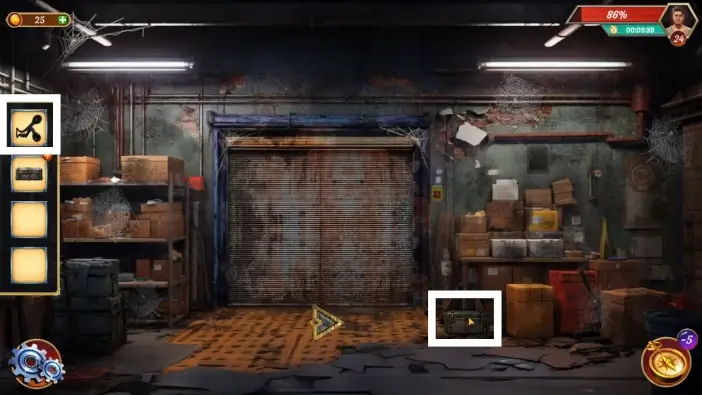
Open the car trunk.
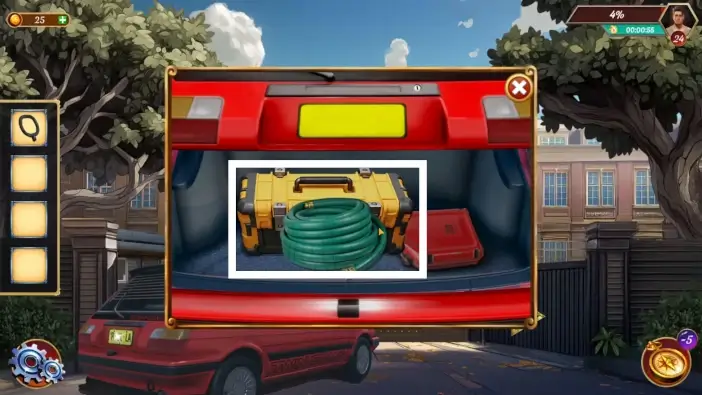
Take the toolbox from the car trunk.

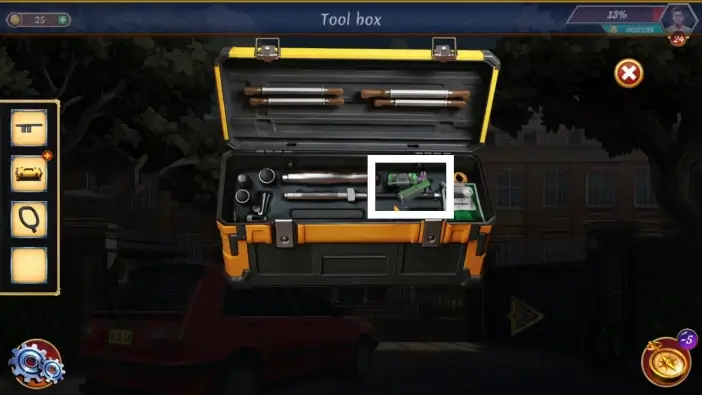
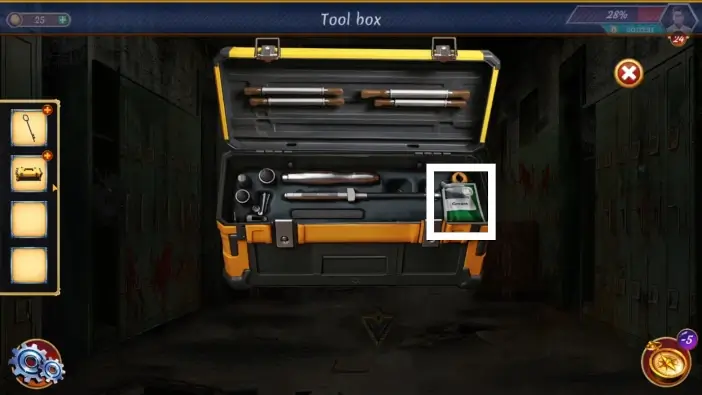
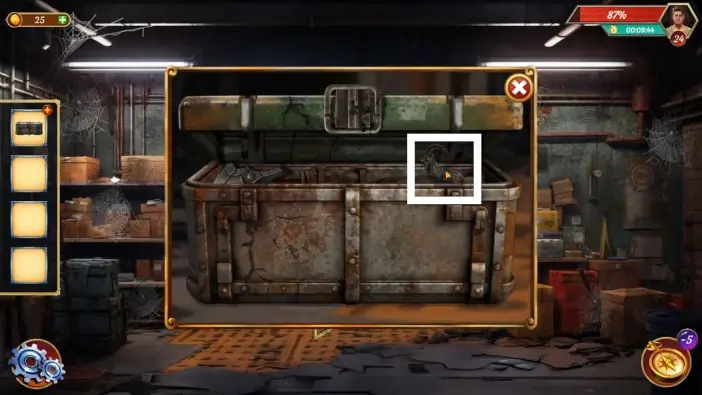
Tap on the toolbox in your inventory and then open it.
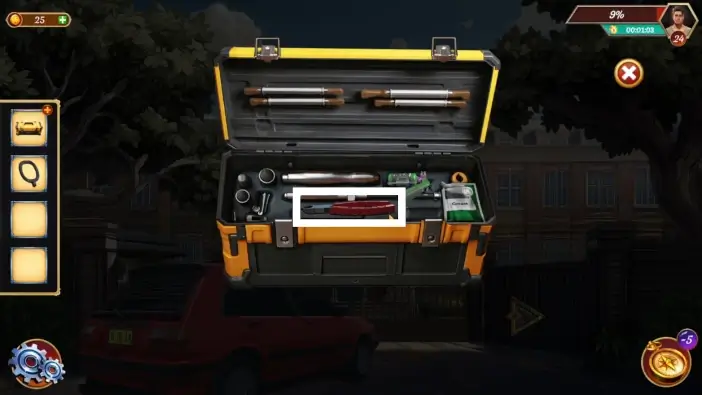
Take the cutter from the toolbox.
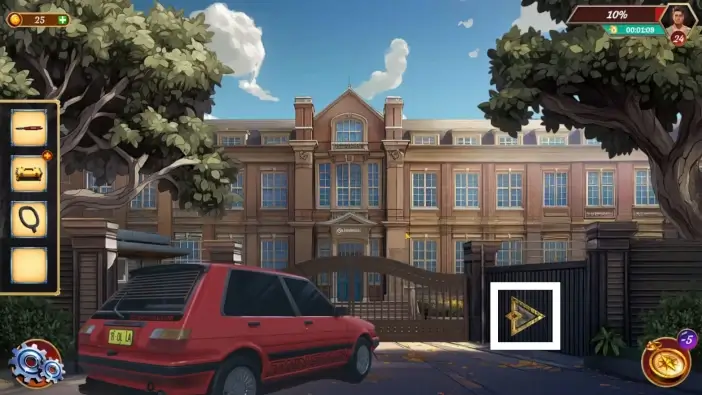
Tap on the right arrow to return to the school’s hallway.
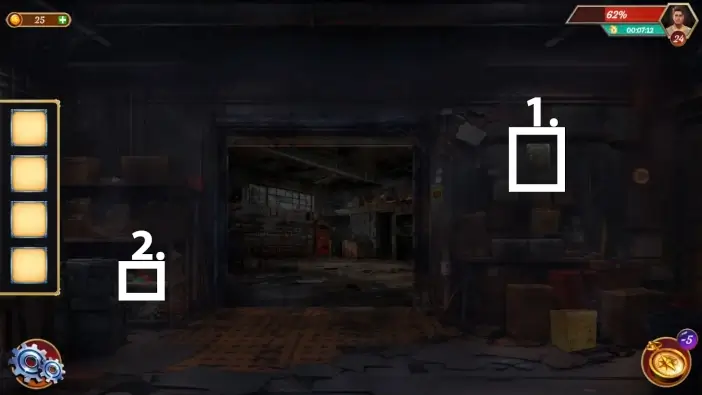
Use the cutter to take the broken key body from the locker where the key broke.
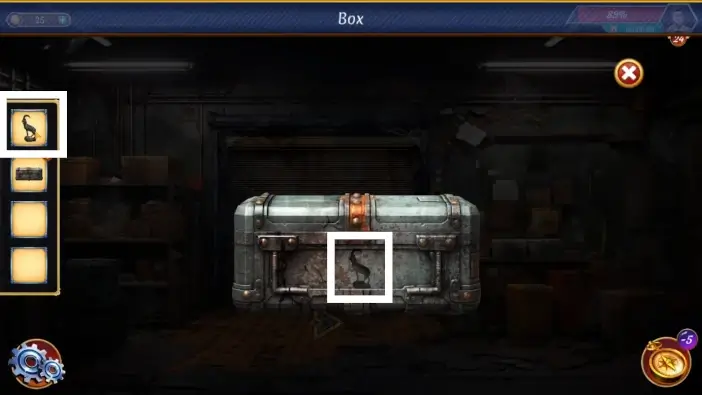
Open the toolbox again and take the welding machine.
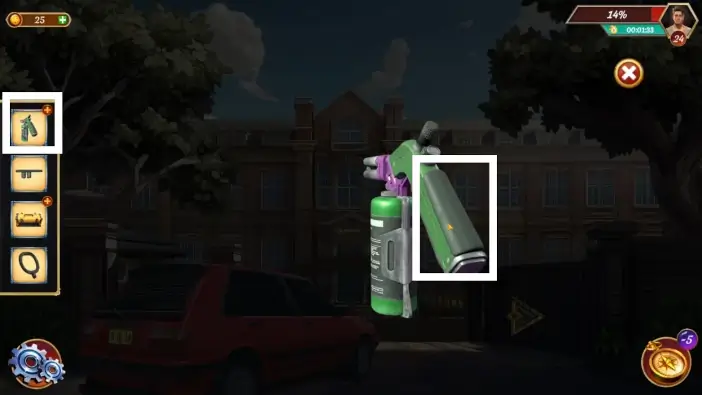
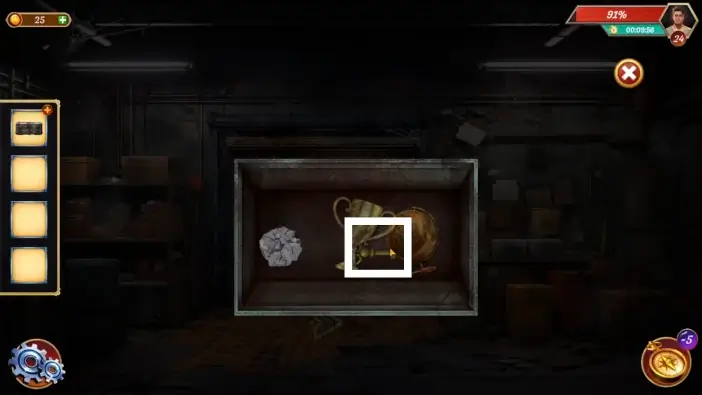
Inspect the welding machine from your inventory and open the lid where the battery should go. John will notice there is no battery.
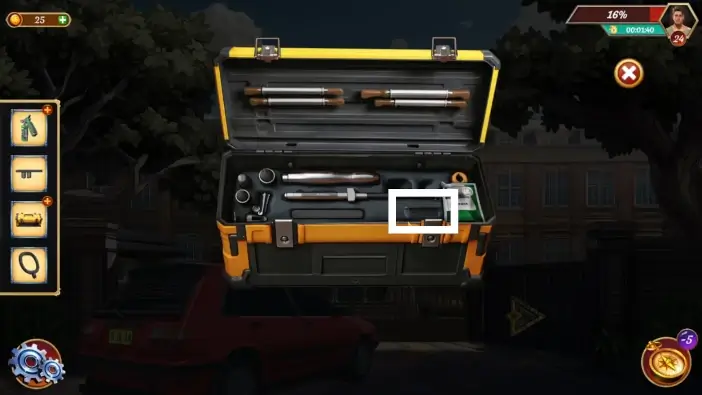
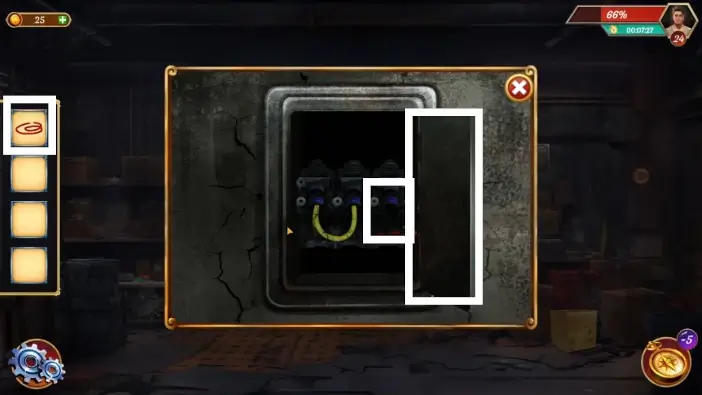
Take the battery from the toolbox.

Inspect the welding machine again and place the battery in it, then return the lid.
Place the key head and key body in front of the welding machine.
- Activate the welding machine. After a few seconds, turn it off.
- Take the fixed key.
In the school’s hallway, return to the group of lockers on the right and try to unlock the right-most locker with the key. Unfortunately, the key won’t unlock it.
Take the grease from the toolbox.
Apply the grease on the key. Once you’ve finished, tap on the key in the center of the screen to return it to your inventory.
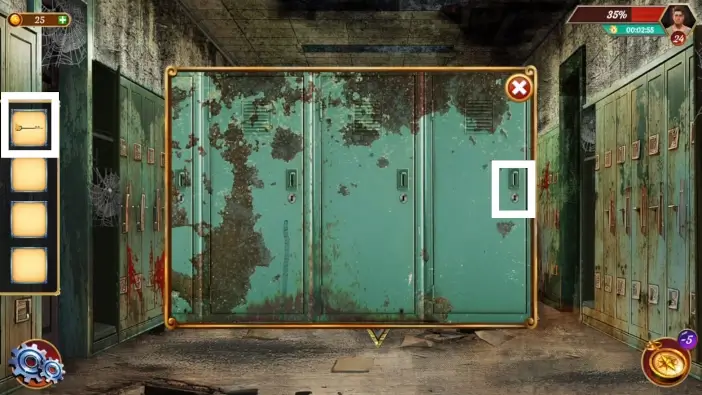
Try again to unlock the same locker as previously, using the same key. This time it will work.
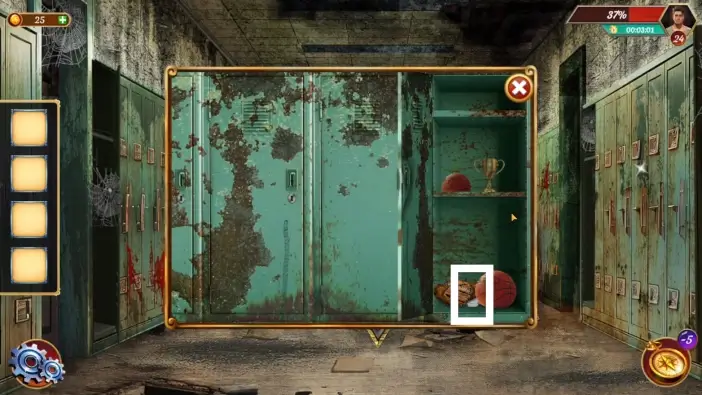
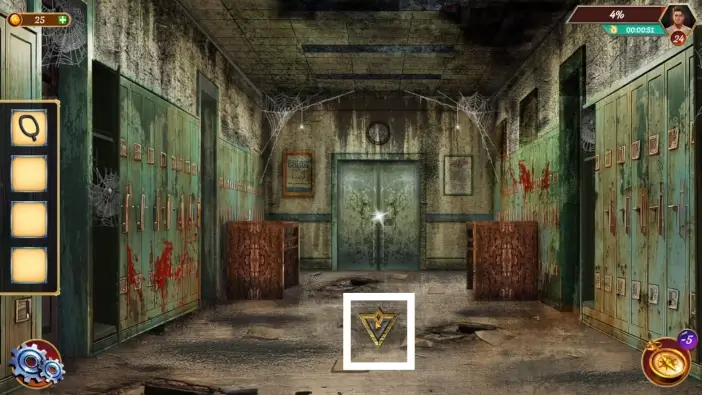
Take the crumpled paper from the locker.
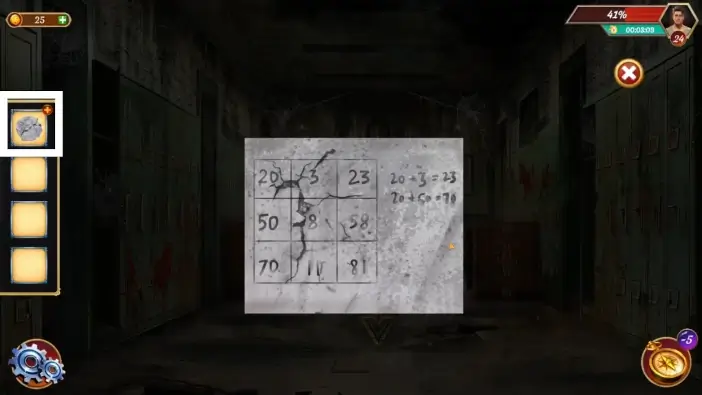
Read the paper. It contains the clue for solving the puzzle on the main door.
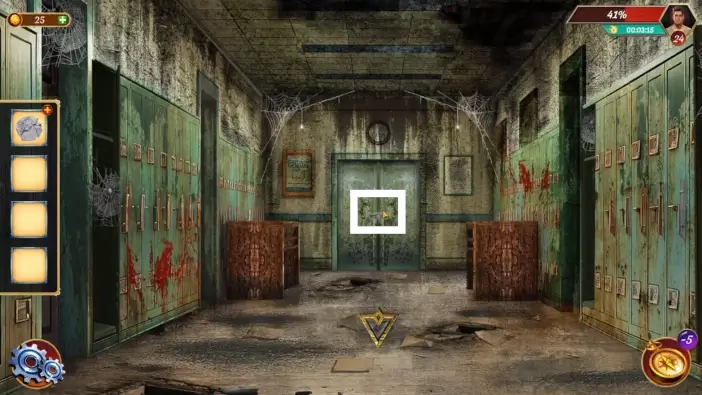
Approach the puzzle on the main door.
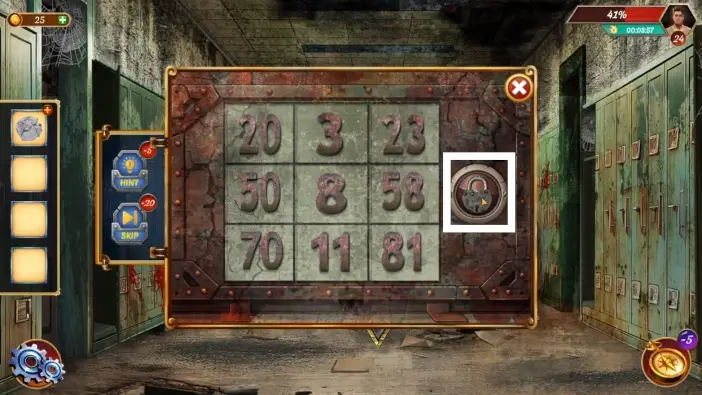
Change the numbers to be the same as on the paper, and you will solve this puzzle. Tap on the padlock to open the door and enter the next room.
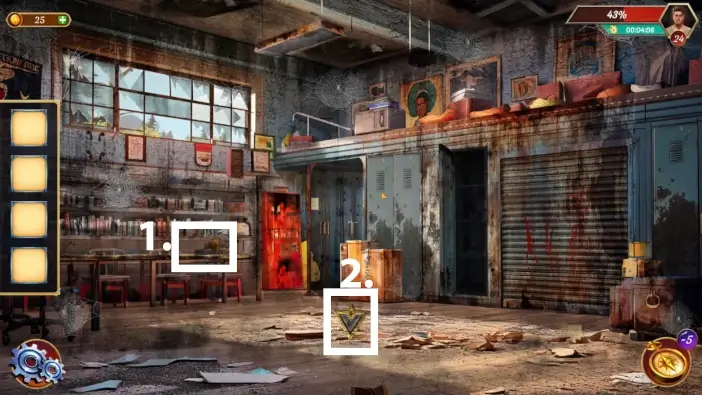
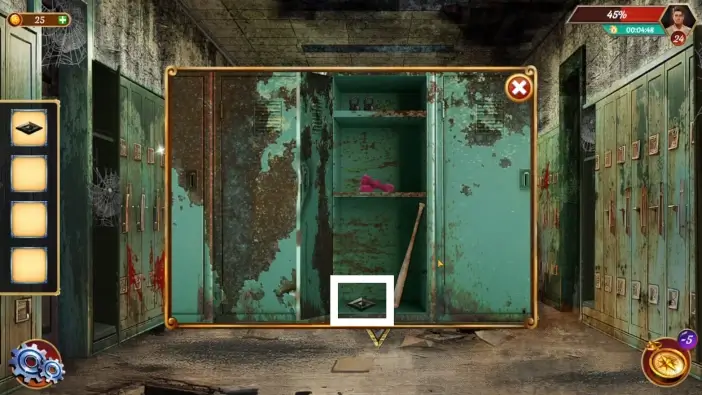
- Take the first rhombus-shaped metal piece from the left desk.
- Tap on the bottom arrow to return to the hallway.
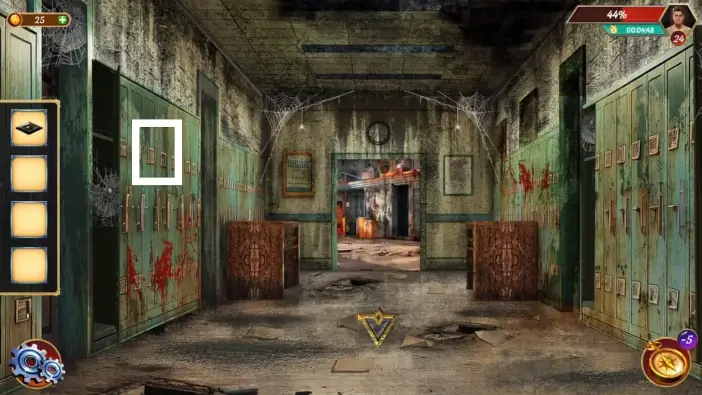
Approach the left group of lockers and open the middle one.
Take the second rhombus-shaped metal piece from the locker.
Return to the room and get close to the box right from the window.
Place the rhombus-shaped metal pieces in the empty slots on the box to unlock it.
Take the clue paper from the box.
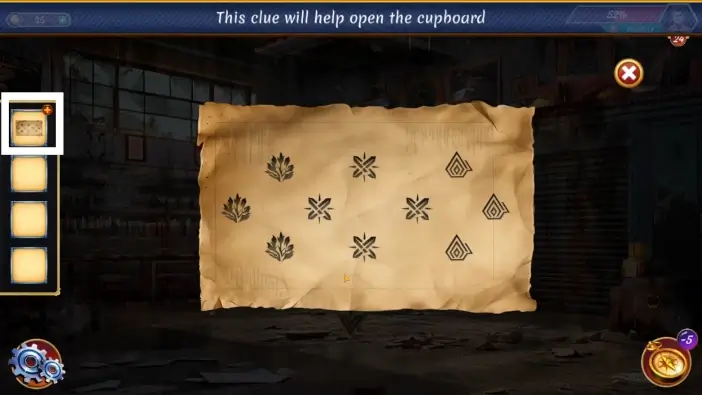
Read the paper and remember the position of symbols.
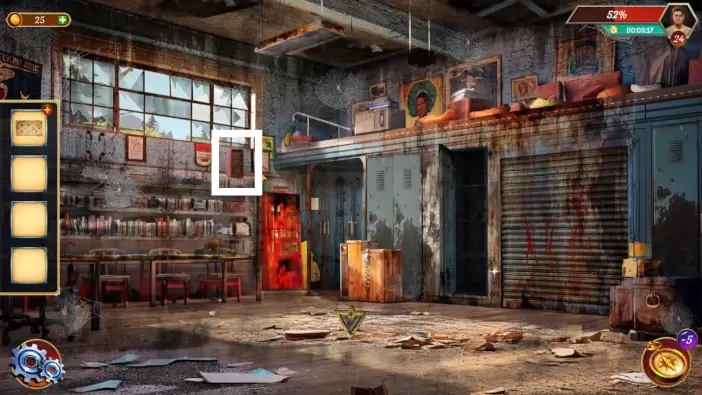
Approach the cupboard below the window
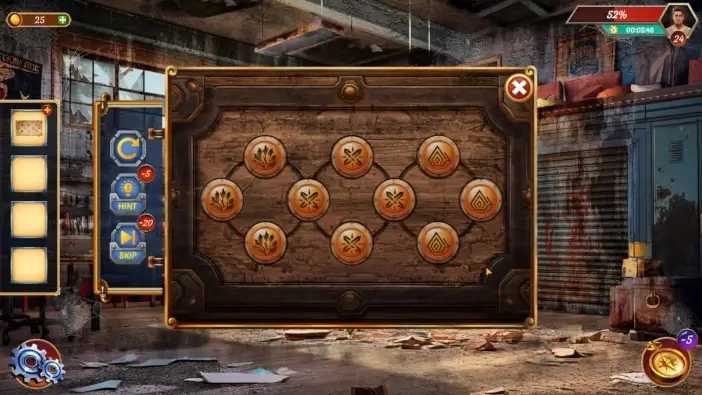
Start the puzzle challenge to unlock the cupboard. Rearrange the symbols so their order is like in the clue paper you’ve read previously. You can rearrange the two symbols by swapping their places.
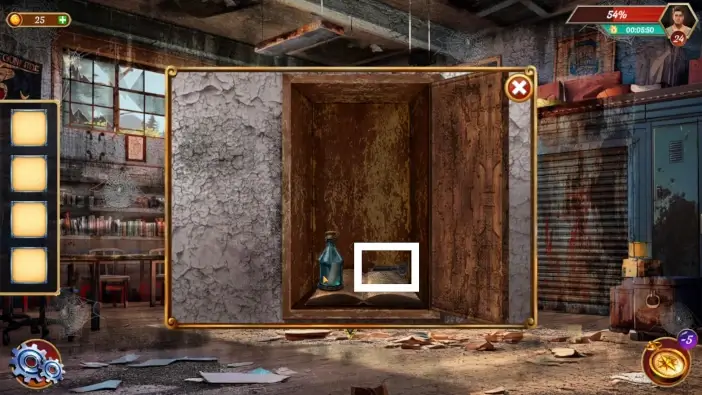
Once you open the cupboard, take the lever.
Attach the lever next to the shutters, then use it to raise the shutters.

Enter the new area behind the shutters.
Press the red button to close the shutters, but something unexpected will happen. The cutscene will start where John and his friends will be attacked by the ghost.
- After the cutscene, open the electricity box. John will notice that the wire is burned.
- Take the new wire from the shelf on the left.
Go to the electricity box and place the new wire, then close the electricity box. The power will return.
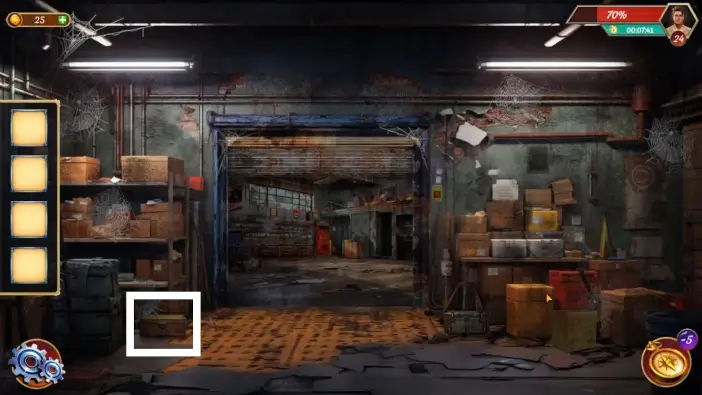
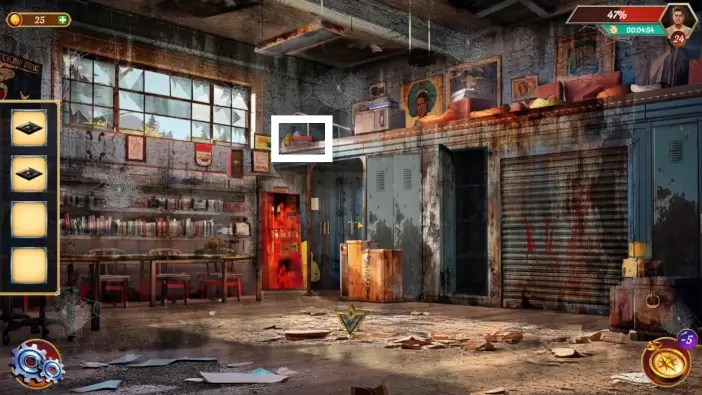
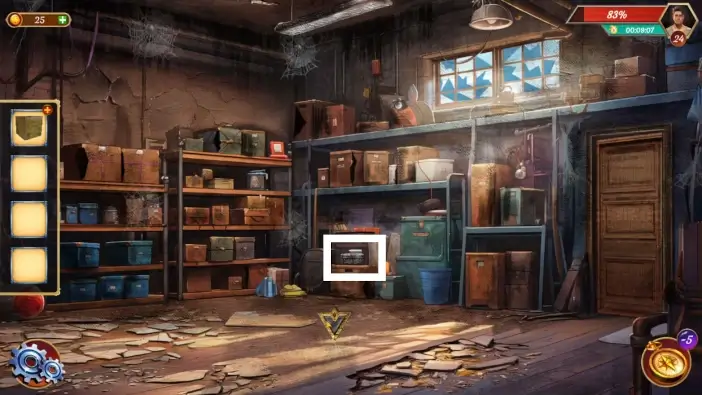
Take the box from the floor on the left.
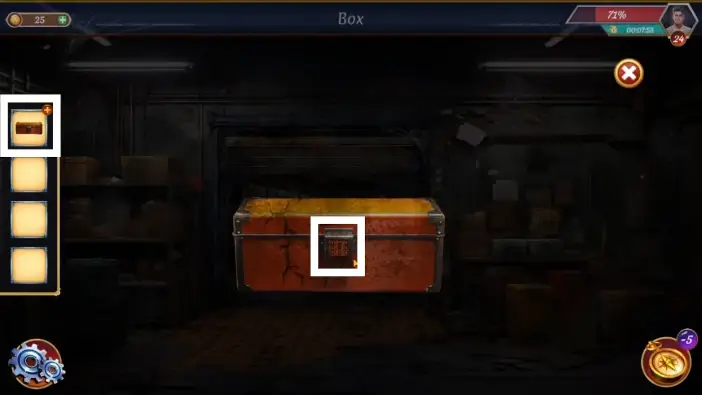
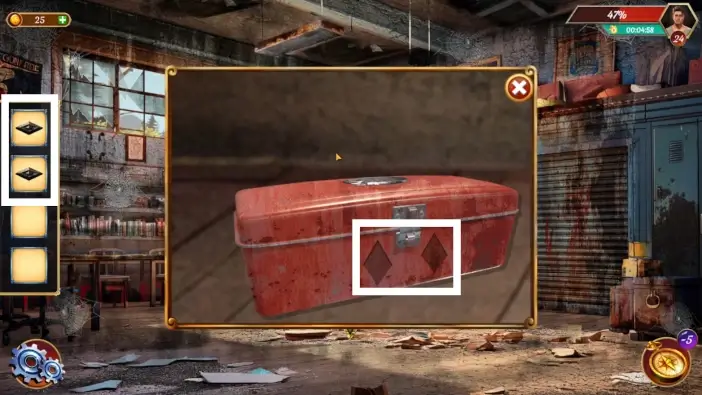
Tap on the box in your inventory to inspect it. Tap on the puzzle to start the challenge.
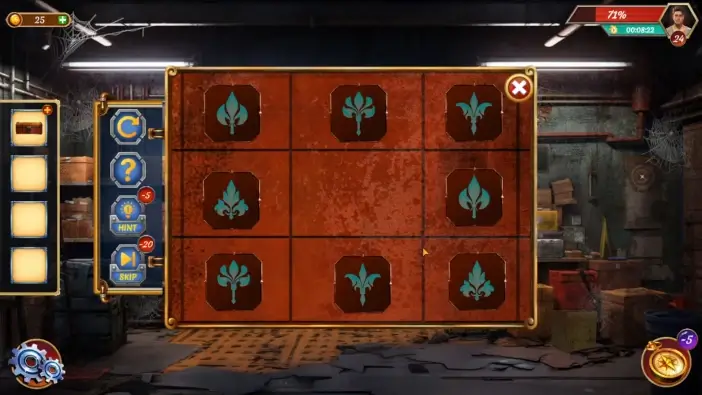
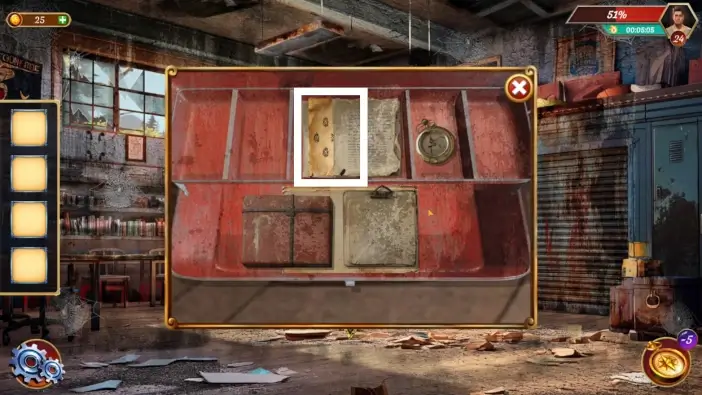
This puzzle challenge will be a memory game where you’ll need to reveal one symbol, and you’ll need to remember where the other same symbol is and reveal it. If you make a mistake, you will start from the beginning. The positions of the symbols are shown in the picture above. Once you open the box, take the wheel from it.
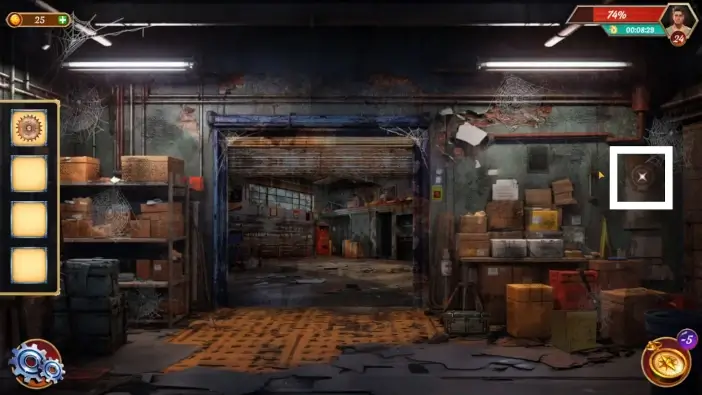
Approach the mechanism in the right corner of the room.
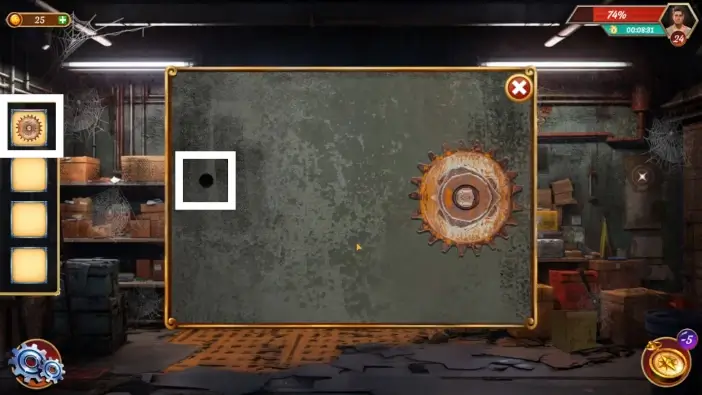
Attach the wheel to the hole.
Pick up the box from the floor.
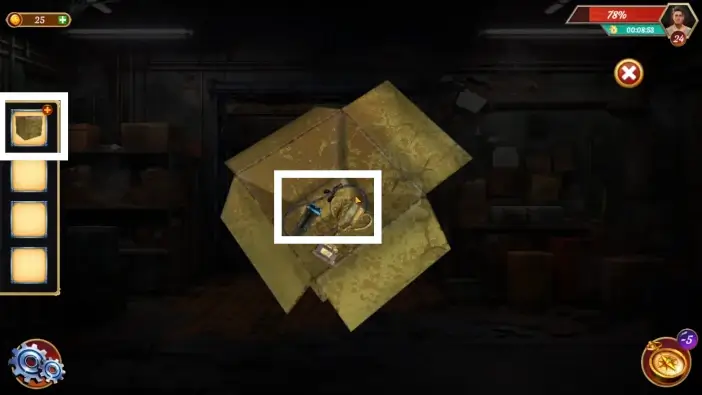
Open the box and take the chain.
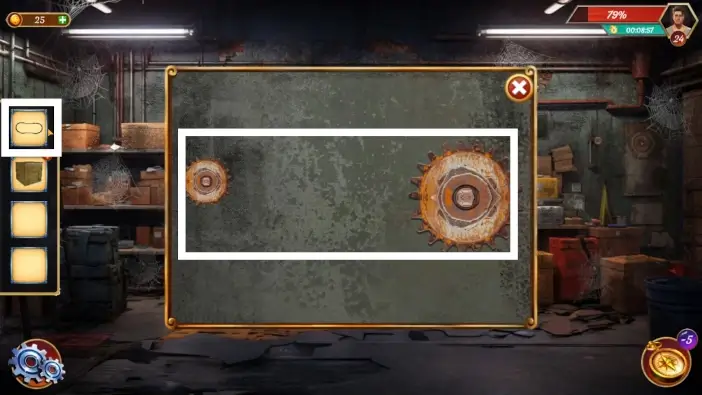
Return to the place of the wall where the wheels are and place the chain. This will close the shutter.
Tap on the right arrow to go to the other area of the room.
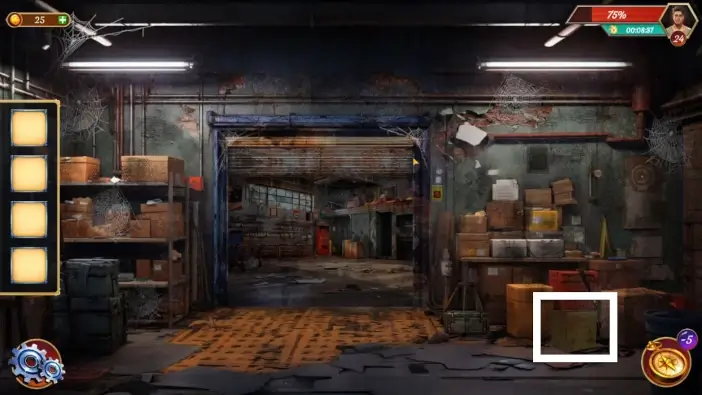
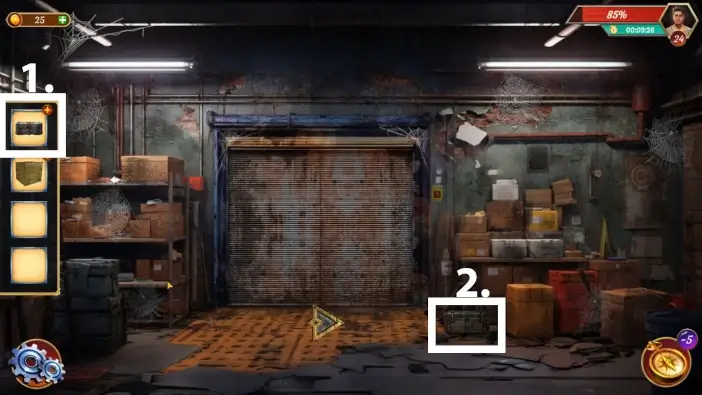
Take the metal box.
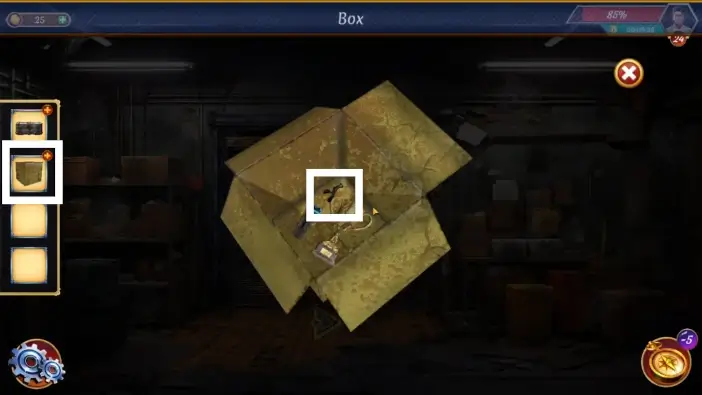
- Inspect the box from your inventory and tap on the box in the center of the screen, and John will make a comment. This will unlock the next interaction.
- Return to the first area of the room and tap on the metal box on the ground. It will be locked, but it will unlock the next interaction.
Open the box from earlier in your inventory again and take the pin.
Use the pin to unlock the metal box on the ground.
Take the goat pendant.
Inspect the box from your inventory and use the goat pendant to unlock it.
Take the key from the box.
Return to the second area of the room and approach the exit door. Start the puzzle challenge near the keyhole.
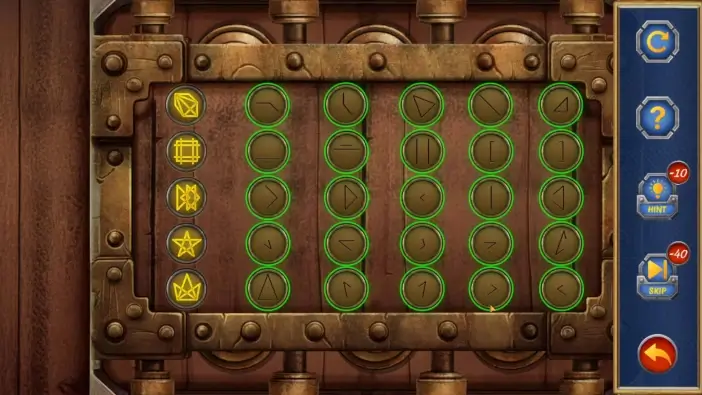
In this puzzle challenge, you’ll need to swap the places of symbols so that each row contains only the symbols that build up the symbol on the left side of the row. After solving the puzzle, use the key from your inventory to unlock the door.
This will mark the end of our guide for Level 24 of Escape Room: Mysteries School.
Thank you for reading!