Escape Room: Mysteries School – Level 22
Intro
Welcome to our walkthrough for Level 22 for “Escape Room: Mysteries School” from “Ena Game Studio”. Help John renovate his old house and solve the mystery of the haunted abandoned school.
Walkthrough
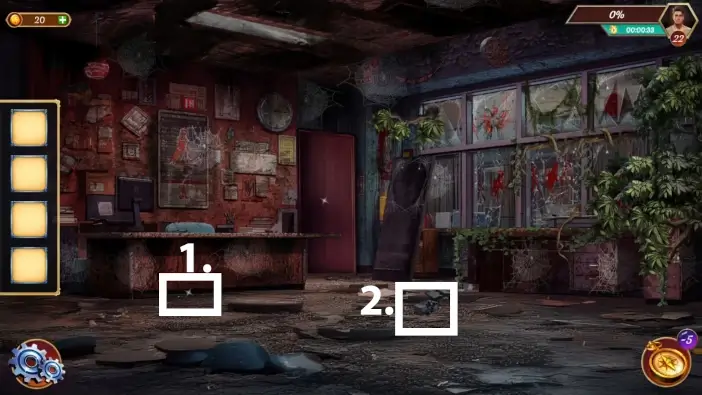
- Take the two paper pins from the floor near the left desk.
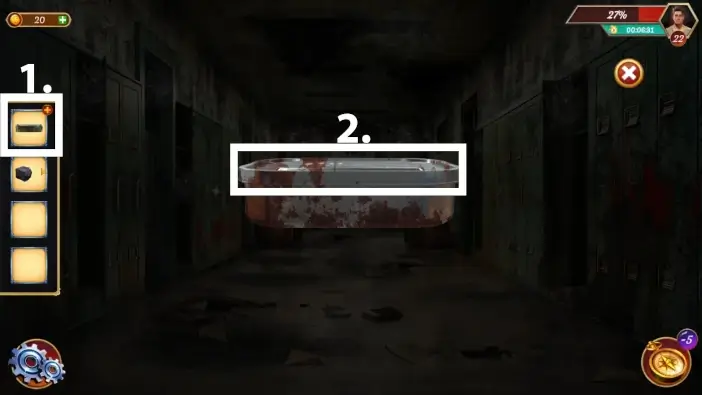
- Pick up the stone from the ground.
Use the rock you just picked to break the glass on the window.
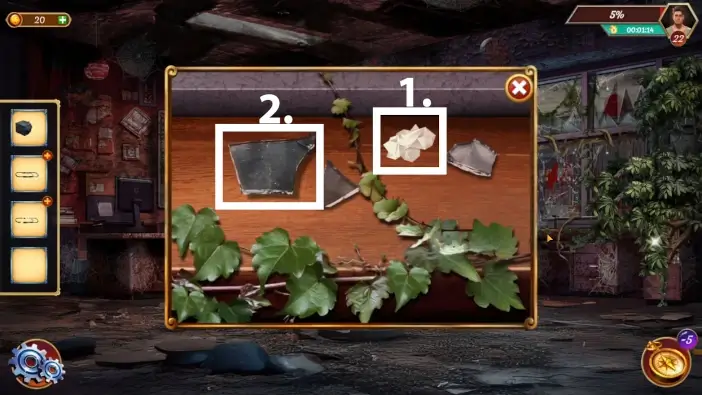
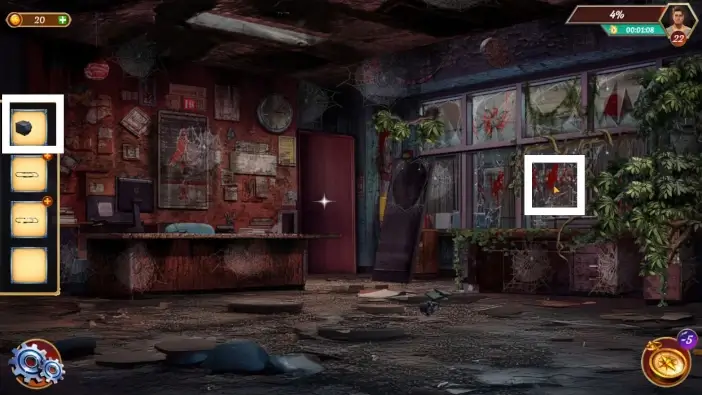
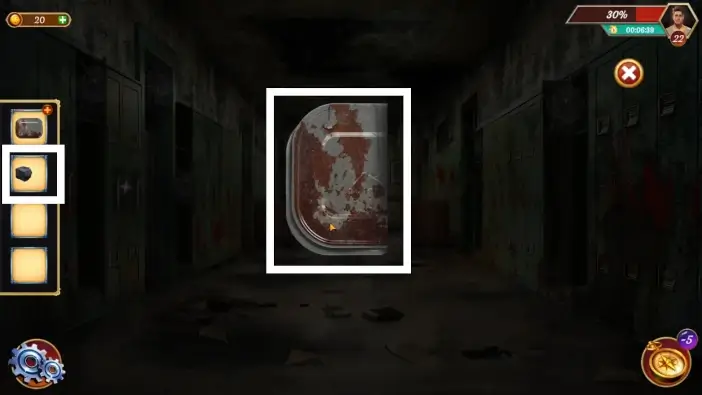
- After breaking the glass, John will approach the right desk. Take the paper from the desk.
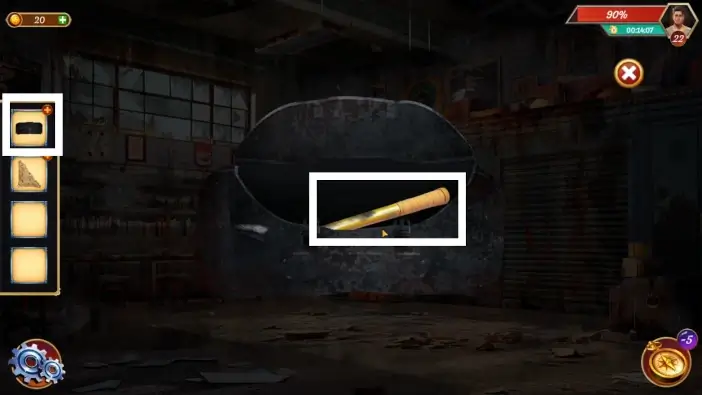
- Take the piece of glass from the desk.
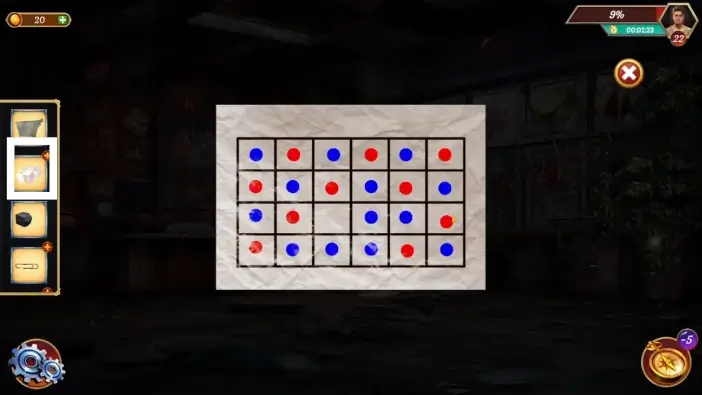
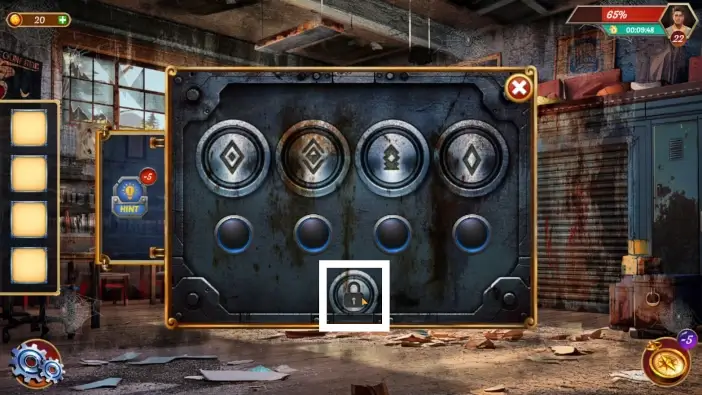
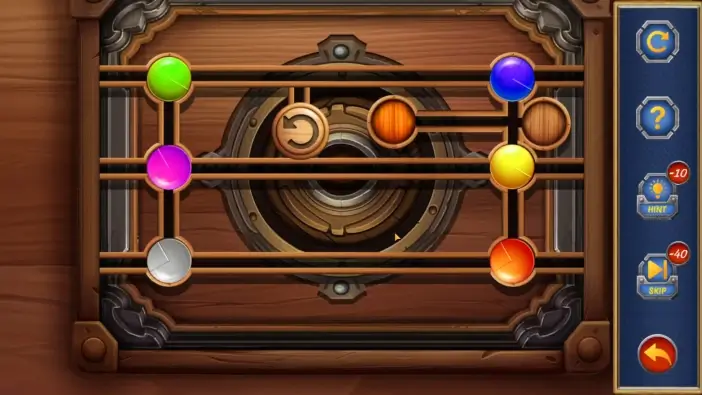
Tap on the paper in your inventory to see a clue for the future drawer puzzle. Remember the position of nodes and their colors.
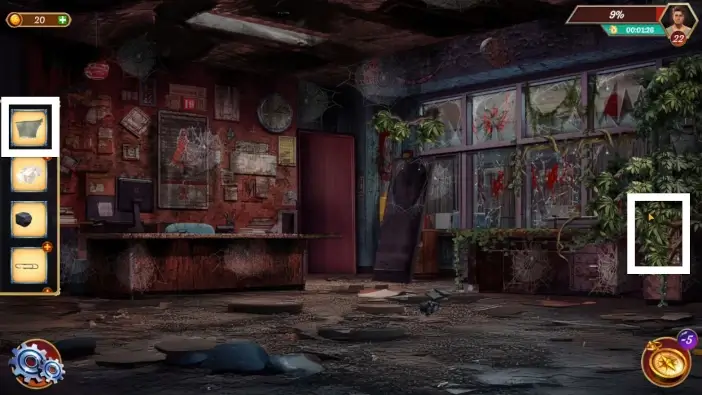
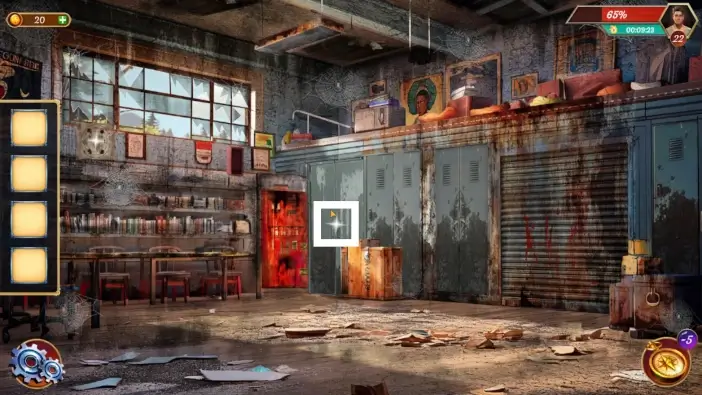
Approach the drawers on the right edge of the screen, behind the plant. Use the piece of glass to cut the plant that is blocking the path.
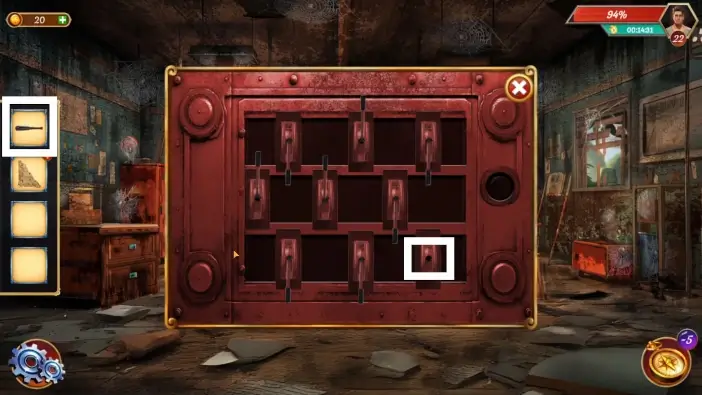
Start the puzzle challenge to unlock the second drawer.
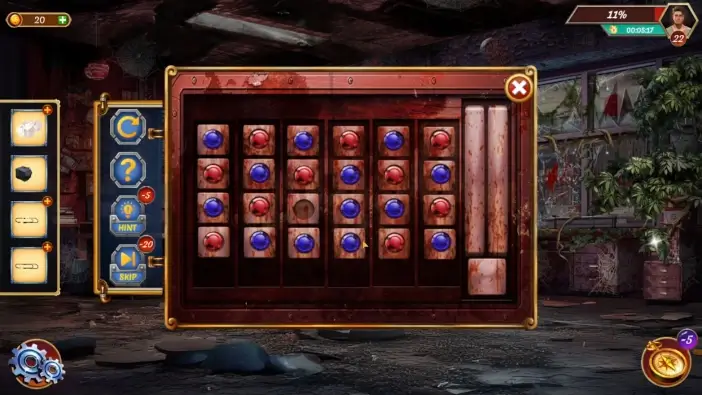
In this puzzle challenge, rearrange the nodes following the clue from the paper. The solution is in the picture above.
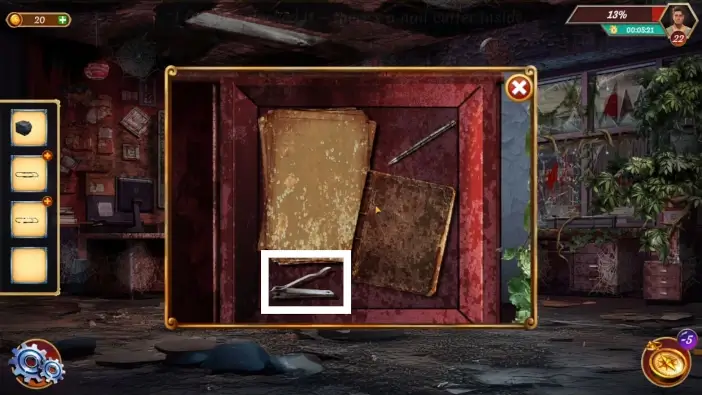
Once you open the drawer, take the nail cutter.
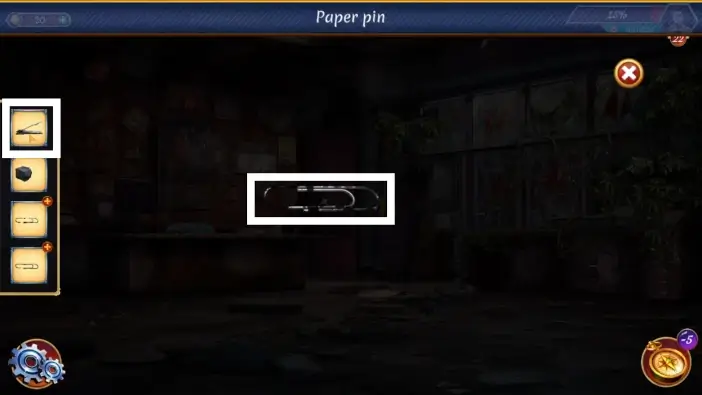
Tap on the paper pin to inspect it. Use the nail cutter to reshape the paper pin. Tap on the paper pin in the center of the screen to return it to your inventory. Repeat the same actions for the second paper pin.
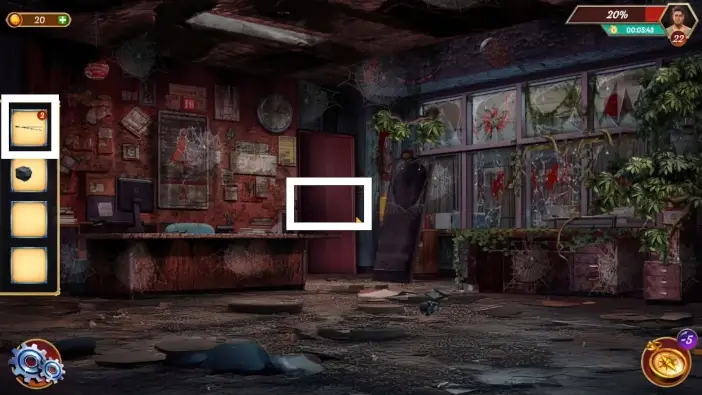
Use the two paper pins to unlock the door. Enter the school’s hallway.
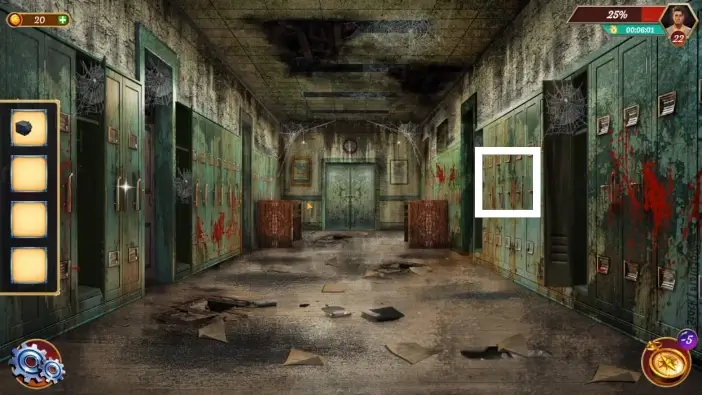
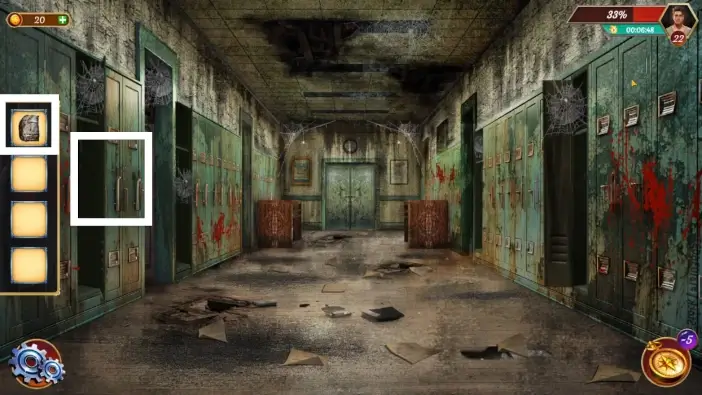
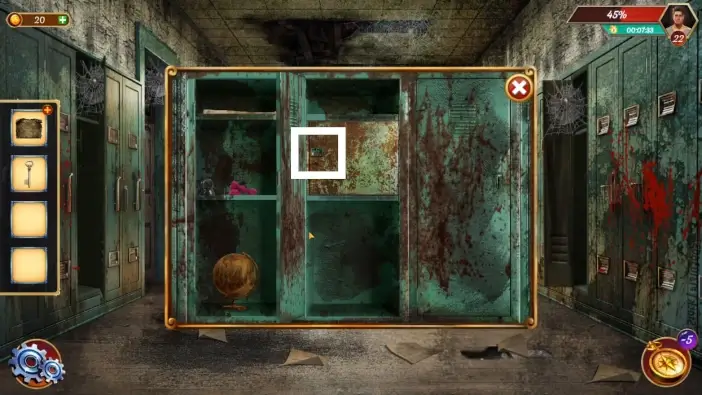
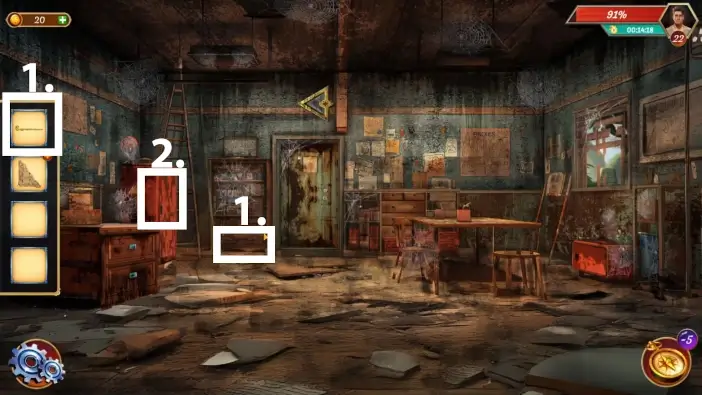
Open the locker on the right.
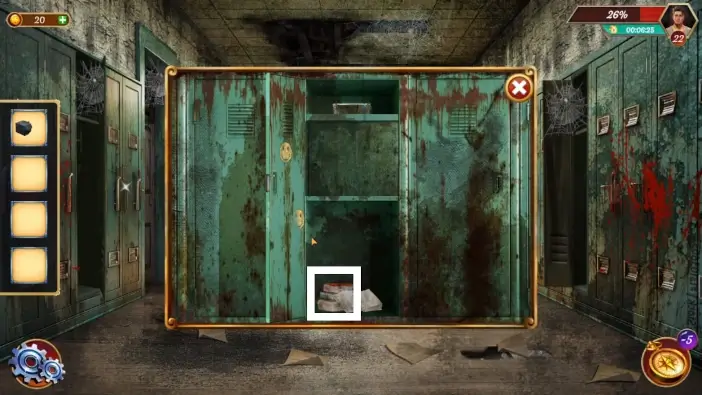
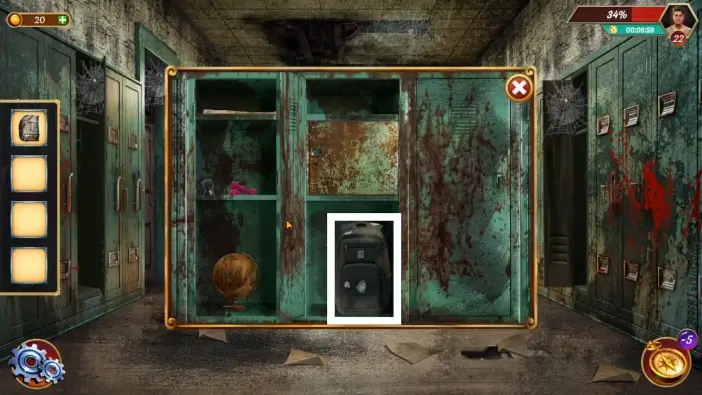
Take the tiffin box from the locker.
- Tap on the tiffin box in your inventory to inspect it.
- Take the lid off the tiffin box. It will be added to your inventory.
Tap the lid in your inventory to examine it. Tap on it in the center of the screen to fold it, then use the stone to shape the lid. Tap it in the center of the screen one more time to return the lid to your inventory.
Use the reshaped lid to open the locker on the left.
Take the bag from the locker.
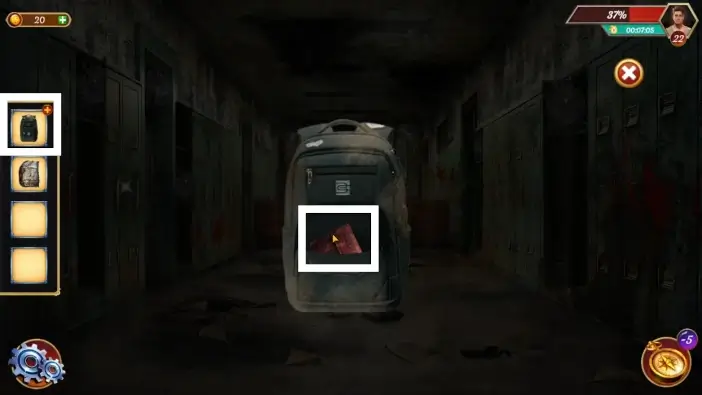
Access the bag via your inventory and take the purse from the bag.
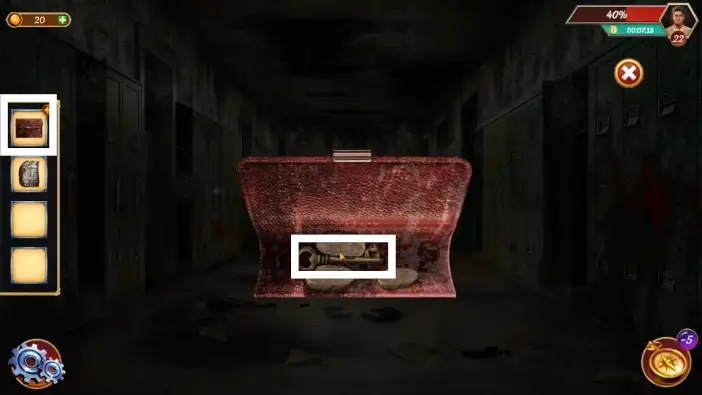
Inspect the purse in your inventory, open it, and take the key for unlocking the toolbox later.
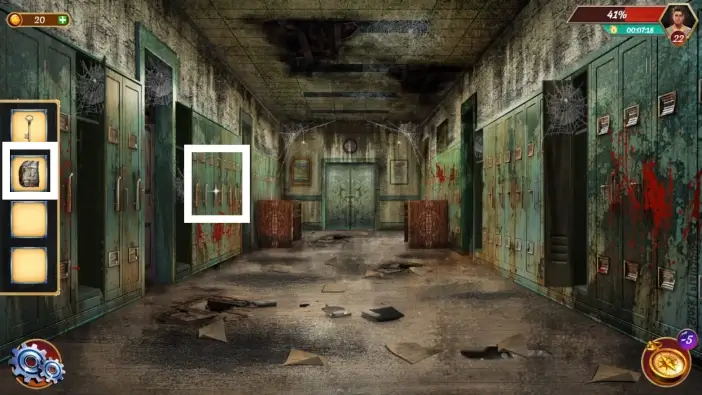
Use the reshaped lid to open the farther left locker. Take the clue paper from that locker.
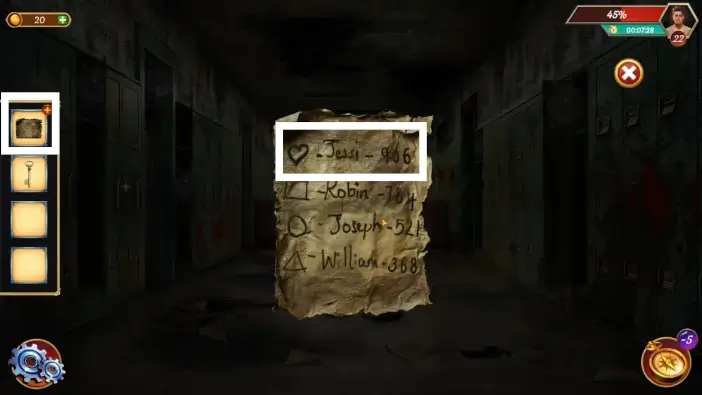
Look at the clue paper from your inventory and remember the password for Jessi. The reason why you should look for this password is that Jessi has a heart symbol, which is the symbol on the safe in the previous locker.
Return to the previous locker where you’ve found the bag and approach the safe.
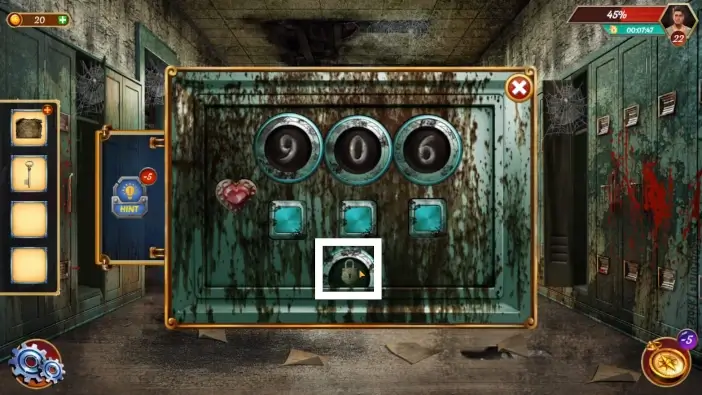
Change the numbers to 906, which is Jessi’s password. To change the numbers, use the buttons below them. Once you are finished editing the numbers, tap on the padlock icon to open the safe. Take the toolbox from the safe.
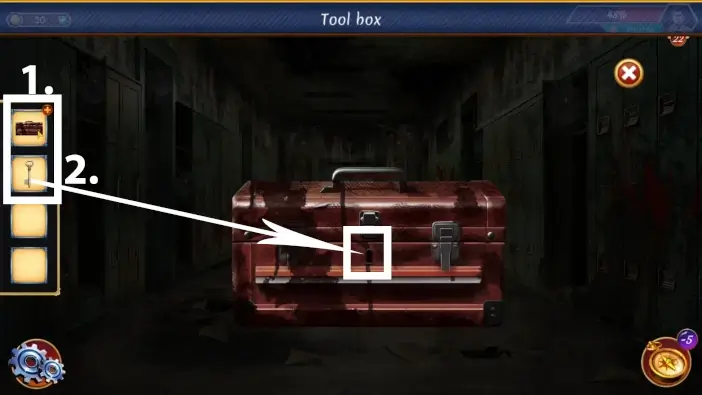
- Tap on the toolbox in your inventory to take a closer look at it.
- Use the key you’ve found in the purse to unlock the toolbox.
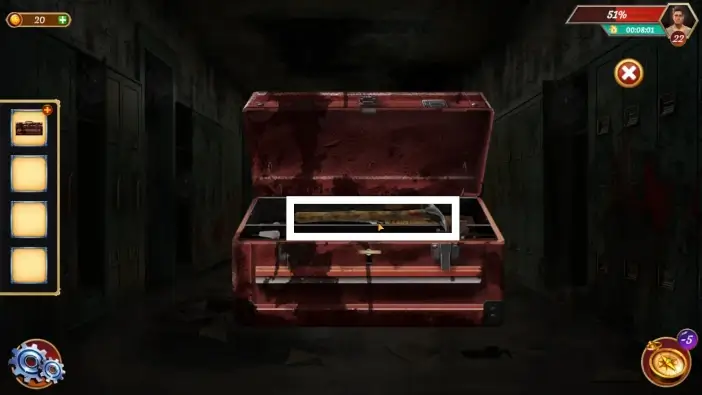
Take the hammer from the toolbox.
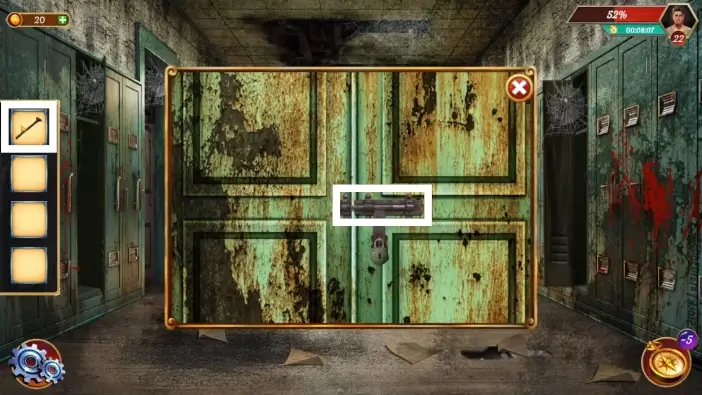
Use the hammer to break the padlock from the main door, then open the door and proceed to the next room.
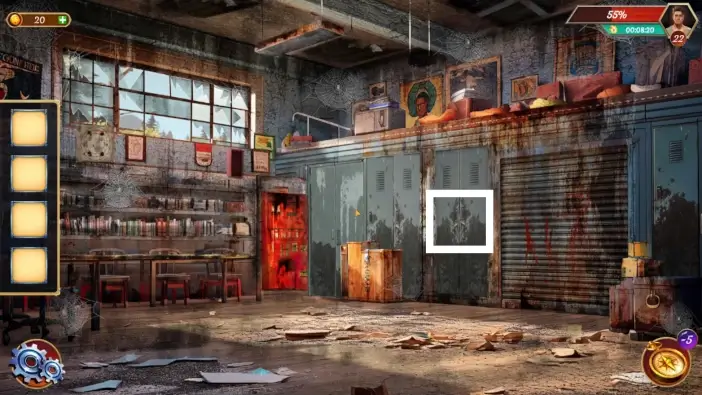
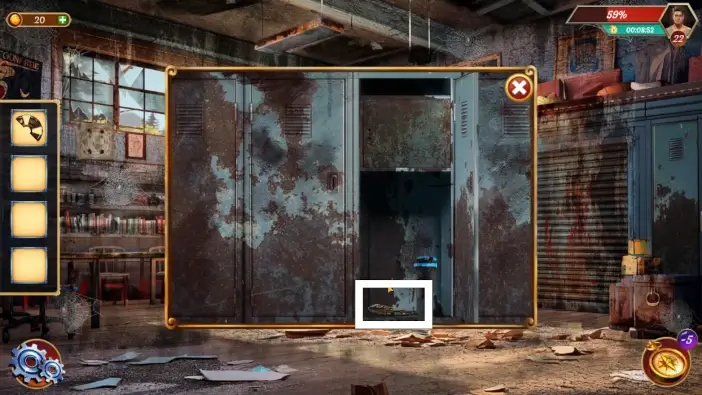
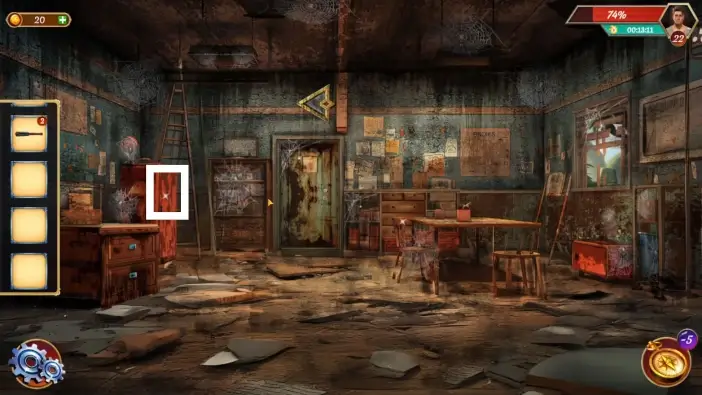
In the next room, open the locker marked in the picture above.
Take half of the metal piece.
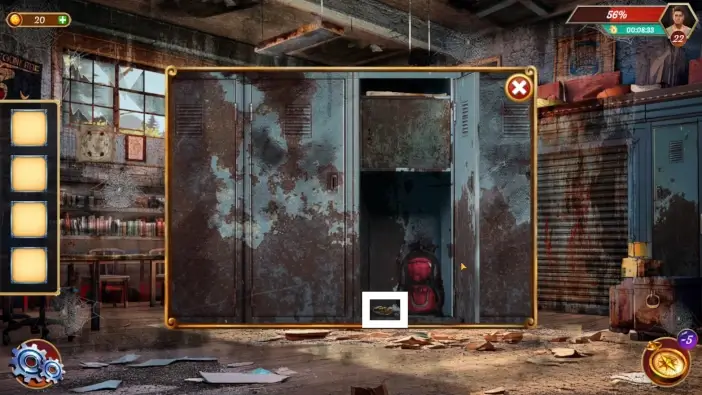
Open the locker left from the previous one.
Take the second half of the metal piece.
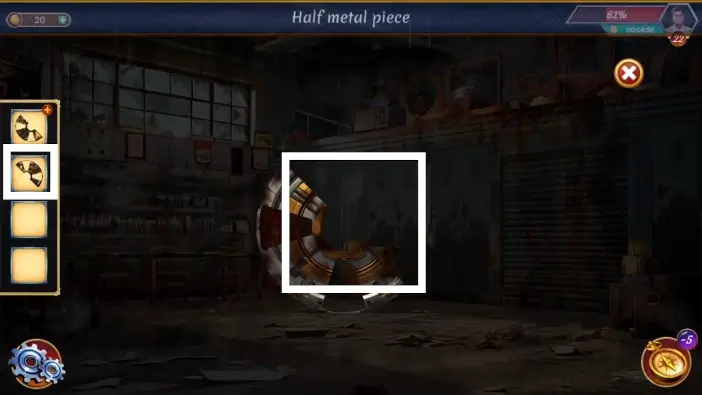
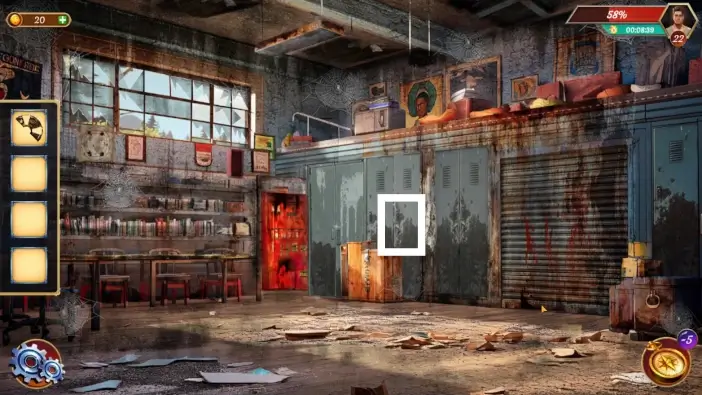
Tap on the half that has a plus sign in your inventory to zoom it in, and then attach the second half to it. Tap on the whole metal wheel to add it to your inventory.
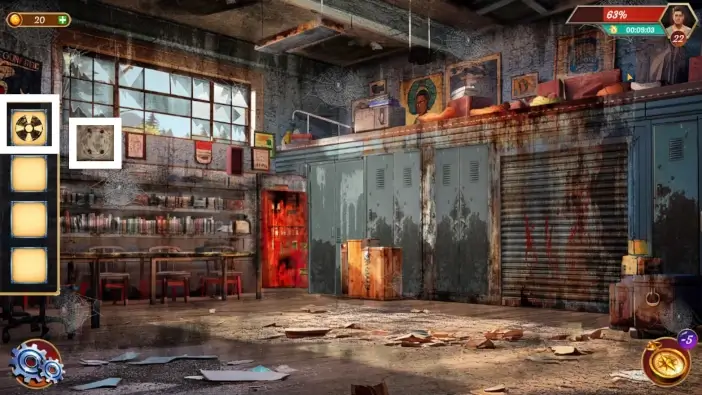
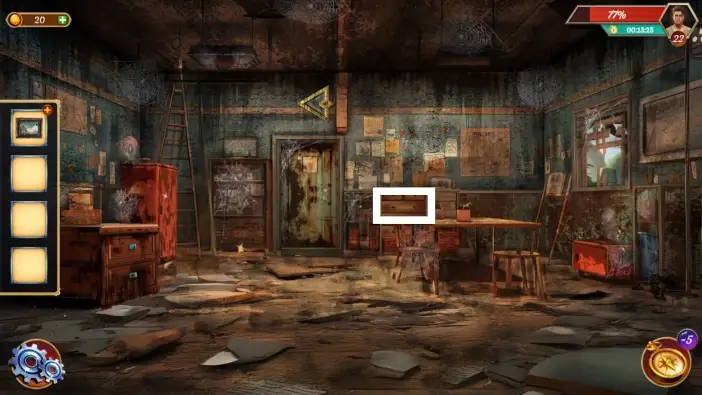
Approach the paper on the left wall, below the window, and place the metal wheel on it.
Move the metal wheel to different numbers. The numbers represent the sequence of symbols from left to right in the next puzzle. Remember which symbols glow green when you place the metal wheel on a specific number.
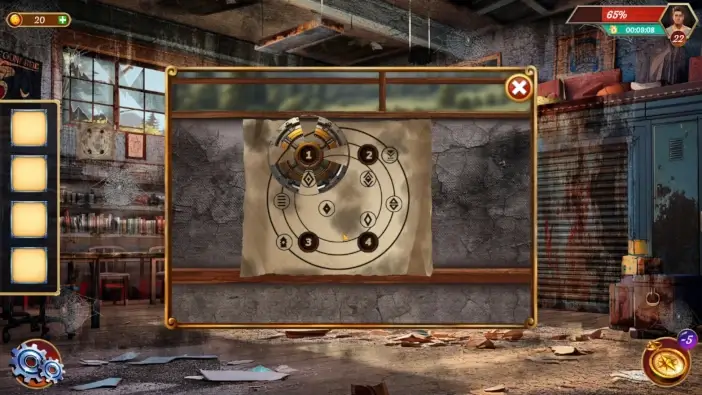
Start the puzzle challenge on the office door.
Remember the clues from the paper and the metal wheel. Place the sequence of symbols like in the picture above, and then tap on the padlock icon to open the door. To change the symbols, use the buttons below them.

- Pick up the lever from the floor.
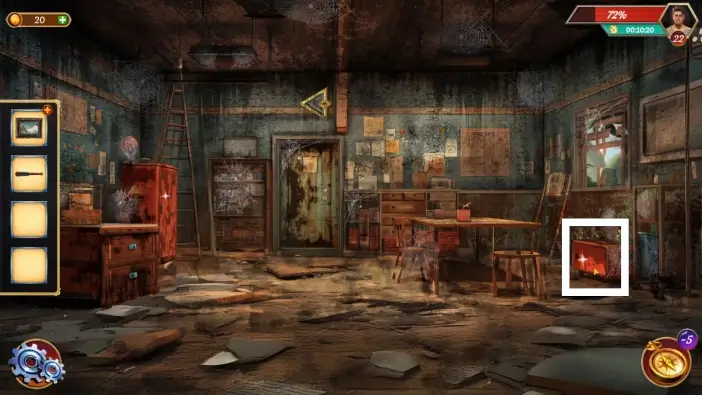
- Approach the left drawers.
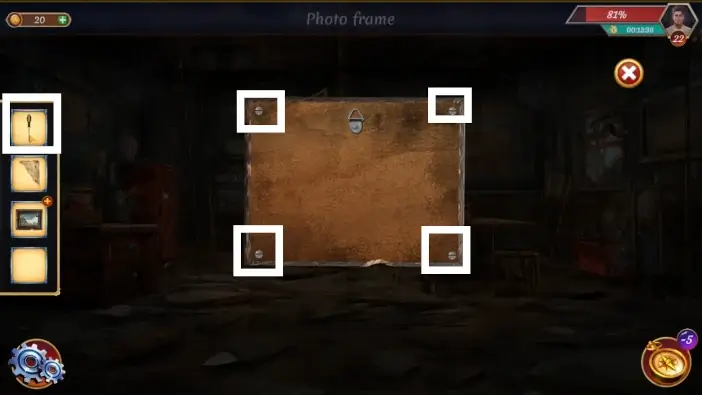
Open the first drawer and take the framed photo.
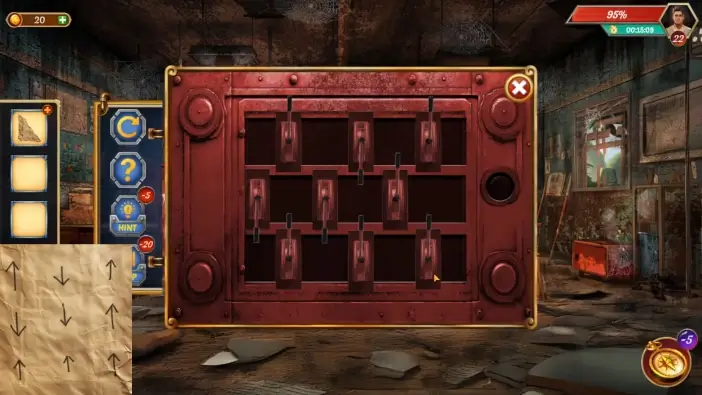
Approach the safe on the right and start a puzzle challenge.
Each node is missing a piece. You’ll need to move the node to its missing piece and also to rotate the node so it can merge with its piece. To rotate the node, you’ll have to move it to the spot right from the rotation button. Use the rotation button to rotate the node. Once you unlock the safe, take the second lever.
Approach the mechanism on the left.
Attach the two levers you’ve found so far. You will need one more.
Open the drawer on the other side of the office and take half of the clue paper and the screwdriver.
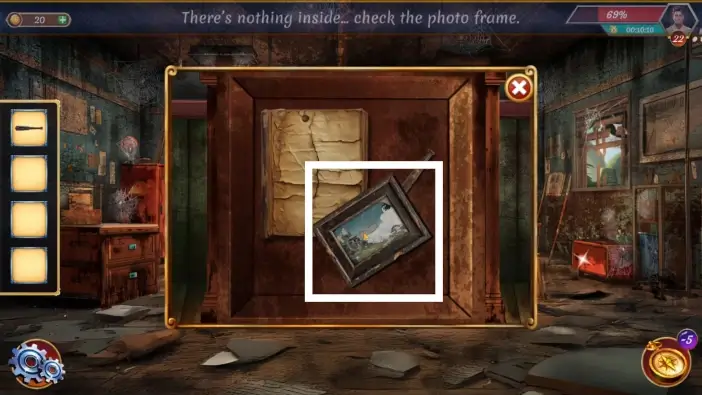
Tap on the framed photo in your inventory to inspect it. Tap on it while it is in the center of the screen to flip it, then use the screwdriver to remove the screws and open the frame. Take the second half of the clue paper from the frame.
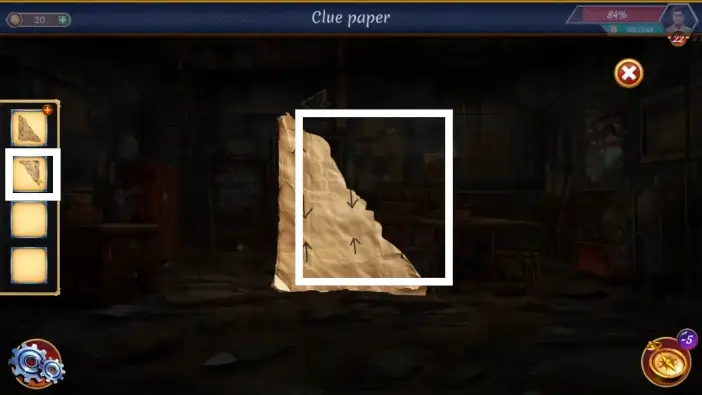
Merge the two halves of the clue papers.
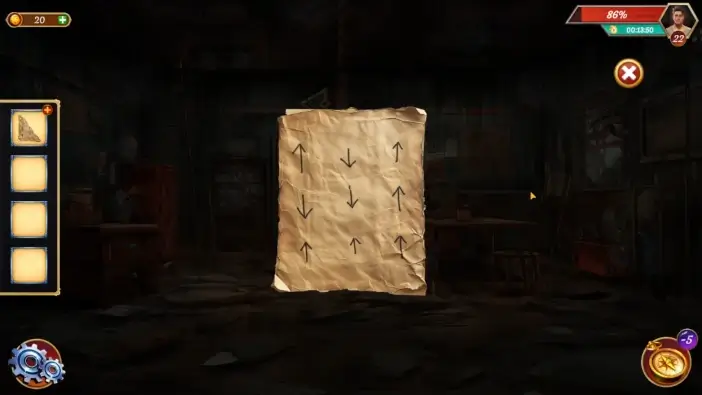
Remember the clue. You will use it for the lever puzzle challenge later, but first, you’ll need to find the third missing lever.
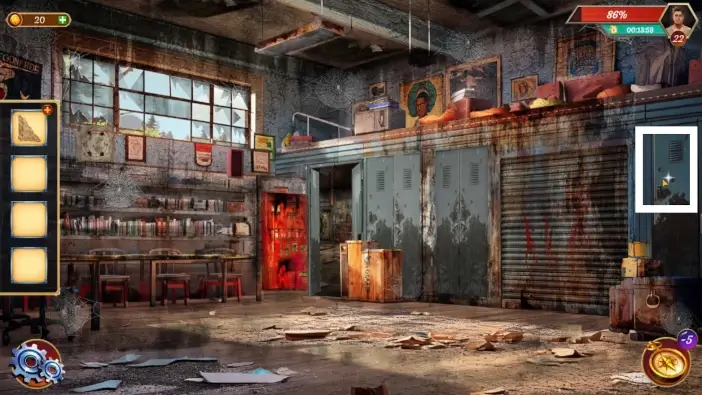
Return to the previous room and open the locker on the right edge of the screen. Take the hockey bag from that locker.
Open the hockey bag from your inventory and take the hockey stick.
- Return to the office and use the hockey stick to grab the lever that is beneath the shelves.
- Approach the mechanism on the left.
Attach the last lever.
Follow the clue from the paper and adjust the levers in either up or down positions, depending on the arrows from the paper. Basically, if you tap on each lever once, you will get the correct solution.
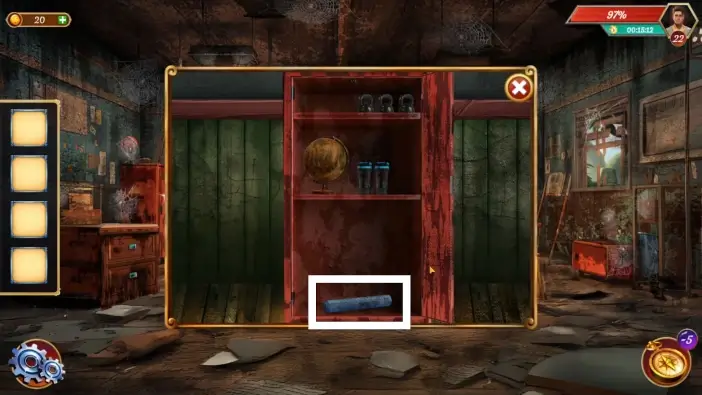
Once you solve the lever puzzle, the cabinet will open. Take the blueprint.
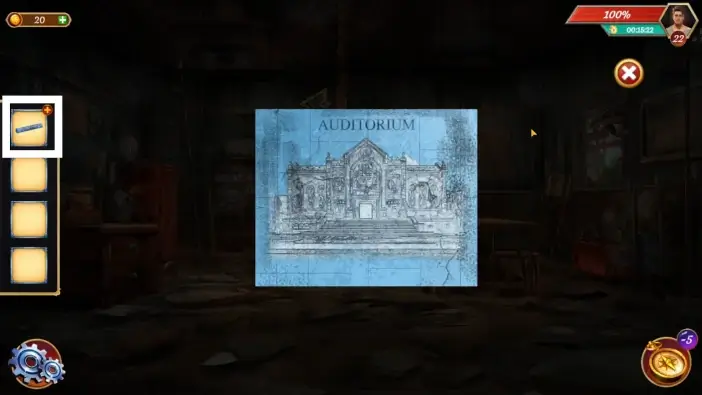
Read the blueprint from your inventory. John will decide to go to the auditorium that is on the blueprint.
This will mark the end of our guide for Level 22 of Escape Room: Mysteries School.
Thank you for reading!