Escape Room: Mysteries School – Level 15
Intro
Welcome to our walkthrough for Level 15 for “Escape Room: Mysteries School” from “Ena Game Studio”. Help John renovate his old house and solve the mystery of the haunted abandoned school.
Walkthrough
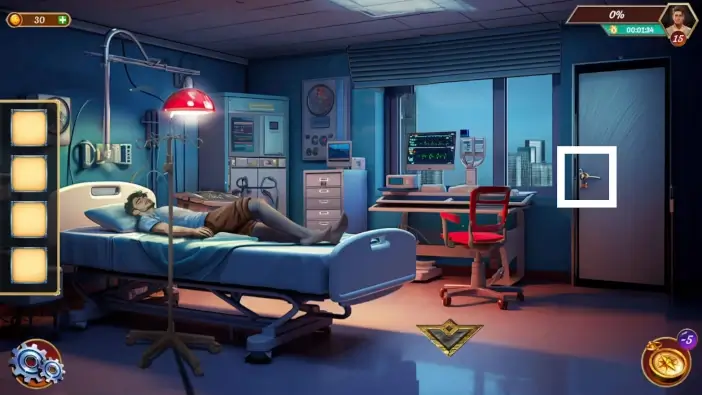
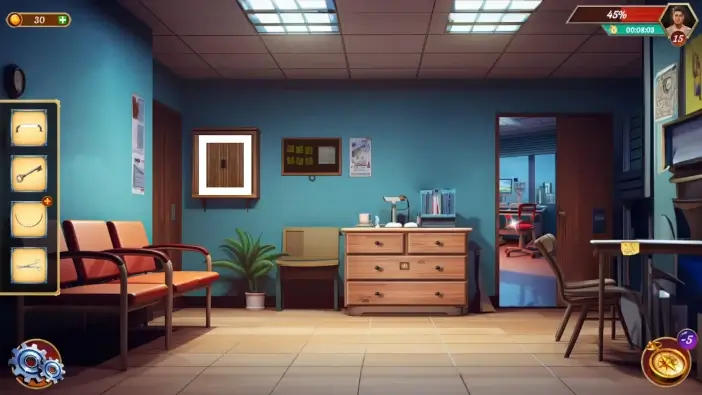
Enter the doctor’s office.
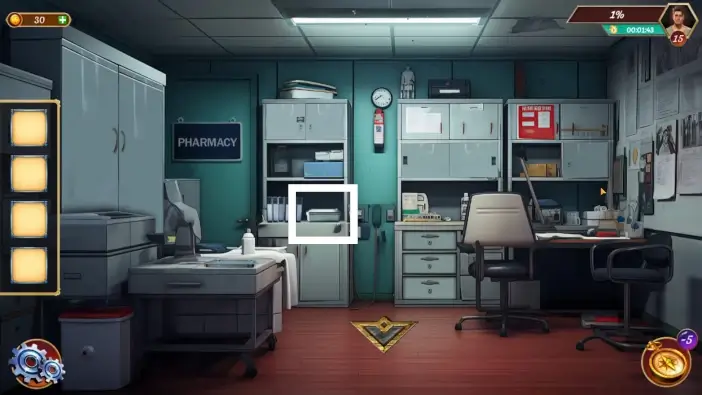
Approach the shelf on the far side of the office and take the metal box.
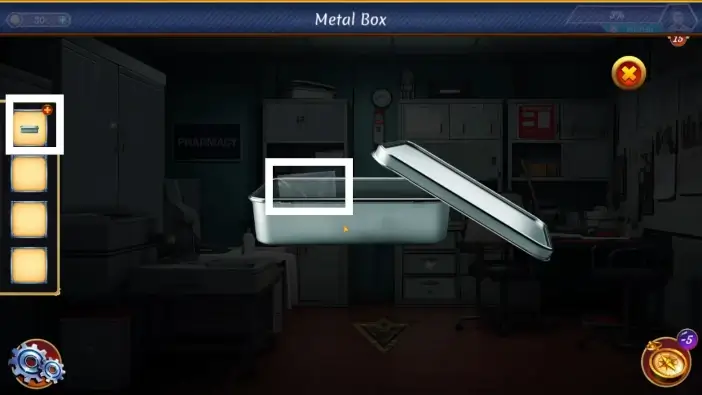
Tap on the metal box in your inventory to examine it. Open the box and take the string package.

Open the cupboard on the left.
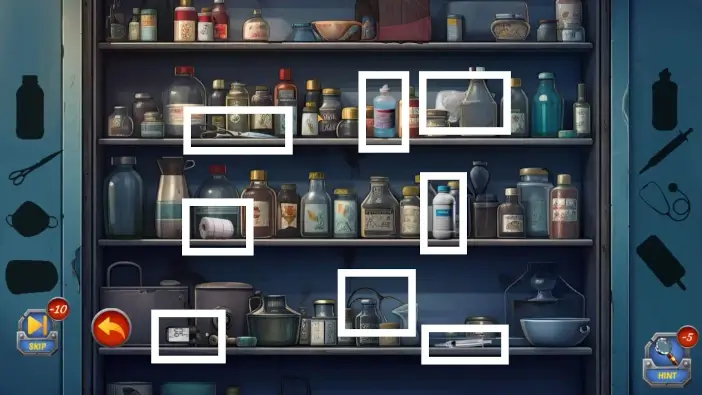
A mini-game where you need to find eight items will start. The locations of the items are marked in the picture above. Once you find all the items, you will get a cotton wrap in your inventory.
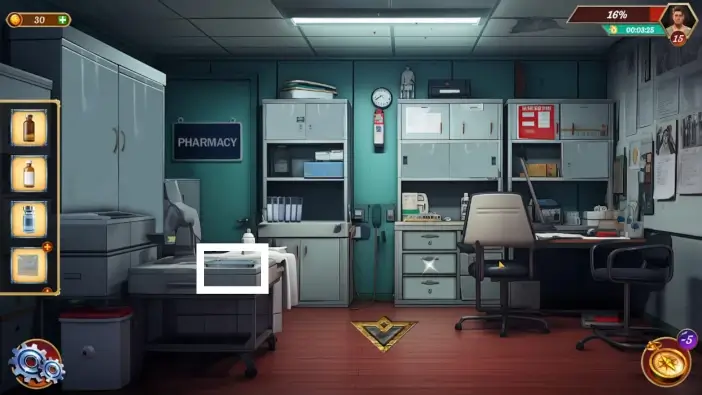
Open the cabinet on the right.
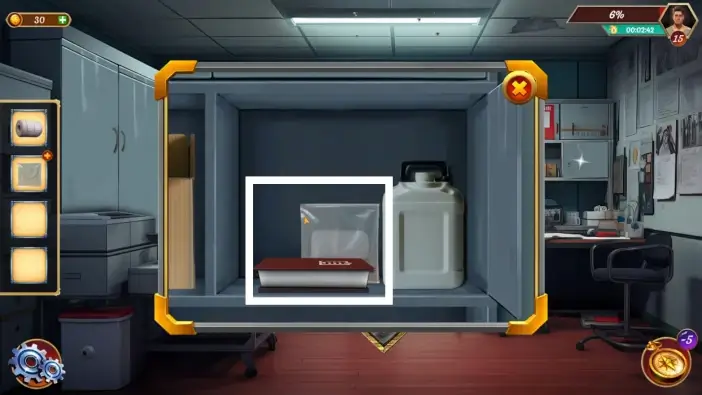
Take the book and the cotton.

Open the book from your inventory and turn several pages. See which medicine you need to find to heal John’s leg.
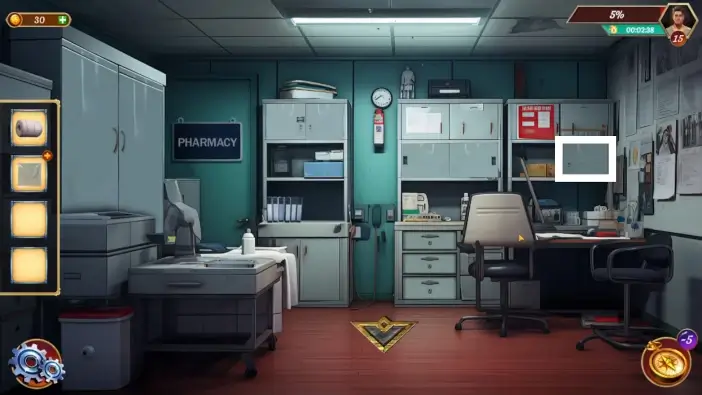
Approach the cabinet above the doctor’s desk.
Open the left part of the cabinet and take the two medicines that you saw in the book.
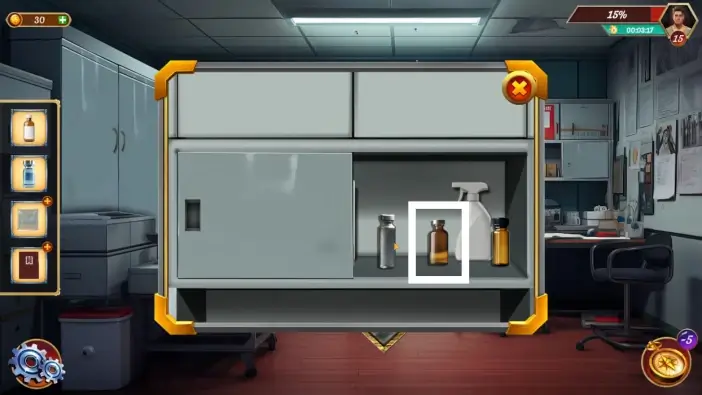
Open the right side of the cabinet and take the third medicine you need for John.
Approach the desk on the left.
Move the items to see the string holder and then take it.
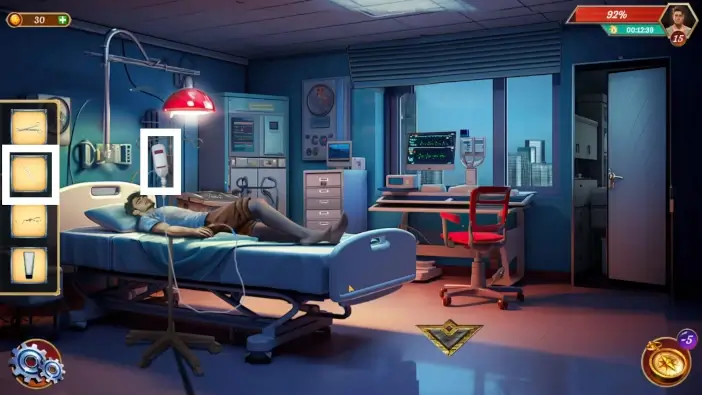
Return to the patient room and approach the drawers on the far side of the room.
Open the second drawer and take the injection syringe.
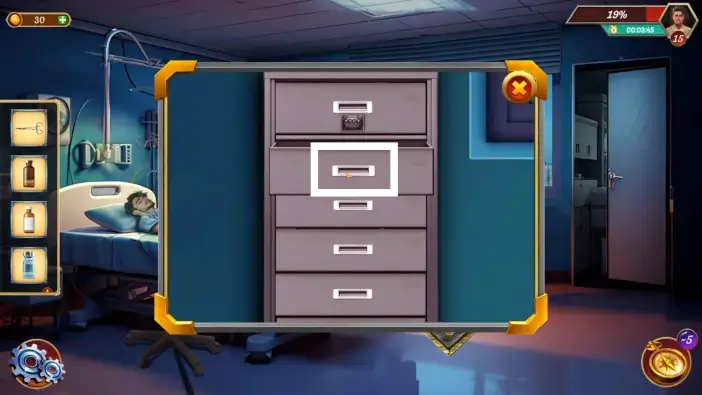
Open the third drawer.
- Take the drips bottle.
- Take the tape.

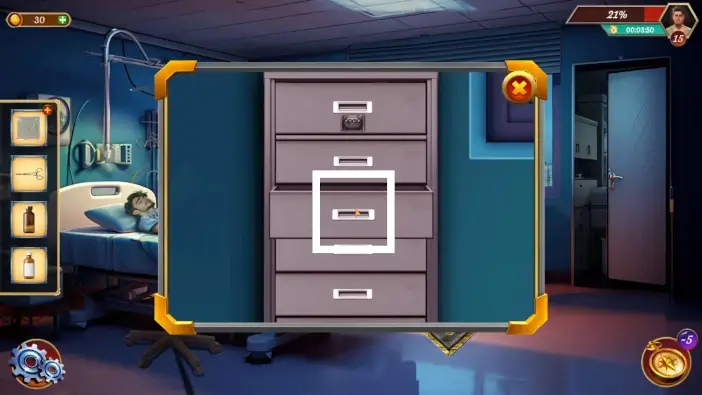
Skip one drawer and open the last one. Take the needle.
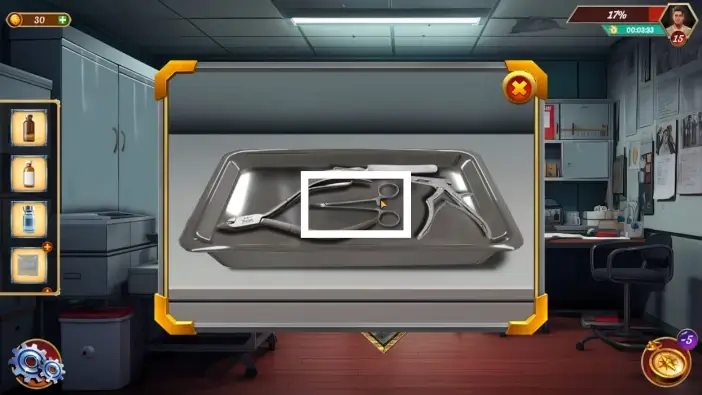
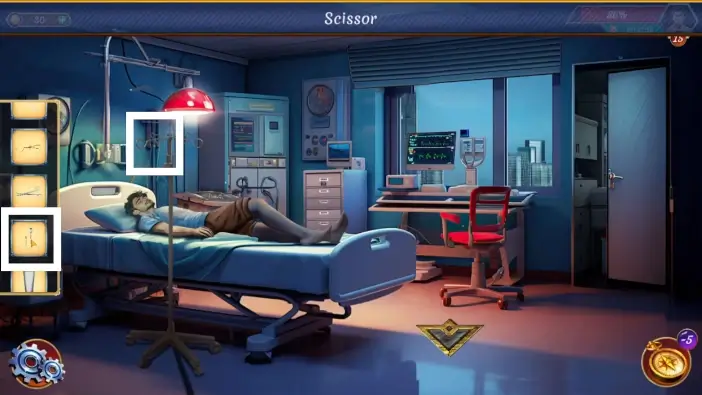
Approach the desk next to John.
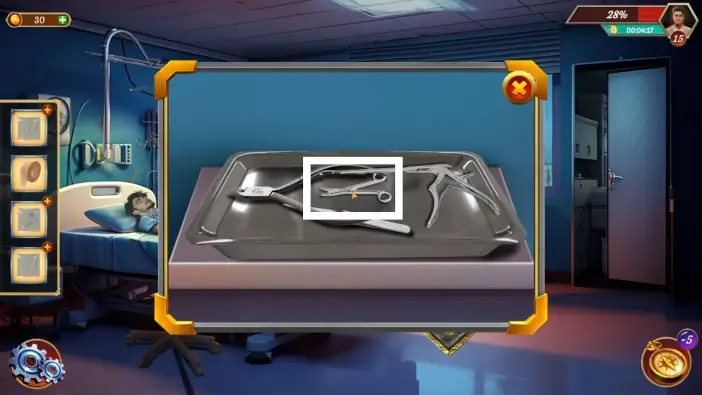
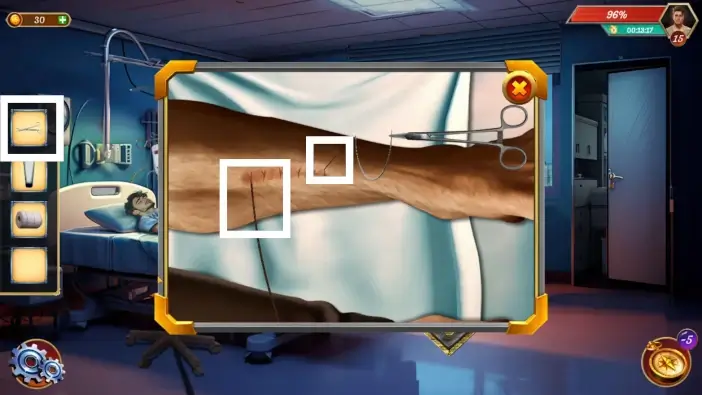
Take the scissors.
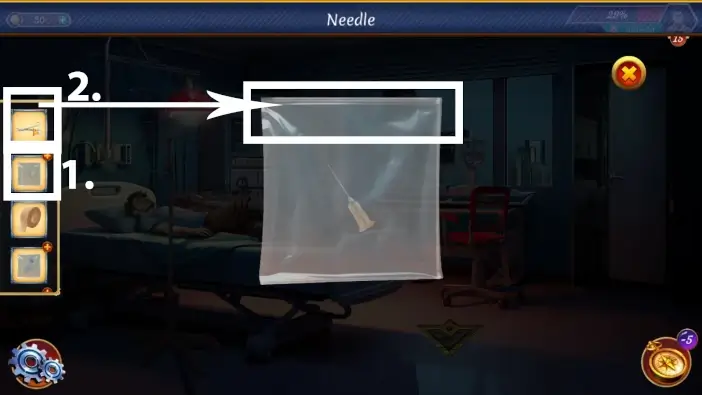
Use scissors to cut the package of the needle. Add a needle to your inventory (by tapping/clicking on it).
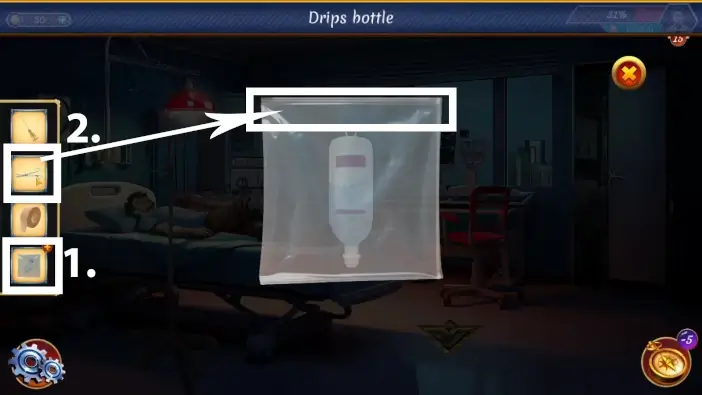
Use scissors to cut the package of the drip bottle and add it to your inventory.
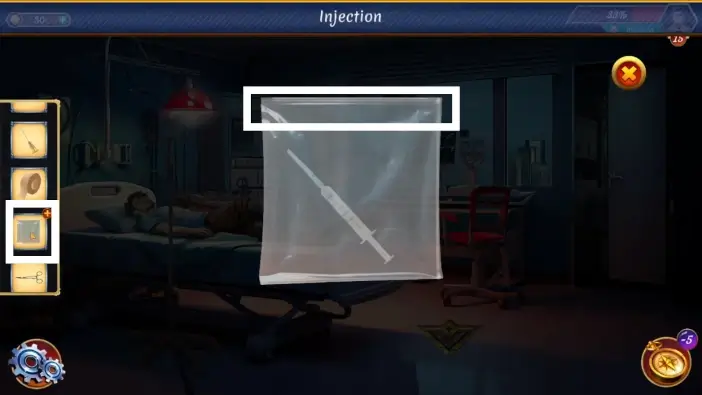
Use scissors to cut the package of the injection syringe and add the injection syringe to your inventory.
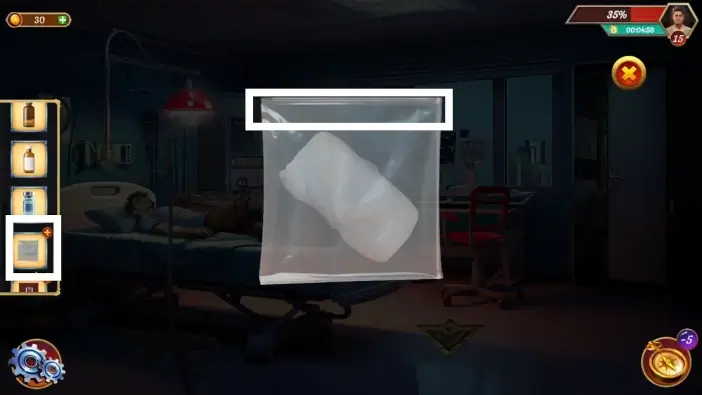
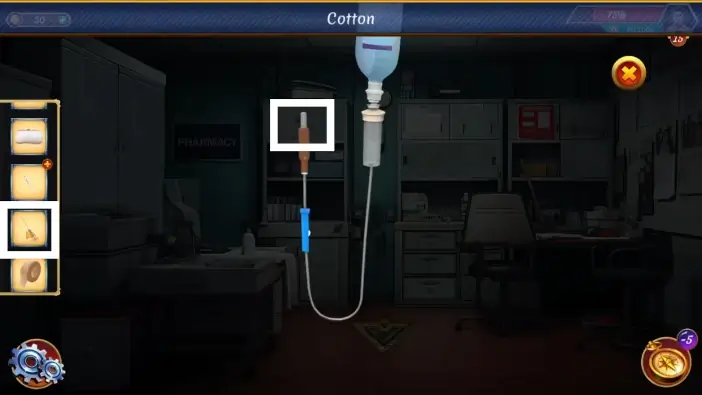
Use scissors to cut the package of cotton and add the cotton to your inventory.
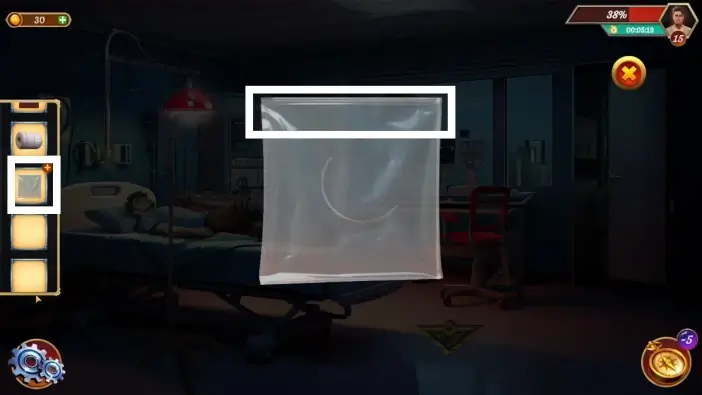
Finally, use scissors to cut the package of the string and add the string to your inventory. After this, tap on the bottom arrow in the patient room to go to the hallway.
In the hallway, read the sticky note on the right desk.
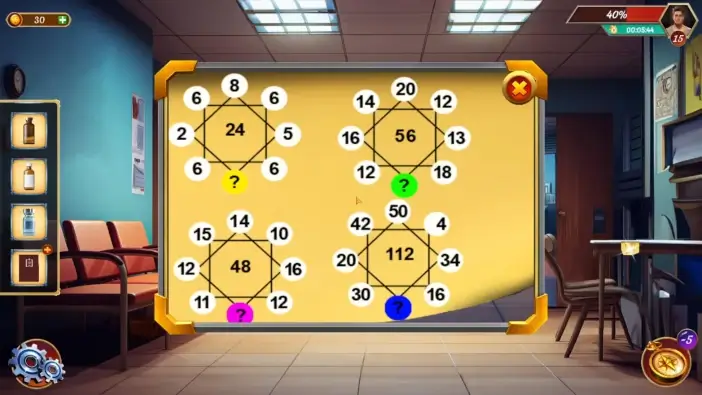
The sum of numbers that have the same path/line should be the same as in the center of the square. To get the sum of 24 in the top-left square, you’ll need the yellow question mark to be the number 9, because the numbers that are connected via line, which are 2, 8, and 5, will have a sum of 24 only if the question mark is the number 9 (2 + 8 + 5 + 9 = 24). The same logic applies to other squares. The green question mark is 7, the pink is 6, and the blue is 8.
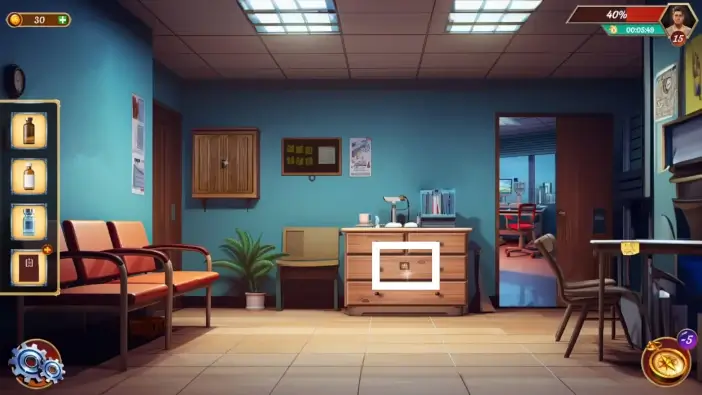
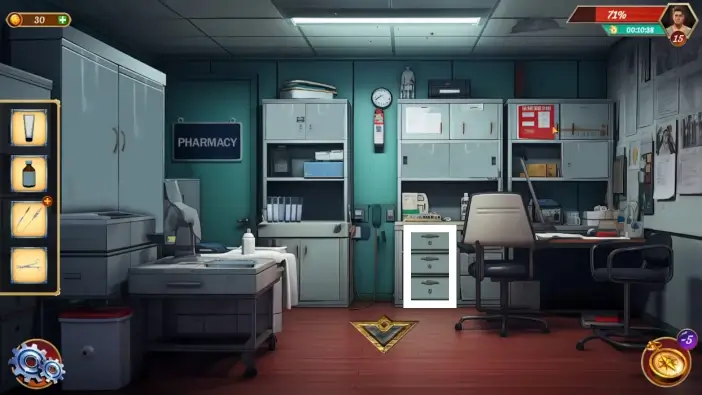
Approach the center drawer in the room.
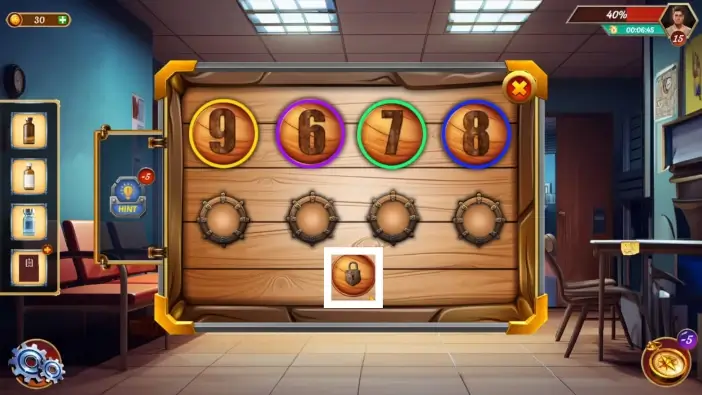
Insert the numbers that are associated with the question marks of different colors in the sticky notes. The solution is 9678. Use the buttons below the numbers to change them. Once you have finished changing numbers, tap the padlock icon to unlock the drawer. Take the key from the drawer.
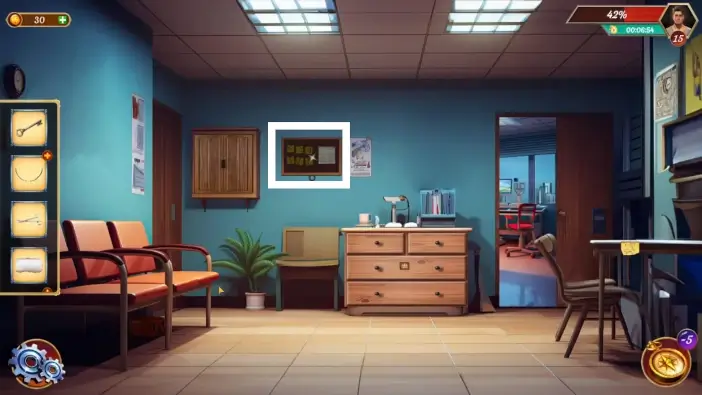
Approach the notes on the wall.
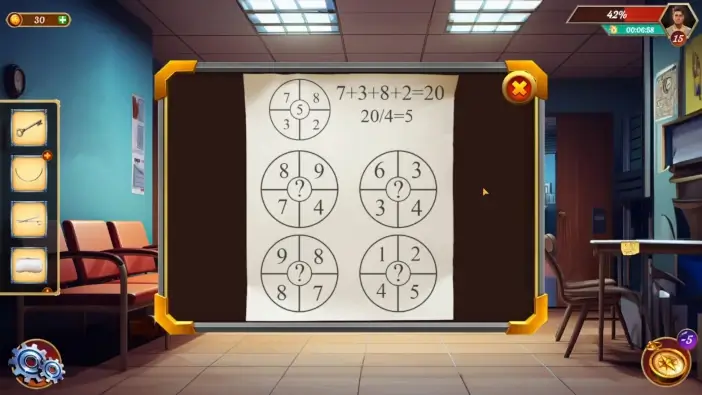
Look at the white paper. Remember the formula and apply it to all the circles to get all the numbers you need. The numbers are 7, 4, 8, and 3. You will use this clue later in the doctor’s office.
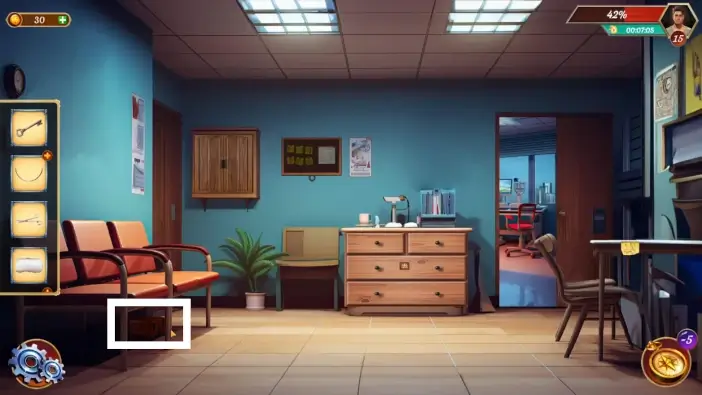
Pick up the toolbox beneath the chairs on the left.
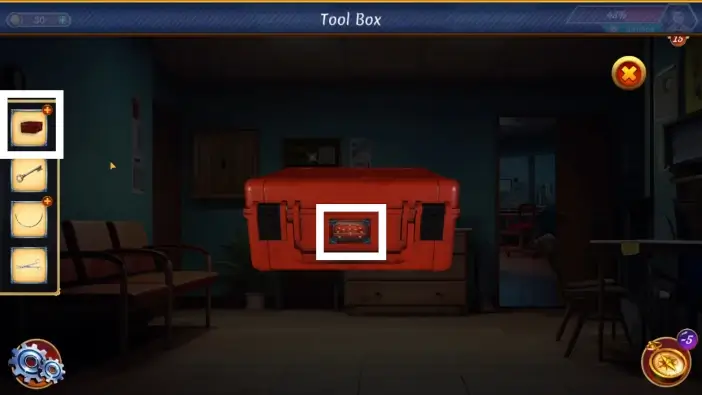
Tap on the toolbox in your inventory to examine it and then tap on the toolbox’s puzzle.
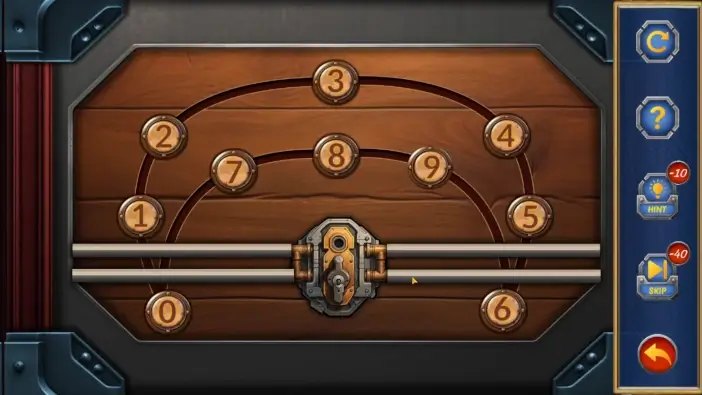
Rearrange the numbers like in the picture above to unlock the toolbox. You can move the numbers by swapping places between the two neighboring numbers.
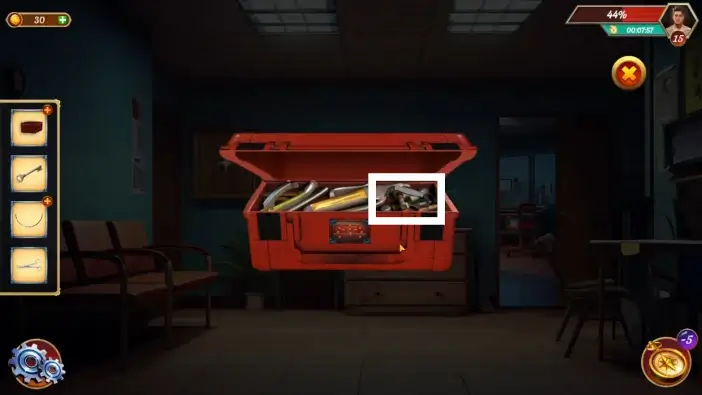
Once you unlock the toolbox, take the handle.
Approach the cabinet on the left.
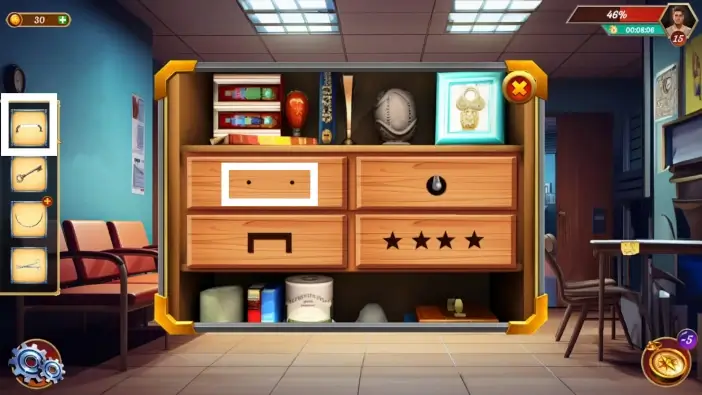
Attach the handle to the top-left drawer and open it.
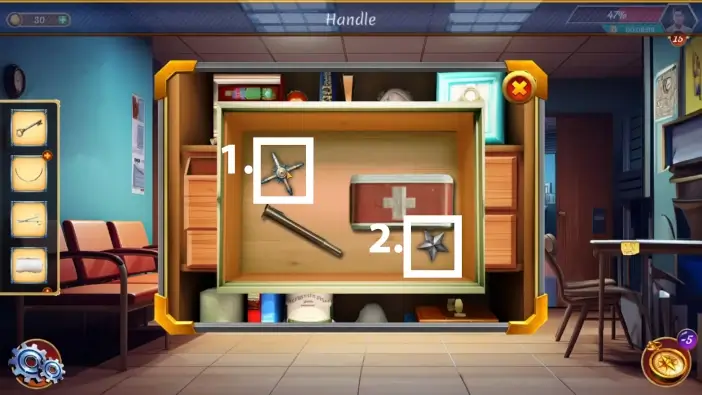
- Take the rotator from the top-left drawer.
- Take the first star.
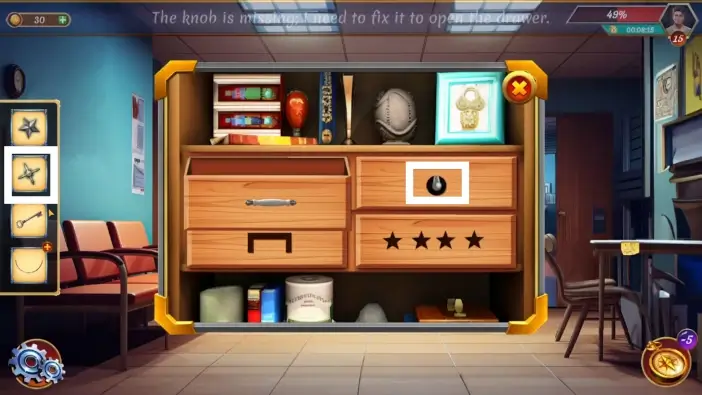
Attach the rotator to the top-right drawer and open it.
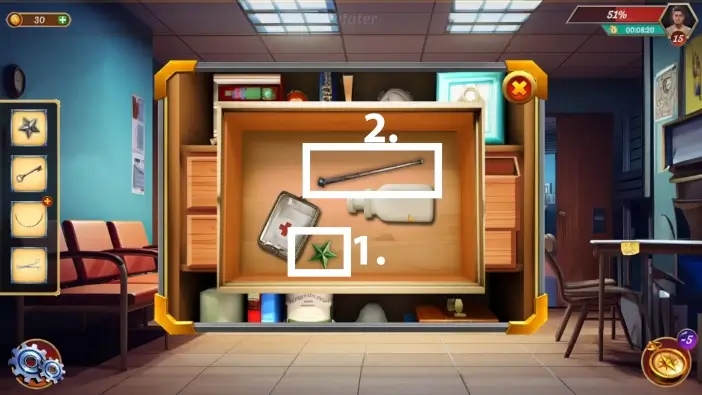
- Take the second star.
- Take the lever.

Use the lever to unlock the bottom-left drawer.

Take the last two stars.
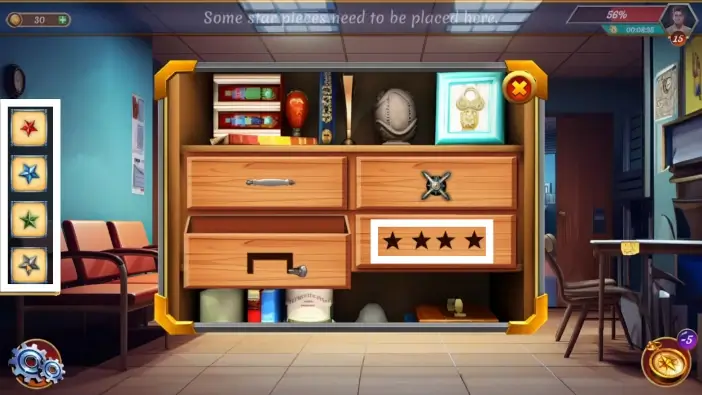
Place all four stars you’ve found so far in the bottom-right drawer’s empty star slots to unlock the drawer.
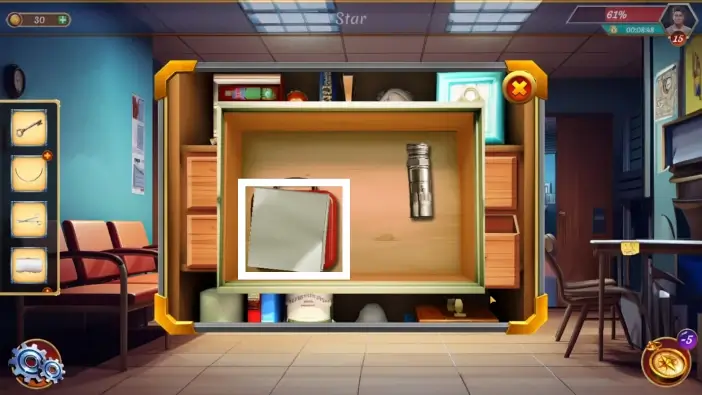
Take the clue paper from the bottom-right drawer.

Read the clue paper from your inventory. Remember the symbols and their sequence.
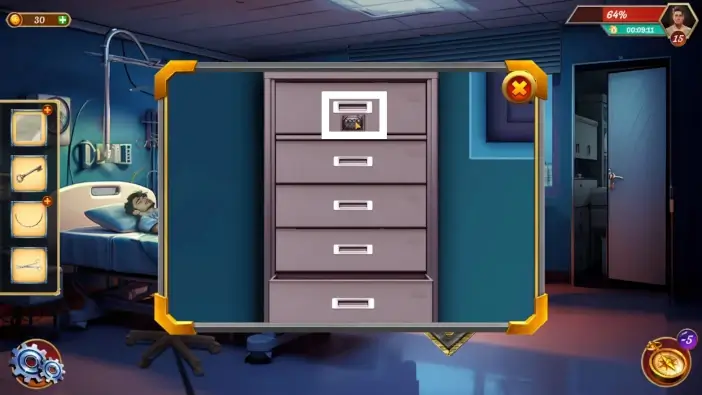
Return to the patient room and approach the drawers near John’s bed. Take a look at the puzzle for the first drawer.
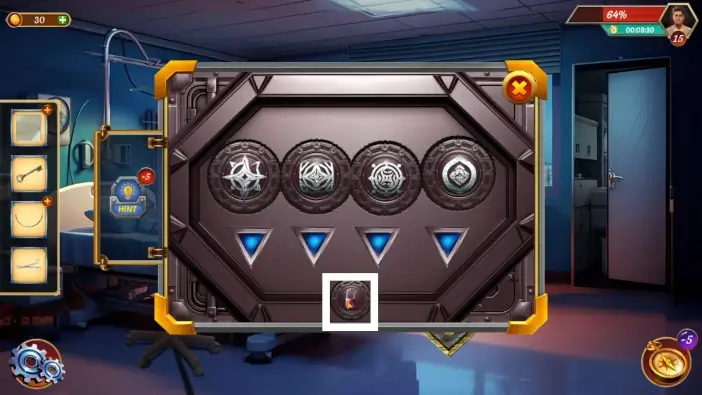
Change the symbols to be exactly like the symbols on the clue paper and in the same order. Use triangle buttons to change the symbols. Once you’ve finished, tap on the padlock icon to unlock the drawer. Take the drip wire in the package from the drawer.
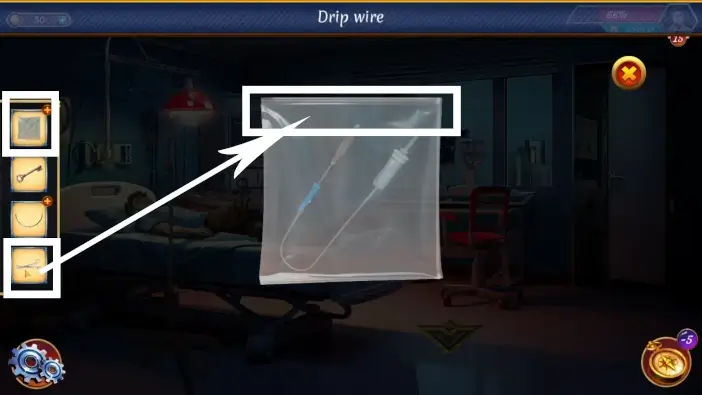
Use scissors to open the package and add the drip wire to your inventory.
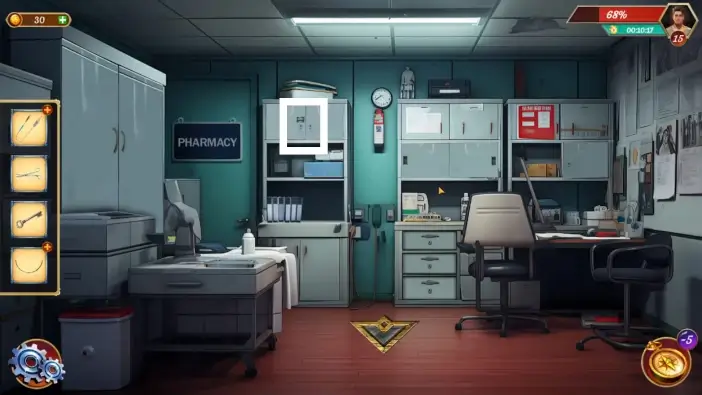
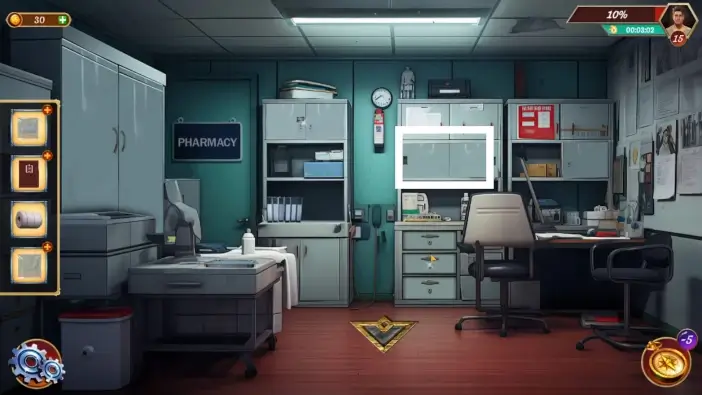
Go to the doctor’s office and approach the cabinet on the top-left.
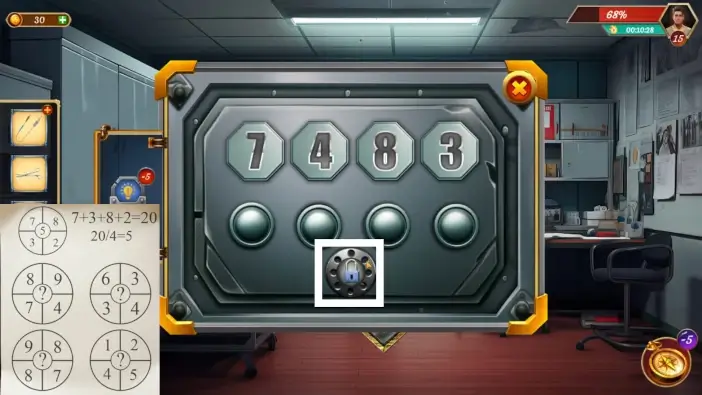
Remember the hint from the white paper in the hallway. Insert the number 7483 as a password to unlock the cabinet. Use the buttons below the numbers to change them. Once you change the numbers, tap on the padlock icon to unlock the cabinet.
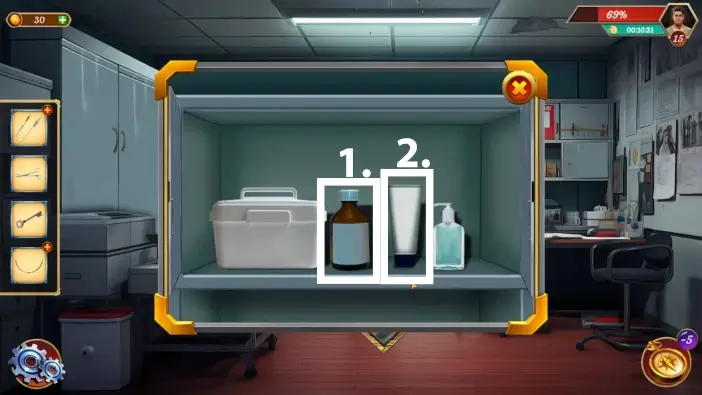
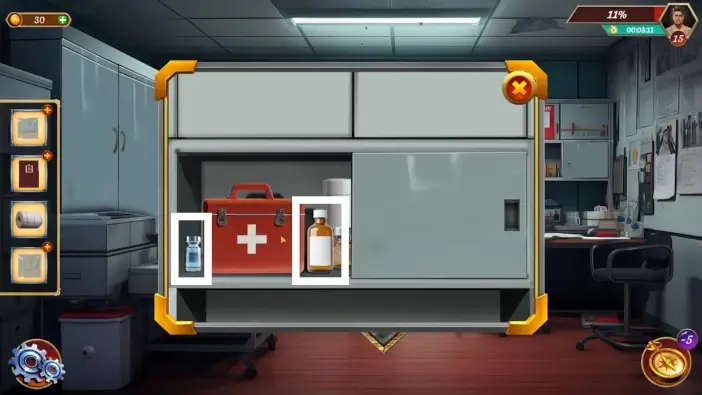
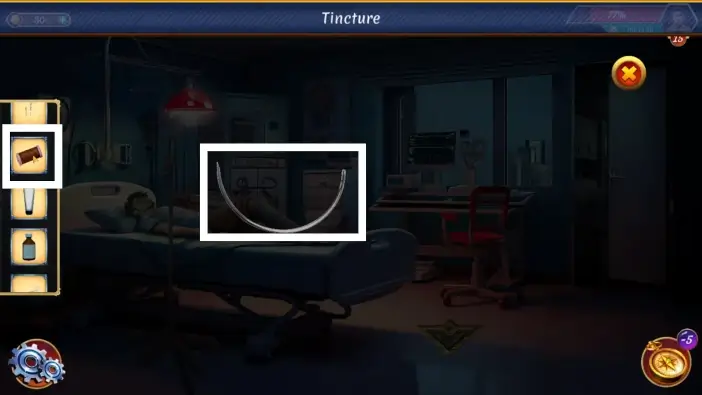
- Take the tincture from the cabinet.
- Take the ointment.
Approach the drawers near the chair.
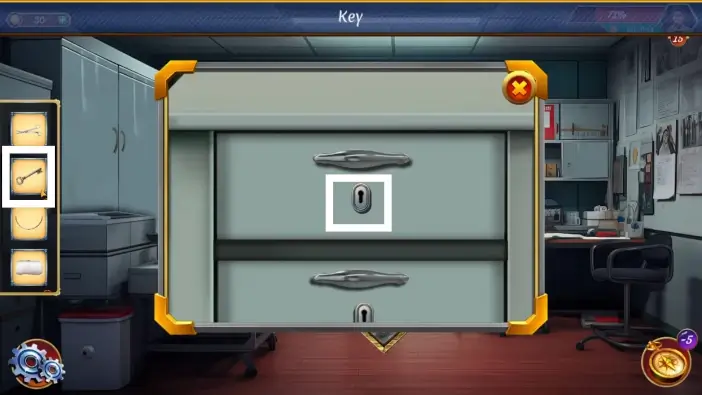
Open the first drawer using the key in your inventory.
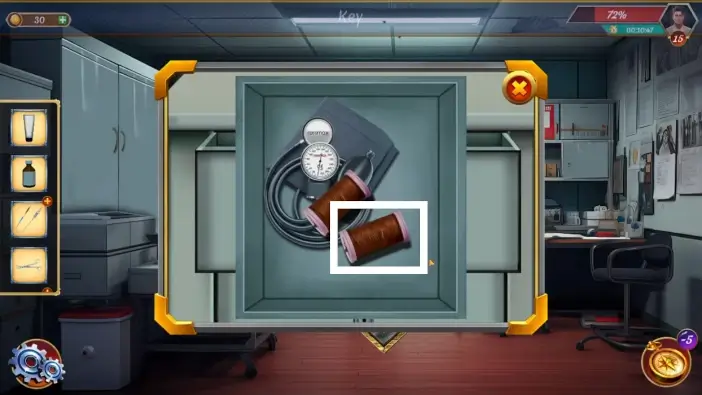
Take the thread from the drawer.
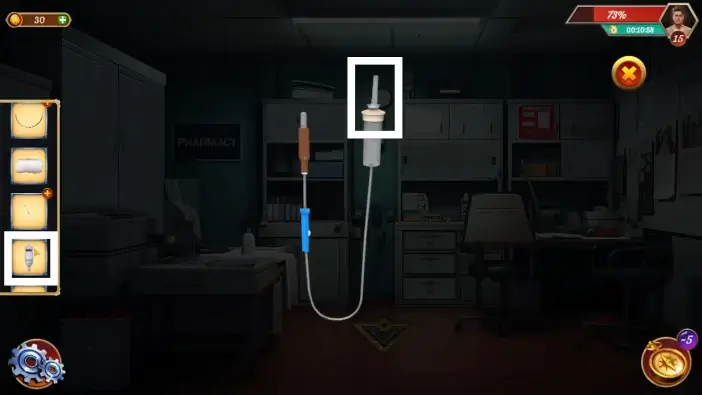
Tap on the drip wire in your inventory to examine it. Attach the dripper bottle to the right end of the drip wire.
Attach the needle to the left part of the drip wire. Tap on the drip wire to return it to your inventory.
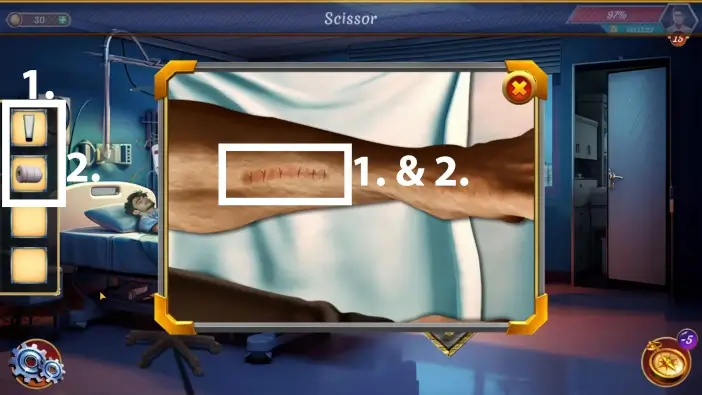
Tap on the string in your inventory to examine it. Tie the thread to the string.
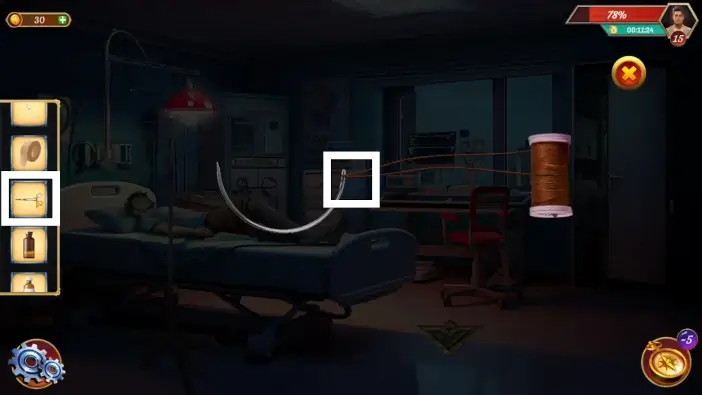
Place the string holder on the string.
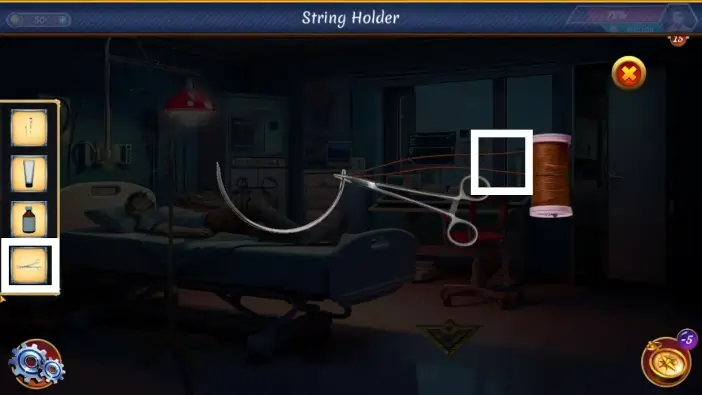
Use scissors to cut the thread. After the preparations, tap on the string to return it to your inventory.
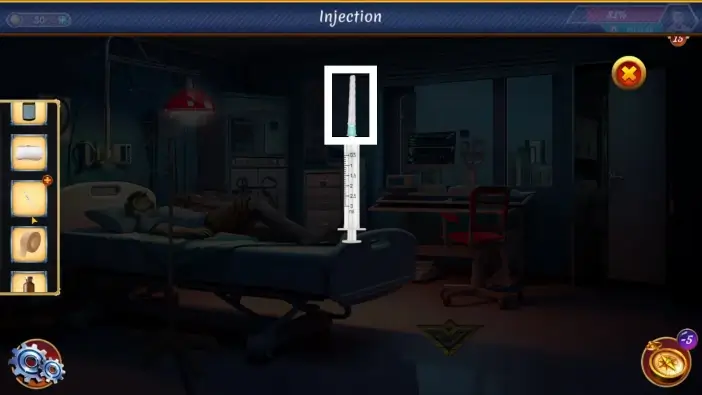
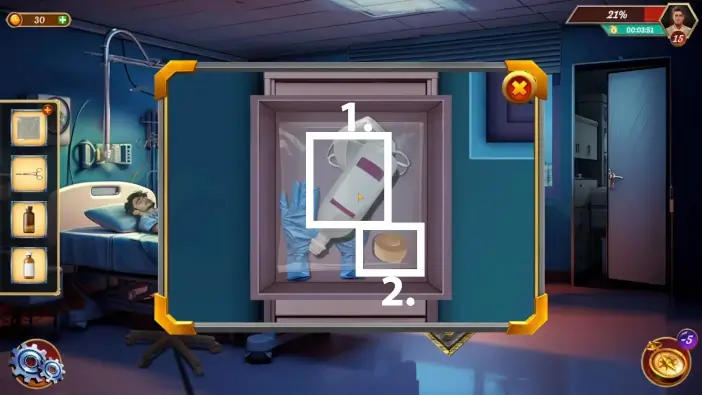
Tap on the injection syringe in your inventory to examine it. Tap on the tip cap to remove it.
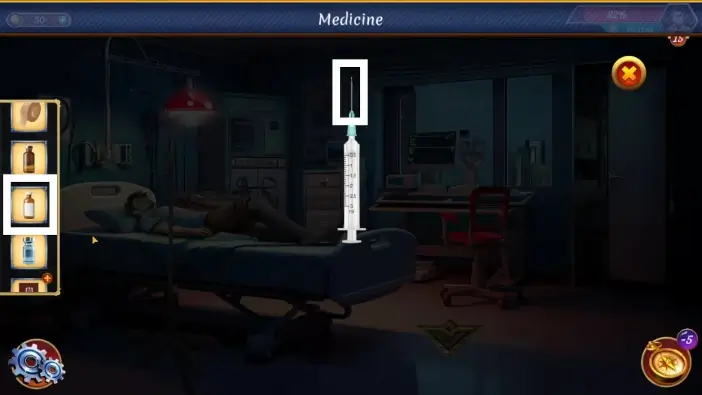
Fill the syringe with all three medicines you’ve found earlier.
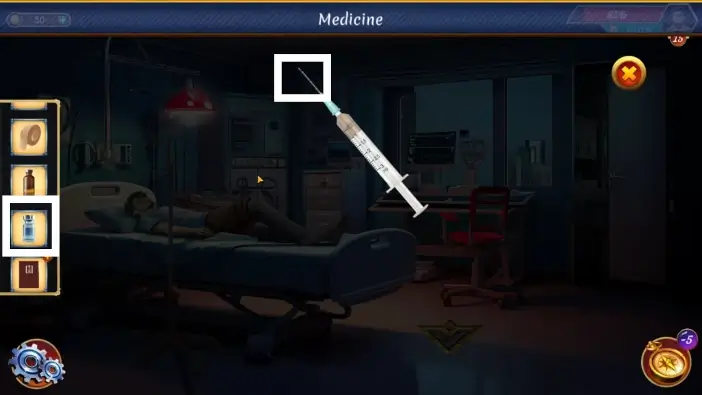

When you finish, tap on the injection syringe to return it to your inventory.
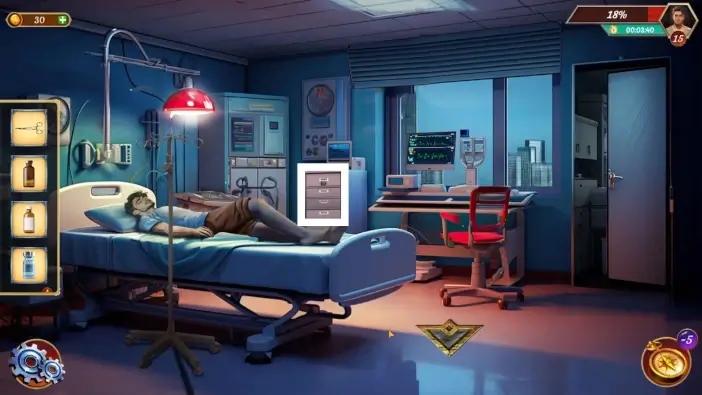
Go to the patient’s room. Place the drip wire.
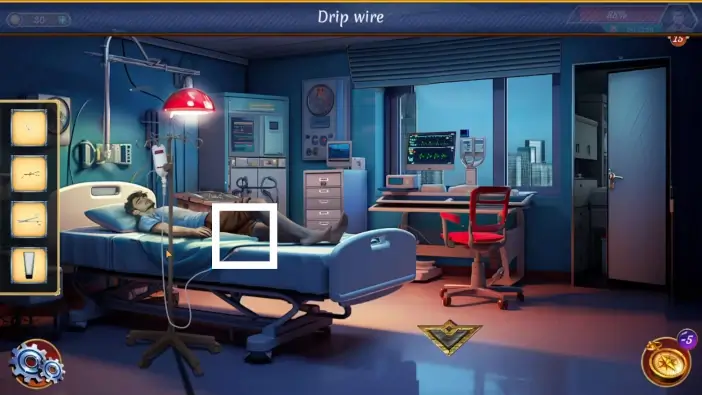
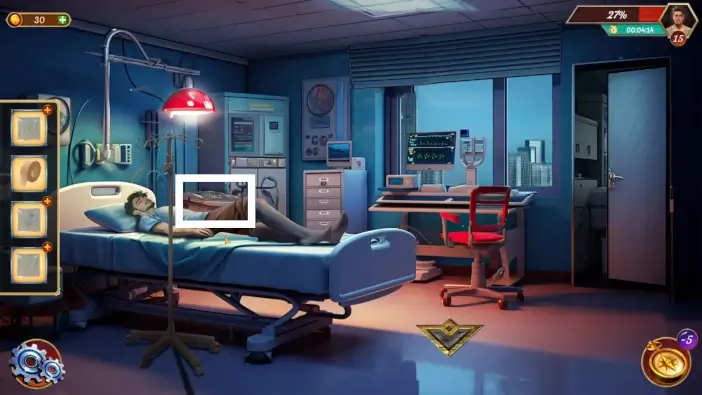
Approach John’s bed.
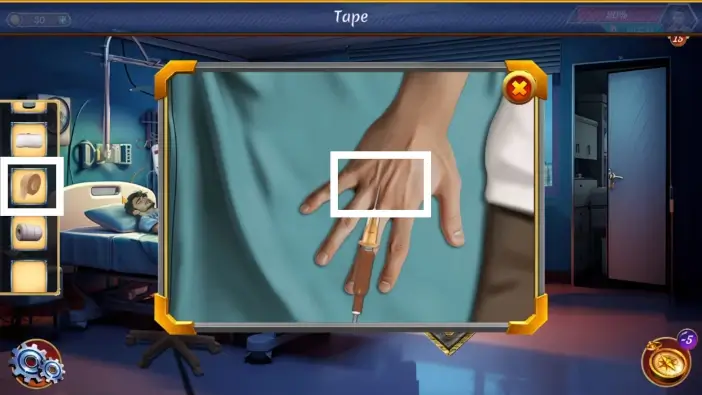
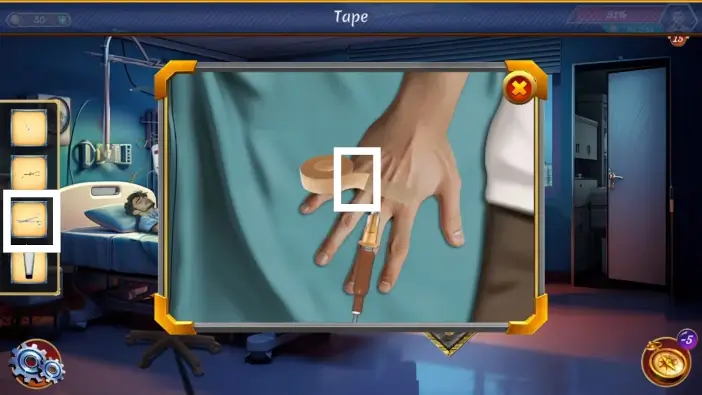
Tap on the needle, and Ruban will insert the needle into John’s hand. Place the tape where the needle is.
Use scissors to cut the needle.
Approach the dripper bottle and inject the medicine using the injection syringe.
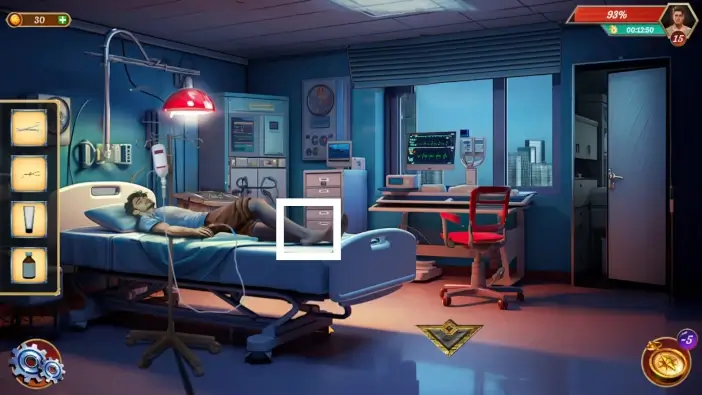
Approach John’s leg where the wound is.
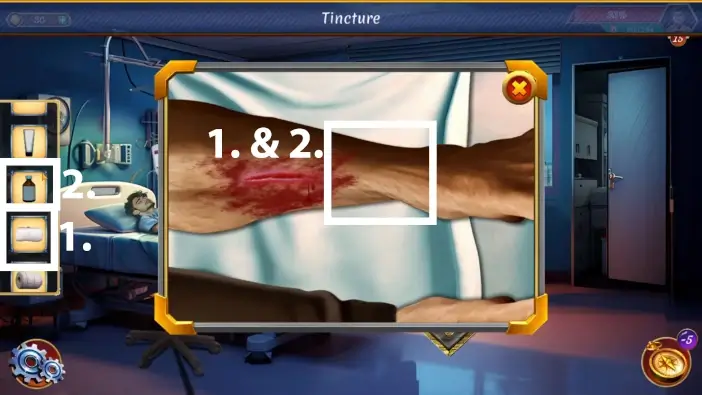
- Place cotton near the leg.
- Pour the tincture into the cotton, and Ruban will clean the leg.
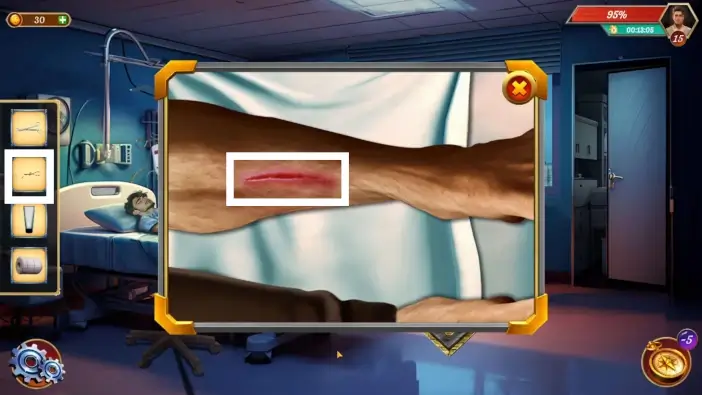
Use the string to close the found.
Use scissors to cut the thread.
- Place the ointment on the wound.
- Place the cotton wrap on the wound.
This will mark the end of our guide for Level 15 of Escape Room: Mysteries School.
Thank you for reading!