Edge of Reality: Lost Secrets of The Forest | Main Chapter Part 2
Intro
Welcome to our walkthrough for Part 2 of the Main Chapter for the “Edge of Reality: Lost Secrets of the Forest” from “Friendly Fox Games”. Help biologist Dr. Amanda solve the mysterious events in the forest.
Walkthrough
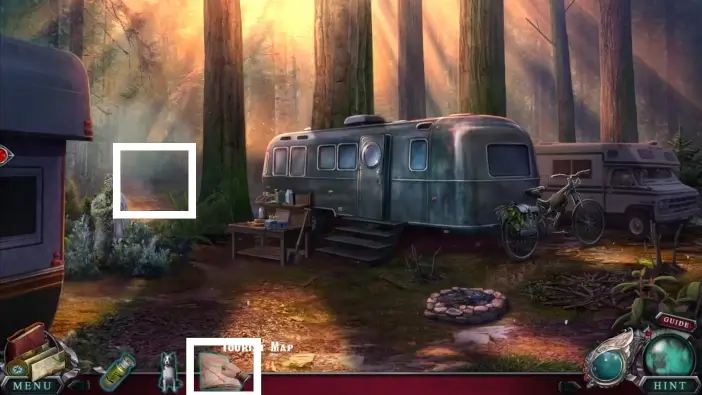
Exit the trailer and drag the map Lizz gave you to the forest path on the left. This will start a new labyrinth mini-game.
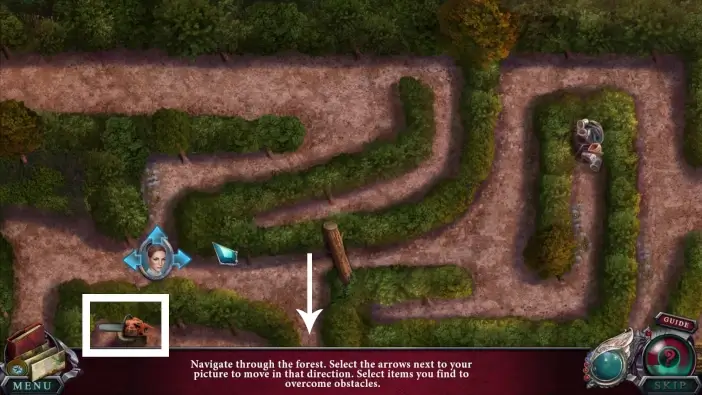
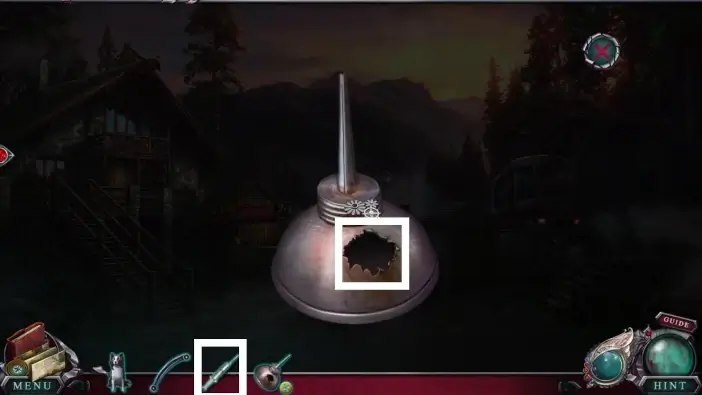
In the labyrinth, pick up the chainsaw.
Use the chainsaw to remove the obstacle.
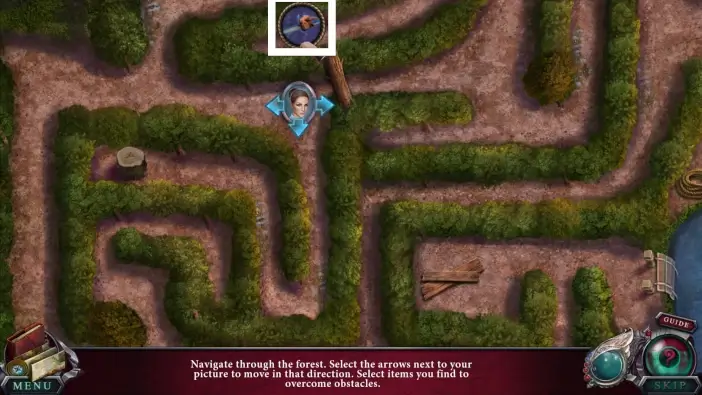
Go to the right side of the labyrinth, towards the river.
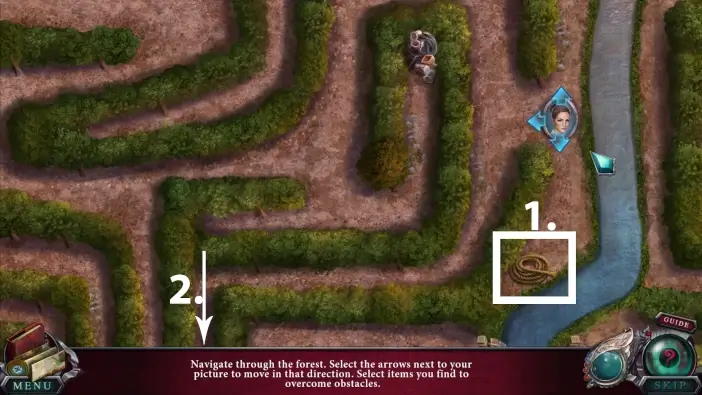
- Take the rope near the river.
- Walk the path marked in the picture above.
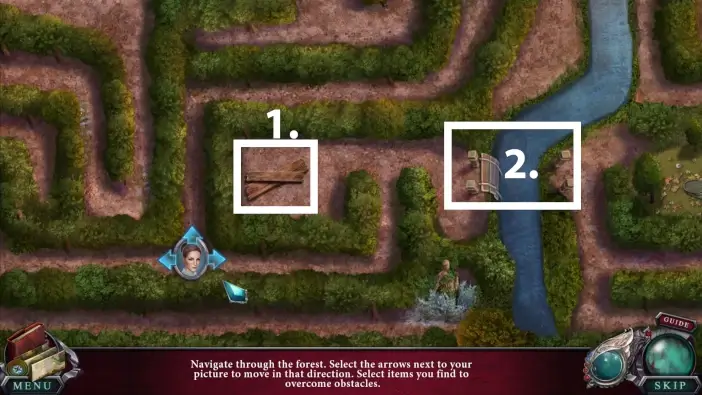
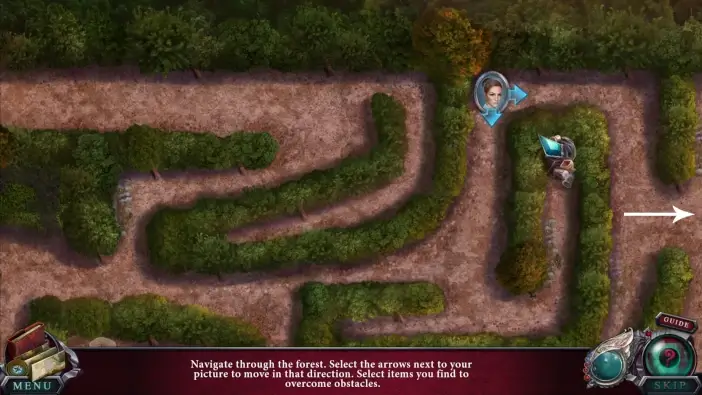
- Take the planks.
- Approach the broken bridge.
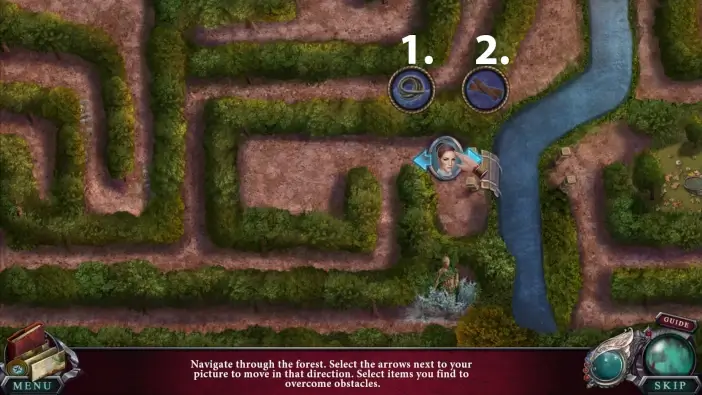
- Use the rope to fix the bridge.
- Place the planks on the bridge.
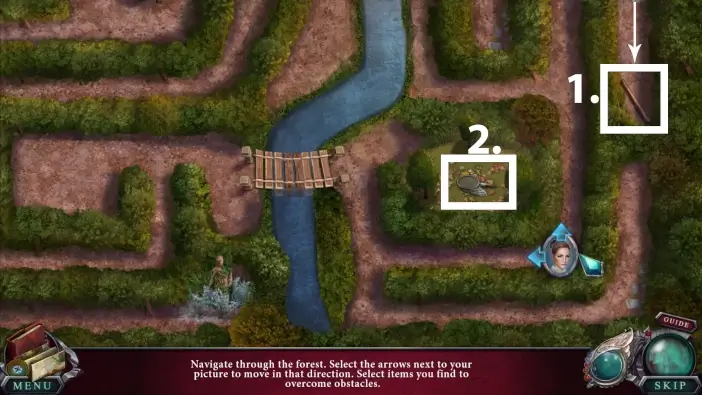
- Pick up the stick.
- Attach the stick to the net. You will get the net with a handle.
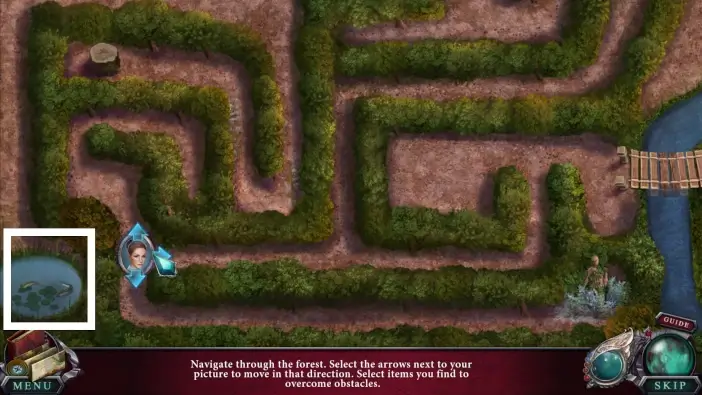
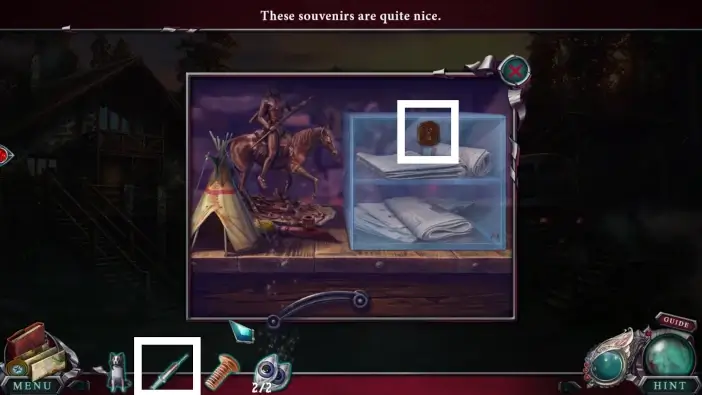
Use the net to catch the fish on the far left side of the labyrinth.

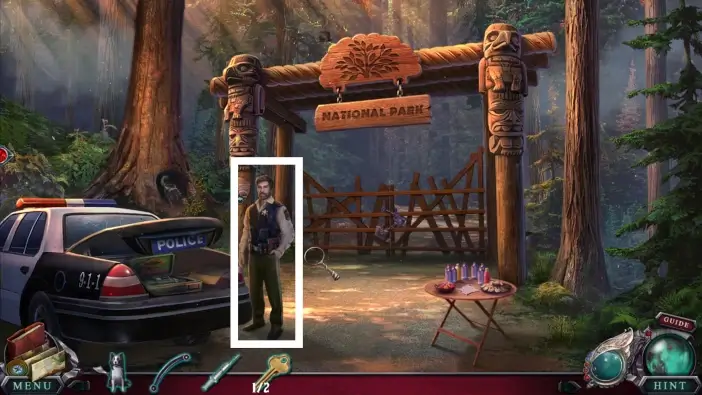
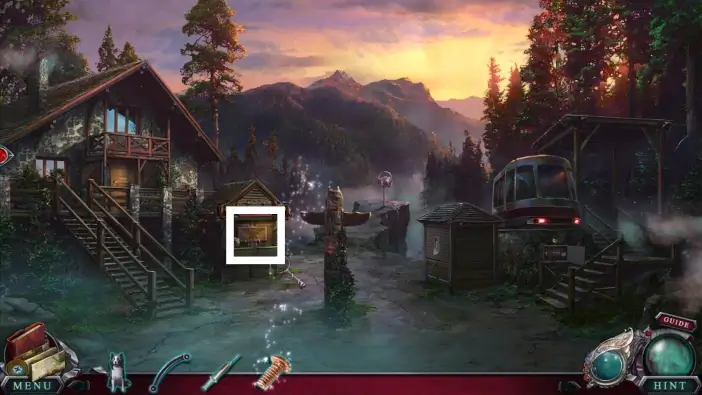
Return to the other side of the river, go to the upper-right corner of the labyrinth and give fish to the lioness. After that, the lioness will move away, and you can continue further right to reach the entrance to the national park.
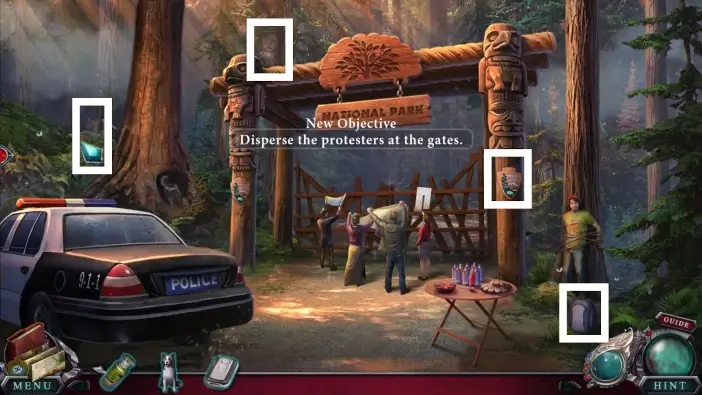
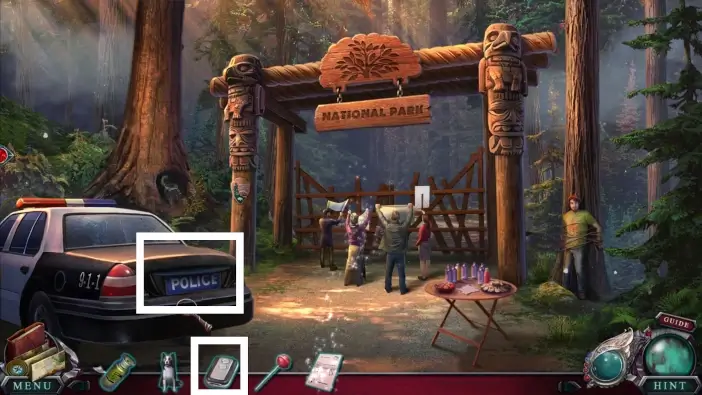
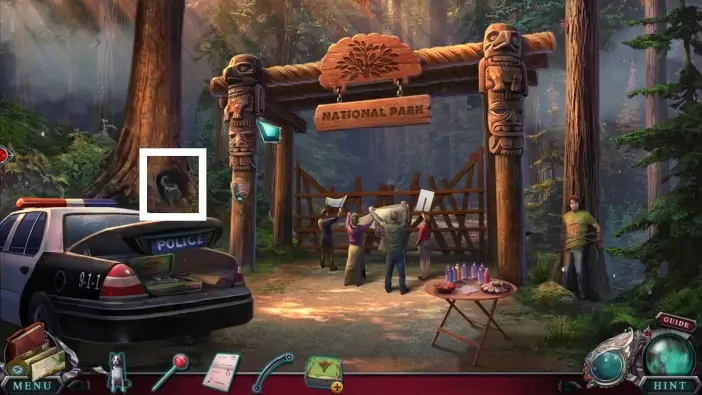
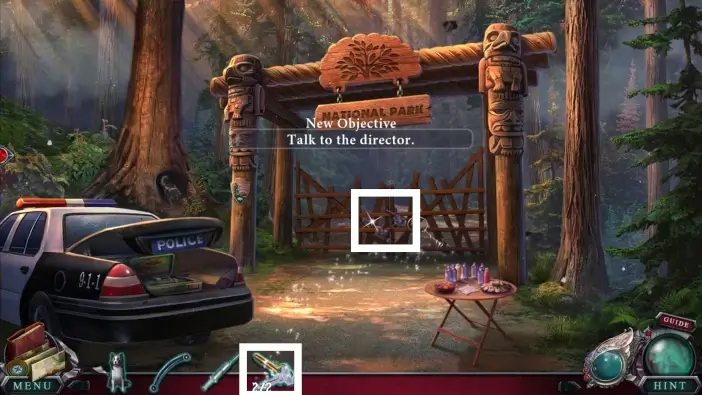
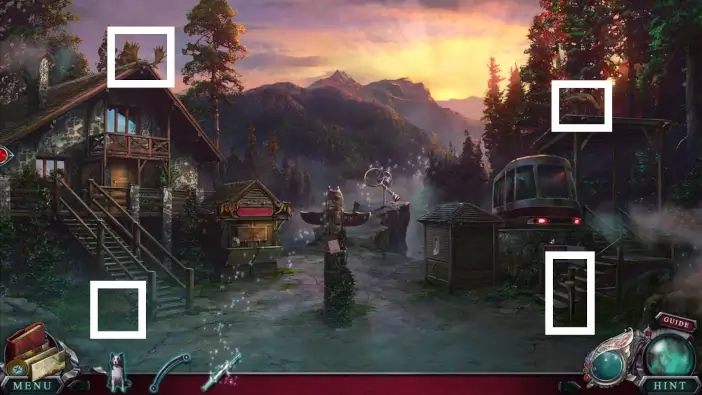
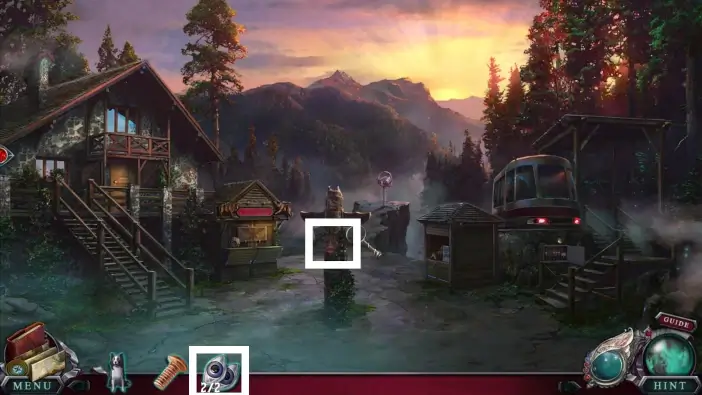
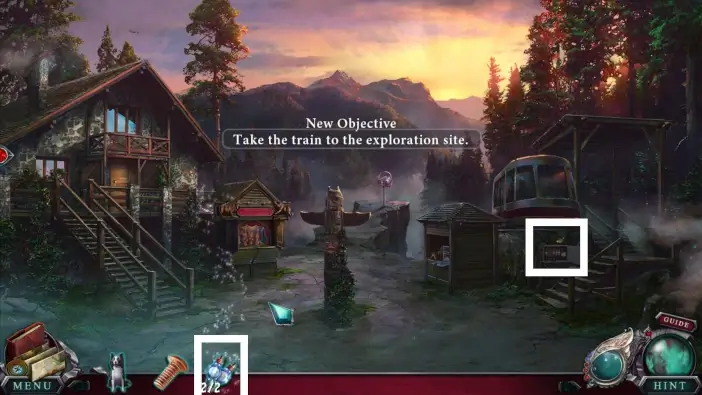
Once you arrive at the new location, the sheriff will speak with you and provide you with a car trunk key. After the conversation, find all the morphing objects and animals. They are marked in the picture above.
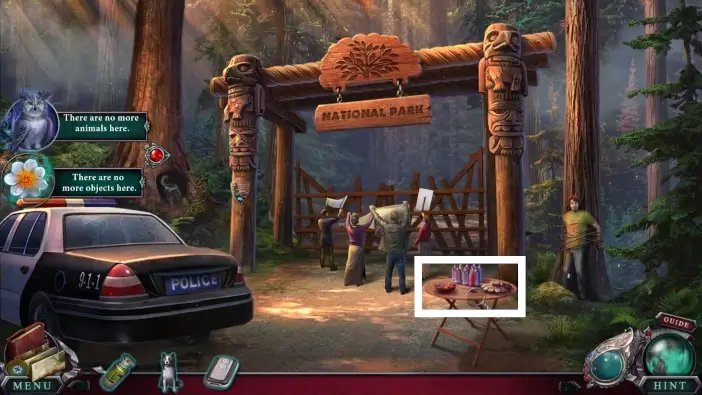
Approach the table on the right.
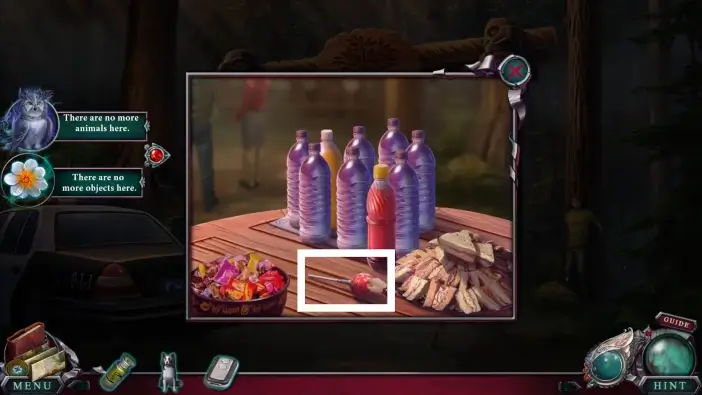
Take the lollipop from the table. You will distract ants with it.
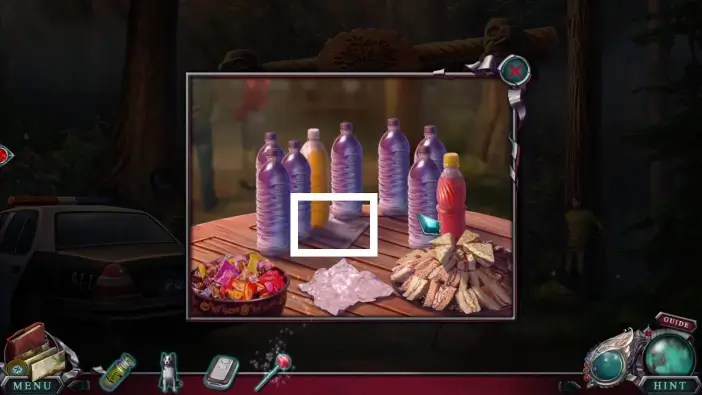
Move the bottles to reveal a note. Read the note.
Remember the instructions. You’ll need it to heal one skunk.
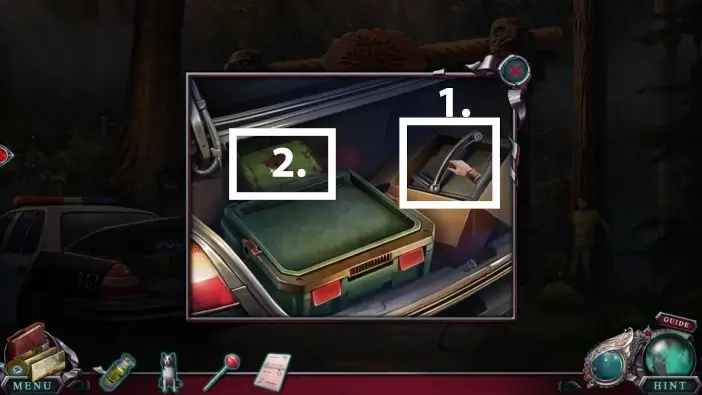
Open the trunk of the police car with the key the sheriff gave you.
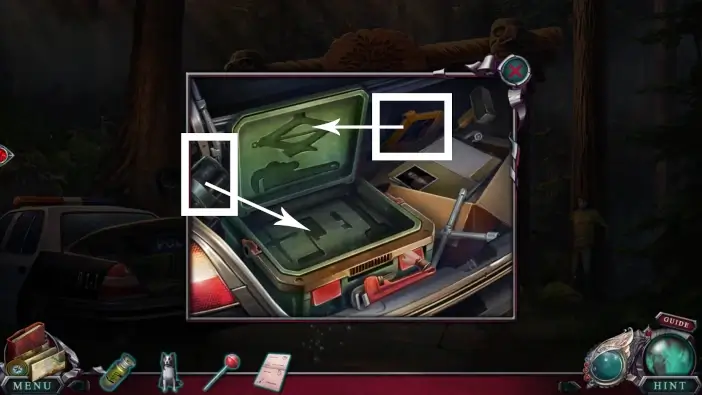
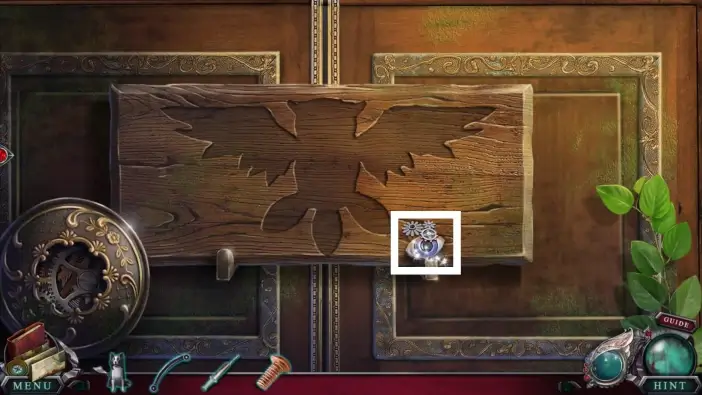
Return the tools to the toolbox. Select and drag the individual tools to their correct place in the toolbox.
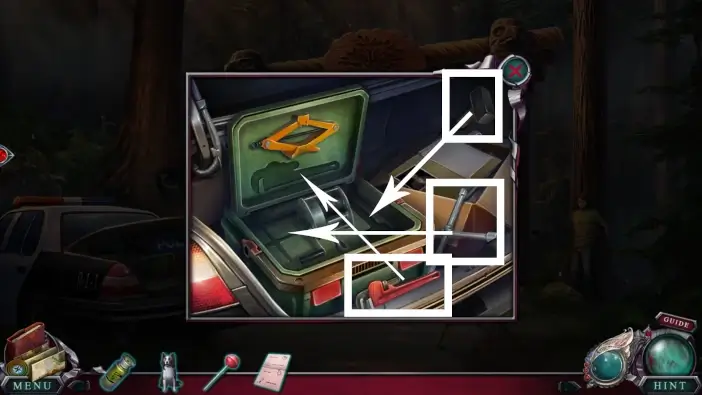
- Read the files on the right to reveal the roll-up gate handle. Take the gate handle. You will use it later to raise one roller shutter.
- Once you return all the tools, the toolbox will close, and the first aid kit will be revealed. Take the first aid kit.
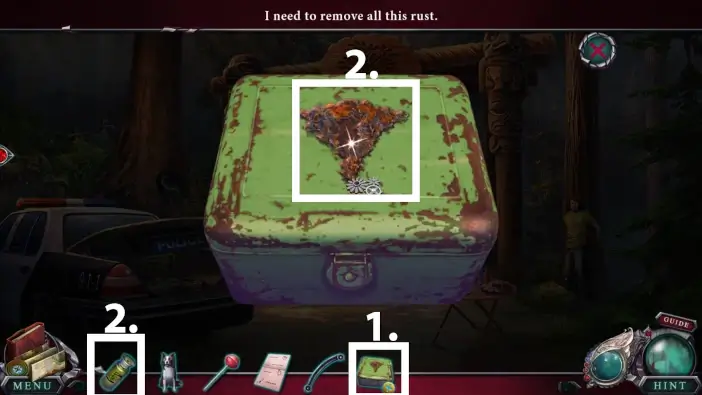
- Click on the first aid kit in your inventory to examine it.
- Use the acid you got from the trailer to remove the rust from the first aid kit’s lid.
Approach the hole in a tree.
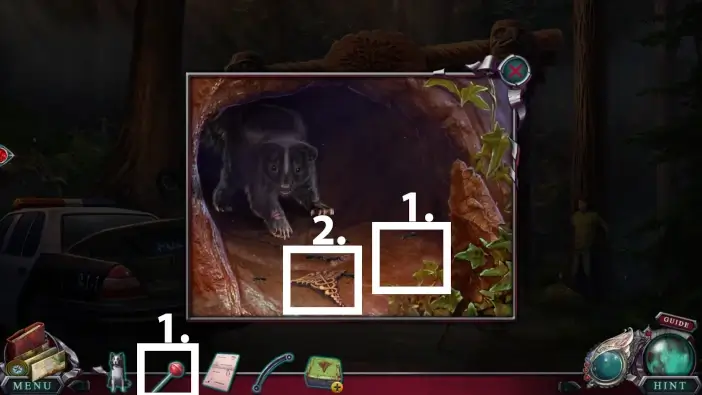
- Place a lollipop on the ground to distract the ants.
- Once the ants are distracted, take the medical symbol.
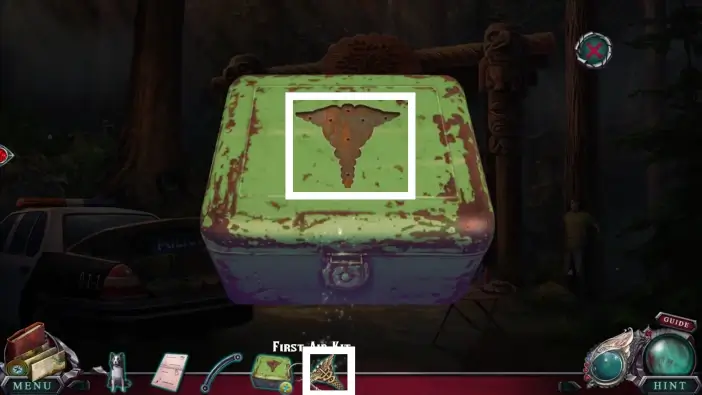
Inspect the first aid kit again and place the medical symbol on the lid to open the kit.
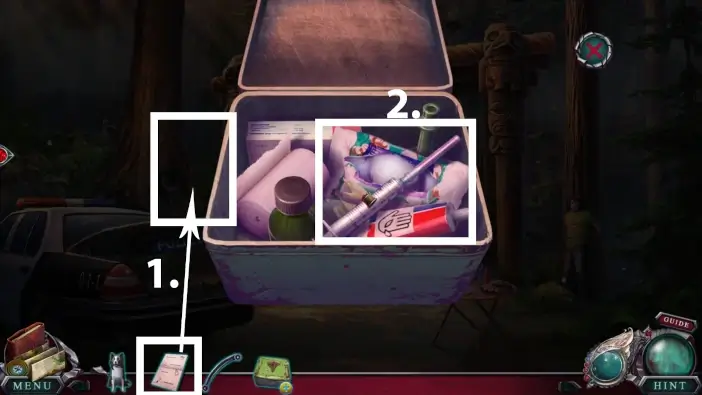
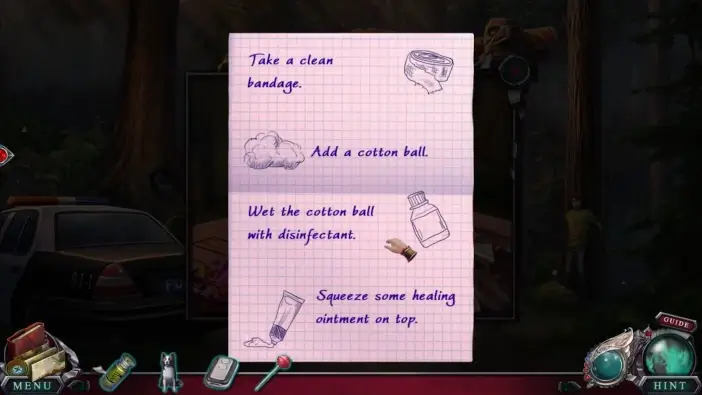
- Place the bandage instructions next to the first aid kit.
- Take the syringe.
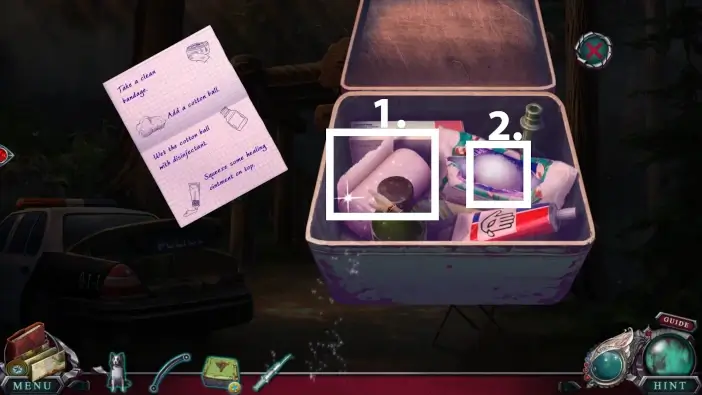
- Click on the bandage.
- Click and drag the cotton ball to the bandage.
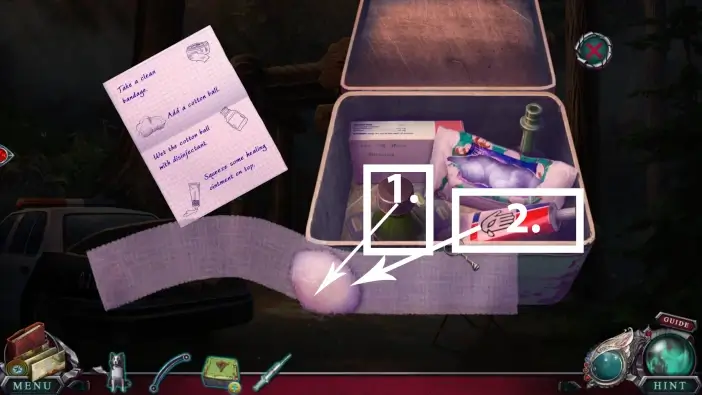
- Click and drag the disinfectant to the cotton ball.
- Select and drag the healing ointment to the cotton ball. After this action, the bandage will be added to your inventory.
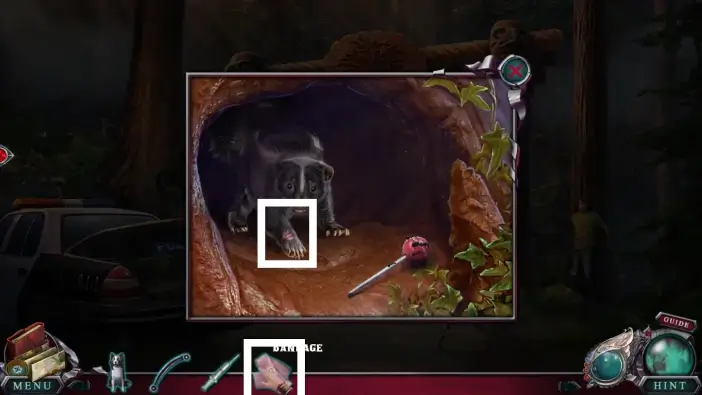
Return to the hole in the tree and heal the skunk with the bandage. After helping another animal, you can use the artifact again.
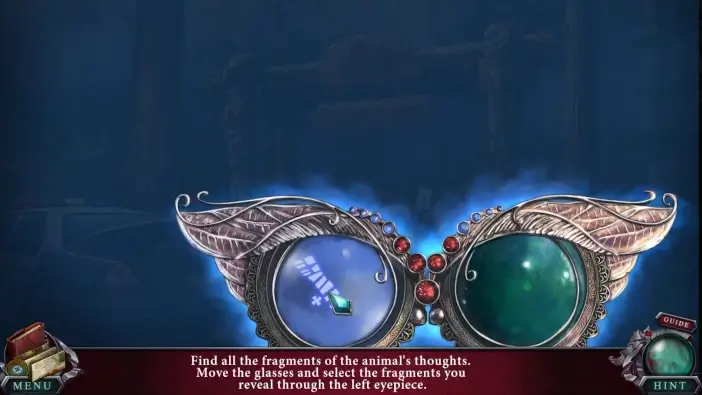
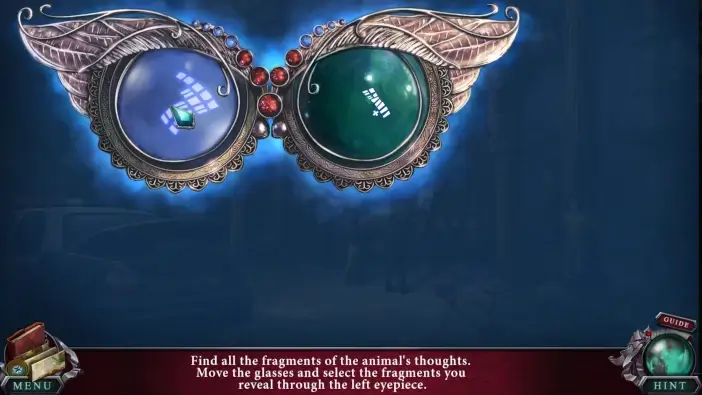
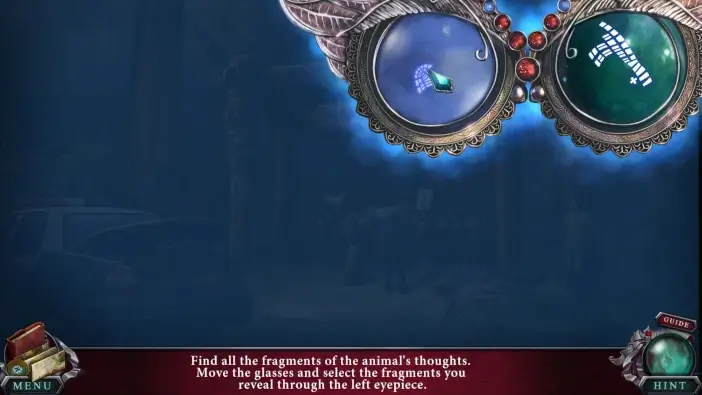
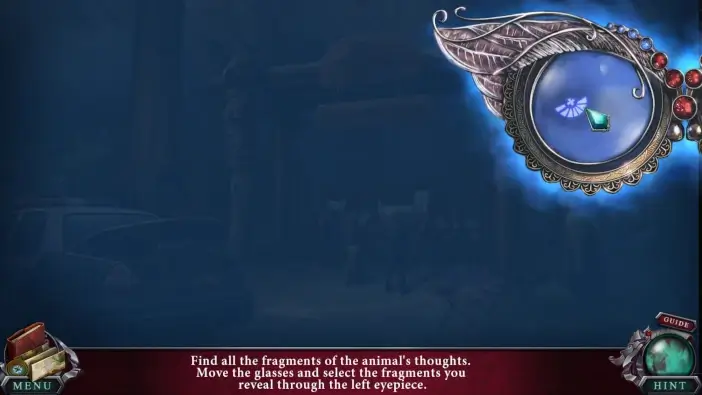
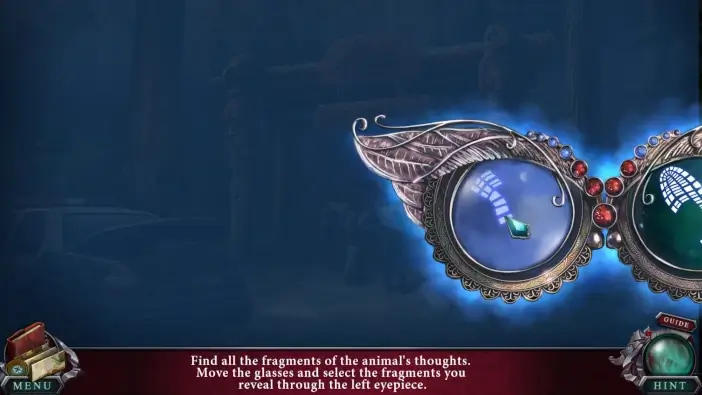
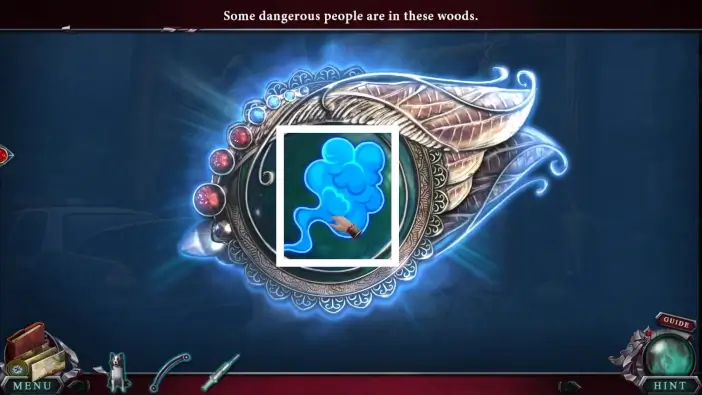
After seeing the skunk’s memory, obtain the Skunk Smell ability.
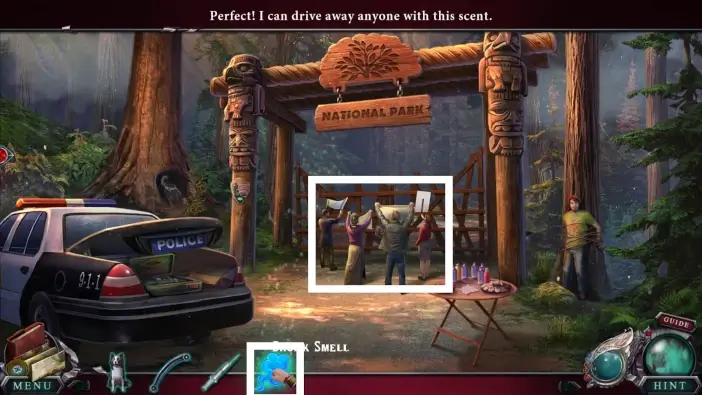
Use the Skunk Smell ability to disperse the protesters.
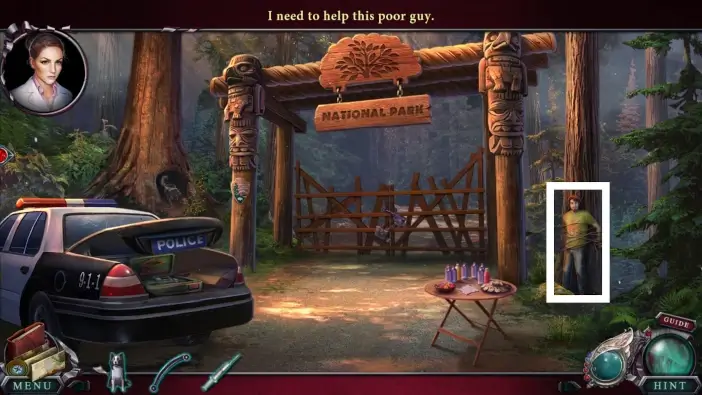
Approach the tied-up protester.
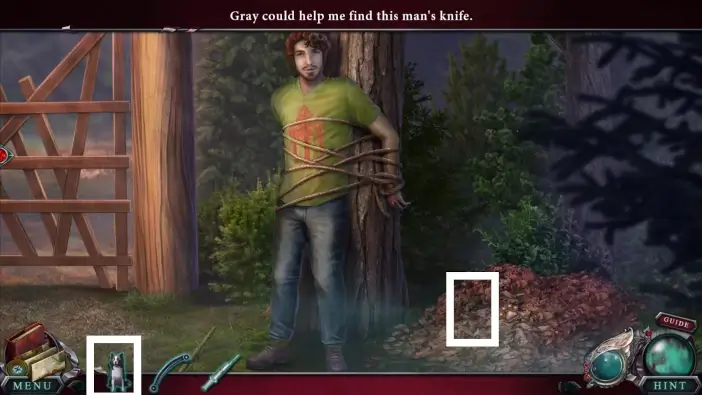
Send Gray to find the knife in the pile of leaves.
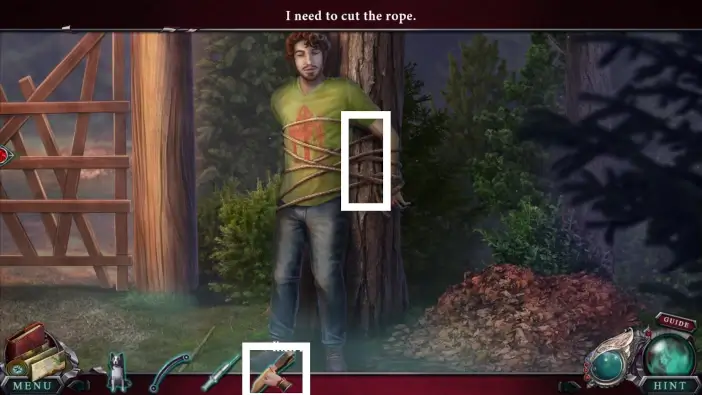
Use a knife to cut the rope. The protester will speak with you, and he’ll give you one of the gate keys.
Speak with the sheriff to get the second gate key.
Use the gate keys to unlock the gate and go to the national park.
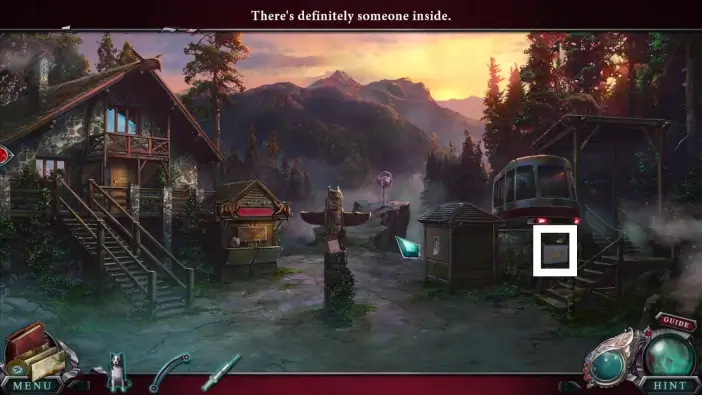
Approach the electricity box, read the note, and open the box.
Pick up the oil can.
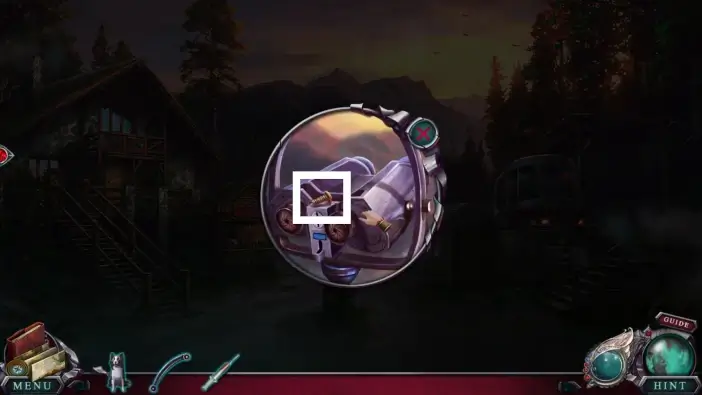
Click on the oil can in your inventory to inspect it. Take some oil from the oil can using the syringe you acquired from the first aid kit. You’ll use the oil from the syringe on one lock.
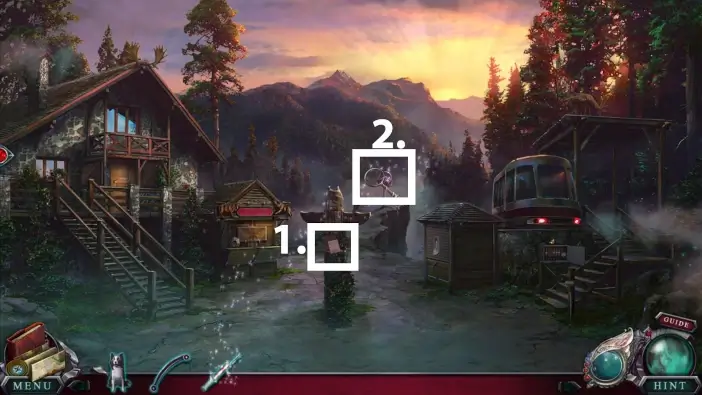
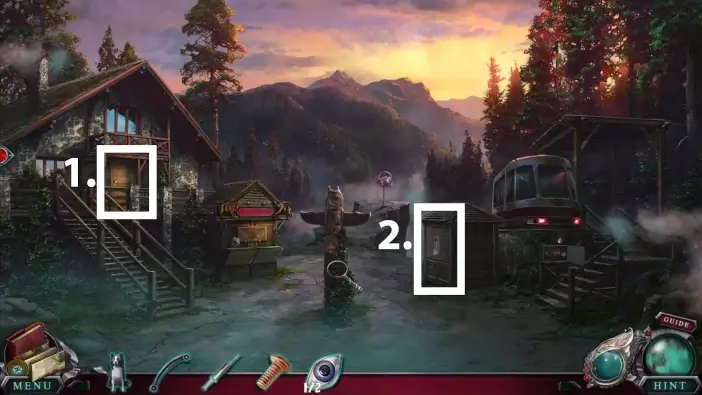
Find all morphing objects and animals in the location. They are marked in the picture above.
- Read the letter on the statue.
- Approach the telescope.
Take the screw from the telescope.
Approach the closed toy theater.
Take the first statue eye.
- Knock on the director’s office door.
- After the conversation with the director, approach the stand on the right.
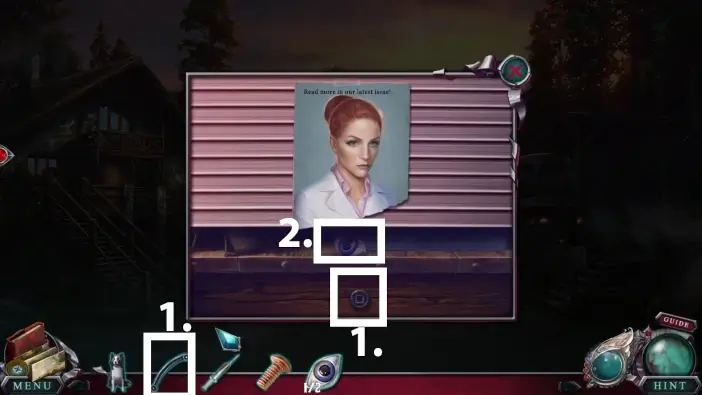
- Use the roll-up gate handle to raise the roller shutter.
- Take the second statue eye.
Use the syringe full of oil to oil the lock.
Place the two statue eyes into the statue’s eye sockets.
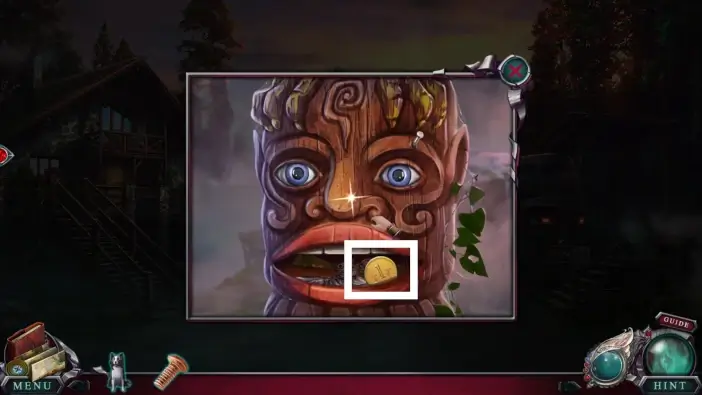
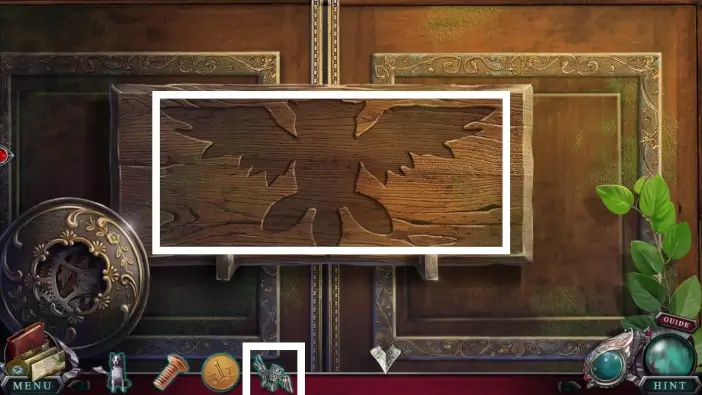
The statue will open its mouth. Take the coin. You’ll need it to use the telescope. After taking the coin, the statue’s teeth will appear.
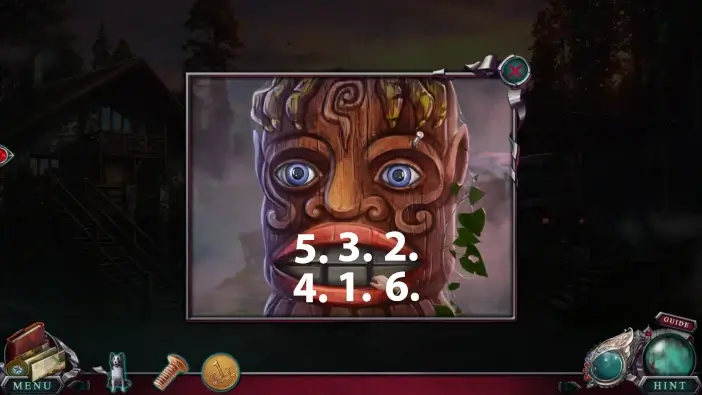
Click on the teeth in the correct sequence, like in the picture above:
- Lower middle
- Upper right
- Upper middle
- Lower left
- Upper left
- Lower right
Once you execute the right sequence, the mouth will open again. Take the owl mechanism.
Return to the toy theater and place the owl mechanism.
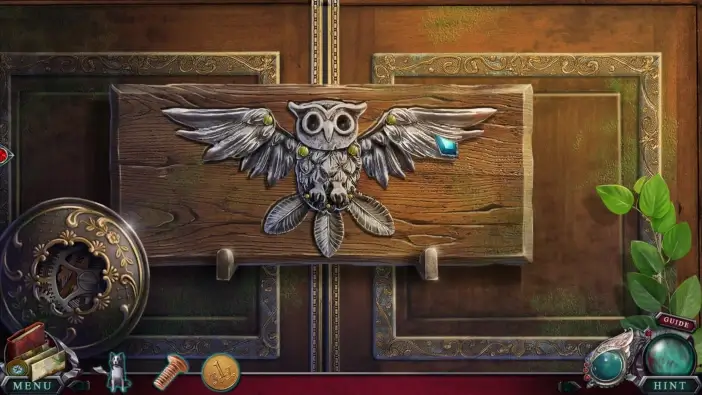
Move the parts of the owl like in the picture above.
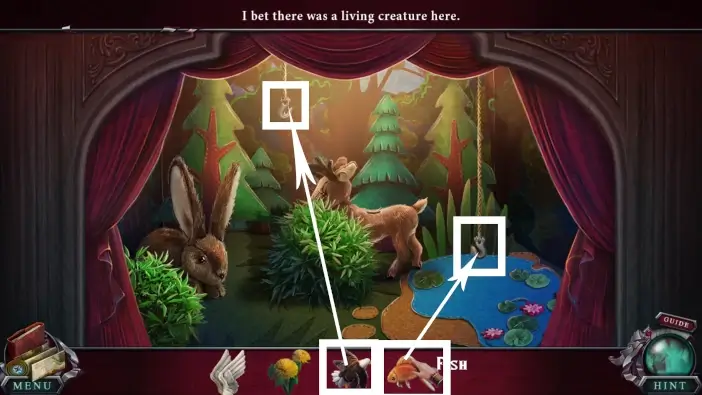
Place the fish and the eagle on their correct hooks.
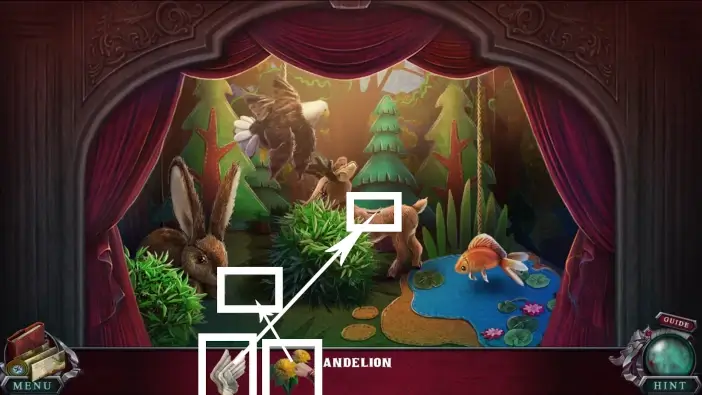
Place a dandelion near the rabbit, and place the wings on the deer.
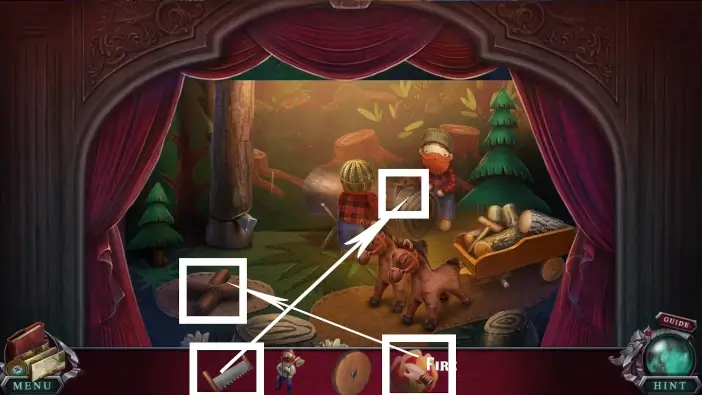
Place the fire on the firewood and place the saw on the log.
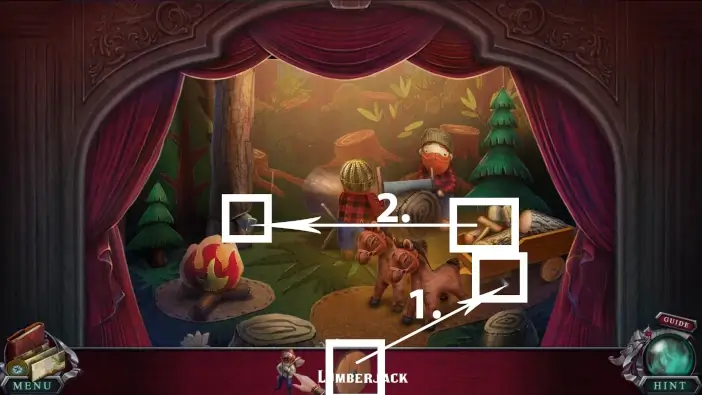
- Attach the cart wheel to the cart.
- Use the hammer from the cart to remove the object from the tree, and the tree will fall.

Place the lumberjack where the tree fell.
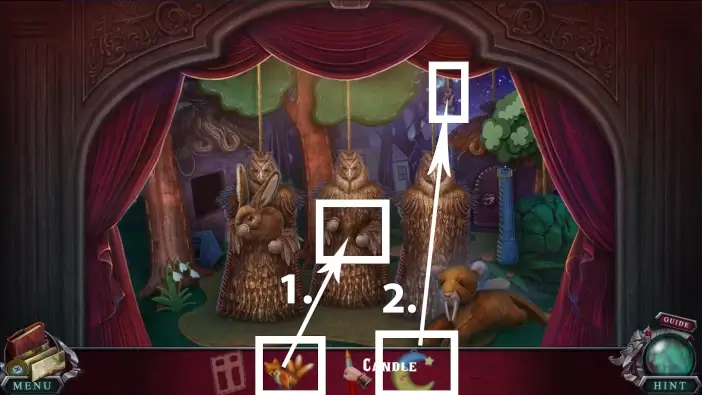
- Place the fox in the hands of the middle Child of the Forest.
- Attach the moon to the right hook.
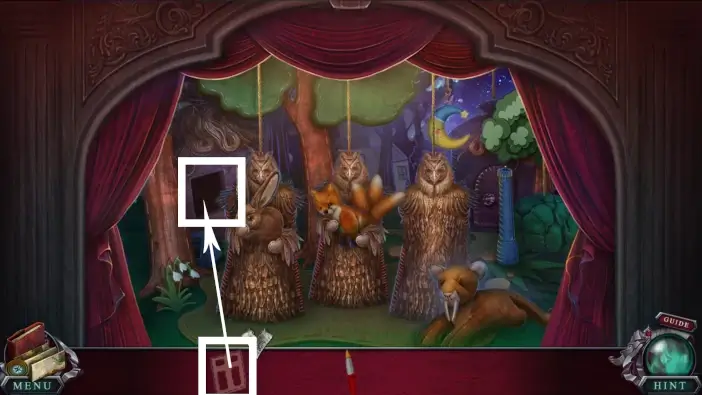
Place the window.
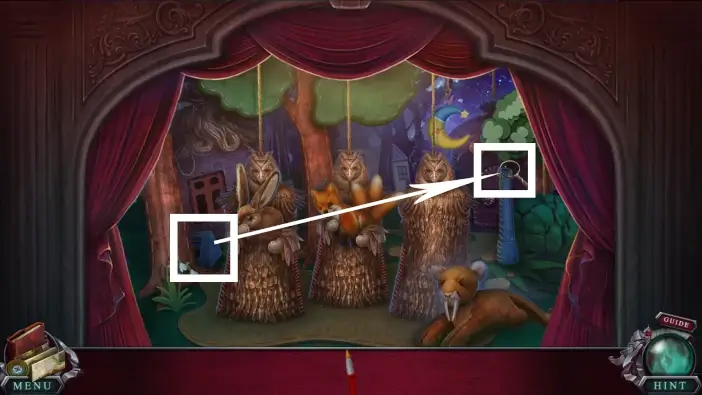
Return the upper part of the street lamp to its place.
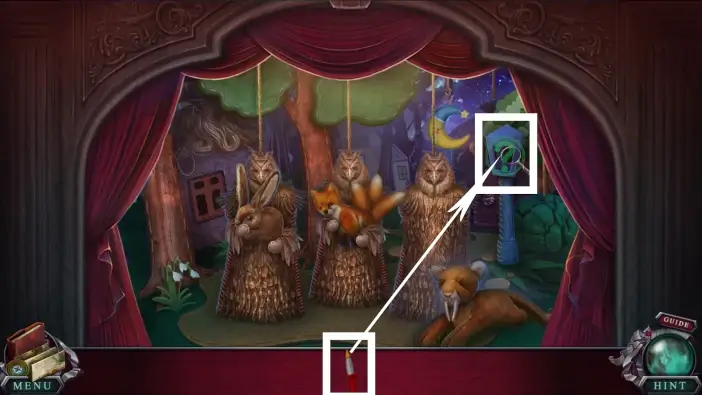
Place the candle into the street lamp.
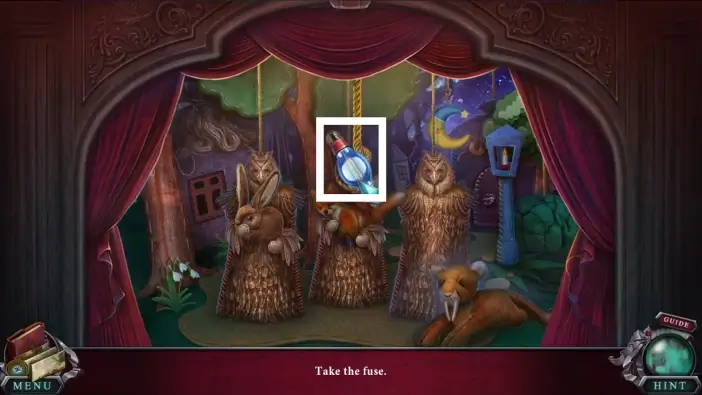
Take the first fuse. You’ll need to find one more.
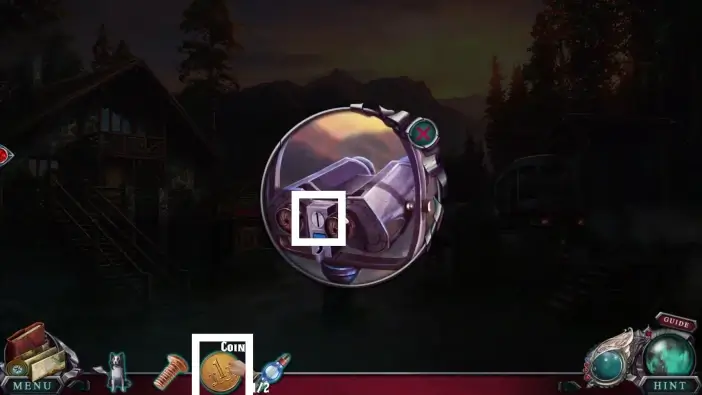
Go to the telescope and insert the coin. Amanda will then use the telescope, and a new cutscene will begin.
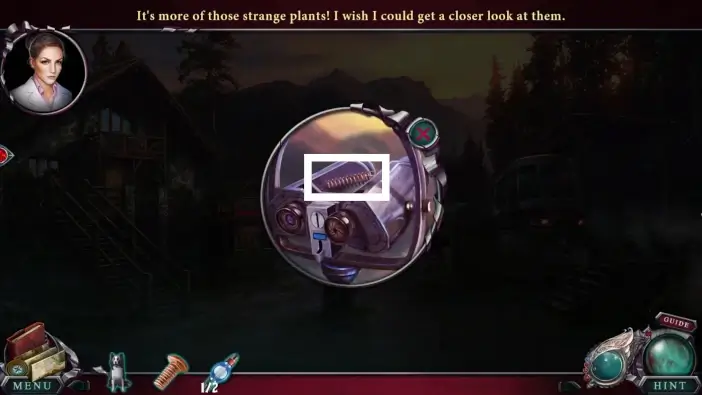
Once the cutscene is over, take the spring from the telescope.
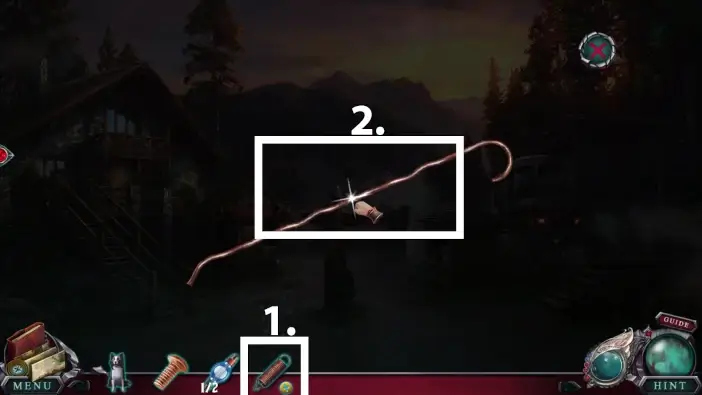
- Select the spring from your inventory to inspect it.
- Click on the spring in the center of the screen to form a lockpick out of it.
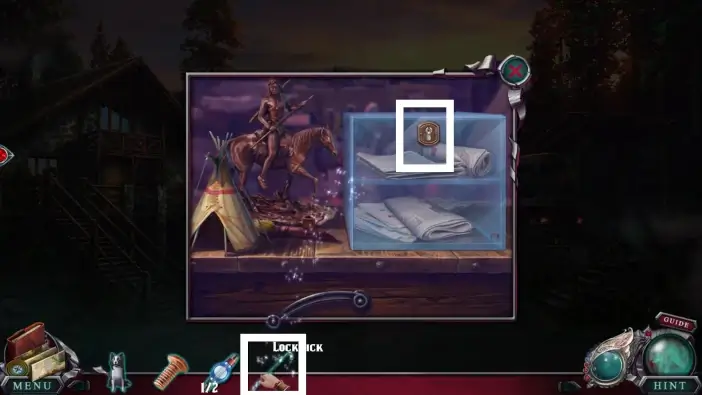
Return to the stand on the right (where you found the first statue eye) and use the newly created lockpick to open the case where the newspapers are.
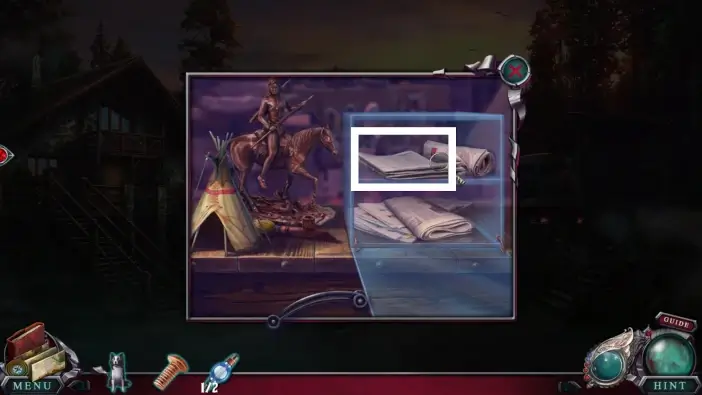
Take the newspaper page.

Return to the director’s office, knock on the door, and give the newspaper page to the director of the national park. After the conversation with the director, he will give you the second fuse.
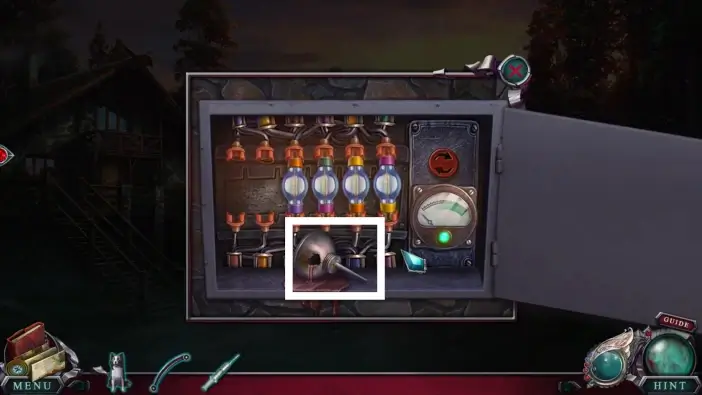
Return to the electricity box near the train and place the two fuses you’ve collected. A new puzzle challenge will start.
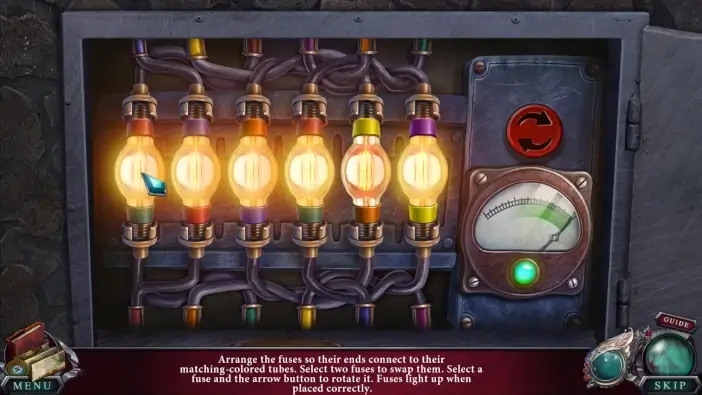
In this puzzle challenge, just rearrange the fuses so their ends connect to the tubes of the same color. To move the fuses, select one fuse and then the other to swap their positions. You can select and drag one fuse to the arrow button on the right to rotate the fuse.
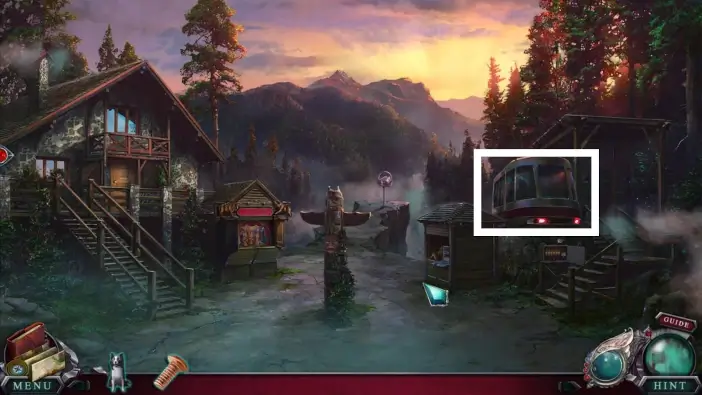
Enter the train.
This will mark the end of our guide for Part 2 of the Main Chapter of the Edge of Reality: Lost Secrets of the Forest.
Thank you for reading!