Edge of Reality: Lost Secrets of The Forest | Bonus Chapter Part 3
Intro
Welcome to our walkthrough for Part 3 of the Bonus Chapter for the “Edge of Reality: Lost Secrets of the Forest” from “Friendly Fox Games”. Help biologist Dr. Amanda evacuate tourists and save them from the incoming storm.
Walkthrough
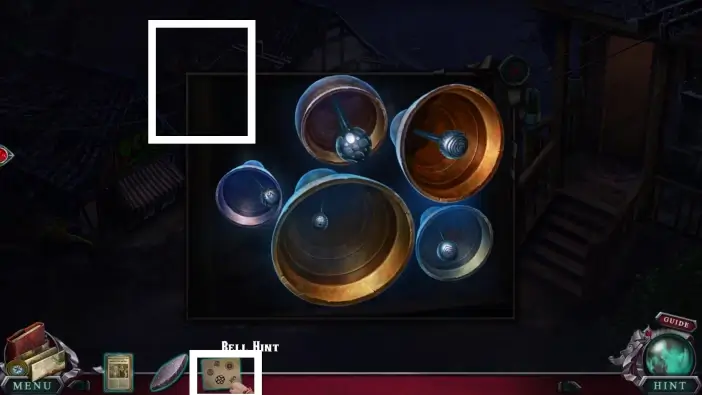
Go to the attic of the Keeper’s house, approach the bells, and place the bell hint note near the bells.
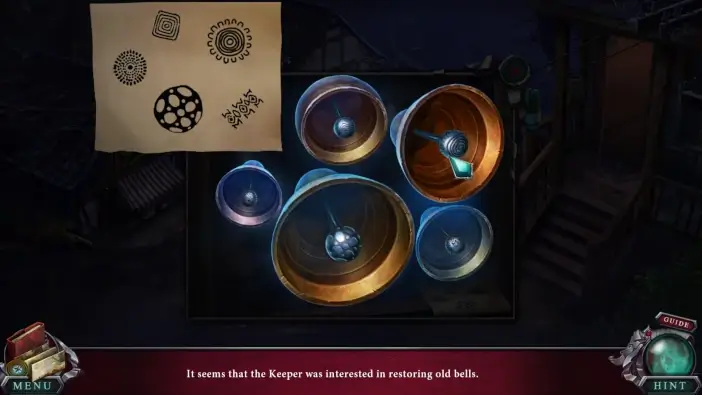
Rearrange the clappers of the bells like in the note. Each clapper has a specific pattern on it. The solution is in the picture above. Once you complete this challenge, the owls will appear in the village.
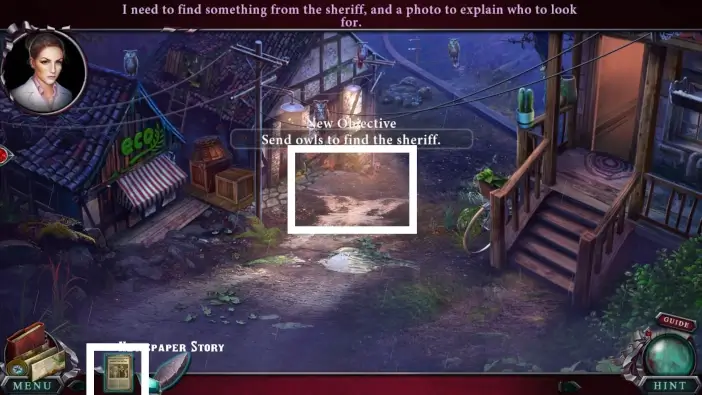
Exit the attic and place the newspaper story on the ground in the village center to show the image of the sheriff to the owls.
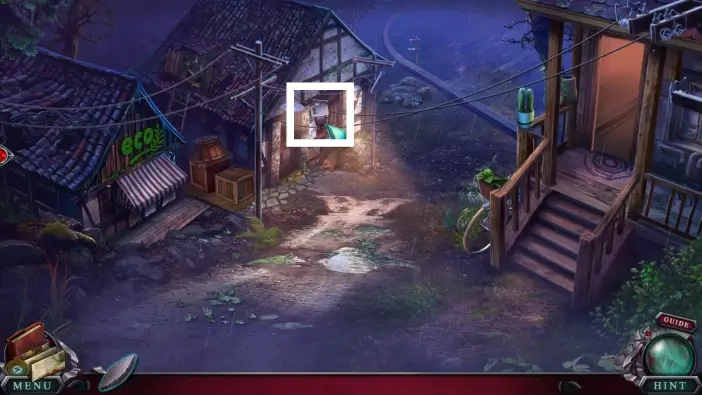
The owl will go to seek the sheriff, and after a few moments, one owl will return. Take the sheriff’s driving license from the owl.
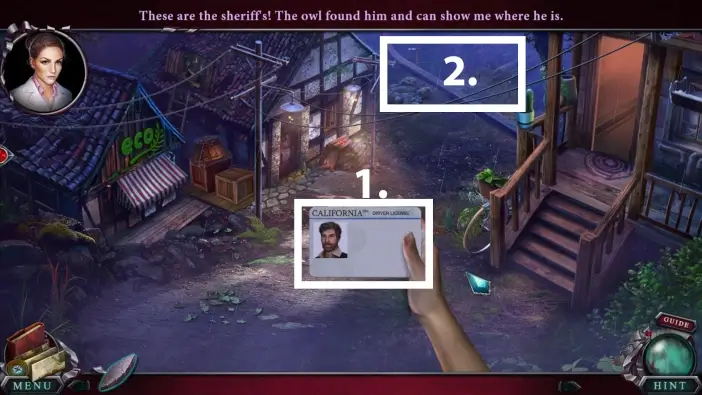
- Click on the driving license again to add it to your inventory.
- Leave the village.
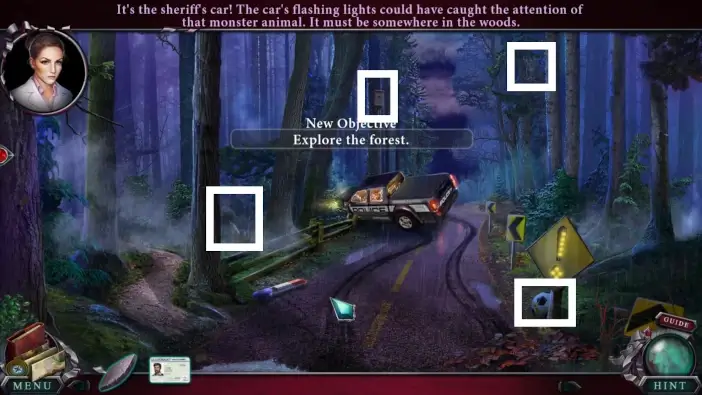
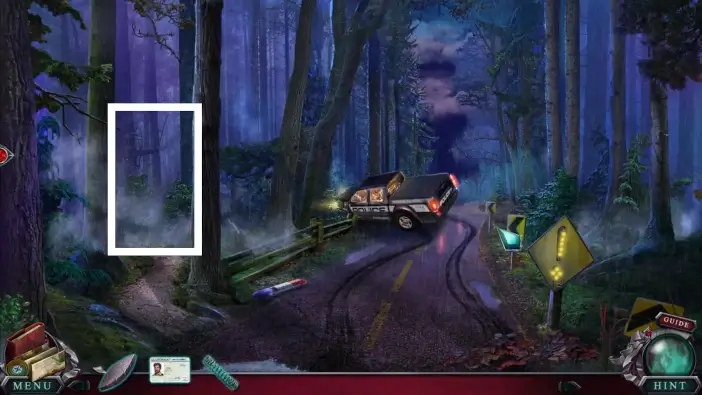
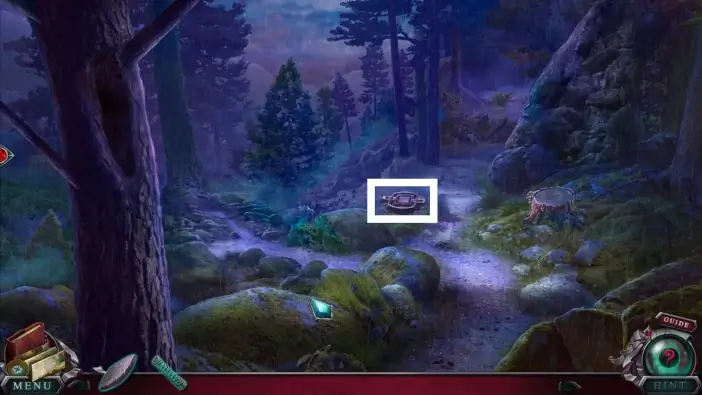
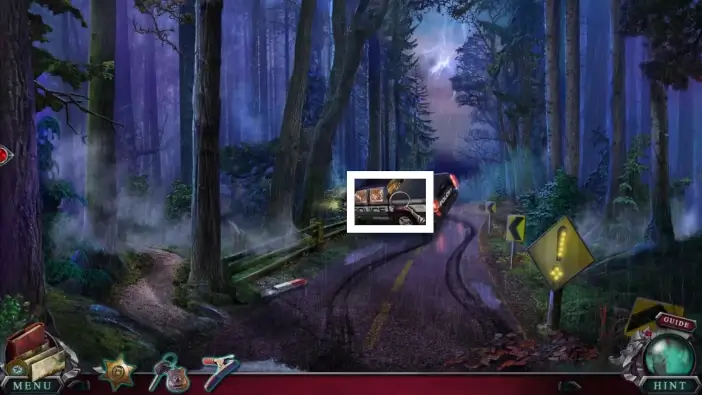
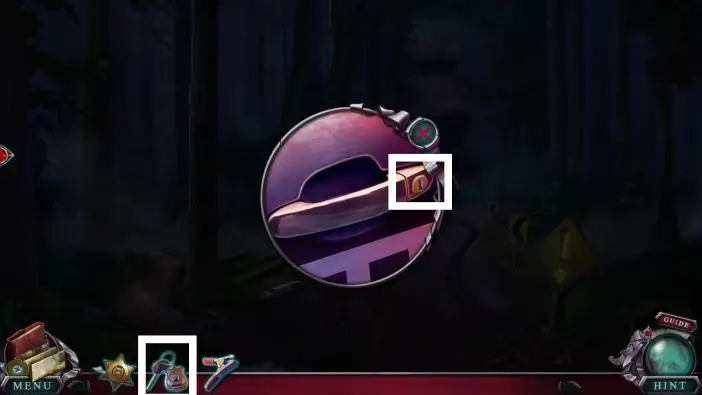
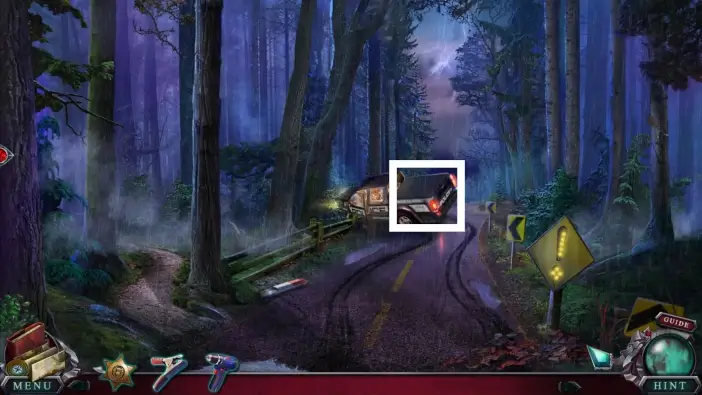
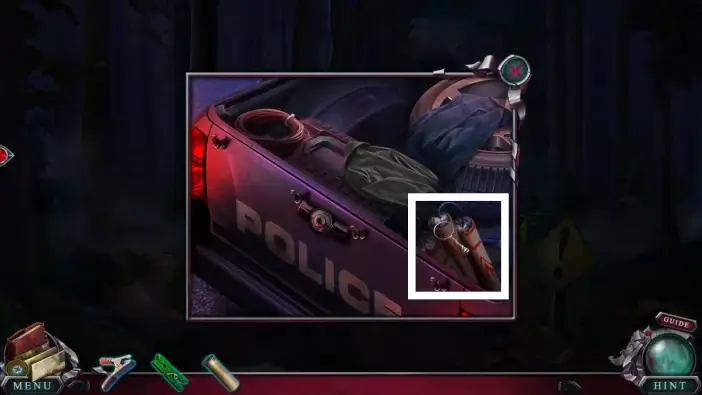
Once you reach the sheriff’s car, find all morphing objects and animals in the location. These objects are marked in the picture above.
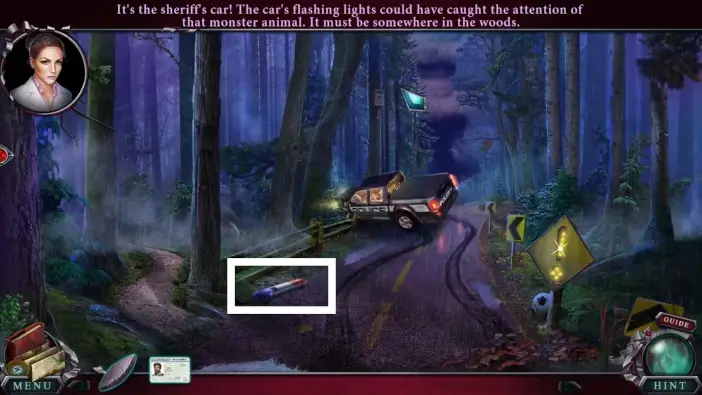
Approach the light bar on the ground.
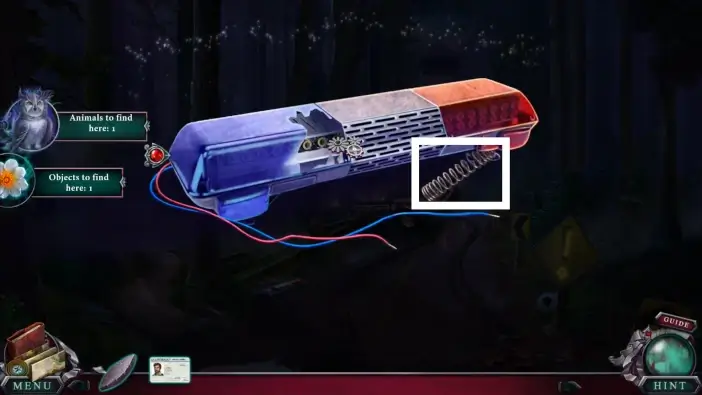
Take the spring from the light bar. You’ll need it to fix the bear trap.
Go to the forest through the left path.
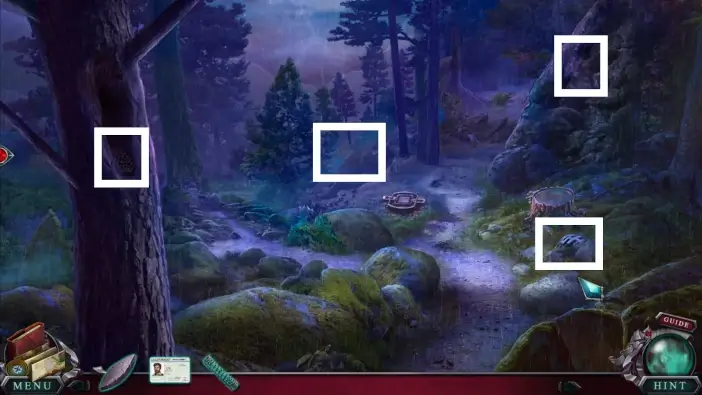
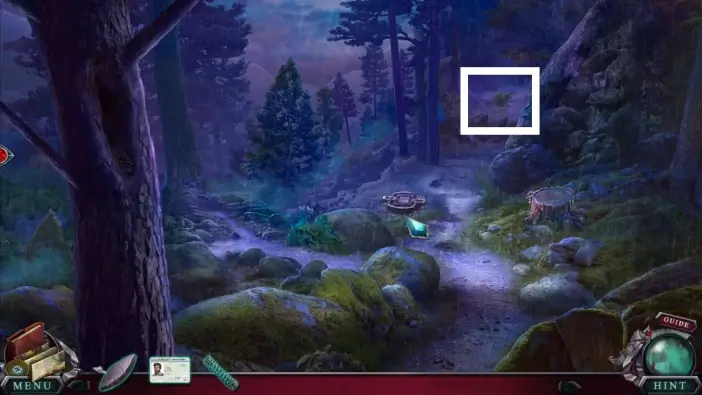
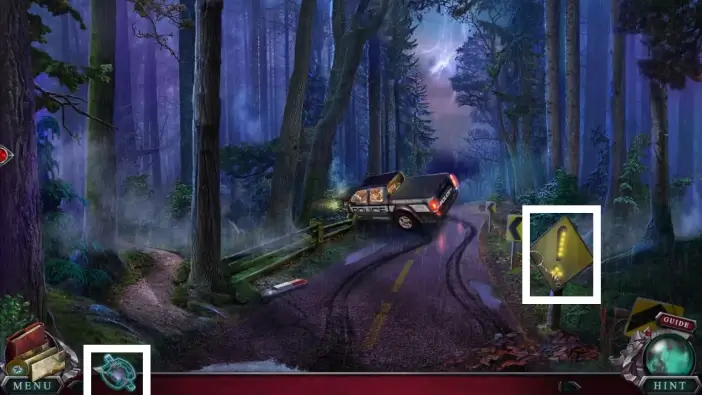
In the bear trap area, find all morphing objects and animals. They are marked in the picture above.
Go to the path on the right. You will discover that the sheriff is in danger and the magic boar is trying to attack him.
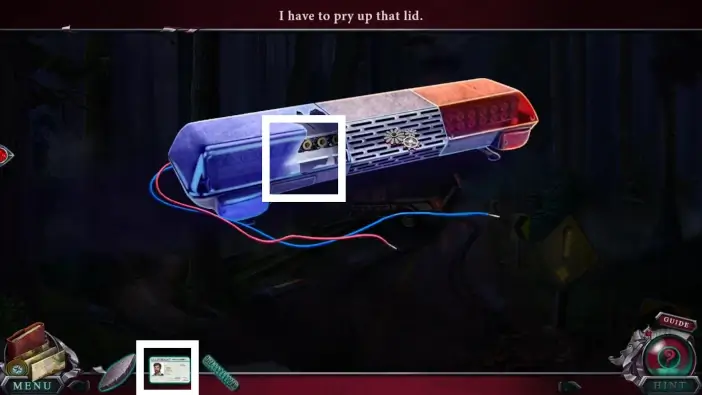
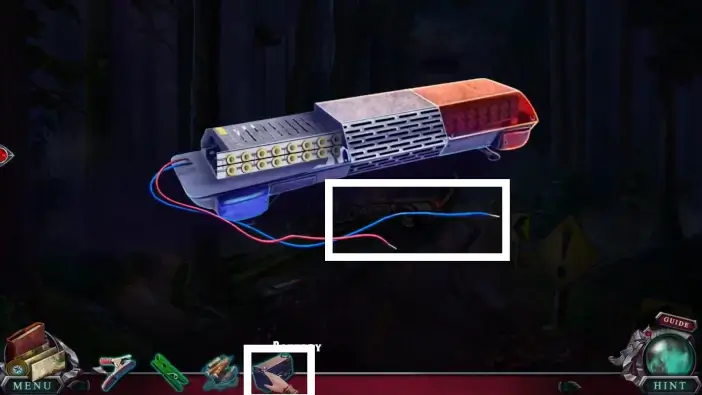
Return to the road where the sheriff’s car is and approach the light bar. Use the sheriff’s driving license to remove the blue glass. Click on that half of the light bar again to remove the electrical parts.
Go to the bear trap area and approach the bear trap.

Place the spring on the bear trap to fix it.

Sharpen the bear trap using the whetstone. Click on the bear trap to add it to your inventory (under the name: the coil spring trap).
Go to the road and approach the road sign. Use the coil spring trap to cut the wire hook from the sign.
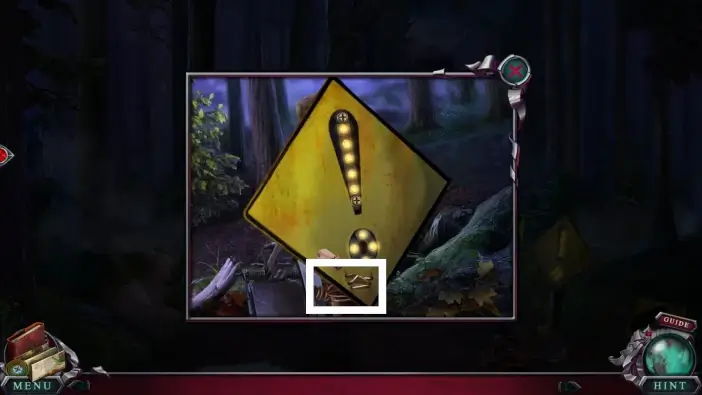
Take the wire hook. You’ll use it to unzip the sheriff’s wallet.
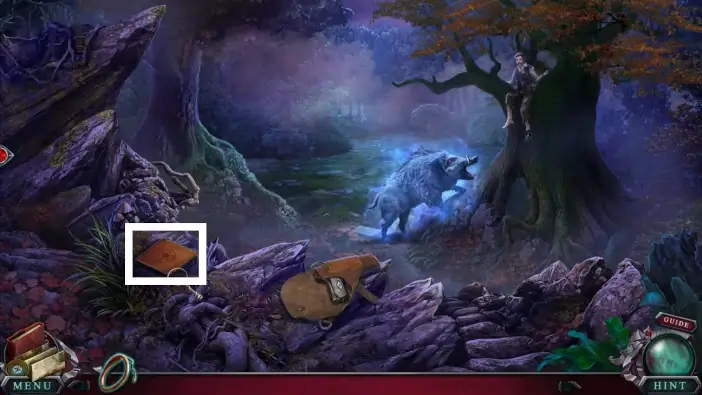
Return to the area where the sheriff is and approach the wallet.
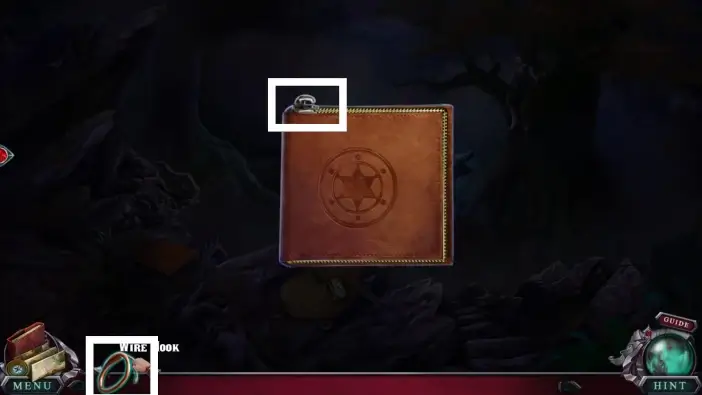
Unzip the wallet using the wire hook.
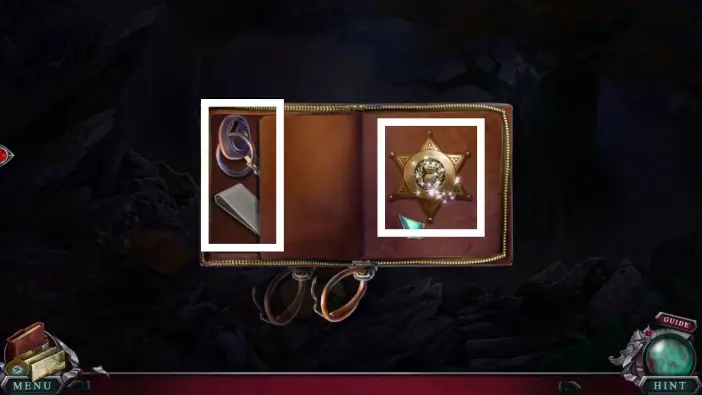
Take the car key, the clamp, and the sheriff’s badge.
Go to the road area and approach the sheriff’s car.
Use the car key you got from the wallet to unlock the car. Enter the car to start the search mini-game.
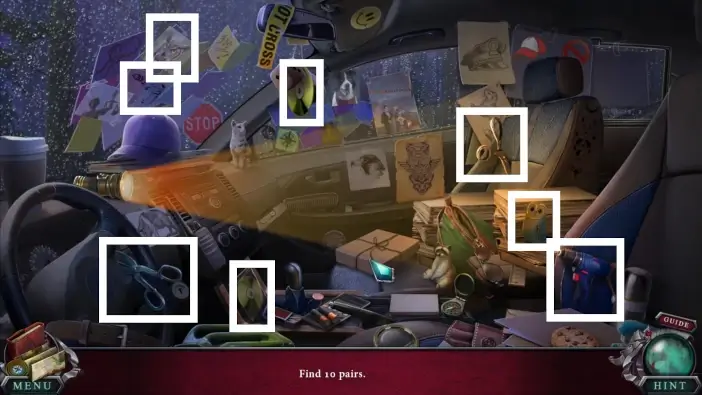
In the sheriff’s car, find all the pairs of similar objects. Their locations are marked in the pictures in this guide.
Once you find all ten pairs, the drill will be added to your inventory.
Approach the car’s trunk.
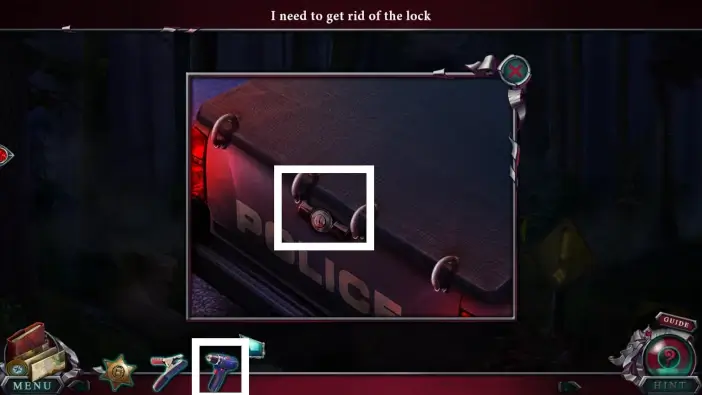
Use the drill you just acquired to remove the lock and open the trunk.
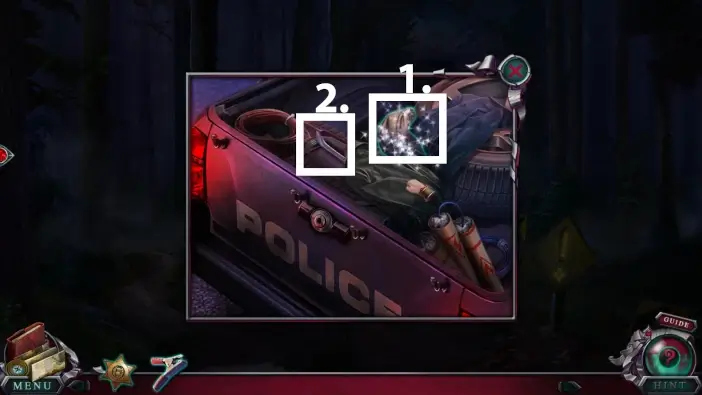
- Take the ground cloth. You will use it to hide the trap for the magic boar.
- Take the crowbar.
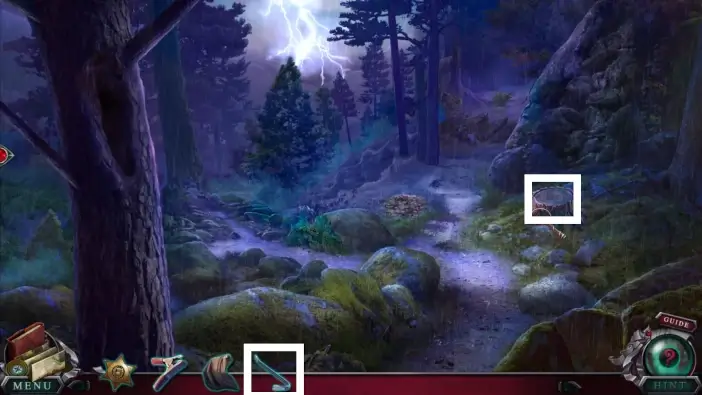
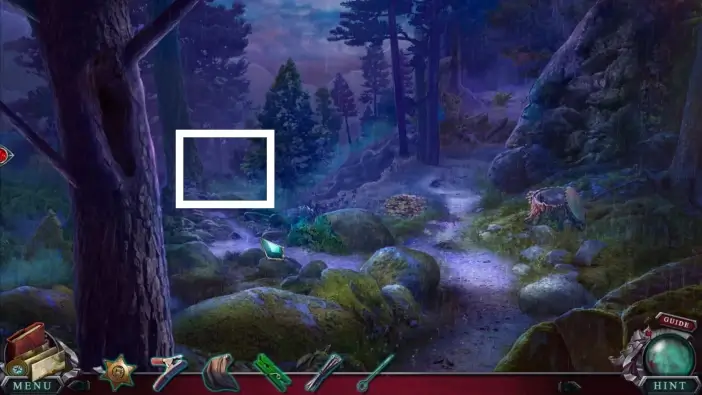
Go to the area where the bear trap was and approach the stump on the right. Use the crowbar to open the stump.
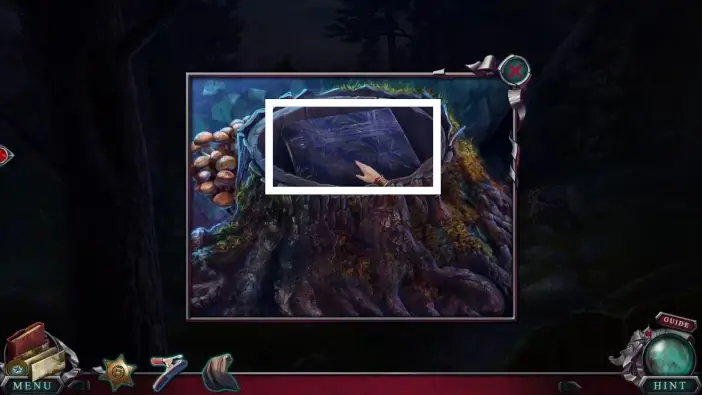
Open the package that was hidden in the stump. Read the note about the trap and then take the following items: tent pegs, cleaning rod, and clothespin.
From this area, go to the left.
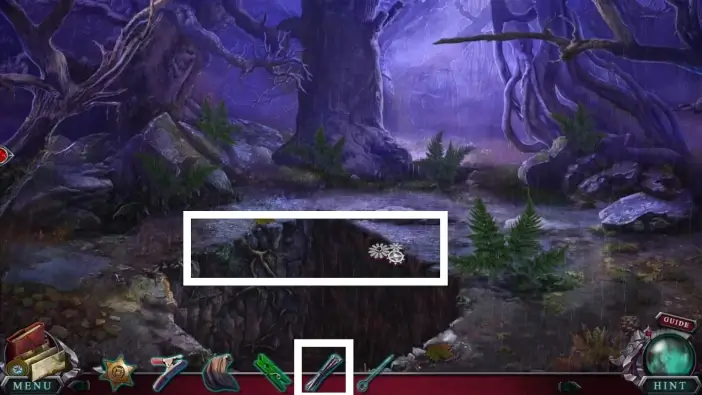
In this location is a large hole, which will serve as a trap for the magic boar. Place the tent pegs on the edges of the hole.
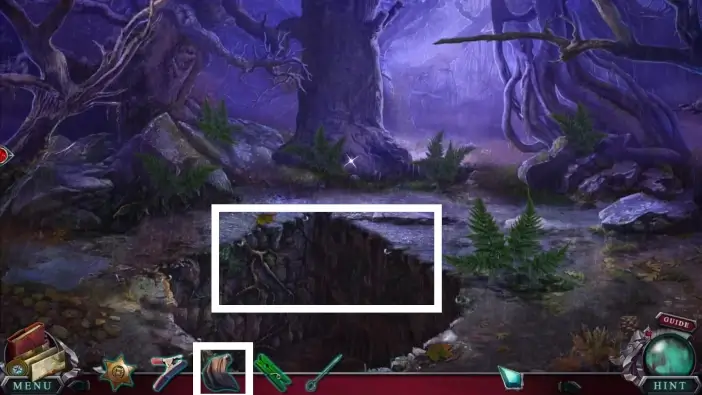
Place the ground cloth to cover the hole.
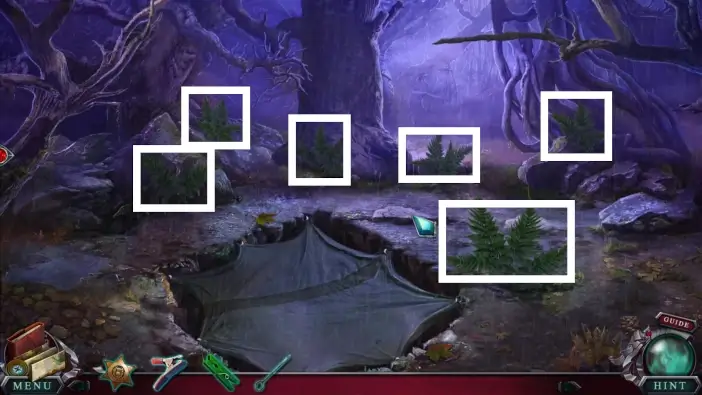
Click on the bushes marked in the picture above, and Amanda will place them on the cloth to camouflage the trap.
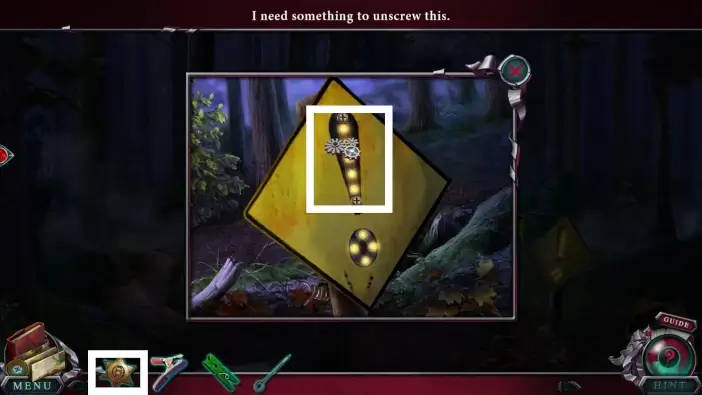
Go back to the road area and approach the road sign. Use the sheriff’s badge that you’ve found in the wallet to unscrew the LED strip from the sign.
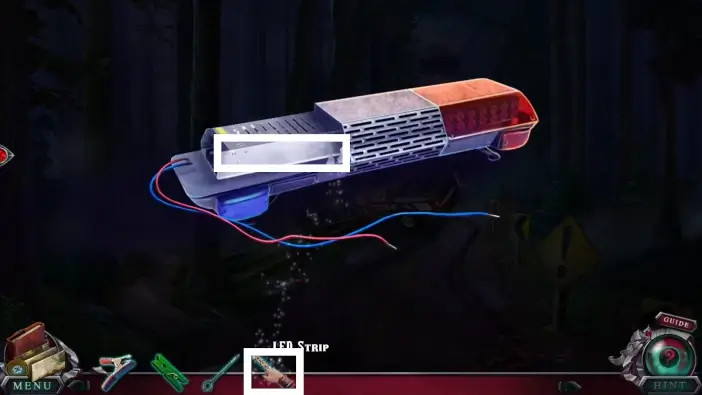
Approach the light bar and attach the LED strip to it.
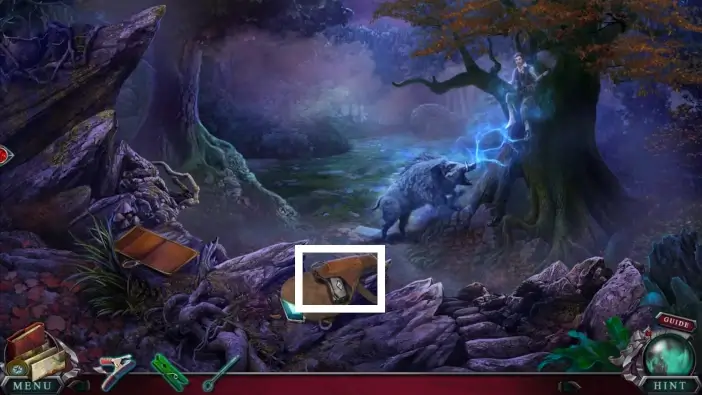
Go to the area where the sheriff and the magic boar are and open the holster.
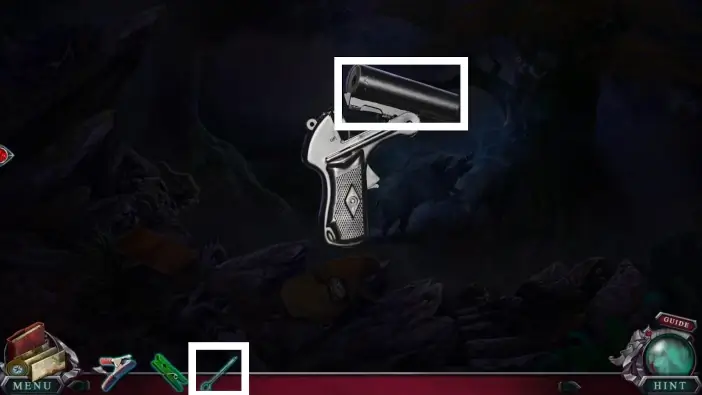
Unstack the explosive charge in the barrel using the cleaning rod you’ve found in the wallet. Click on the explosive charge once it comes out of the barrel to add it to your inventory.
Return to the car trunk and click on the explosives to examine them.
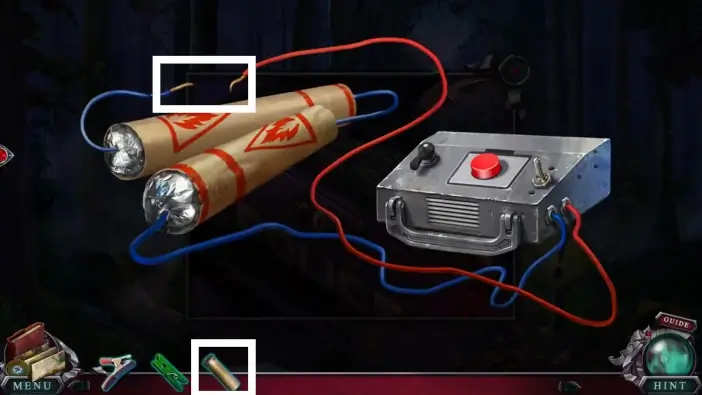
Connect the explosive charge with the wires. Click on the explosives one more time to add them to your inventory.
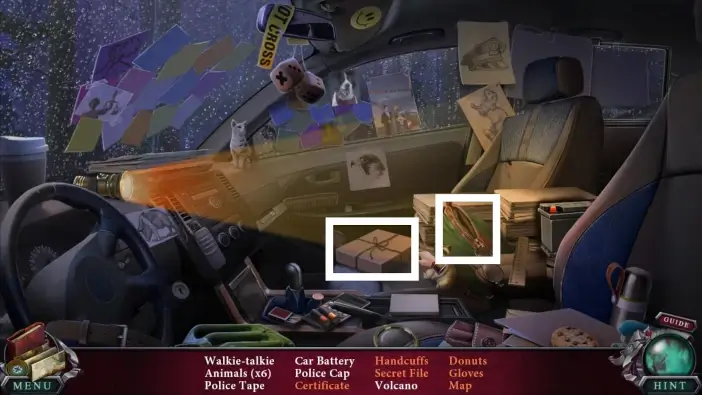
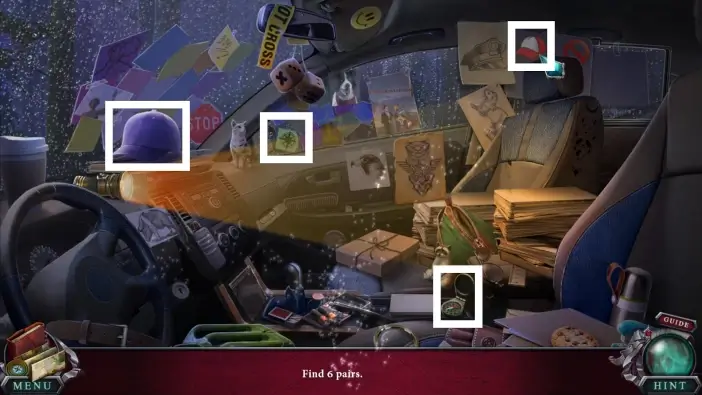
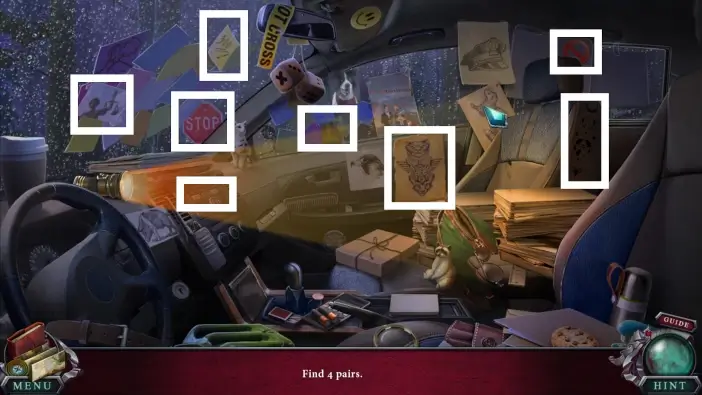
Return to the sheriff’s car and find all the items that are listed. When you click on certain areas, the game will zoom in there, and you can find more items. Follow the marked items in the pictures in this guide to progress.
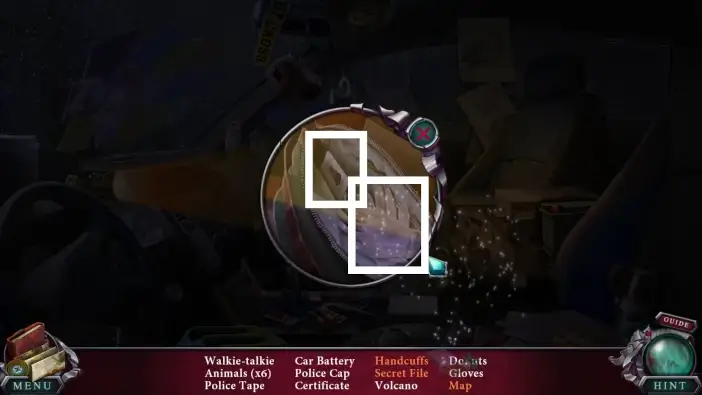
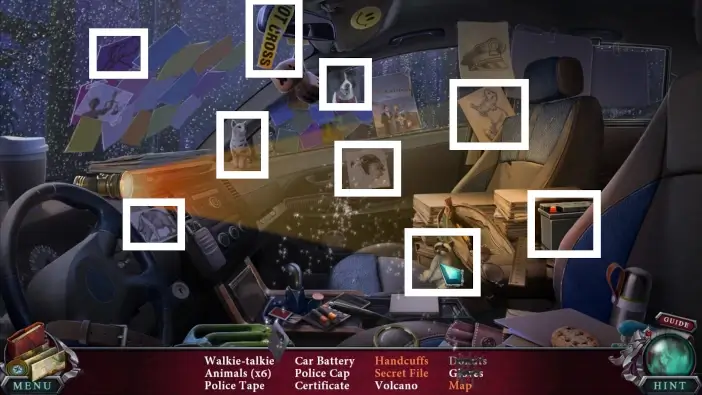
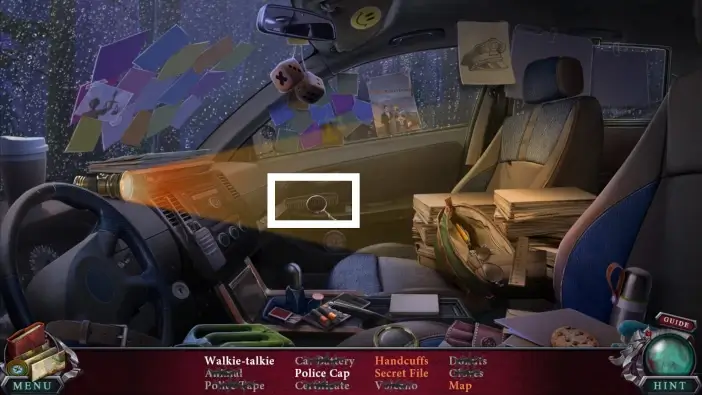
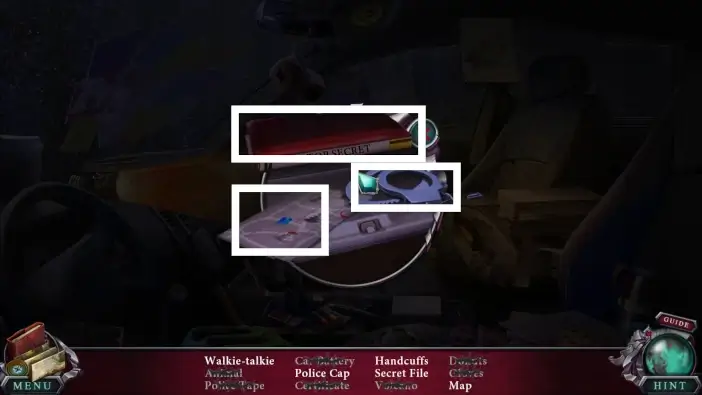
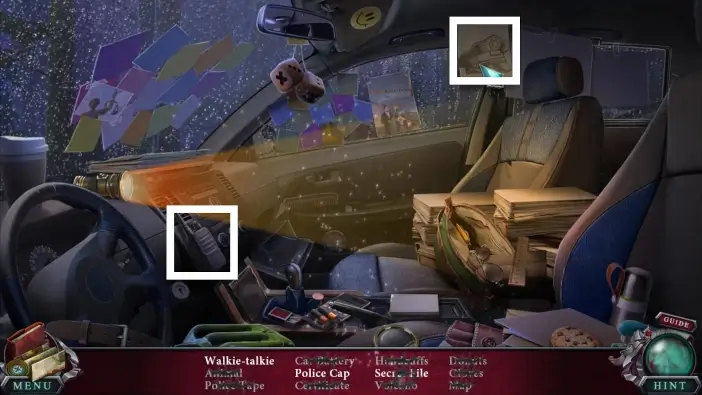
Once you find all the items, the battery will be added to your inventory.
Return to the light bar and attach the battery to the cables.

Place the clamp you’ve found in the wallet on the left side of the battery.
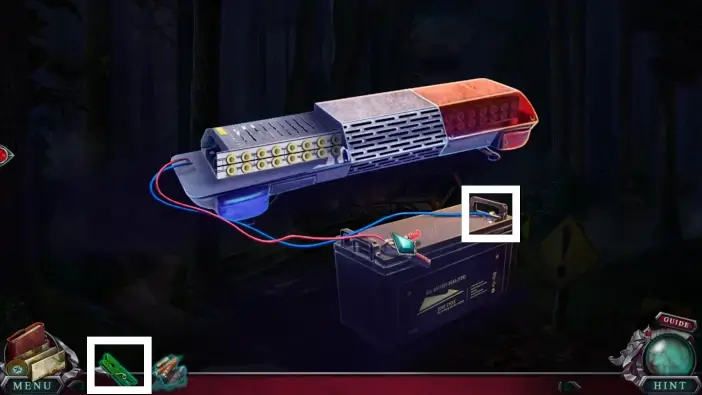
Place the clothespin on the other side of the battery. Click on the completed item, and it will be added to your inventory under the name “Police Siren”.
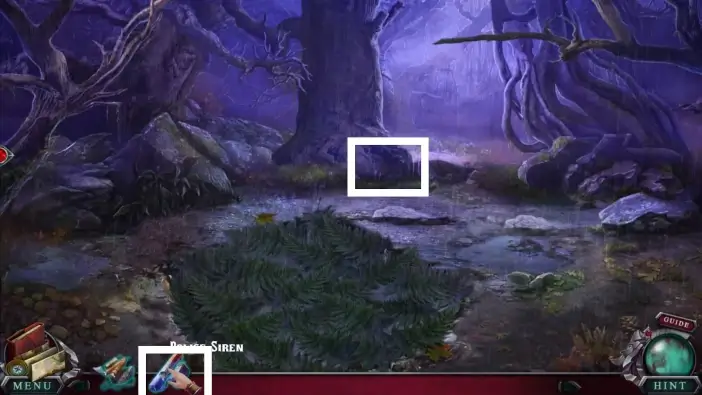
Return to the area of the forest where the hole is. Place the police siren near the large tree.
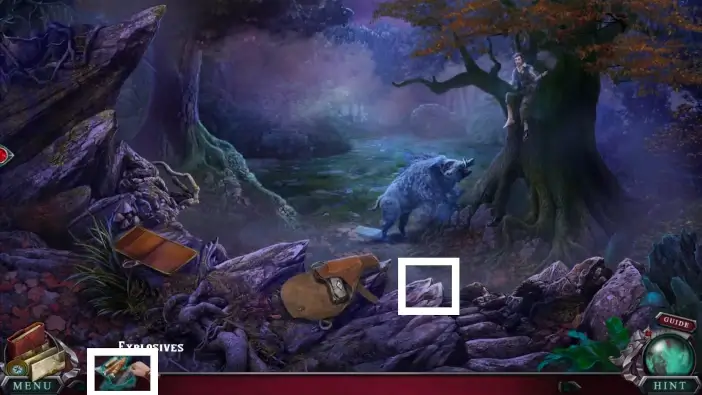
Go to the area where the sheriff is and place the explosives on the stones.

Go to the area where the bear trap was and press the red button to activate the explosive and distract the boar.
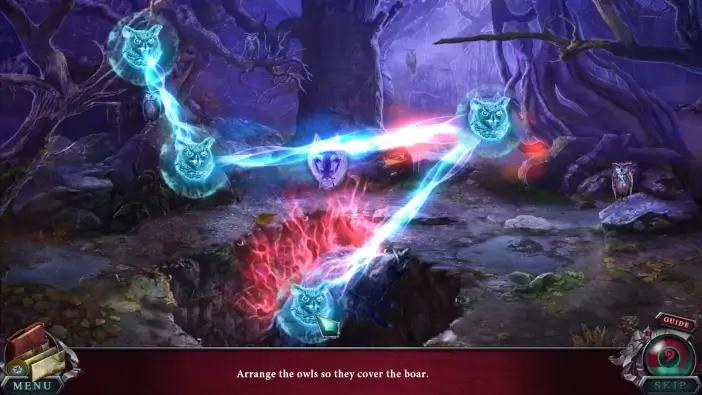
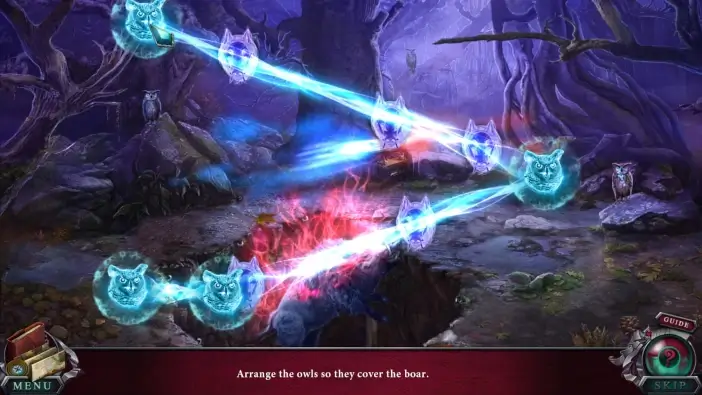
Go to the area where the hole is. The magic boar fell into the trap. A new puzzle challenge will begin, where you need to calm the boar’s spirit. Arrange the owl’s nodes in a way that their connections will cover all the boar’s nodes. Follow the arrangements in the pictures in this guide. This puzzle will have three phases.
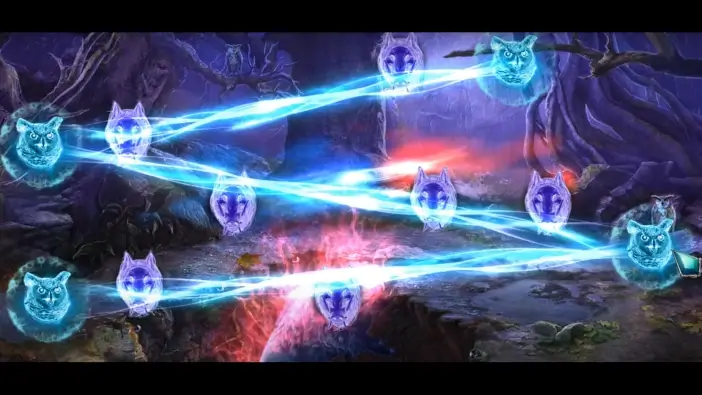
Once you complete this puzzle challenge, the magic boar’s rage will be gone, and you will save the boar and the sheriff.
This will mark the end of our guide for the Bonus Chapter of the Edge of Reality: Lost Secrets of the Forest.