Beyond the Room | Part V
Hello everyone and welcome to Part 5 of our walkthrough for “Beyond the Room” an escape room game created by the Dark Dome. Beyond the Room is the eighth game in the series, and like the other games, the story is set in Hidden Town, which is filled with all kinds of mysteries. In this walkthrough, we will show you how to solve all the puzzles and finish the game.
NOTE: Some puzzles will CHANGE with each playthrough, but the logic behind solving the puzzles will always remain the SAME. For example, in one playthrough a code to open a safe could be 1234, and in another playthrough, the code could be 4321. However, you will always discover the numbers for the code at the same location and by using the same hints.
NOTE: At the end of the fourth part, we explored the third floor of the abandoned building, and we unlocked the elevator on the first floor. In the fifth part of the walkthrough, we will explore the fifth floor of the abandoned building.
Let’s tap on the “5th-floor button” to proceed.
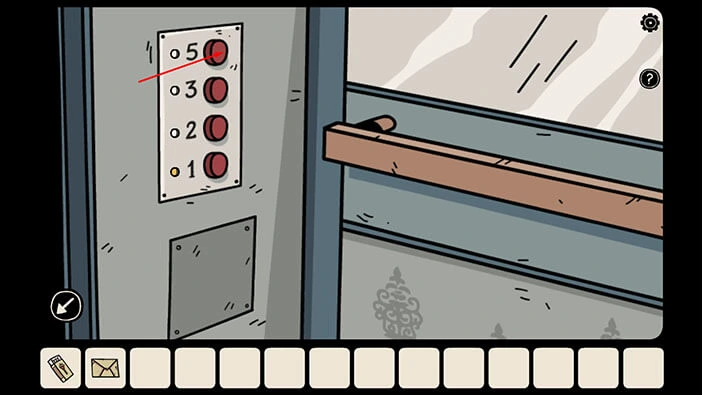
Once you reach the fifth floor, tap on the button in the bottom left corner of the screen to exit the elevator.
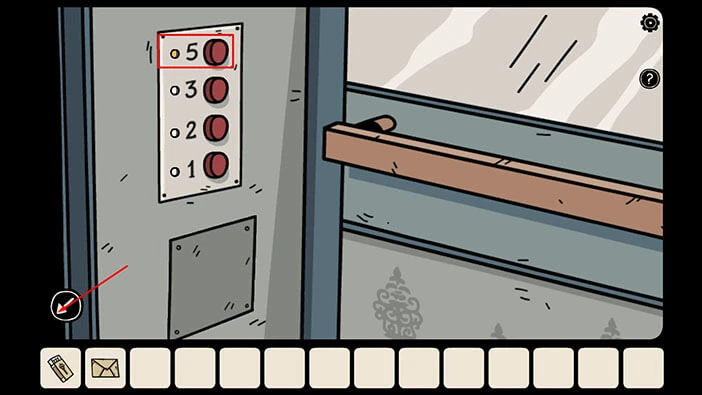
As soon as you exit the elevator you will activate the cutscene. During the cutscene, you will see a shadow that will go upstairs, and then through the red door, and our character will follow it.
In this room, you will find a girl from your dreams.
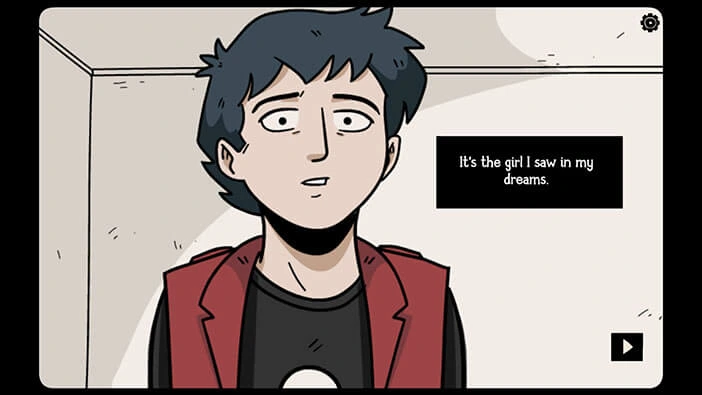
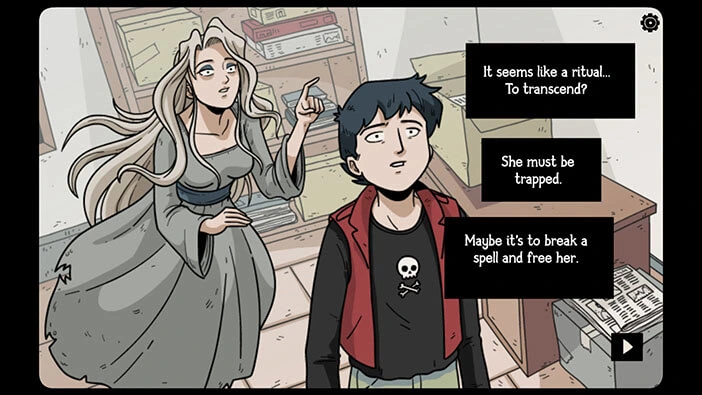
We will discover the name of our character, Darien. The girl will introduce herself, saying that her name is Elena, and she will explain that she is trapped in this building. The only way to free her is to perform some kind of ritual. Our character believes that this ritual will break the spell that keeps her trapped.
He decided to help her. So, our next and final task is to perform this ritual.
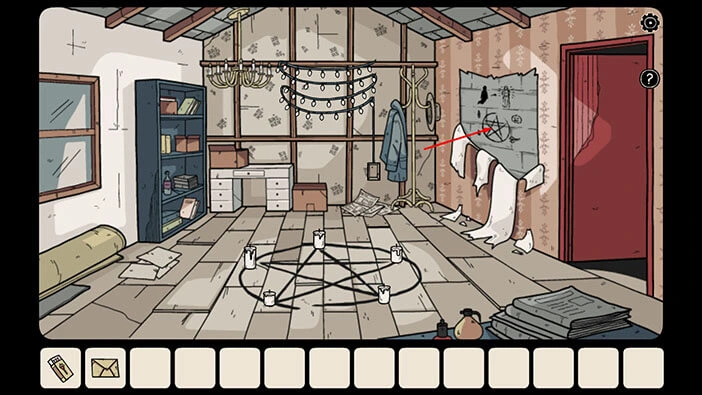
Let’s explore this room. On the wall on the left, you will see a drawing and in this drawing, we can see the items that we will need to complete the ritual.
So, let’s tap on this drawing to examine it.
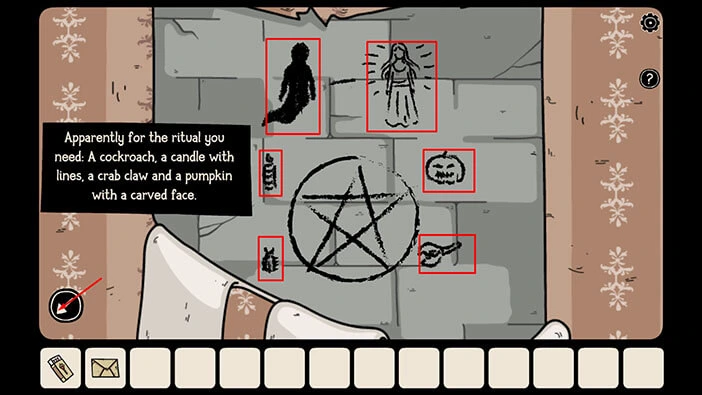
If you tap on the drawing, you will discover that you will need four items to complete the ritual. You will need, a “Cockroach”, a “Candle with lines”, a “Crab claw”, and a “Pumpkin with a carved face”.
Also, at the top of the drawing, we can see that upon completing this ritual, the girl will be released from the curse, and she will be turned from the shadow, back into a normal human being.
So, the main goal is to find these items and complete the ritual. Let’s begin our investigation. Tap on the arrow in the bottom left corner of the screen to go back.
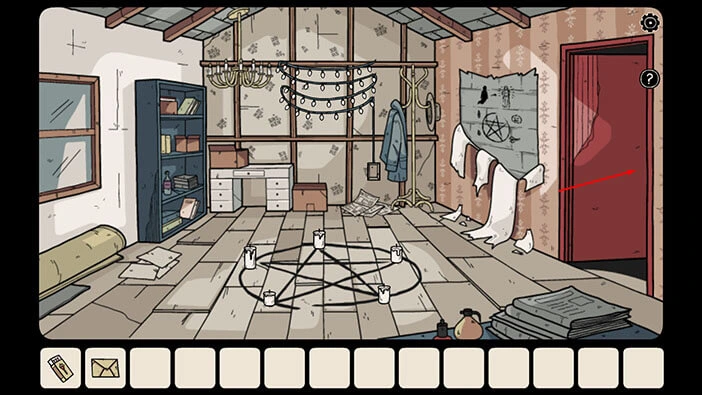
Let’s tap on the red door on the right to go to the hallway.
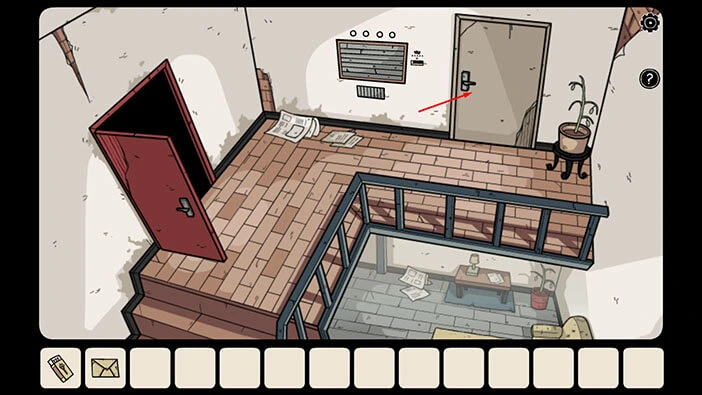
Next, let’s tap on the grey door to open it, and tap again to proceed to the next room.
On the floor, you will notice a large brown box. Let’s tap on it to take a closer look, and tap again to open it.
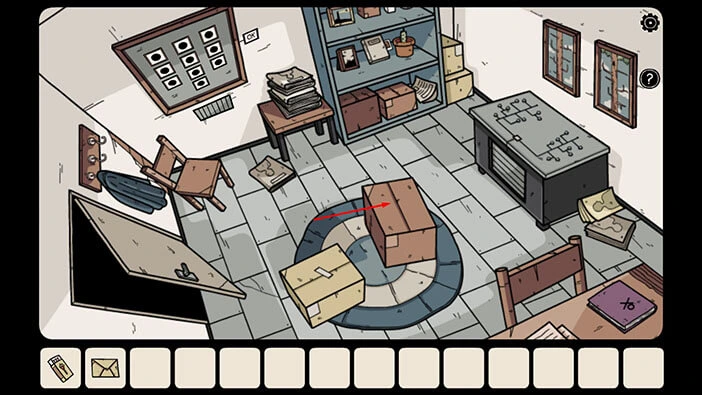
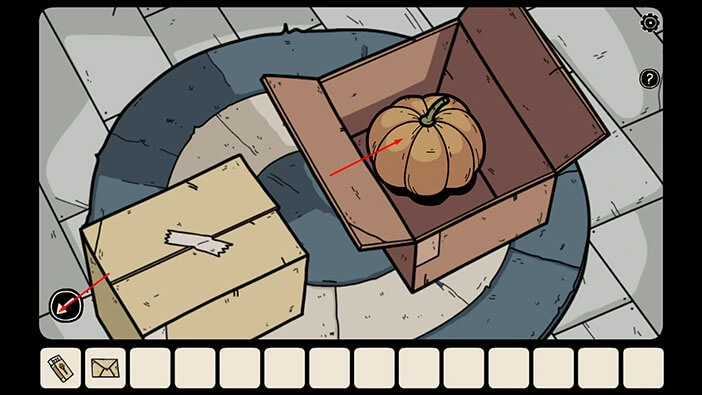
In the box, you will find a “Pumpkin”. Let’s tap on it to pick it up. After that, tap on the arrow in the bottom left corner of the screen to go back.
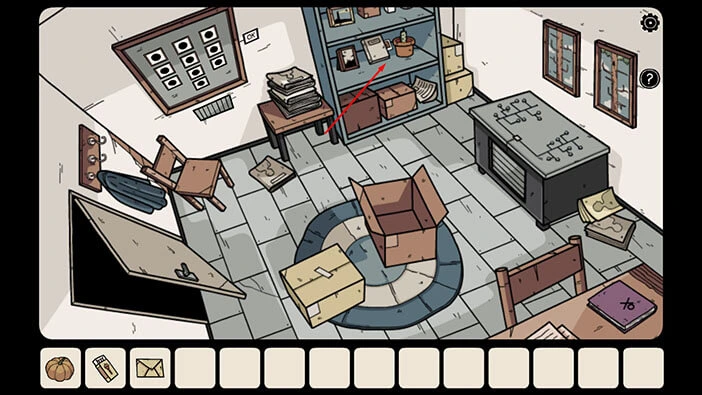
Next, let’s tap on the shelf on the right to take a closer look at it.
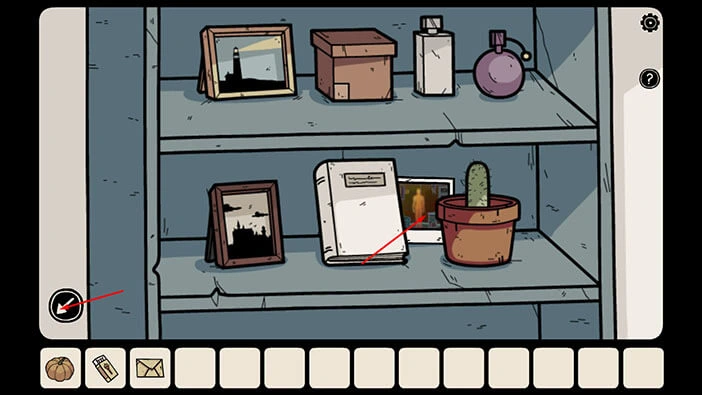
Behind the cactus, you will find a “Photo”. So let’s tap on it to pick it up. After that, tap on the arrow in the bottom left corner of the screen to go back.
We will come back to this room a bit later. For now, let’s tap on the door on the left.

Let’s tap on the stairs to go down.
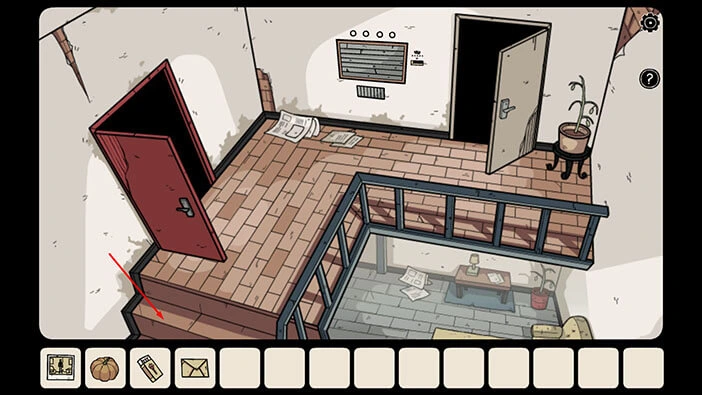
You will notice several pieces of paper on the table. Let’s tap on them to take a closer look.
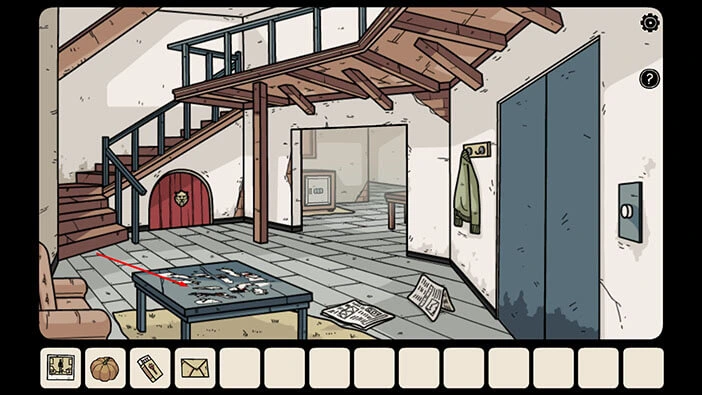
Our next task is to assemble the four pictures. We will do that in several steps. Let’s do that.
Step 1
Let’s select the piece in the bottom right corner and place it in the bottom left corner (take a look at the image below).
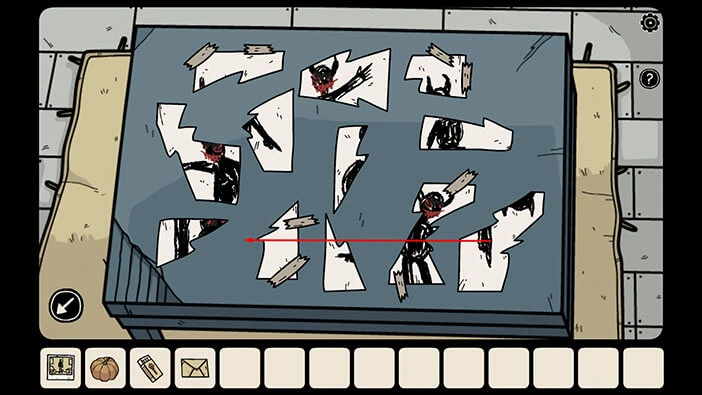
Step 2
Let’s select the piece in the bottom left corner and place it on top of the previous piece (take a look at the image below).
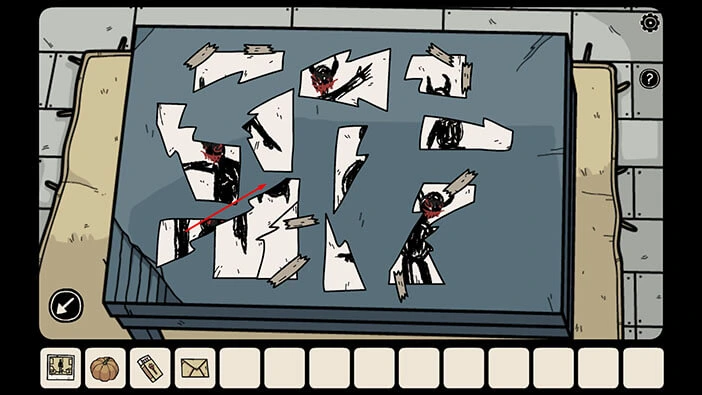
Step 3
Let’s select the piece on the left and place it in the top right corner (take a look at the image below).
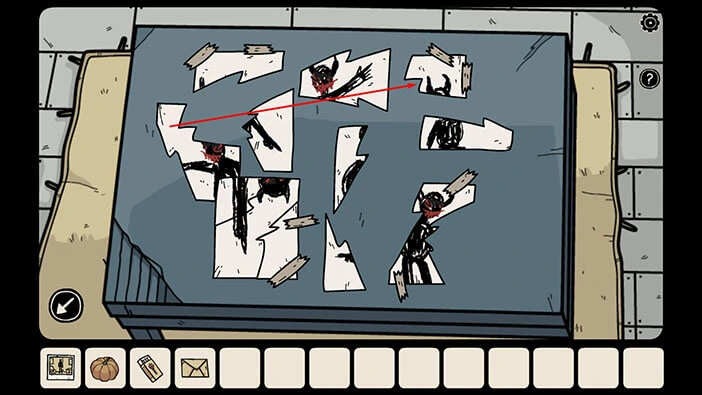
Step 4
Let’s select the piece from the middle and place it in the bottom right corner (take a look at the image below).
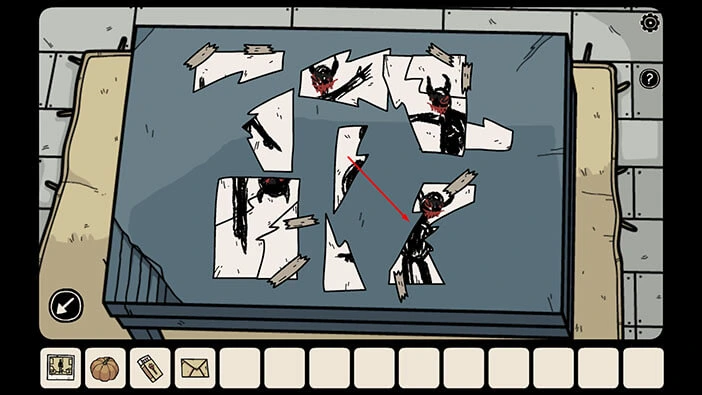
Step 5
Let’s select the piece from the bottom and place it in the top right corner (take a look at the image below).
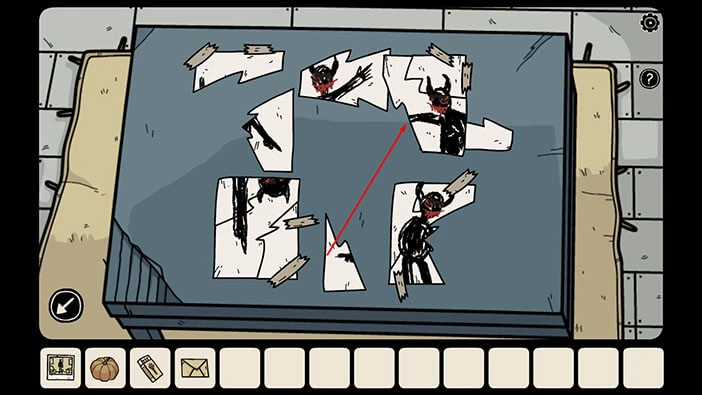
Step 6
Let’s select the piece from the top and place it in the top left corner (take a look at the image below).
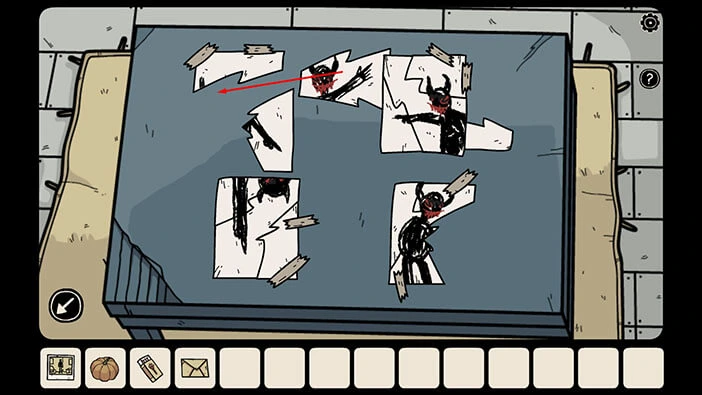
Step 7
Let’s select the piece from the top left and place it in the bottom right corner (take a look at the image below).
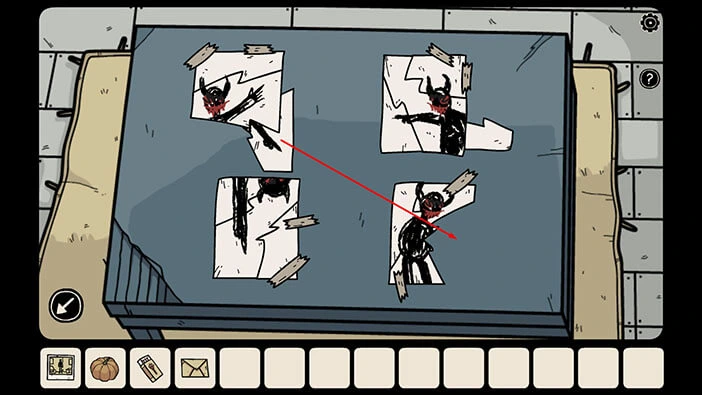
Step 8
Let’s select the piece from the top right and place it in the top left corner (take a look at the image below).
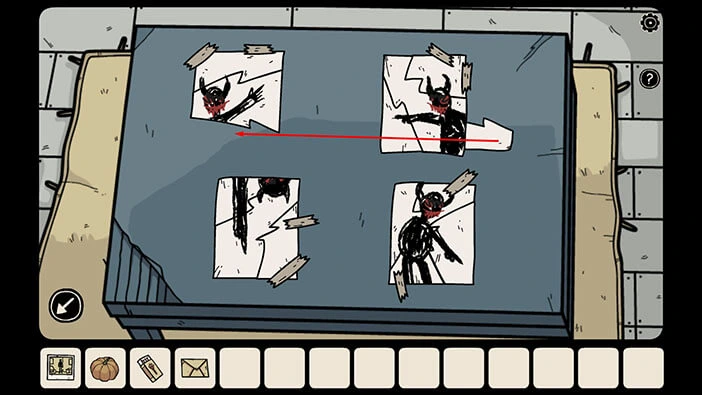
Once you assemble the puzzle, you will see a shadow pointing in a certain direction in each of the four pictures. Let’s memorize/write down the directions in which the shadow is pointing because we will need this information for the next puzzle.
Here, we have,
The shadow in the top left picture is pointing up and to the right.
The shadow in the top right picture is pointing to the left.
The shadow in the bottom left picture is pointing down.
The shadow in the bottom right picture is pointing down and to the right.
Once you’re done, tap on the arrow in the bottom left corner of the screen to go back.
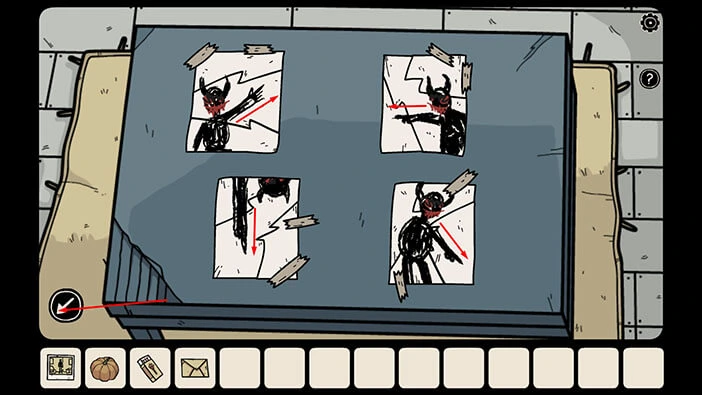
Next, let’s tap on the doorway on the right to proceed to the next room.
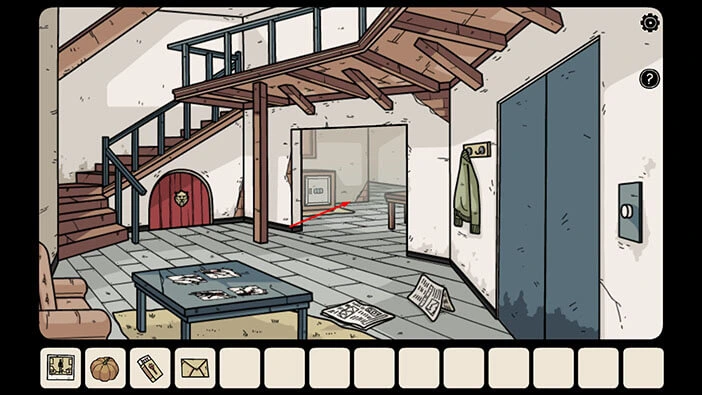
Next, let’s tap on the cabinet door on the right to take a closer look at it, and tap again to start the interaction.
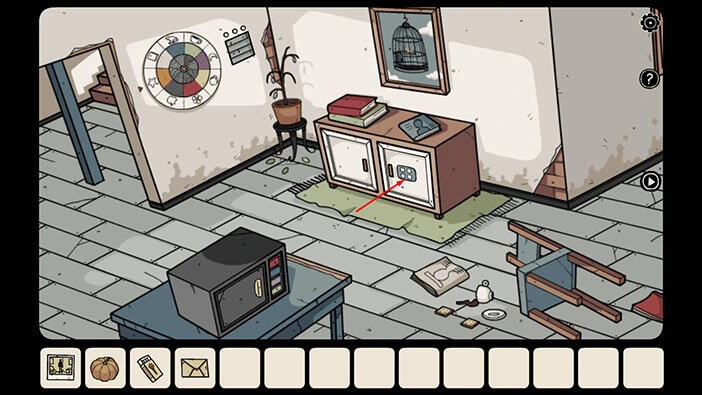
Previously, we saw the four pictures of the shadow, and in each picture, it was pointing in a certain direction. Let’s enter these directions. We had,
The top left slot = the arrow should point up and to the right
The top right slot = the arrow should point to the left
The bottom left slot = the arrow should point down
The bottom right slot = the arrow should point down and to the right
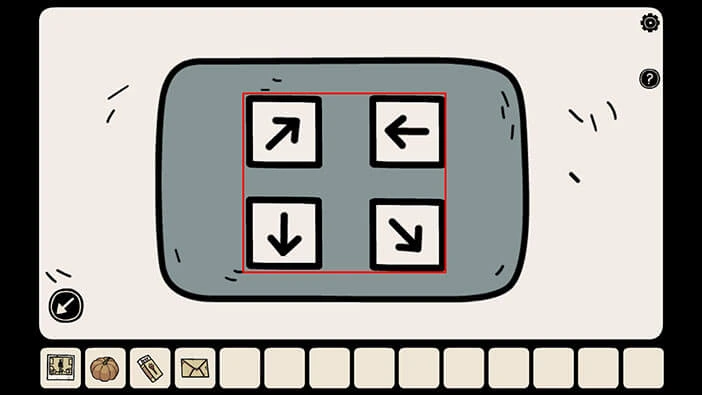
You will unlock the cabinet door, as soon as you enter the correct arrows. In the cabinet, you will find a “Key handle”. Let’s tap on it to pick it up.
After that, tap on the arrow in the bottom left corner of the screen to go back.
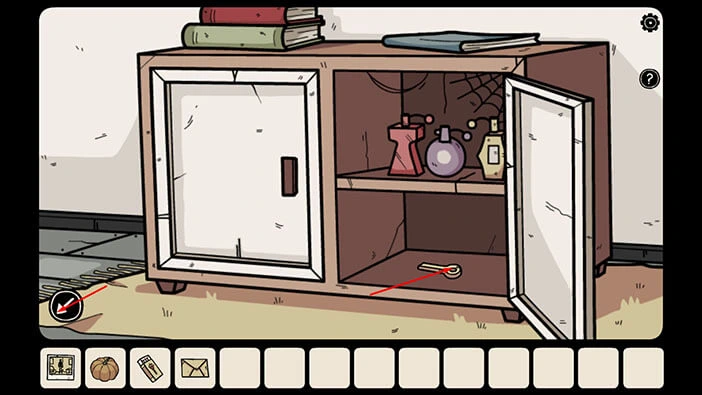
On the left side of the wall, we can see a wheel and several pictures. This wheel represents another puzzle, and we will come back to it in a moment.
For now, let’s tap on the arrow on the right to proceed to the next room.
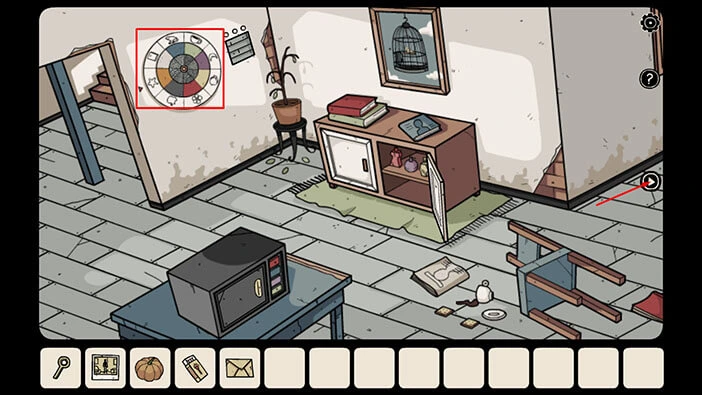
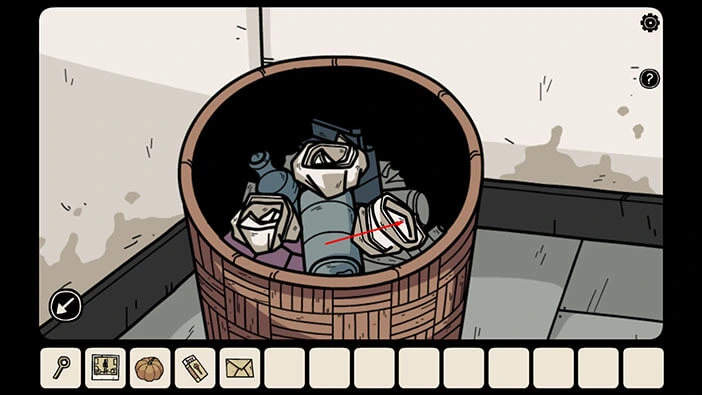
In the top right corner of the room, you will notice a trash can. Let’s tap on it to take a closer look.
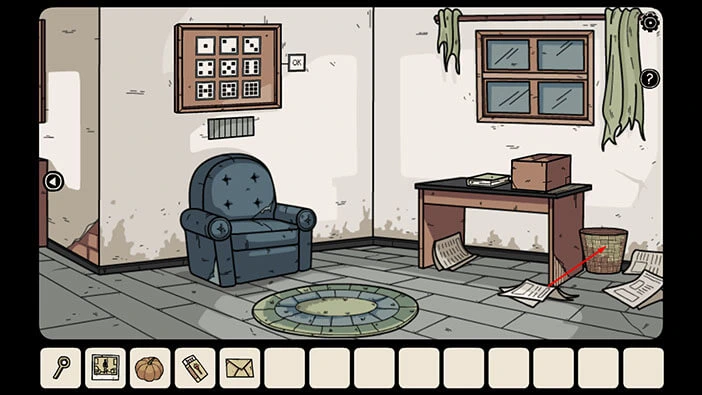
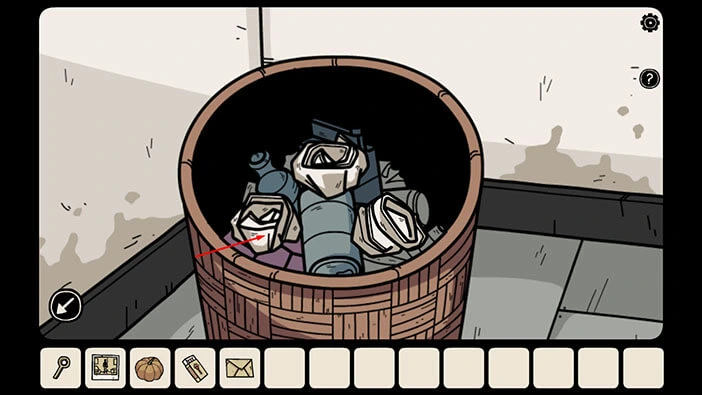
Inside, you will see three lumps of paper. We should take a look at each paper and memorize/write down certain information. Let’s do that.
First, let’s tap on the lump of paper on the left.
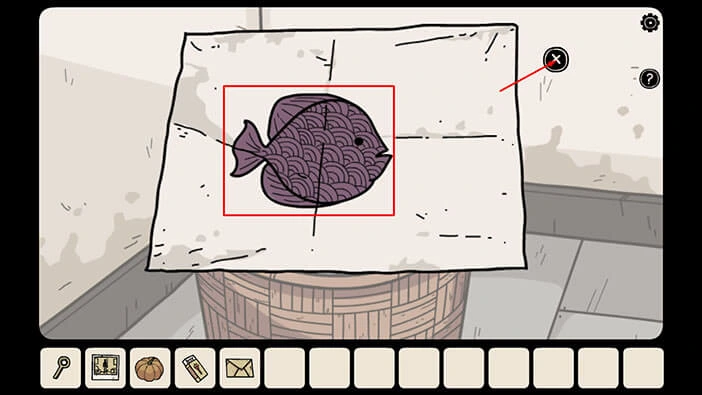
Here, we can see a purple fish with a certain pattern on its body. So, we should memorize/write down the type of drawing (fish), color (purple), and the pattern of the lines.
Once you’re done, tap on the “X” button to go back.
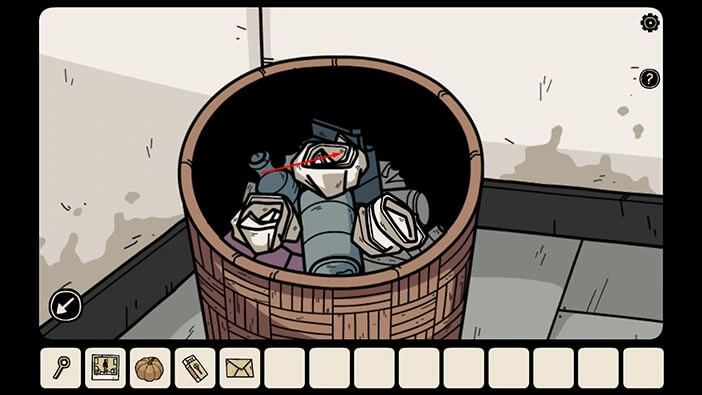
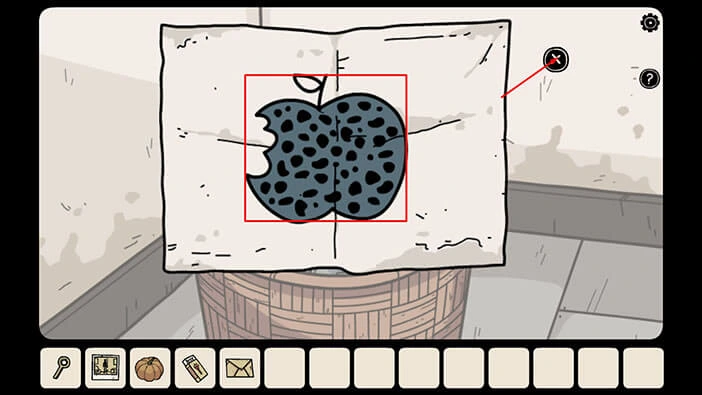
Let’s take a look at the second lump of paper.
Here, we can see a blue apple with a certain pattern. So, we should memorize/write down the type of drawing (apple), color (blue), and the pattern of the lines.
Once you’re done, tap on the “X” button to go back.
Let’s take at the third lump of paper.
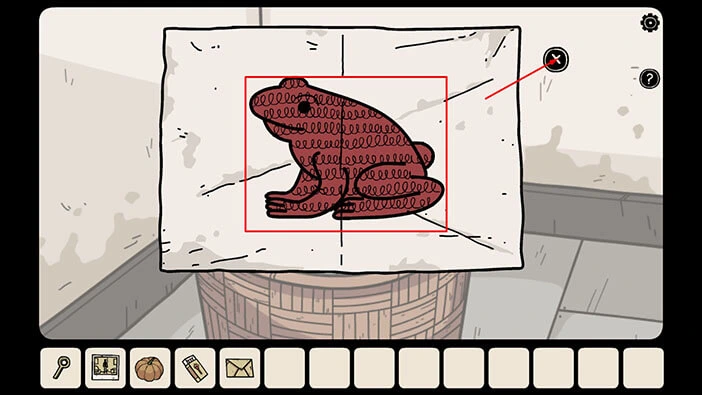
Here, we can see a red frog with a certain pattern. So, we should memorize/write down the type of drawing (frog), color (red), and the pattern of the lines.
Once you’re done, tap on the “X” button to go back.
We can use the information that we discovered to solve the wheel puzzle that we saw on the wall in the previous room. Let’s do that.
Tap on the arrow in the bottom left corner of the screen to go back.

Next, tap on the arrow on the left to go back to the previous room.

Let’s tap on the wheel on the wall to take a closer look at it, and tap again to start the interaction.
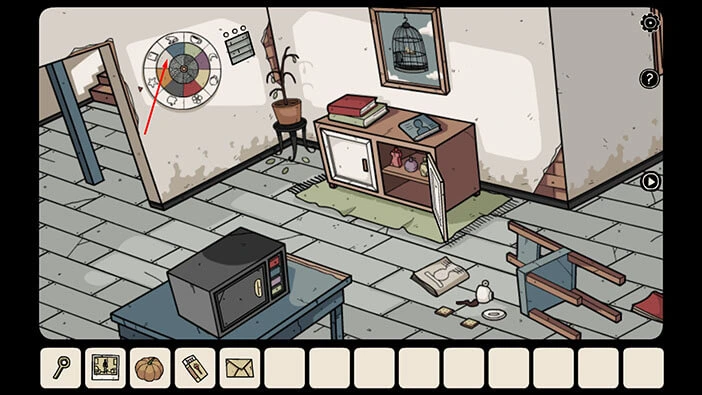
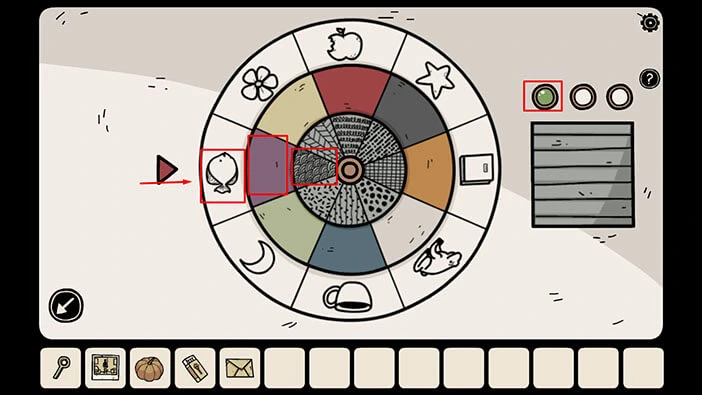
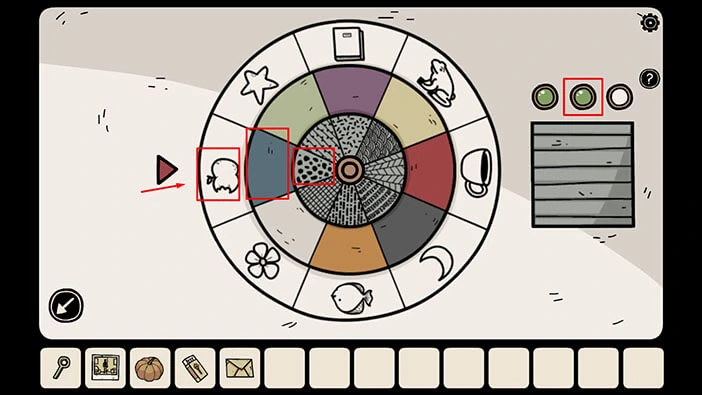
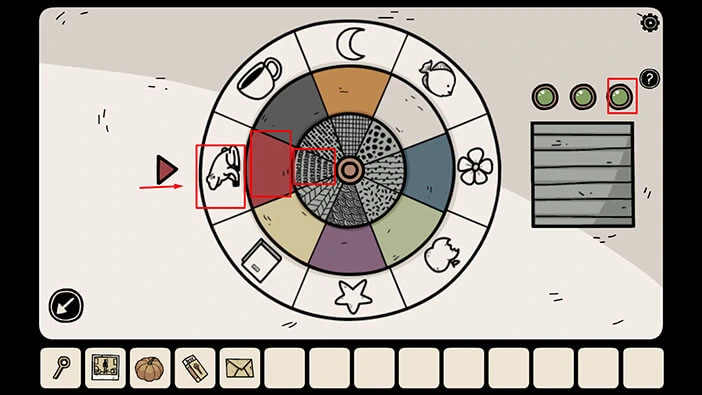
Here, we can see three rings. On the outer ring, we can see a range of different items. On the middle ring, we can see several colors. On the inner right, we can see several patterns.
So, our task is to enter the information that we discovered by examining the paper lumps in the previous room. We will do that in three steps. Let’s begin.
Step 1
In the first paper, we saw a purple fish with a certain pattern on its body. So, let’s set the rings to match this information.
The first green light on the right will be turned on as soon as you enter the correct information.
Step 2
In the second paper, we saw a blue apple with a certain pattern. So, let’s set the rings to match this information.
The second green light on the right will be turned on as soon as you enter the correct information.
Step 3
In the third paper, we saw a red frog with a certain pattern. So, let’s set the rings to match this information.
The third green light on the right will be turned on as soon as you enter the correct information.
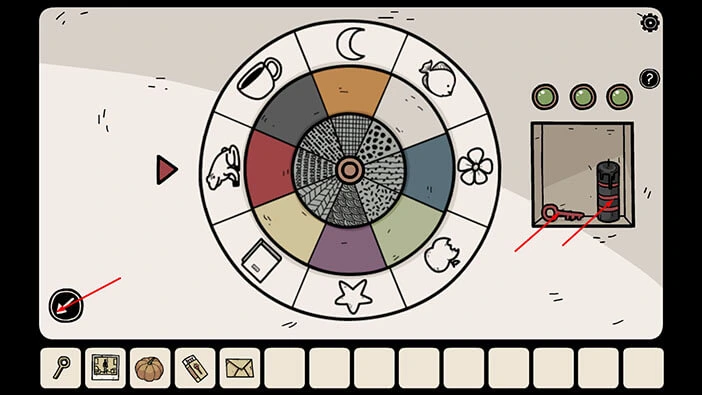
With that, you will open the compartment on the right. Inside, you will find a “Black candle” and a “Red key”. Let’s tap on these two items to pick them up.
Once you’re done, tap on the arrow in the bottom left corner of the screen to go back.
On the wall, you will notice a picture. Let’s tap on it to take a closer look.
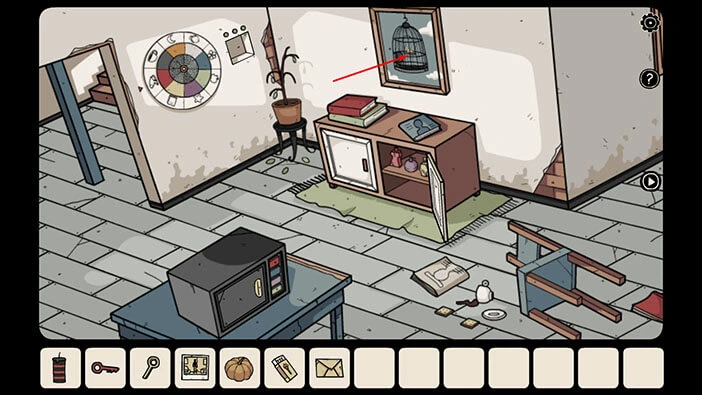
Let’s select the “Red key” from the inventory and use it to unlock the cage.
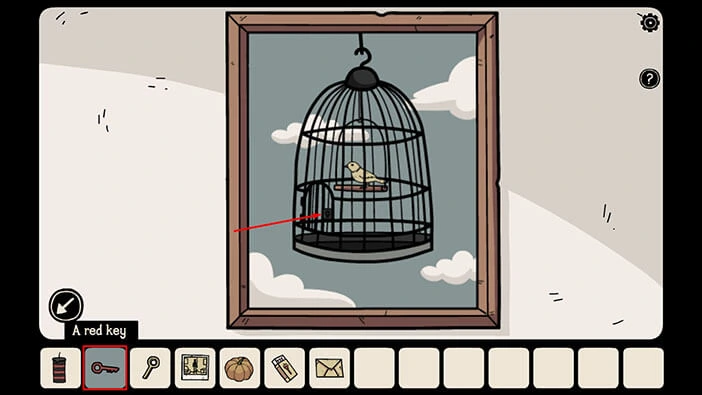
Next, tap on the “Bird” to pick it up. After that, tap on the arrow in the bottom left corner of the screen to go back.
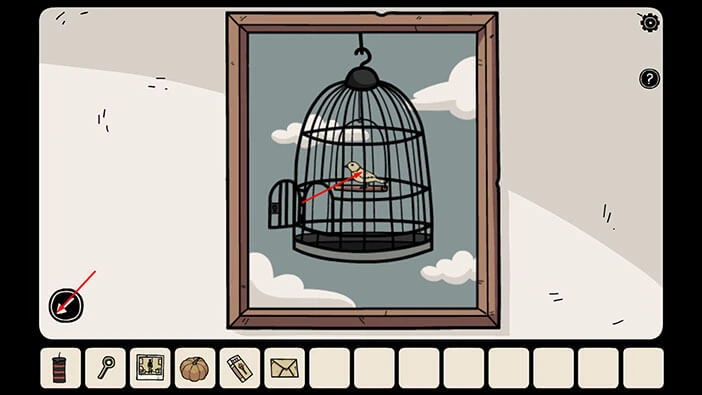
Next, let’s tap on the arrow on the right to proceed to the next room.

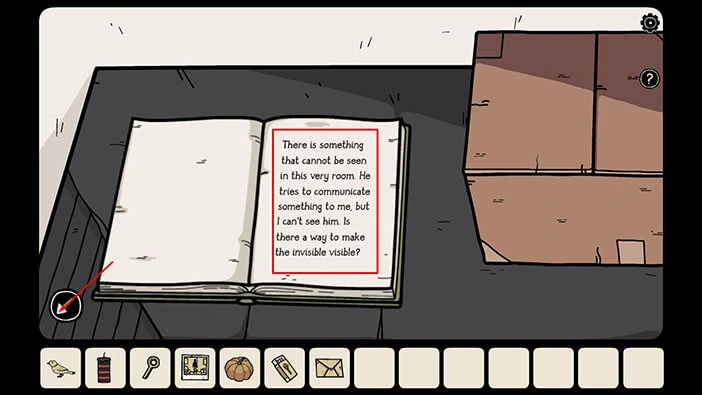
You will notice a book on the table. Let’s tap on it to take a closer look, and tap again to open it.

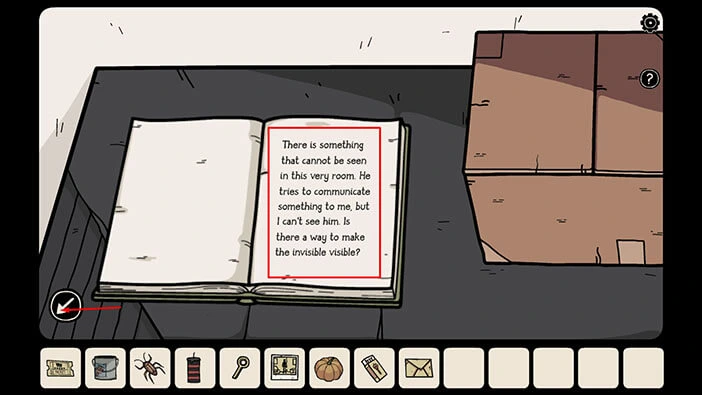
Here, we will see an interesting text. “There is something that cannot be seen in this very room. He tries to communicate something to me, but I can’t see him. Is there a way to make the invisible visible?”
We will come back to this puzzle, a bit later. For now, we can go upstairs, because we can use the bird to solve another puzzle.
So, let’s tap on the arrow in the bottom left corner of the screen to go back.
Before we proceed upstairs, let’s tap on the rug on the floor to take a closer look at it, and tap again to move it aside.
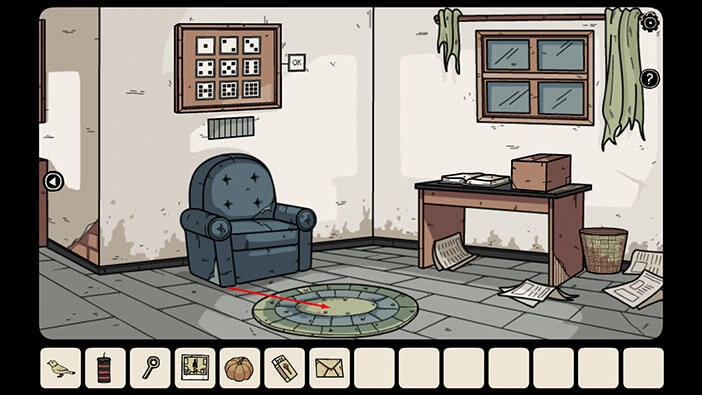
Here, you will notice a wooden block. Let’s tap on it to pull it out.
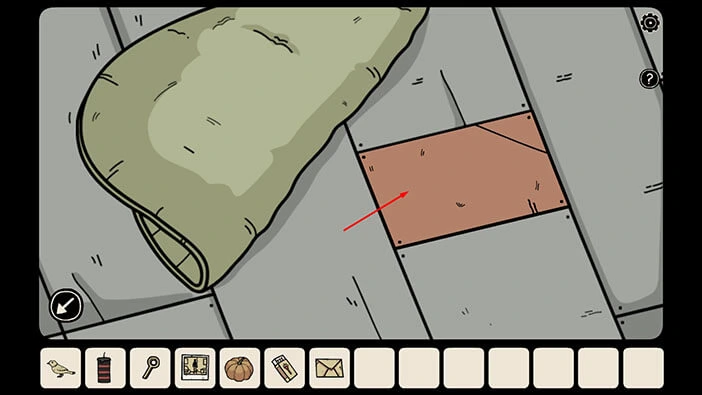
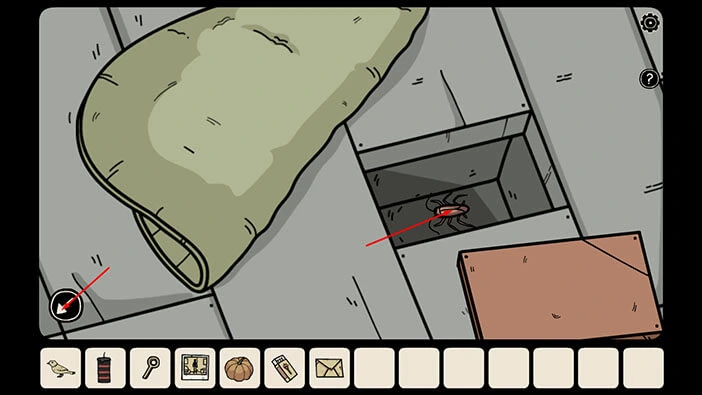
In the secret compartment, you will find a “Cockroach”. Let’s tap on it to pick it up. After that, tap on the arrow in the bottom left corner of the screen to go back.
Let’s go upstairs. Tap on the arrow on the left to go to the next room. Next, tap on the doorway on the left, and lastly tap on the stairs.
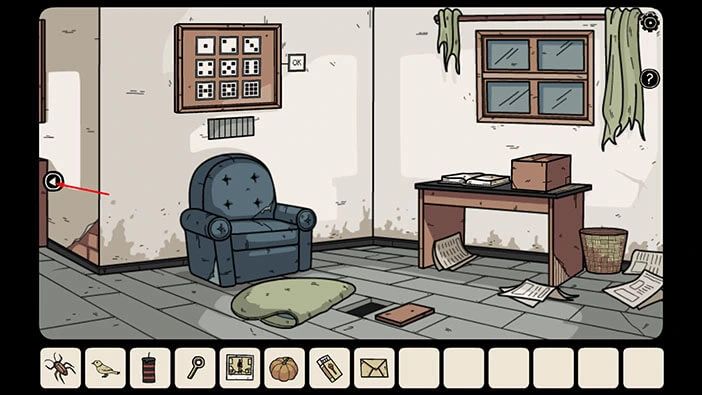
Next, tap on the grey door to proceed to the next room.

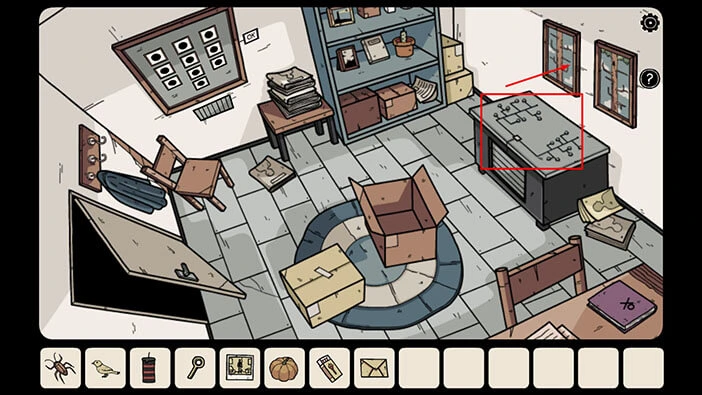
On the table, you will notice two “branches” that look the same as the trees in the pictures above. Let’s tap on these pictures to take a closer look at them.
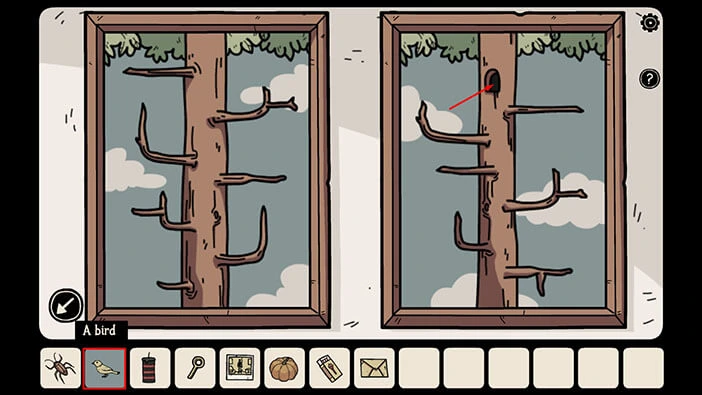
Select the “Bird” from the inventory, and place it next to the hole in the tree. After that, tap on the bird to start the interaction.
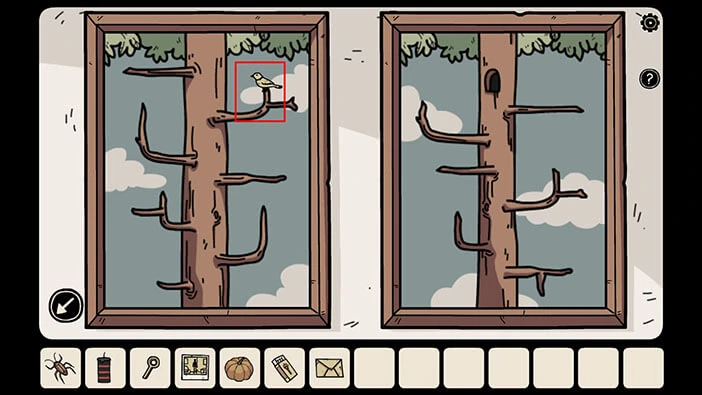
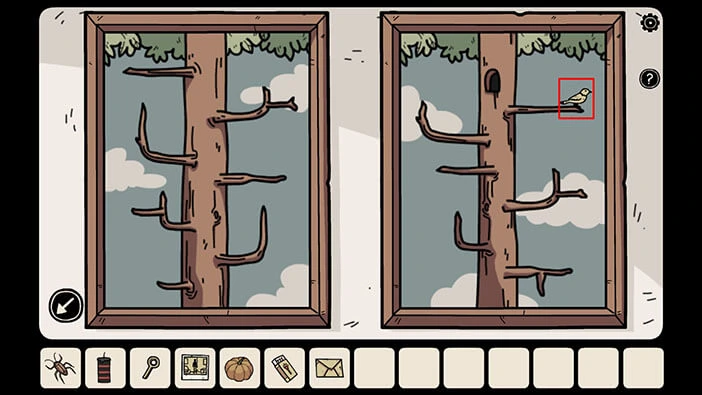
The bird will fly from branch to branch, and our task is to memorize/write down the branches at which the bird will land. We will do that in several steps. Let’s begin.
Step 1
The bird will land on the tree on the left. It will land on the first branch (looking from top to bottom) on the right.
Step 2
The bird will land on the tree on the right. It will land on the third branch (looking from top to bottom) on the left.
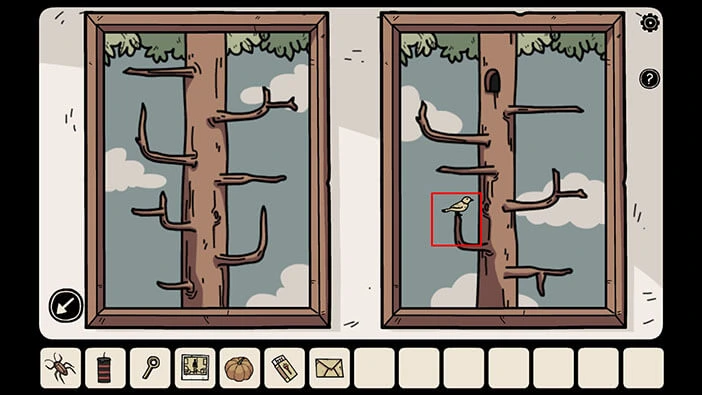
Step 3
The bird will land on the tree on the left. It will land on the third branch (looking from top to bottom) on the left.
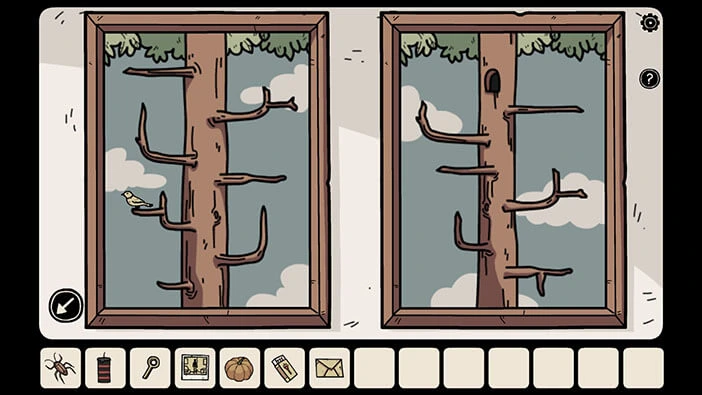
Step 4
The bird will land on the tree on the right. It will land on the first branch (looking from top to bottom) on the right.
Let’s go back. Tap on the arrow in the bottom left corner of the screen to go back.
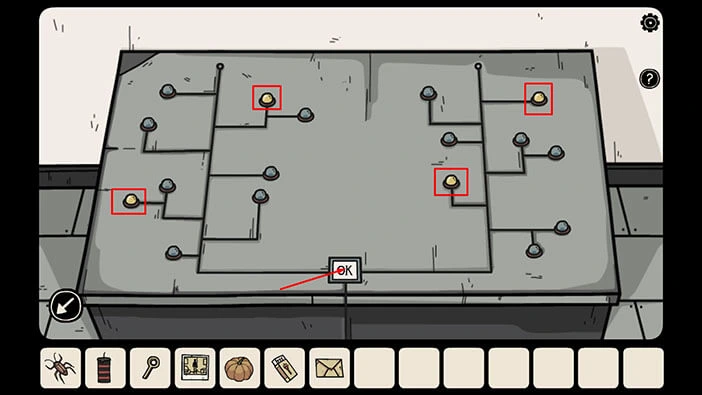
Let’s tap on the desk to take a closer look at it.

Let’s activate the nodes that we discovered by observing the bird. So, we activate,
On the left tree, tap on the first branch (looking from top to bottom) on the right.
On the right tree, tap on the third branch on the left.
On the left tree, tap on the third branch on the left.
On the right tree, tap on the first branch on the right.
Once you’re done, tap on the “OK” button to confirm.
With that, you will open the compartment in the lower part of the desk. Let’s tap on the arrow in the bottom left corner of the screen to go back.
Let’s tap on the lower part of the table to take a closer look at it.
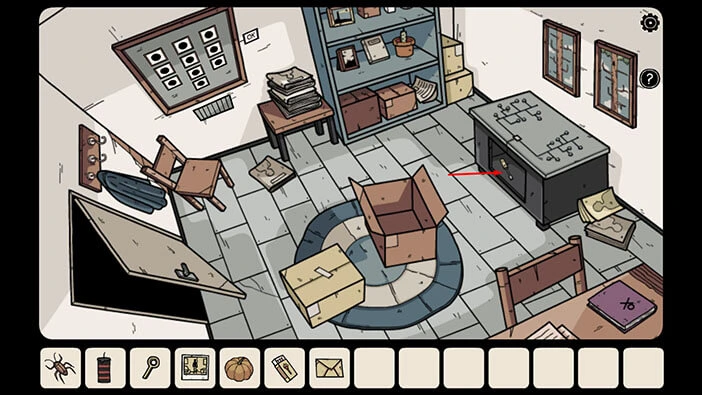
Inside you will find a “Screwdriver”. Let’s tap on it to pick it up. After that, tap on the arrow in the bottom left corner of the screen to go back.
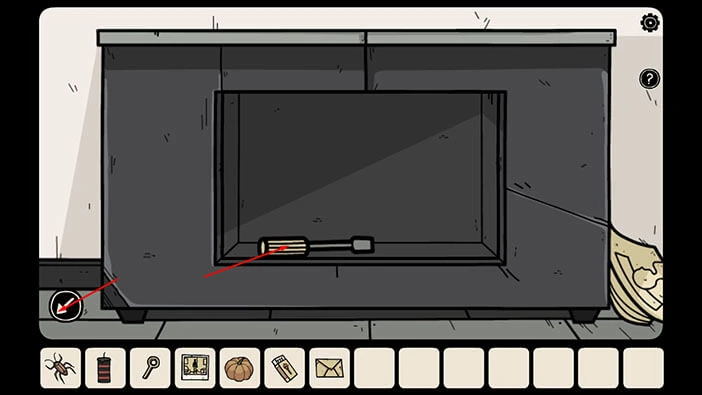
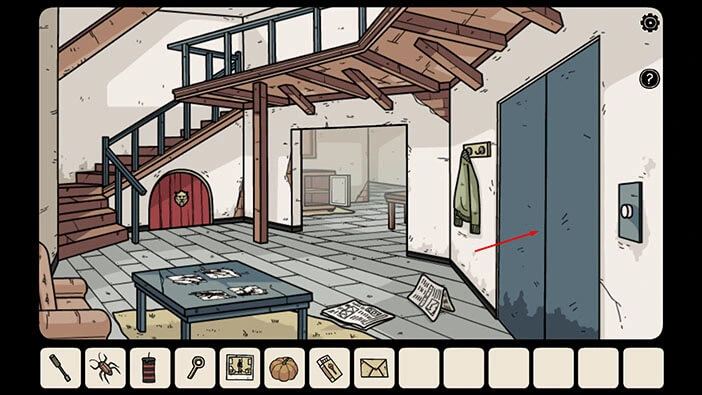
Let’s go back to the elevator. Tap on the door on the left to go back to the hallway. After that, tap on the stairs.

Next, let’s tap on the elevator door to open it, and tap again to proceed inside.
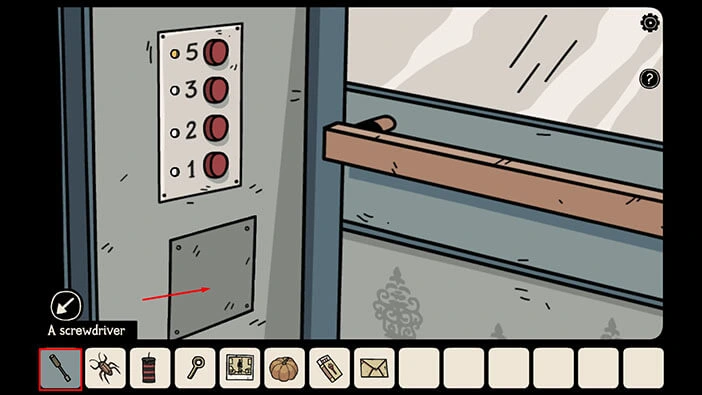
Select the “Screwdriver” from the inventory and use it to remove the lid.
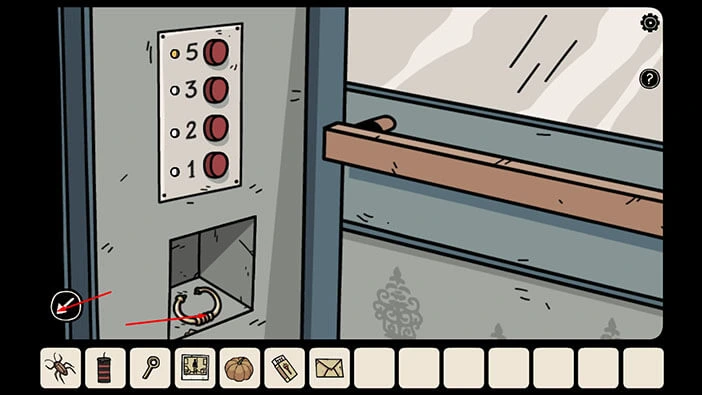
In the compartment, you will find a “Doorknocker”. Let’s tap on it to pick it up. After that, tap on the arrow in the bottom left corner of the screen to go back.
You will notice a small, red door in front of you. Let’s tap on it to take a closer look.
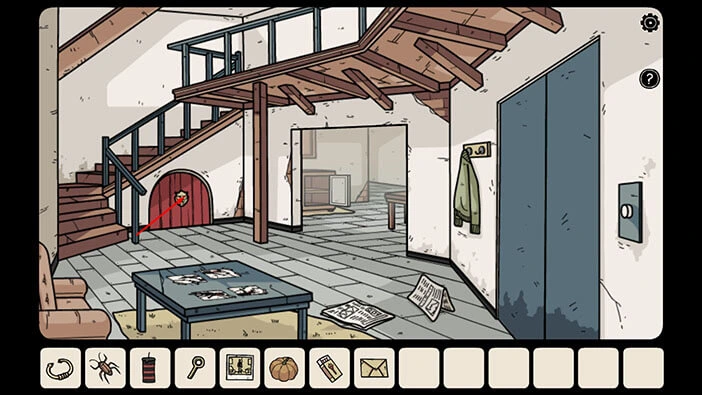
Select the “Doorknocker” from the inventory and attach it to the lion’s head. After that, tap on the doorknocker to start the interaction.
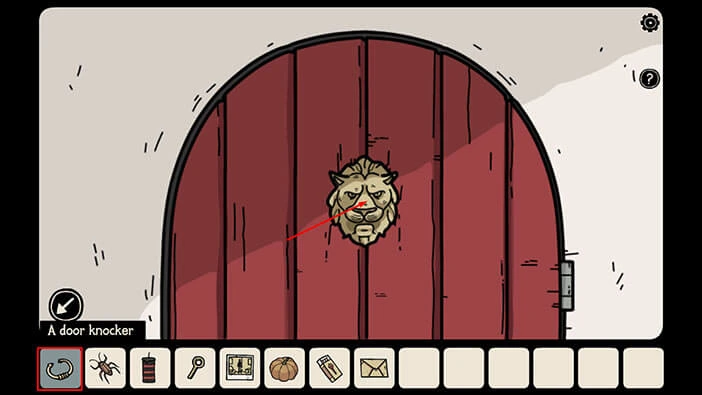
Our character will knock on the door, and it will open. In this small room, you will notice a toy house. Let’s tap on all nine windows and a door to open them.
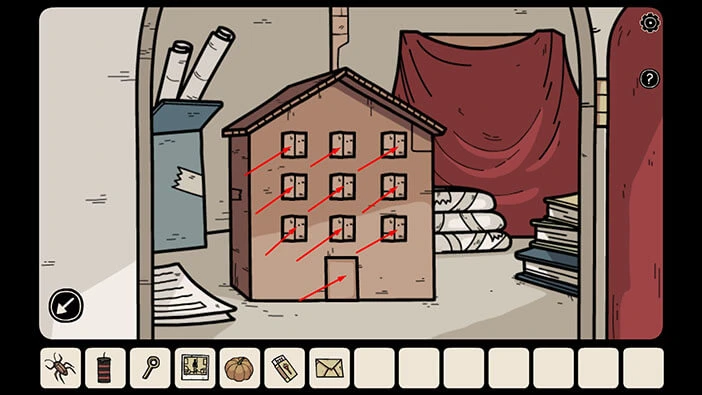
You will notice that some windows are white with black figures inside, and some are black with white figures inside. Let’s memorize/write down the position of the black windows with white figures because we will need this information for the next puzzle. So, we have
The second window in the first row = a black window with a white figure
The first window in the second row = a black window with a white figure
The second window in the third row = a black window with a white figure
The third window in the third row = a black window with a white figure
That’s it. But, before we continue, let’s tap on the red curtain on the right.
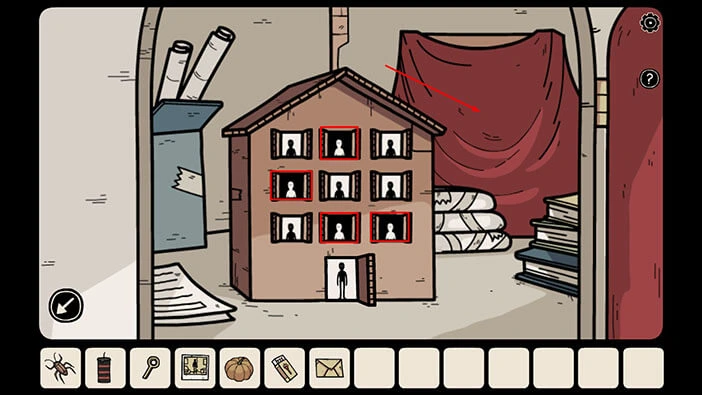
Behind the curtain, you will find the eighth “Shadowy hamster”. So, we just need to find two more. Tap on the arrow in the bottom left corner of the screen to go back.
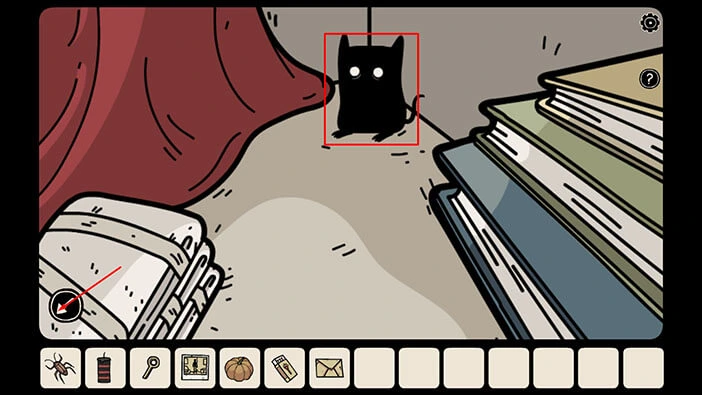
Let’s go to the upper level. Tap on the stairs.
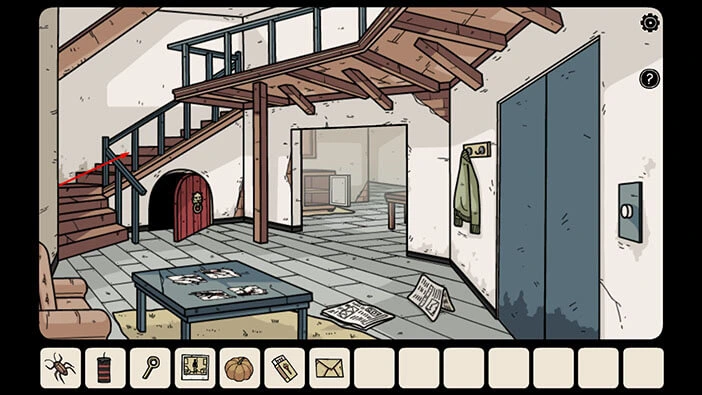
Next, let’s tap on the grey door on the right.
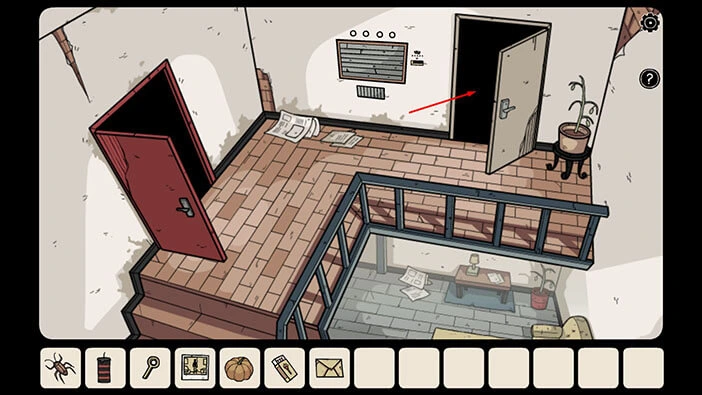
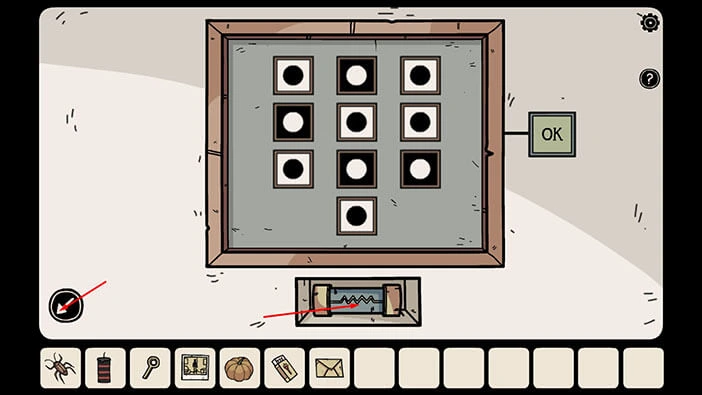
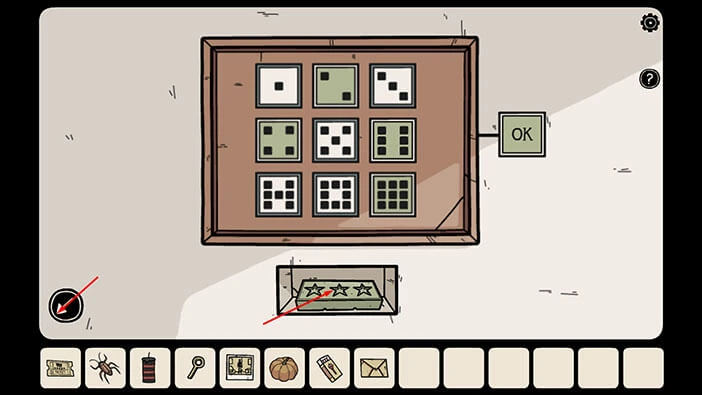
Next, let’s tap on the board with white squares and black circles to take a closer look at it.

So, the circles represent the windows that we saw in the toy house and the circles represent the figures in the windows. If the window is black with the white figure, the slot at this position should be black with white circles.
We already wrote down/memorized the position of these windows, so let’s set the slots in front of us. The slots that should be black with white circles are,
The second slot in the first row = a black square with a white circle
The first slot in the second row = a black square with a white circle
The second slot in the third row = a black square with a white circle
The third slot in the third row = a black square with a white circle
Once you’re done, tap on the “OK” button on the right to confirm.
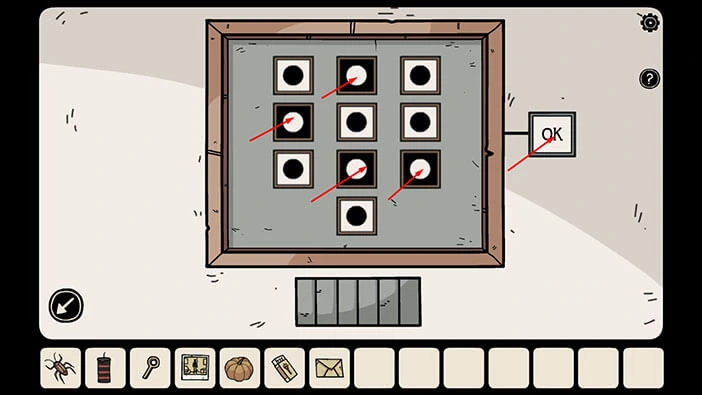
The small compartment will open as soon as you solve the puzzle. Inside, you will find an “Electrical fuse”. Tap on it to pick it up.
Once you’re done, tap on the arrow in the bottom left corner of the screen to go back.
We can use the “Electrical fuse” to restore the power in the first room. However, before we do that, let’s take a look behind the boxes in the top right corner of the room.
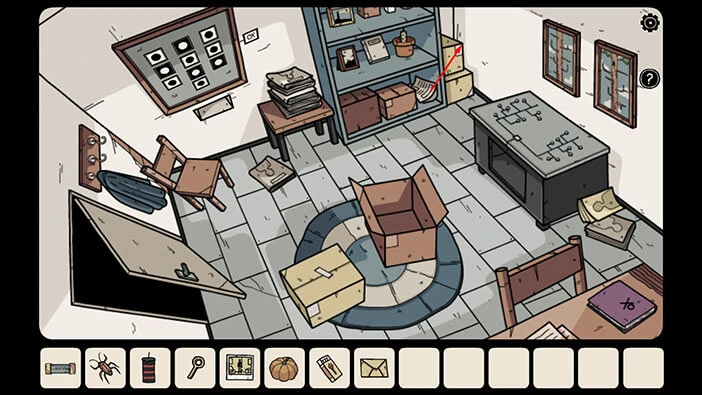
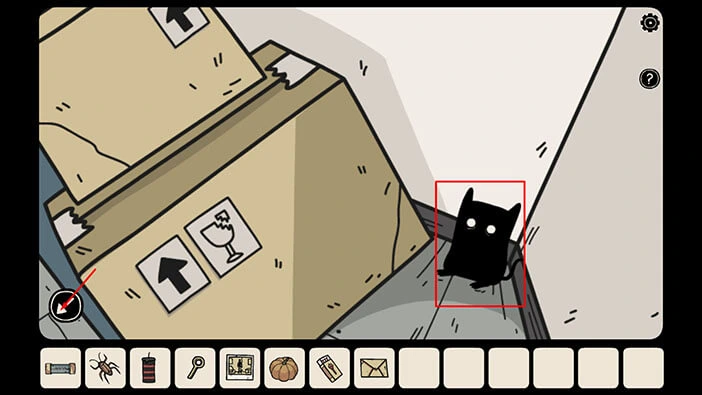
Behind the boxes, you will find the ninth “Shadowy hamster”. So, we just have to find one more.
Let’s go back. Tap on the arrow in the bottom left corner of the screen.
Let’s go back to the first room, and restore the power. Tap on the door on the left and you will get to the hallway. After that, tap on the red door on the left and you will reach the first room.

Below the light bulbs, you will notice a switch. Let’s tap on it to take a closer look.
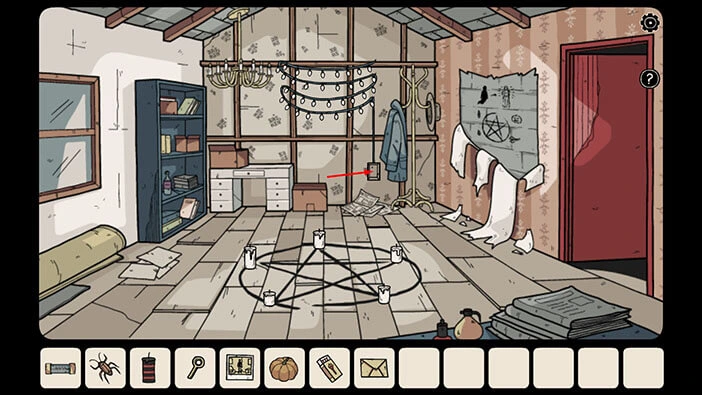
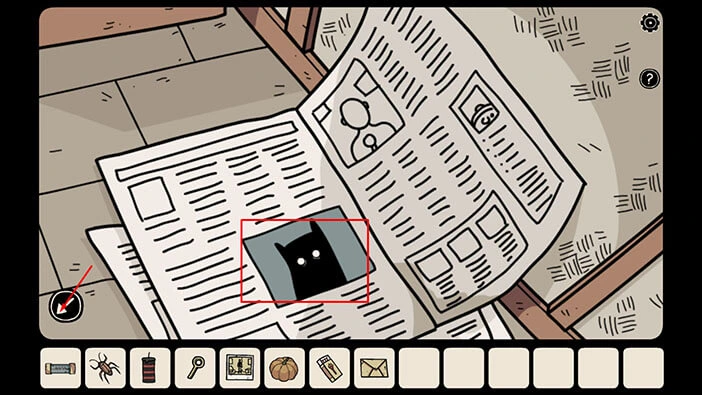
Before we restore the power, let’s find the last “Shadowy hamster”. Below the switch, you will notice newspapers. Let’s tap on them to take a closer look.
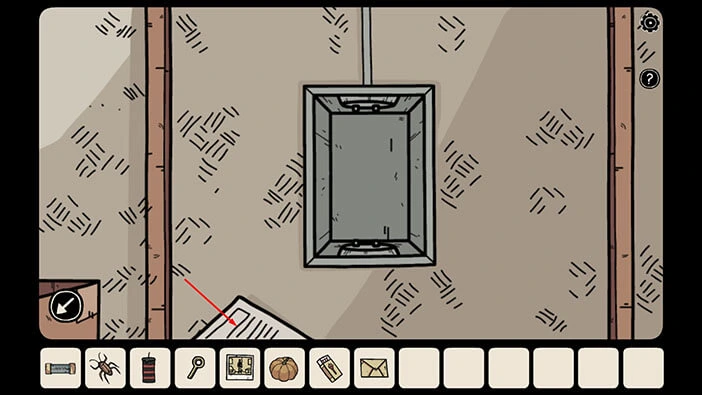
Here, you will discover the last “Shadowy Hamster”. Let’s go back. Tap on the arrow in the bottom left corner of the screen to go back.
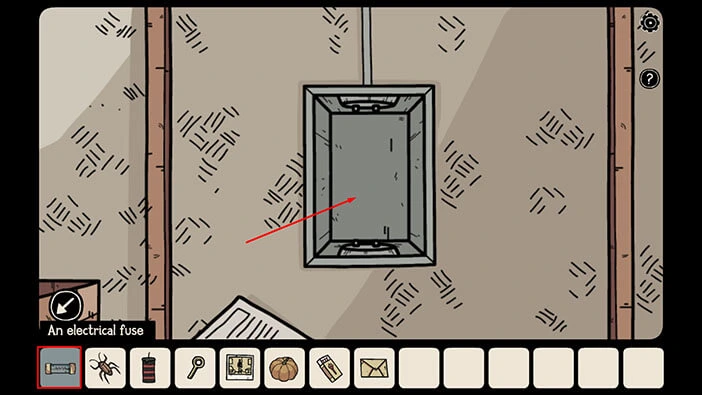
Select the “Electrical Fuse” from the inventory and insert it into the empty slot, and you will restore the power to the light bulbs above.
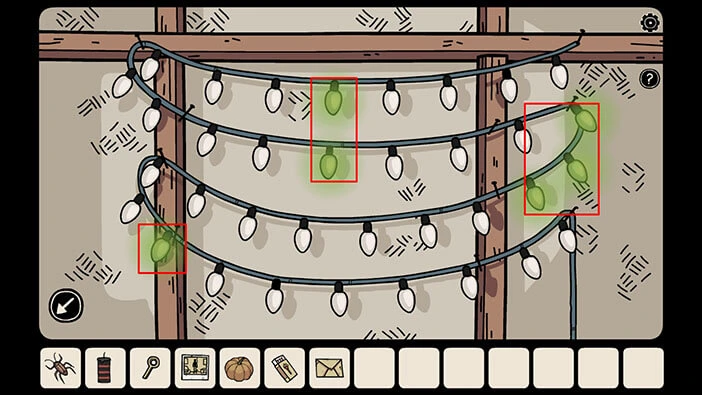
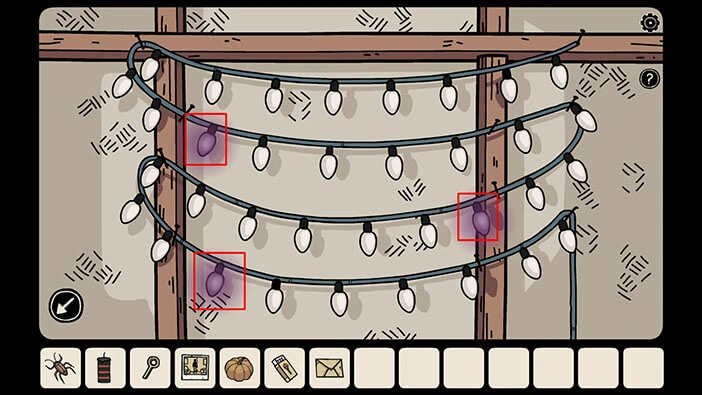
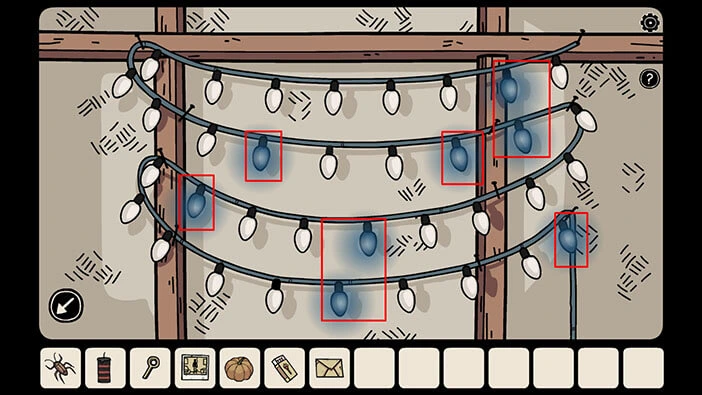
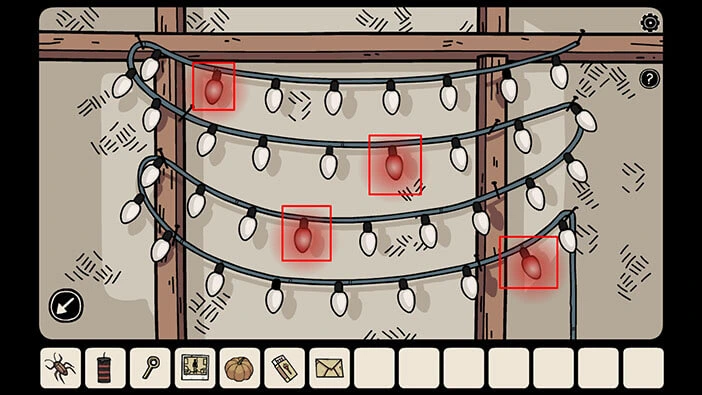
Once you restore the power, some of the light bulbs will glow, in a few different colors. Our next task is to memorize/write down the number of light bulbs of each color. We will do that in several steps. Let’s begin.
Step 1
We can see 6 green light bulbs.
Step 2
We can see 3 purple light bulbs.
Step 4
We can see 8 blue light bulbs.
Step 5
We can see 4 red light bulbs.
So, we have 6 green light bulbs, 3 purple light bulbs, 8 blue light bulbs, and 4 red light bulbs. Let’s memorize/write down this information.
Once you’re done, tap on the arrow in the bottom left corner of the screen to go back.
We can use the information that we discovered to unlock the safe at the lower level. Let’s do that.
Tap on the door on the right to go back to the hallway. After that, tap on the stairs to go to the lower level.
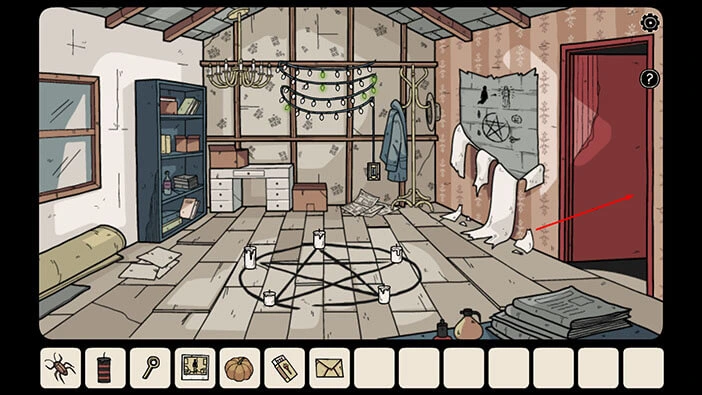
Next, let’s tap on the doorway on the right to proceed to the next room.

On the blue table, you will notice a safe. Let’s tap on it to take a closer look.
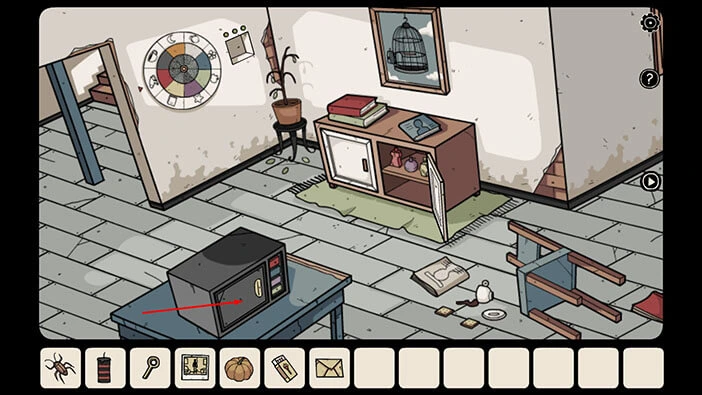
Here, we can see the red, blue, purple, and green slots. So, let’s enter the correct number of light bulbs for each color (we discovered this information in the room above).
We had,
4 red light bulbs,
8 blue light bulbs,
3 purple light bulbs,
6 green light bulbs.
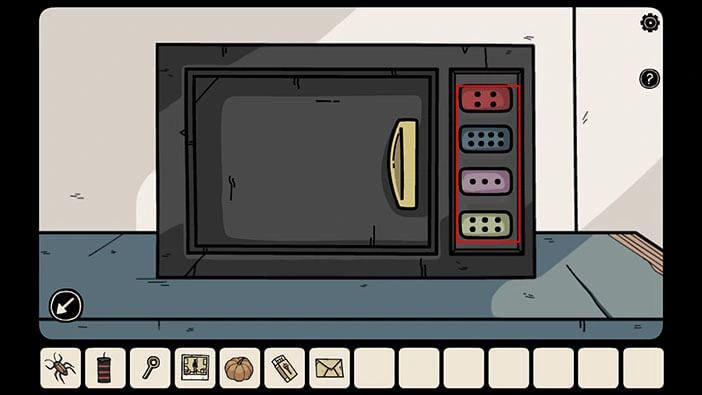
As soon as you enter the correct numbers, you will unlock the safe. Inside, you will find a “Ticket” and a “Red paint”. Let’s tap on these two items to pick them up.
After that, tap on the arrow in the bottom left corner of the screen to go back.
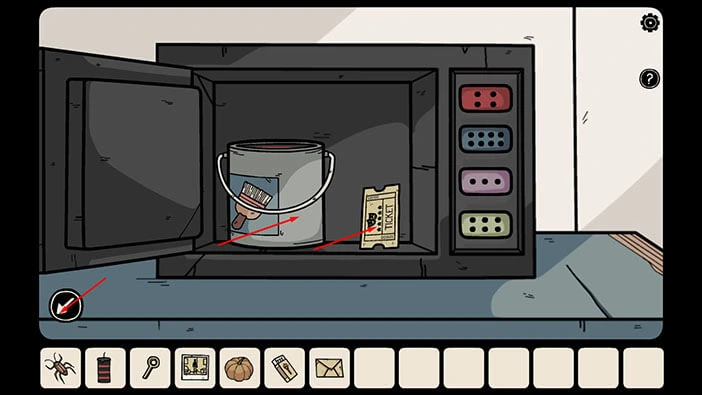
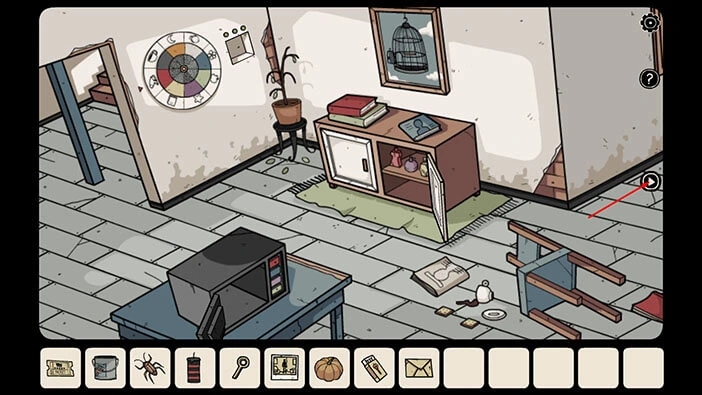
We can use the red paint to solve the mystery in the next room, so let’s do that. Tap on the arrow on the right.
Previously, we discovered an interesting text in this room. Let’s take another look at it. Tap on the open book on the table.
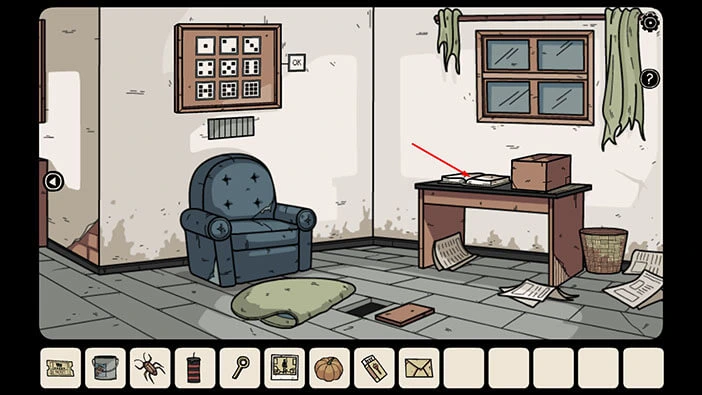
Looks like there is some invisible entity in this room, and it might have some useful information. Our next task is to make this entity visible. Let’s do that.
Tap on the arrow in the bottom left corner of the screen to go back.
Next, tap on the photo in our inventory to take a closer look at it.
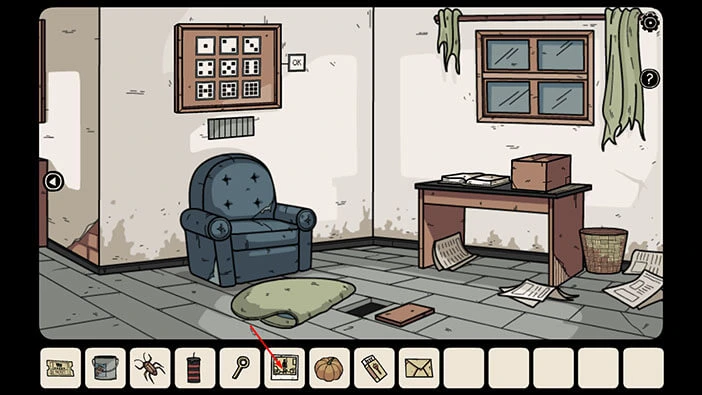
In the photo, we can see this room, but we can also see a glowing humanoid entity in the corner. Let’s memorize the position of this “ghost”.
Once you’re done, tap on the arrow in the bottom left corner of the screen to go back.
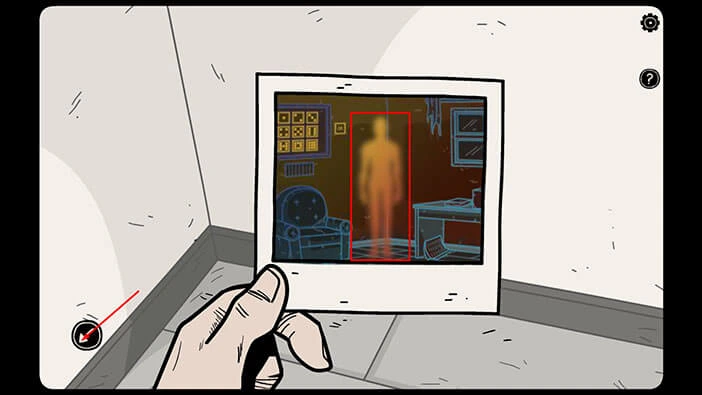
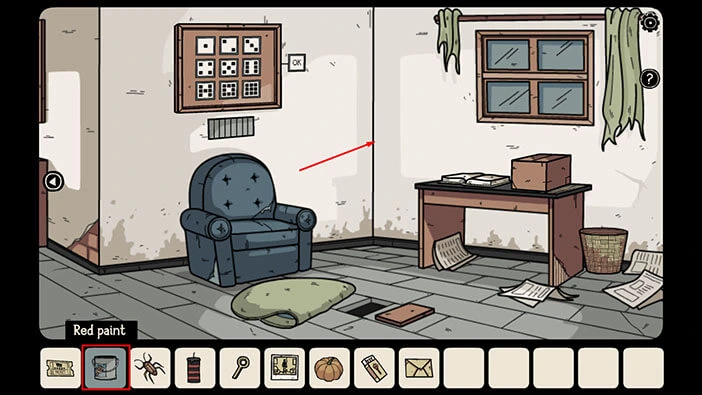
Let’s reveal the ghost. Select the “Red paint” from the inventory and throw it in the corner of the room.
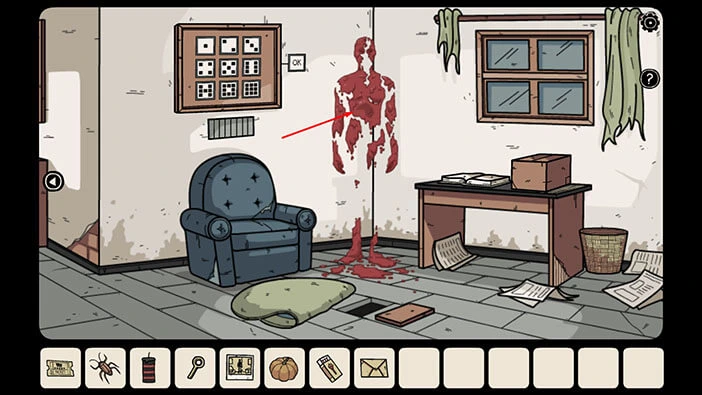
We can now partially see the ghost. Let’s tap on it to take a closer look, and tap again to start the interaction.
The ghost will raise his fingers to show you a certain number. He will do that several times, and our task is to memorize/write down these numbers. We will do that in several steps. Let’s begin.
Step 1
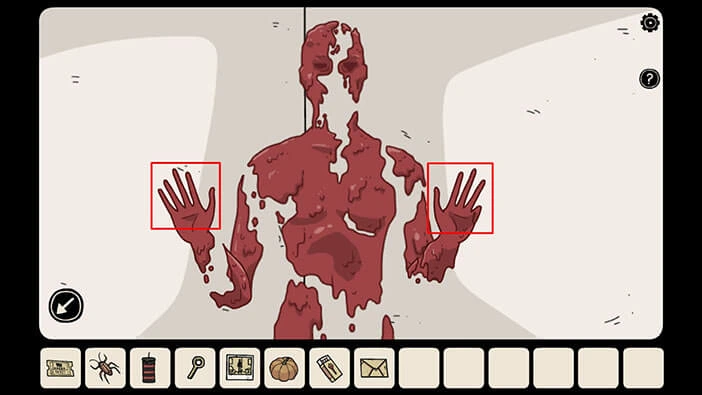
First, he will raise six fingers. So, our first number is 6.
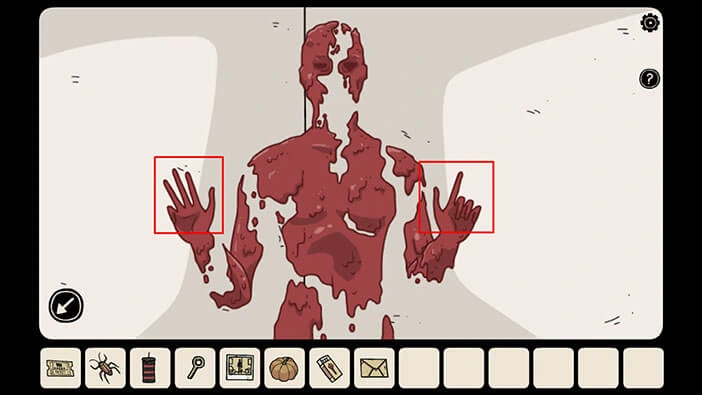
Step 2
Second, he will raise nine fingers. So, our second number is 9.
Step 3
Third, he will raise two fingers. So, our third number is 2.

Step 4
Fourth, he will raise four fingers. So, our fourth number is 4.
So, we have “6, 9, 2, and 4”. Let’s memorize/write down these numbers. Once you’re done, tap on the arrow in the bottom left corner of the screen to go back.
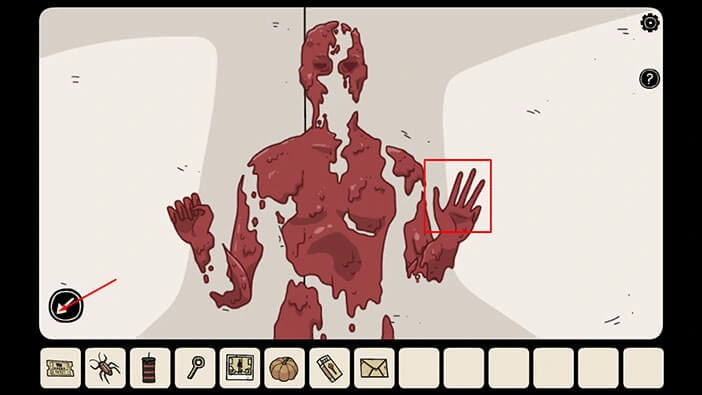
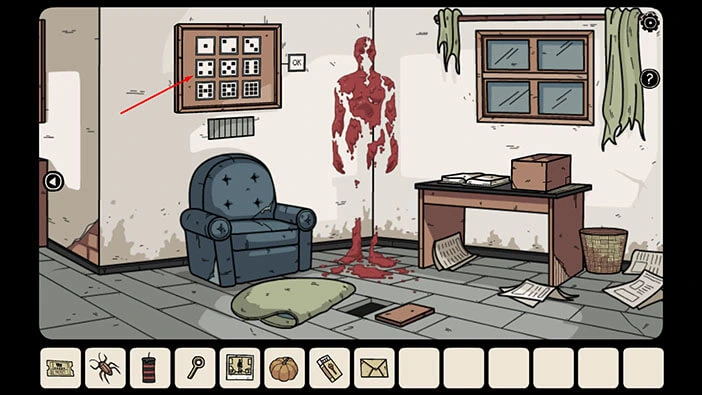
Next, let’s tap on the board on the wall on the left to take a closer look at it.
Let’s tap on the numbers that we discovered by observing the ghost. We had, “6, 9, 2, and 4”.
Once you’re done, tap on the “OK” button on the right to confirm.
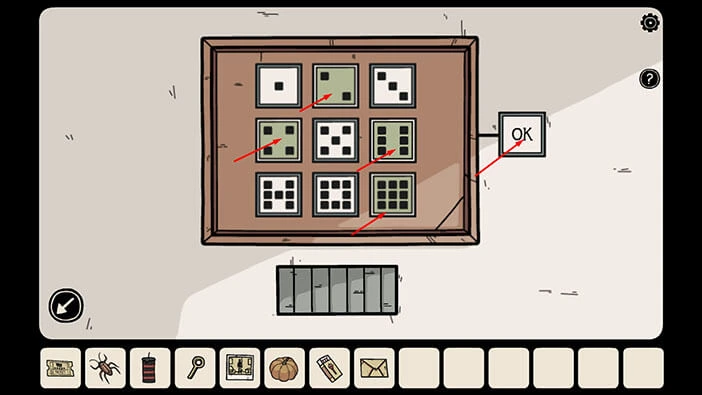
With that, you will unlock the small compartment in the wall, and inside you will find an “Ice bucket”. Let’s tap on it to pick it up.
After that, tap on the arrow in the bottom left corner of the screen to go back.
We can use the “Ticket” that we discovered to unlock the next puzzle (located on the upper level). Let’s do that.
Tap on the arrow on the left to proceed to go back to the previous room. After that, tap on the doorway on the left. Lastly, tap on the stairs to go to the upper level.
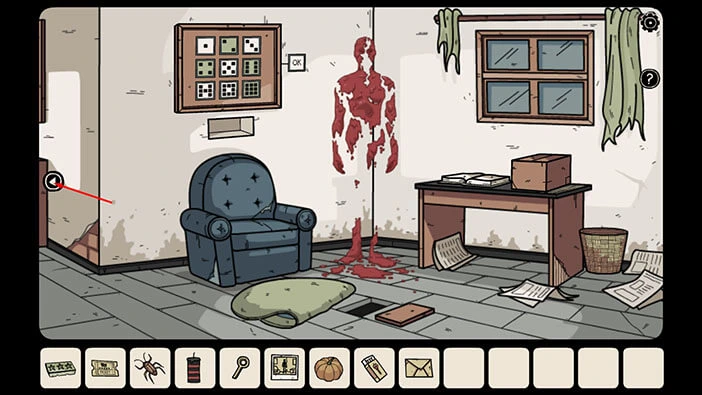
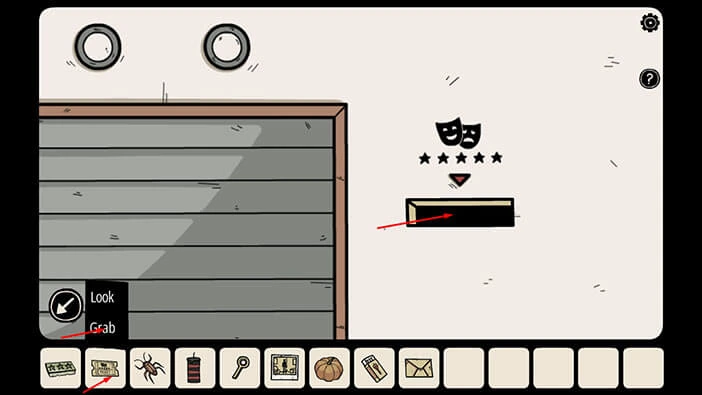
Here, you will notice a slot in the wall (just to the left of the grey door). Let’s tap on it to take a closer look.

You will notice that the symbols on the ticket are the same as the symbols above the slot on the wall. So, let’s select the “Ticket to the theater” from the inventory, then tap on the “Grab” option. After that, insert the ticket into the slot on the wall.
A small theatre will appear. Let’s tap on it to start the interaction.

Once we start the interaction, the four figures will appear, a “Jester”, a “King”, a “Princess”, and a “Wizard”. Our task is to memorize/write down the order of these figures. We will have to go through this process several times. Let’s begin.
In the first instance, we have, a “King”, a “Jester”, a “Princess”, and a “Wizard”. Let’s memorize/write down the order of the figures.
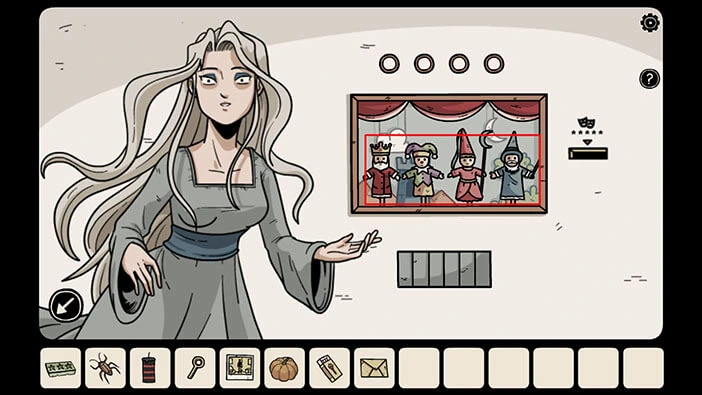
We can see four combinations of hats that belong to the theatre figurines and we should tap on the correct combination. Previously, we saw a “King”, a “Jester”, a “Princess”, and a “Wizard”, so let’s tap on the first combination because these hats match the order of the figurines.
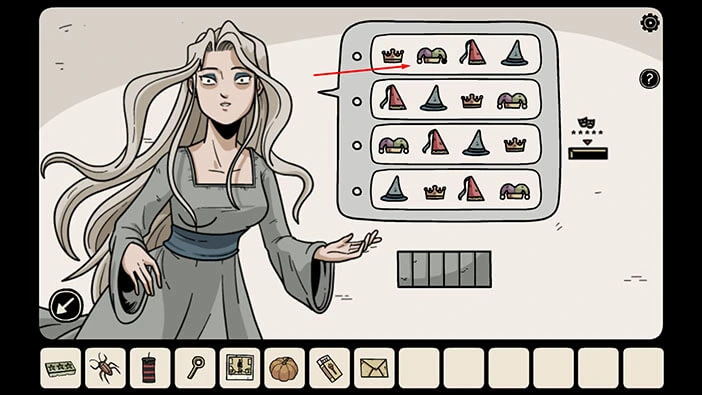
We will turn on the first green button. Let’s proceed.
In the second instance, we have, a “King”, a “Wizard”, a “Jester”, and a “Princess”. Let’s memorize/write down the order of the figures.

We can see four combinations of hats that belong to the theatre figurines and we should tap on the correct combination. Previously, we saw a “King”, a “Wizard”, a “Jester”, and a “Princess”, so let’s tap on the fourth combination because these hats match the order of the figurines.

We will turn on the second green button. Let’s proceed.
In the third instance, we have, a “Jester”, a “Princess”, a “Wizard”, and a “King”. Let’s memorize/write down the order of the figures.
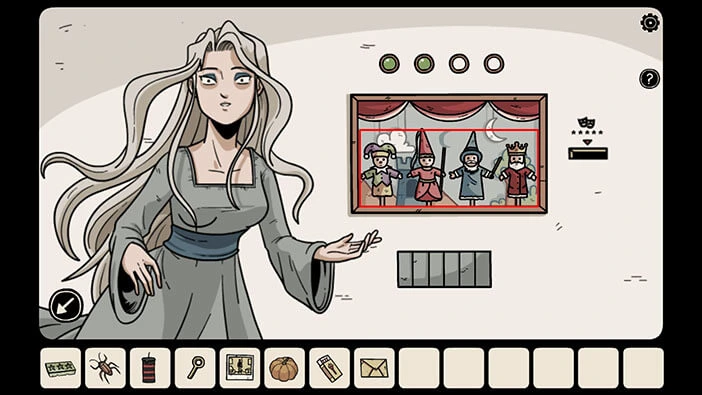
We can see four combinations of hats that belong to the theatre figurines and we should tap on the correct combination. Previously, we saw a “Jester”, a “Princess”, a “Wizard”, and a “King”, so let’s tap on the second combination because these hats match the order of the figurines.
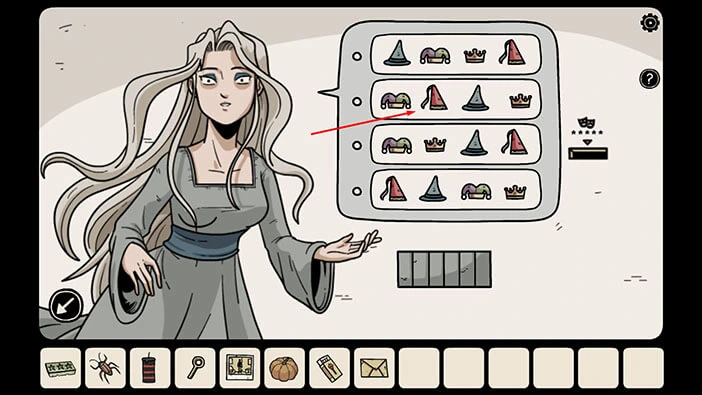
We will turn on the third green button. Let’s proceed.
In the fourth instance, we have, a “King”, a “Jester”, a “Wizard”, and a “Princess”. Let’s memorize/write down the order of the figures.
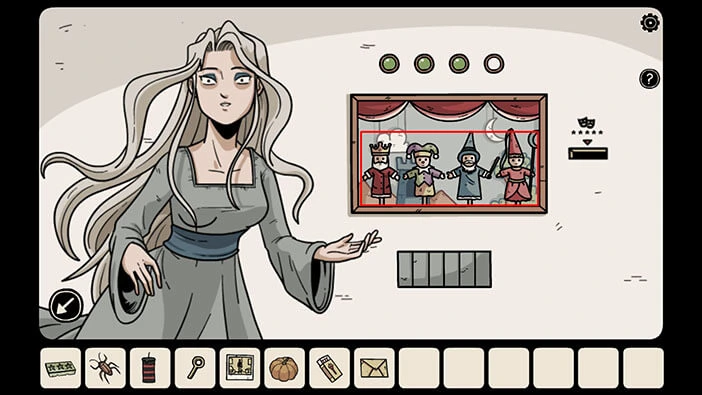
We can see four combinations of hats that belong to the theatre figurines and we should tap on the correct combination. Previously, we saw a “King”, a “Jester”, a “Wizard”, and a “Princess”, so let’s tap on the third combination because these hats match the order of the figurines.

With that, you will unlock the small compartment below the puzzle, and inside you will find a “Crab claw”. Let’s tap on it to pick it up.
After that, tap on the arrow in the bottom left corner of the screen to go back.
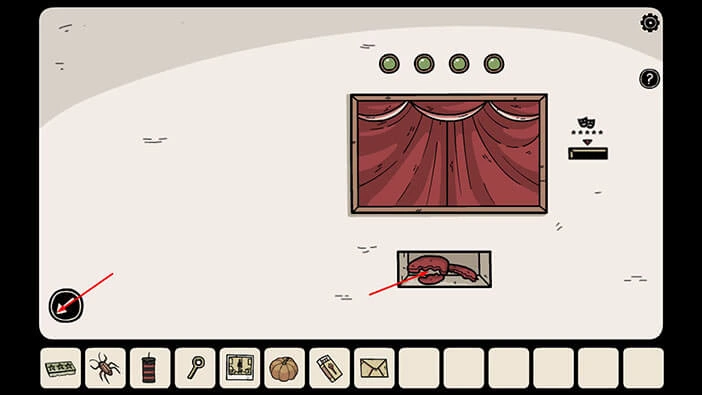
We have all the items that we need for the ritual. We just need to carve the pumpkin. Let’s do that.
First, we should go back to the third floor. Tap on the stairs to go to the lower level. After that, tap on the elevator door to open it, and tap again to enter the elevator.
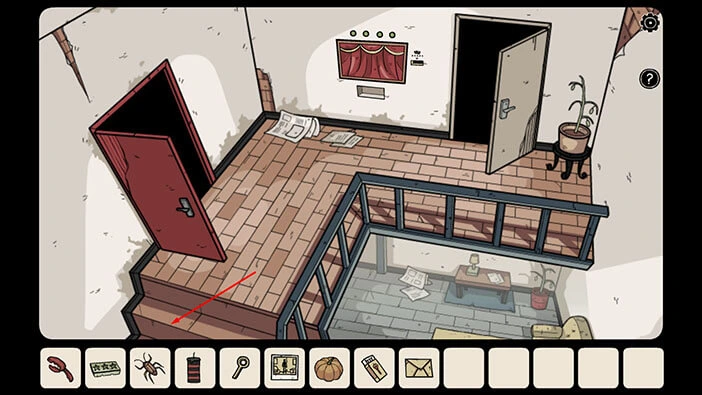
Let’s go to the third floor.
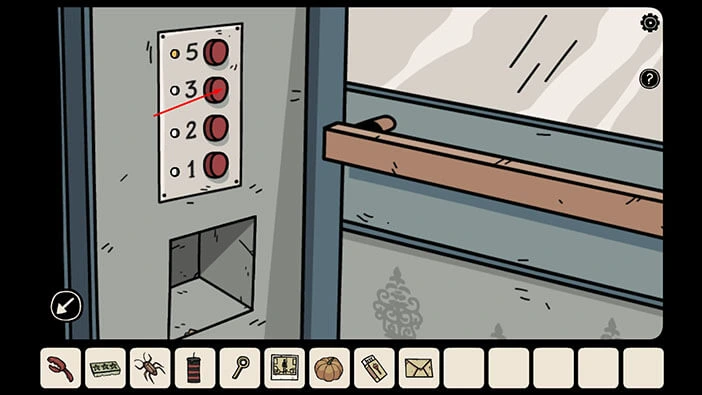
Once you get to the third floor, tap on the arrow in the bottom left corner of the screen to go to the hallway.
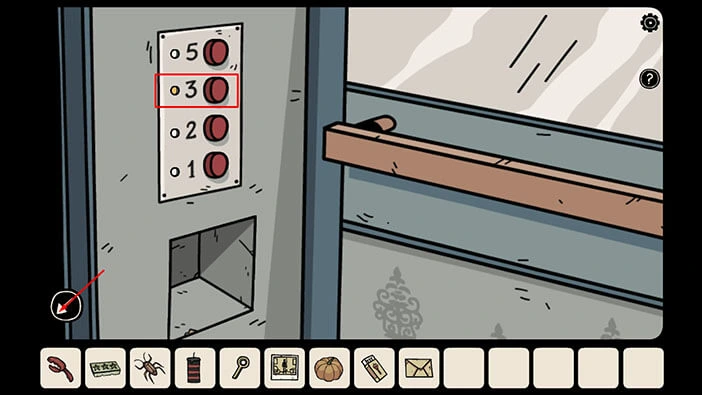
On the wooden box, you will notice a star-shaped slot. We will come back to it in a moment. For now, let’s tap on the blue door to proceed to the next room.
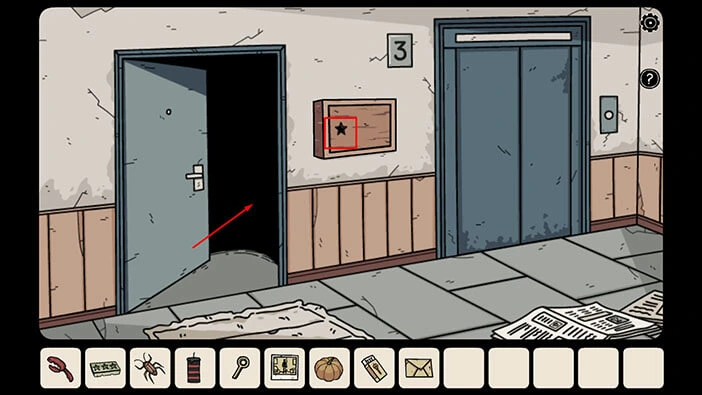
Next, let’s tap on the arrow on the right to proceed to the next room.
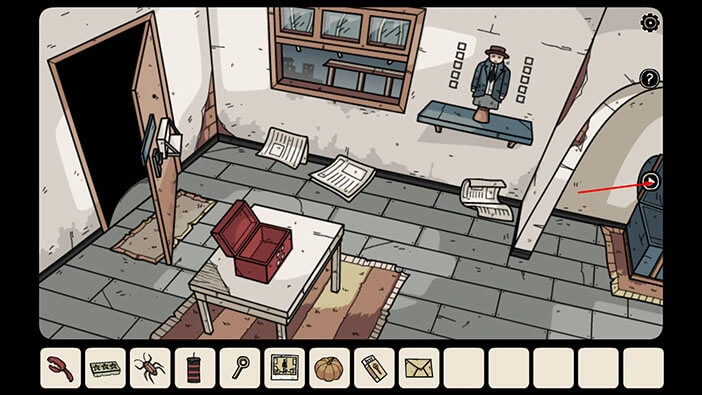
Again, let’s tap on the arrow on the right to proceed to the next room.
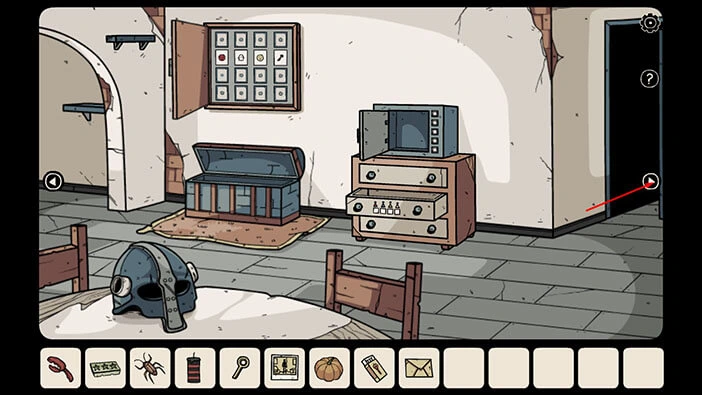
Lastly, tap on the blue door and you will reach the kitchen on the third floor.
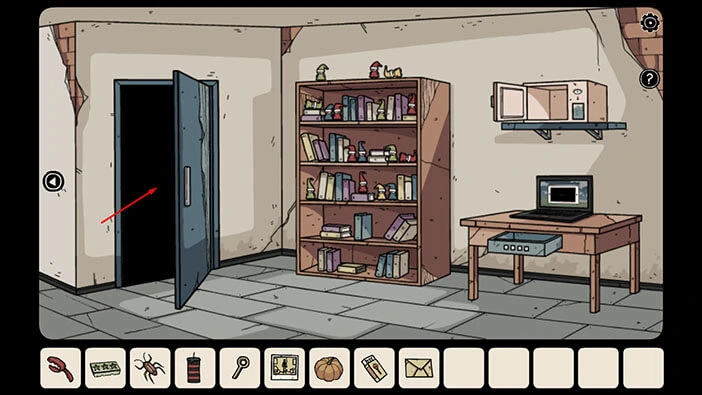
Next, let’s tap on the sink on the left to take a closer look at it.
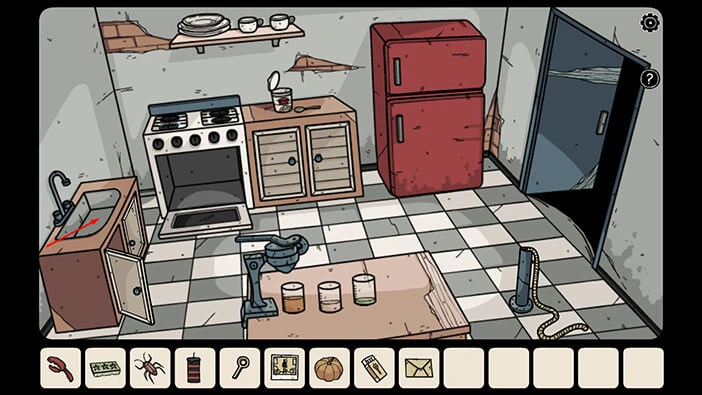
Select the “Ice bucket” from the inventory and put it into the sink. After that, turn on the water.
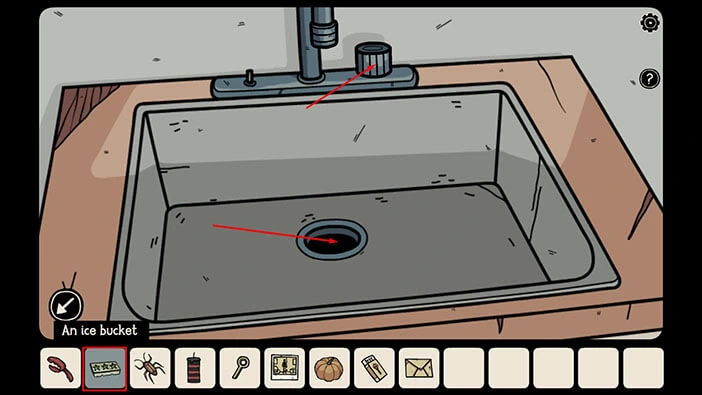
Let’s tap on the “Ice tray filled with water” to pick it up. After that, tap on the arrow in the bottom left corner of the screen to go back.
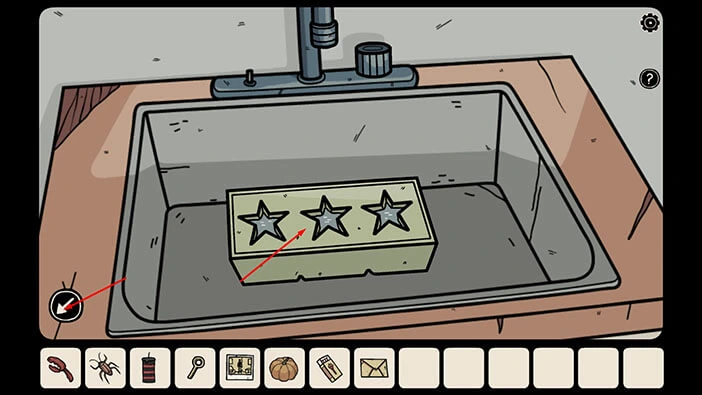
Let’s tap on the top part of the fridge to take a closer look at it, and tap again to open it.

Select the “Ice tray filled with water” from the inventory and put it into the freezer.
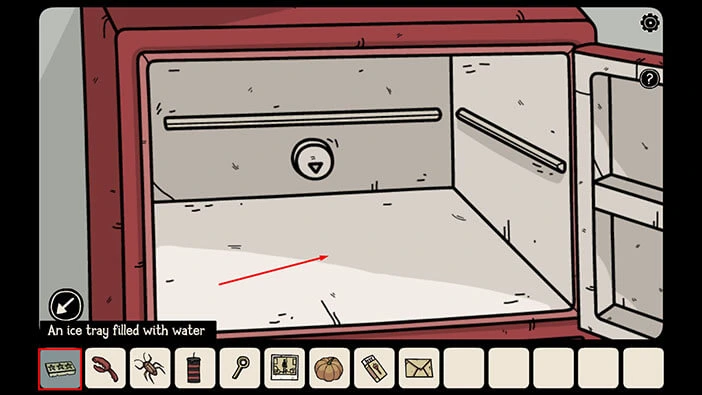
Next, select the “Key handle” from the inventory and insert it into the ice tray. After that, tap on the arrow in the bottom left corner of the screen to close the freezer.
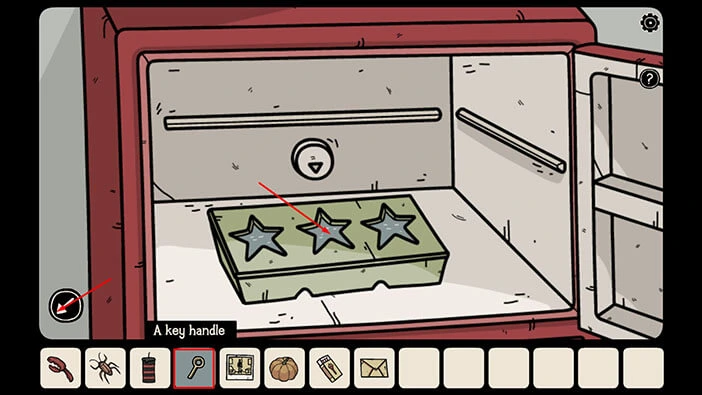
Let’s open the freeze again.
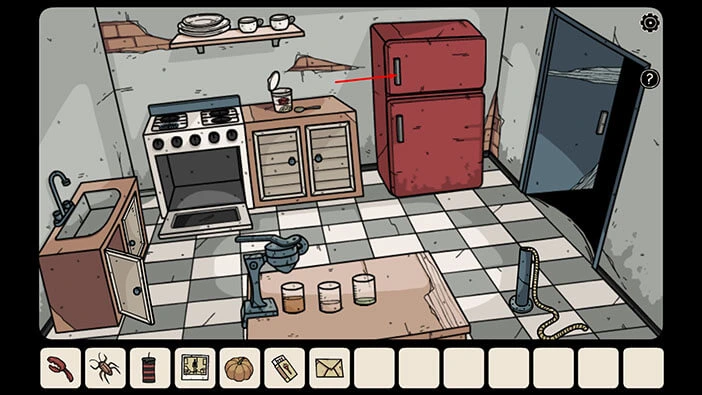
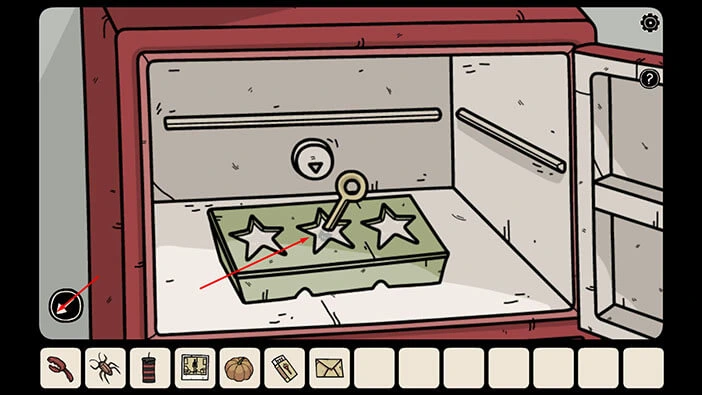
Let’s tap on the “Key handle with star-shaped ice” to pick it up. After that, tap on the arrow in the bottom left corner of the screen to go back.
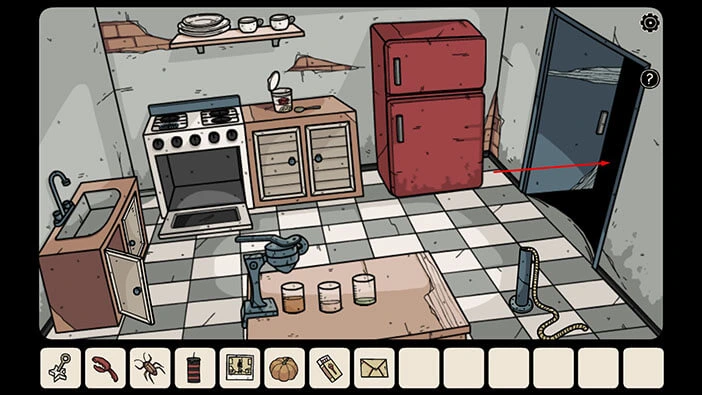
Let’s go back to the hallway on the third floor (this floor). To get there, tap on the door on the right to go back to the previous room. After that, tap on the arrow on the left. In the next room, tap again on the arrow on the left. Lastly, tap on the door on the left to go back to the hallway.
Let’s tap on the wooden box with a star-shaped slot to take a closer look at it.
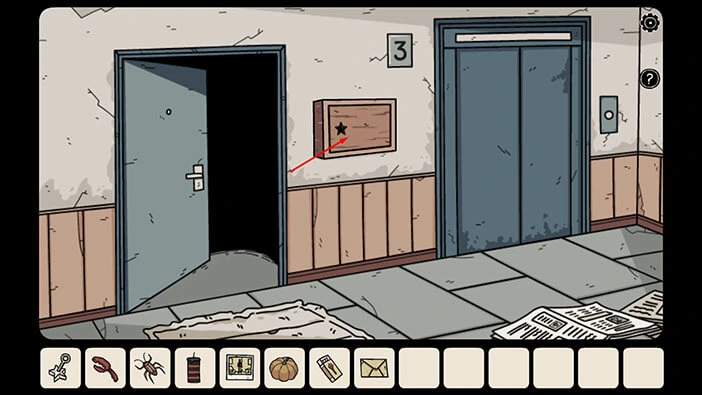
Select the “Key handle with star-shaped ice” from the inventory and insert it into the empty slot. After that, tap on the wooden box to open it.
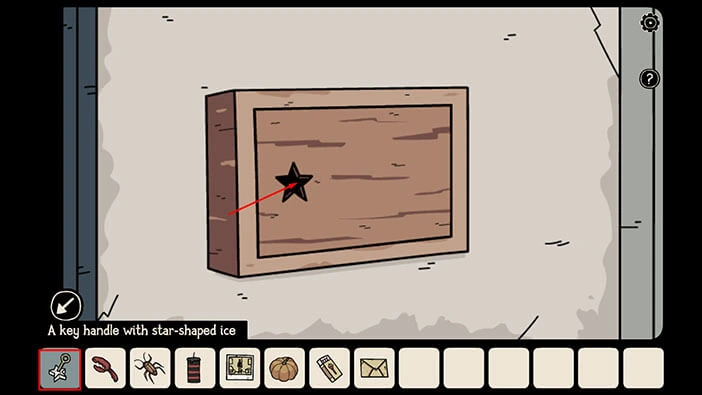
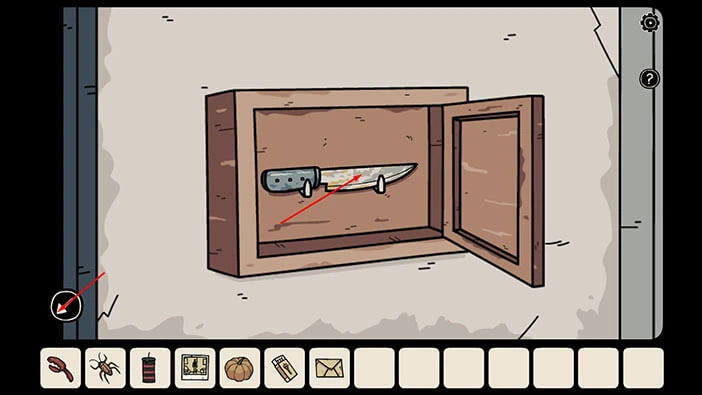
In the wooden box, you will find a “Knife”. Let’s tap on it to pick it up.
After that, tap on the arrow in the bottom left corner of the screen to go back.
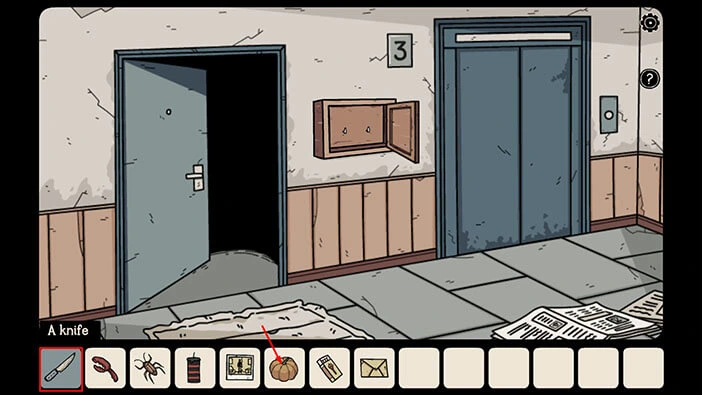
Select the “Knife” from the inventory and use it to carve the pumpkin.
Let’s go back to the fifth floor, and complete the ritual. Tap on the elevator door to open it, and tap again to proceed inside.
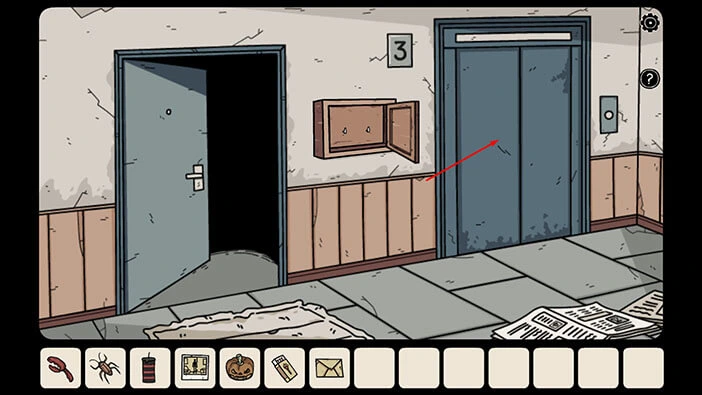
Let’s go to the fifth floor.
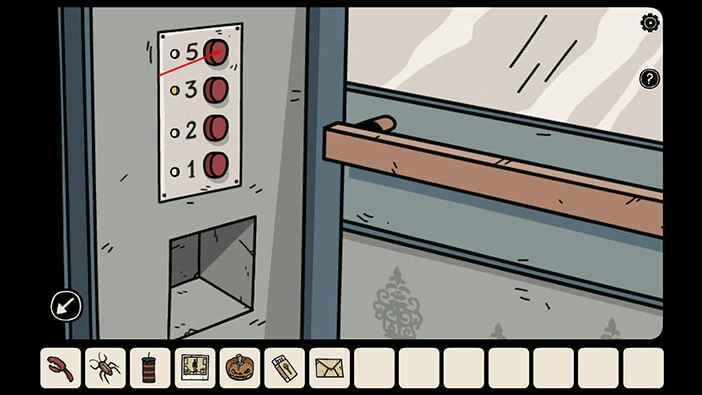
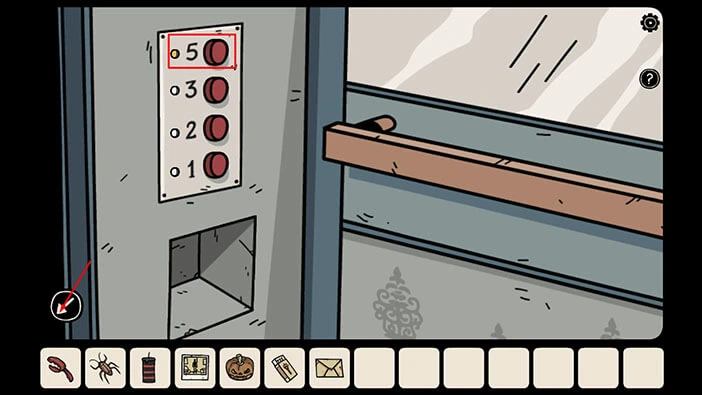
Once you reach the fifth floor, tap on the arrow in the bottom left corner of the screen to exit the elevator.
Tap on the stairs to go to the upper level.
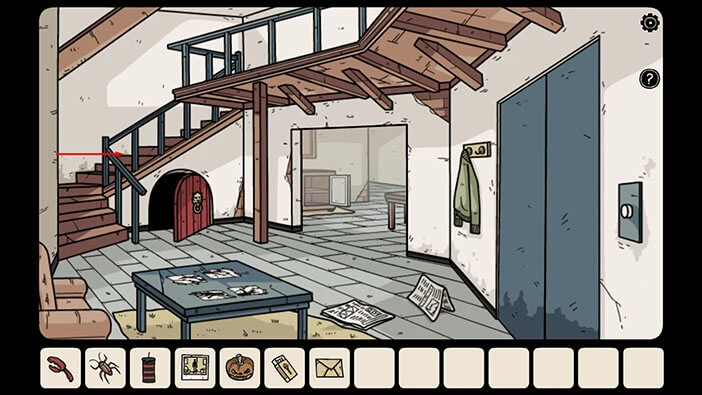
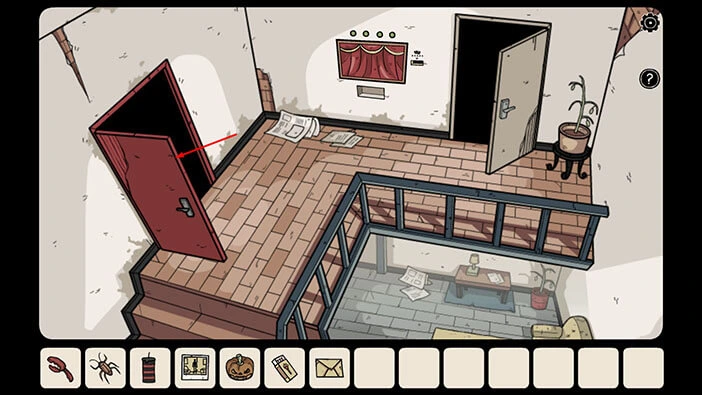
Tap on the red door on the left to go to the “ritual” room.
Let’s begin the ritual. Tap on the symbol on the floor to take a closer look at it.
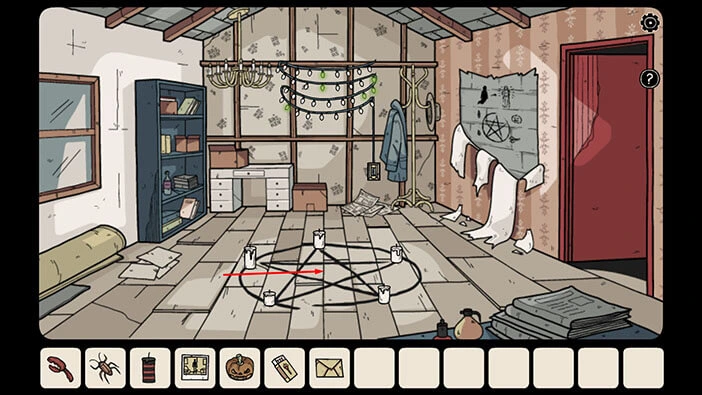
Let’s place down the items that we will need for the ritual (if you need a refresher, you can see the list of items on the wall in this room). We will do that in several steps.
Step 1
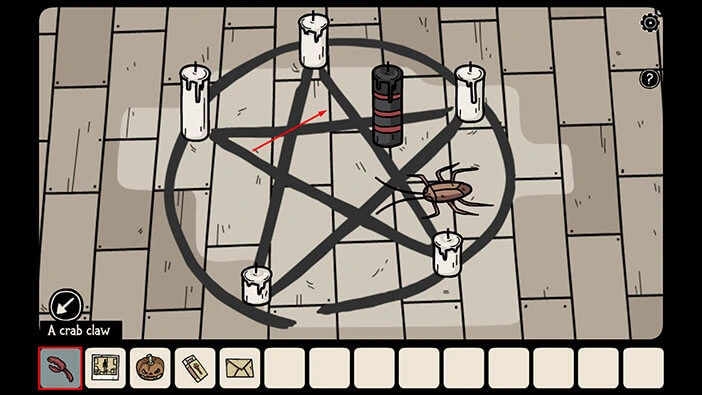
Select the “Black candle” from the inventory and place it in the top right corner of the circle.
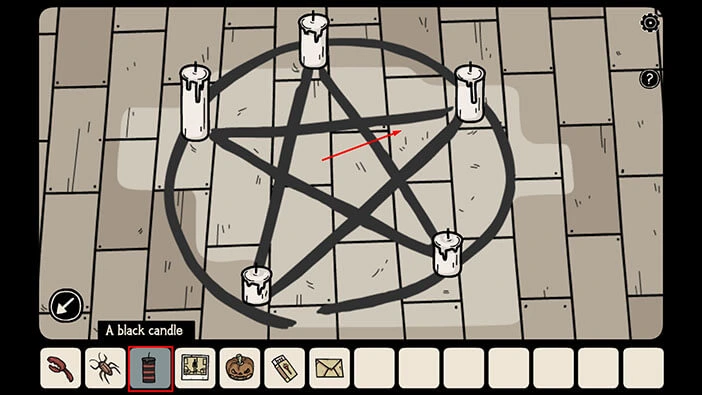
Step 2
Next, select the “Cockroach” from the inventory and place it below the black candle.
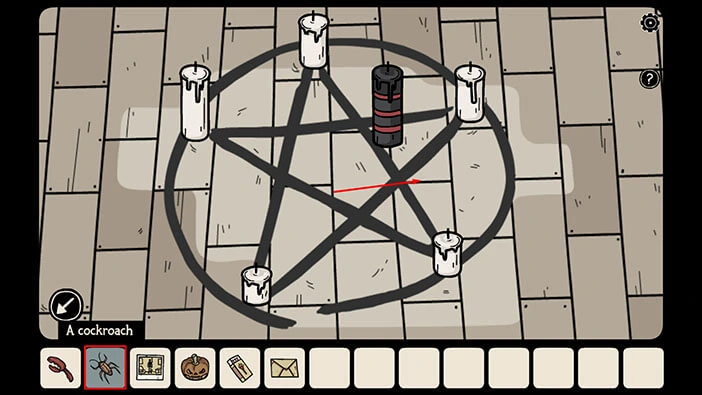
Step 3
Next, select the “Crab Claw” from the inventory and place it to the left of the black candle.
Step 4
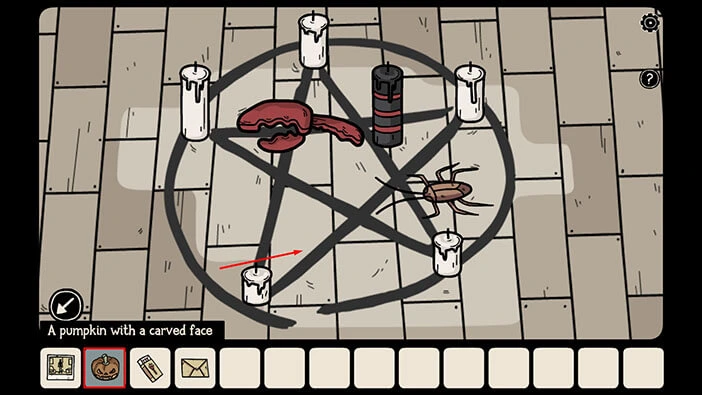
Next, select the “Pumpkin with a carved face” from the inventory and place it at the bottom of the circle.
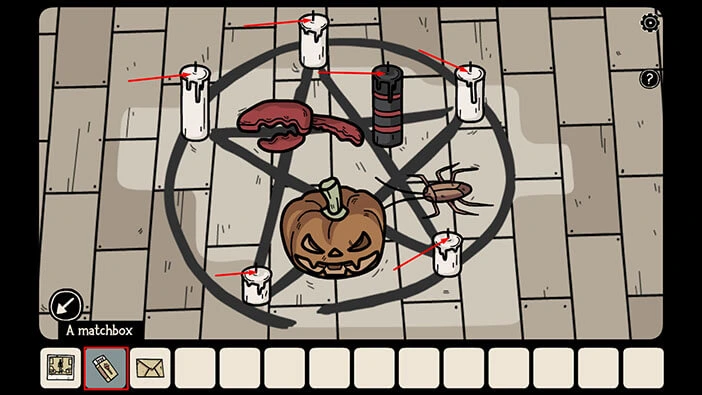
Lastly, select the “Matchbox” from the inventory and use it to light the candles.
With that, we will start the ritual.
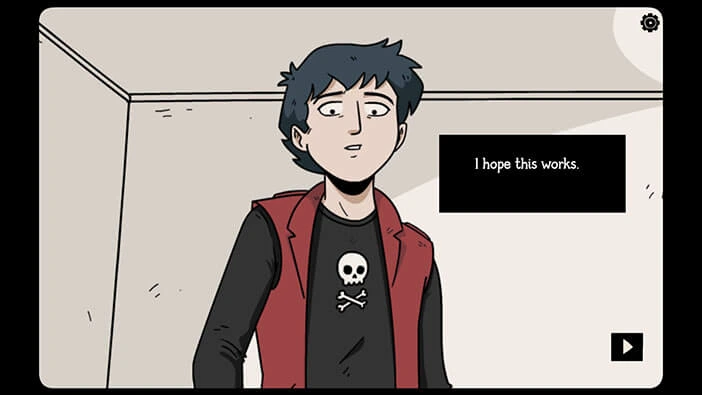
Elena will appear and she will discover that she was bewitched on the fourth floor of this building. Elena tried to sneak into the witch’s lair, located on the fourth floor. However, she was discovered, and the witch turned her into a shadow. After that, the entire fourth floor vanished.
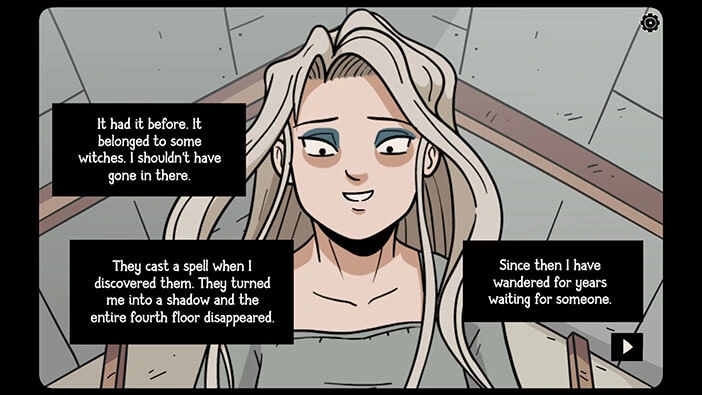
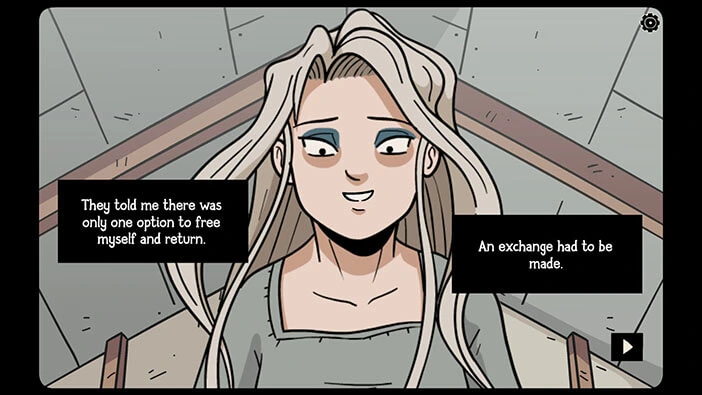
Elena was desperate, and she wandered around the building for years. That is until our character bravely stormed into the building to save her. Elena will uncover that the only way to save her is to make an exchange…
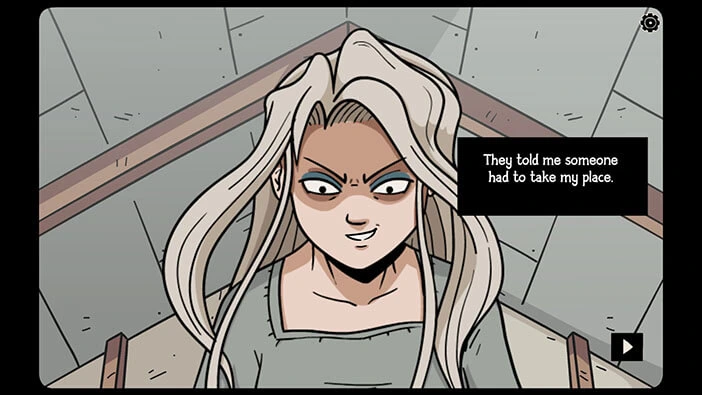
I don’t like the sound of this. Looks like she wants to trick our character into taking her place.
Just like we suspected, our character will take Elena’s place. He wanted to run away, but couldn’t. Elena disappeared in a puff of smoke, and our character was left alone in the room, trapped in the abandoned building…
Finally, our character looked at the top of the instructions for the ritual and discovered that it represents an exchange of souls.
Our character was terrified and decided to ask for help. He saw a female figure looking at him from the window of his room. He thought that it was his mother, but it wasn’t. Elena was finally free, and she was looking at him from his room, located in the building across the street.
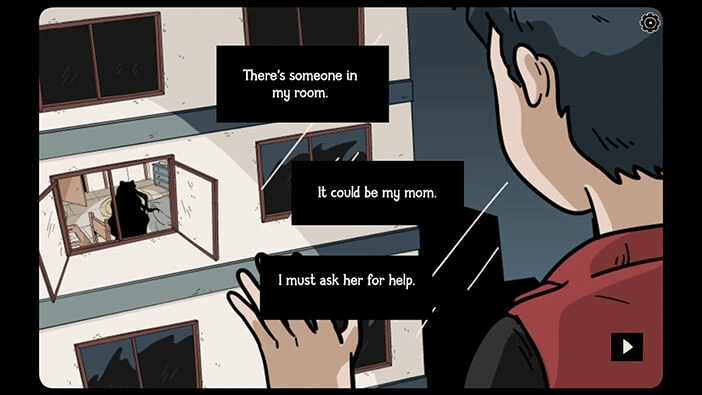
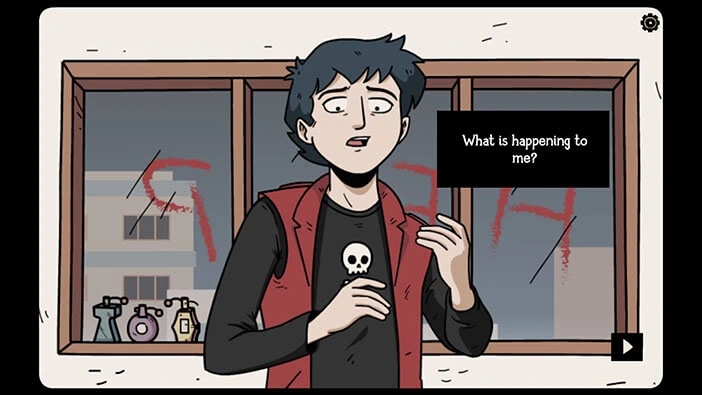
Desperate, our character decided to take a lipstick and write “HELP” on the window. Elena was sorry because she didn’t want to trick our character, but she had to do it to free herself. There was no other way.
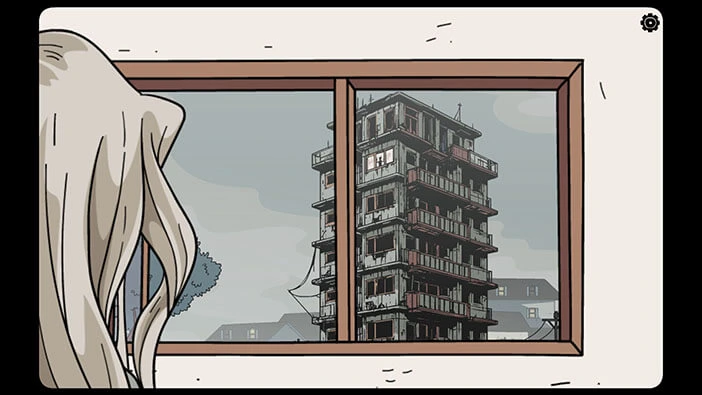
Lastly, our character will be turned into a shadow, cursed to roam the halls of this abandoned building for all eternity… Or until he tricks someone into taking his place.
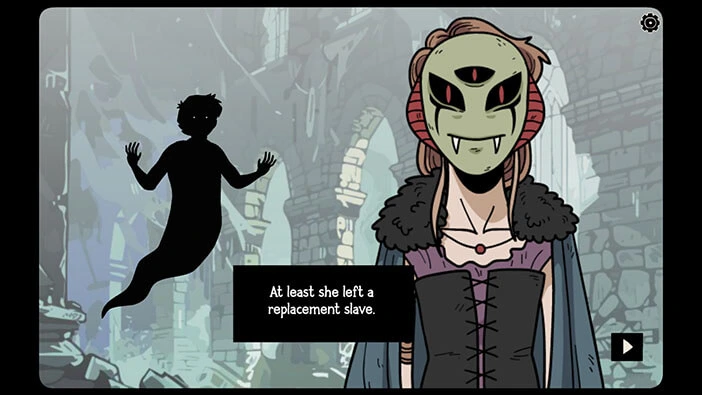
In the last scene, we can see the witch that cursed Elena. The witch isn’t angry because Elena managed to break free from the spell, because our character, now a shadow, took up her place.
On the bright side, we did manage to find all 10 hidden shadows.
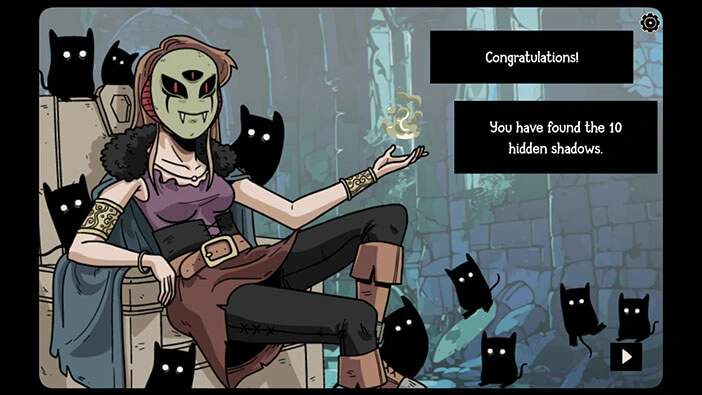
Well, that brings us to the end of this adventure. If you’re interested in Escape Room games, check out our guides for the other games of this genre.
Thank you for reading.