Legendary Tales 5 – Chapter 3: Downfall | Part 2
Intro
Welcome to our walkthrough for Part 2 of Chapter 3 of “Legendary Tales 5” from “FIVE-BN GAMES”. To risk everything to change the world, or to stand aside? Every significant change requires the first small, but brave step.
Walkthrough
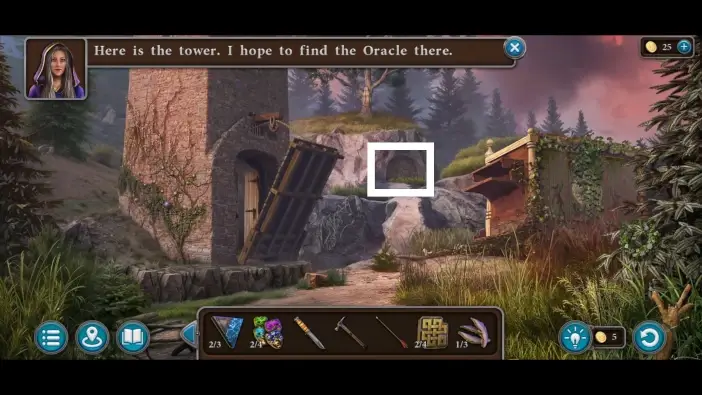
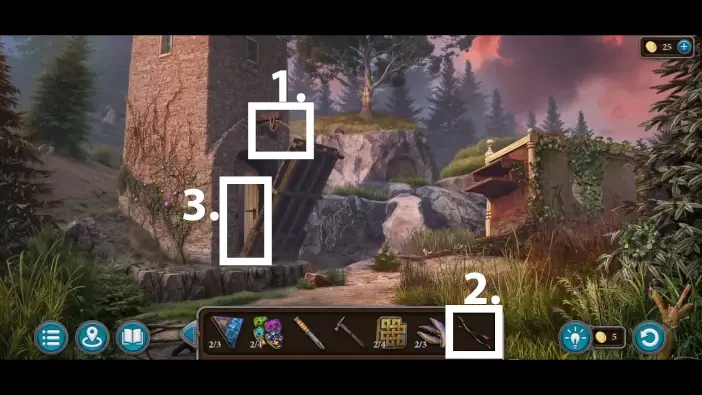
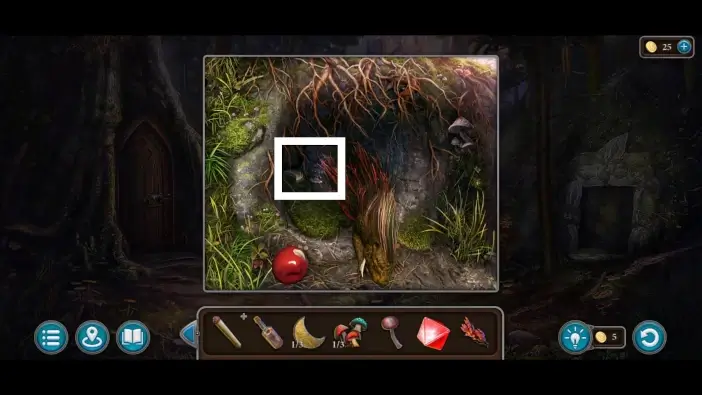
In the Oracle’s Tower area, go to the sealed cliff entrance on the far side.
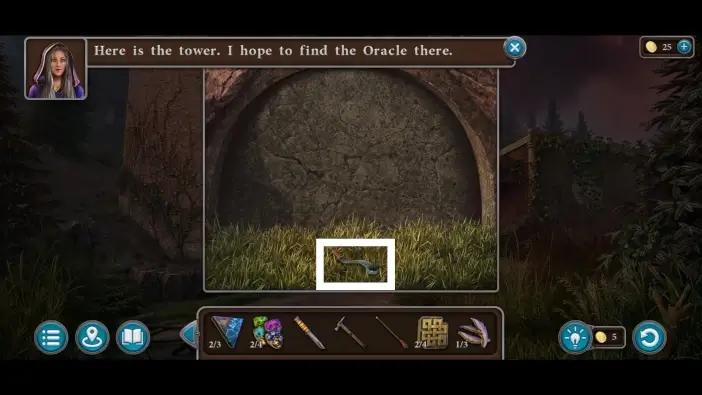
Pick up the lever from the ground.
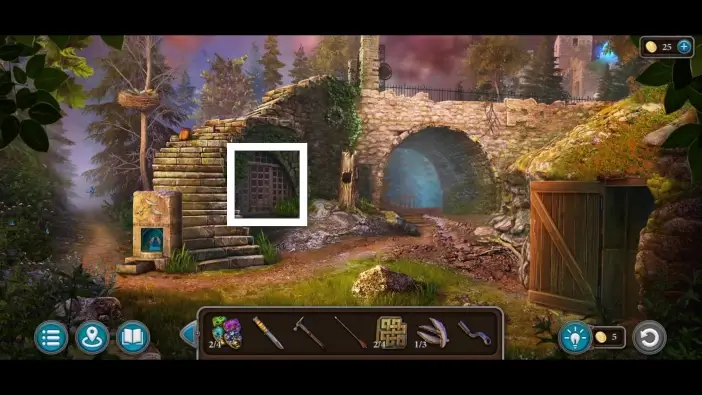
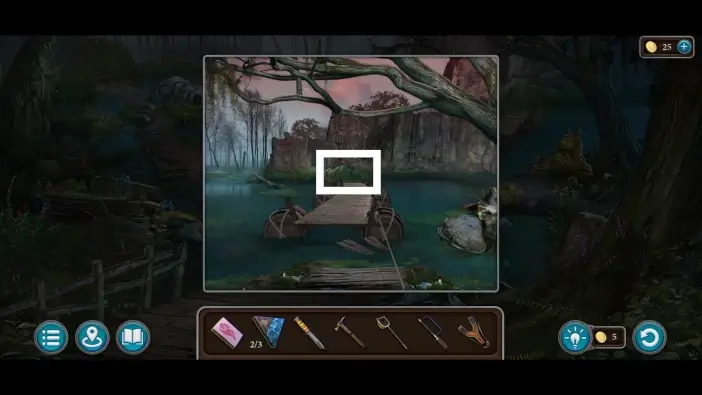
Go to the bridge area and approach the gate under the staircase.
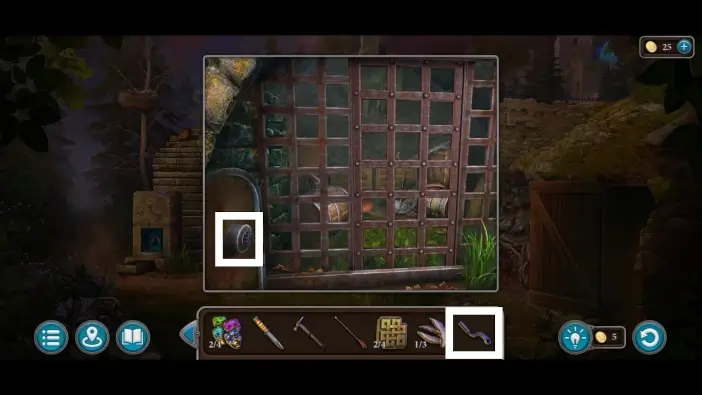
Attach the lever to the mechanism and use the lever to open the gate.
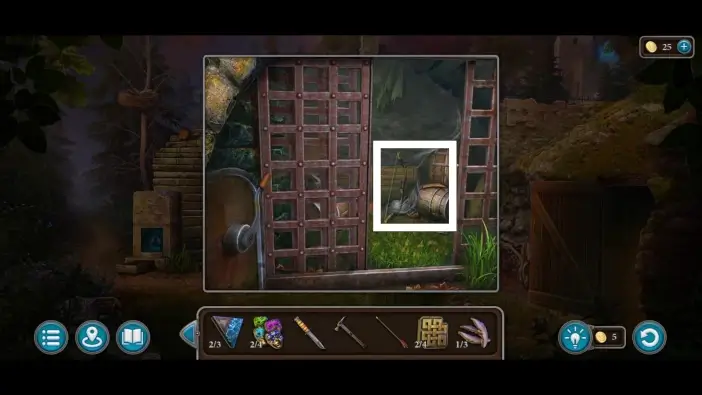
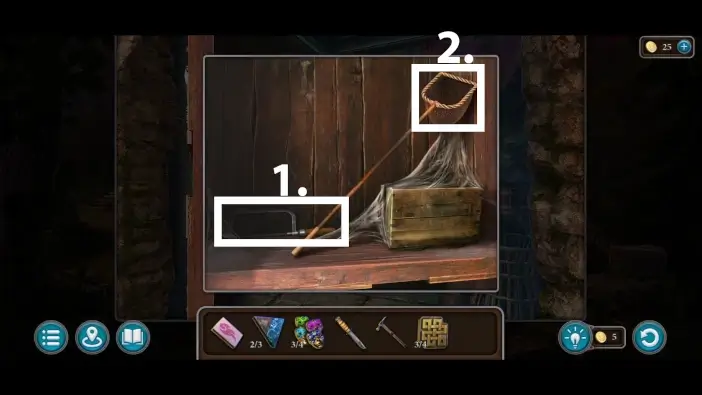
Take the bow and the second feather.

- Click on the bow in your inventory to inspect it.
- Place the arrow on the bow. The “bow and arrow” item will be added to your inventory.
- Go in front of the Oracle’s Tower and approach the rope holding the drawbridge.
- Use the bow and arrow to shoot the rope. You will unlock access to the Oracle’s Tower.
- Enter the Oracle’s Tower.
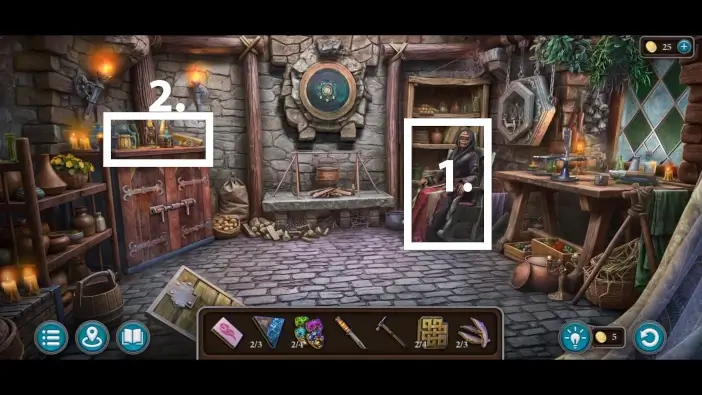
- Speak with the Oracle.
- After the cutscene and conversation, approach the desk on the left.
Take the third mask.
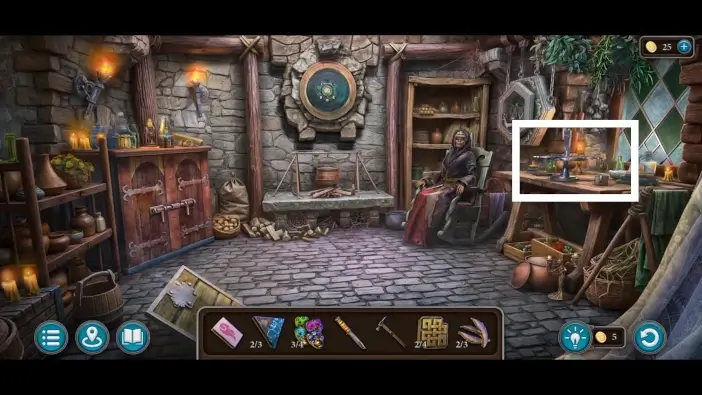
Approach the alchemy table on the right.
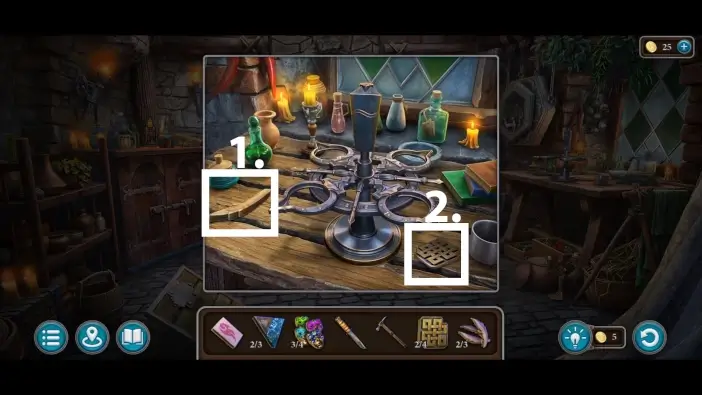
- Pick up the third feather.
- Take the third plate.
Go to the portal area and approach the door in the middle room.
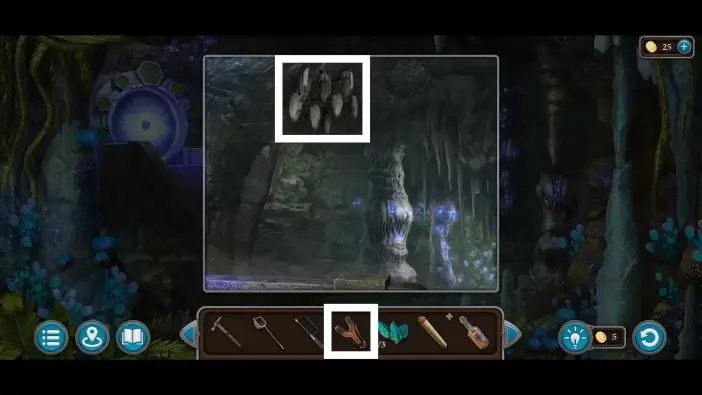
Place the feathers on the cabinet door, and a new puzzle challenge will start.
In this puzzle challenge, you’ll need to activate all the eggs like in the picture above. When you click one egg, all the eggs around it will change their state: if they were inactivated, they will be activated; if they were activated before, they will be deactivated.
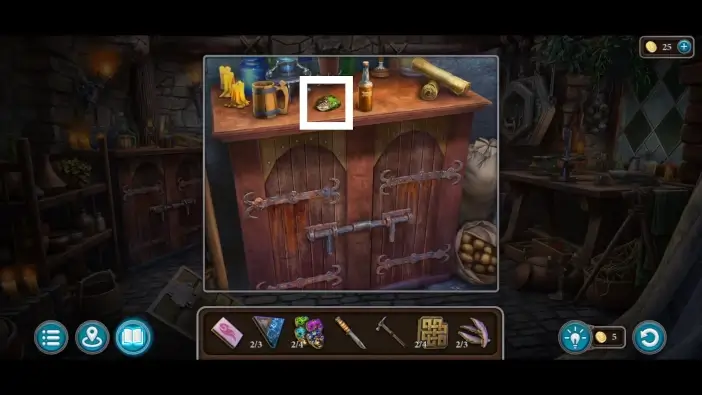
- Once you complete the previous puzzle challenge, a cabinet will open. Take the hacksaw. You will use it to cut the oar holders in the ruined boat.
- Take the net. You will need it to catch the lizard.
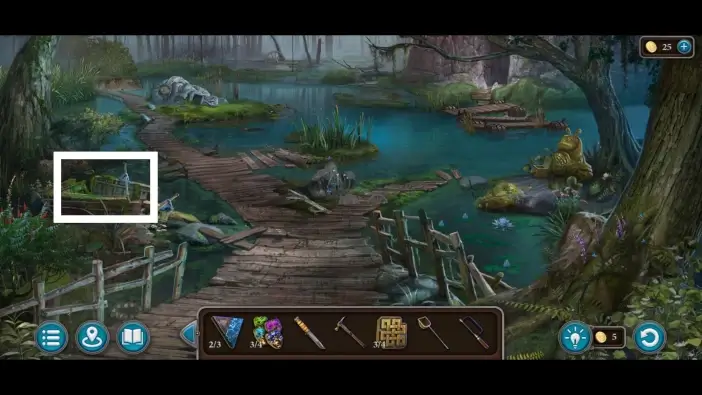
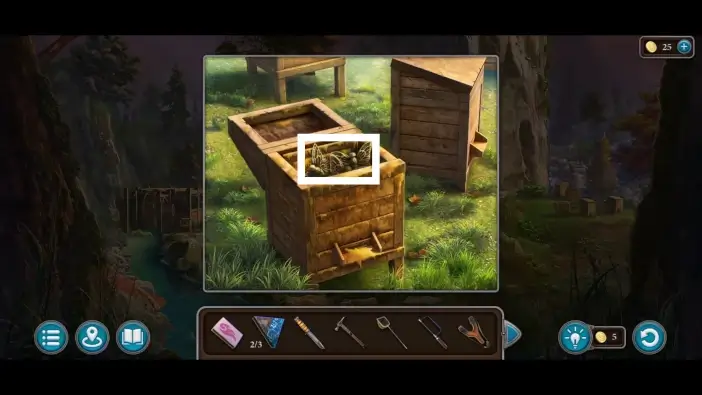
Go to the swamp and approach the ruined boat on the left.
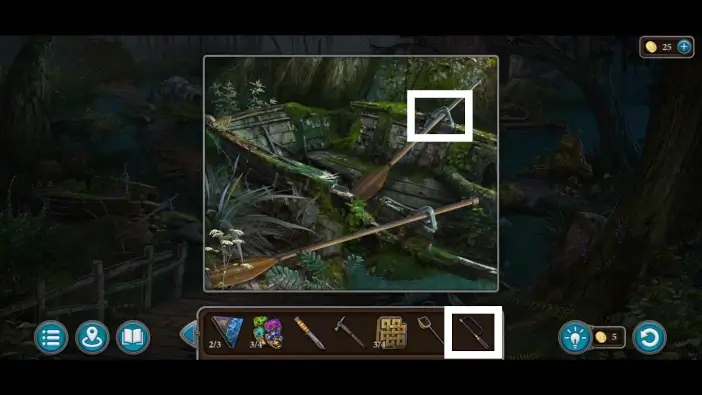
Use a hacksaw to remove the oar holders and take the oars.
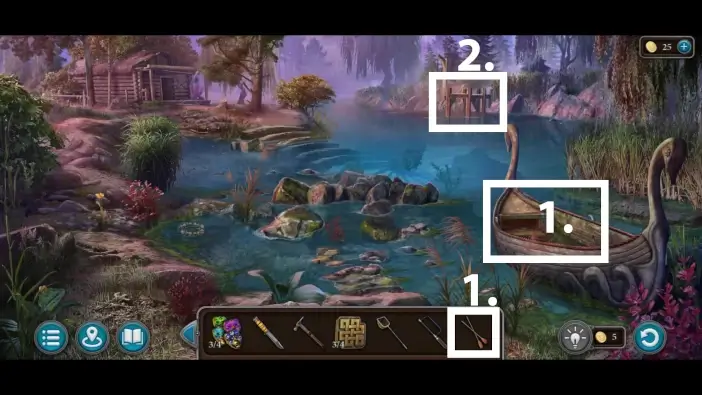
- Go to the pier area and place the oars into the boat. This will unlock the new area.
- Go to the pier on the other side of the river.
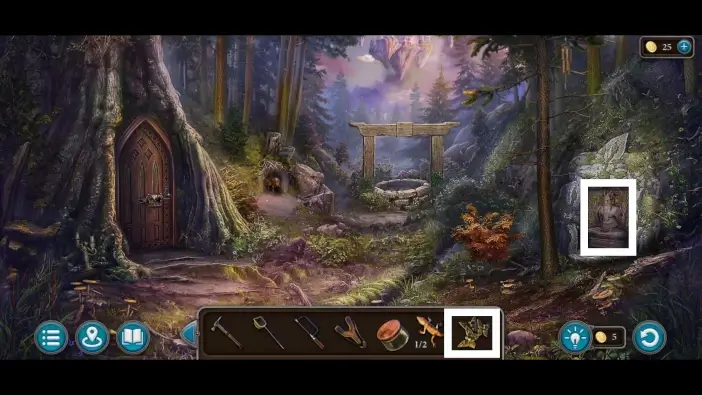
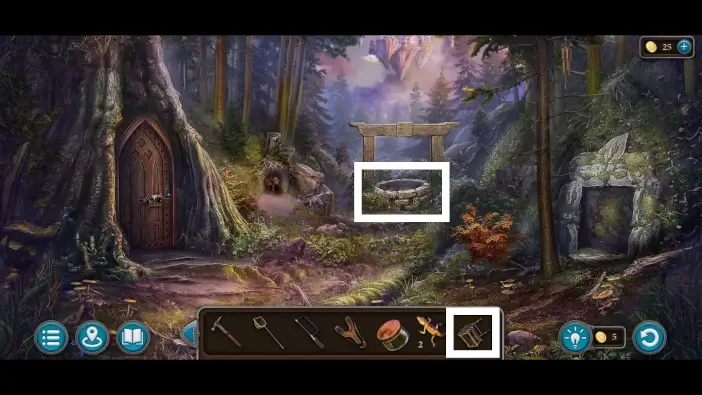
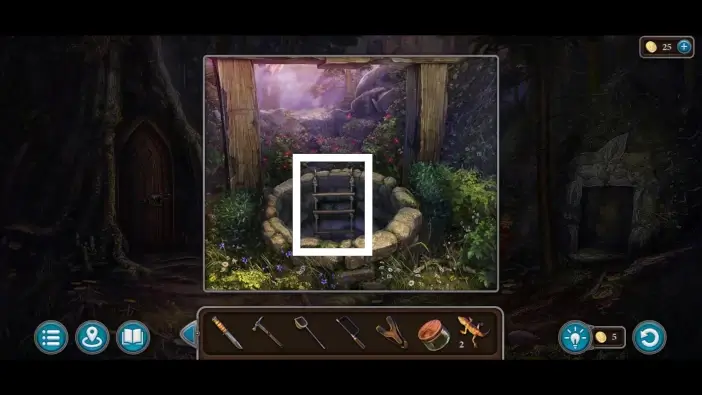
In the new area, approach the well.

Take the fourth mask from the well.
Go to the Oracle Tower area and approach the puppet theater on the right. Place all four masks into their designated places to start the new puzzle challenge.
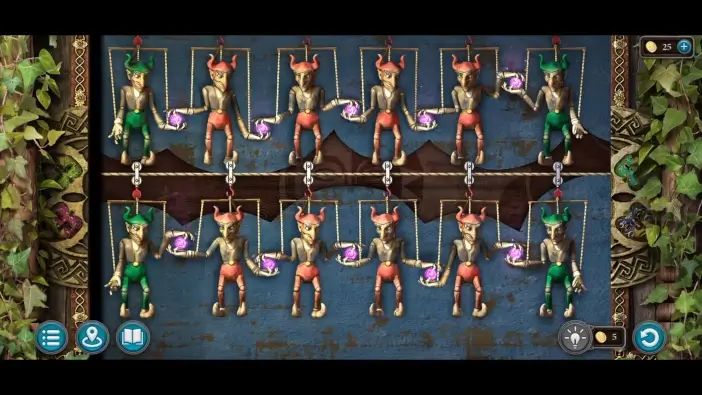
Rearrange the position of dolls like in the picture above so that each doll forms a magic with the doll next to it. Notice the position and distance of the dolls’ hands in the picture.
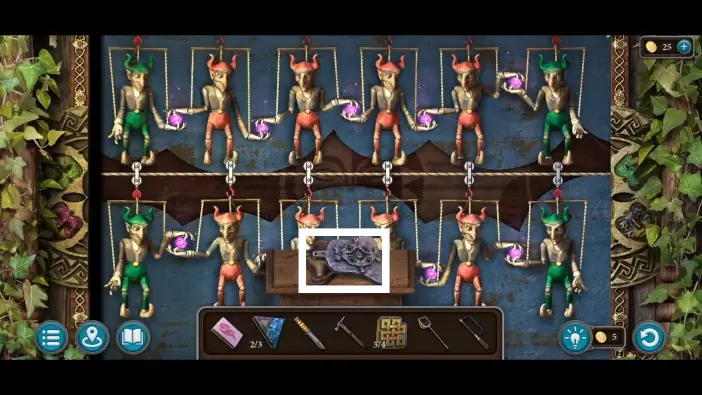
Once you solve this puzzle challenge, take the bell token and the slingshot.
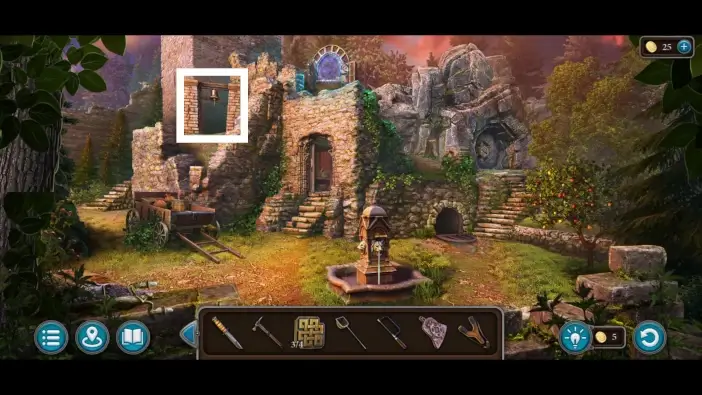
Go to the portal area and approach the bell on the left.
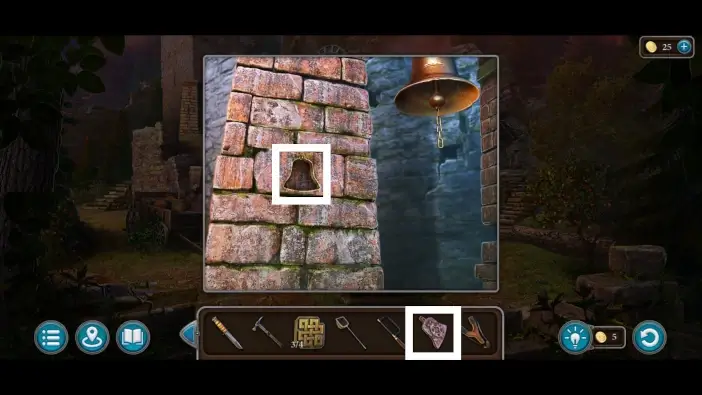
Place the bell token into the stone pillar next to the bell, and the hidden compartment will open. Take the fourth plate from it.
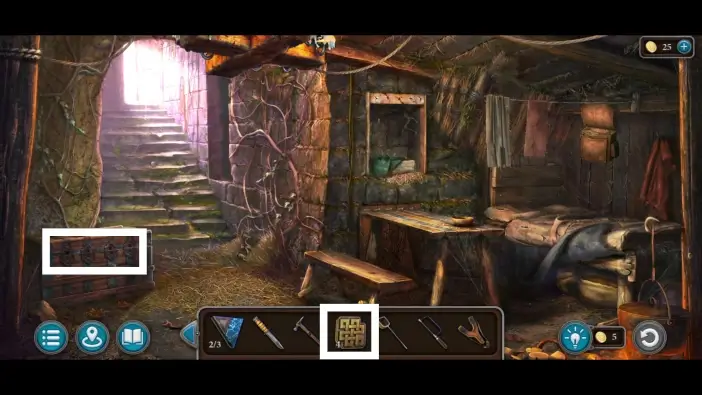
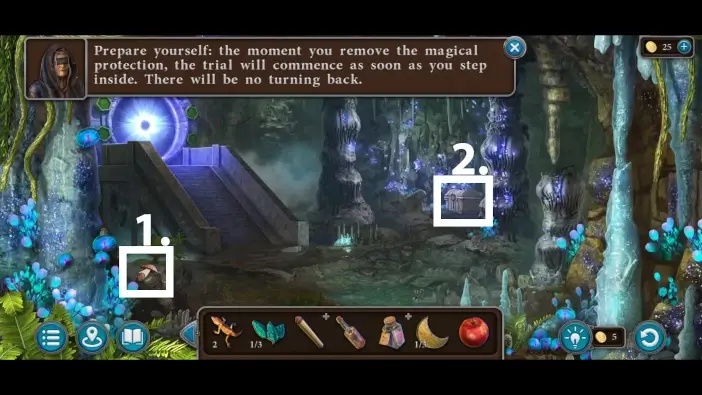
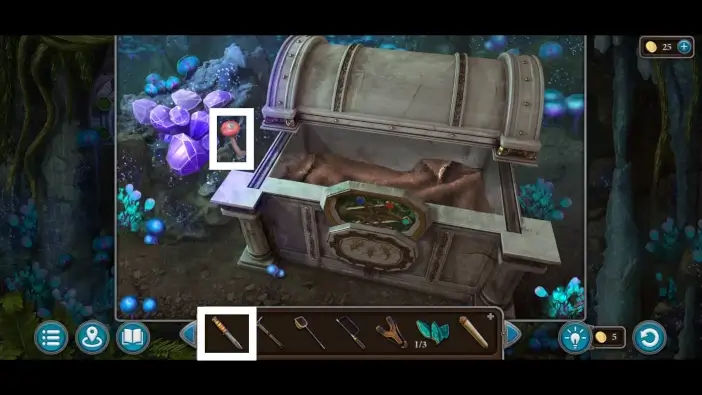
Go to the starting zone of this chapter and unlock the chest on the left using the four plates.
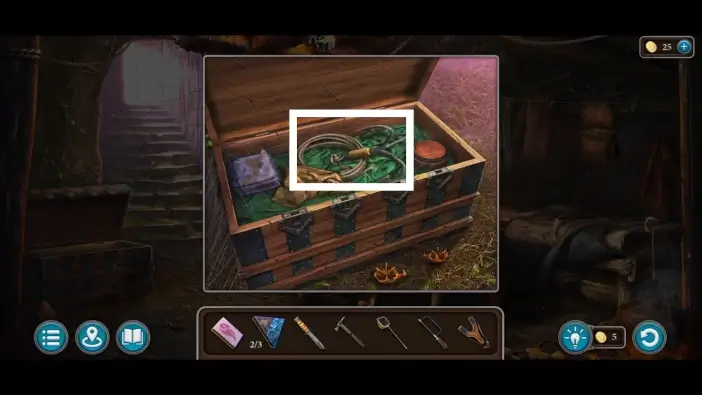
Take the grappling hook from the chest.
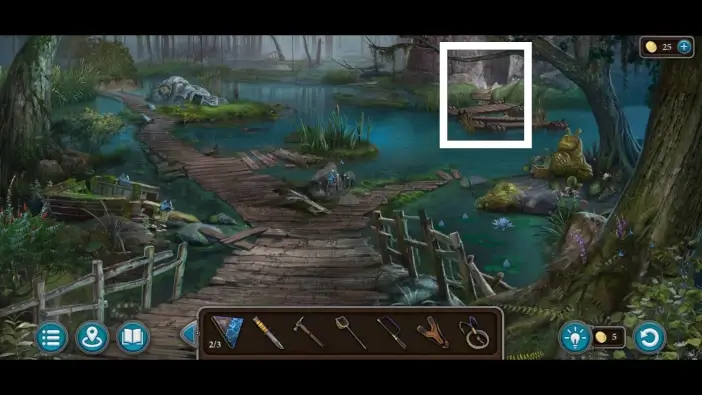
Go to the swamp and approach the broken path on the right.
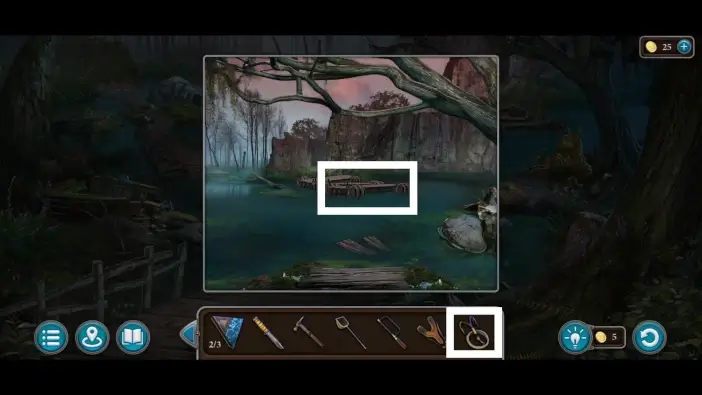
Use a grappling hook to pull the bridge towards you.
Now that you can cross the swamp in this direction, go to the new location.

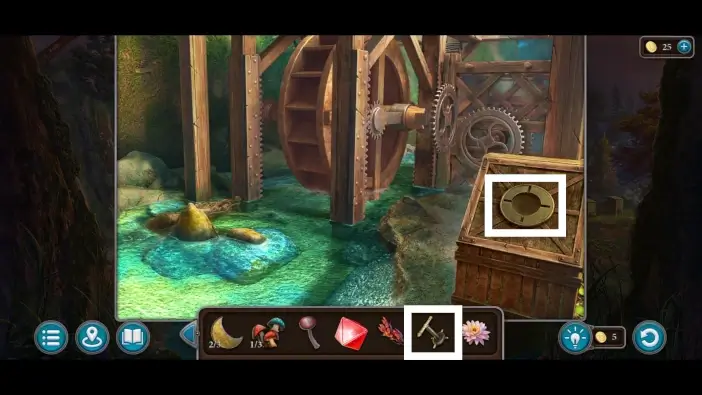
In the water wheel area, approach the water wheel on the left.

- Pick up the grease. It will help you open the cabinet in Oracle’s Tower.
- Use the net to catch the first lizard. You will need two lizards to open the chest in the cave.
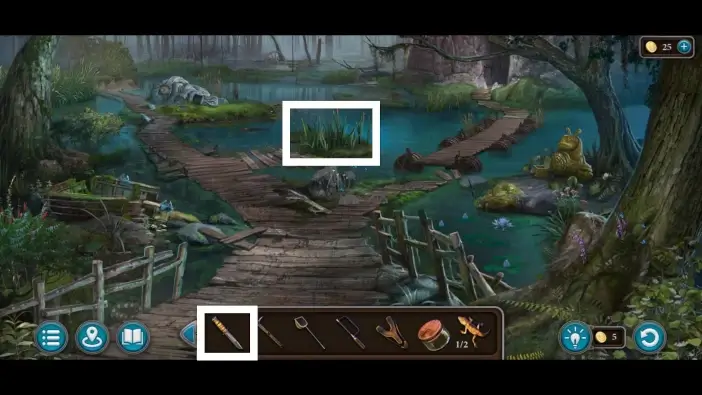
Go to the swamp and use the knife to cut a cattail in the middle of the swamp. It will be added to your inventory.
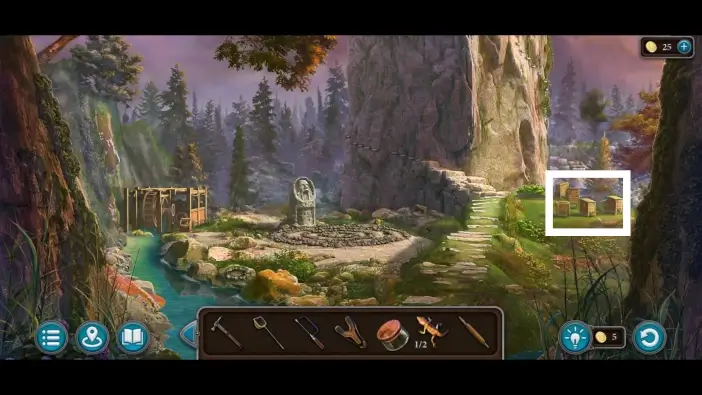
Return to the water wheel area and approach the beehives on the right.
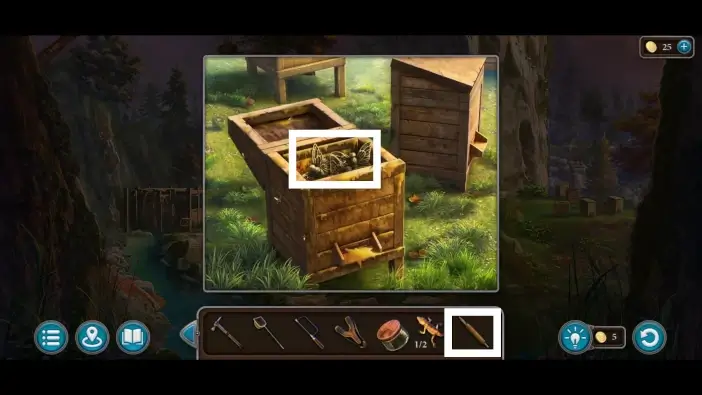
Place the cattail near the beehive.

Use matches to burn the cattail, and the bees will leave the hive.
Take the butterfly-shaped items from the hive.
Go to the well area and place the butterflies at the statue on the right to start the next puzzle challenge.

To solve this puzzle challenge, you’ll need to rotate the individual elements in each square to form the pattern like in the picture above.
After the puzzle, take the ladder and the second lizard.
Place the ladder into the well.
Descend into the well.
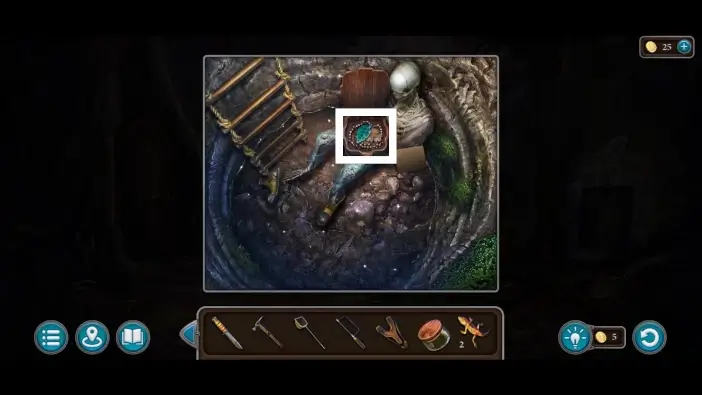
Open the box on the skeleton and take the first leaf-shaped item and the flower-shaped item. You will use the flower on the statue in the Oracle’s Tower area, and you’ll need to collect three leaf-shaped items to unlock one chest near the archwitches’ flying castle near the end of this chapter.
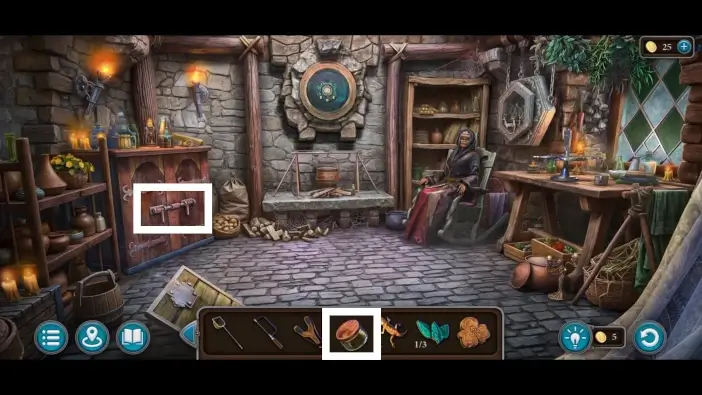
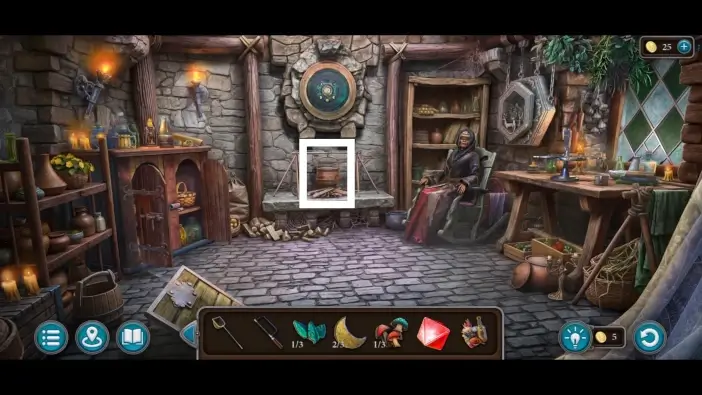
Go inside the Oracle’s Tower and open the cabinet using the grease.
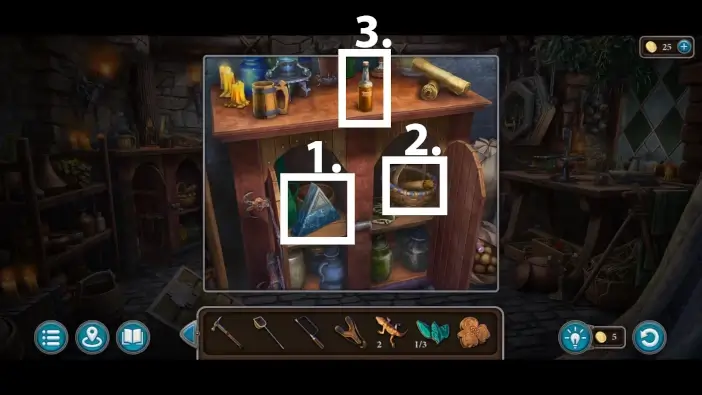
- Take the third blue stone from the cabinet.
- Take the “Underwater Breathing Potion” recipe from the cabinet.
- Take the oakbrew from the desk. It is one of the ingredients for the Underwater Breathing Potion.

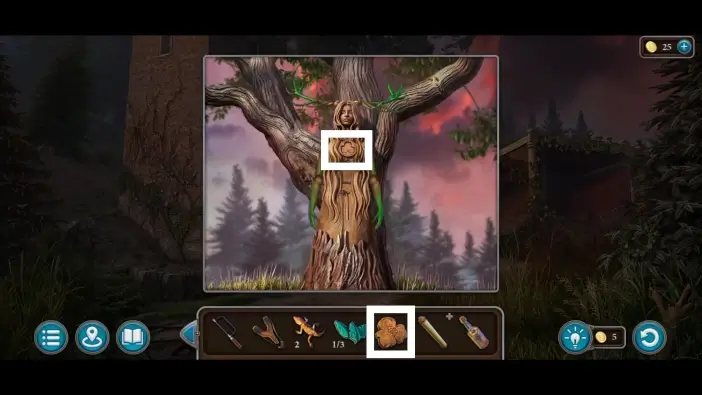
Check the small figurines behind the oracle and remember the position of the body parts of the third figurine that has antlers on her head. This is a clue for the statue in the tree.
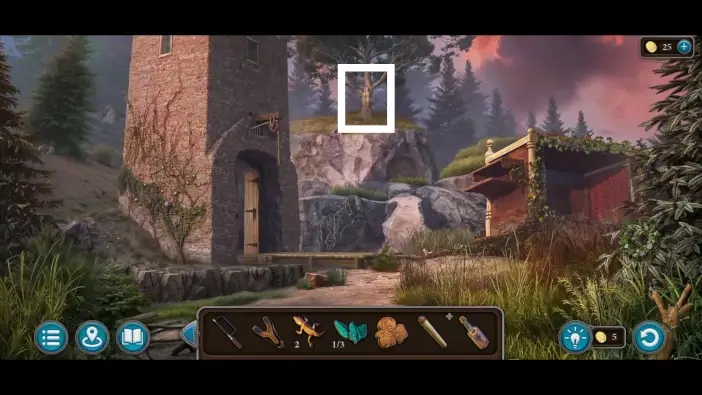
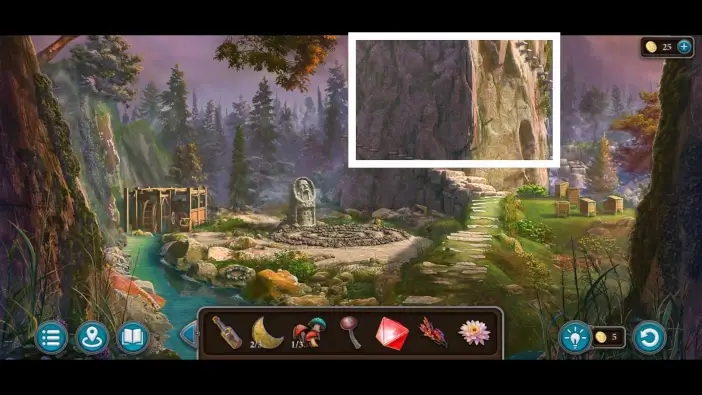
Exit the Oracle’s Tower and approach the tree with the statue on the hill.
Place the flower-shaped item into the statue.
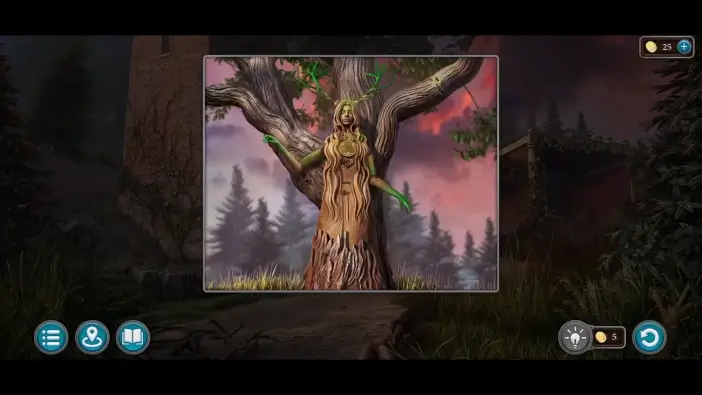
Position the statue like the third figurine in the Oracle’s Tower. The solution is in the picture above. Once you complete the statue’s puzzle, a hidden entrance will open.
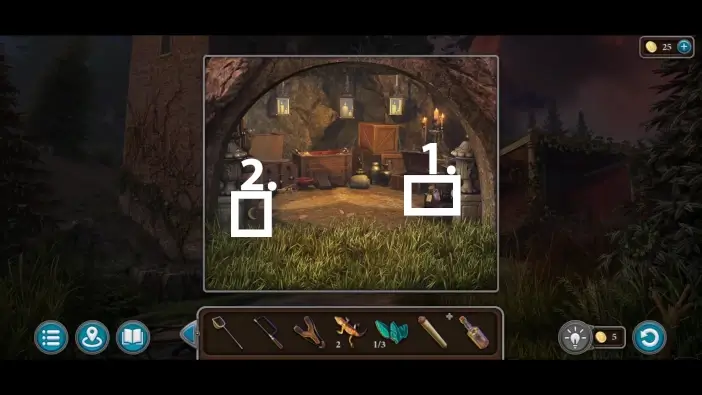
- In the secret room, take the sleeping potion from the box on the right. You will need it to put to sleep one animal in the well area.
- In the same room, take the first half moon from the ground. You’ll need three half moons to open a compartment on the wall in the Oracle’s Tower.
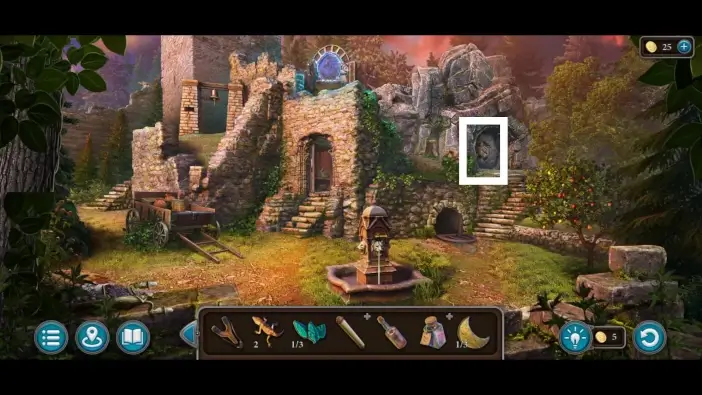
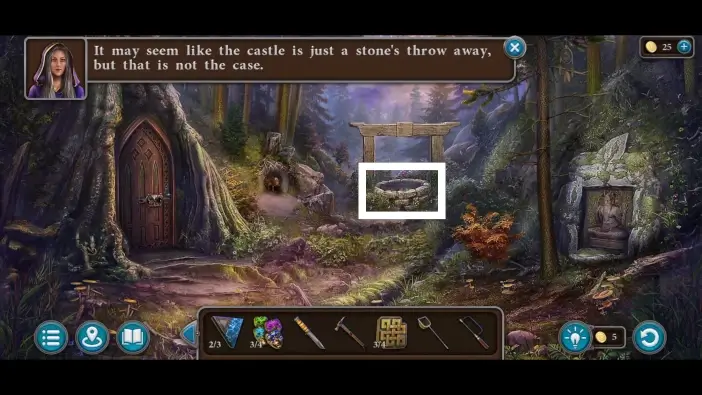
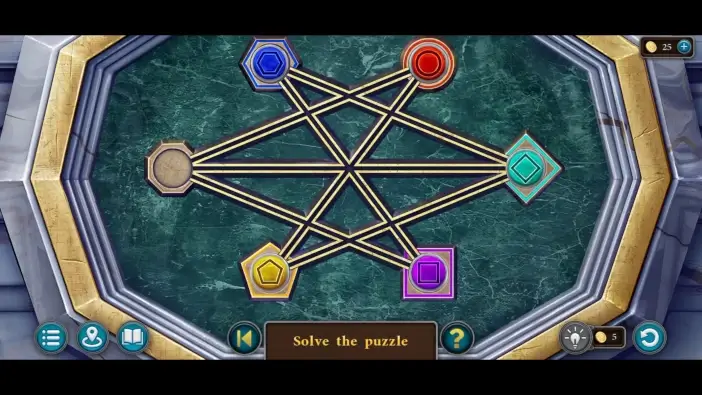
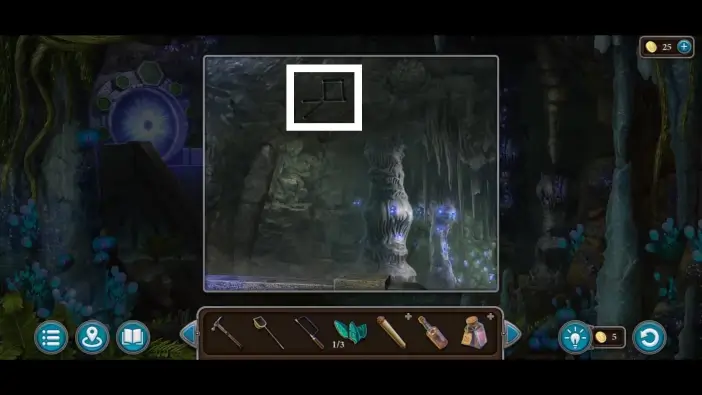
Go to the portal area and approach the stone gate on the right.
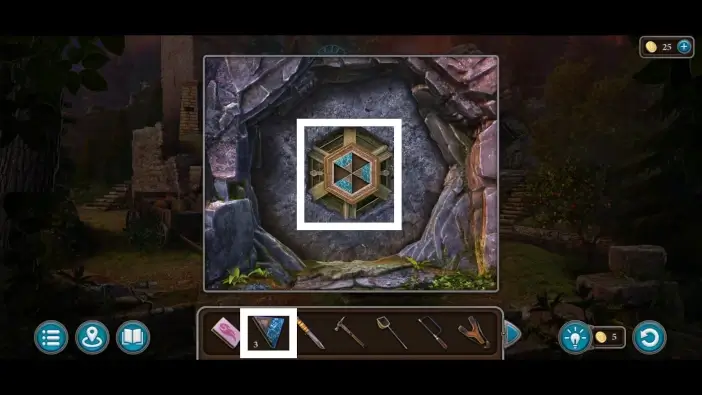
Place the three blue stones on the gate to start the new puzzle challenge.
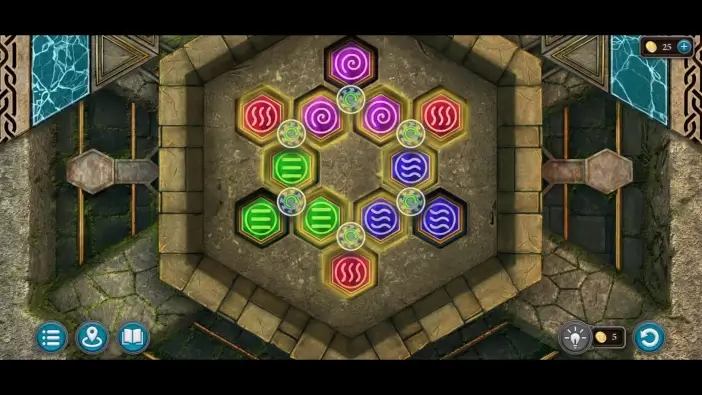
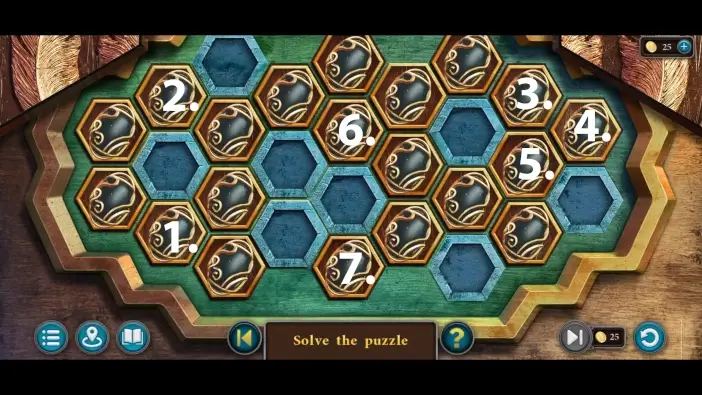
In this puzzle challenge, place the symbols on the hexagons of the same colors as in the picture above. Use the rotation buttons to move the symbols around the button clockwise. Solving this puzzle will open the entrance to the cave.
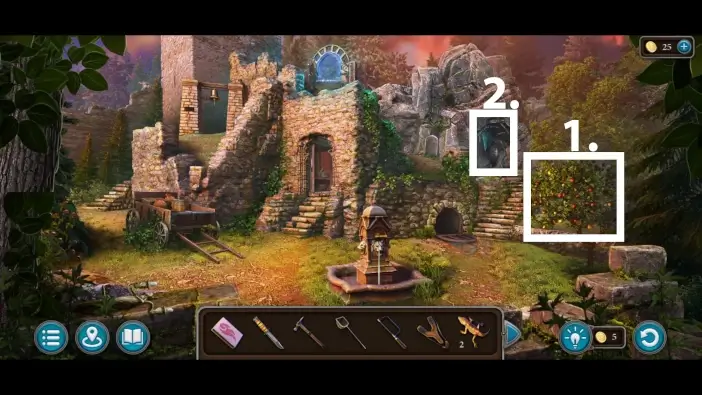
- Before entering the cave, pick an apple from the apple tree on the right.
- Enter the cave.
- In the cave, pick up the first mushroom on the left. You’ll need three mushrooms of this type to open the door in the tree to start the Earth Trial.
- Approach the chest on the far side of the cave.
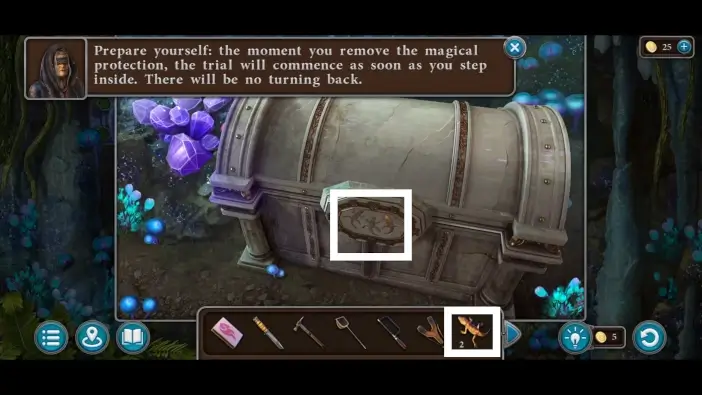
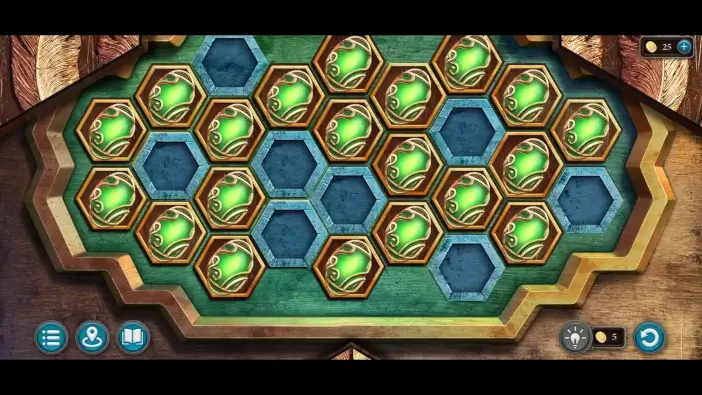
Place the two lizards on the chest to start the new puzzle challenge.
In this puzzle, place the geometric figures into the slots of the same geometric figure and color to unlock the chest.
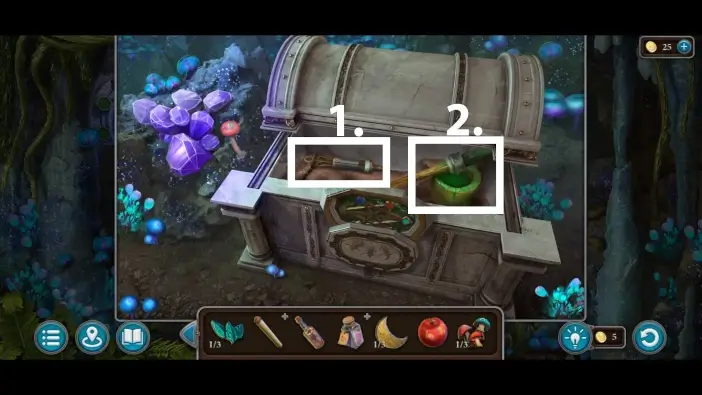
- From the chest, take the syringe for the sleeping potion.
- Take the paint. You’ll need it to activate the portal to the Fire Trial.
Use a knife to cut and take the palecap mushroom, left from the chest. It is one of the ingredients for the Underwater Breathing Potion.

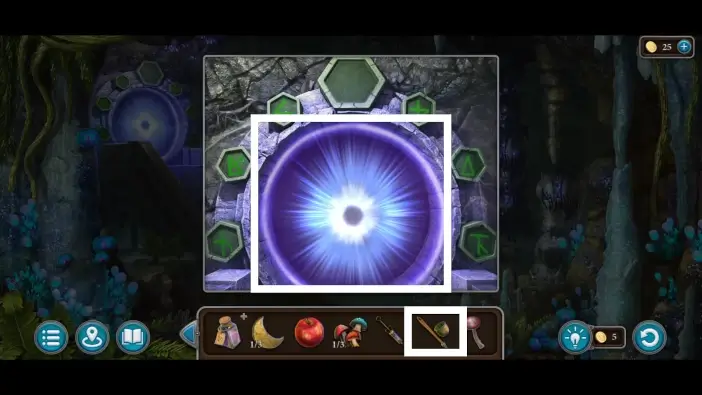
In the cave, approach the bats on the roof.
Use the slingshot to scare off the bats.
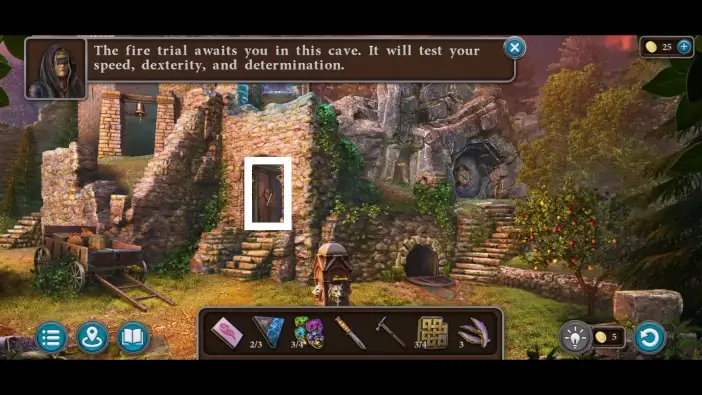
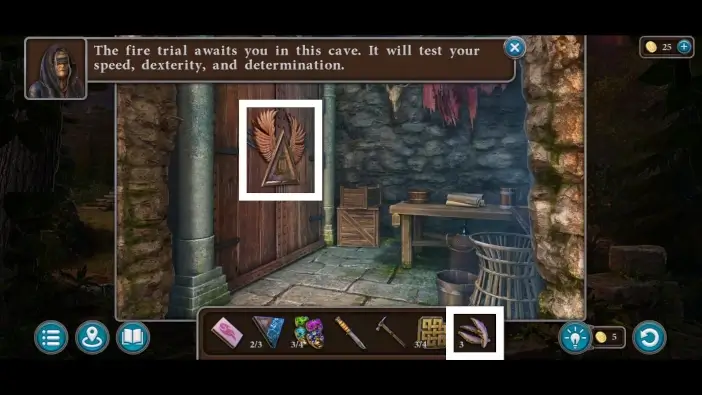
Once the bats leave the area, you will see the clue on how to activate the portal to the Fire Trial.
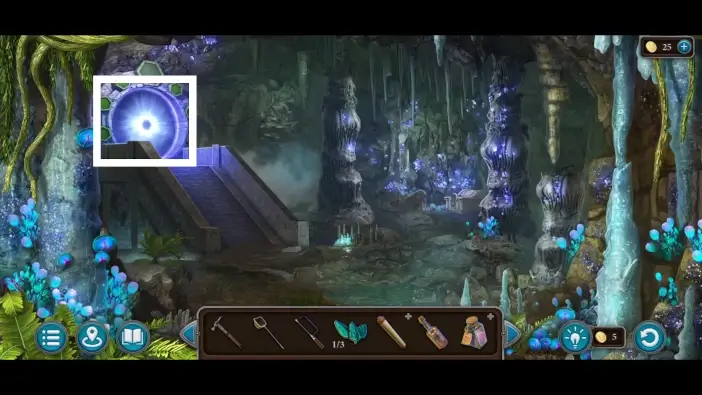
Approach the portal on the left.
Place the paint on the portal to start painting the symbol.
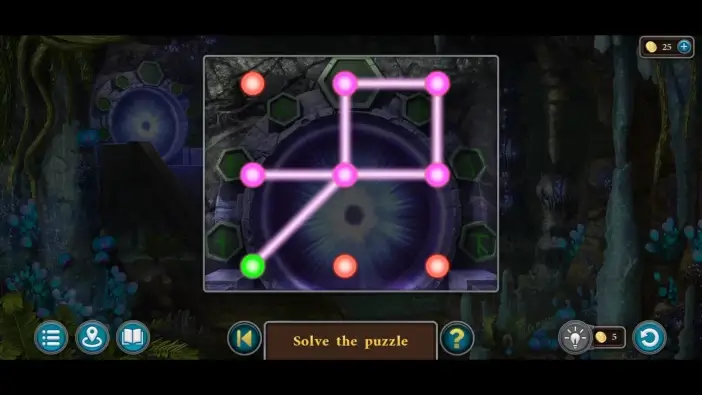
Connect the dots to form the symbol you saw on the wall by just clicking on the nodes, one by one. Afterwards, enter the portal, and the Fire Trial will begin.
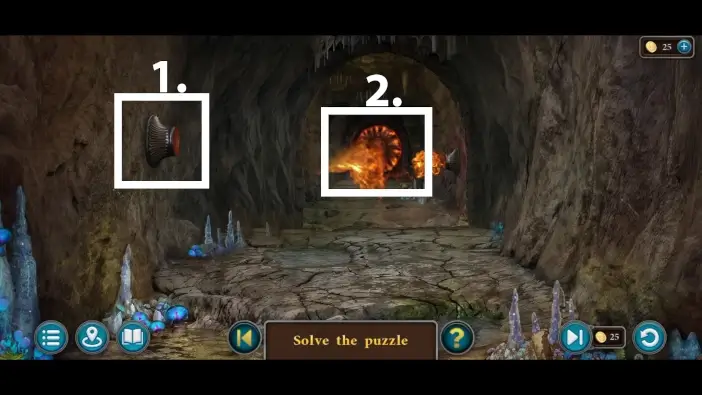
- Pay attention to the fire on the left and right walls. Once the fire disappears, click on the center of the screen to run forward.
- To pass the Fire Trial, you’ll need to reach the end of the tunnel where the fire shard is.
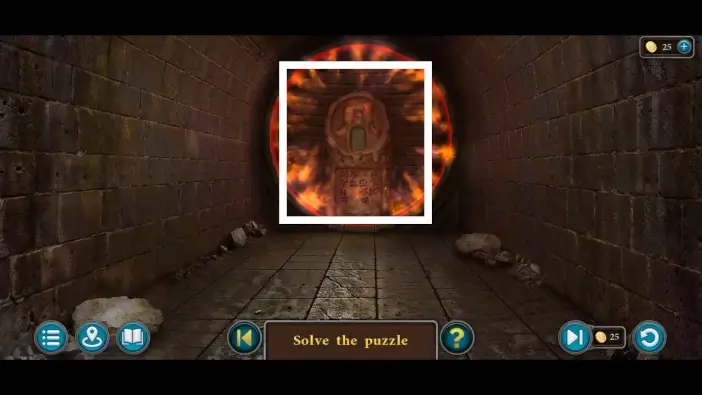
Once you evade all the fire, click on the pedestal again to start a cutscene.
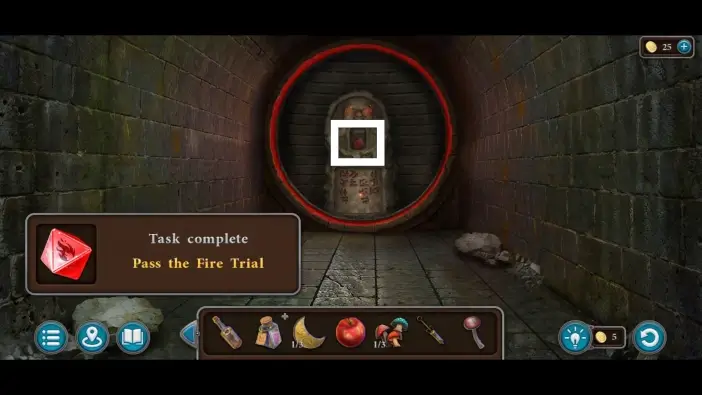
After the cutscene, take the fire shard.
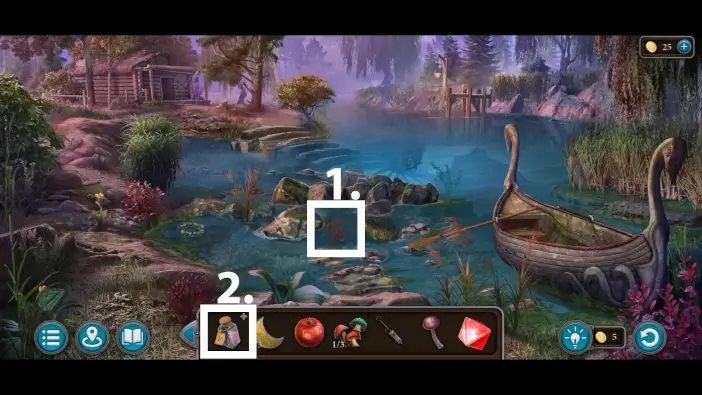
- Go to the pier area and take the red algae. It is one of the ingredients for the Underwater Breathing Potion.
- Select the sleeping potion from your inventory to examine it.

Fill the syringe with the sleeping potion.
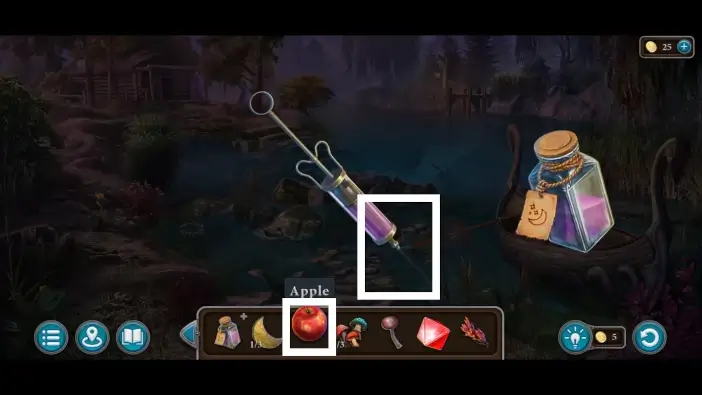
Use the syringe to inject the sleeping potion into the apple from your inventory.
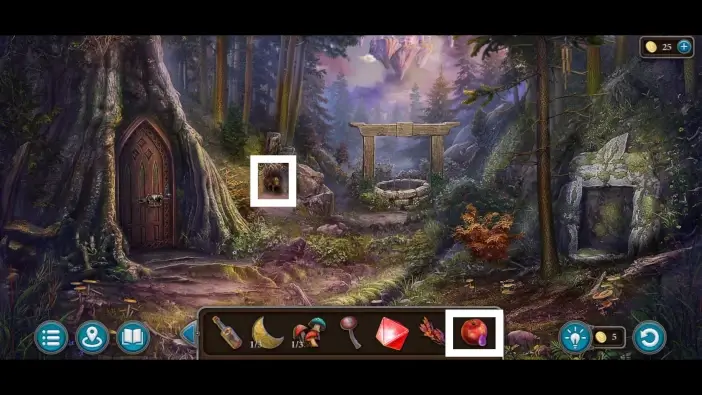
Go to the well area and give the apple to the animal.
Once the animal falls asleep, take the detail item and the second half moon.
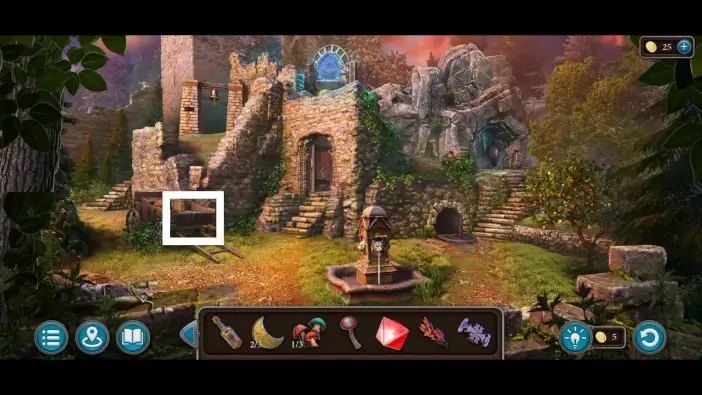
Go to the portal area and approach the cart.
Place the detail item to unlock the chest.
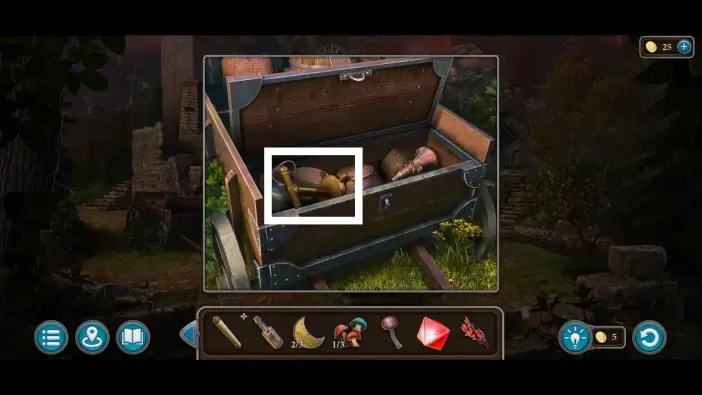
Pick up the lever from the chest. You will use it to activate the stairs to the Air Trial.
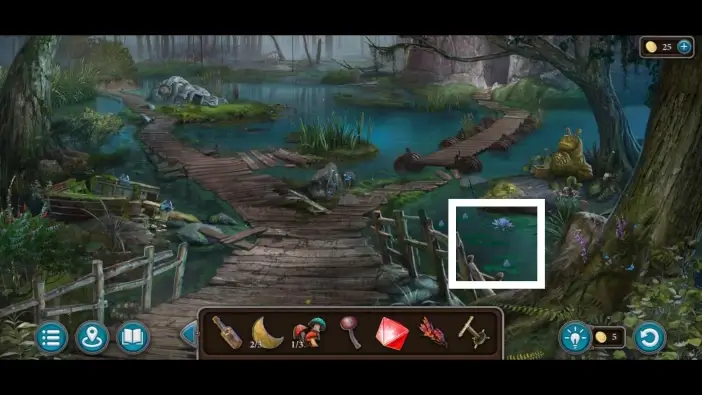
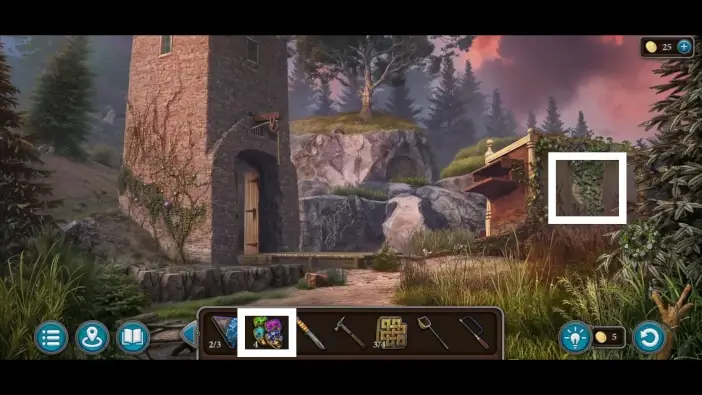
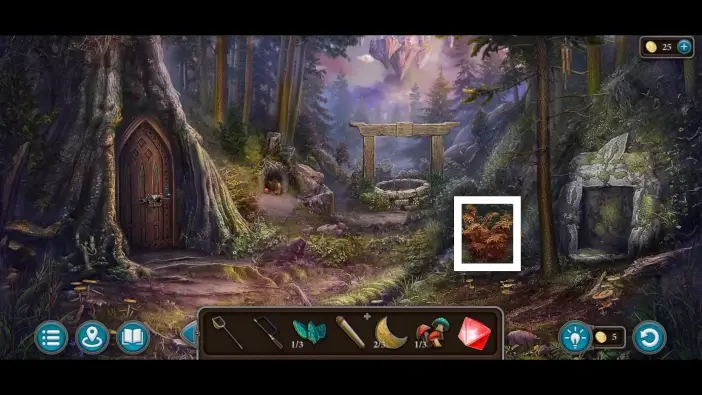
Go to the swamp and approach the flower on the right.
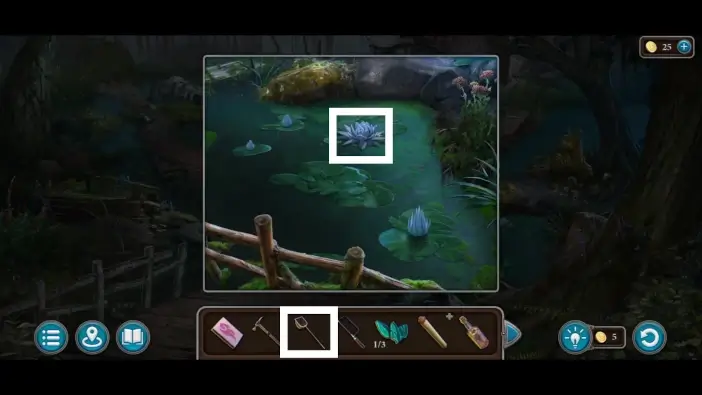
Use the net to catch the swamp lily, which is another ingredient for the Underwater Breathing Potion.
Go to the water wheel area, approach the water wheel, and place the lever on the mechanism on the right. Activate the lever.
The water wheel will start working, and the stairs to the peak of the mountain will appear. Climb the mountain.
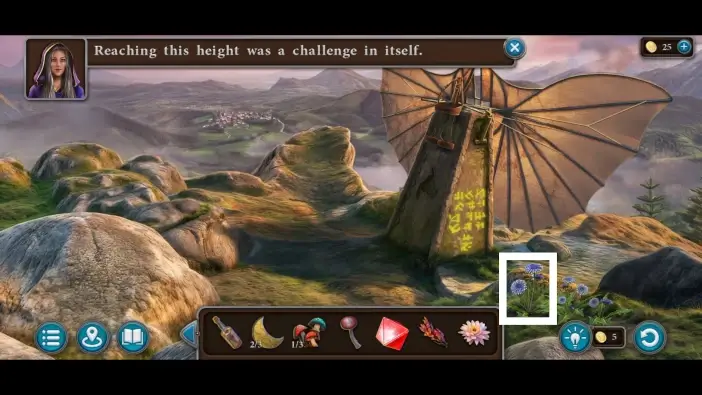
On the peak, collect the mountain dandelion. It is an ingredient for the Underwater Breathing Potion.
Go to the well area and take the chatki plant for the potion.
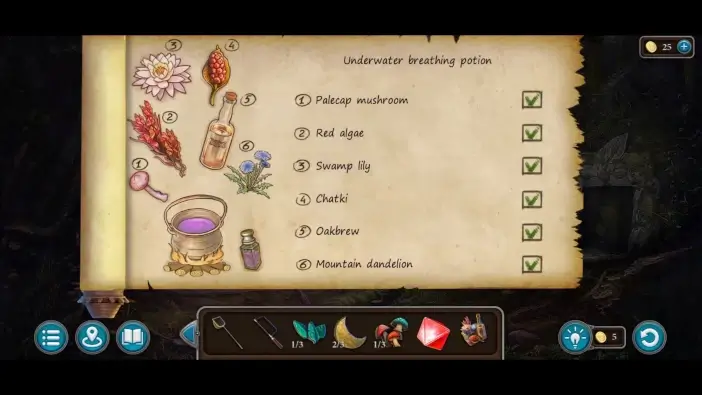
Select the recipe in your inventory to open it, then bring all ingredient items you’ve found to the list to tick all the checkboxes. The ingredients in your inventory are: Palecap mushroom, Red algae, Swmap lily, Chatki, Oakbrew, and the Mountain dandelion. Once you tick the entire list, the “Ingredients” item will be added to your inventory.
Go to the Oracle’s Tower and approach the cauldron.
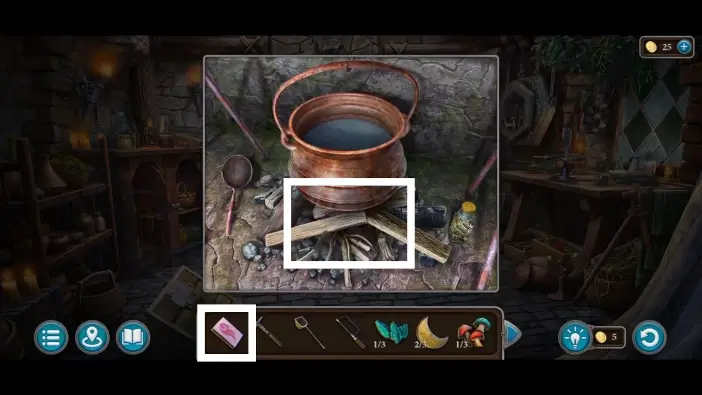
Light the fire using the matches on the firewood.
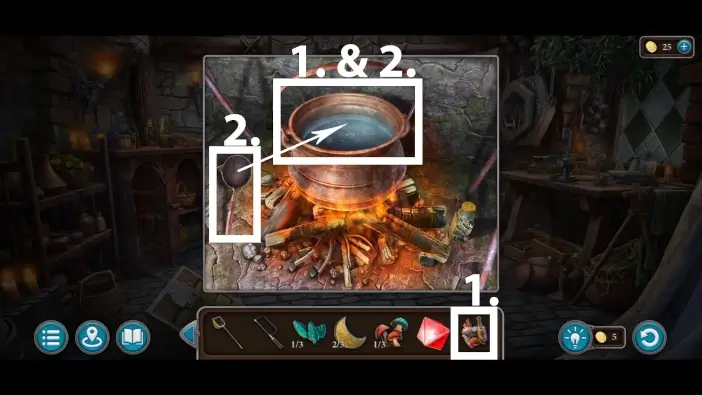
- Place the ingredients into the cauldron.
- Use the ladle to mix the potion.
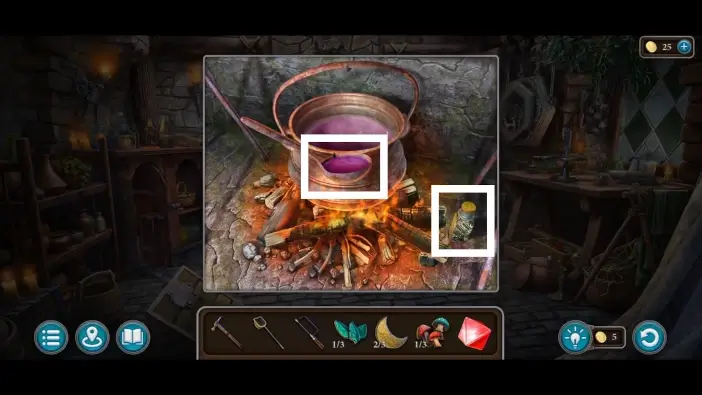
Click on the bottle on the ground first and then on the potion in the ladle to fill the bottle. The “Potion” item will be added to your inventory.
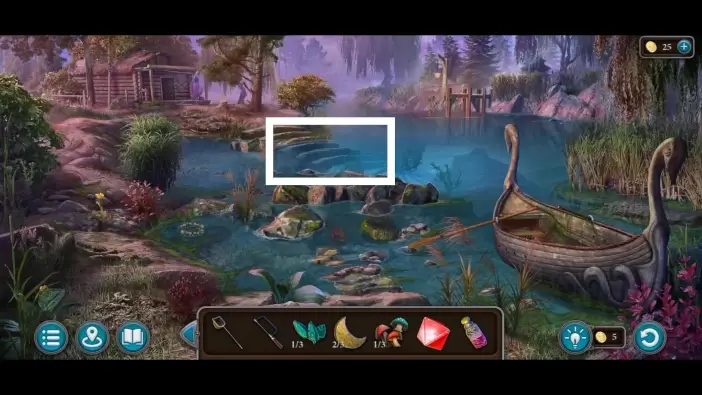
Go to the pier area and approach the staircase that descends into the water.
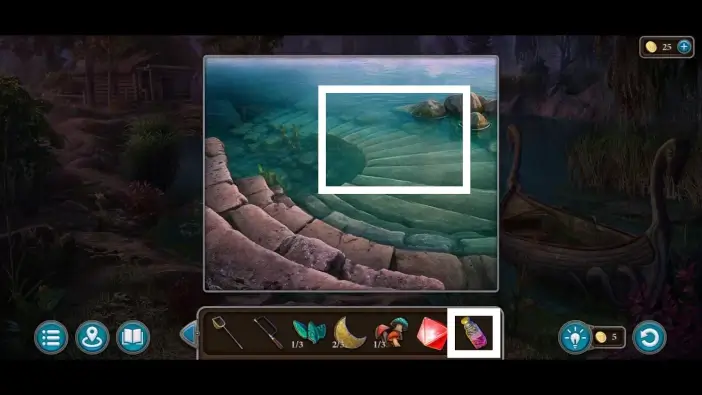
Use the Underwater Breathing Potion to access the new underwater area.
This will mark the end of Part 2 of our guide for Chapter 3 of Legendary Tales 5.
Thank you for reading!