Legendary Tales 5 – Chapter 3: Downfall | Part 1
Intro
Welcome to our walkthrough for Part 1 of Chapter 3 of “Legendary Tales 5” from “FIVE-BN GAMES”. To risk everything to change the world, or to stand aside? Every significant change requires the first small, but brave step.
Walkthrough
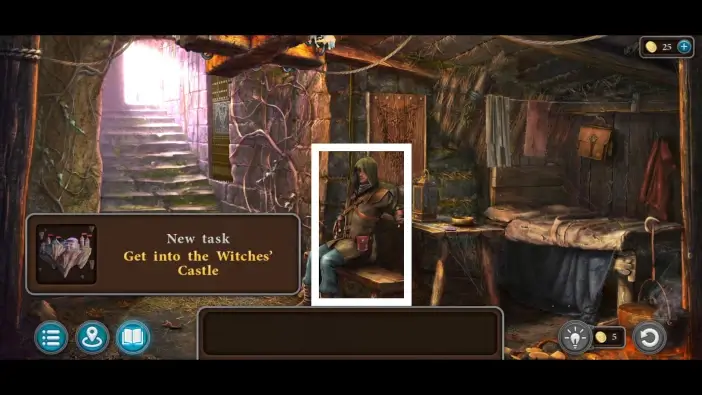
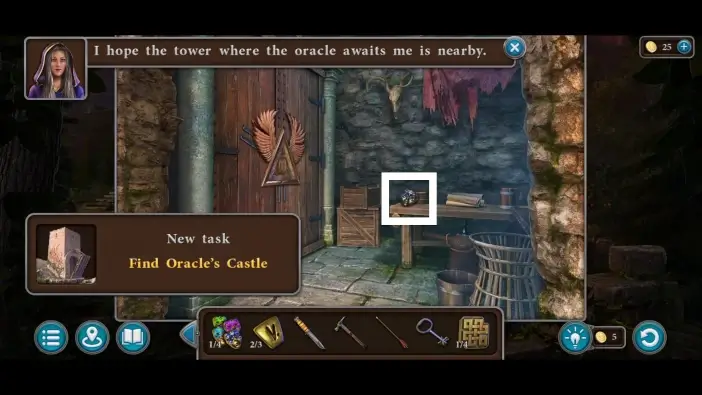
At the beginning of the chapter, speak with the hooded man.
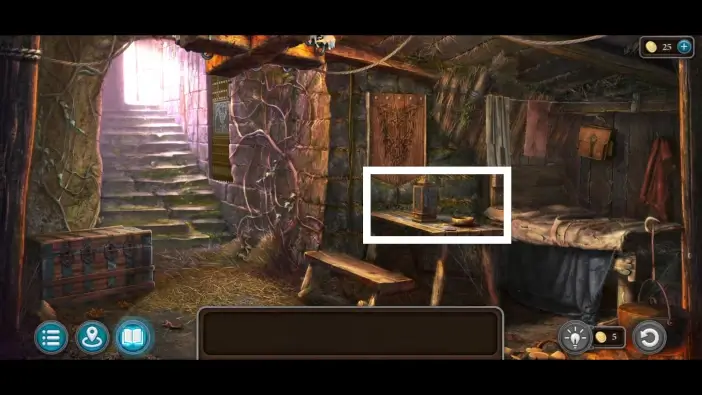
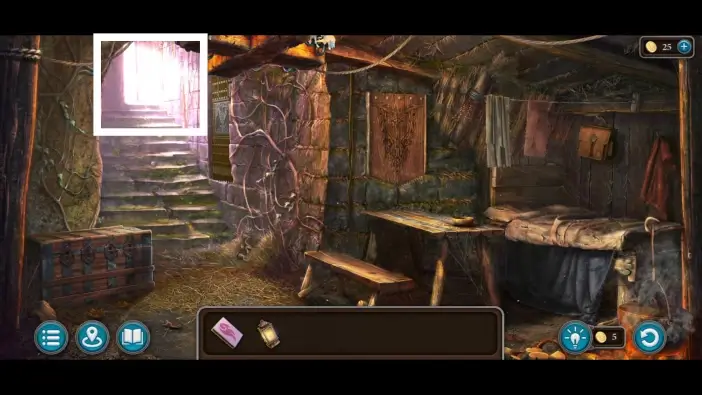
After the cutscene and conversation, approach the table.
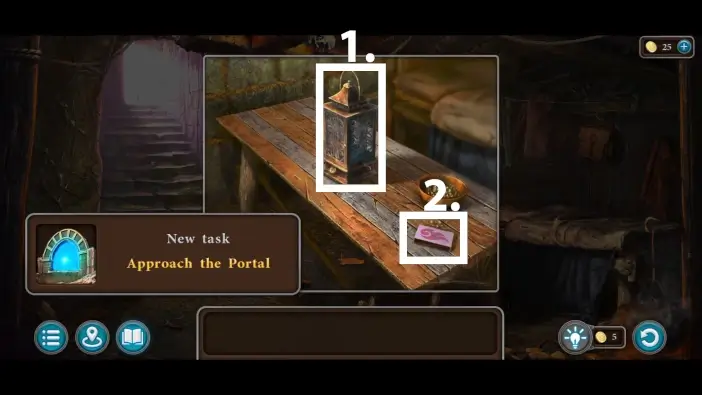
- Take the lantern.
- Take the box of matches. You will use it multiple times.
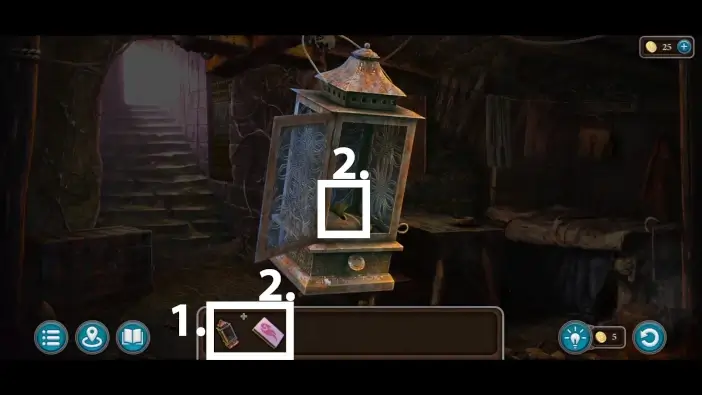
- Click on the lantern in your inventory to examine it and then open the lantern.
- Use matches to light the lantern. The “burning lamp” item will be added to your inventory.
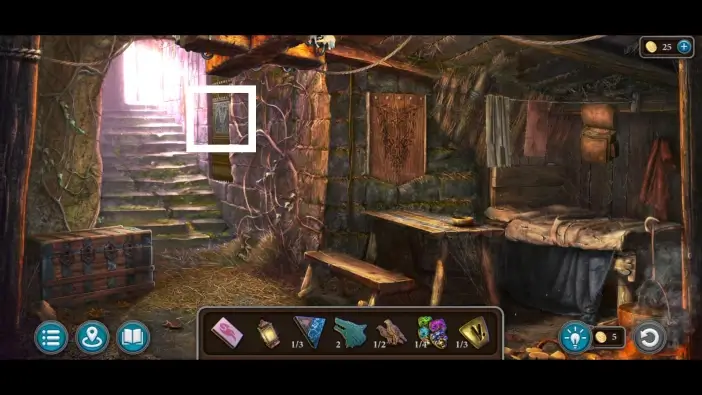
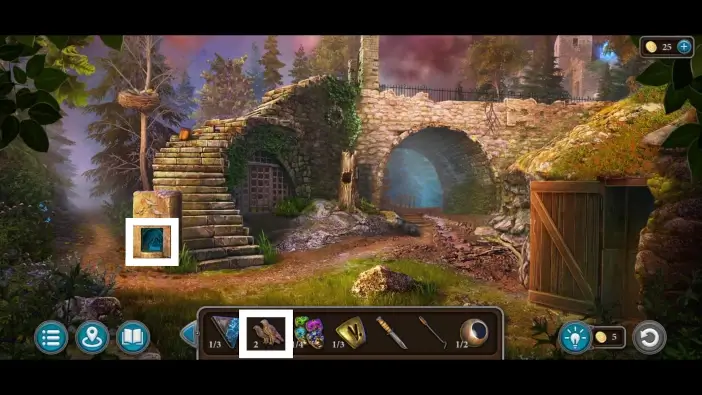
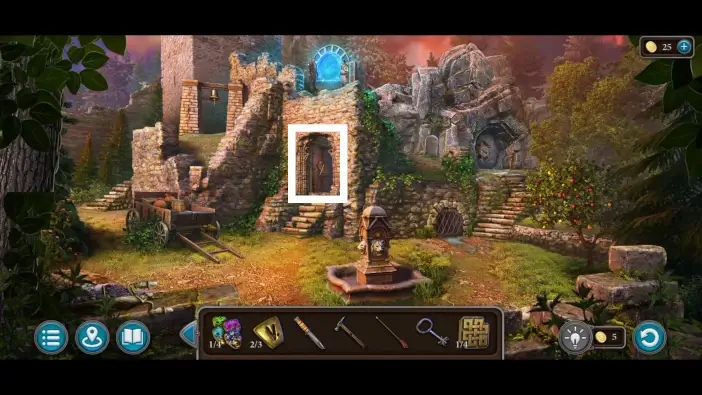
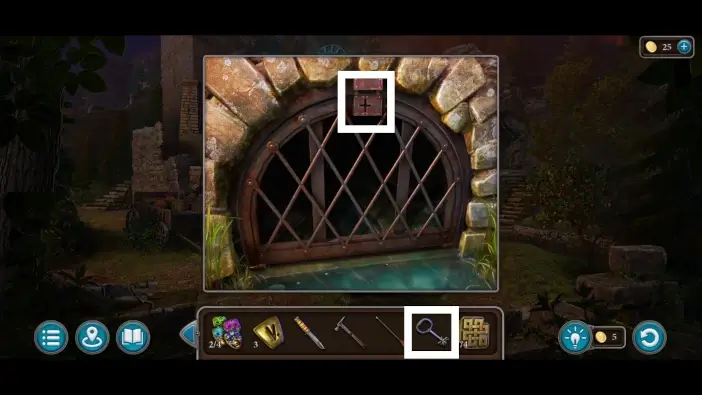
Go outside.
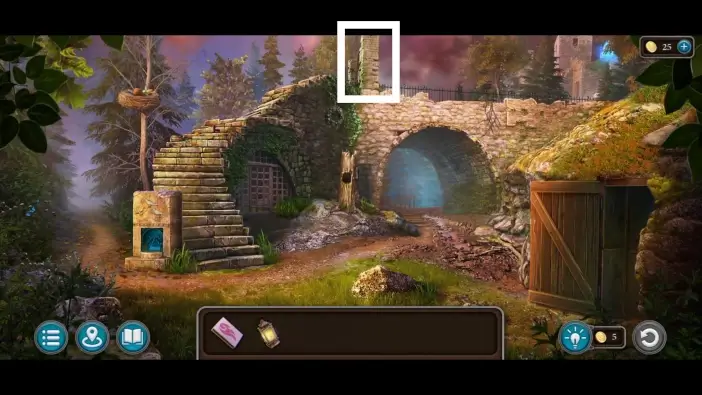
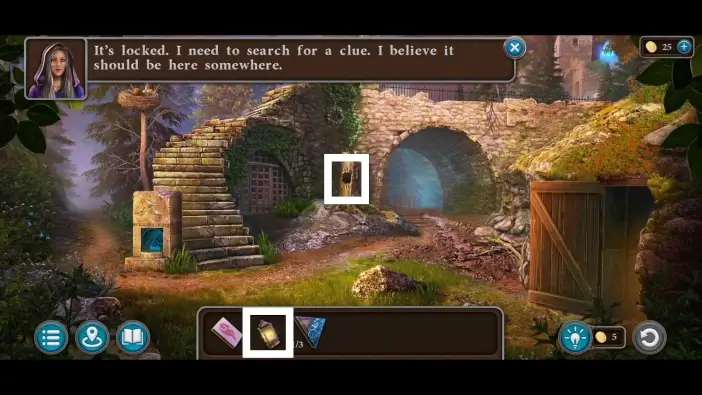
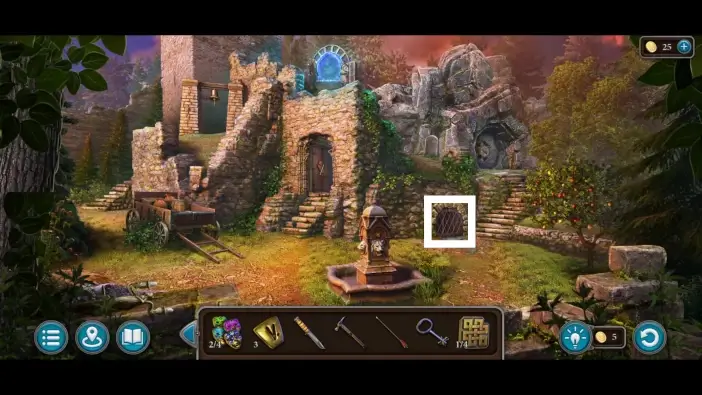
Approach the gate upstairs.
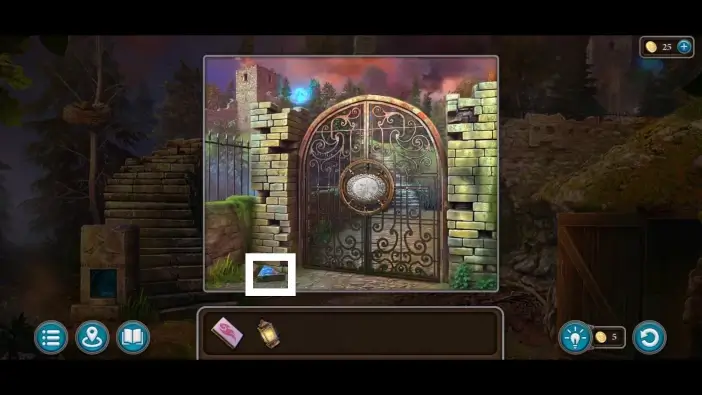
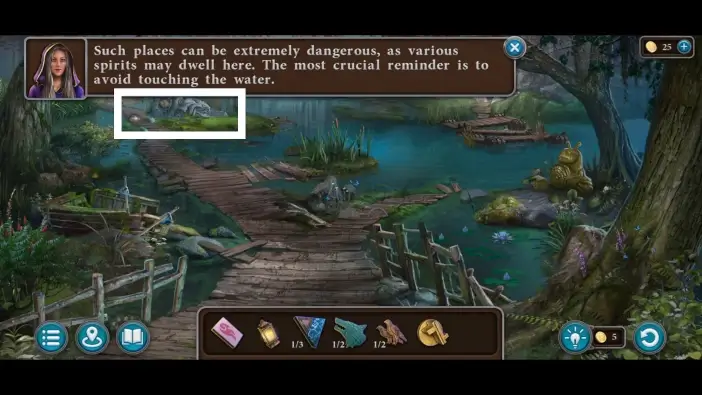
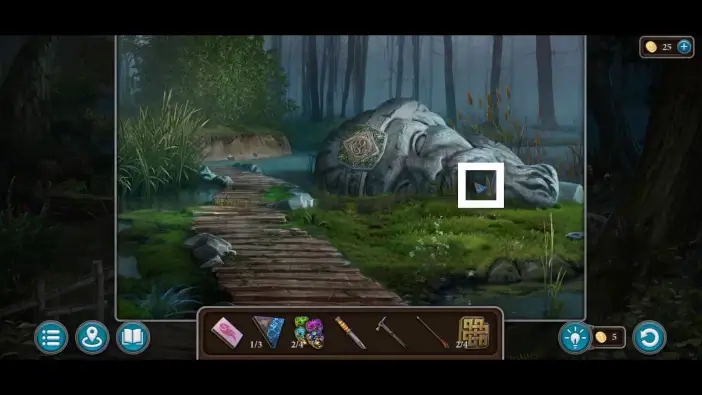
Pick up the first blue stone from the ground, near the locked gate. You will need three of these stones to unlock a stone door to the cave, much later.
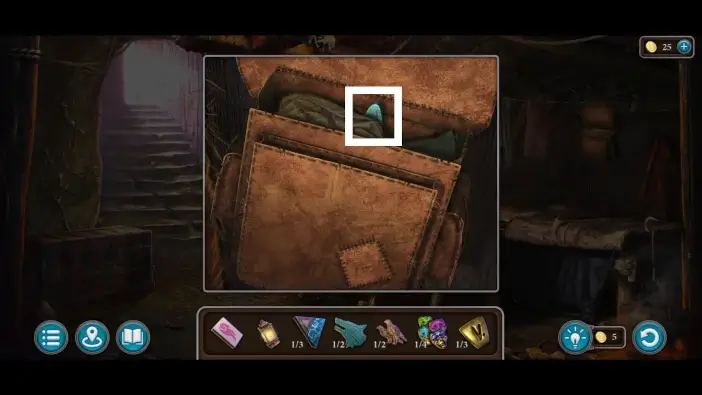
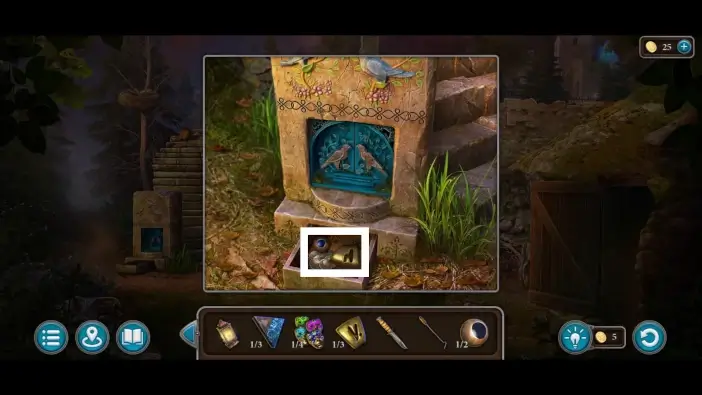
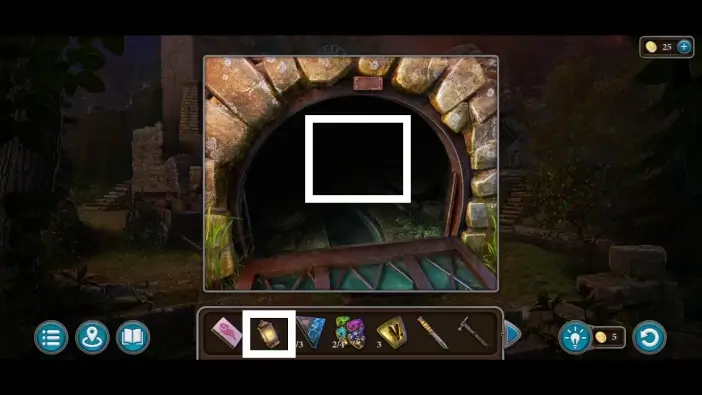
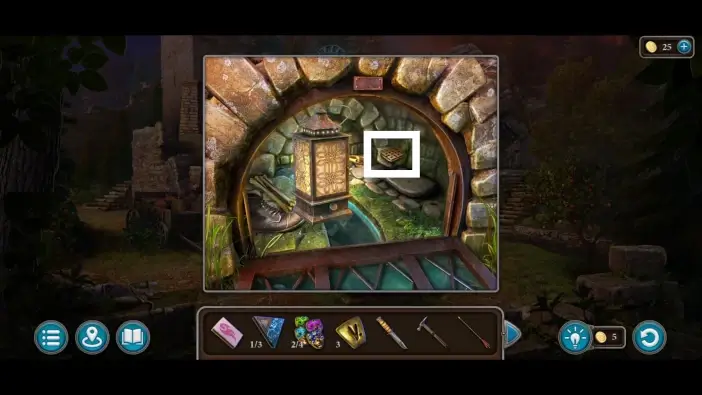
Return to the ground level and place the lantern into the tree hollow.
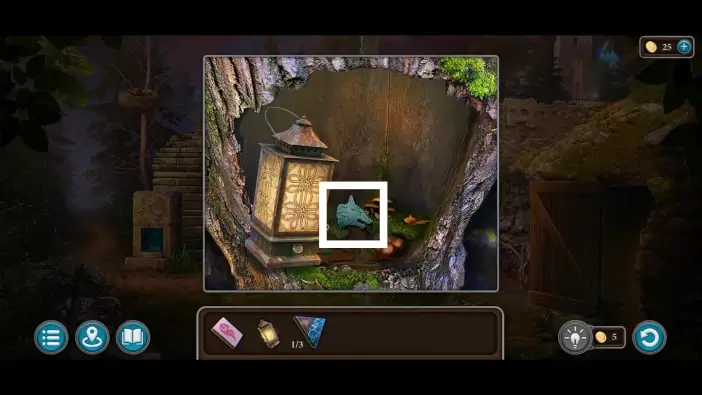
Once you’ve illuminated the tree hollow with the lantern, take the first wolf’s head. You’ll need to find one more item like this to unlock the armory in the starting area, which is the house where you started this chapter.
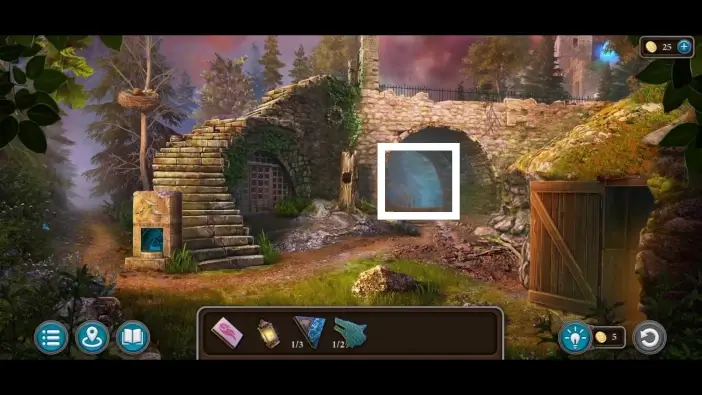
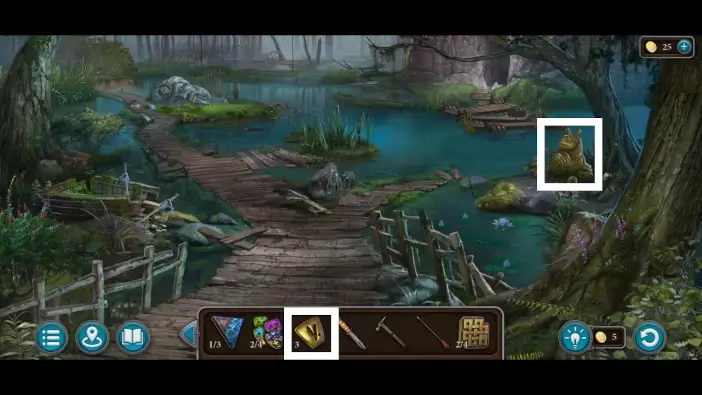
Go to the path under the bridge to arrive at the swamp.
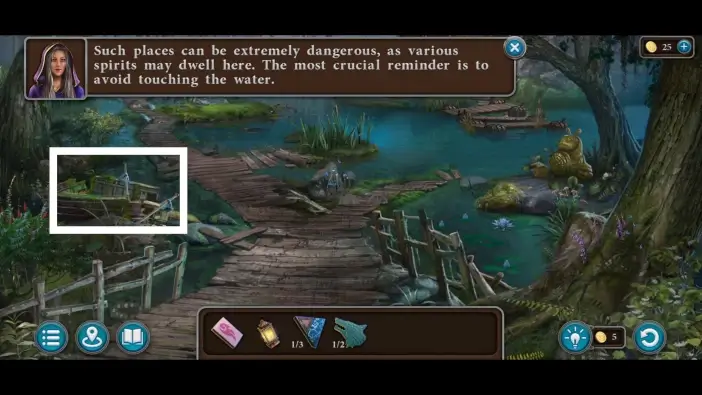
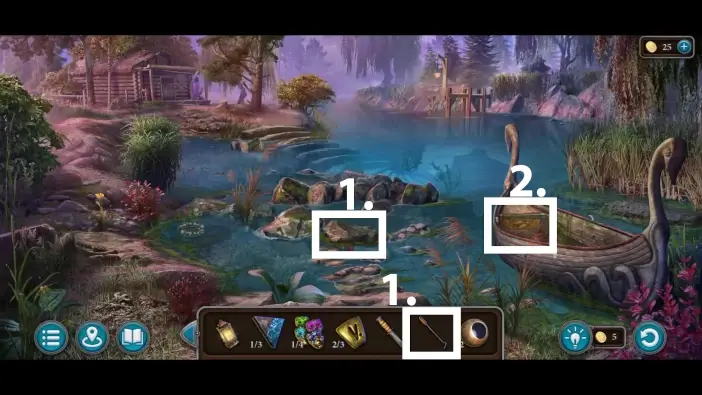
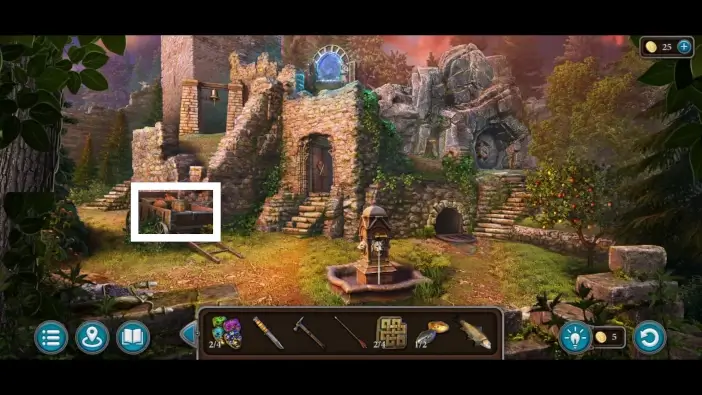
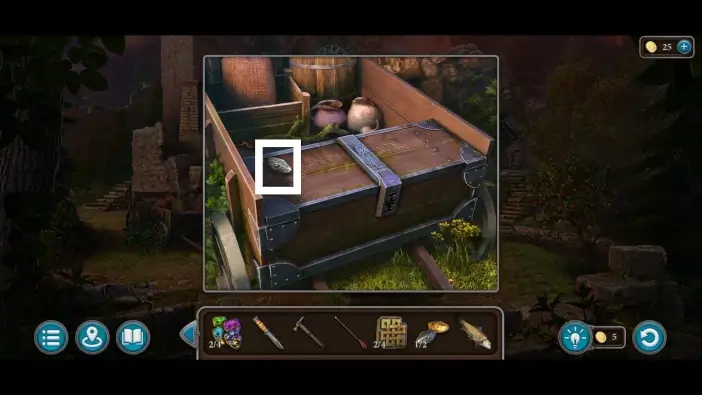
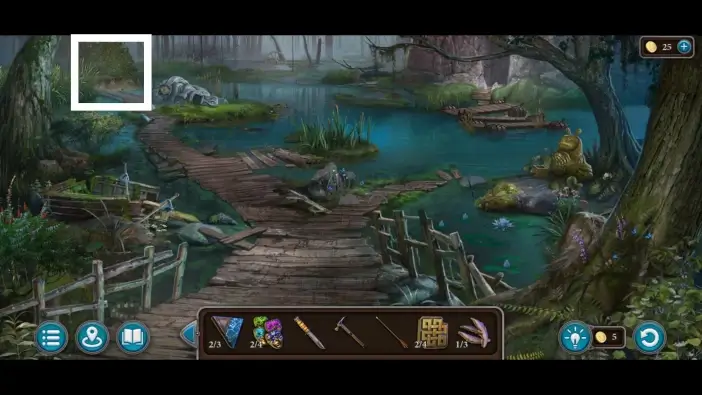
In the swamp area, approach the ruined boat on the left.
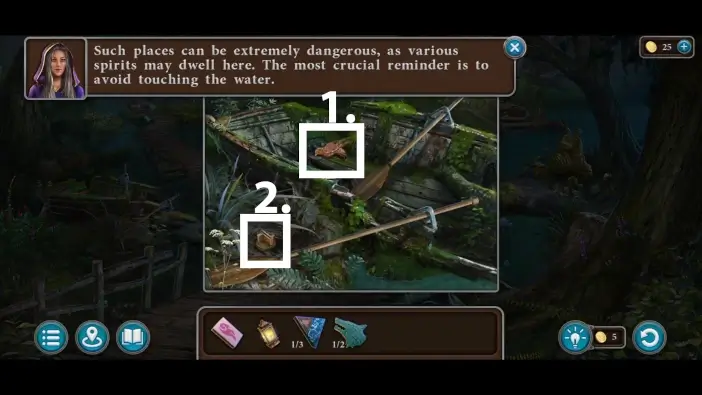
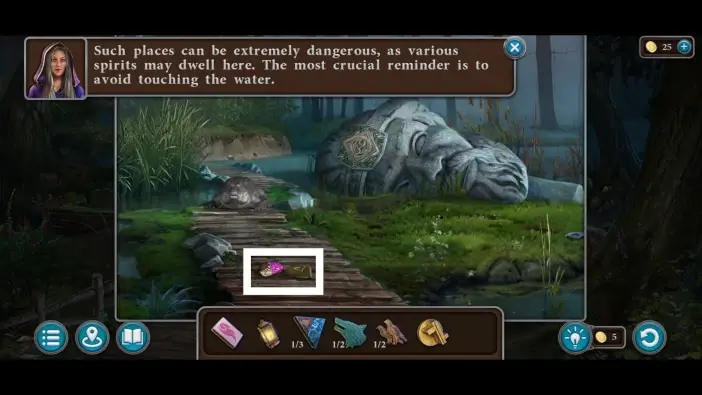
- Take the first bird-shaped item from the boat. You will need two of these items to unlock one puzzle in the bridge area.
- Pick up the shaped key from the ground. You will unlock a bag in the starting area house.
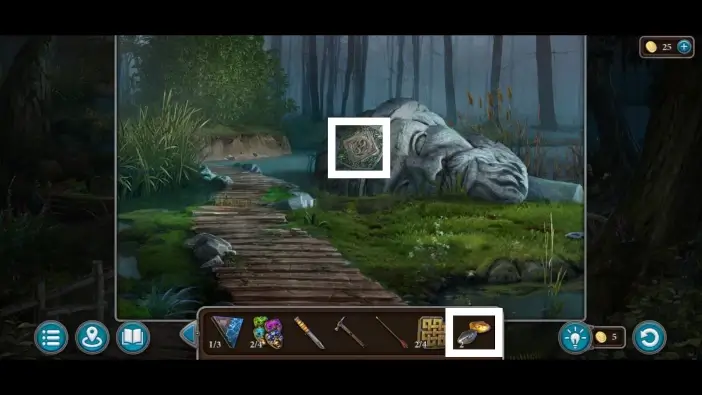
Go left towards the head statue.
Pick up the first mask and the first rune from the ground. You’ll need three runes to activate the puzzle on the snail statue in the swamp area, and you’ll need four masks for the puzzle challenge much later in the puppet theater at the tower area.
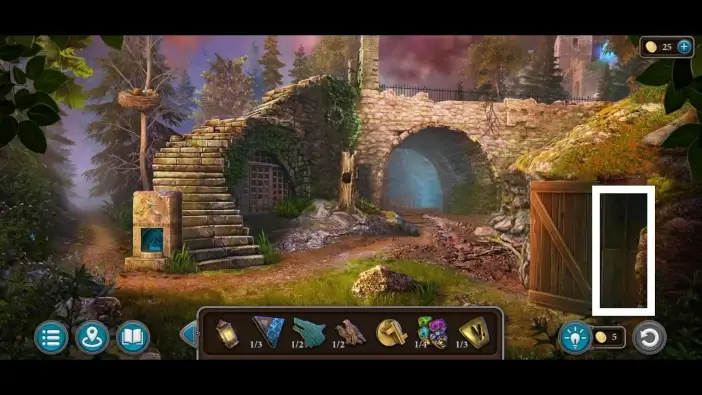
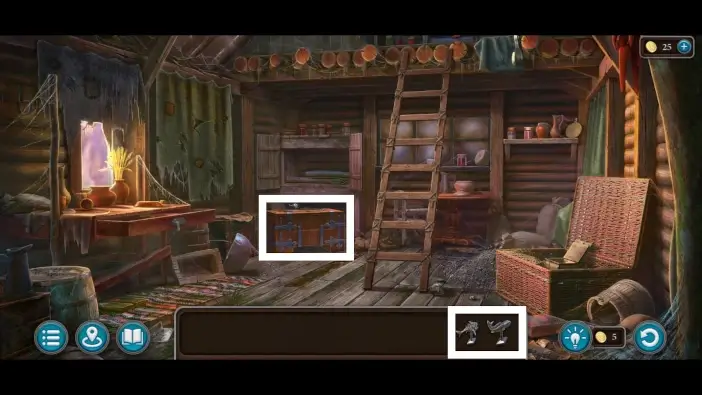
Return to the bridge area and enter the starting area house on the right.
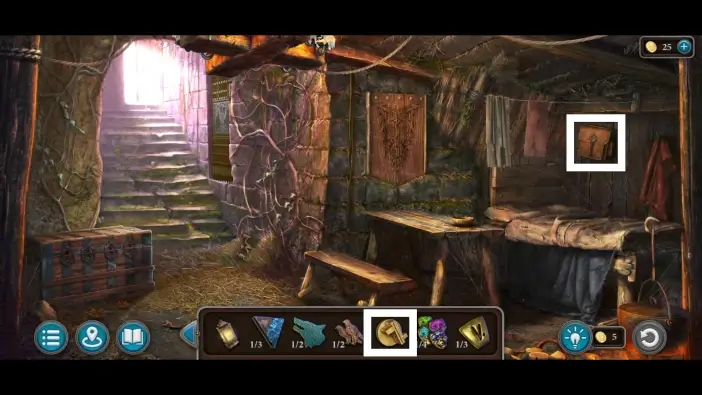
Inside the house, approach the hanging bag on the right side and use the shaped key to unlock it.
Take the second wolf’s head from the bag.
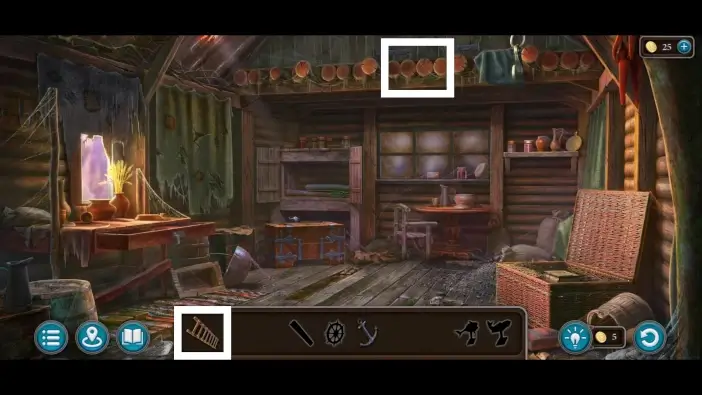
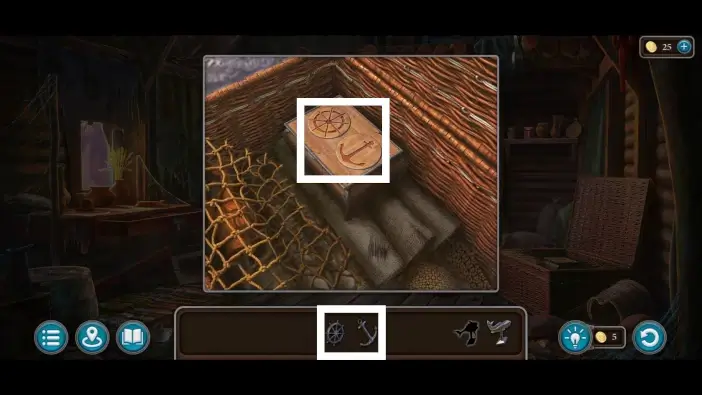
Approach the armory gate near the exit.
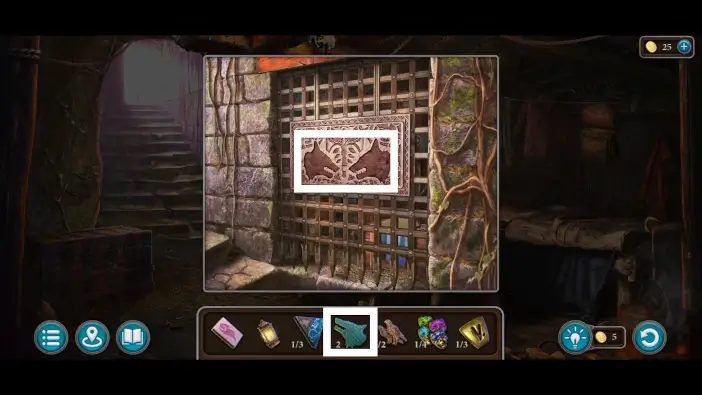
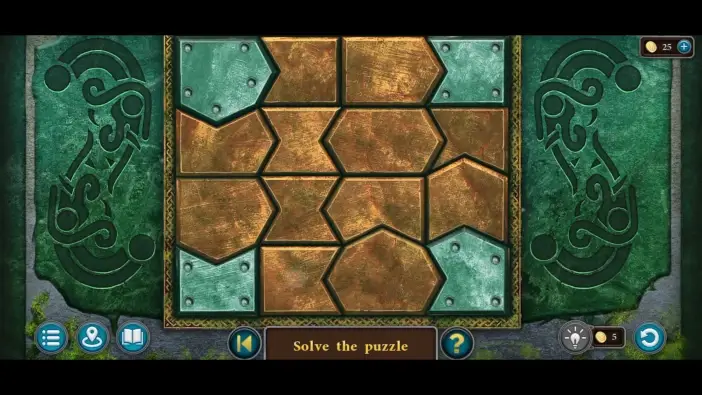
Place the wolf heads on the gate to start a new puzzle challenge.
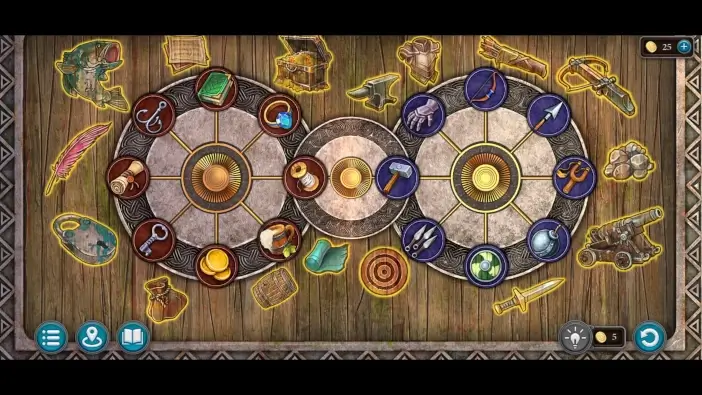
To unlock the gate, you’ll need to move the items in the wheels to be next to the items outside the wheels that are associations to them. For example, an anchor should be next to the fish, a key next to the padlock, etc. You can rotate the three wheels to move the items around. The solution is in the picture above.
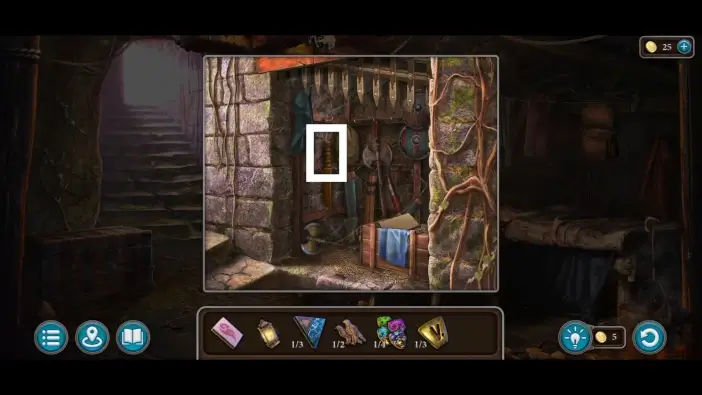
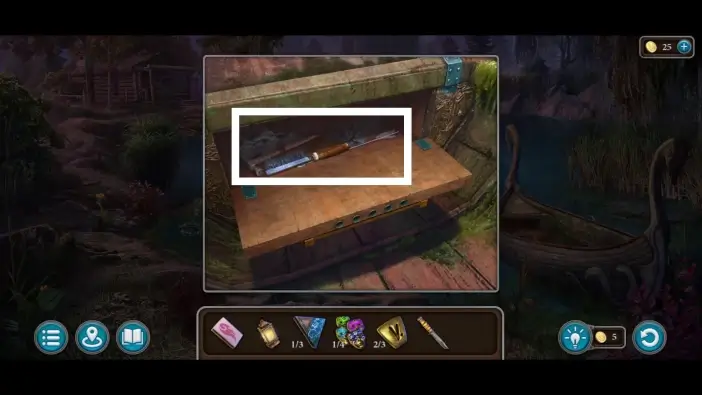
Once you open the gate, take the knife from the armory. You will use it multiple times.
Approach the bed and move the blanket away.
Pull the sack closer to you and then use a knife to cut it. Take the poker from the sack.
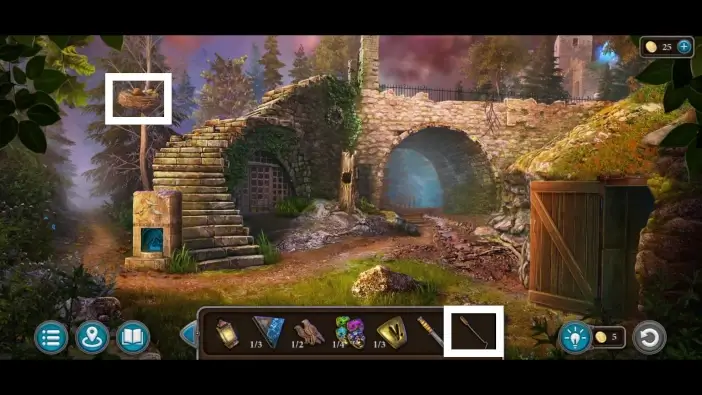
Exit the house and approach the nest in the left tree. Use a poker to pull down the bag from the nest. It will fall on the staircase.
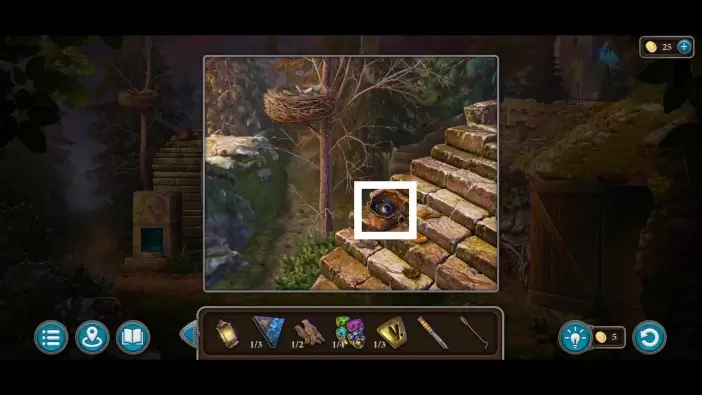
Take the first eye from the bag. You’ll need two eyes to unlock a chest in the boat in the pier area.
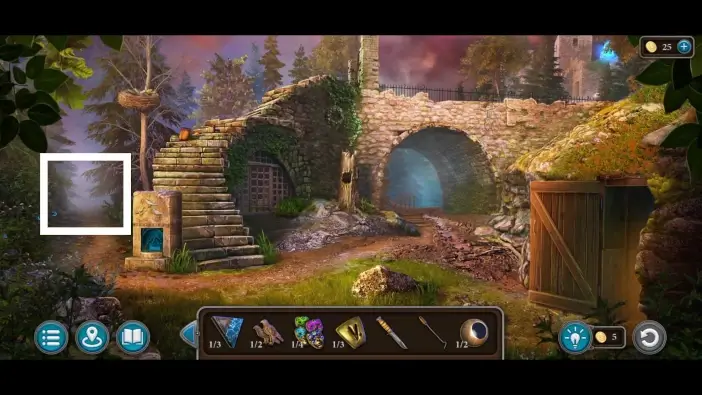
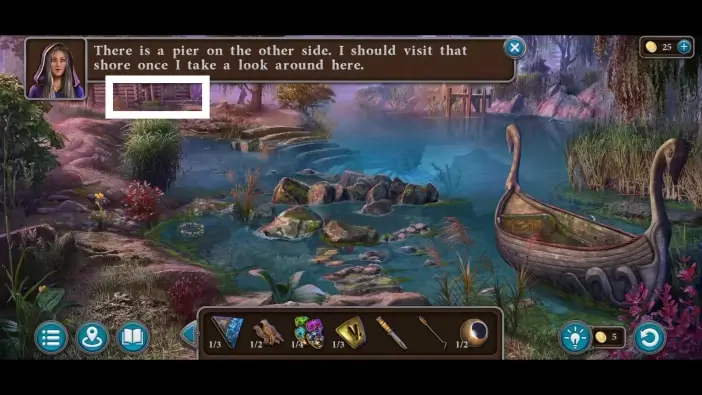
Go to the pier area using the path on the left.
Approach the wooden hut in the upper left corner.
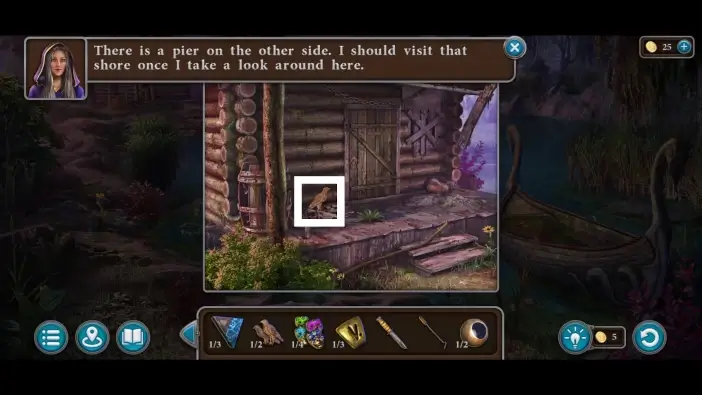
Take the second bird-shaped item near the entrance door of the wooden hut.
Return to the bridge area and place the two bird-shaped items into the monument next to the staircase. A new puzzle challenge will start.

In this puzzle challenge, you’ll need to rearrange the wooden parts to assemble the images of two feathers, like in the picture above. You can switch places between any two parts.
Once you complete the previous puzzle, a drawer will open from the lower part of the monument. Take the second rune and the second eye from the drawer.
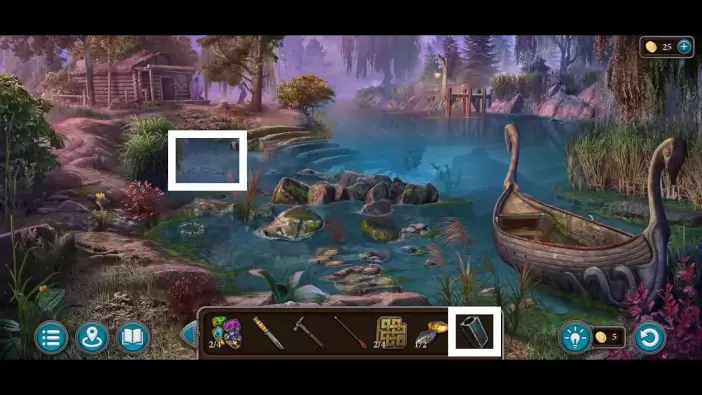
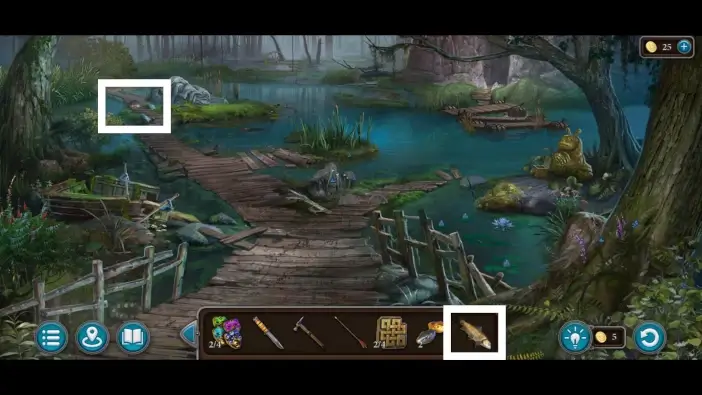
- Return to the pier area, approach the stone in the middle, and use a poker to move the stone, revealing the red algae. The red algae will be important later.
- Approach the chest on the boat.
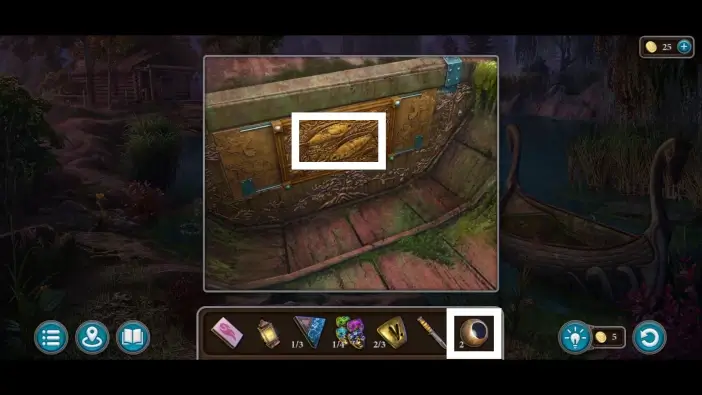
Place the eyes into the fish’s eyesockets to start a new puzzle challenge.
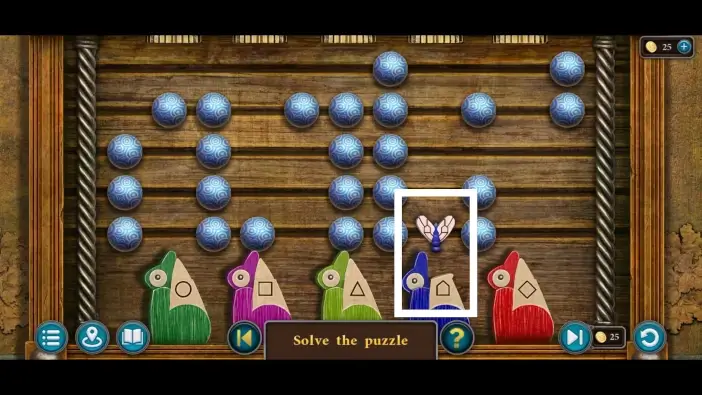
In this puzzle challenge, a green fly needs to enter the green box, a blue fly needs to enter the blue box, etc. Each fly has its own goal box that matches its color. You can’t move individual elements in the puzzle, only the entire row. That includes flies and obstacles at the same time.
Once you complete the previous puzzle challenge, the chest will open. Take the hammer, the brush, and the arrow from the chest.
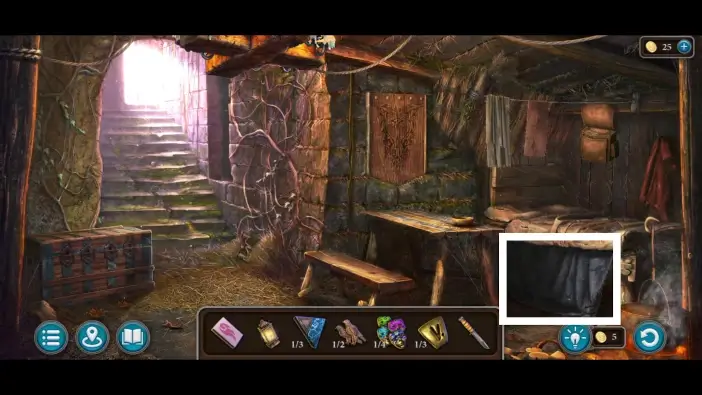
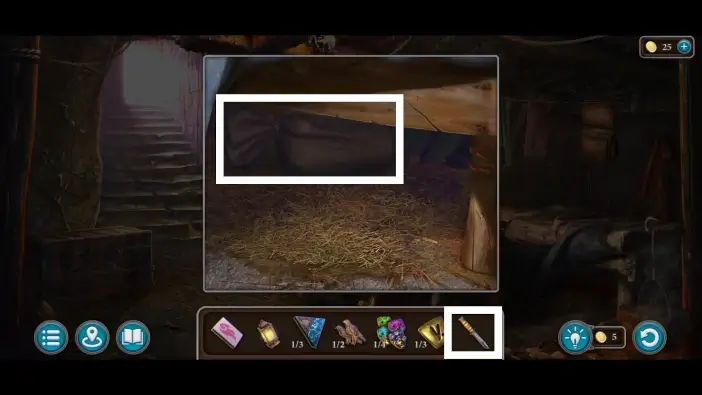
Return to the house and use the hammer to remove the wooden board from the wall by removing the nails.
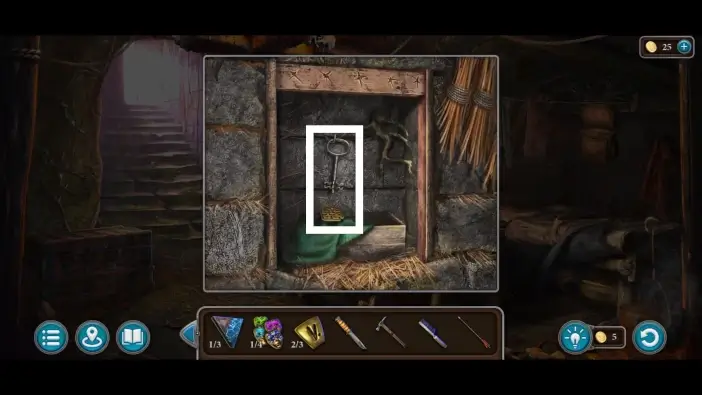
Take the key and the first plate. You’ll need four plates to unlock a large chest in the house.
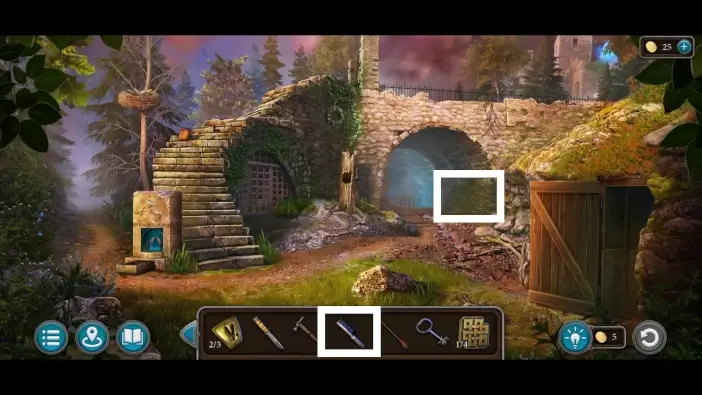
Exit the house and approach the wall under the bridge. Use the brush to remove the moss from the wall.
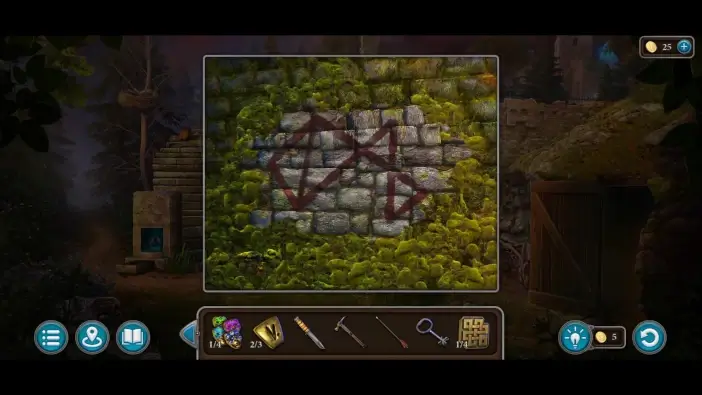
Once you clean the moss, you will see a pattern on the wall. This is a clue for the gate puzzle challenge on the bridge.
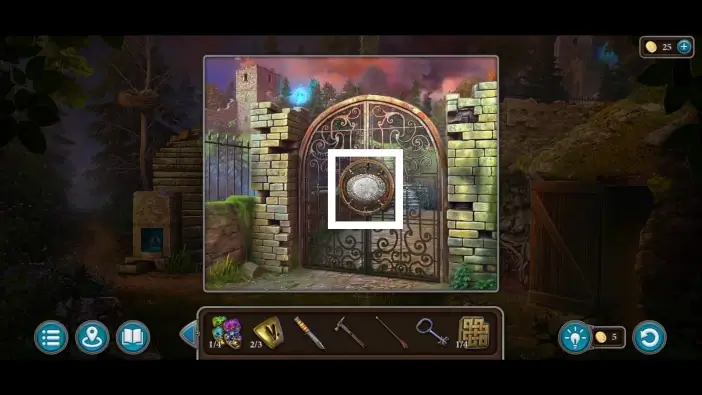
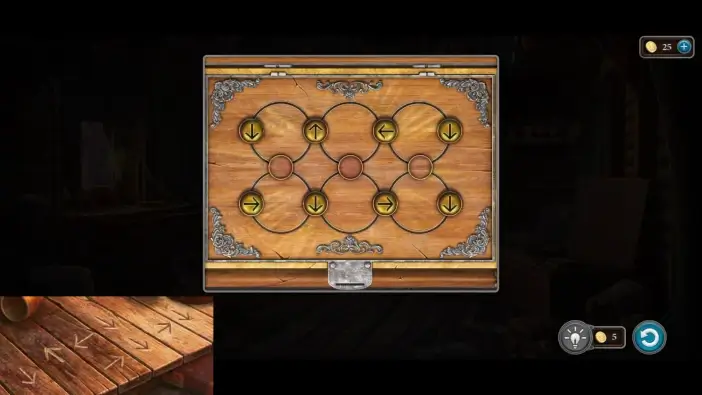
Climb the staircase and approach the gate on the bridge.
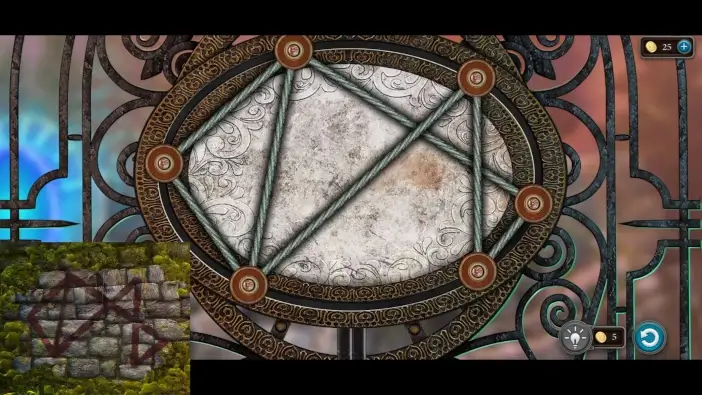
In the next puzzle, move the nodes to create the same shape as the shape written on the wall under the bridge. The gate will then be unlocked, and you can cross the bridge and enter a new portal area.
After the cutscene, in the portal area, enter the room in the middle.
Take the second mask.
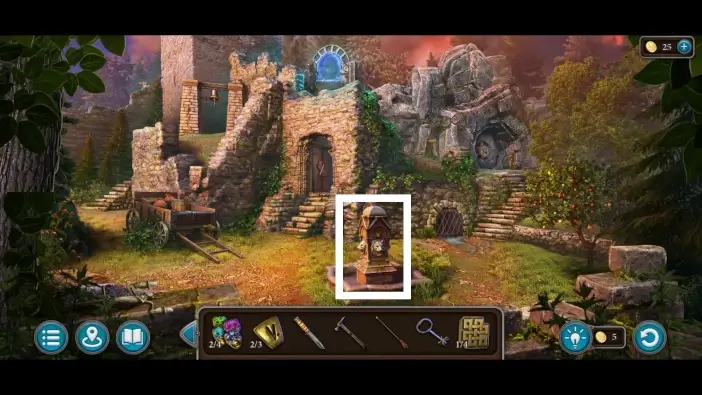
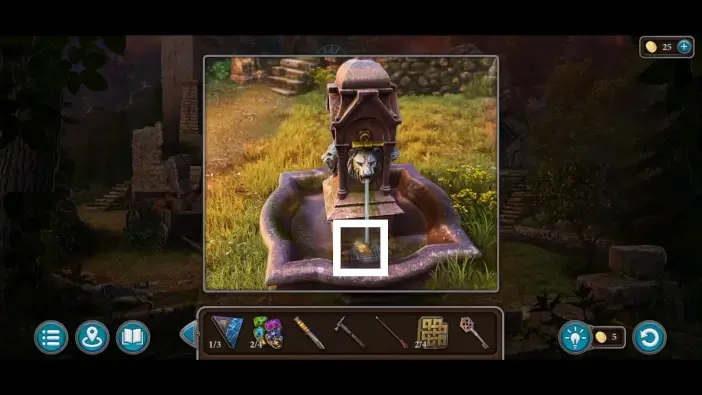
Approach the lion faucet.
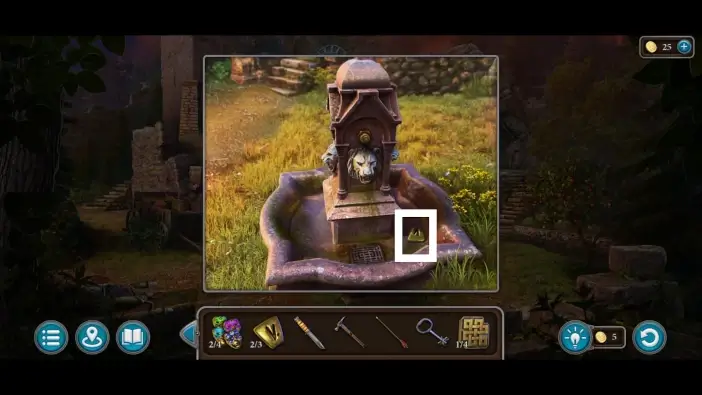
Pick up the third rune.
Approach the bars.
Use the key you’ve got in the house to unlock the bars.
Place the lantern to illuminate the space.
Take the second plate.
Go to the swamp area and place the three runes into the slots on the snail statue. A new puzzle challenge will begin.
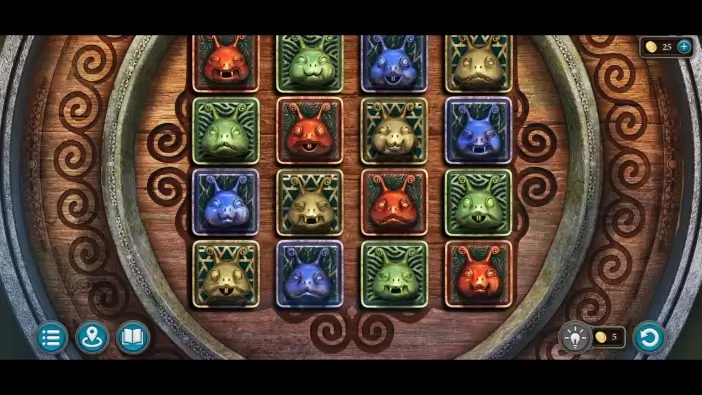
In this puzzle challenge, rearrange the snail heads in a way that no color is repeated in the same row or column.
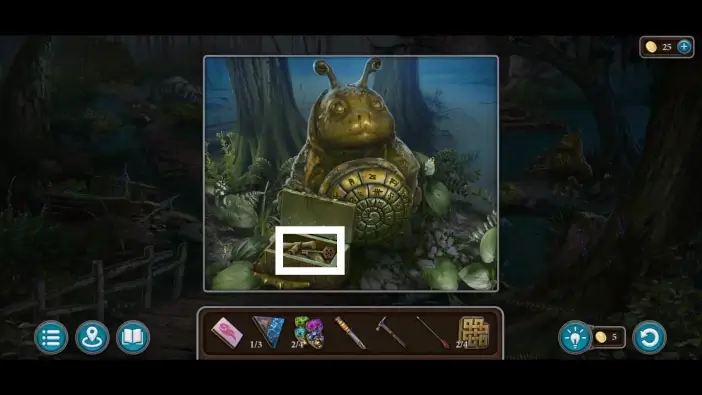
Once you complete the previous puzzle challenge, a chest will open. Take the key and the faucet from the chest.
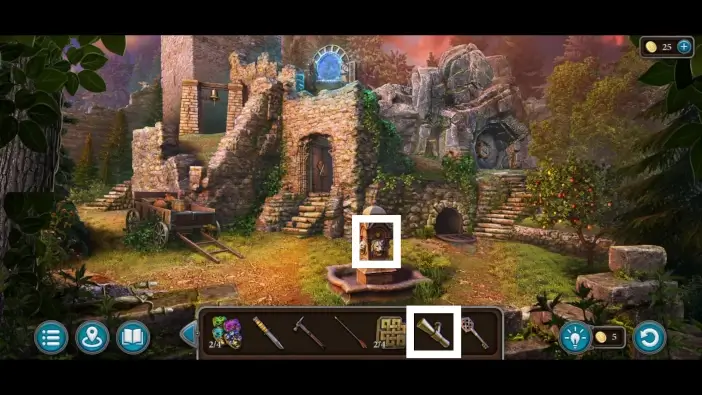
Go to the portal area and attach the faucet above the lion’s head.
The water will start flowing, and the first snake-shaped head item will appear. Pick it up. You’ll need two snake heads to open the compartment in the head statue in the swamp.

Go to the pier area and unlock the wooden hut using the key you acquired from the chest near the snail statue. Enter the wooden hut, and a new mini-game will start.
- Take the board.
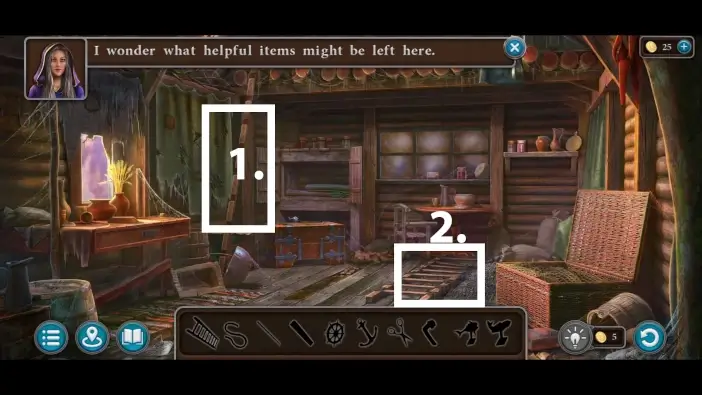
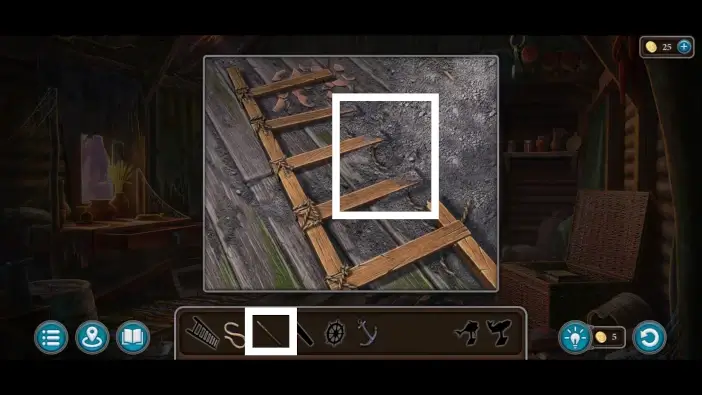
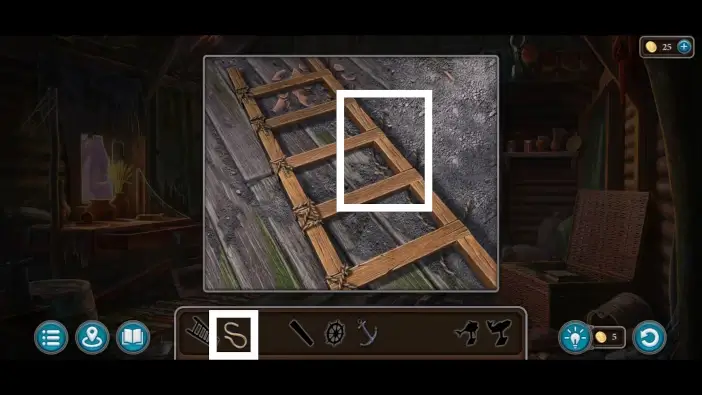
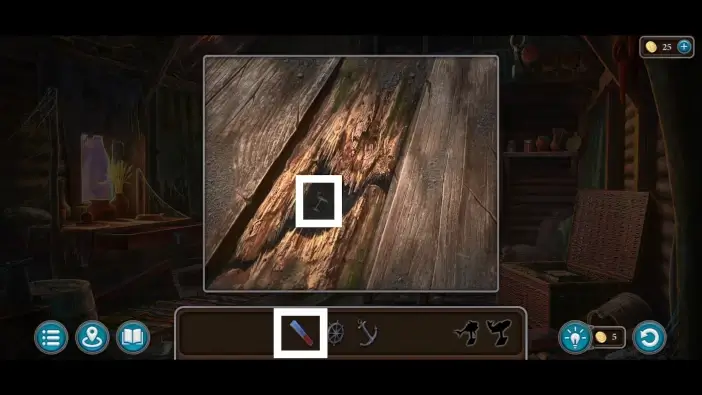
- Approach the ladder on the ground.
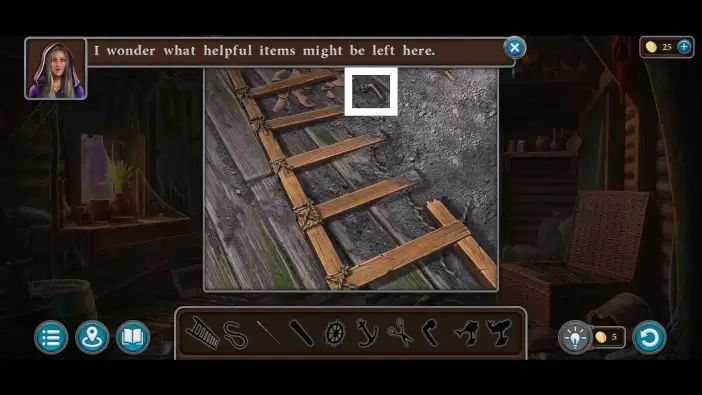
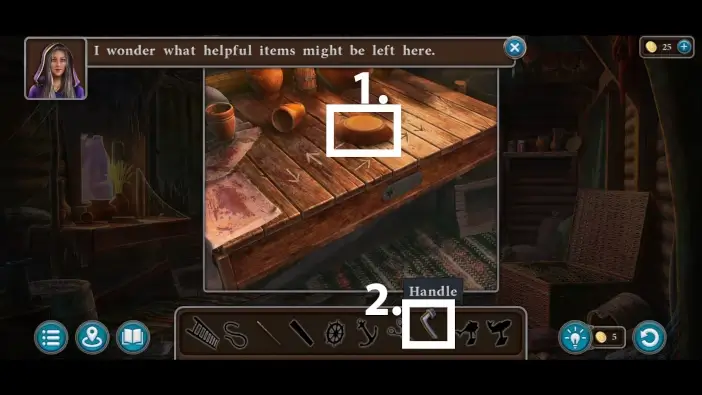
Pick up the handle next to the ladder.
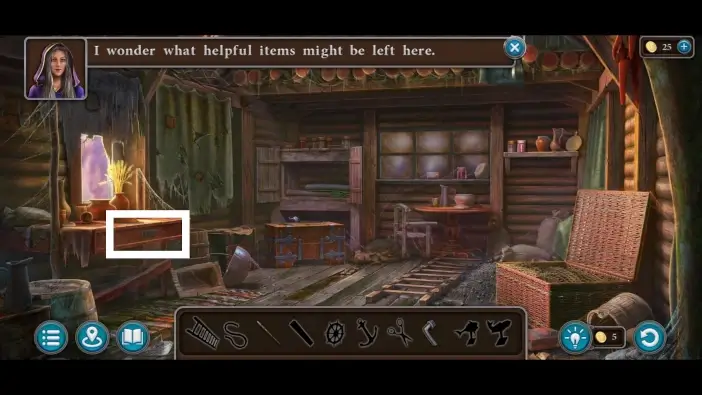
Approach the table on the left.
- Move the plate to reveal the full clue.
- Attach the handle to the drawer.
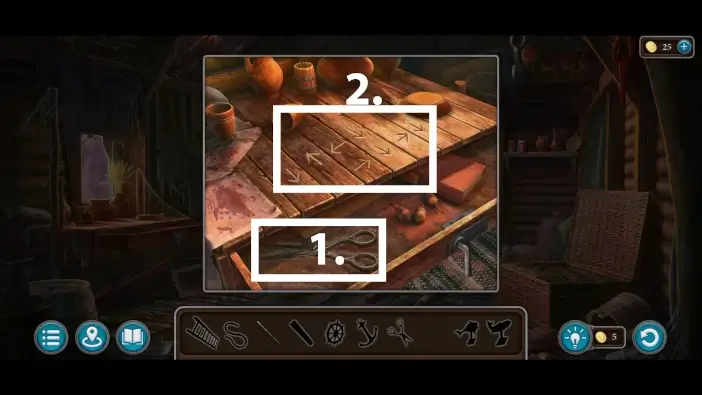
- Open the drawer and take the scissors.
- Remember the clue on the table.
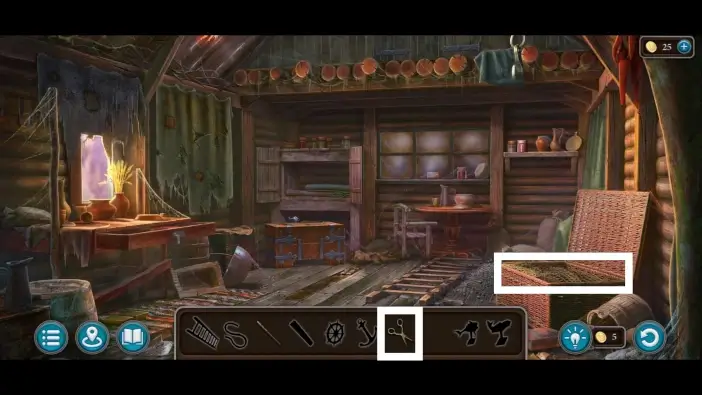
Approach the chest on the right and cut the net using the scissors.
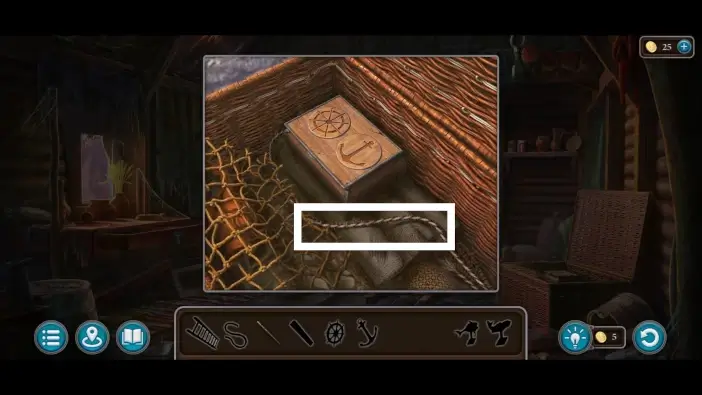
After you cut the net, take the rope from the chest.
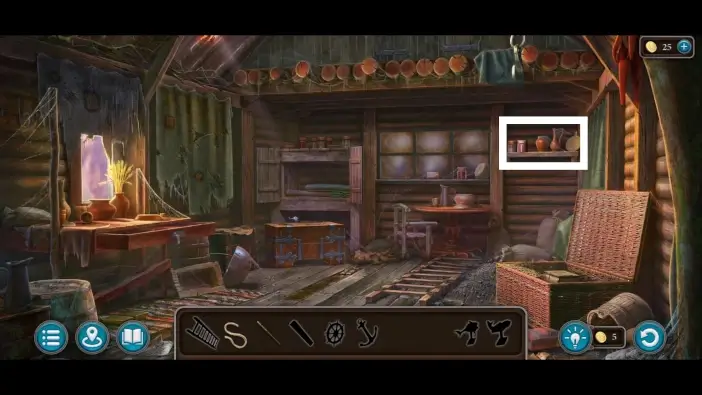
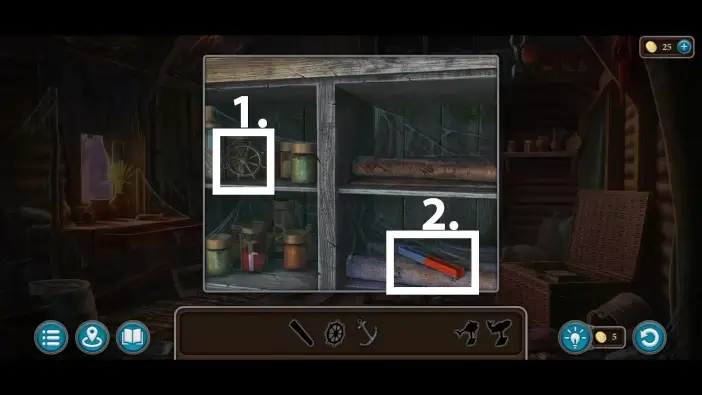
Approach the shelf on the right.
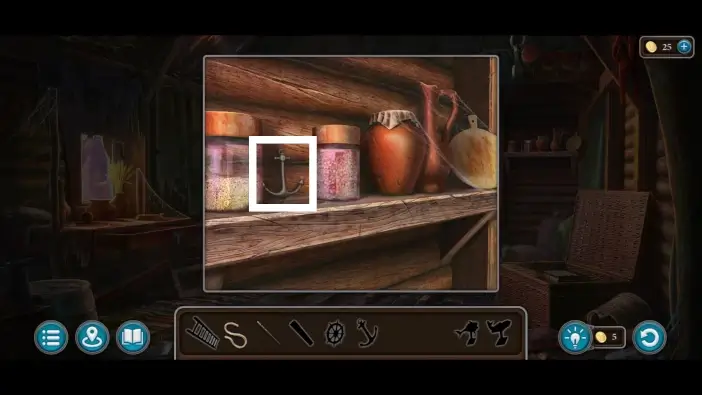
Move one of the jars and take the anchor.
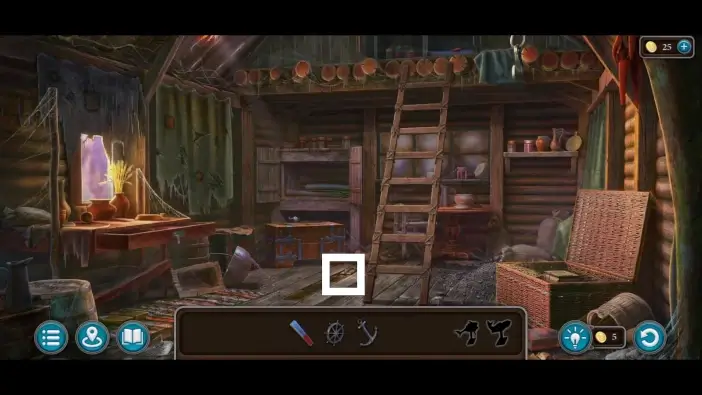
Approach the ladder on the ground and place the board.
Tie the board to the ladder using the rope and take the ladder.
Place the ladder to access the cabinet on the upper floor. Open the cabinet.
- Take the steering wheel.
- Take the magnet.
Return to the lower floor and approach the hole in the floor.
Use the magnet to get the first fish-shaped item.
Return to the chest on the right and place the steering wheel and the anchor into the small box to start the new puzzle challenge.
Rearrange the arrows on the box to be in the same positions as in the clue on the table. The solution is in the picture above. Once you finish this puzzle and open the box, take the second fish-shaped item.
Approach the large wooden chest on the left and use the fish-shaped items to open it. Take the trap from the chest, and the mini-game will be finished.
In the pier area, place the trap in the water to catch a fish. You’ll need it to distract the crocodile in the swamp area.
Go to the portal area and approach the cart on the left.
Take the second snake-shaped item.
Go to the swamp area, go near the head statue, and give a crocodile the fish.
While the crocodile is distracted, place the two snake-shaped items into the statue. A new puzzle challenge will start.
Place all pieces of the puzzle to open the mouth of the statue.
Take the second blue stone and the first feather. You’ll need three feathers to open the cabinet in the room in the portal area.
The path to the left will be unlocked because the crocodile will no longer be there. Head that path.
This will mark the end of Part 1 of our guide for Chapter 3 of Legendary Tales 5.
Thank you for reading!