Legendary Tales 5 – Chapter 2: Ancients Technologies | Part 2
Intro
Welcome to our walkthrough for Part 2 of Chapter 2 of “Legendary Tales 5” from “FIVE-BN GAMES”. Many use the devices of the Ancients, but no one knows how they work or how to fix them. Except for the Ancients themselves.
Walkthrough
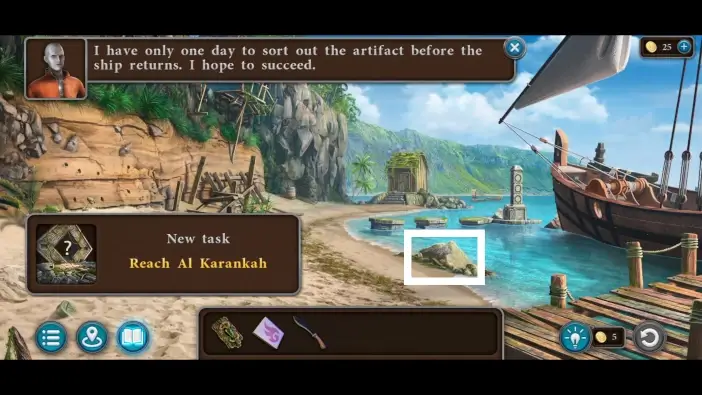
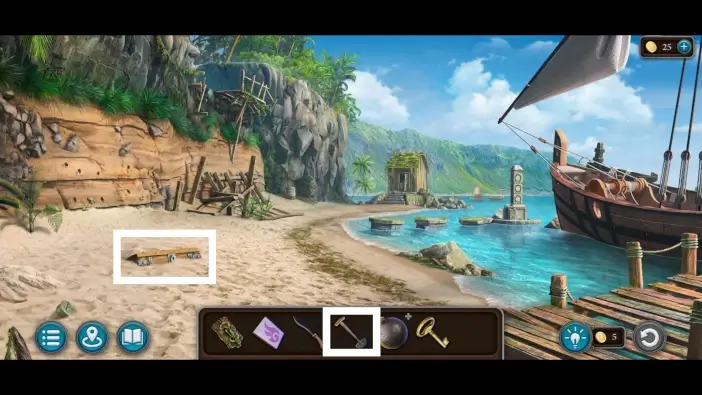
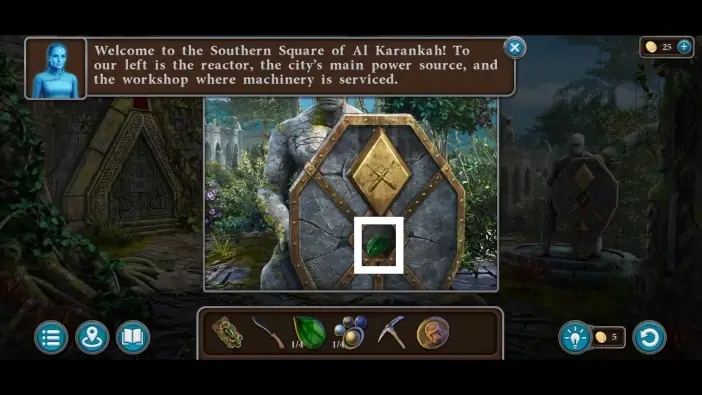
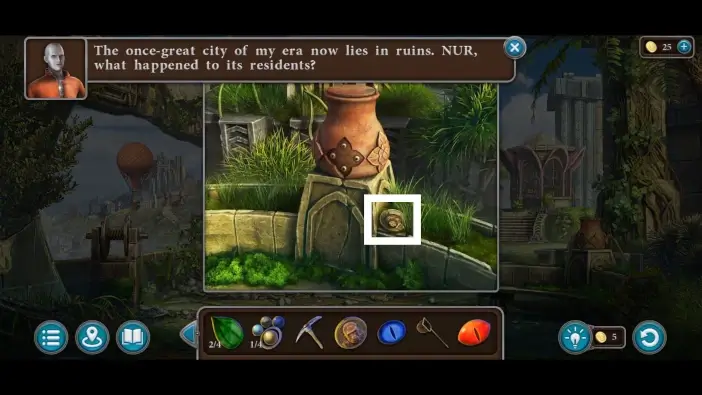
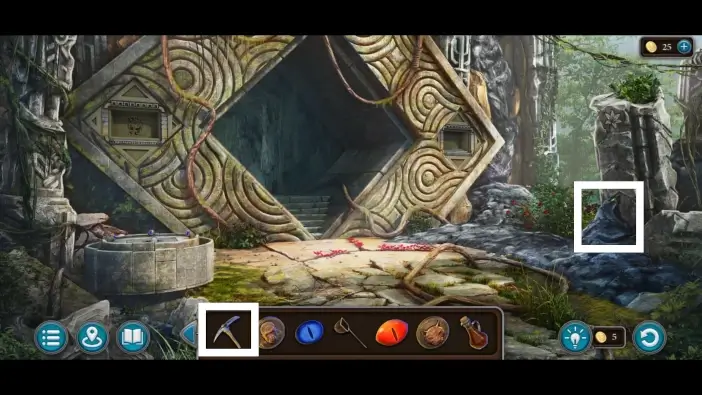
Once the previous cutscene ends, you will find yourself on the beach of the island. Approach the stone.
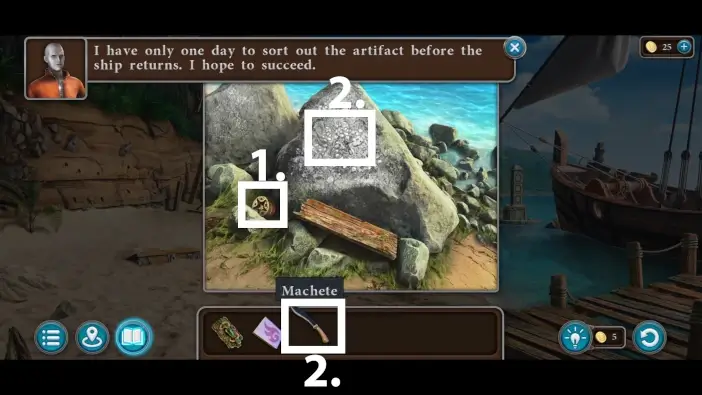
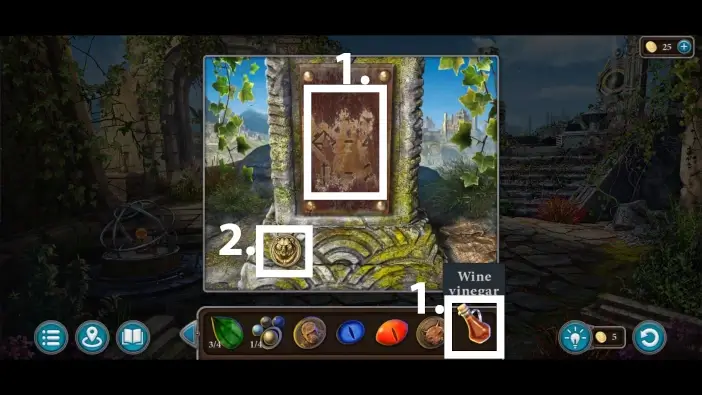
- Pick up the button. You’ll activate one puzzle challenge on the shed’s door with it.
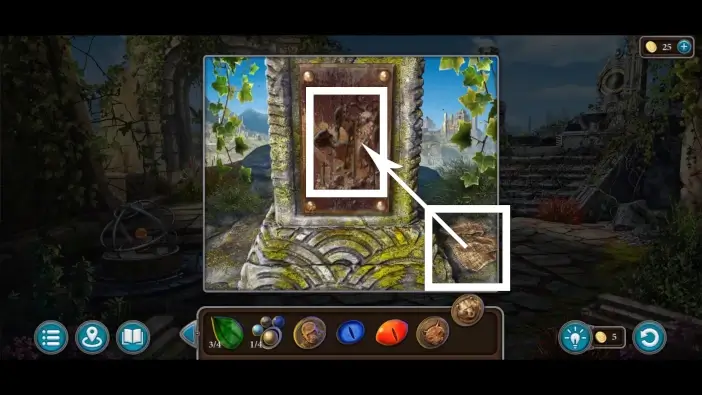
- Use the machete to remove the salt from the stone and reveal the clue.
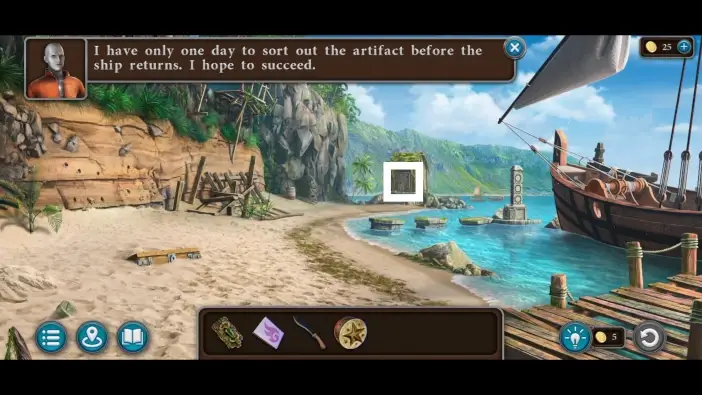
Go to the shed on the far side of the beach.
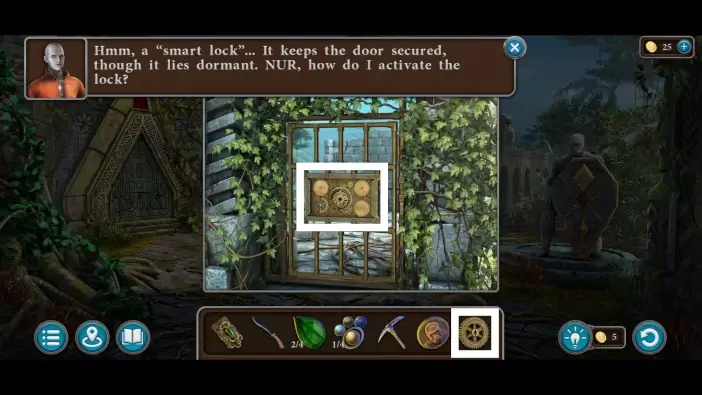
Attach the button to the lock, and a new puzzle challenge will begin.
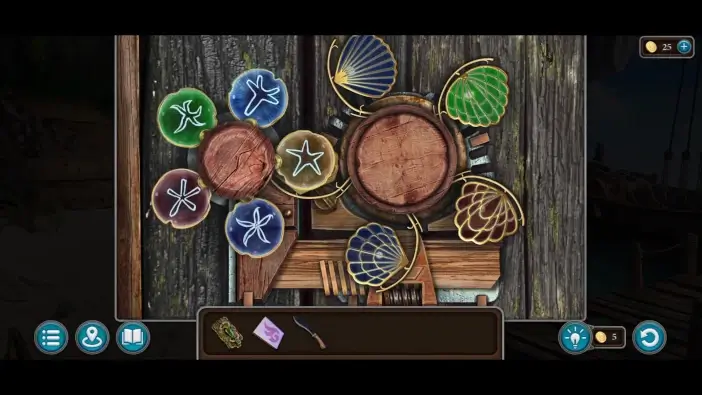
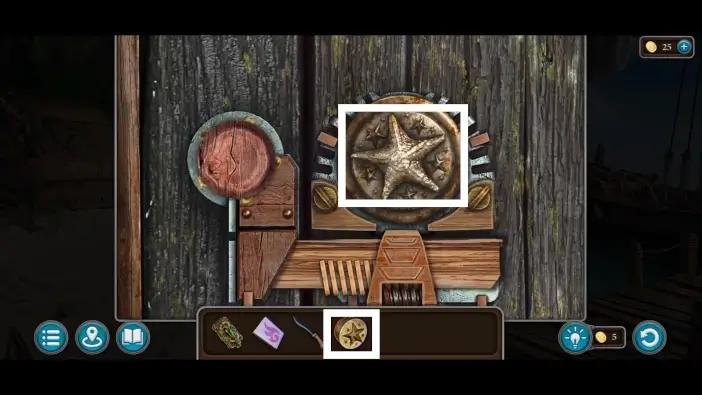
To unlock the shed’s door, you’ll need to place the green shell and the five-pointed star in the middle (the same star is on the stone, as the clue). You can move the shells and symbols by clicking/tapping on the left and right wooden circles.
- Take the shovel in the shed. You will use it to dig out the chest from the sand.
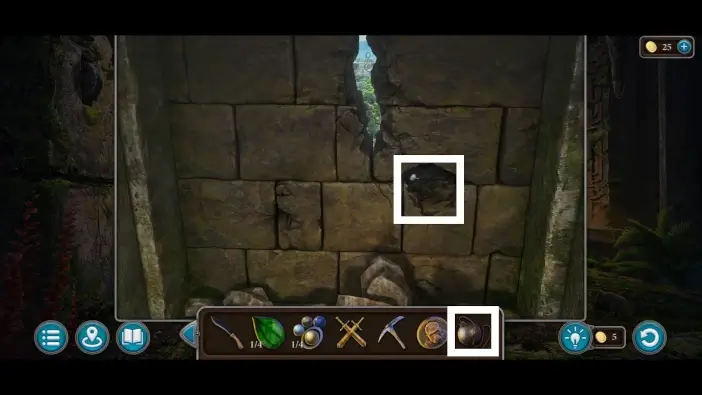
- Grab the poker that is hanging on the door. You’ll need it to reach the key in the hole.
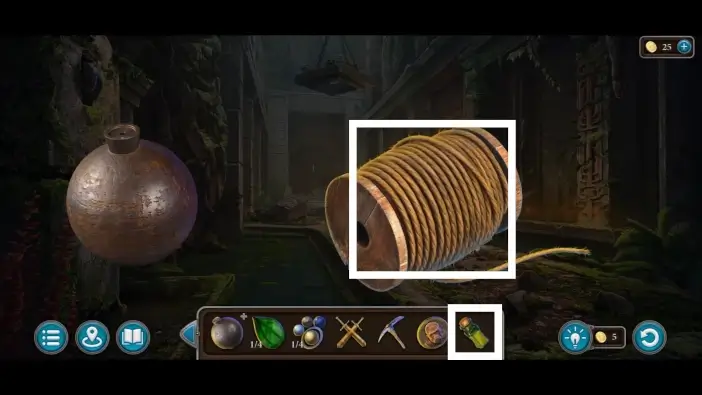
- After collecting the manuscript, take the cast-iron ball. You’ll use it to destroy one wall later, but first, you’ll need to fill it with gunpowder and attach the fuse to it.
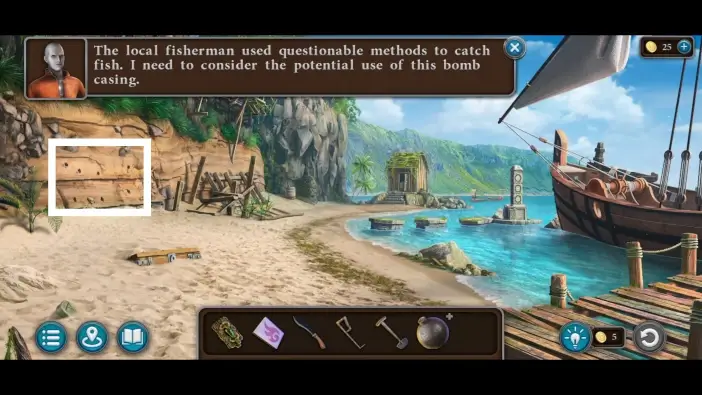
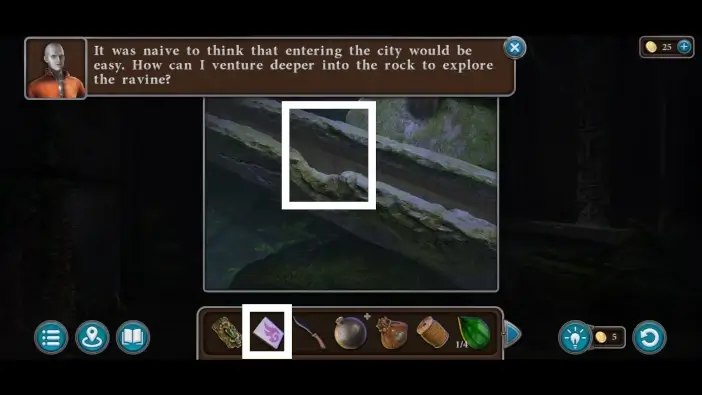
At the beach, approach the holes on the left.
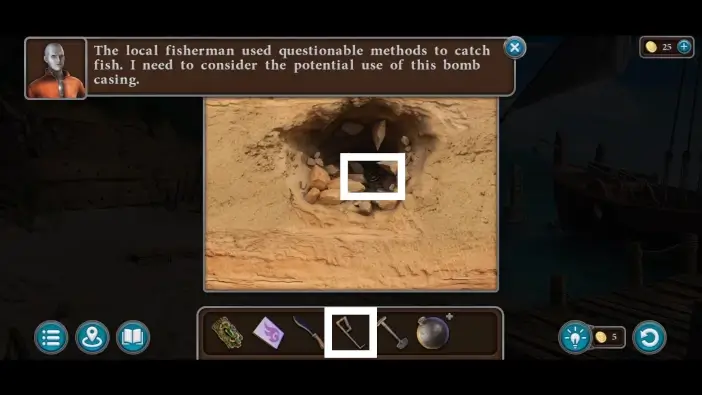
Use a poker to reach the chest key.
Use a shovel to dig out the large chest.
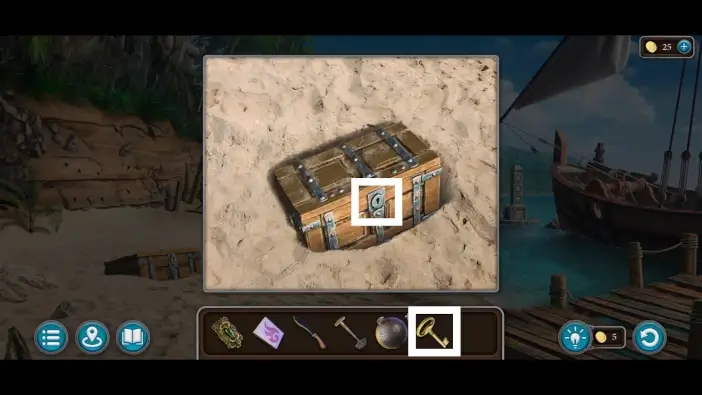
Open the chest using the key you’ve found in the hole. Take the climbing picks and the gunpowder from the chest. You will use the climbing picks to climb the cliff and gunpowder to fill the cast-iron ball.
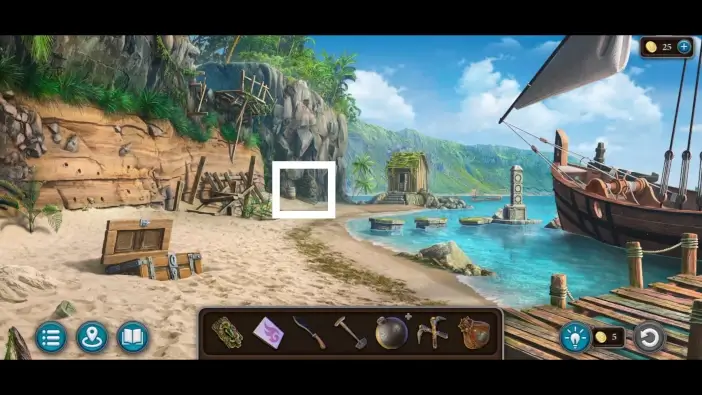
Go to the bottom of the cliff.
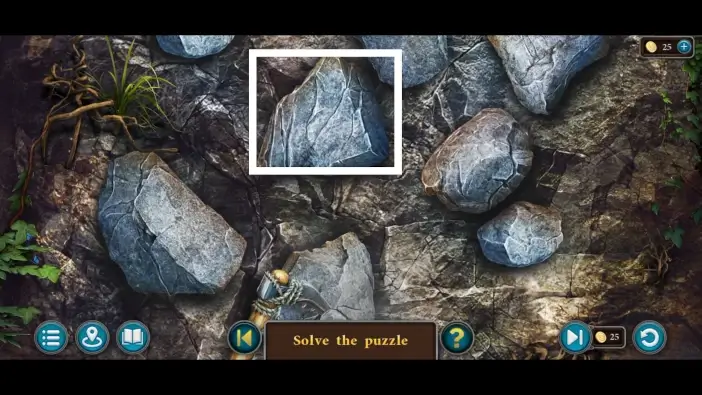
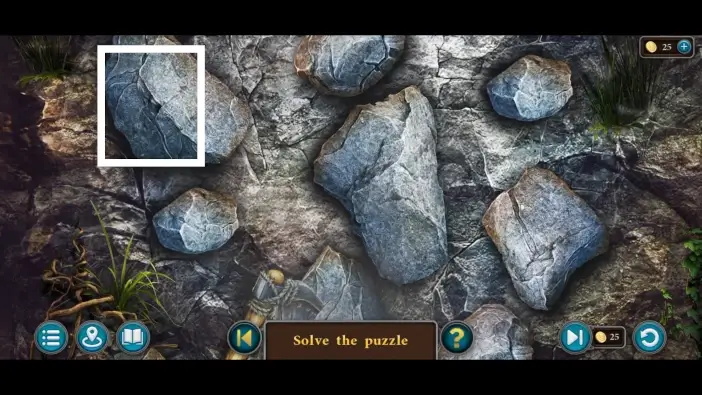
Place the climbing picks on the cliff, and the new puzzle challenge will start.
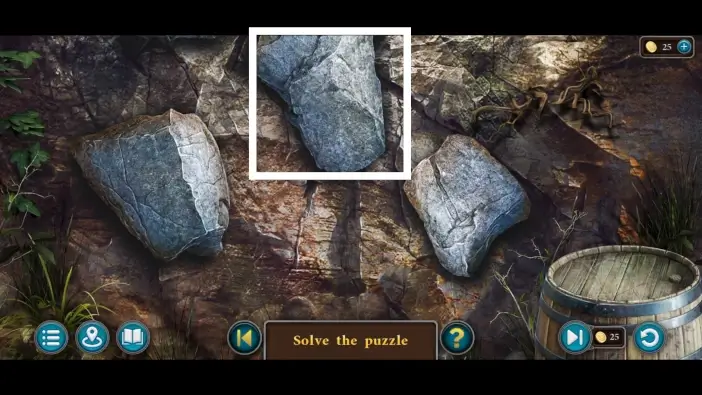
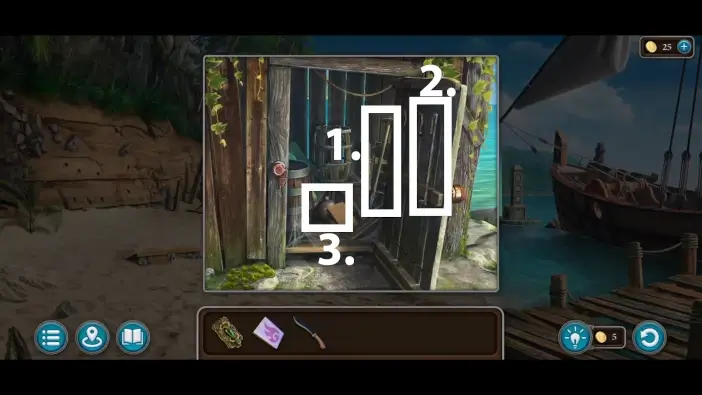
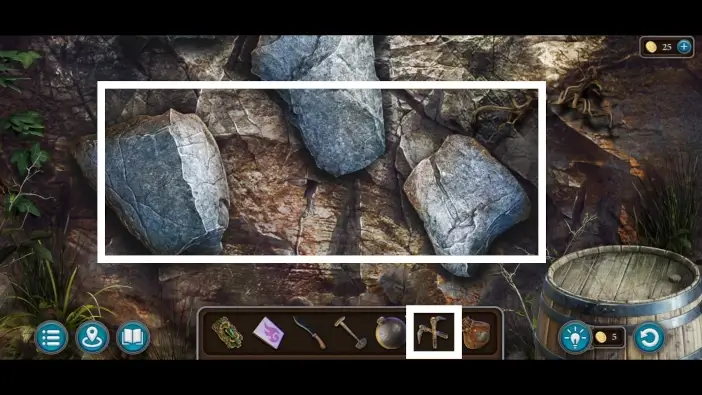
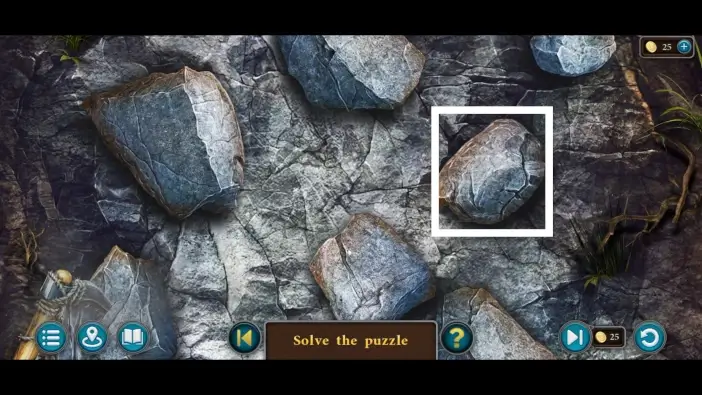
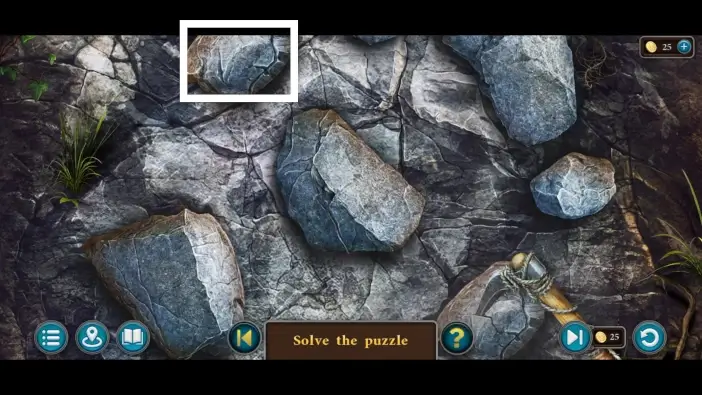
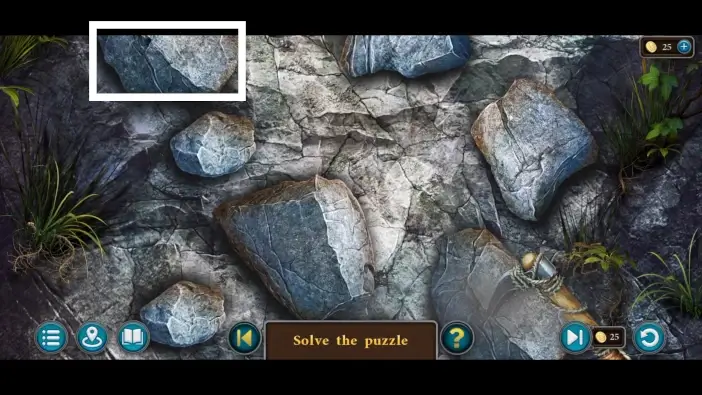
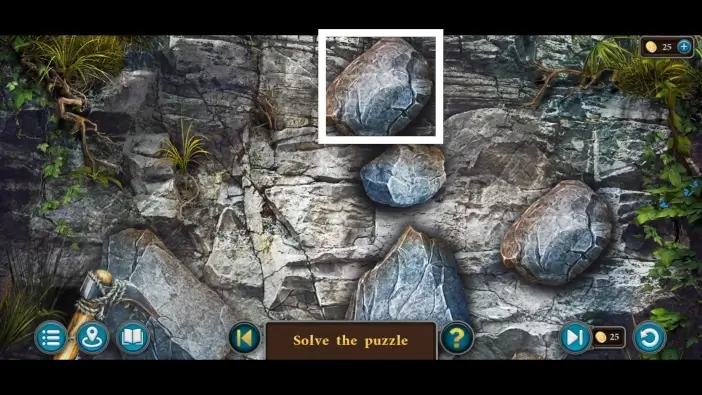
Choose to climb on the stones that are marked in the pictures in this guide to quickly climb the cliff.
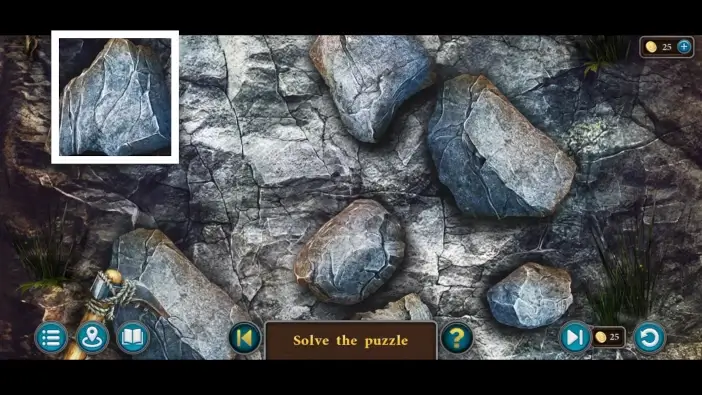

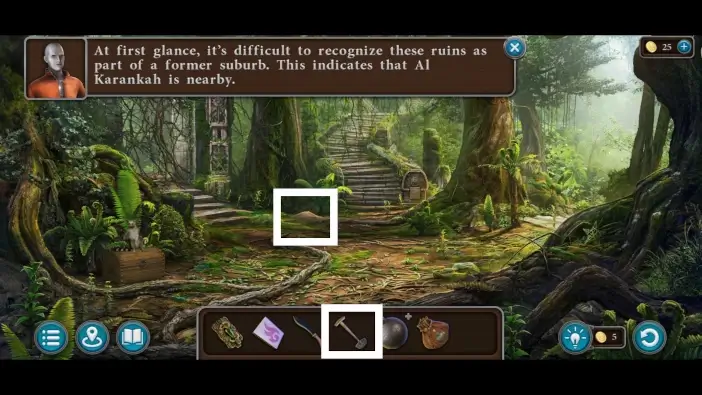
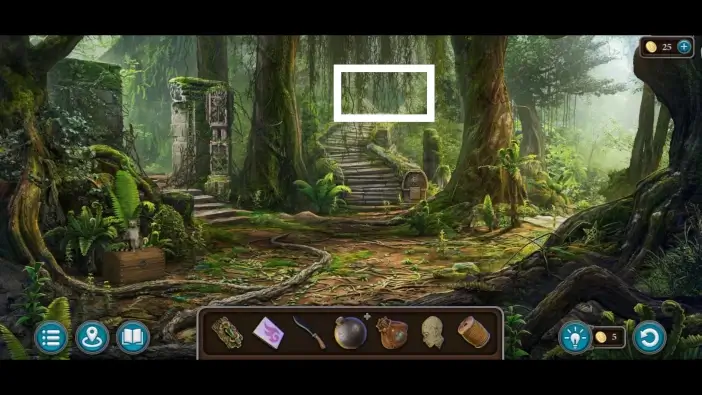
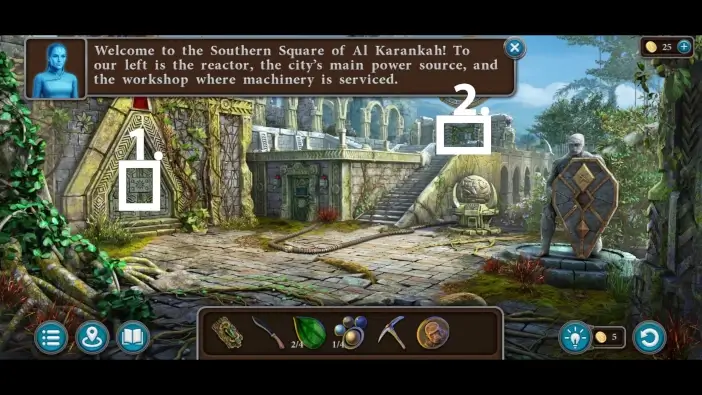
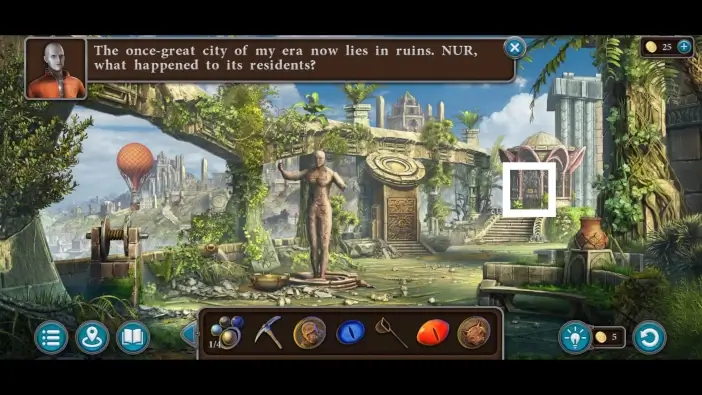
After you’ve climbed the cliff, you will discover a new area, which is a crossroad in the Al Karankah suburb. Approach the pile of earth and use the shovel to dig there.
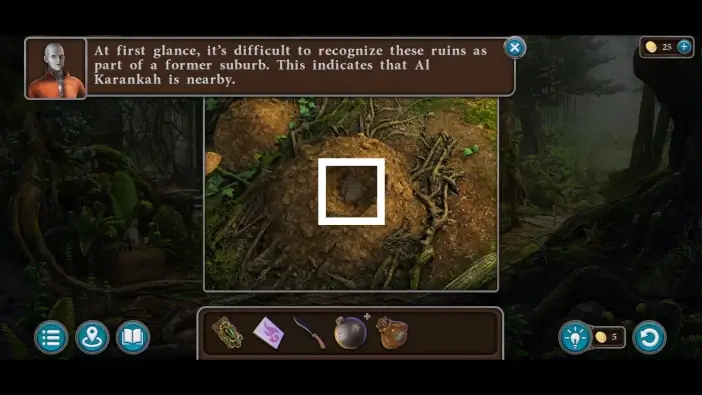
Take the head-shaped item from the hole. You’ll need it to start a puzzle challenge at the gate to the city center.
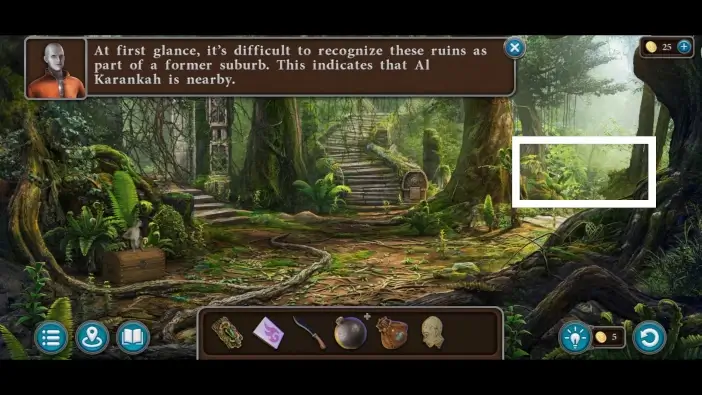
Go to the path on the right.
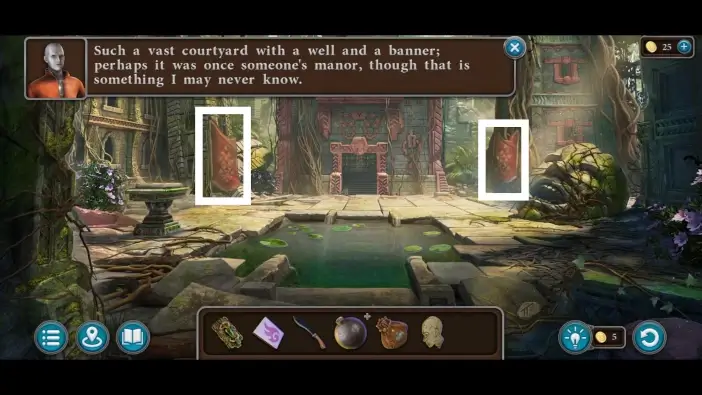
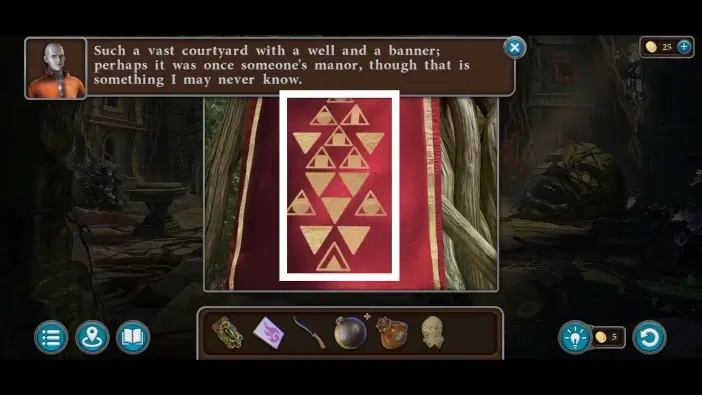
In the abandoned manor area, take a look at the patterns on the flags. The shapes in triangles on the flags are a clue to the puzzle later.
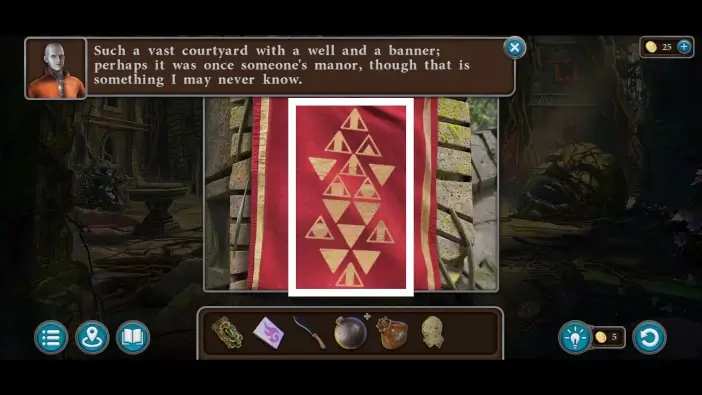
Count and remember how many times a particular shape appears in triangles in both flags.
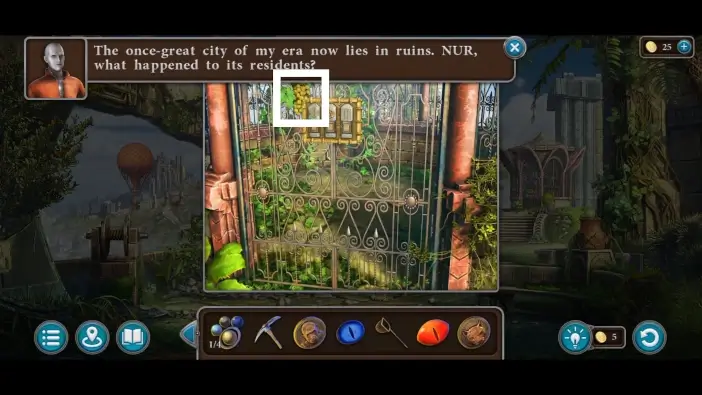
Enter the front door of the abandoned manor.
Remove all the bars from the gate and take the cord from the pedestal. You’ll need it as a fuse for the cast-iron ball.
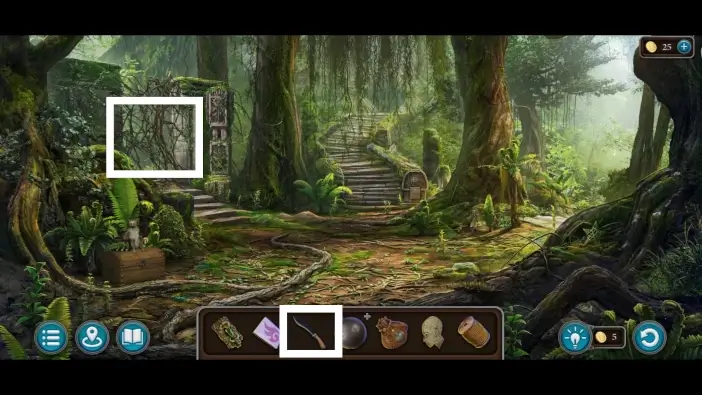
Return to the crossroads and cut the branches on the left using the machete. The path leads to the Kainbekh.
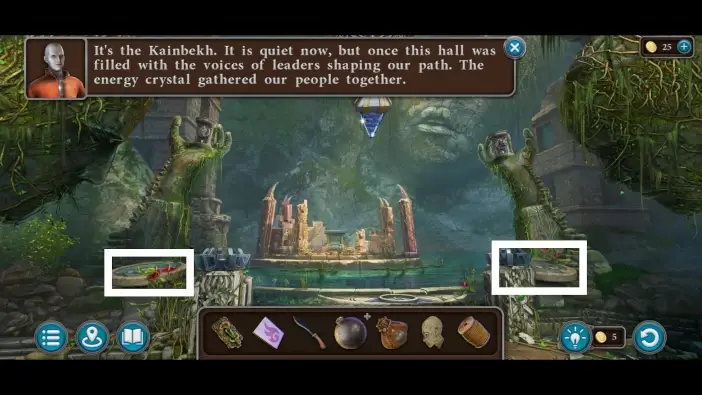
In Kainbekh, check the two pedestals: one on the left and one on the right. Count how many times one symbol appears. It is a clue for the next puzzle.
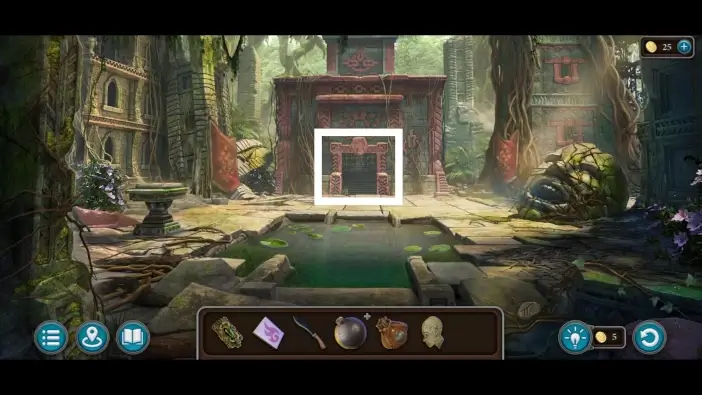
Return to the crossroad and go to the central gate by choosing the path forward.
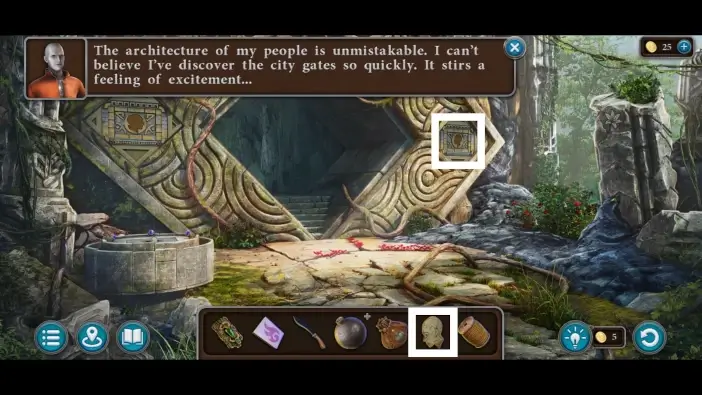
Place the head-shaped item into the right plate of the gate. You will start a new puzzle challenge.
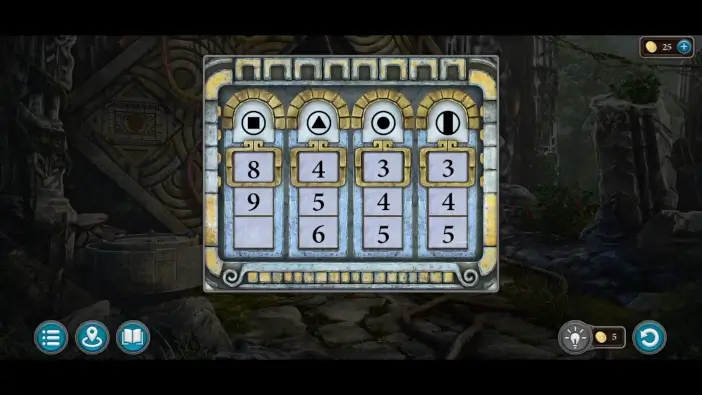
To solve this puzzle challenge, you’ll need to remember how many shapes of a certain type were on the pedestals in the Kainbekh area. There were 8 squares, 4 triangles, 3 circles, and 3 narrow rectangles. The solution is in the picture above. Once you solve this puzzle challenge, a compartment will open. In the compartment, take the following items:
- The first emerald leaf – you’ll need to collect four emerald leaves to start a puzzle in the crossroad suburb area.
- The first planet – you’ll need four planets to attach to the orrery later in the city.
- The second head-shaped item.
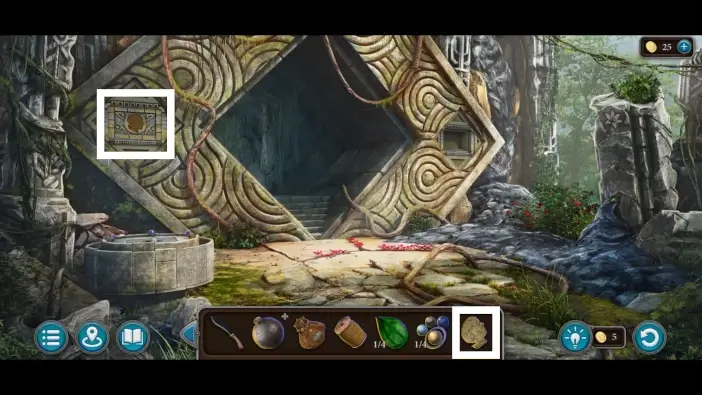
Use the second head-shaped item to start a puzzle challenge on the left plate.
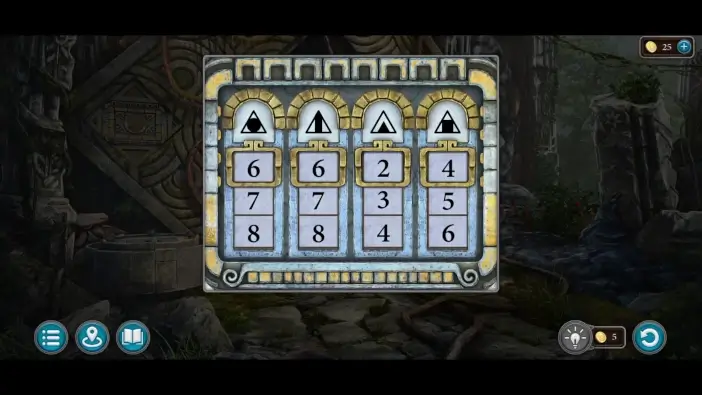
Remember the shapes in the triangles on the flags in the abandoned manor area. The solution is 6624, like in the picture above. A compartment will open once you solve this puzzle.
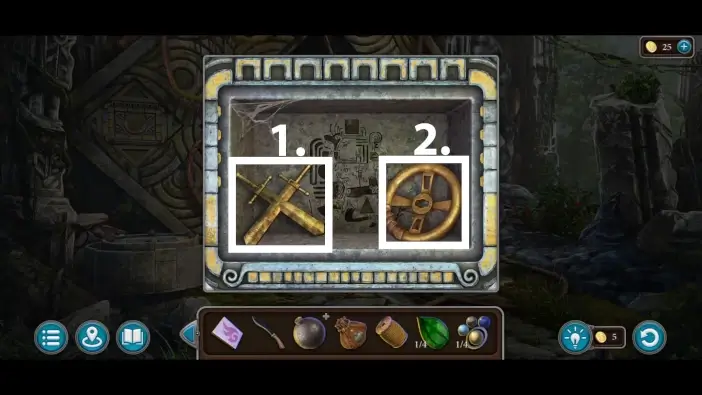
- In the left compartment, pick up the swords. You’ll use it to unlock a hidden compartment in the shield of the statue in the energy district.
- Take the valve. You will use it soon after.
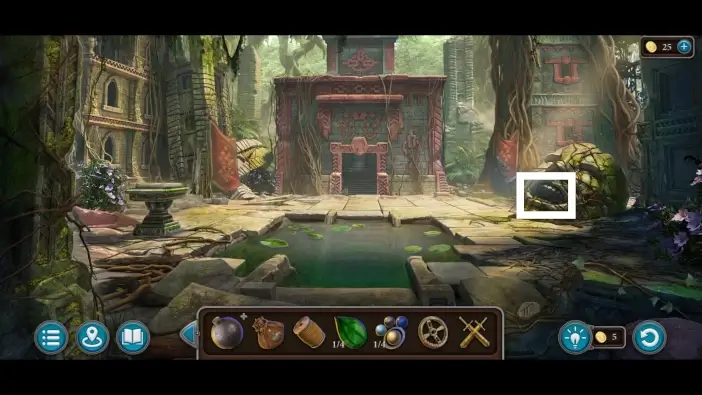
Go to the manor area and approach the statue on the right.
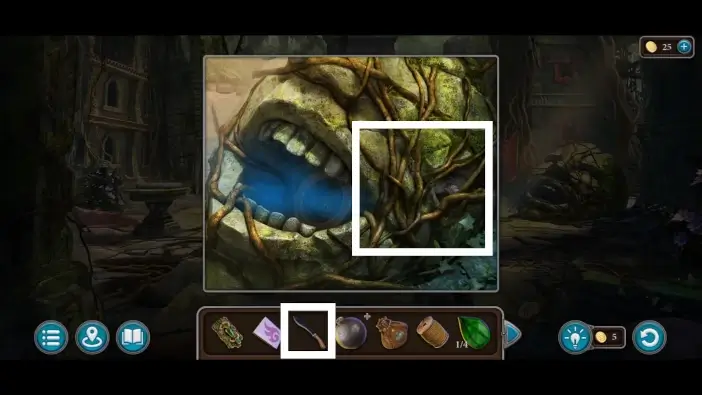
Use a knife to cut the branches.
Attach and turn the valve.
Take the stone ring from the statue’s mouth. You will use it in the hallway that is behind the main gate to start a puzzle challenge.
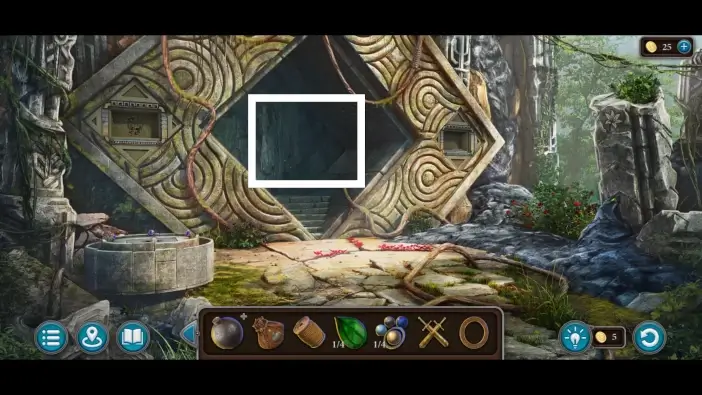
Go to the gate area and enter the gate.
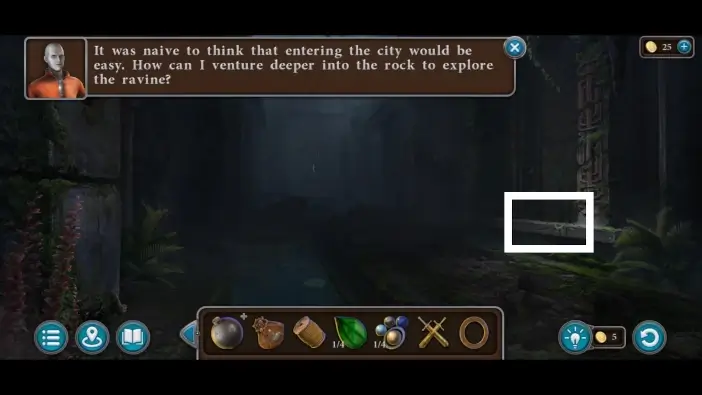
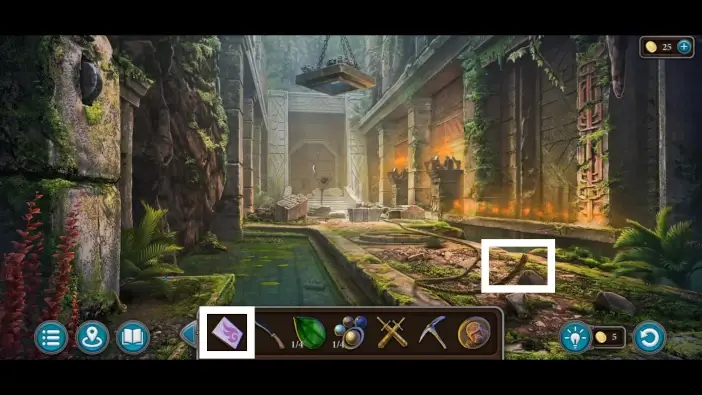
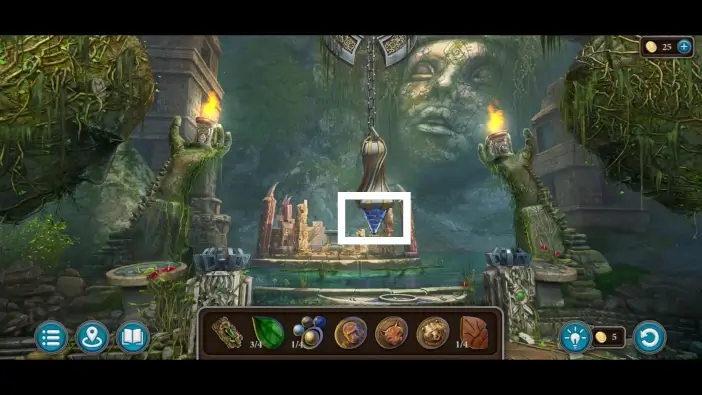
You will arrive at the large hallway, but it will be dark inside. Approach the container on the right.
Use the match to light the flammable liquid to burn it and illuminate the hallway.

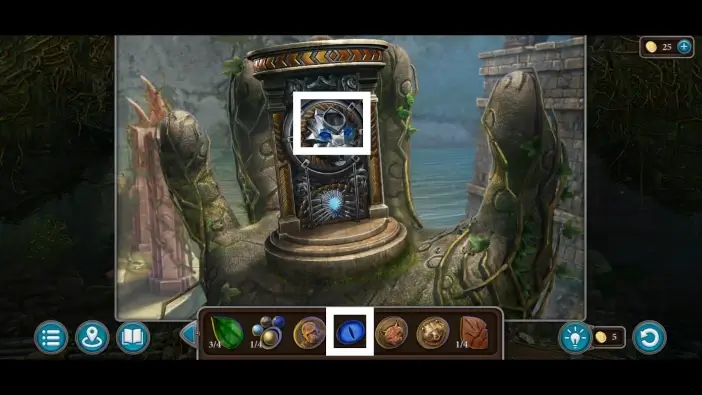
Once the hallway is illuminated, approach the mechanism on the floor in the center of the hallway.
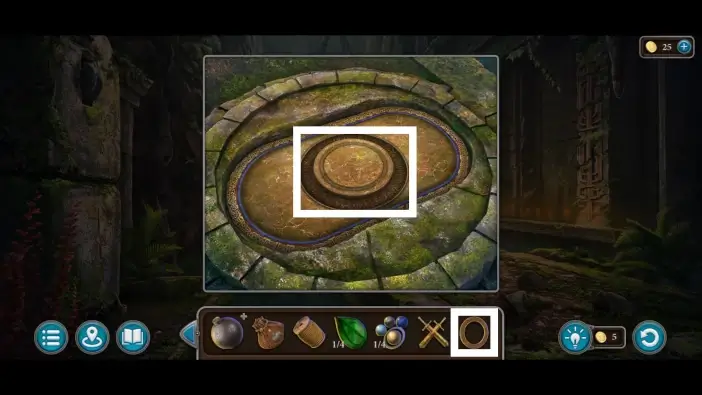
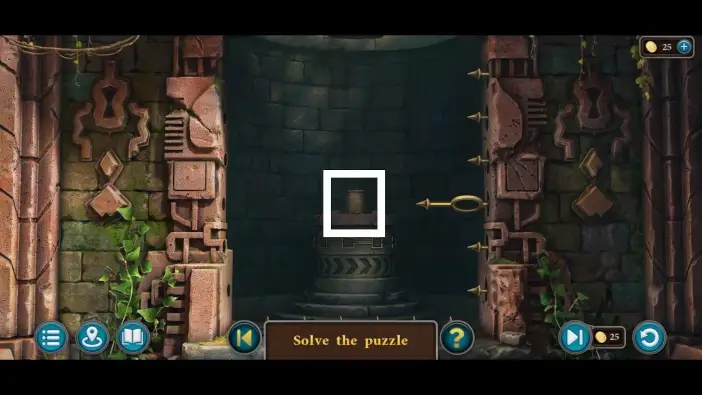
Place the stone ring into the mechanism, and a new puzzle challenge will begin.
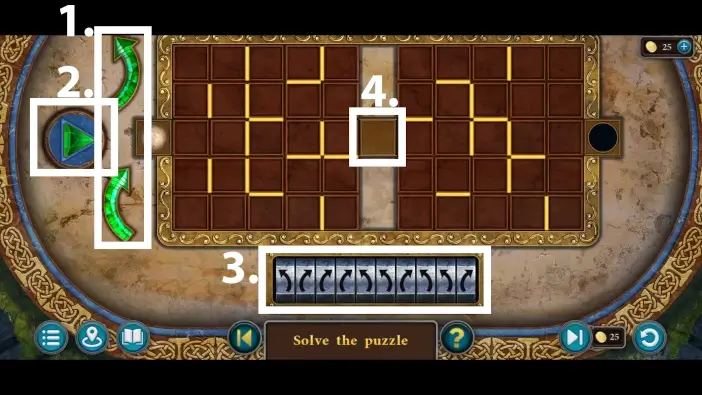
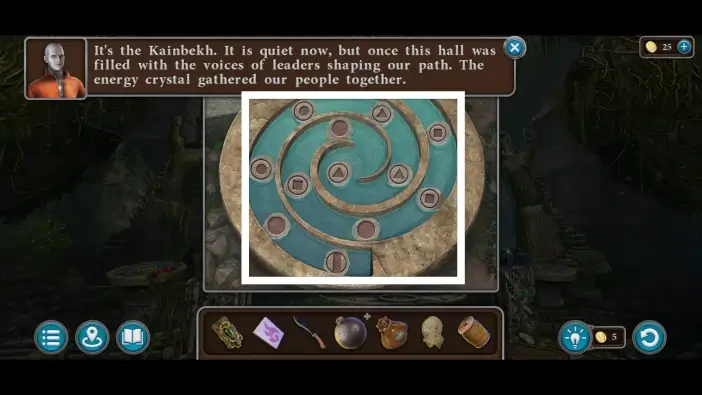
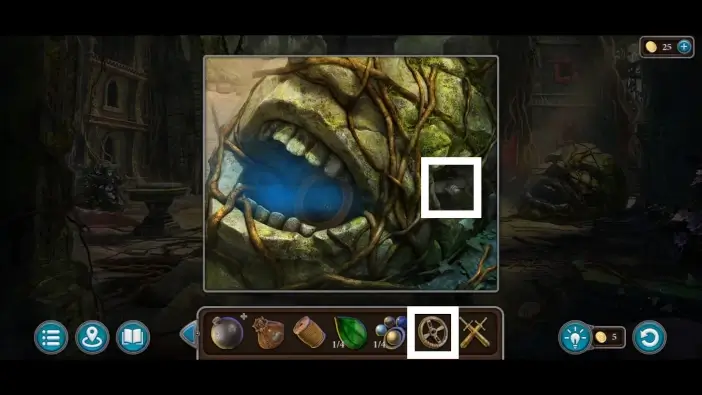
This puzzle challenge will have two phases. During the first phase, you’ll need to place the white ball into the middle square.
- Use green arrows to program the board’s rotation movement. The rotation will move the ball.
- Press the play button, and the board will start rotating according to the directions you set with the green arrows.
- You can see the sequence of directions you’ve set at the bottom of the screen. The solution sequence is in the picture above.
- To finish the first stage of this puzzle challenge, you’ll need to bring the white ball into the central square.
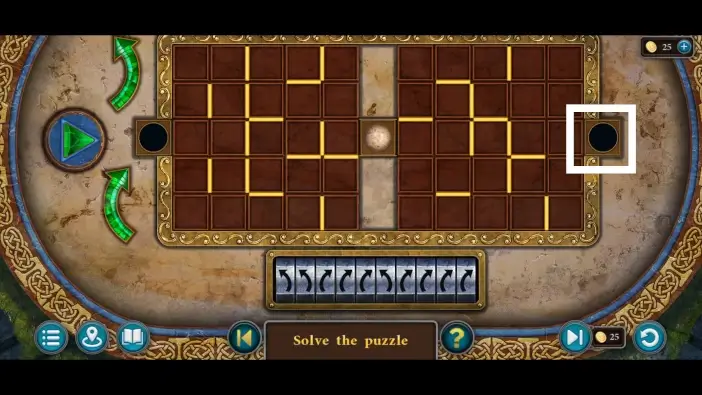
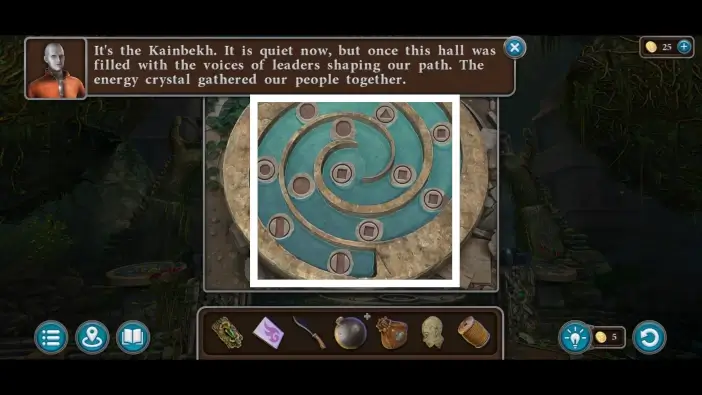
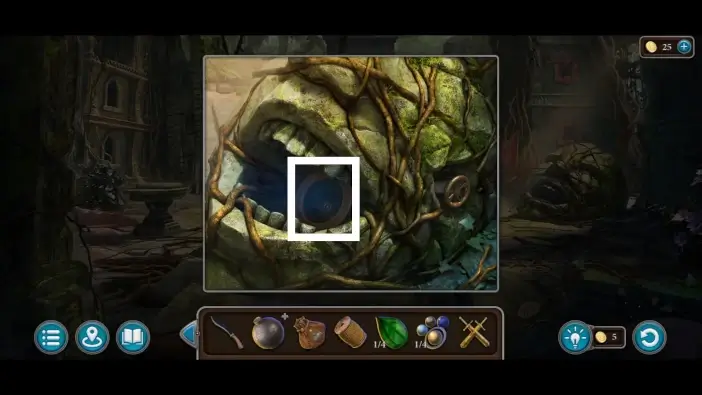
In the second stage, you’ll need to give directions once again and place the ball into the hole on the right. Once you solve the previous puzzle challenge, a compartment will open.
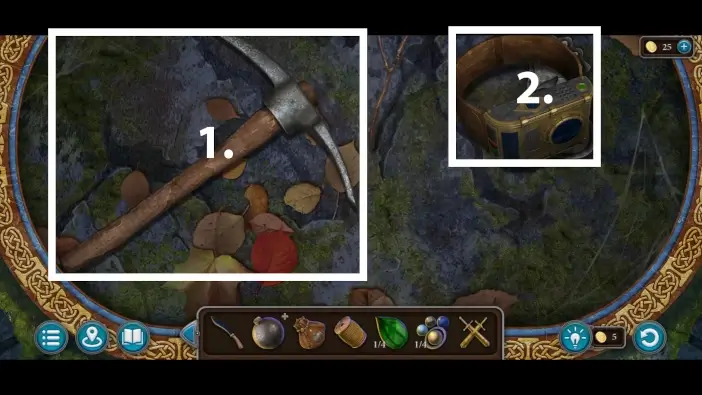
- Take the pickaxe. You’ll need it to remove one ore in the gate area.
- Take the NUR Navigation System. It will not be added to your inventory, but it will progress the story. Afterwards, take the first seahorse-shaped item that was beneath the Nur Navigation System. You’ll need two seahorse-shaped items to activate the monument in the beach area.
Approach the wall on the far side of the hallway.
Take the second seahorse-shaped item from the wall.
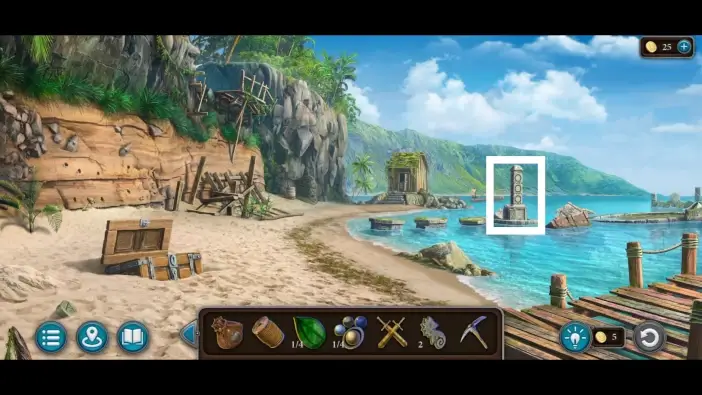
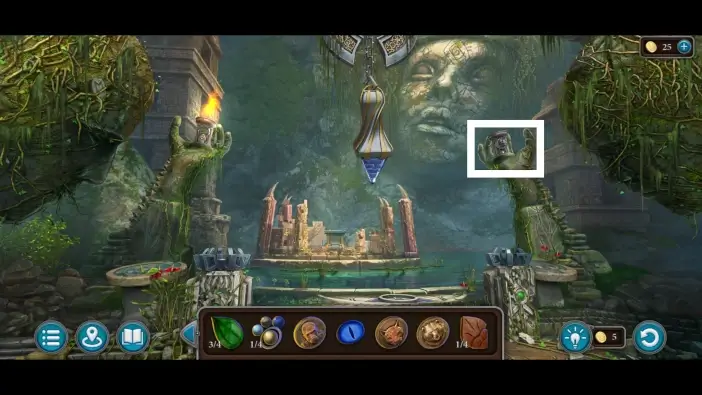
Go to the beach area and approach the monument on the right.
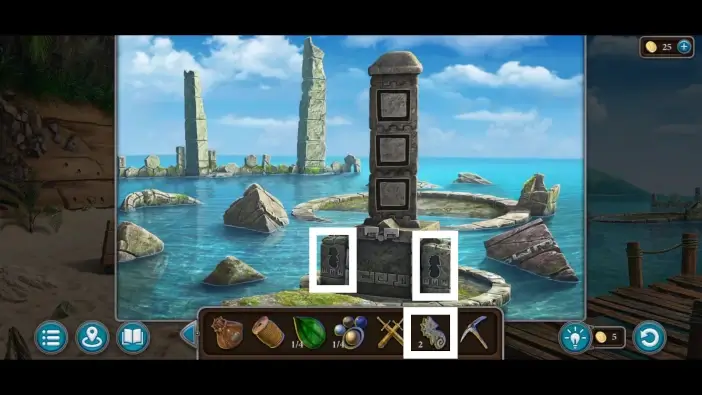
Place the seahorse-shaped items into their slots.
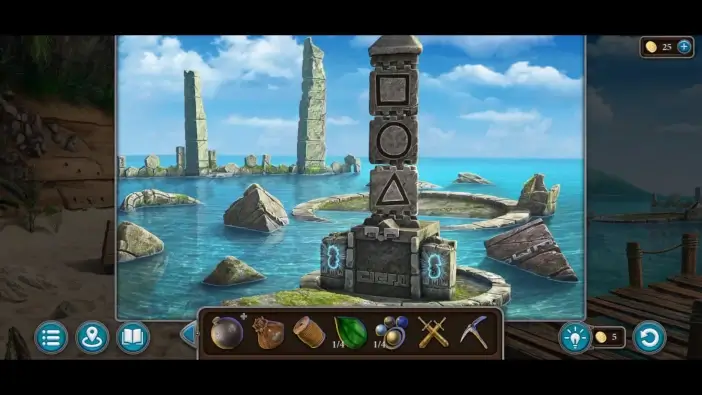
Arrange the shapes on the monument as shown in the picture above. From top to bottom: square, circle, and triangle. This will unlock a compartment on the lower part of the monument.
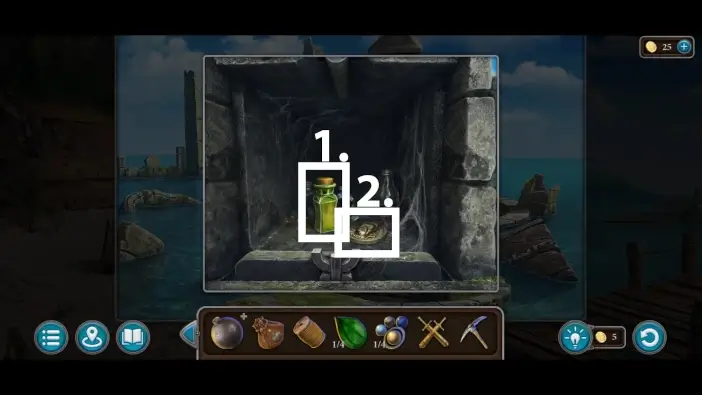
- From the compartment, take the bottle of oil. You will need it to oil the cord from your inventory.
- Pick up the gorilla medallion. You’ll need to collect four medallions of different animals to start the puzzle on the pedestal in the manor area.
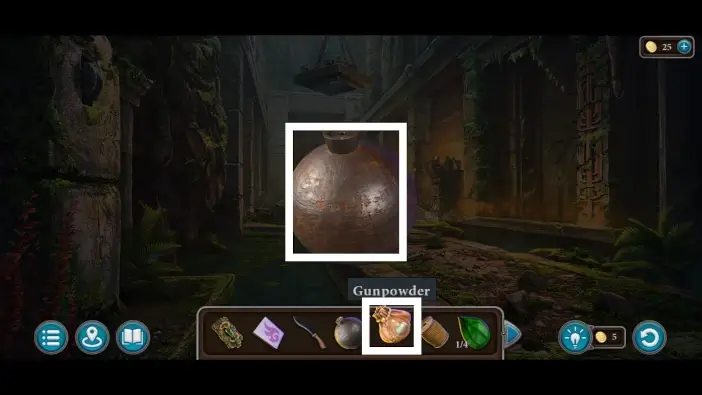
Select the cast-iron ball from your inventory to examine it. Pour the gunpowder into the cast-iron ball.

Place the cord near the cast-iron ball.
Use the oil from the bottle to oil the cord to create the fuse for the bomb. The bomb will be added to your inventory.
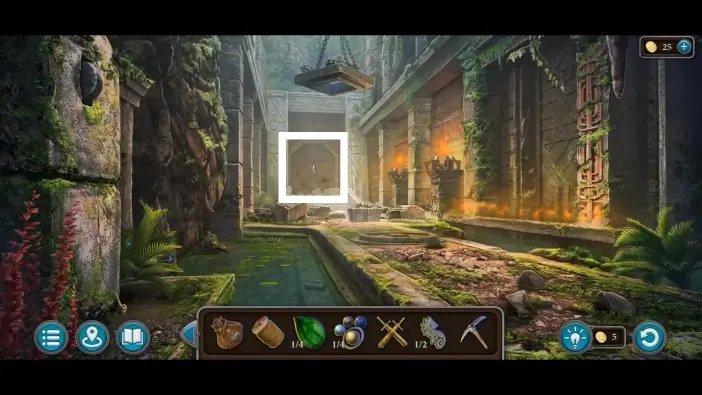
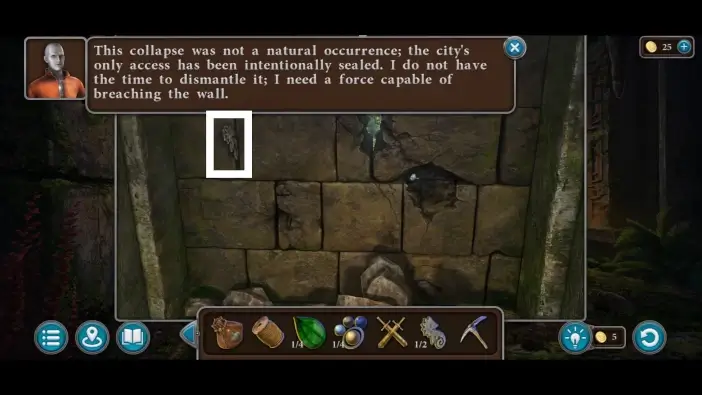
Return to the hallway and place the bomb on the crack in the wall that is blocking the city entrance.
Use matches to burn the fuse and destroy the wall.

Enter the energy district of the Al Karankah city.
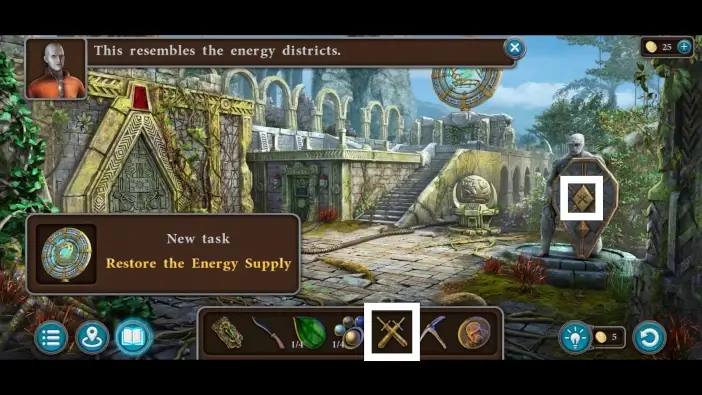
In the energy district, place the swords item into the statue’s shield and then click on the shield.
The hidden compartment will open in the shield. Take the second emerald leaf from the shield.
- Approach the door to the reactor room and take the gear from it.
- Approach the gate above the staircase.
Place the gear you’ve found on the reactor room door into the gate. A new puzzle challenge will start.
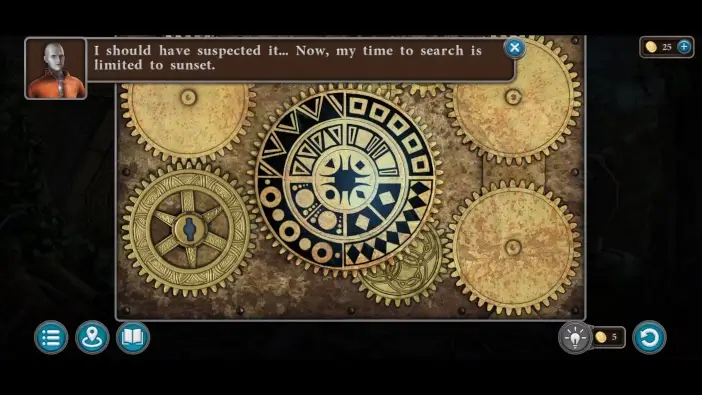
The central gear will have the inner and outer rings. Move the gears on the corners to move the rings of the central gear. You will unlock the gate once the patterns are in the positions like in the picture above. Once the gate is opened, go to the Alley of Light district.
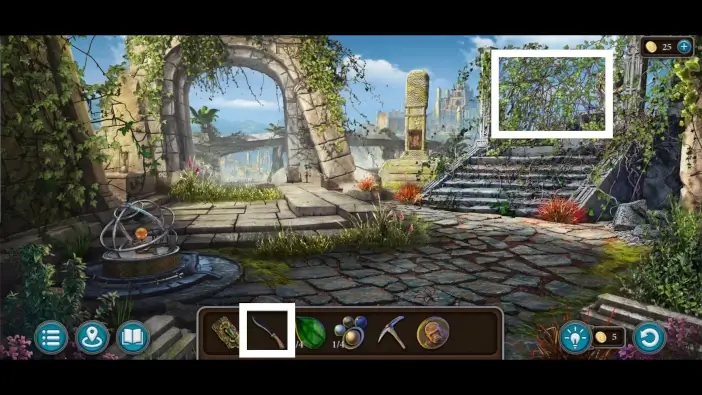
In the Alley of Light district, approach the path on the right, towards the energy crystal area, and cut the branches using the machete.
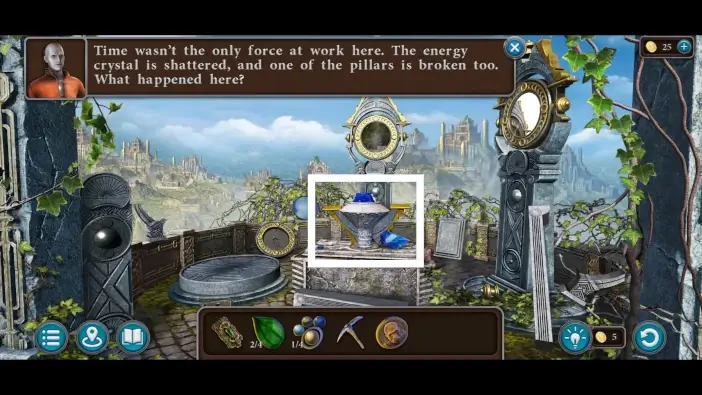
In the energy crystal area, approach the shattered crystal.
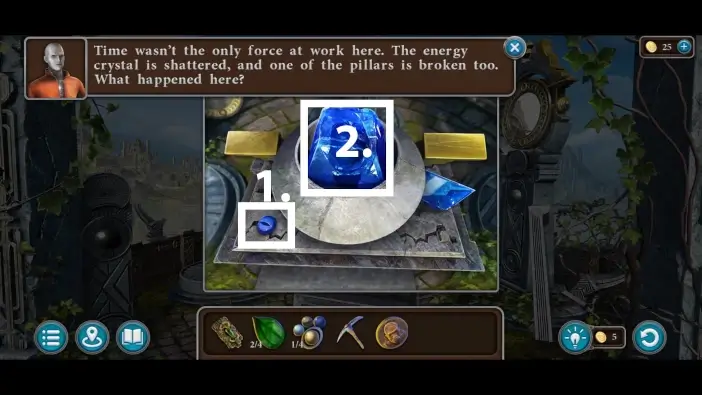
- Pick up the blue eye from the pedestal. You will use it in the Kainbekh area.
- Remove the old, shattered crystal.

Return to the Alley of Light district and go left towards the park district.
- In the park, take the net. You will need it for the pond in the gateway’s hallway (where you destroyed the wall with the bomb).
- Pick up the orange eye from the bench. As with blue eye, you will use it in the Kainbekh area.
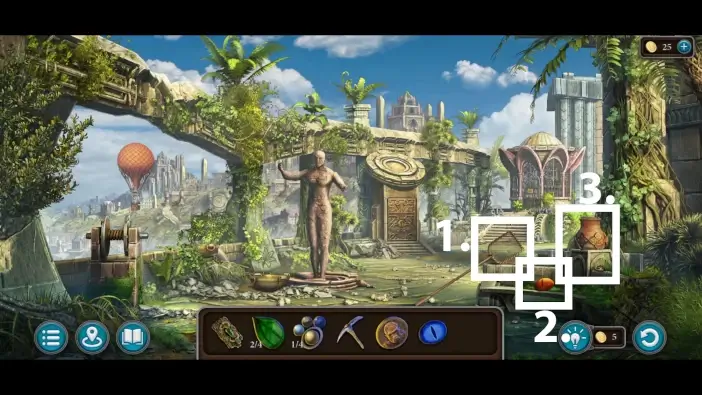
- Approach the vase.
Take the puma medallion. It is the second animal medallion for the pedestal puzzle in the manor area.
Go towards the gate on the far side of the park.
Take the grapes.
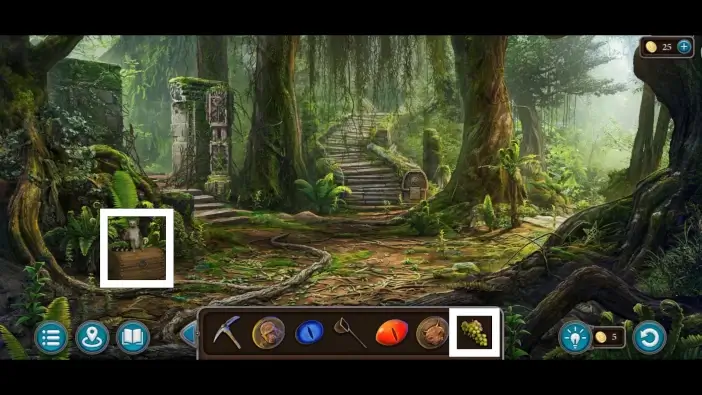
Return to the crossroad area of the Al Karankah suburb and give the grapes to the lemur to distract it.

Once the lemur is distracted, open the chest and take the wine vinegar. You will use it to clean one plate that contains the puzzle clue.
Go to the city gate area and use the pickaxe on the stone on the right to get the third emerald leaf.
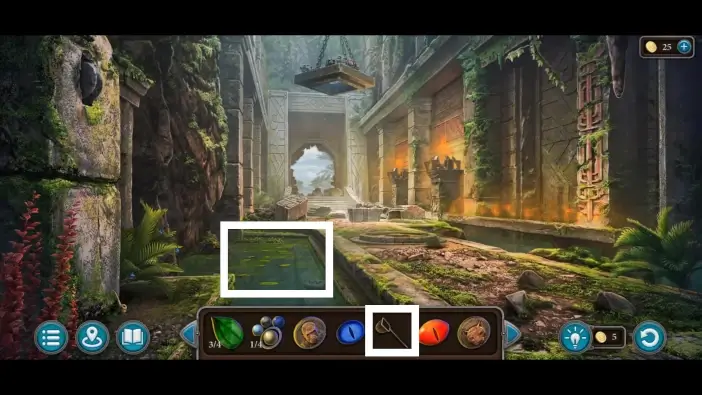
Enter the gate and in the hallway, remove the leaves in the pond on the left using the net you’ve found in the park district.
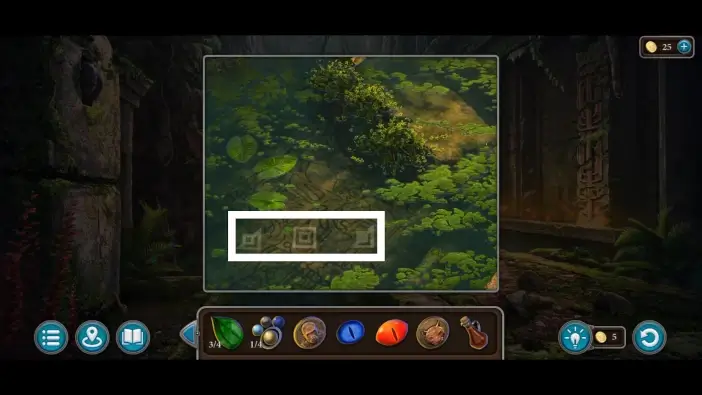
When the leaves are removed, you should be able to see three symbols, which are a clue for one of the puzzles.
Go to the Alley of Light district and approach the monument left from the staircase.
- Pour the wine vinegar into the plate.
- Take the bear medallion. It is a third animal medallion for the puzzle in the manor area.
Use a cloth next to the monument to clean the plate.
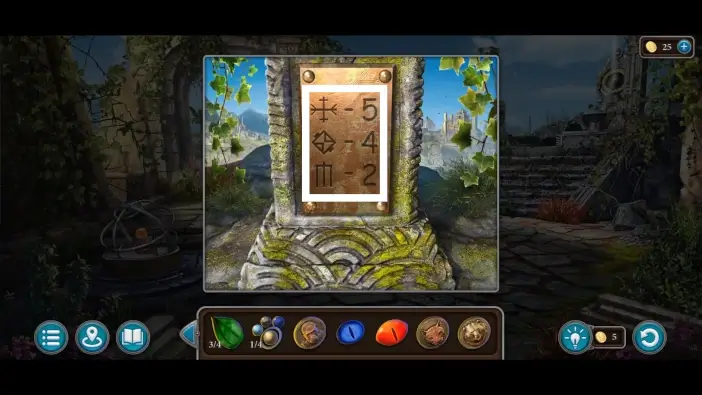
Read and remember the clue for the gate in the park district.
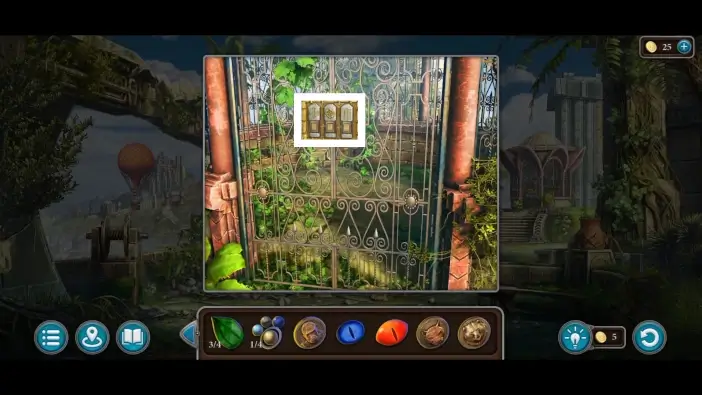
Go to the park and approach the lock mechanism of the gate.
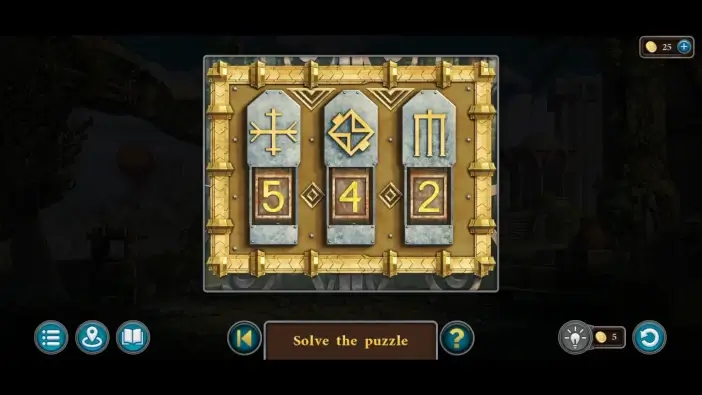
Following the clue from the monument, enter the password, which is “542”.

After opening the gate, pick up the first iron petal. You’ll need four iron petals to unlock the vase in the park.
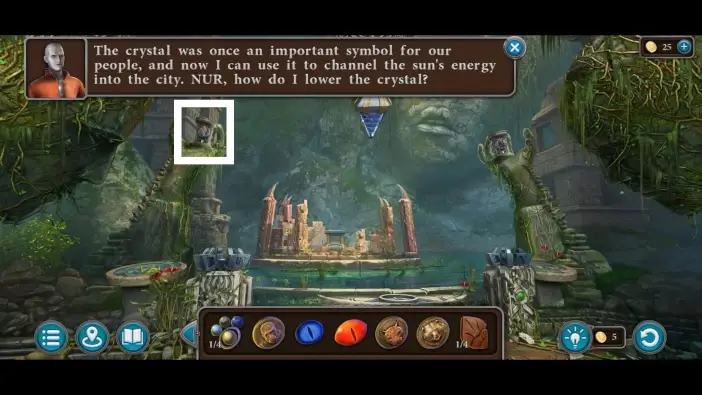
Go to the Kainbekh area and approach the mechanism on the left stone hand.
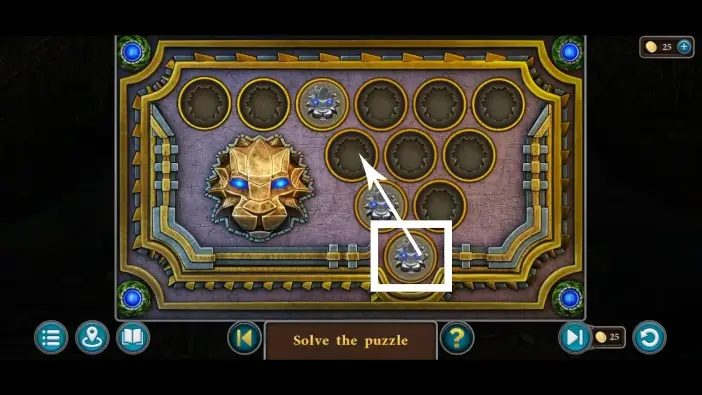
Place the orange eye into the mechanism, and the new puzzle challenge will start.
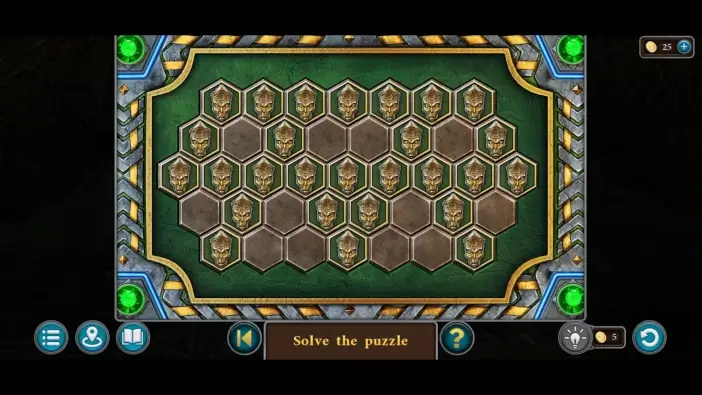
In this puzzle challenge, you’ll need to activate all tokens that contain faces. Once you click on one token, the tokens around it will be activated if they are already inactive, or they will become inactive if they were already activated. Once you solve this puzzle challenge, the chain holding the crystal will lower a little bit.
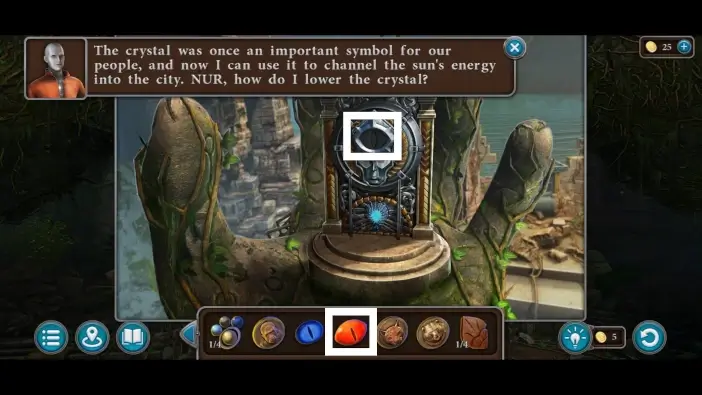
Approach the mechanism on the right stone hand.
Place the blue eye into the mechanism and start another puzzle challenge.
In this puzzle, whenever you move a token over another token, the token in the path will disappear. Remove all the animal tokens until only the last one remains. The chain holding the crystal will move even lower.
Take the energy crystal from the lowered chain.
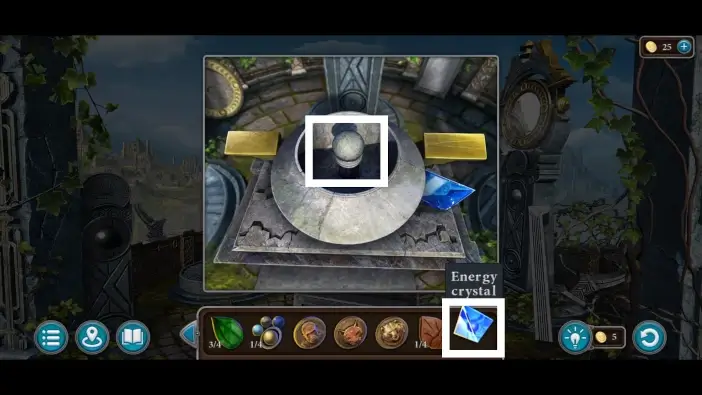
Return to the crystal area and place the energy crystal on the pedestal, where the old, shattered crystal was before.

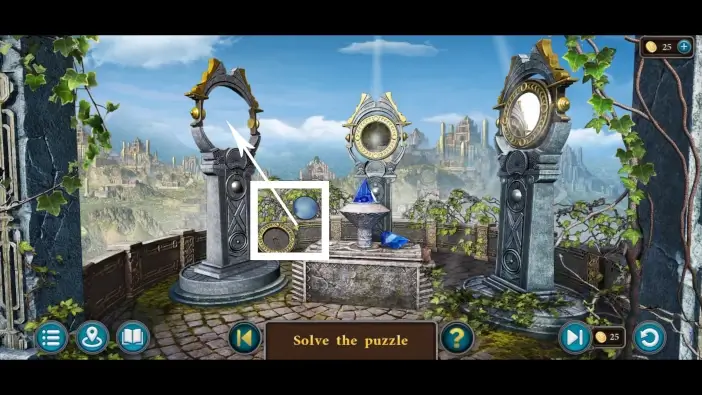
- Place the foundation of the pillar on the pedestal on the left.
- Place the pillar on the foundation.
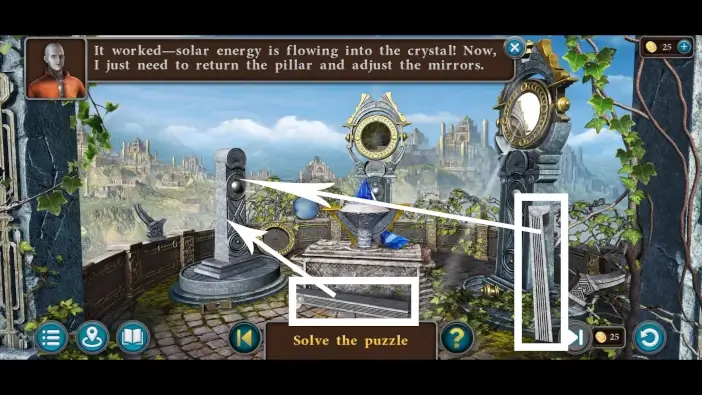
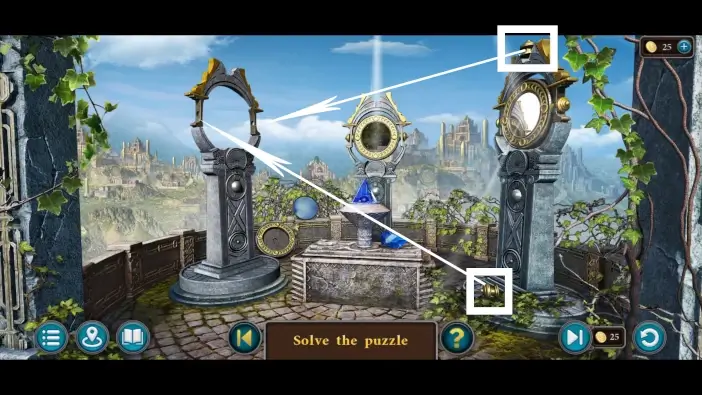
Attach two side supporters to the pillar.
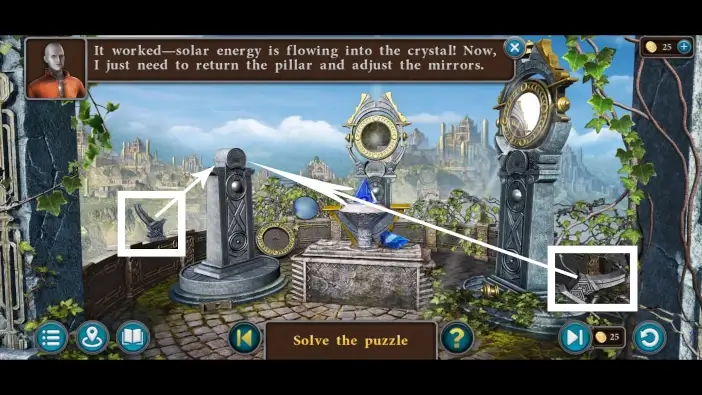
In the picture above and in the following pictures is shown how to assemble the multi-component mirror holder.
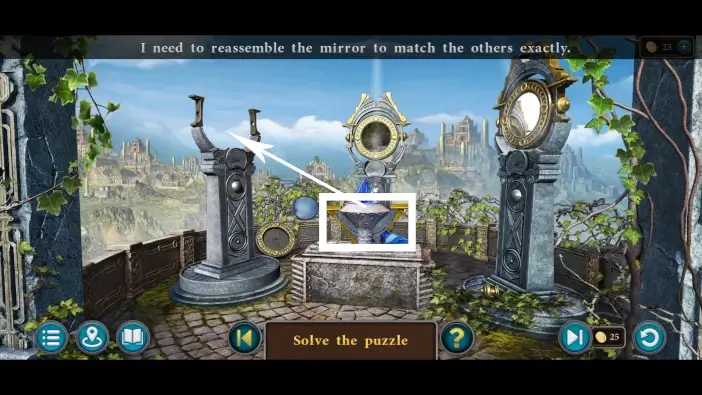
Place the mirror base and the mirror.
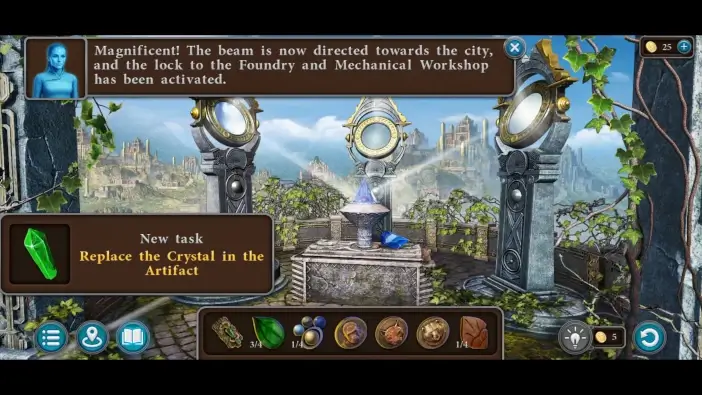
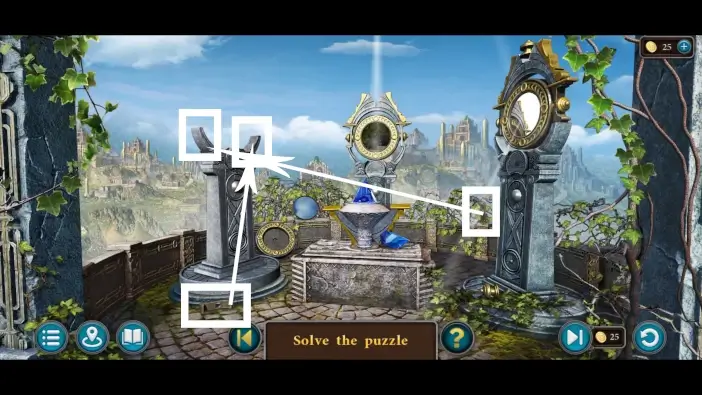
Move all the mirrors like in the picture above to activate the crystal. This will unlock new locations such as the mechanical workshop.
This will mark the end of Part 2 of our guide for Chapter 2 of Legendary Tales 5.
Thank you for reading!