Legendary Tales 5 – Chapter 1: Secret of the Island | Part 4
Intro
Welcome to our walkthrough for Part 4 of Chapter 1 of “Legendary Tales 5” from “FIVE-BN GAMES”. Lucia may have found shelter on the mythical island, but she’s not giving up seeking a way to help her friends.
Walkthrough
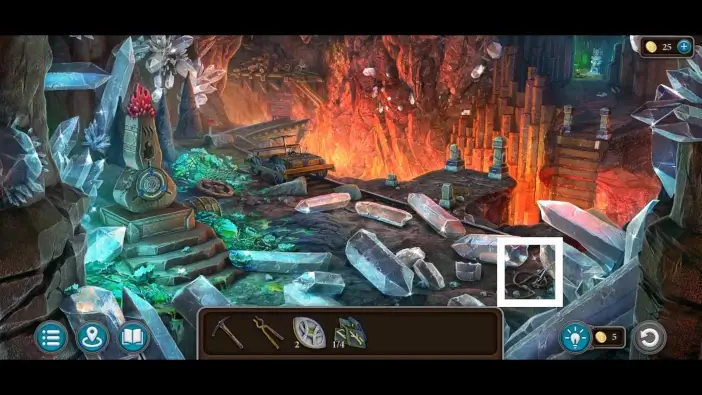
After the previous cutscene, you’ll be in a new location, near the lava river. Approach the ice on the right.

Use the pickaxe to break the ice and take the grappling hook.
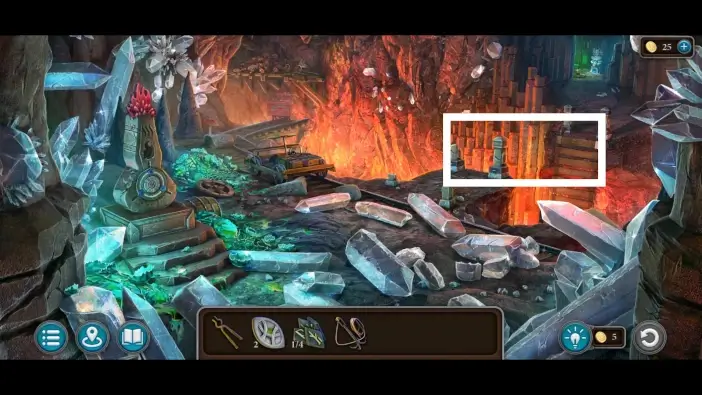
Approach the bridge area.
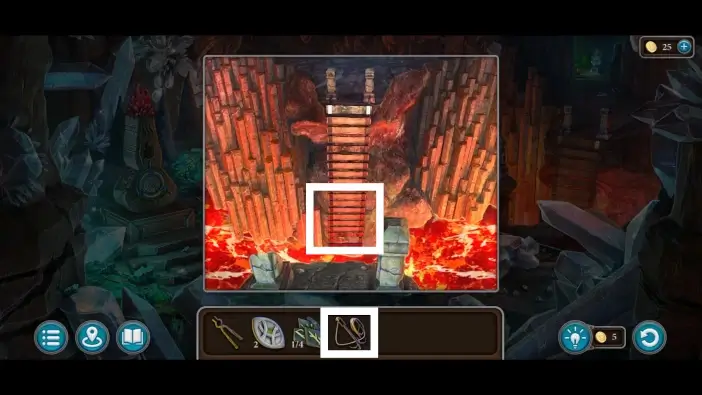
Use the grappling hook to pull the bridge up.
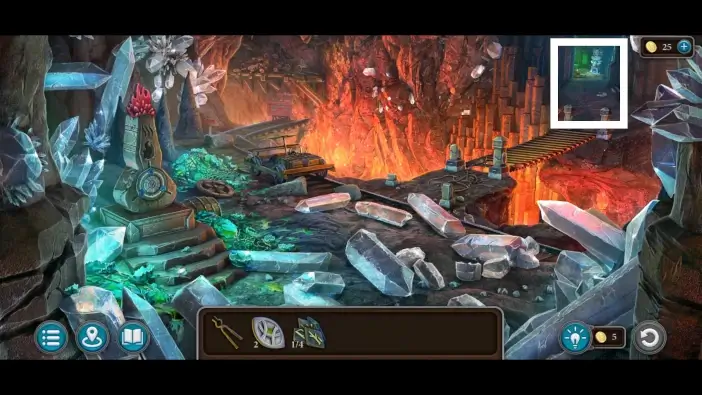
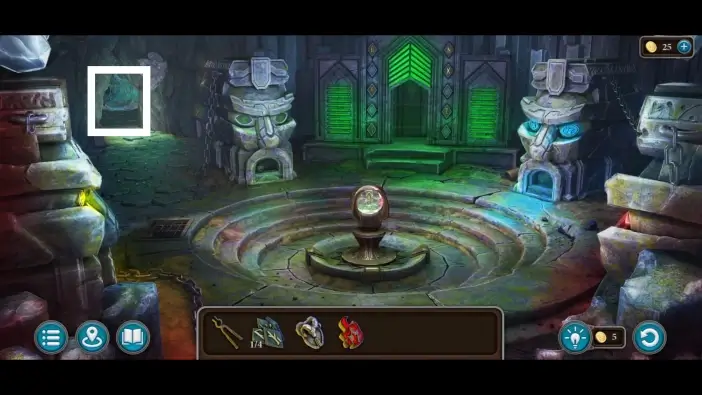
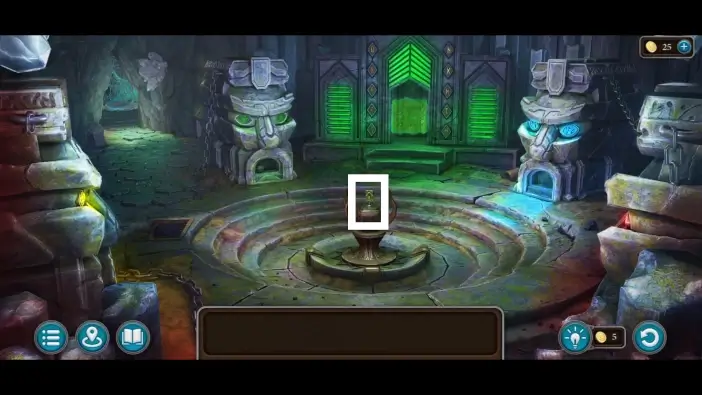
Once you fix the bridge, cross it and enter the area where the artifact is.
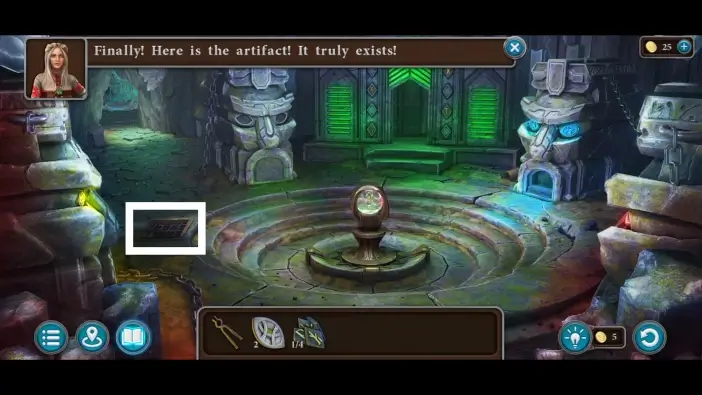
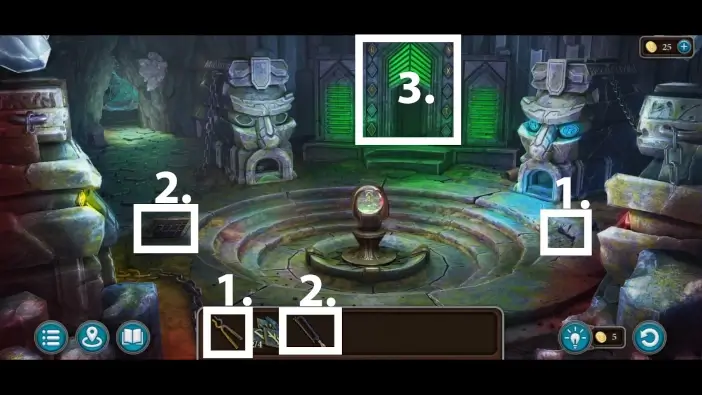
In the artifact room, approach the bars on the left.
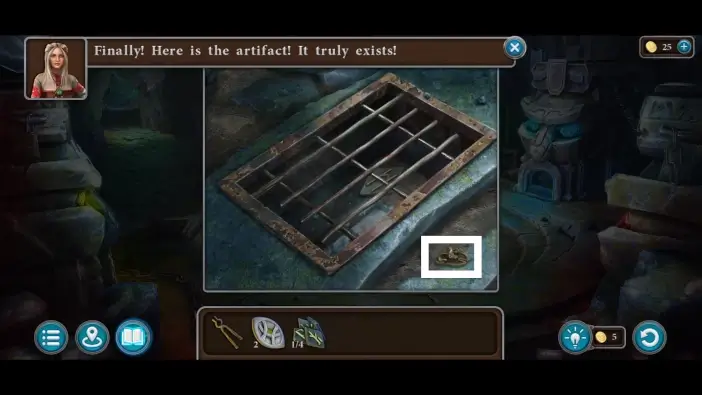
Pick up the ram-shaped item from the ground.
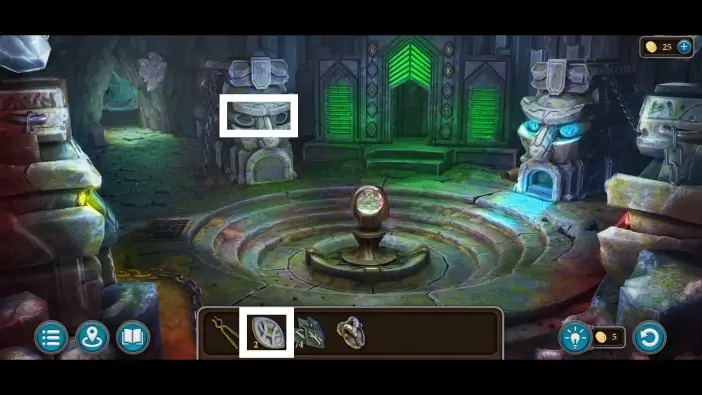
Approach the totem on the middle-left and place the eye-shaped items into its eye sockets.
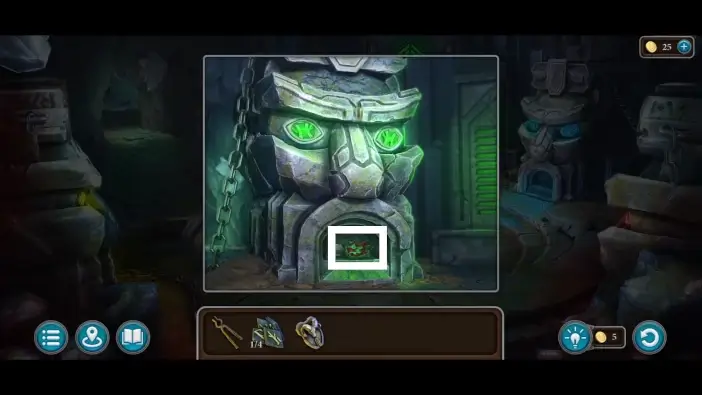
Once you place the eye-shaped items, the compartment will open. Take the fire stone symbol.
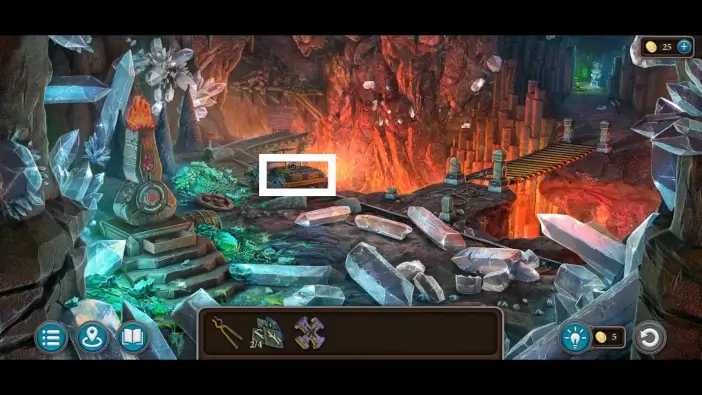
Go to the path on the left to return to the Xorhi-infested area.
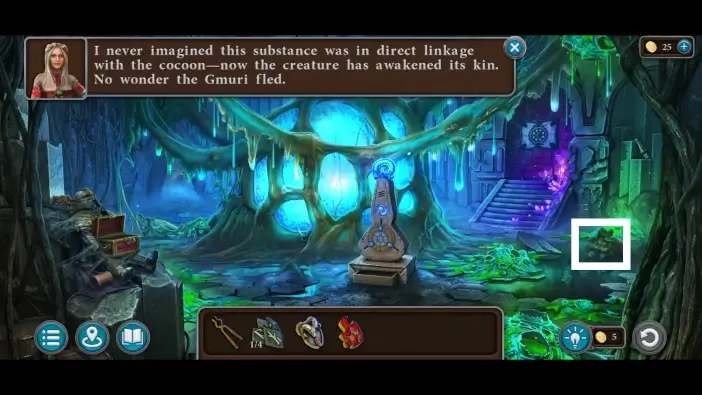
Approach the chest on the right.
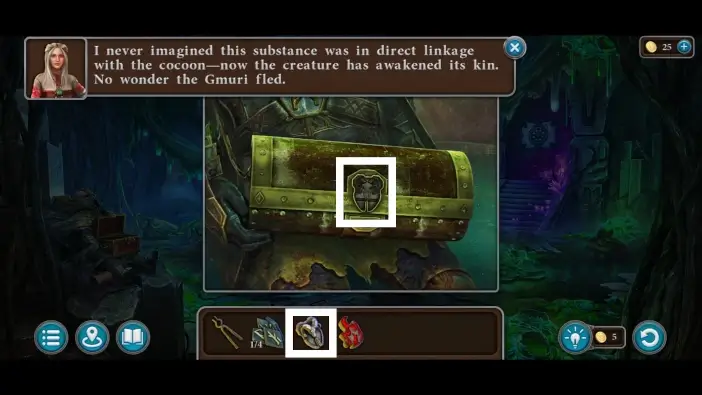
Use the ram-shaped item to unlock the chest and take the cross.
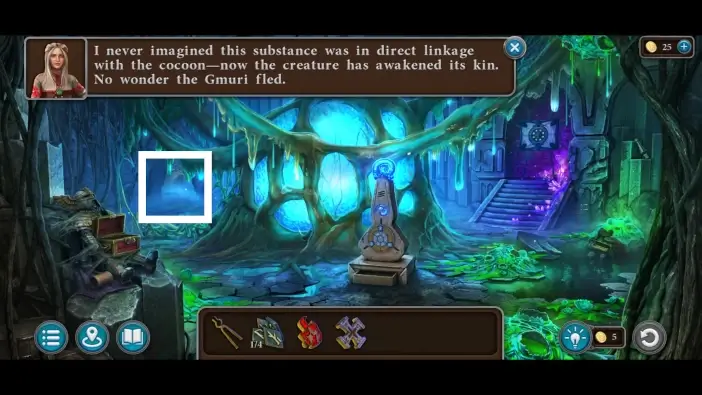
Go to the left path to return to the bridge area.

Place the fire stone token into the monument on the left.
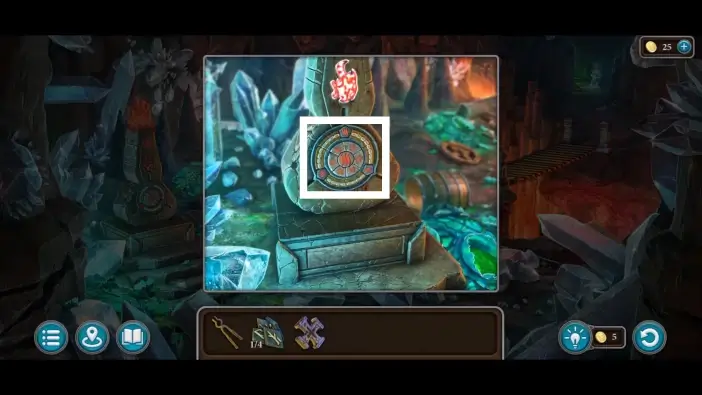
Approach the lower part of the monument to start the next puzzle challenge.

In this puzzle challenge, you’ll need to group the fire tokens next to the Roman numerals. The Roman numerals show how many fire tokens need to be attached to them. To move the tokens, you’ll need to click on one of the Roman numerals, and the fire tokens around it will move where they can. The final result is in the picture above.
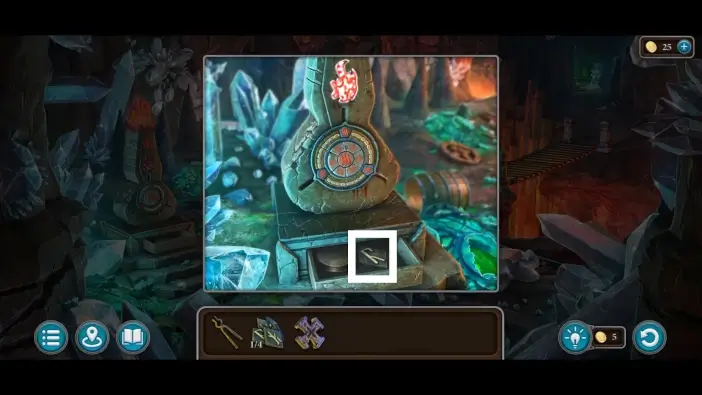
Once you solve the previous puzzle challenge, the drawer below the monument will open. Take the second rune.
Approach the chest near the left edge.
Attach the cross to the chest to unlock it.
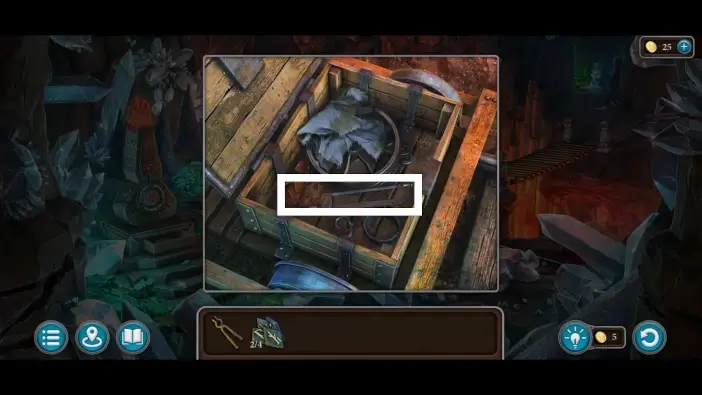
Take the hacksaw from the chest.
- Go to the artifact room. Approach the crack on the right and use the pincers to take the third rune.
- Approach the bars on the left and use the hacksaw to remove the bars. Pick up the fourth rune.
- Go to the rune mechanism for the protective field.
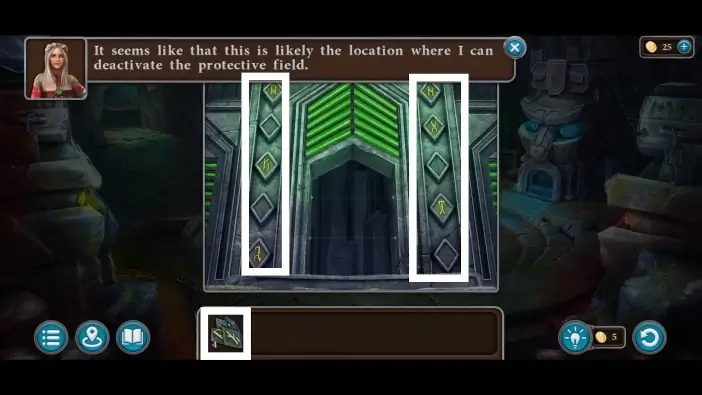
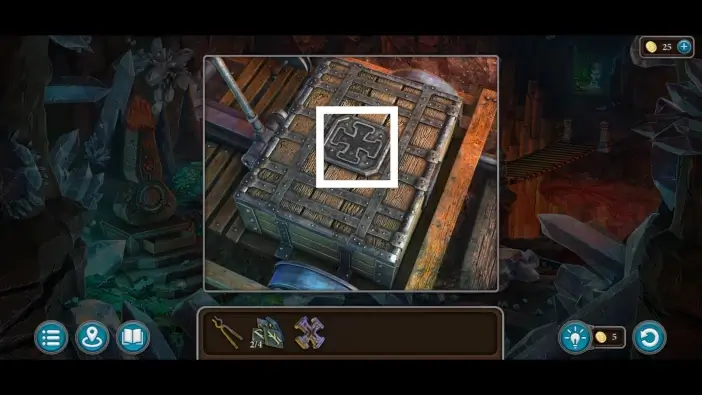
Place the four runes in their empty slots. This will start a new puzzle challenge.
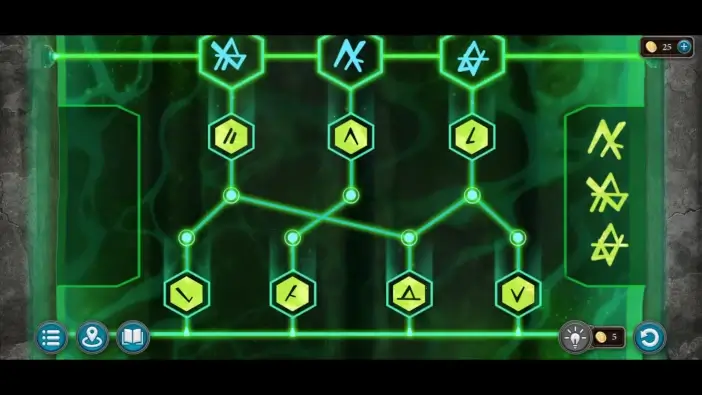
In this puzzle challenge, you’ll need to place the parts of the rune to form the three runes at the top. Place the rune patterns in the same places as in the picture above, and you will deactivate the protective shield of the artifact.
Take the artifact. This will start a new cutscene, and Chapter 1 will be completed!
This will mark the end of our guide for Chapter 1 of Legendary Tales 5.
Thank you for reading!