Escape Room: Mysteries School – Level 23
Intro
Welcome to our walkthrough for Level 23 for “Escape Room: Mysteries School” from “Ena Game Studio”. Help John renovate his old house and solve the mystery of the haunted abandoned school.
Walkthrough
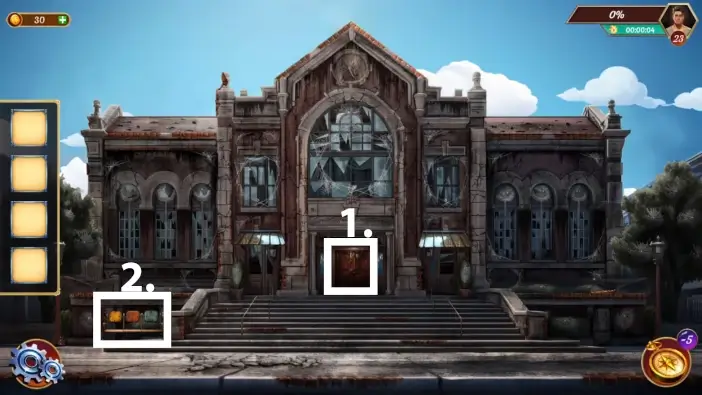
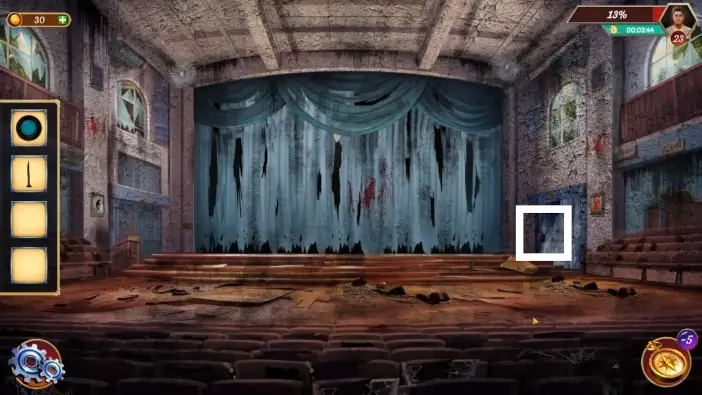
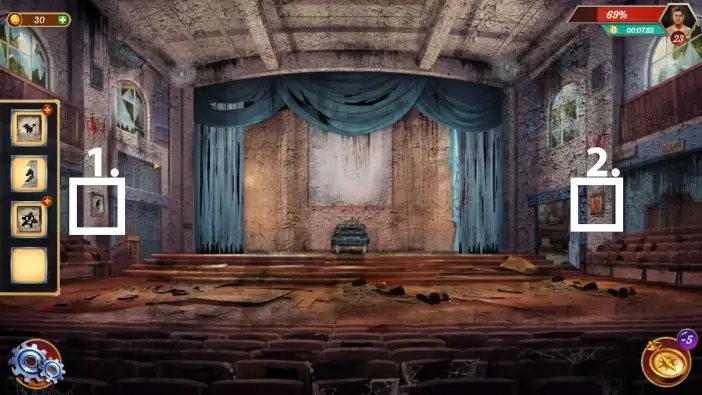
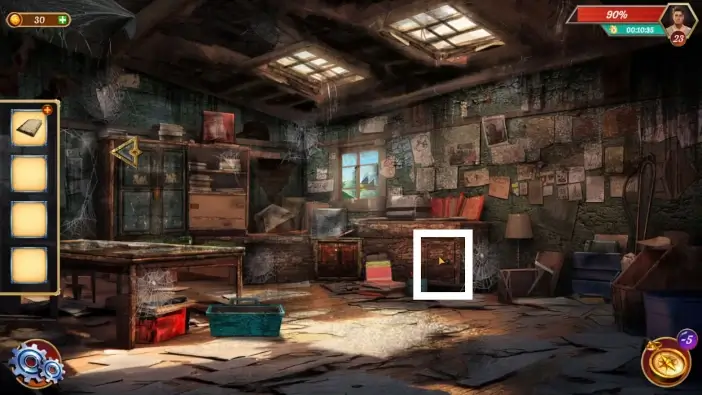
- Check the main entrance to the auditorium.
- Approach the bench on the left.
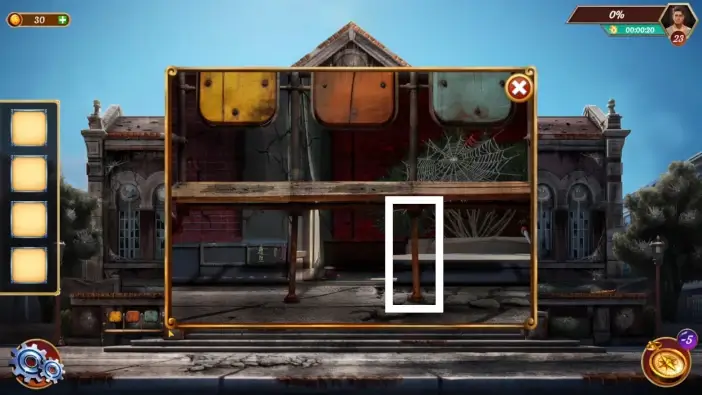
Take the metal rod that supports the bench.
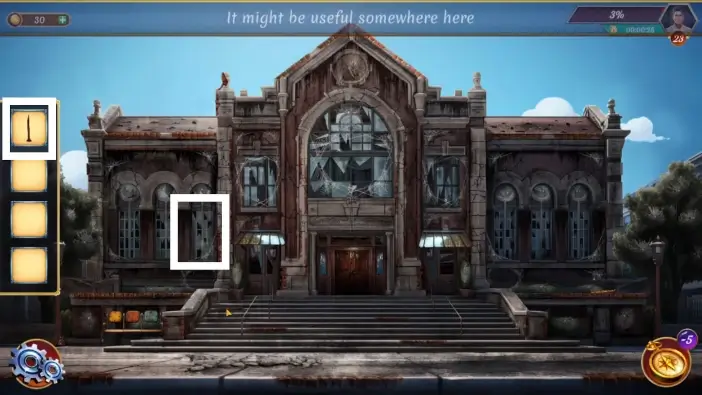
Approach the left window of the auditorium and use the metal rod to break the glass.
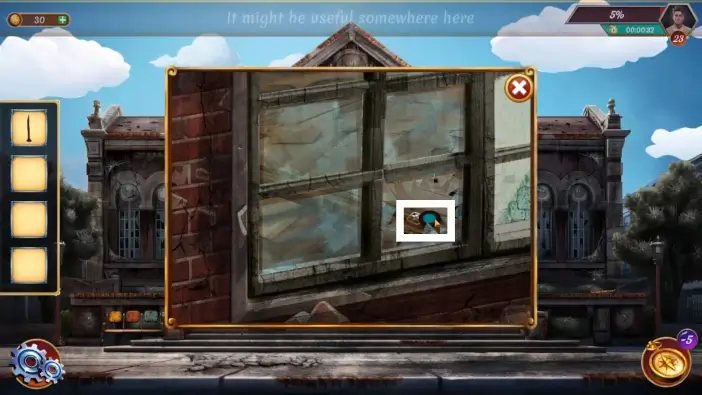
Take the two puzzle pieces. Each piece is for a different puzzle.
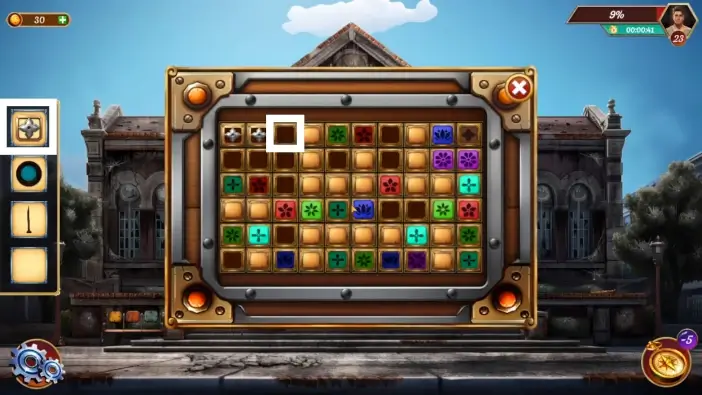
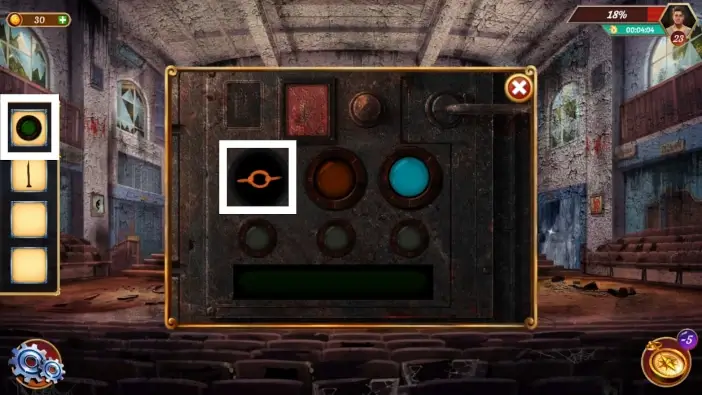
Return to the auditorium’s main entrance and approach the puzzle on the door. Place the puzzle piece in its place to start a puzzle challenge.
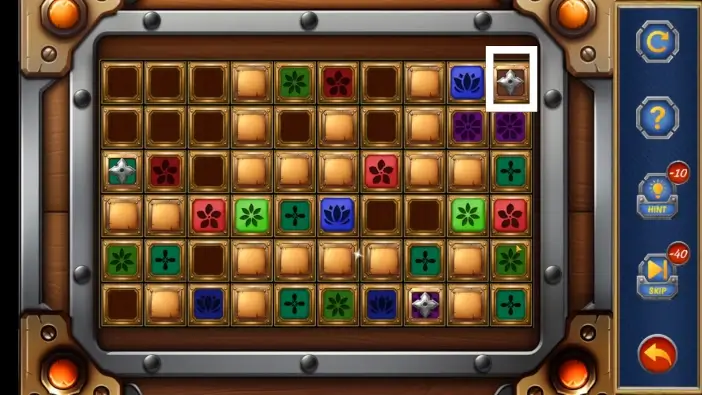
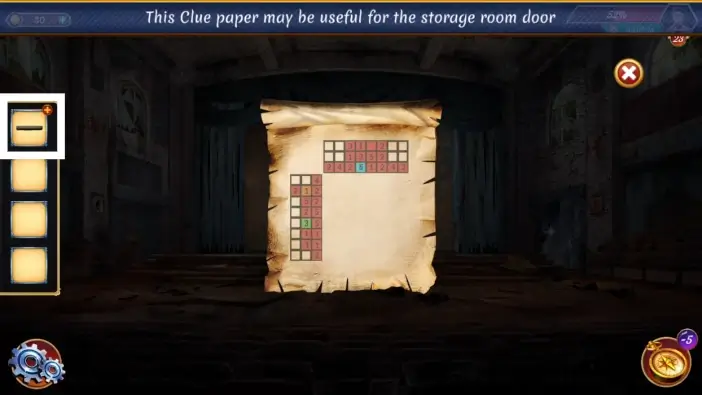
You can move three arrow tiles, while some colored tiles will block their path. There are activation tiles that will lower the blocking tiles of the same color. For example, if you move your arrow tile to the activation tile of the red color, all the red tile barriers will fall, and your other arrow tiles can pass. If you move your arrow tile away from the activation tile, the barriers will be restored. You’ll need to strategically use your three arrow tiles and activation tiles. The end goal is to place one of your arrow tiles in the top-right corner of the puzzle. This will unlock the auditorium’s main entrance.
Once inside the auditorium, approach the puzzle on the storage room door on the right.
Place the other piece of the puzzle you’ve found into the right slot.
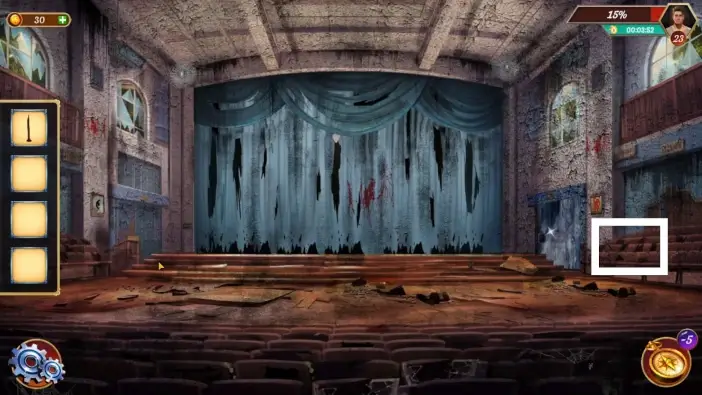
Approach the seats on the right.

Take the last piece of the puzzle.
Return to the storage room door and place this piece of the puzzle into the left slot. Before solving this, you’ll need to find a clue.
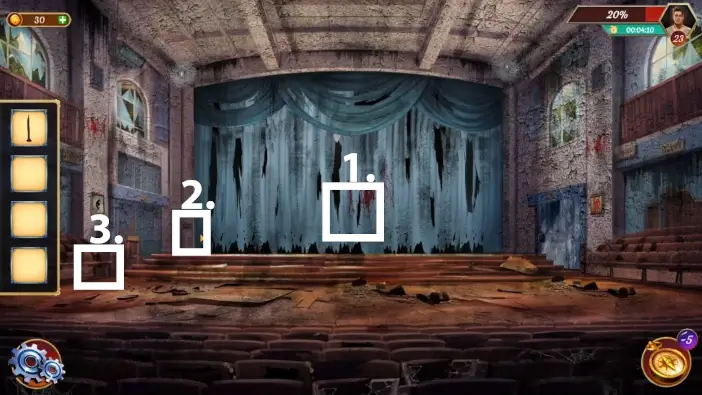
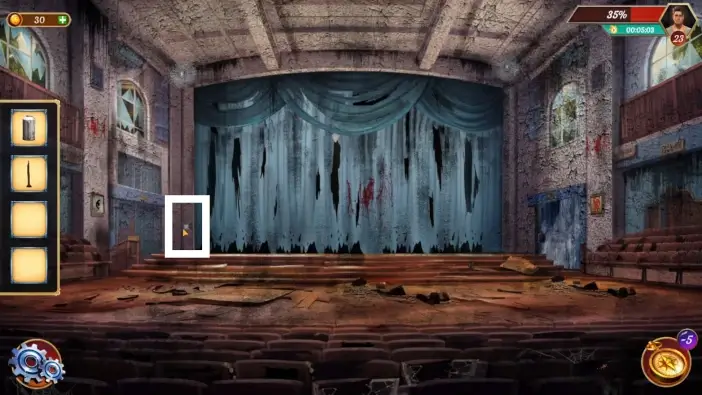
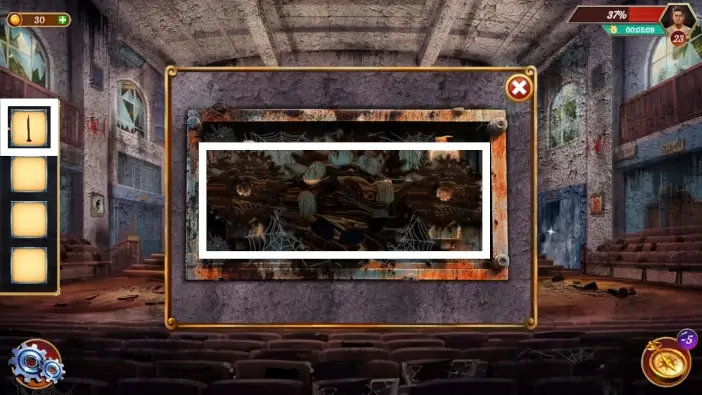
- Try to move the curtains of the stage. The curtains will get stuck, and John will realize there is something behind the stage.
- Approach the gears left from the curtains. John will notice that the gears are rusted and in need of lubrication.
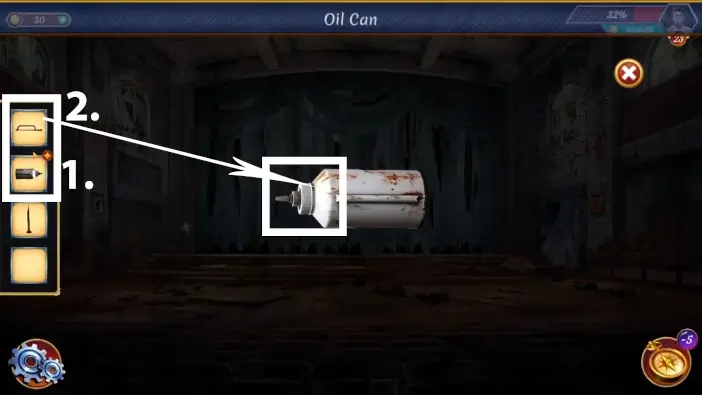
- Approach the cabinet on the left and open it.
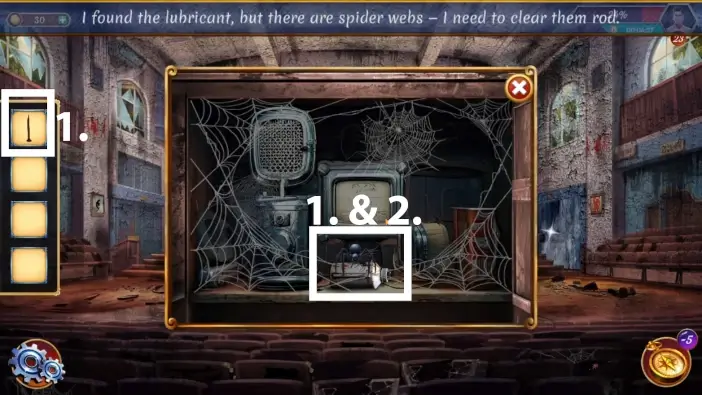
- Use the metal rod to remove the spiderweb.
- Take the oil can.
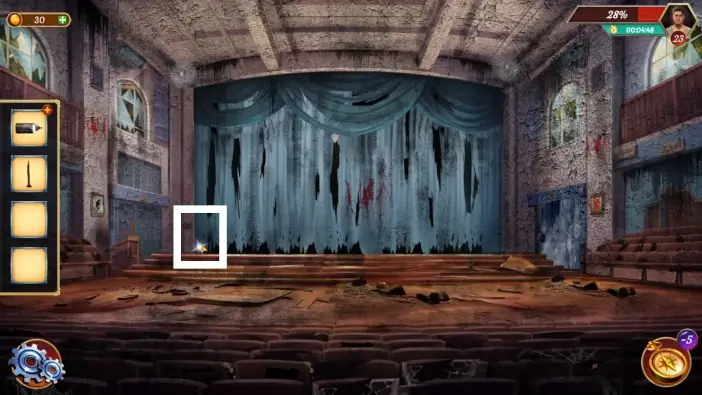
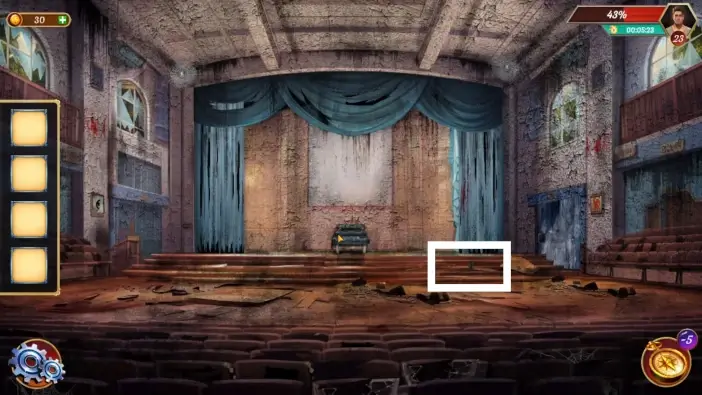
Approach the lower-left corner of the curtain.
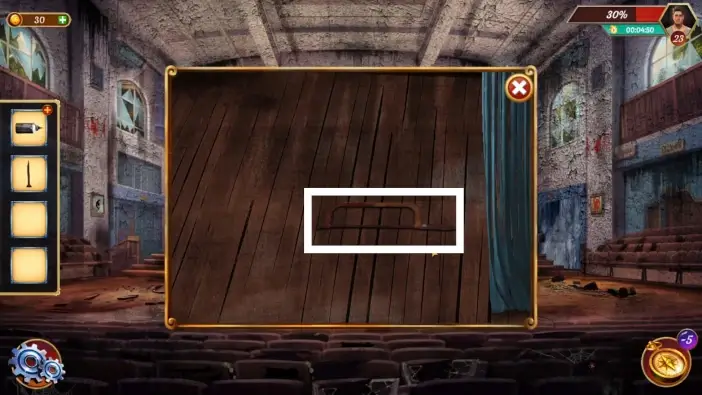
Move the curtain to the right and pick up the saw from the floor.
Tap on the oil can in your inventory to inspect it. Use the saw to open it. Tap on the oil can in the center of the screen to return it to your inventory.
Return to the gears left from the curtains.
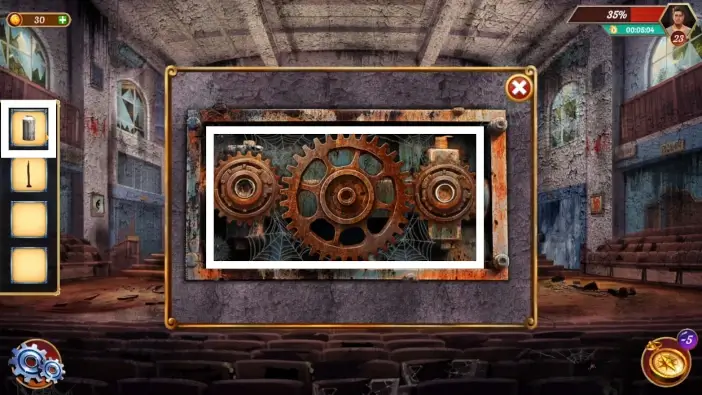
Oil the gears using the oil can.
Use the metal rod from your inventory to move and activate the gears. The curtains will move.
Take the framed painting.
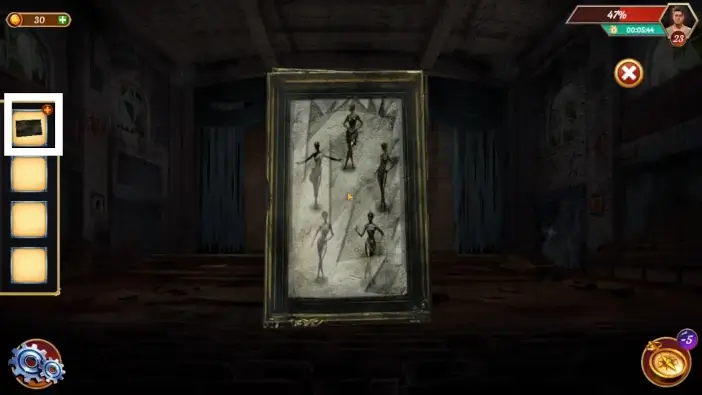
Tap on the framed painting in your inventory and then tap on it in the center of the screen to flip it. See the poses of each statue. Remember this as a clue.

Approach the statues in the center of the stage and rearrange them according to the clue on the framed painting. Once you solve this puzzle challenge, a compartment will open. Take the scroll from the compartment.
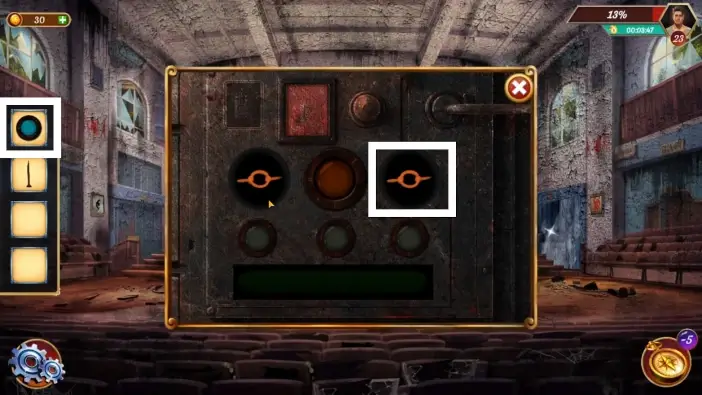
Read the scroll from your inventory. This is a clue for opening the storage room door. The number 1 is in orange, the number 3 is in green, and the number 5 is in blue.
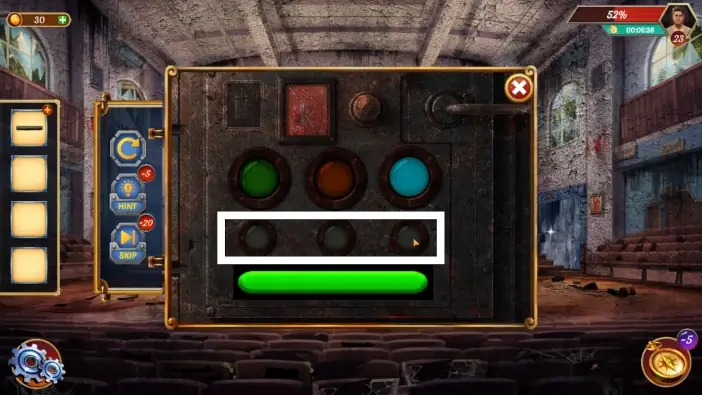
Return to the storage room door. Tap on the button below the green lens three times, tap on the button below the orange lens once, and tap on the button below the blue lens five times. Once the door is unlocked, enter the storage room.

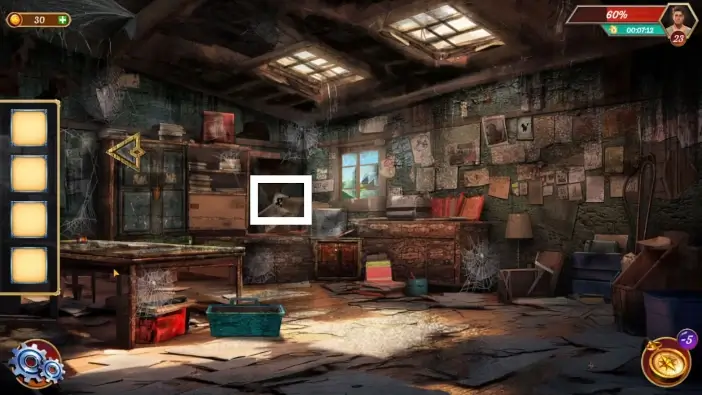
- Try to open the cupboard on the left. John will notice that the knob is missing.
- Pick up the knob from the toolbox.
Return to the cabinet and attach the knob. Use the knob, but it will only open a small lid to reveal a keyhole.
Take the first clue frame.
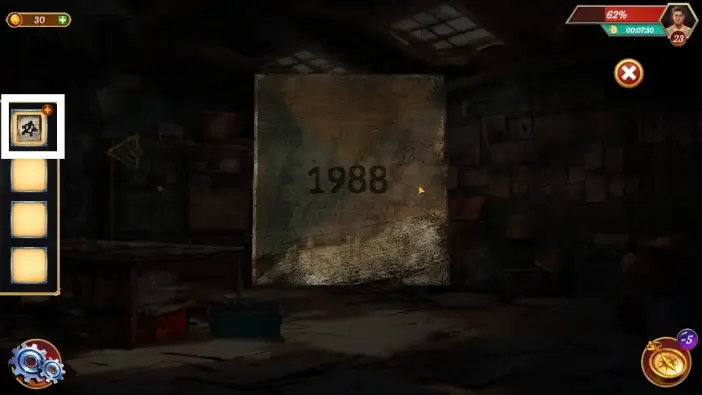
Inspect the clue frame from your inventory and tap on it in the center of the screen to see a number. Remember the number.
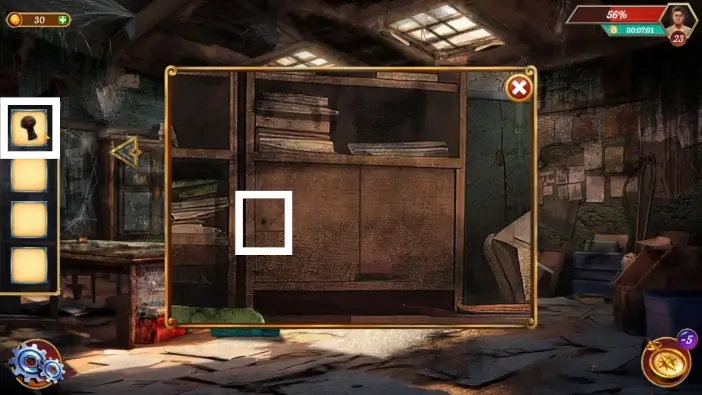
Open the cupboard on the left.
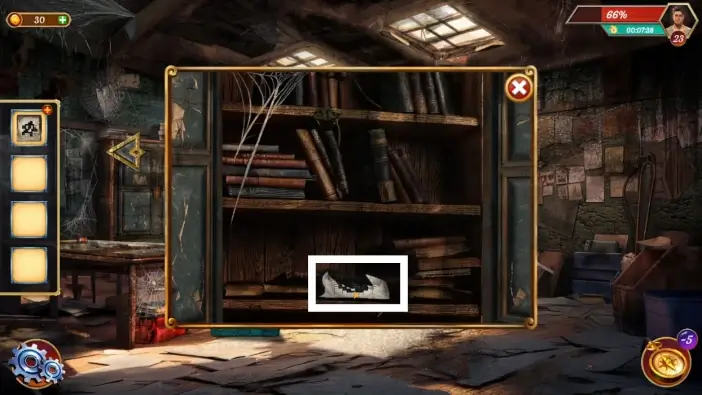
Take half of the paper.
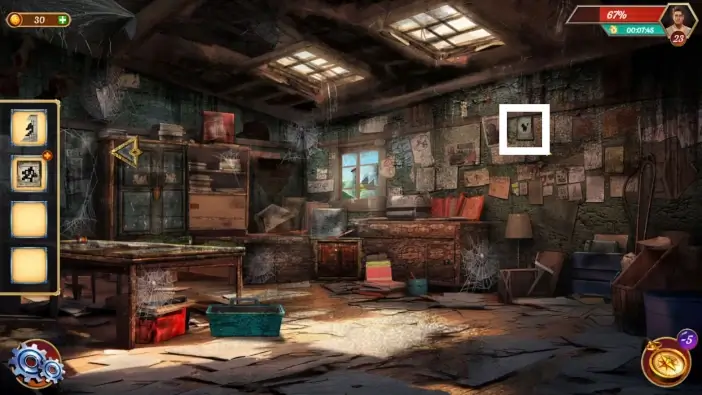
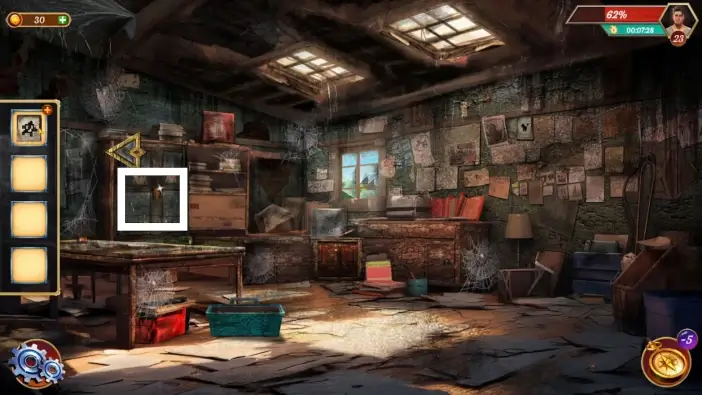
Take the second clue frame from the wall. See its number on the back of the frame.
- Return to the stage room and take the clue frame that contains only half of the paper in it from the left wall.
- Take another clue frame from the right wall and check the number on the back of the frame.
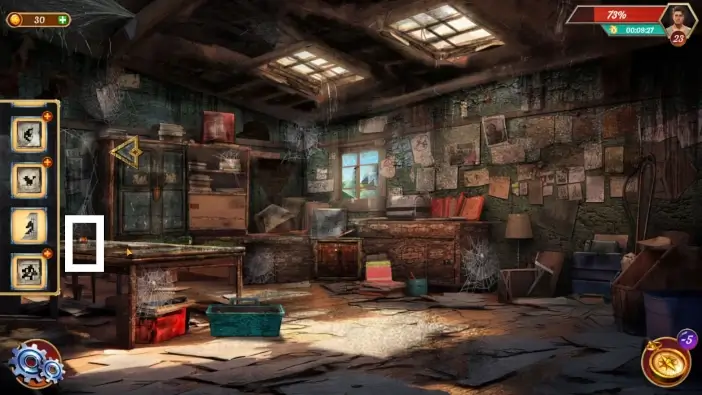
Return to the storage room and take the glue from the left table.
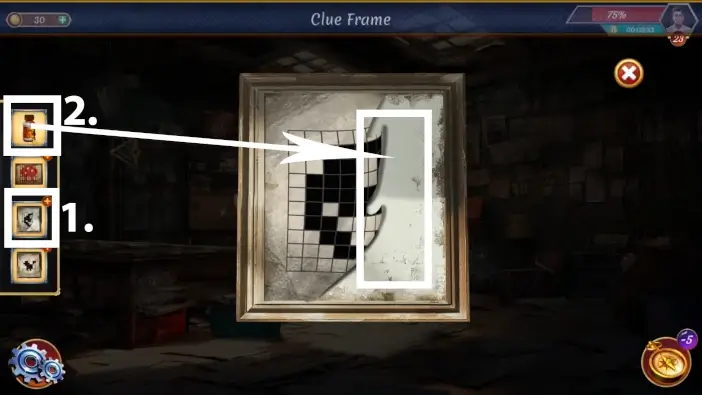
- Tap on the unfinished clue frame to zoom it in.
- Place the glue on the right side of the frame.
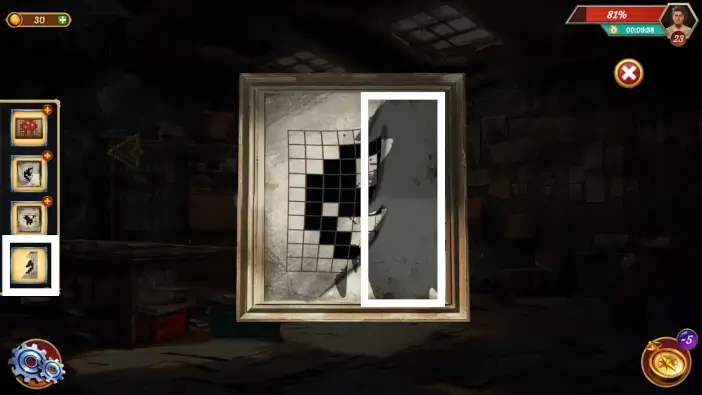
Place half of the paper from your inventory into the glued part to finish the paper on this clue frame. Don’t forget to check the number on the back of the frame.
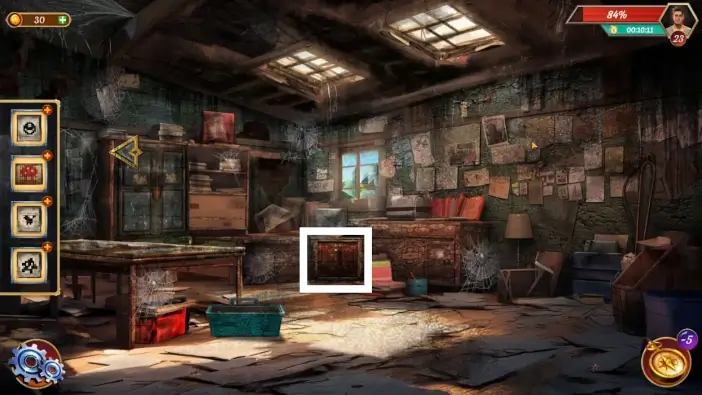
Approach the cabinet in the center and start its puzzle challenge.
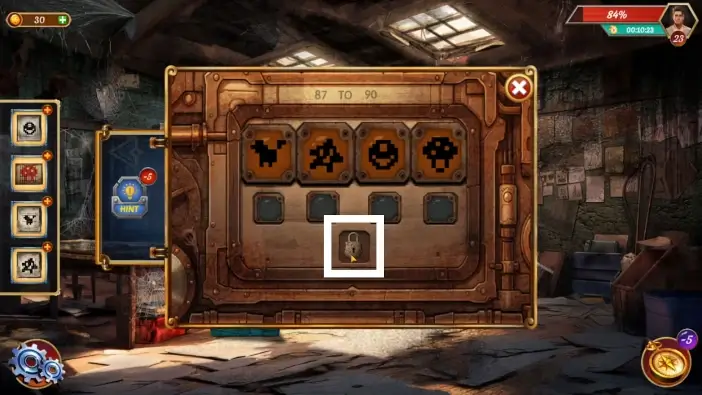
The symbols you are changing here are the same as in the clue frames. Arrange them in the ascending order of their numbers on the back of the frames. The solution is in the picture above. Once you complete the challenge, tap on the icon button to unlock the cabinet.
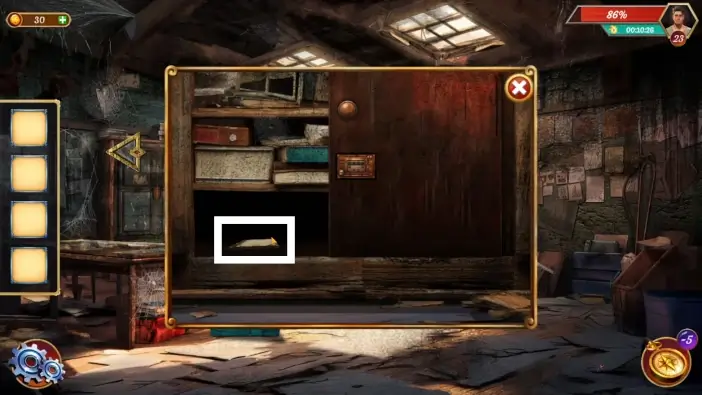
Take the book from the cabinet.
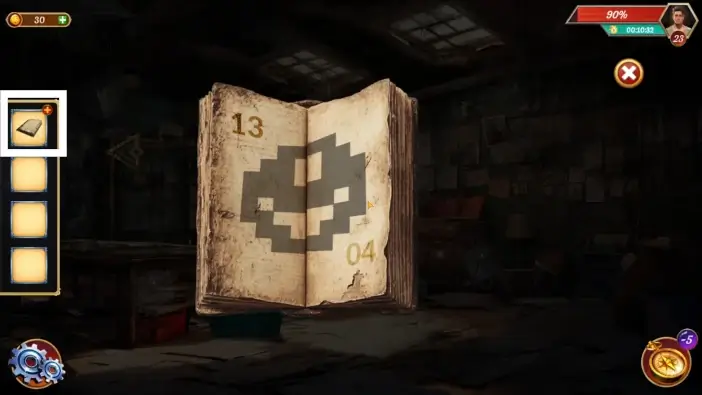
Read the password 1304 from the book.
Approach the password keyboard of the right cabinet.
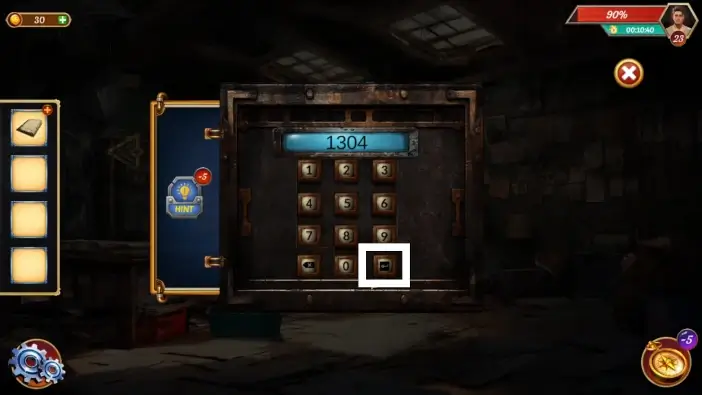
Insert the password 1304 and then tap on the enter button.
Take the key from this cabinet.
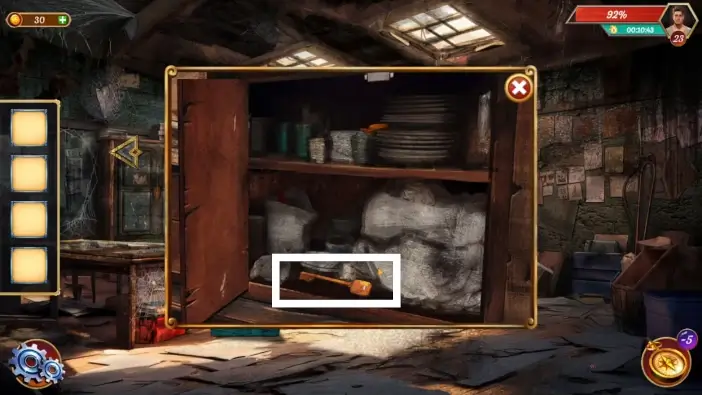
Use the key to unlock the cupboard on the left (the same cupboard where you attached the knob earlier).
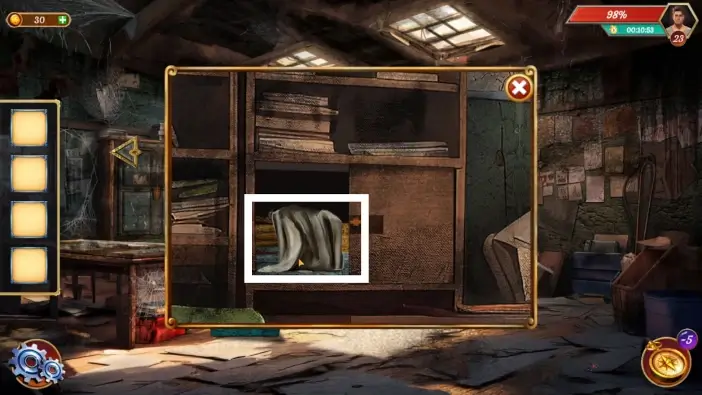
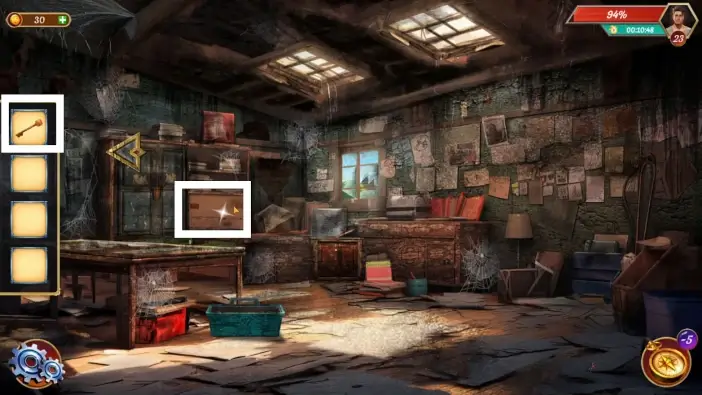
Take the ghost dress.
This will mark the end of our guide for Level 23 of Escape Room: Mysteries School.
Thank you for reading!