Escape Room: Mysteries School – Level 21
Intro
Welcome to our walkthrough for Level 21 for “Escape Room: Mysteries School” from “Ena Game Studio”. Help John renovate his old house and solve the mystery of the haunted abandoned school.
Walkthrough
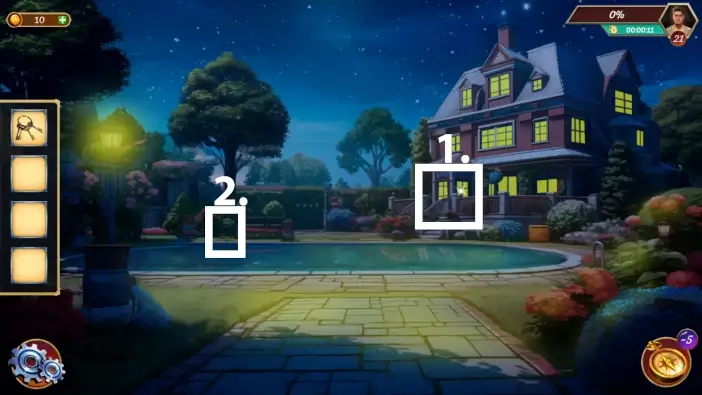
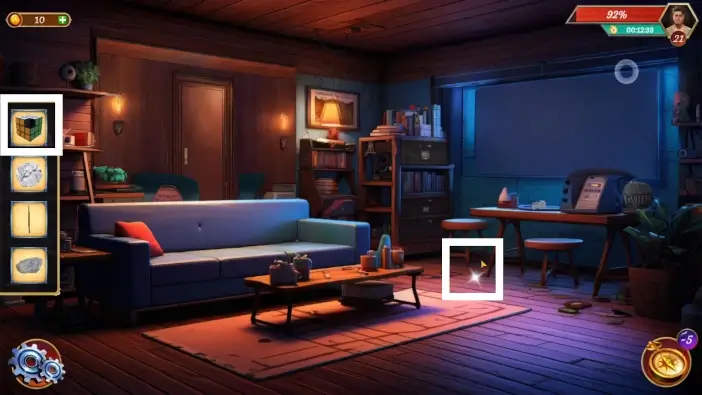
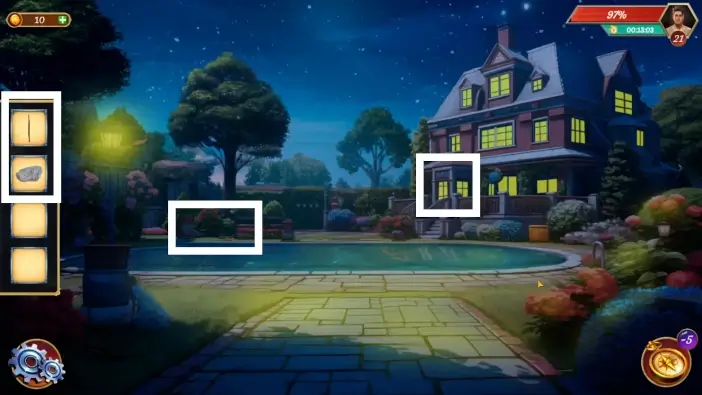
- Check the entrance door of the mansion, and John will comment that he needs to break the lock first.
- Approach the pile of stones on the other side of the swimming pool.
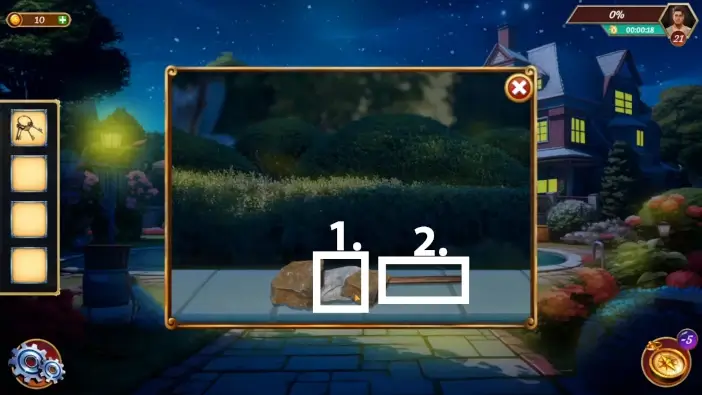
- Take the whiter stone.
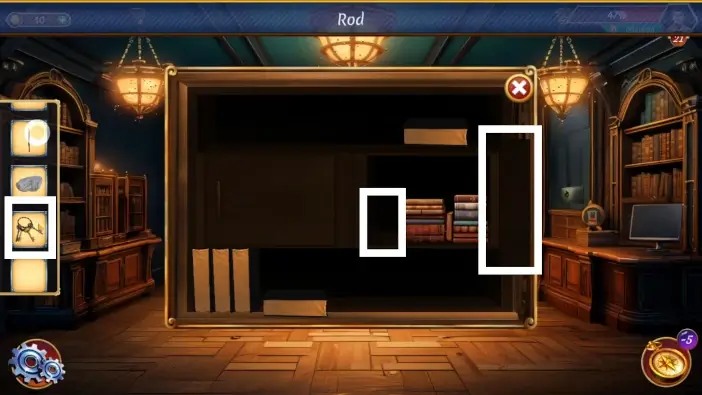
- Pick up the rod.
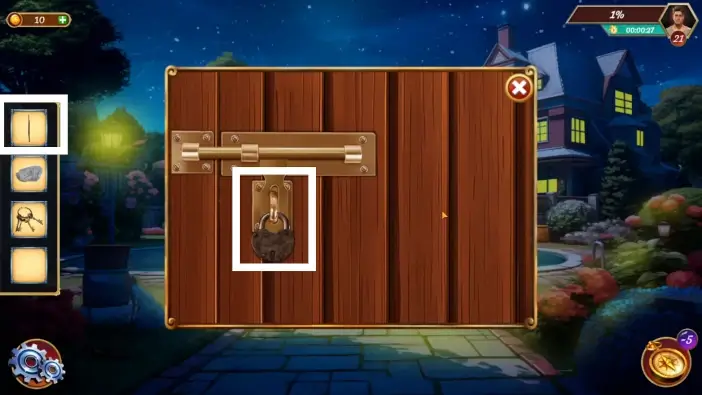
Place the rod on the padlock.
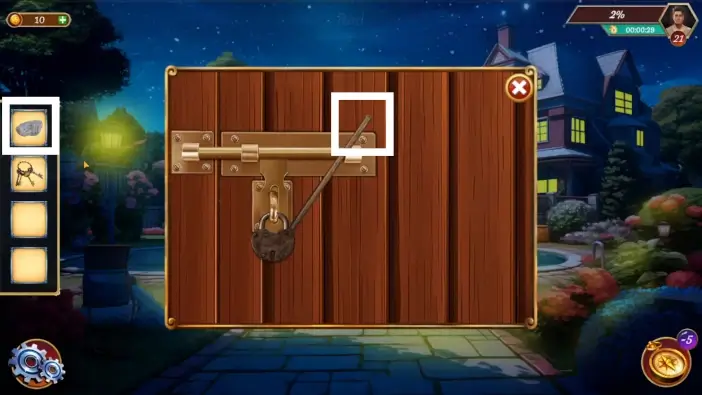
Hit the rod with the stone to transfer force into the padlock and break it. Enter the mansion.
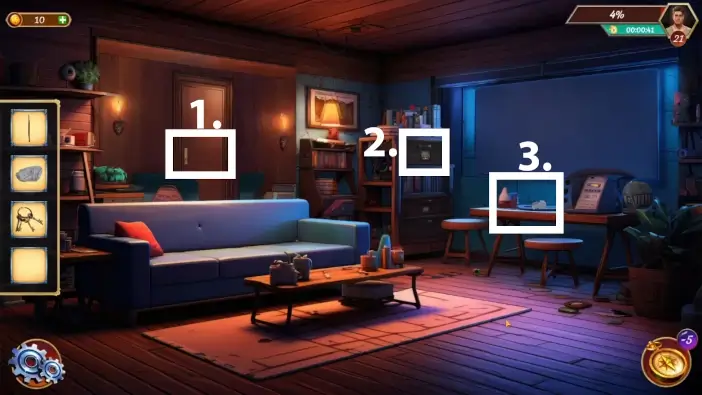
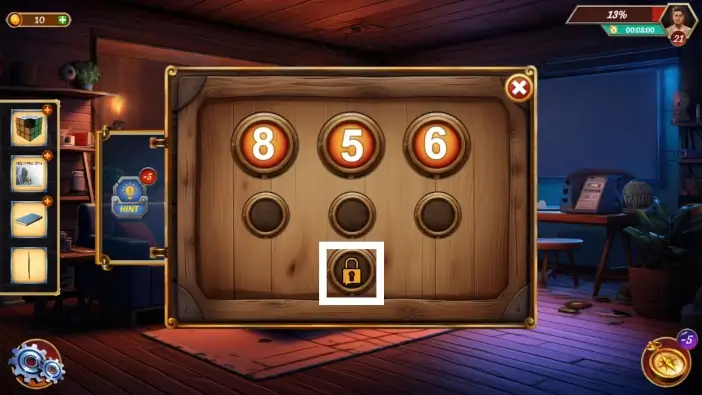
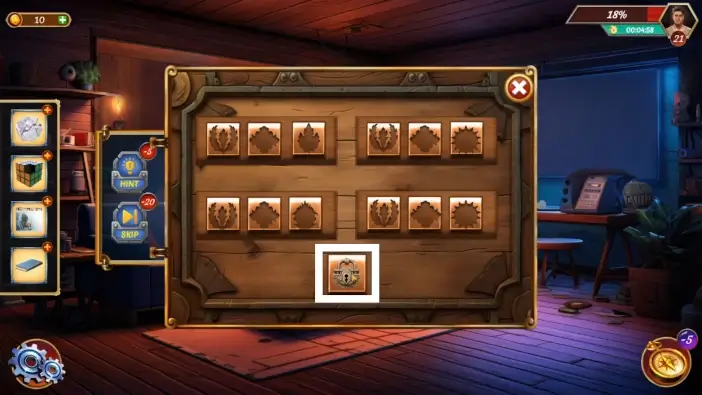
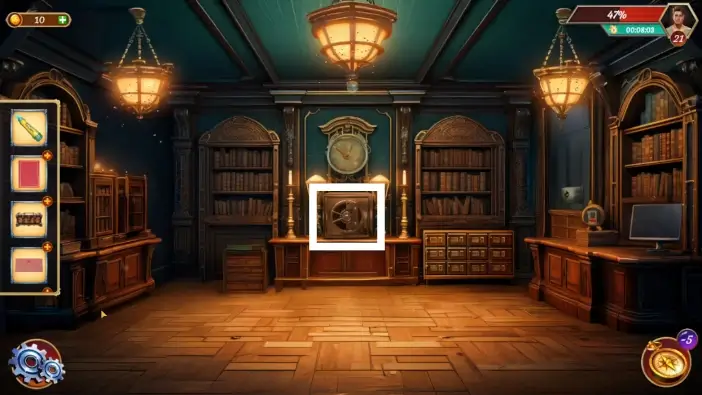
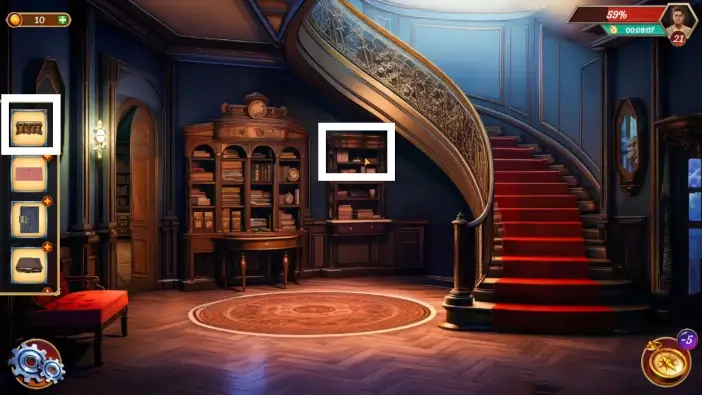
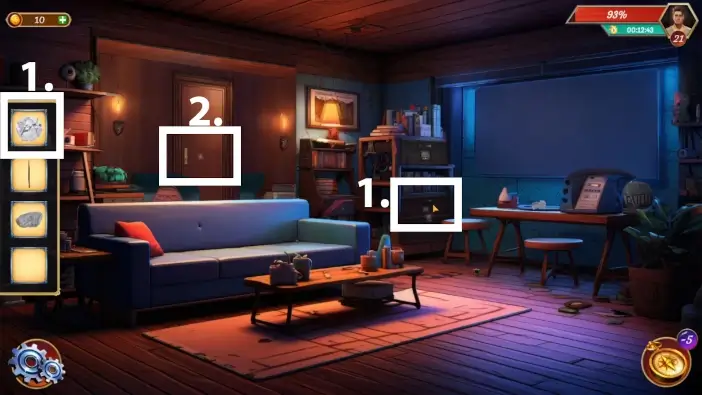
- Inside the mansion, approach the puzzle on the door. John will comment that one piece of the puzzle is missing, and he will search the room. This will unlock new interactions in the room.
- Approach the upper drawer, check its puzzle, and John will comment again that the clue for it is somewhere in the room.
- On the right desk, move some papers and take the blue book.
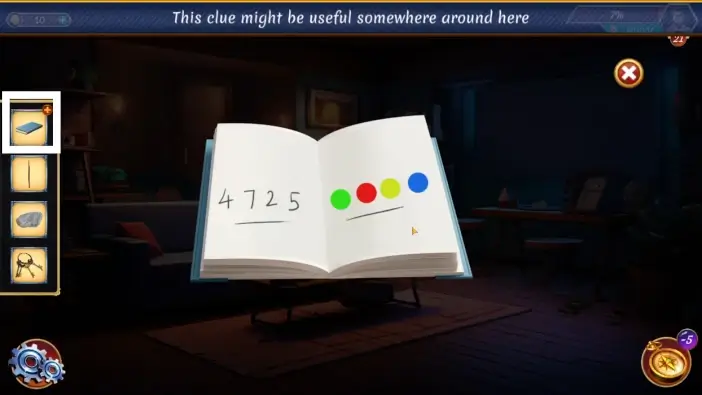
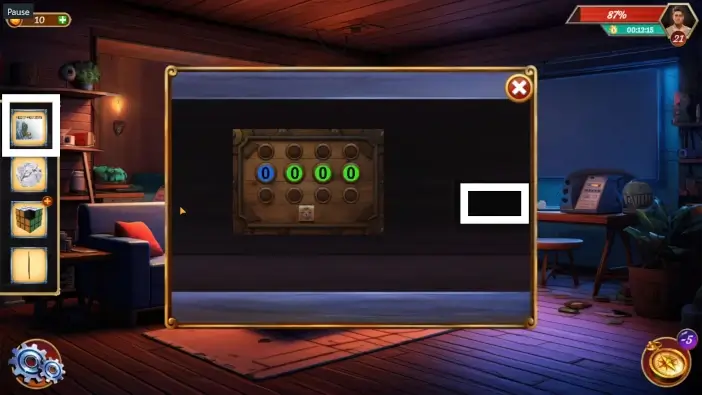
Open the blue book from your inventory and remember the numbers and colors. They are associated in the same order as they appear: number 4 is green, 7 is red, 2 is yellow, and 5 is blue.
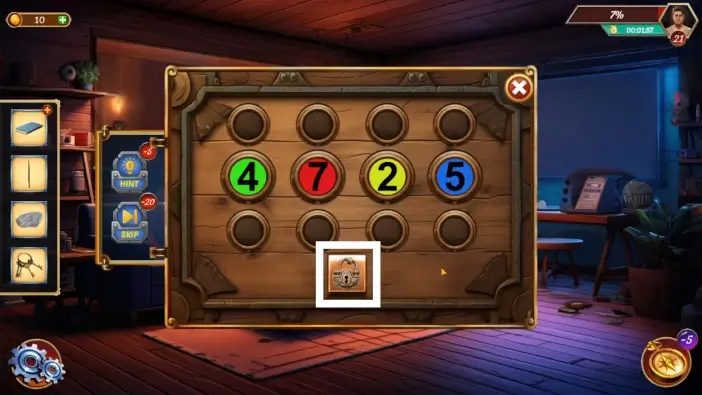
Return to the upper drawer and change the numbers and colors as described previously. Use the upper buttons to change the colors and the lower buttons to change the numbers. Once you set everything correctly, tap on the padlock icon to unlock the hidden compartment. Take the spiral notebook from the compartment.
Open the spiral notebook from your inventory and remember the clue.
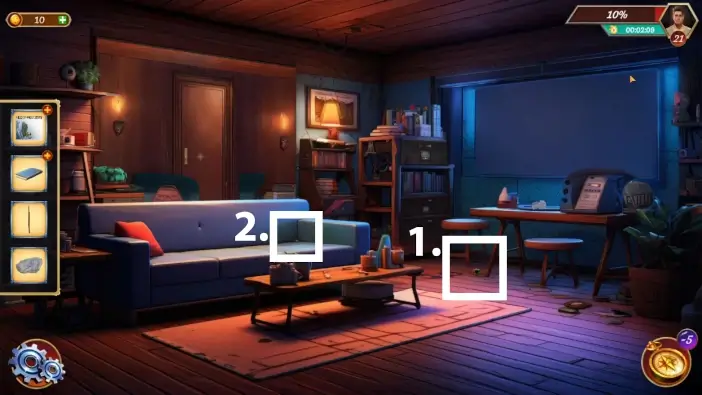
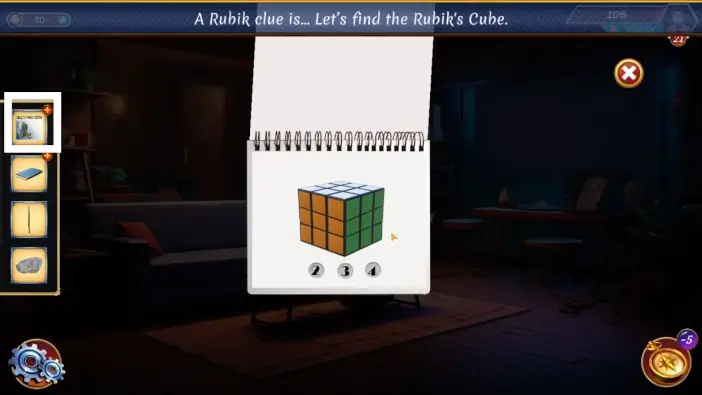
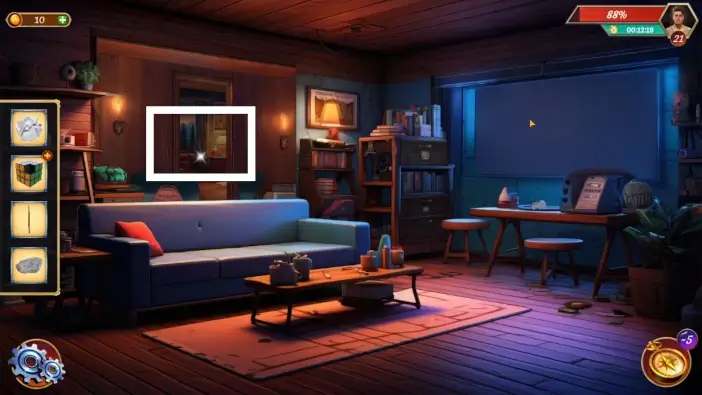
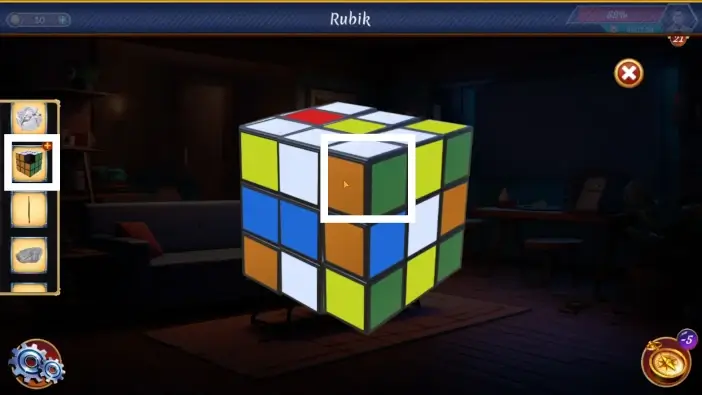
- Pick up the Rubik’s Cube from the floor near the desk.
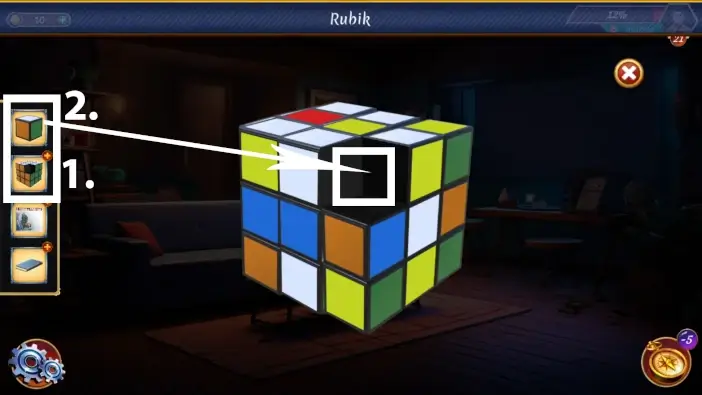
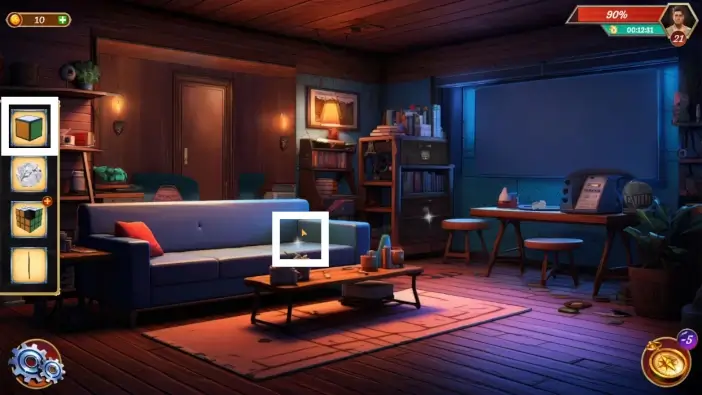
- Take the missing piece of the Rubik’s Cube from the sofa.
- Tap on the Ribik’s Cube in your inventory to inspect it.
- Place the missing piece where it belongs, and a new puzzle challenge will begin.
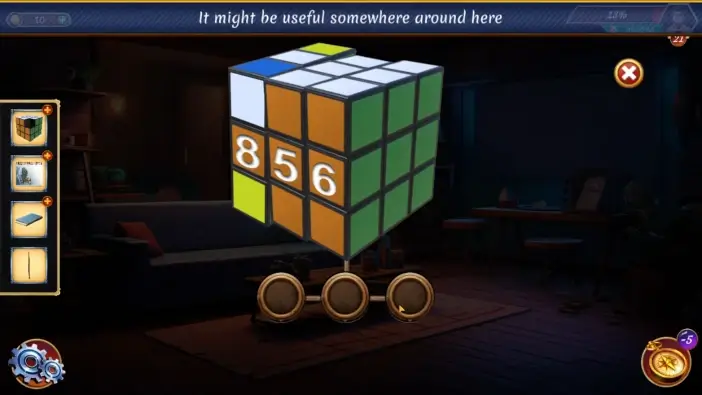
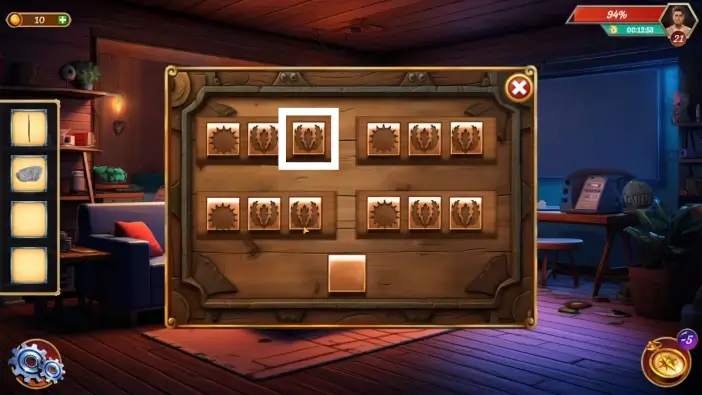
Remember the clue from the spiral notebook and press the left button two times, the middle button three times, and the right button four times. Remember the password 856.
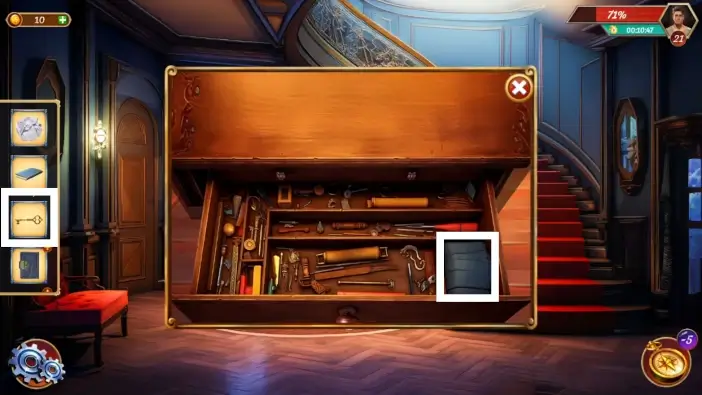
Approach the lower drawer.
Insert the password 856 that you saw on the Rubik’s Cube. You can change the numbers using the buttons below them. Once you insert the correct password, tap on the padlock icon to unlock the drawer.
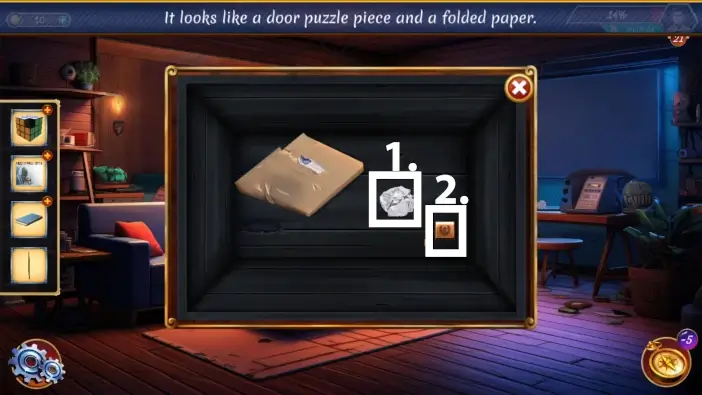
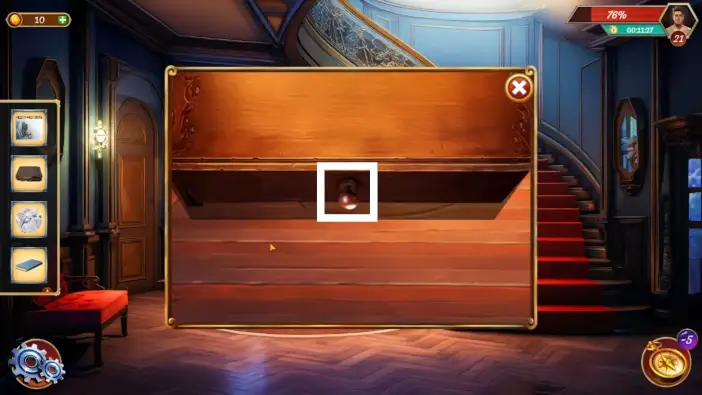
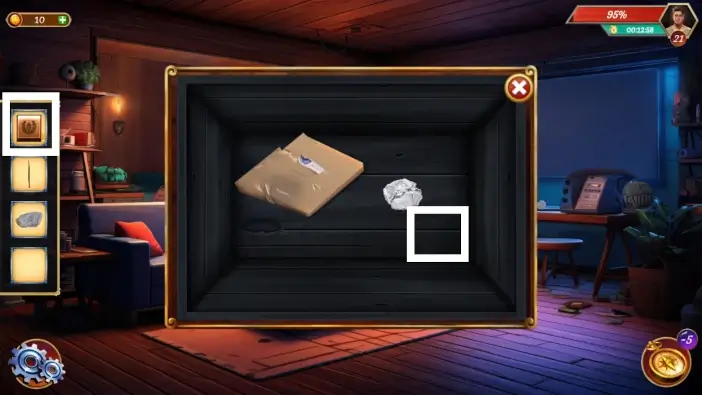
- Take the paper. It contains the clue for the puzzle on the door.
- Take the piece of the puzzle for the door.
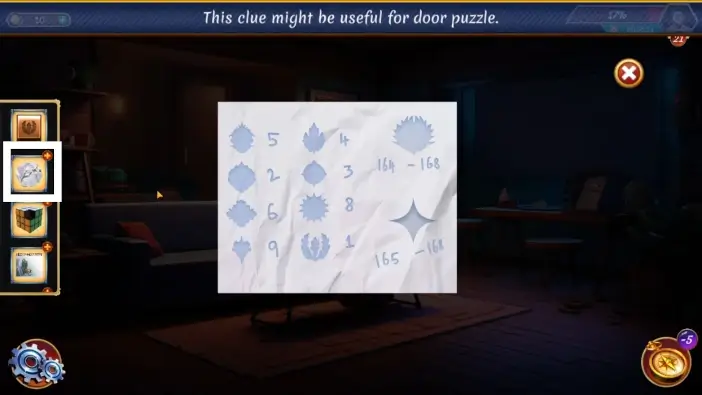
Tap on the paper in your inventory and read the clue.
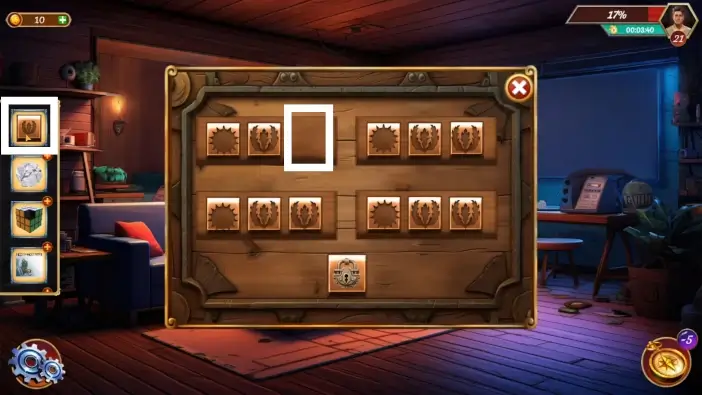
Go to the puzzle on the door and place the missing piece.
Change the symbols to be like in the picture above, and then tap on the padlock icon to unlock the door. Go to the bedroom.
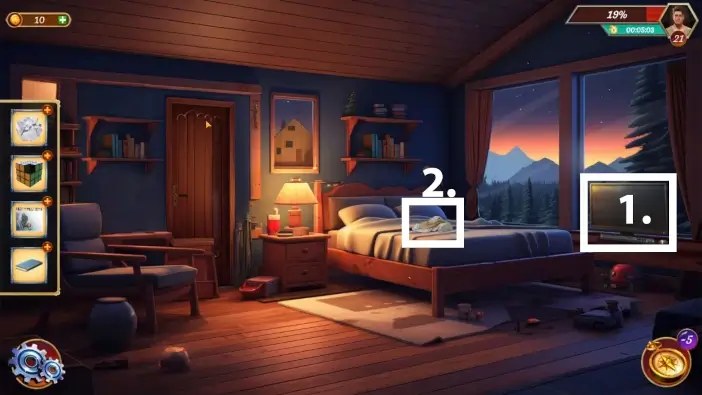
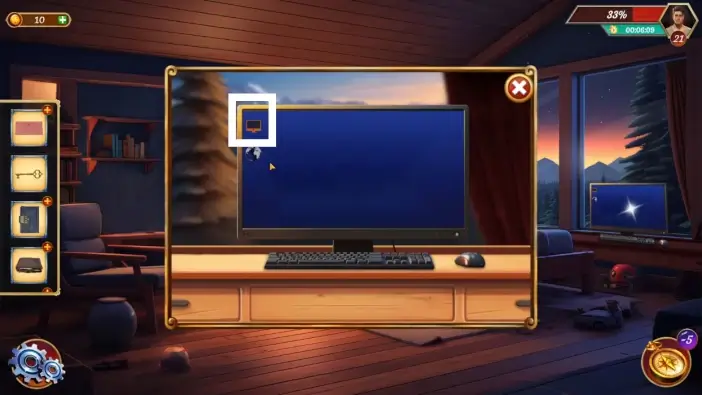
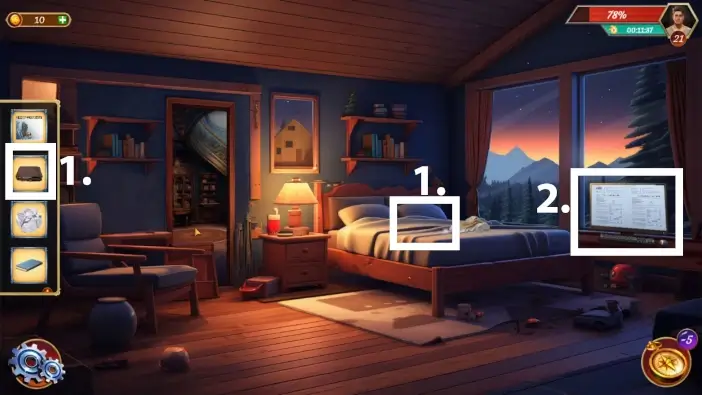
- Turn on the PC on the right desk. You’ll need a password to log in.
- Move the pile of clothes from the bed and take the wallet.
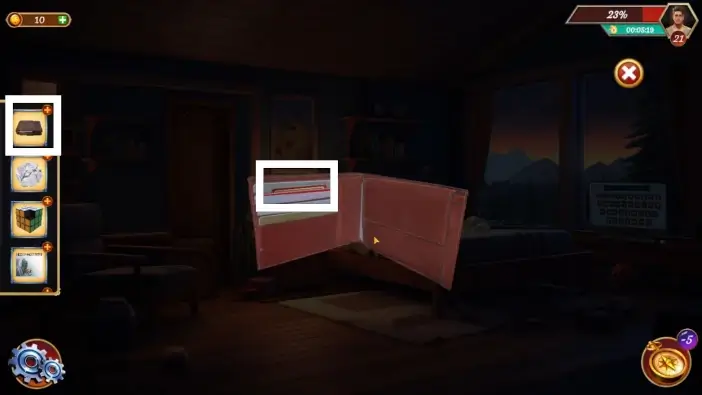
Open the wallet from your inventory and take the ID card.
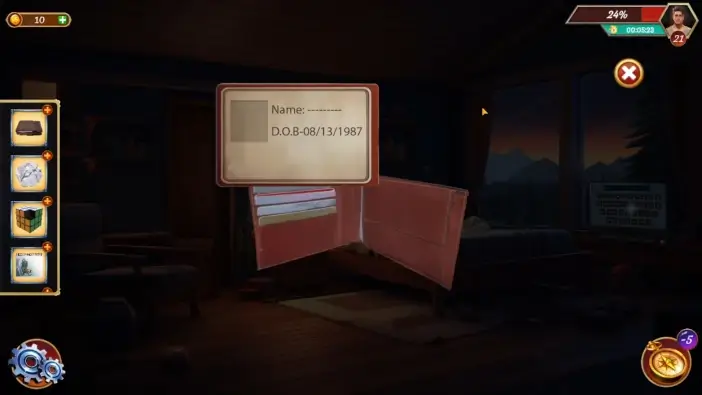
Remember the date from the ID card. This is part of the password for the PC.
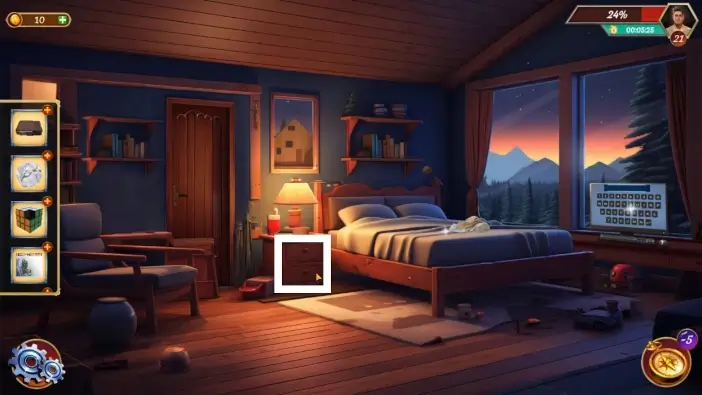
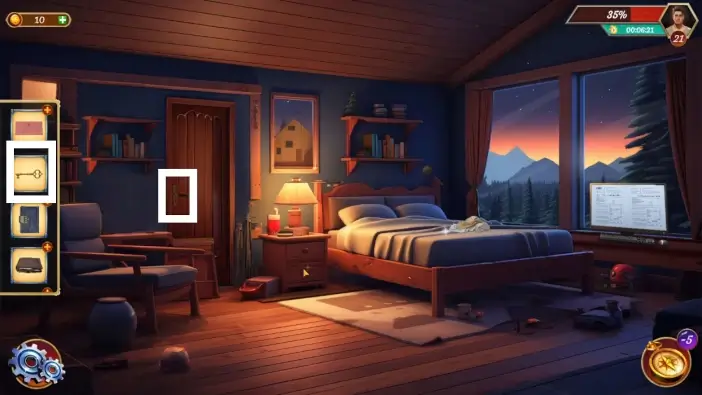
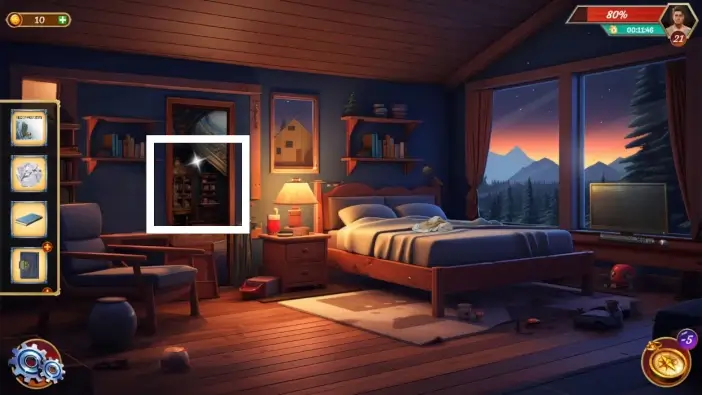
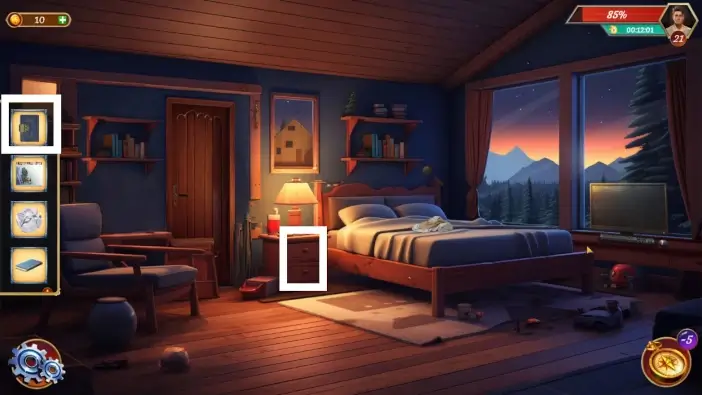
Approach the nightstand next to the bed.
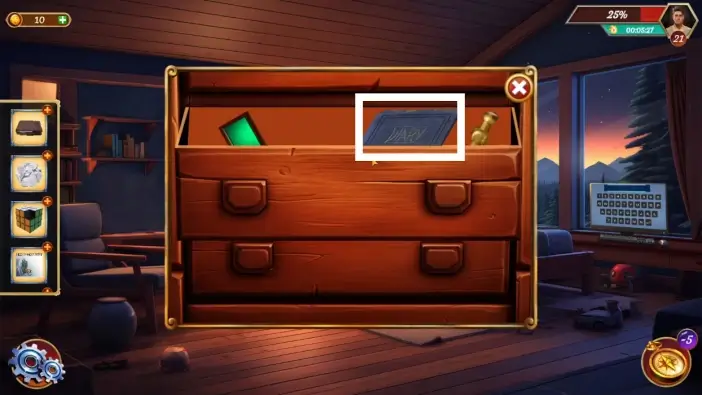
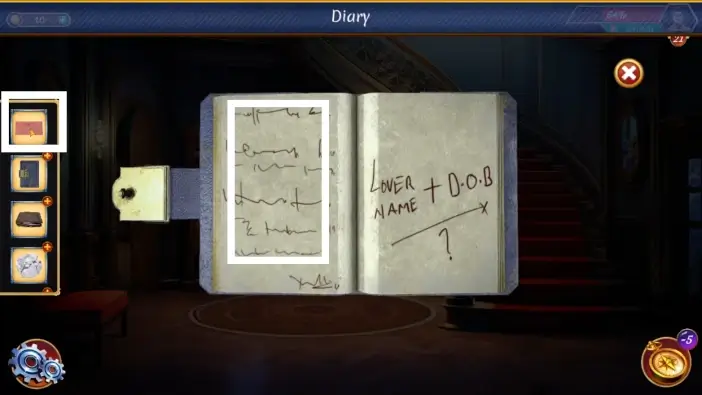
Open the first drawer and take the diary.
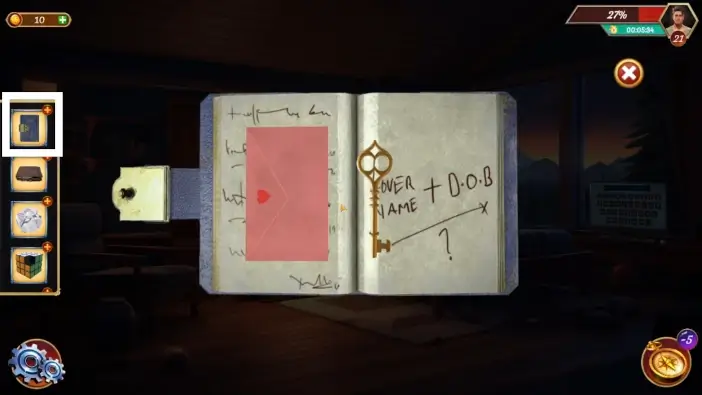
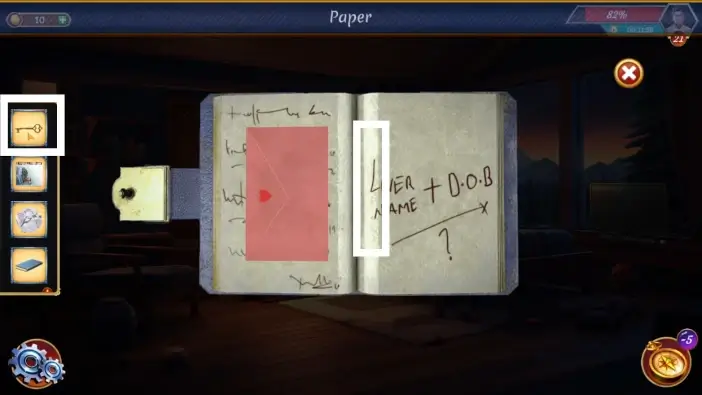
Open the diary from your inventory and take the key and the envelope.

Open the letter from the envelope and find the name Rubie. This is another part of the password.
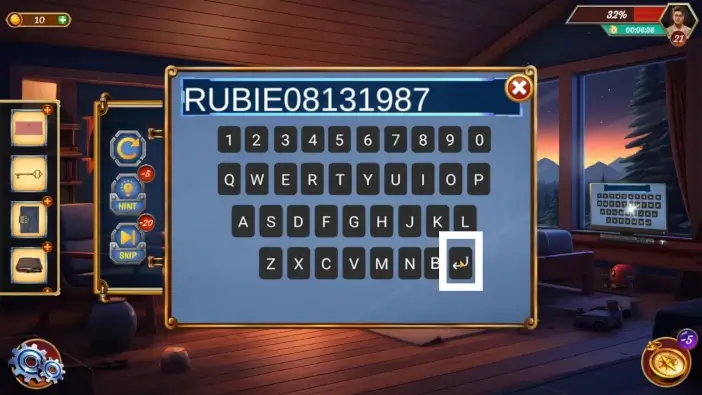
Go to the PC, remember the clues from the ID card and the letter, and type the RUBIE08131987, then tap on the enter button.
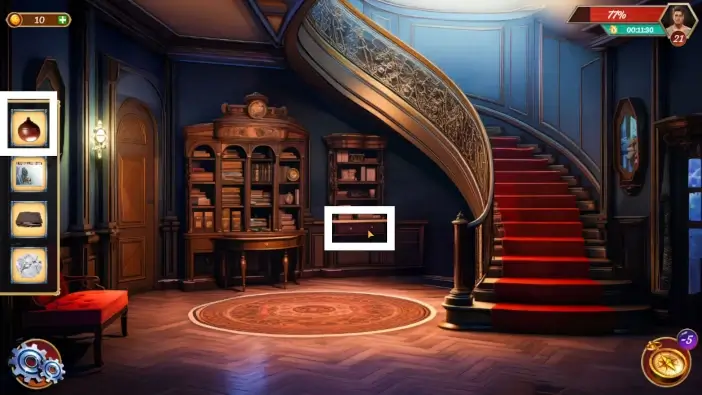
Tap on the “This PC” icon and then on the only folder inside, and John will find an interesting document about money transfer.
Use the key from the diary to unlock the next door and go through it. You will end up in the same downstairs hallway from Level 19.
- Try to open the door to the secret room. Unfortunately, the door handle will break.
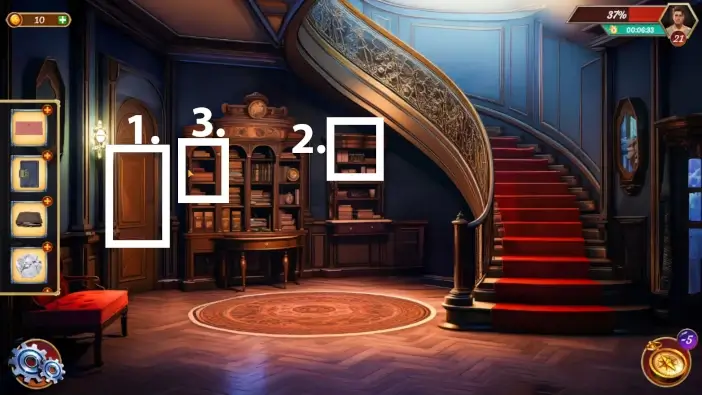
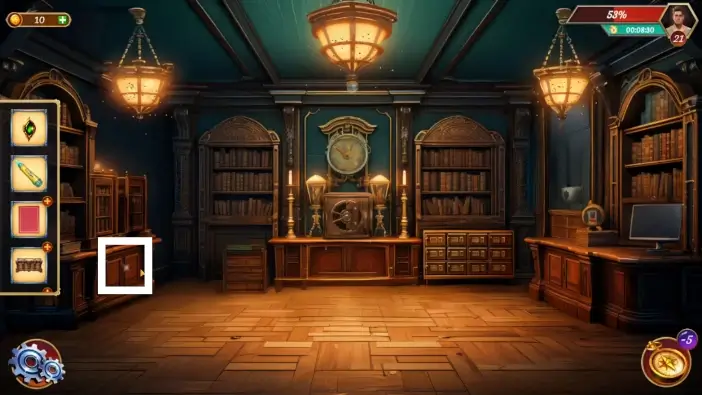
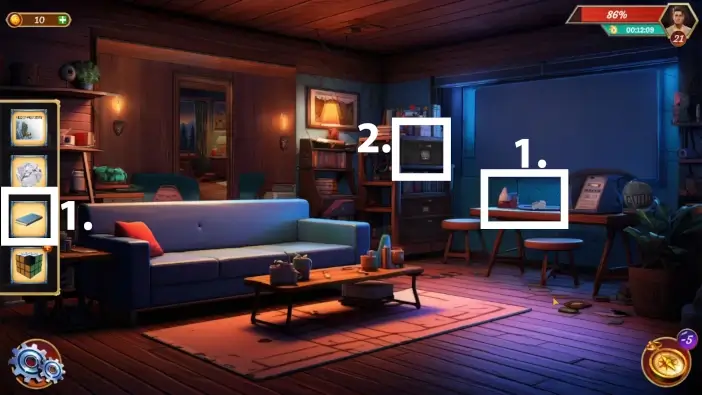
- Take the box from the shelf on the right.
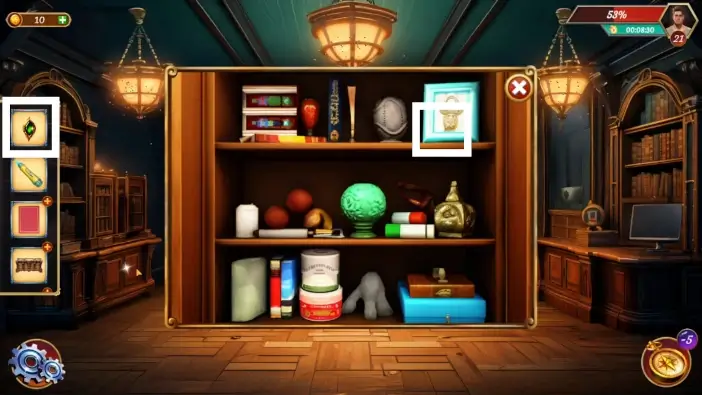
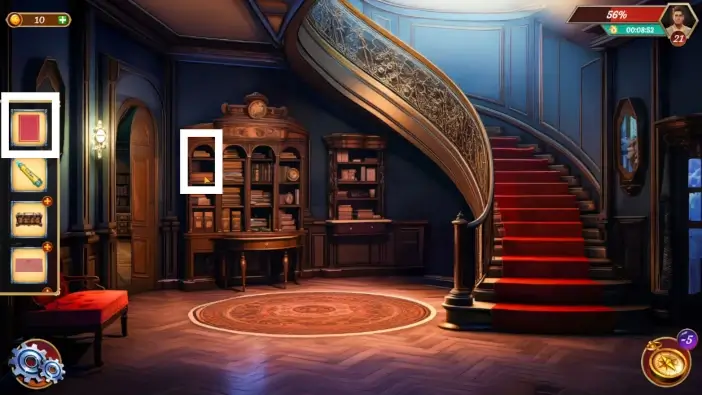
- Take the book from the left shelf.
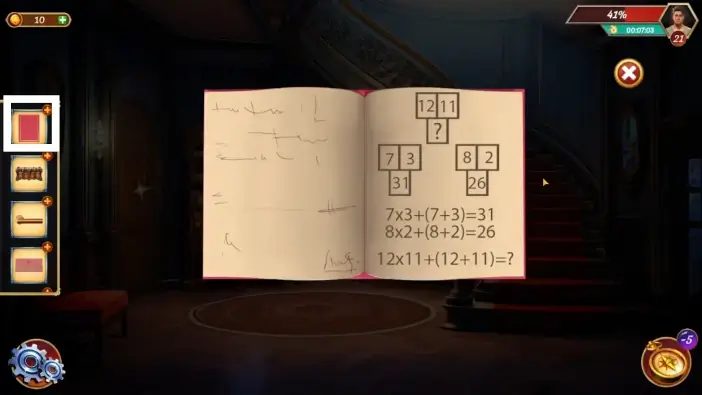
Open the book to see the clue for the puzzle for unlocking the box. The solution for the box is 155 because 12 X 11 + (12 + 11) = 155.
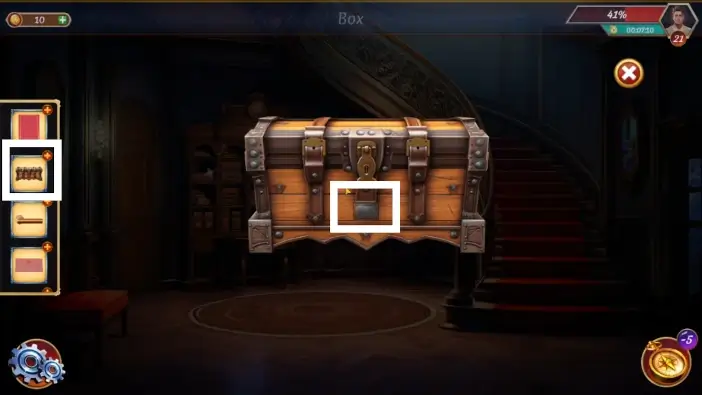
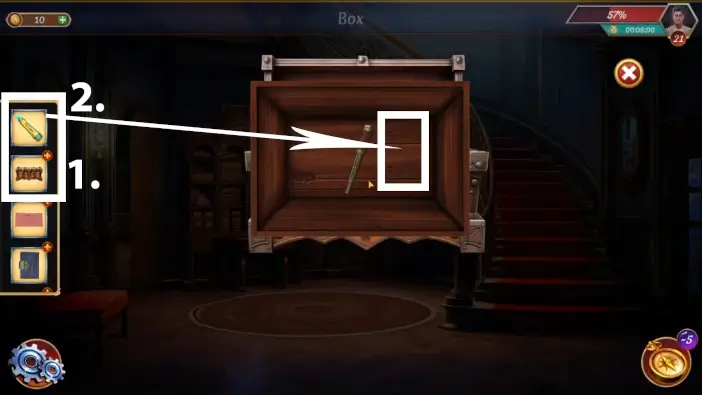
Tap on the box in your inventory to examine it. Tap on the puzzle to start the challenge.
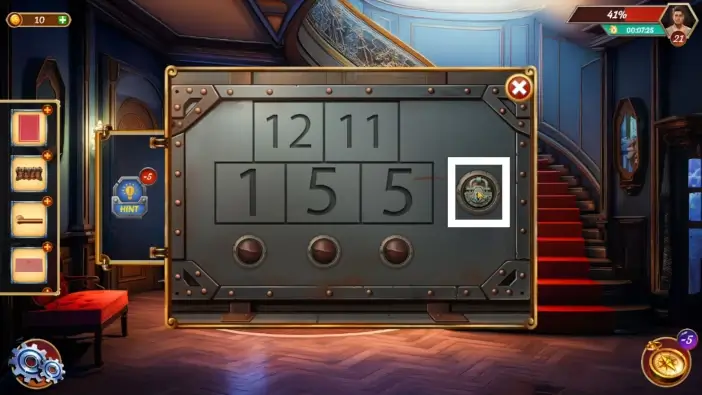
Change the lower numbers to 155 and then tap on the padlock icon to unlock the box. To change the numbers, use the buttons below them. Take the glue from the box.
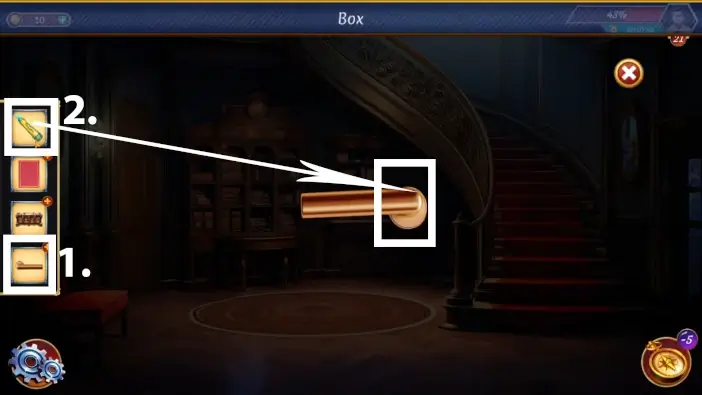
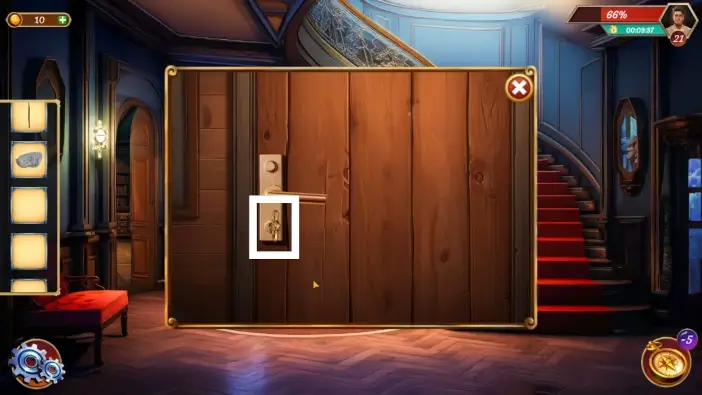
- Tap on the door handle from your inventory to inspect it.
- Place the glue on the door handle. Tap on the door handle in the center of the screen to return it to your inventory.
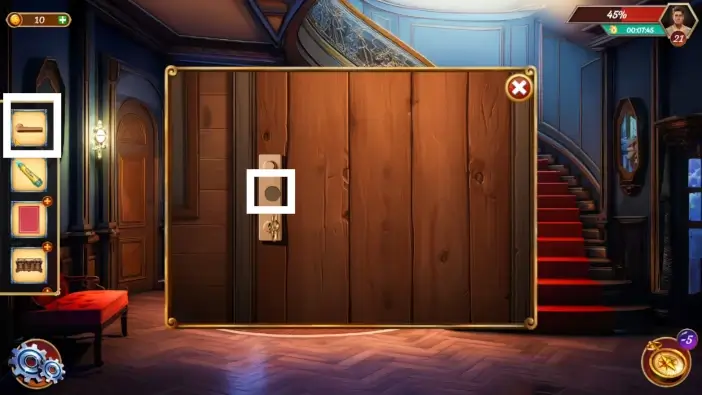
Now that the door handle has glue on it, attach it to the door, then open the door and enter the secret room.
Approach the central safe. From this point to the end of this mission, you’ll need to reverse all the actions and return all the items from Level 19 and this Level.
Inside the safe, return the school keys to the right cabinet, close the cabinet, and take the key. Afterwards, close the safe.
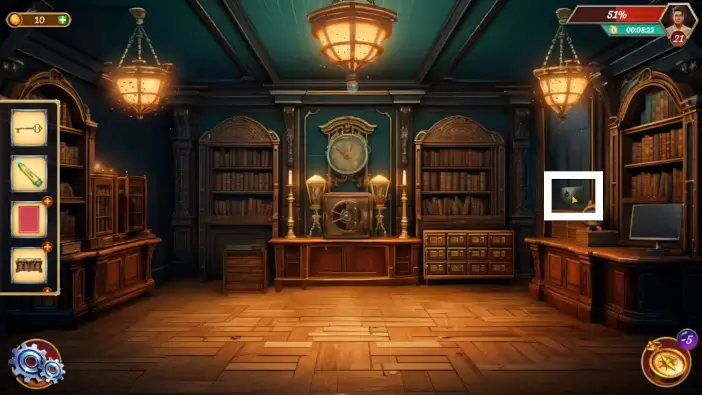
Approach the safe on the right wall.
- Return the safe key.
- Take the gem.
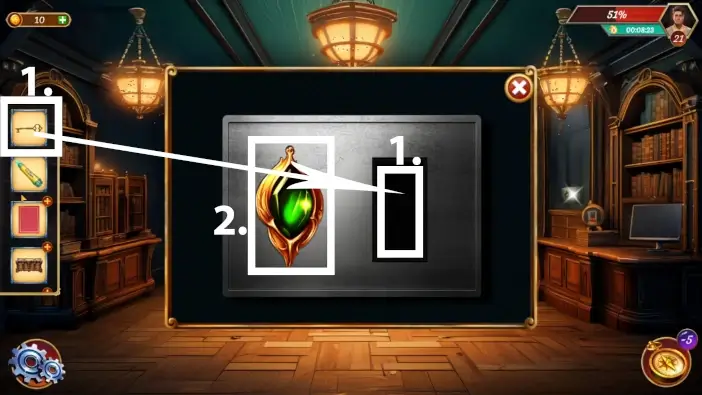
Approach the left cabinet.
Return the gem to the top shelf and close the cabinet. Exit the secret room.
Close the book that contained the clue for the box puzzle and return it to the left shelf.
- Tap on the box in your inventory to inspect it.
- Return the glue to the box.
Return the box to the right shelf.
Put the letter back into the envelope and return the envelope to the diary.
Close the door to the secret room and take the key.
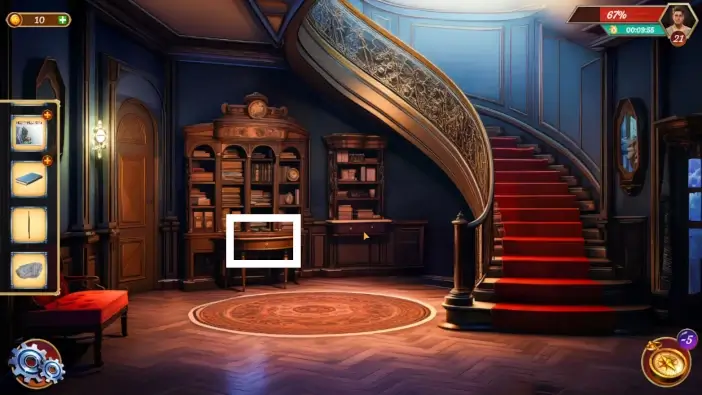
Approach the drawer on the central desk.
Place the key to the secret room into the drawer and close it.
Take the knob of the drawer.
Return the knob to the drawer of the right desk. Arrow will appear. Tap on it to return to the bedroom.
- Return the ID card to the wallet and close it, then return the wallet to the bed.
- Shut down the PC.
Close the door to the hallway and take the key.
Place the hallway key into the diary and close the diary. Tap on the diary one more time to return it to your inventory.
Return the diary to the drawer of the nightstand. After this, leave the bedroom by tapping on the arrow.
- Close and return the book to the right desk.
- Approach the upper drawer.
Close the spiral notebook and return it to the hidden compartment.
Close the door to the bedroom.
In your inventory, find the Rubik’s Cube and remove one piece of it.
Place the piece of the Rubik’s Cube on the sofa.
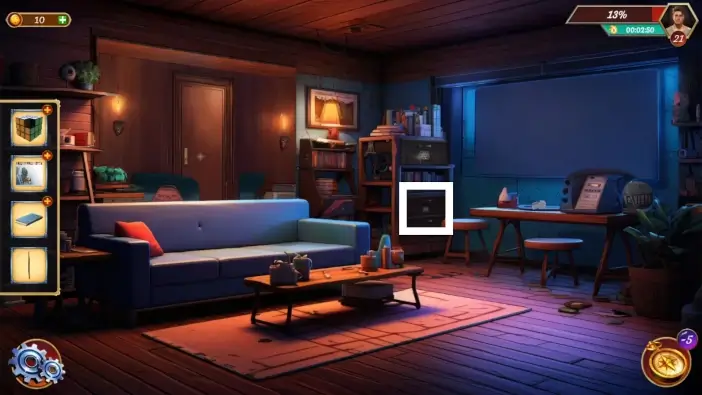
Place the Rubik’s Cube on the floor near the right desk.
- Return the paper to the lower drawer.
- Approach the bedroom door.
Take the piece of the puzzle marked in the picture above.
Return the piece of the puzzle to the lower drawer where the paper is. After this, exit the mansion.
Close the mansion’s door. Return the rod and the stone to the ground on the other side of the pool.
This will mark the end of our guide for Level 21 of Escape Room: Mysteries School.
Thank you for reading!