Escape Room: Mysteries School – Level 19
Intro
Welcome to our walkthrough for Level 19 for “Escape Room: Mysteries School” from “Ena Game Studio”. Help John renovate his old house and solve the mystery of the haunted abandoned school.
Walkthrough
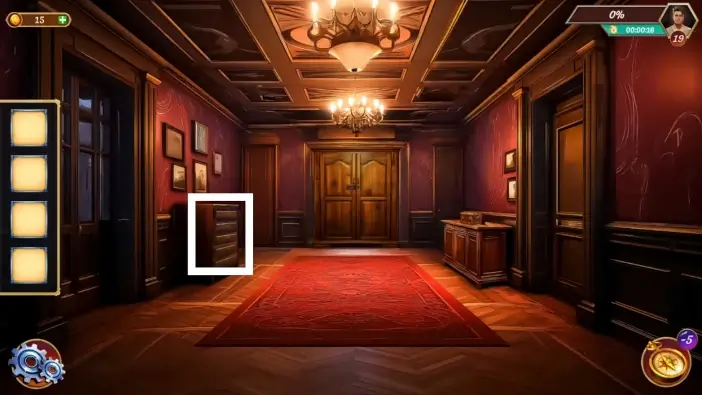
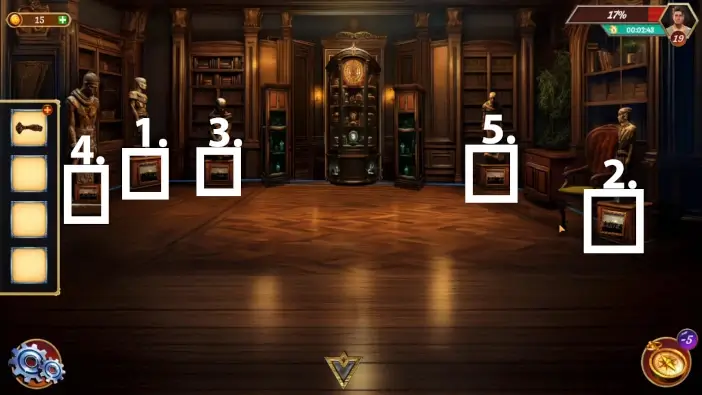
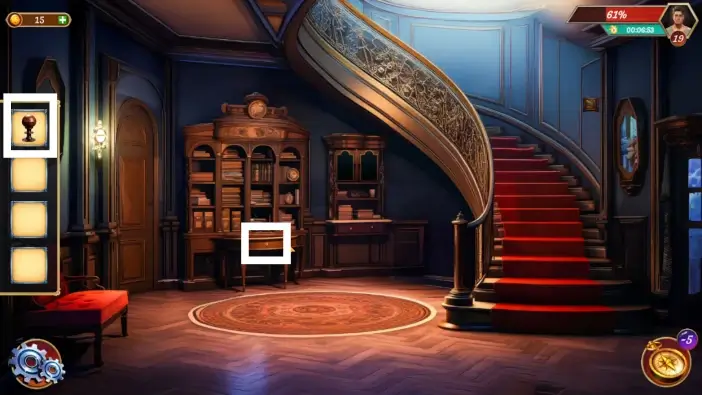
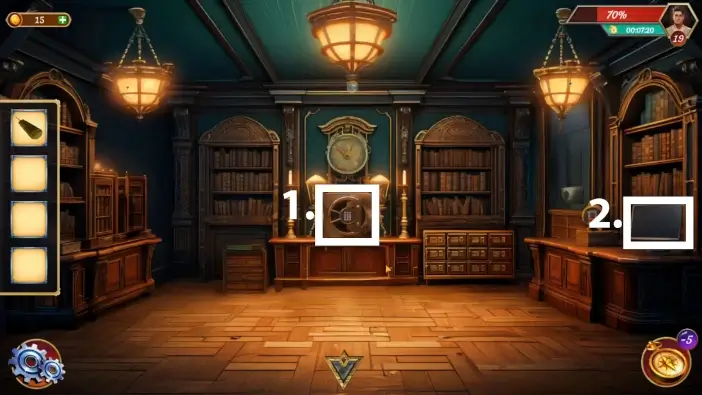
Approach the drawers on the left. If you can’t tap on the drawers, make sure to tap on the wardrobe in the center of the hallway which will unlock the interaction with the drawers.
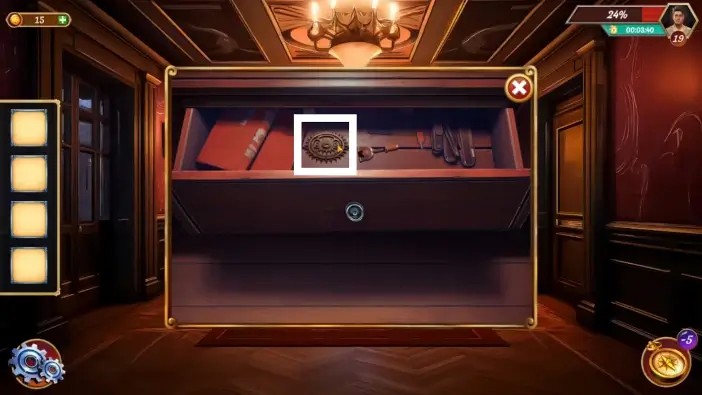
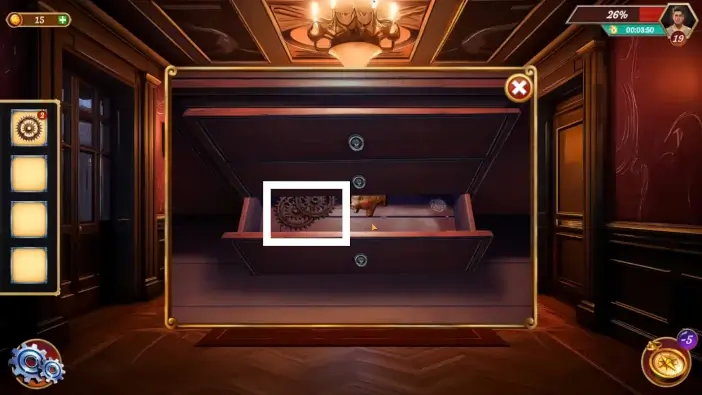
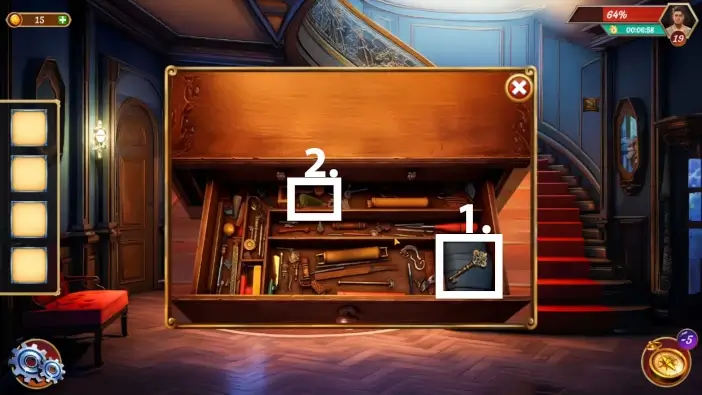
In the second drawer, move the cloth to see the key. Take the key.
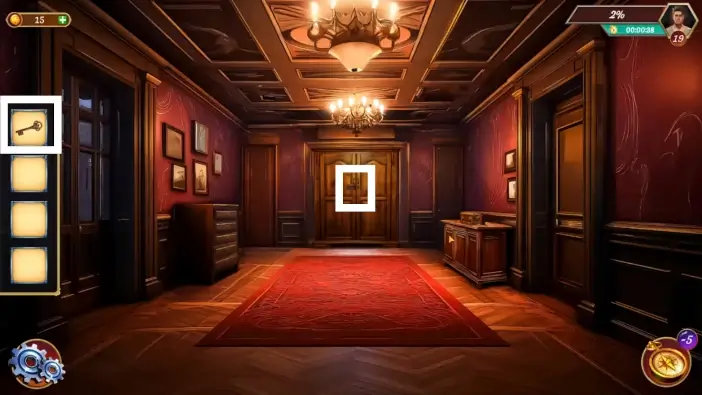
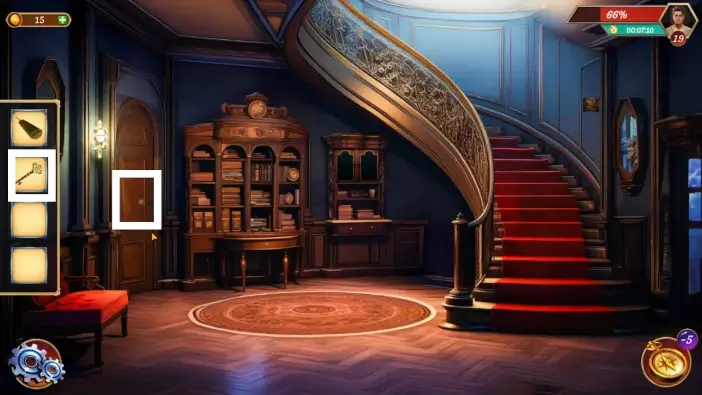
Use the key to complete the first phase of unlocking the wardrobe.
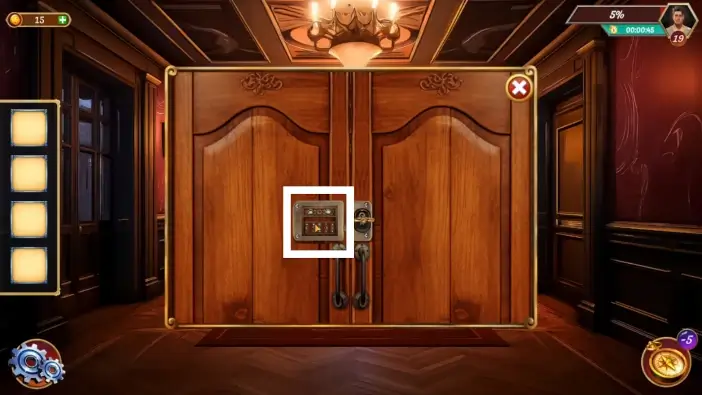
Approach the panel of the wardrobe, left of the key.
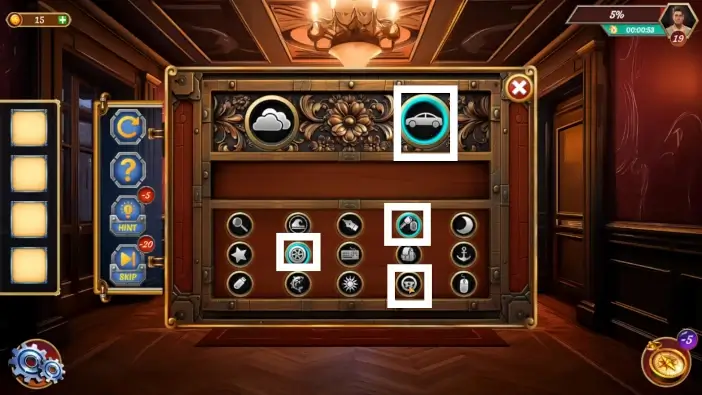
In this puzzle challenge, you will have two symbols on the top and smaller symbols in three rows below. Think about one of the symbols on top, for example, the car in the picture above, then in each row, select one symbol that is an association of the upper symbol. In the example from the picture, the car keys, the tire, and the steering wheel that are marked in the picture are all associated with the car in the upper part of the panel. Do the associations for other symbols that appear in the top part of the panel until you finish them all.
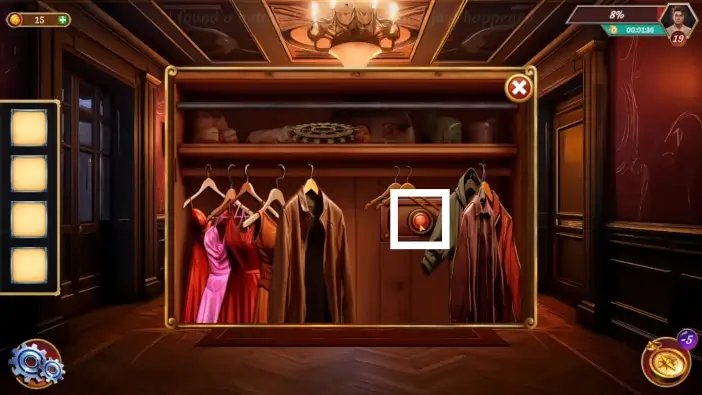
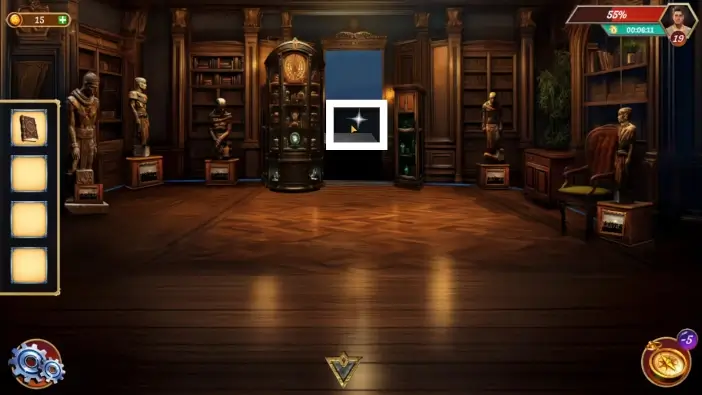
Once you unlock the wardrobe, move some of the clothes to see a button. Press the button to reveal a hidden room.
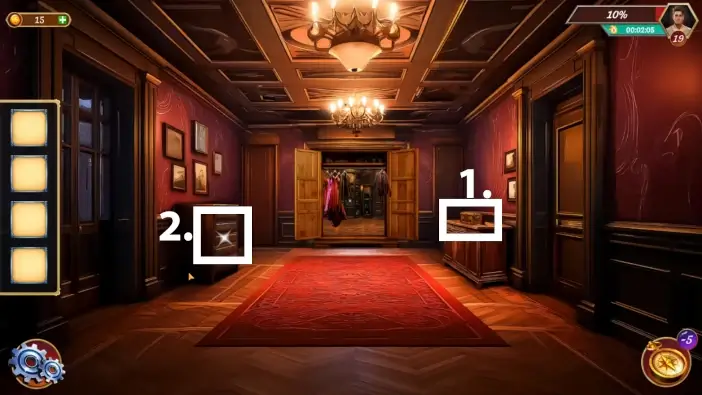
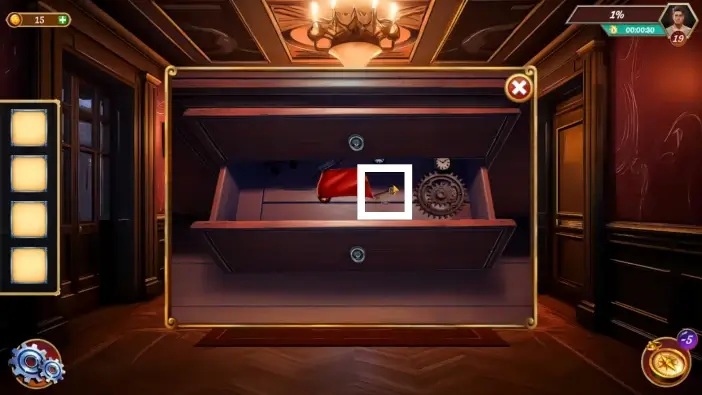
- In the hallway, tap on the box on the right, and John will realize that he is missing a button piece. This will unlock a new interaction.
- Return to the drawers on the left.
Take the button from the third drawer.
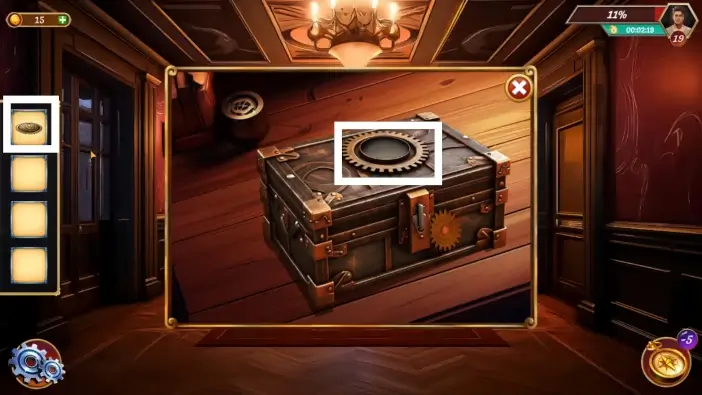
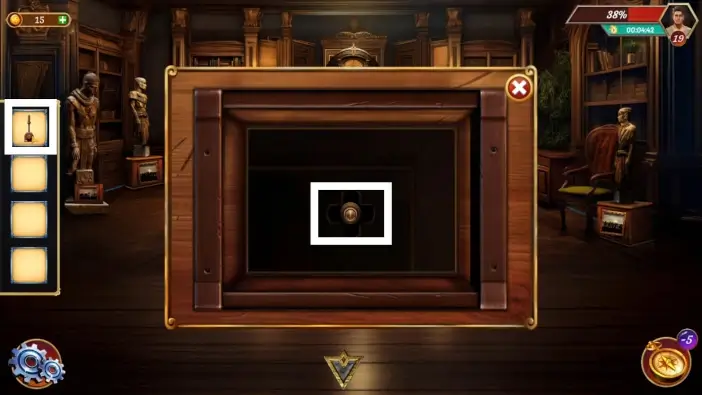
Place the button into the slot on the box cover.
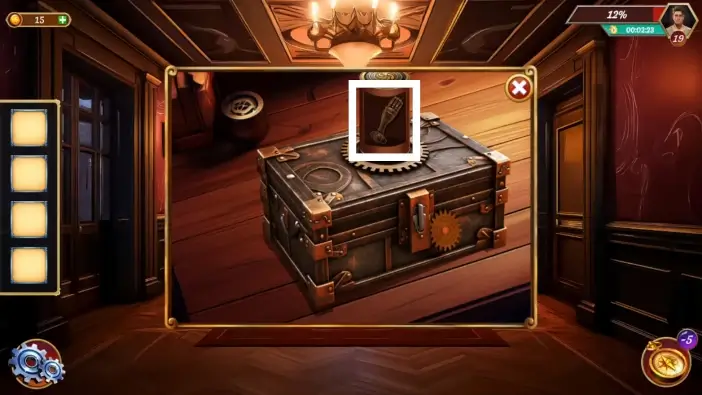
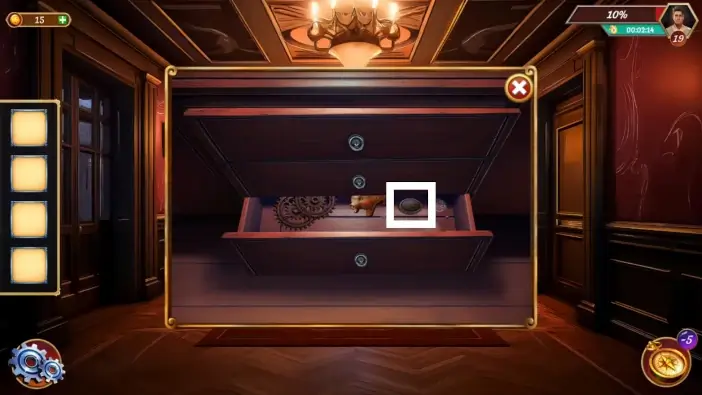
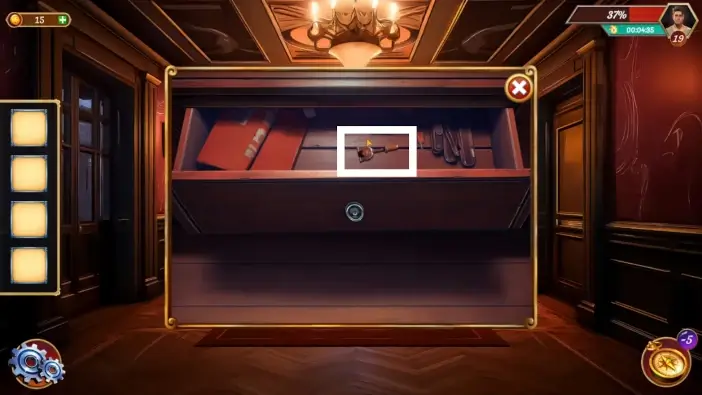
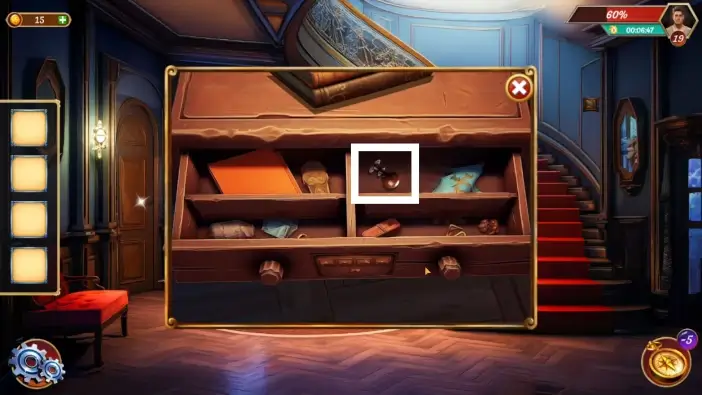
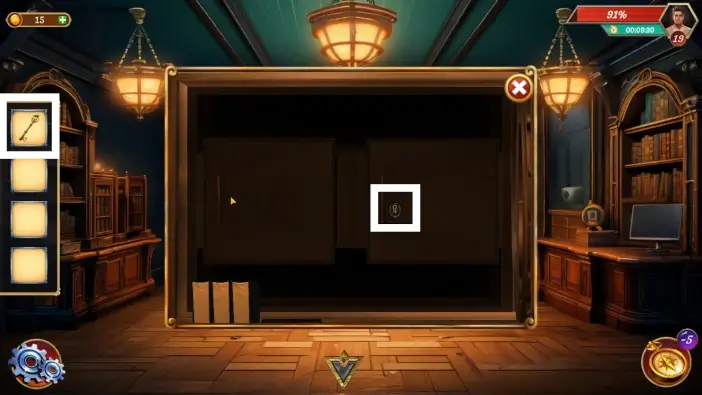
Take the mechanical hand from the box.
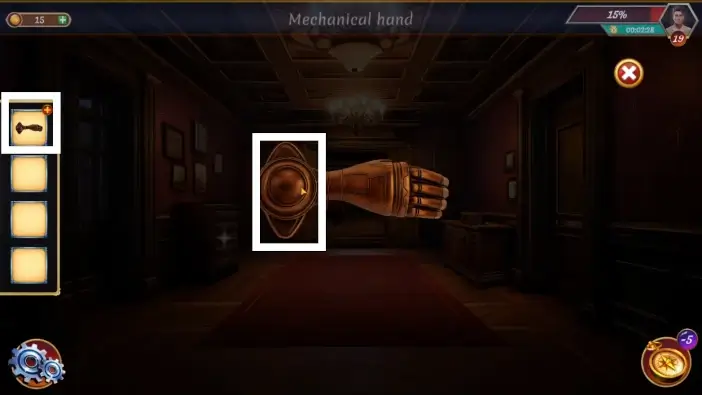
Inspect the mechanical hand from your inventory and remove a part of it to reveal a scroll.
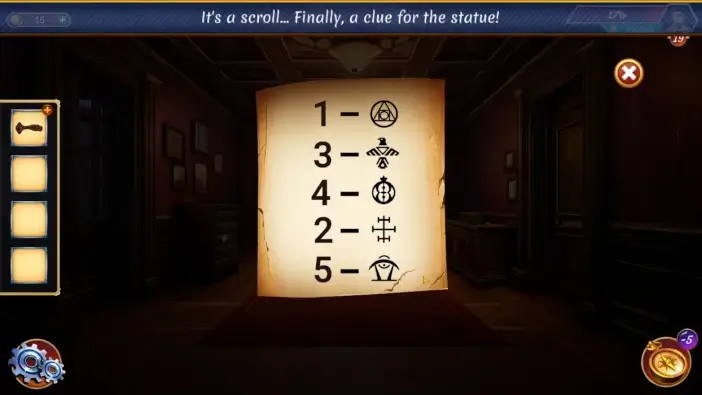
Read the scroll and remember how many times you need to tap on the symbols from the scrolls (although you can tap more times than this, it won’t matter).
Go to the hidden statues room behind the wardrobe and approach each painting one by one.
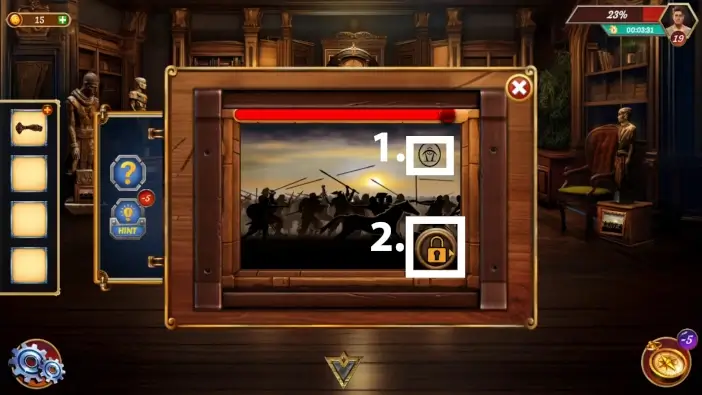
- See which symbol is on the painting and check the clue scroll.
- Tap on the padlock icon the number of times as described in a clue for this specific symbol. Repeat the process for all the paintings and symbols.
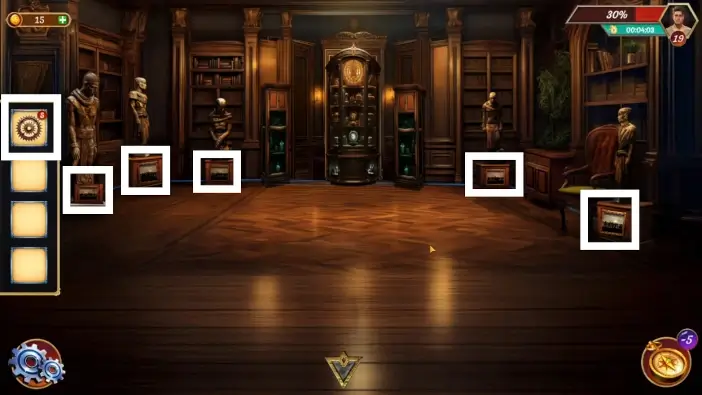
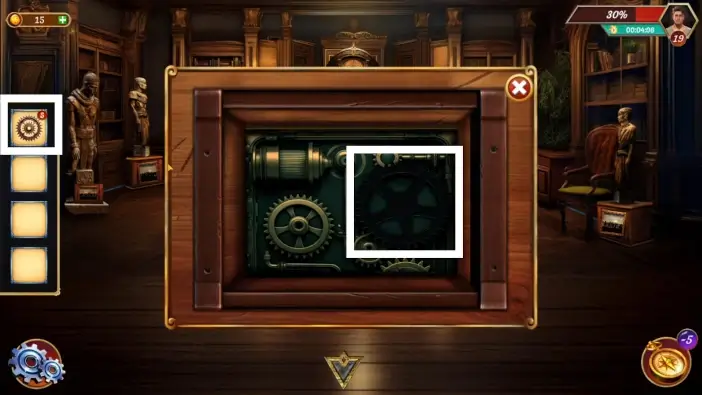
The paintings below the statues will be removed, and the gears will be revealed. Each gear mechanism will miss one gear part.
Return to the hallway and from the drawers on the left, take the gear from the first drawer.
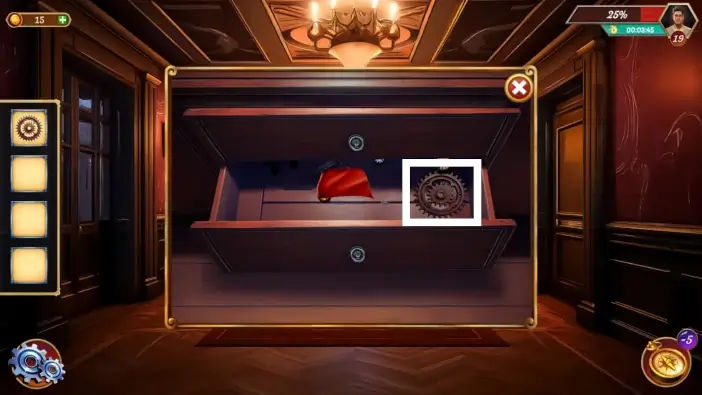
Take a gear from the second drawer.
Pick up the two gears from the third drawer.
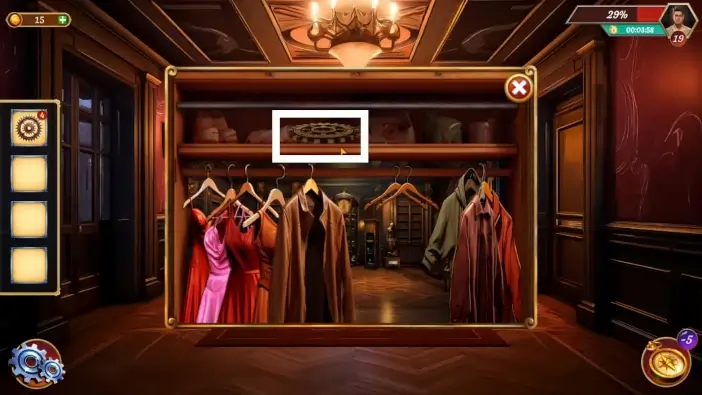
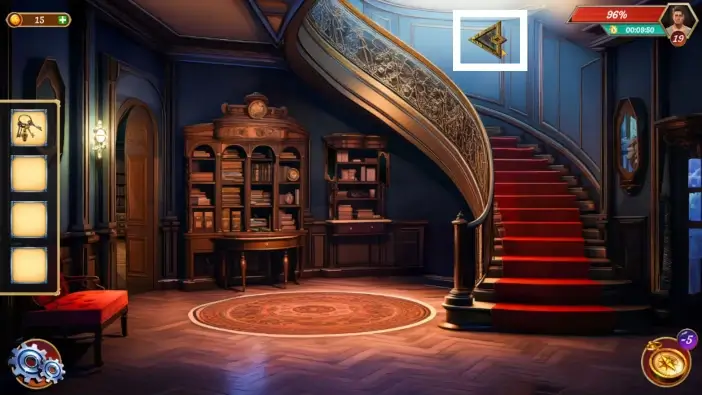
Go to the wardrobe and above the secret passage, there is the last gear. Take it and then go to the statues room.
Place the gears below all the statues, one gear per statue.
After each gear placement, a new mechanism will be revealed below each statue. You’ll need a lever to activate it.
Go to the hallway and from the first drawer take the lever.
Return to the statues room and use the lever to activate the mechanism below every statue, one by one, in any order you like. Once you do this, the passageway to the downstairs hallway will unlock. Go there.
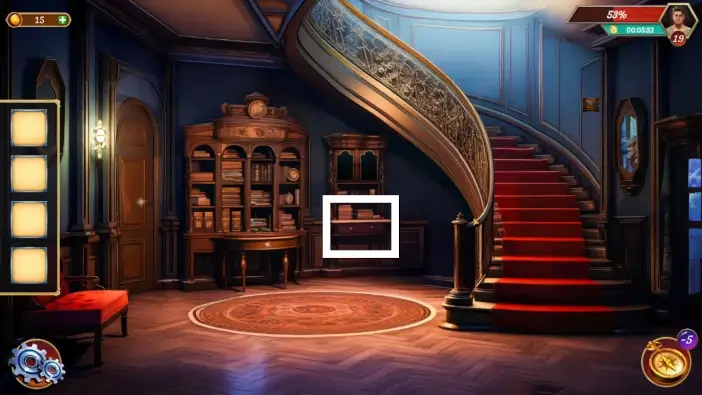
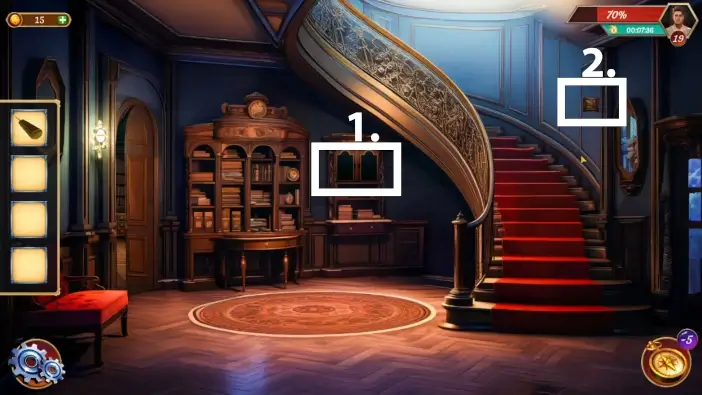
In the downstairs hall, approach the drawer left of the staircase. John will ask Allan for help in finding the clue for the drawer puzzle.
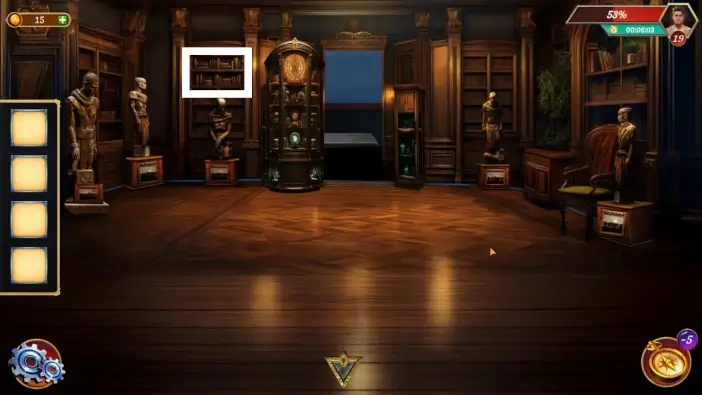
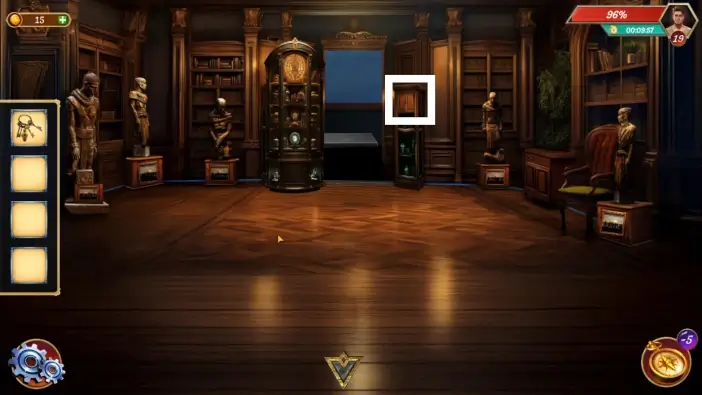
While playing as Allan in the secret statues room, approach the bookshelves on the left.
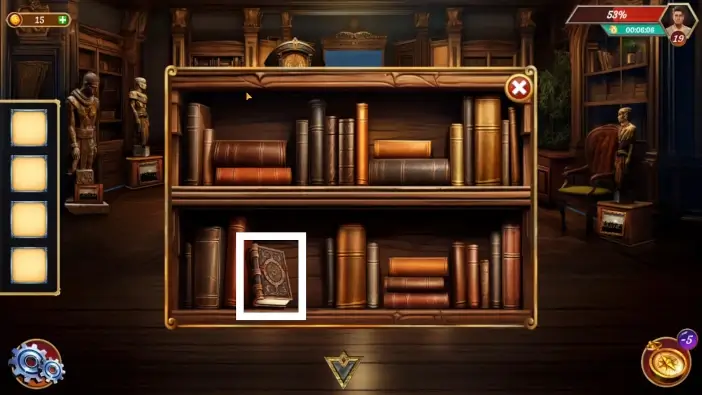
Take the book marked in the picture above.
Give the book to John.
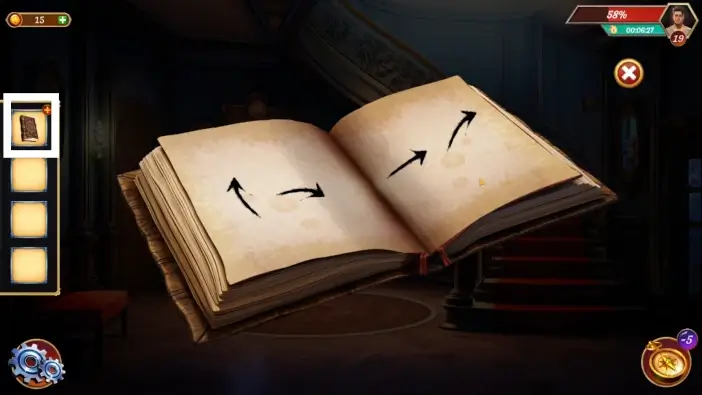
You’ll again play as John. Open the book and remember the clues.
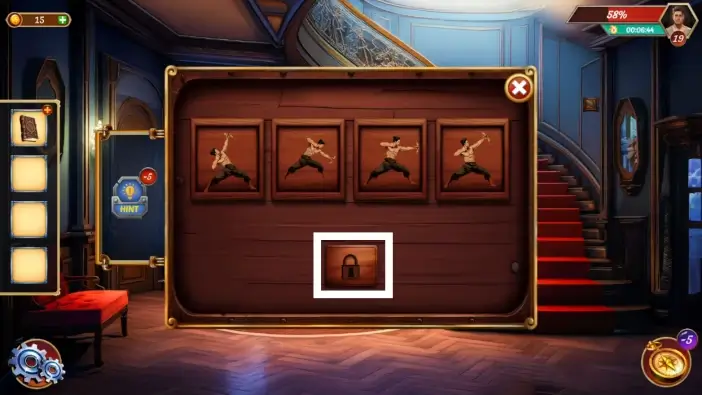
Return to the table drawer and change the positions of archers to be the same as the arrows from the book. You can change the archer’s position simply by tapping on him. Once you finish, tap on the padlock icon to unlock the table drawer.
Take the knob from the drawer.
Attach the knob to the drawer to the left of the previous one and open it.
Take the door key and the screwdriver.
Use the key you just found to unlock the secret room on the left.
- In the secret room, tap on the safe several times until John comments that you need to find the password.
- Approach the PC on the right. John will comment that you’ll need a password to log in, and the clue might be in the hallway. This will unlock new interactions there.
- Go to the downstairs hallway and approach the puzzle on the cupboard. After John’s comment, a new interaction will unlock.
- Take the small painting from the wall on the right.
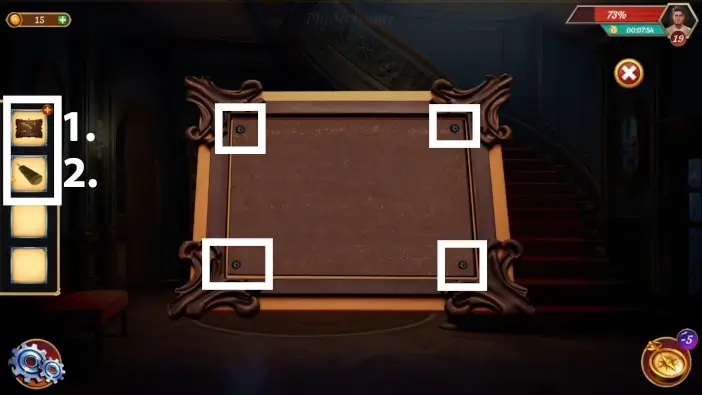
- Tap on the painting in your inventory to examine it.
- Use a screwdriver to open the backside of the frame.
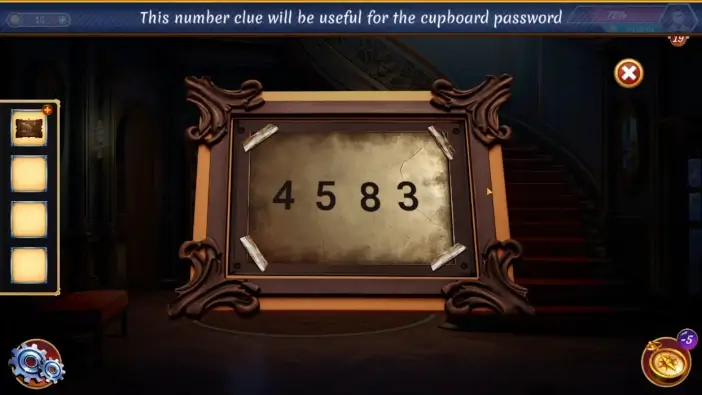
Remember the hidden password from the frame of the painting.
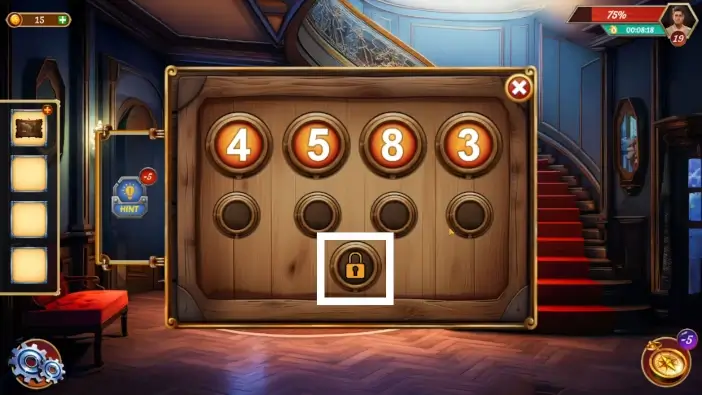
Return to the cupboard and insert the password 4583, which was the password from the frame. To change the numbers, use the buttons below them. Once you finish, tap on the padlock icon to unlock the cupboard.
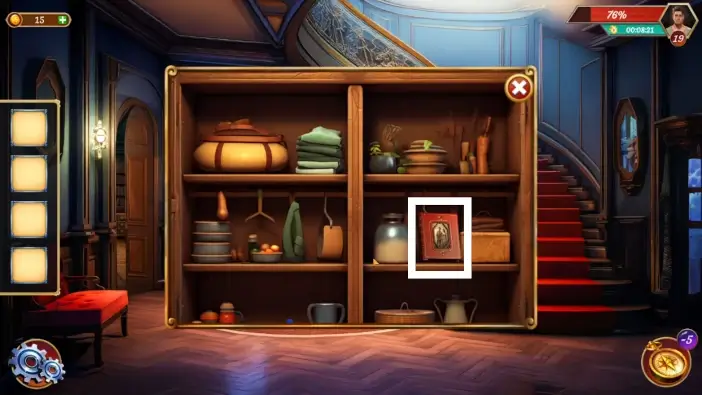
Take the diary from the cupboard.
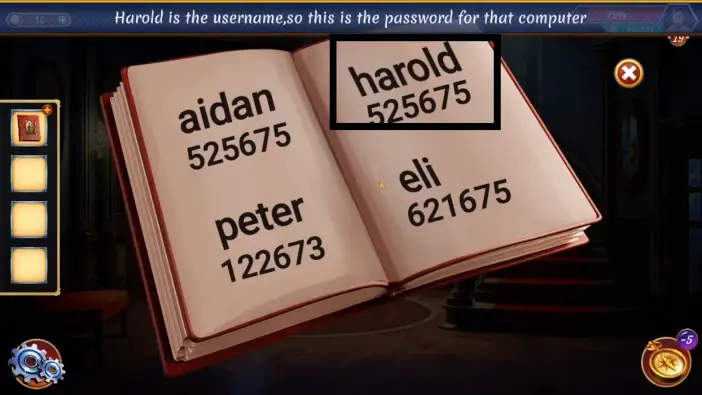
Open the diary from your inventory and check Harold’s PC password.
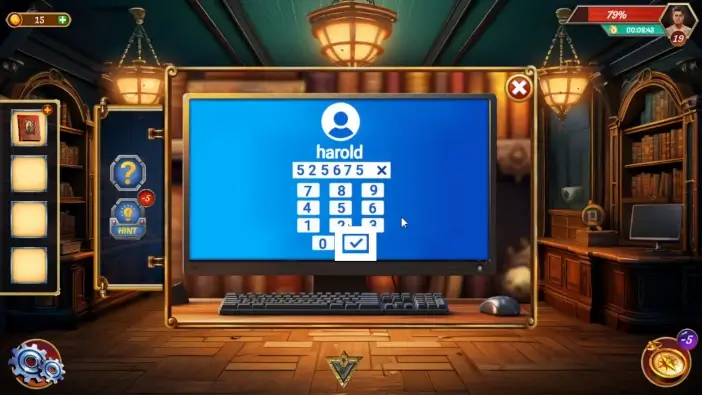
Return to the secret room and insert the password 525675 to log in to the PC device as Harold. Once you enter the password, tap on the checkmark button.
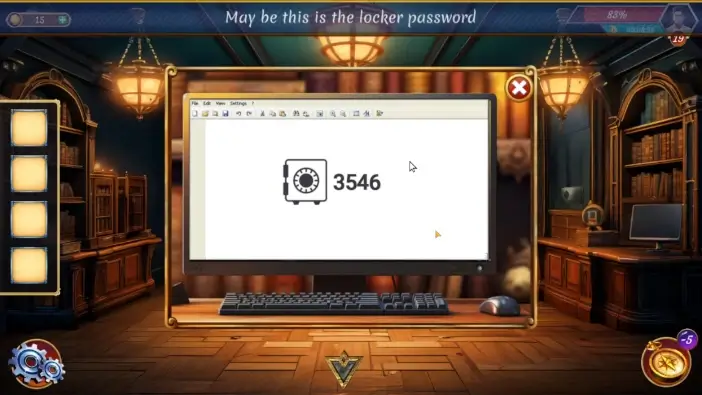
Tap on the “Pictures” folder and then on the “passwords” folder, and you will discover the password for the safe.
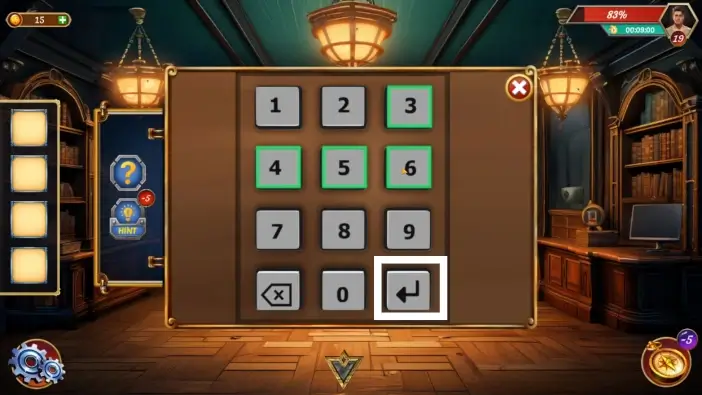
Go to the safe and enter the 3546 password, then tap on the safe’s enter button. The safe will open, revealing two new small cabinets. Tap on the right small cabinet, and John will comment, unlocking new interactions.
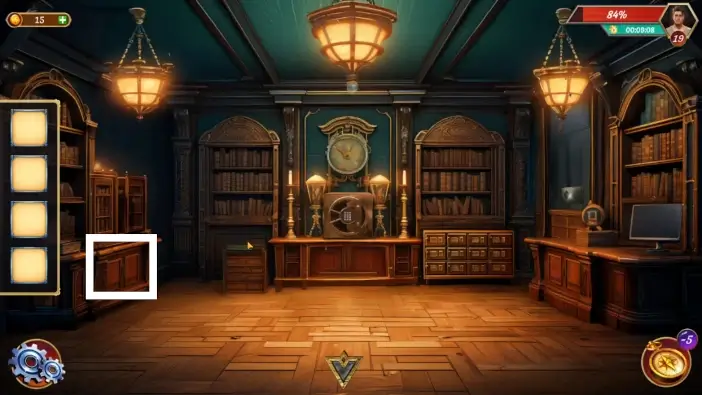
Open the cabinet on the left side of the room and take the gem.
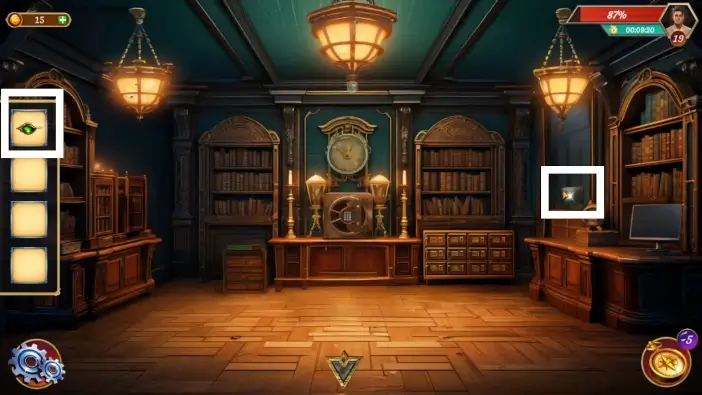
Use the gem to unlock the small safe on the right wall. Take the key from the small safe.
Return to the central main safe and use the key you just got to unlock the right cabinet. Take the school keys from the cabinet.
Exit the secret room and from the downstairs hallway, tap on the left button to go upstairs. John is trapped, and Allan must help him.
While playing as Allan, approach the cupboard near the secret passageway.
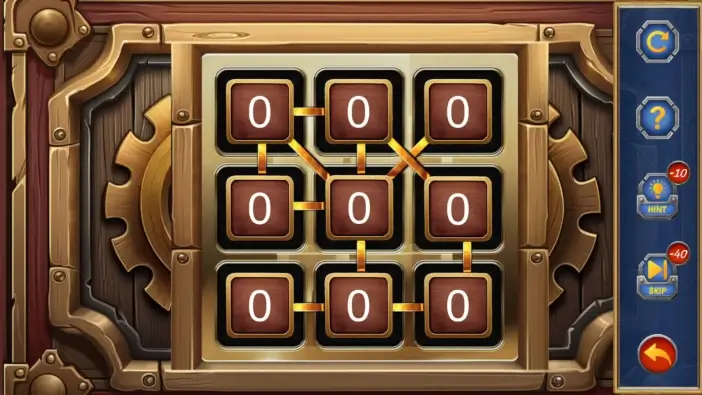
The squares will have different numbers. After you make one connection between the squares, the two connected squares will have their numbers decreased by one. If a square has a zero number, it can’t have additional connections. Make connections in such a way that all the squares have the number zero. Once you unlock the cupboard, tap on the switch, and John will cross the secret passageway.
This will mark the end of our guide for Level 19 of Escape Room: Mysteries School.
Thank you for reading!