Escape Room: Mysteries School – Level 18
Intro
Welcome to our walkthrough for Level 18 for “Escape Room: Mysteries School” from “Ena Game Studio”. Help John renovate his old house and solve the mystery of the haunted abandoned school.
Walkthrough
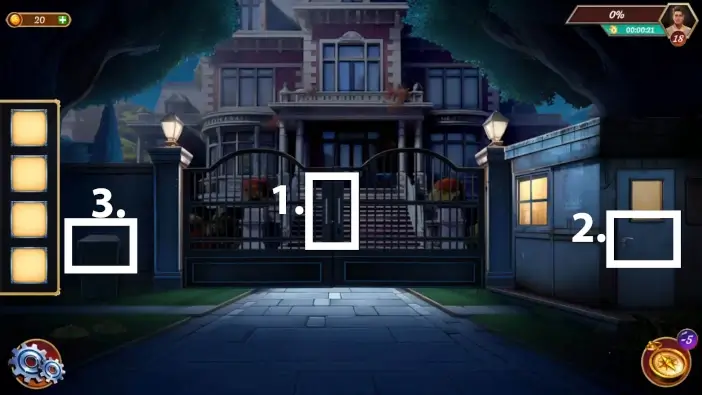
- Try to open the gates. John will notice that the electric current is flowing through the gates.
- Try to open the door in the security booth. The door will be locked, but it will unlock the next interaction.
- Approach the trash can.
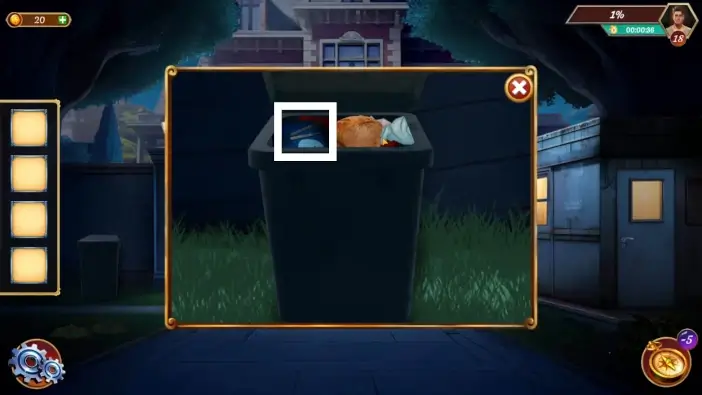
Open the trash can and take the two pins.
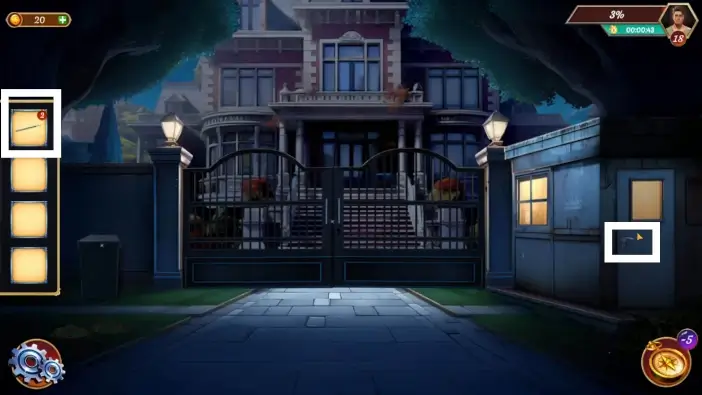
Use the pins you just picked up to unlock the security booth door.
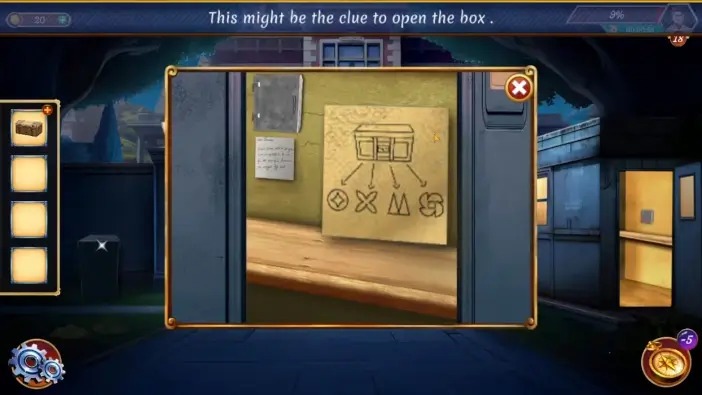
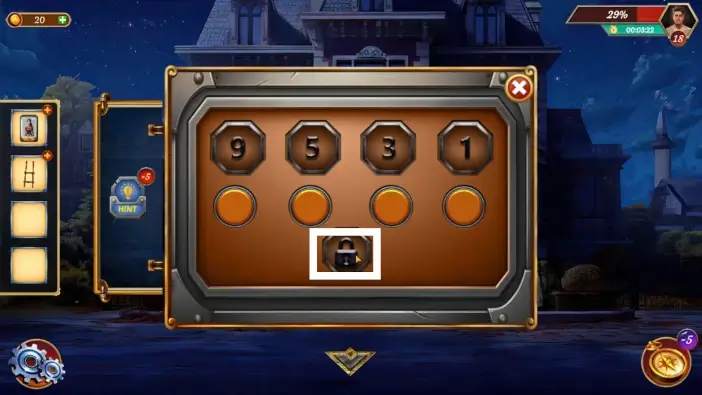
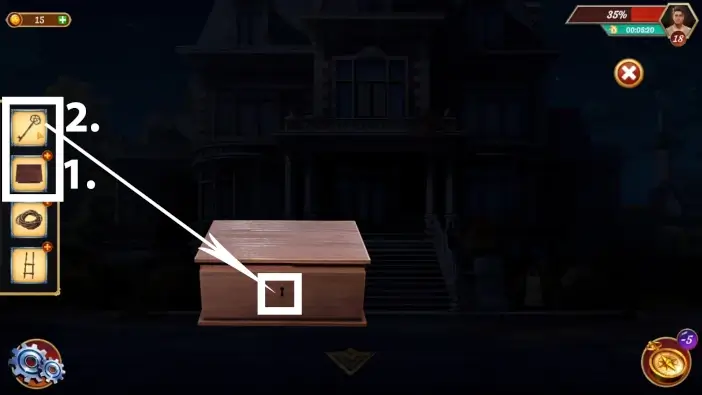
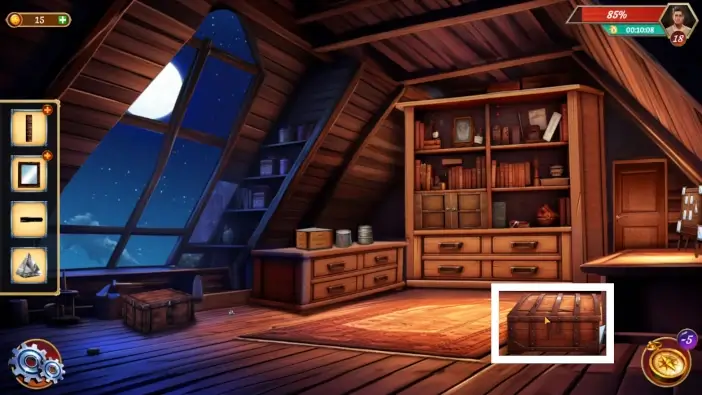
Take the box from the security booth and look at the paper. It is a clue on how to unlock the box.
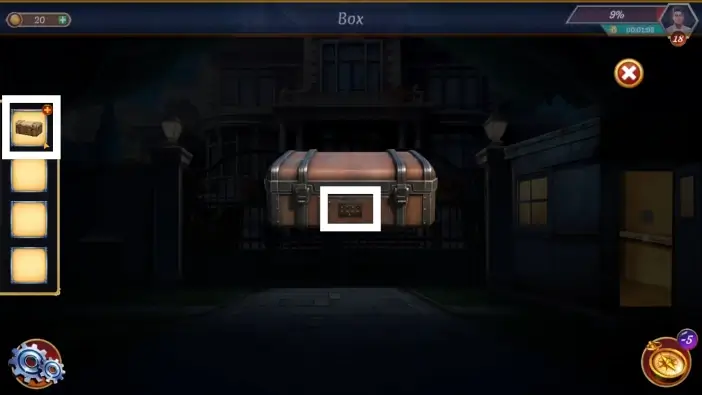
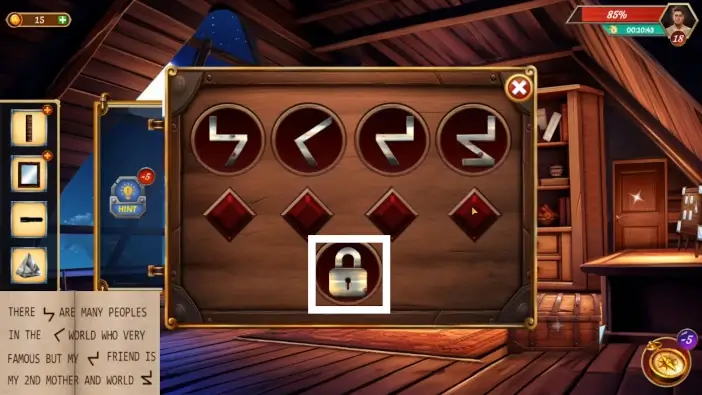
Tap on the box in your inventory to examine it, then tap on the puzzle.
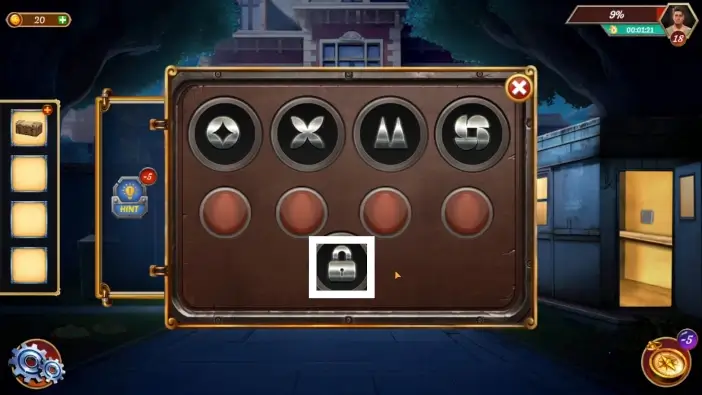
Change the symbols to be the same symbols as on the paper and in the same order from left to right. Use the buttons below the symbols to change them. Once you finish, tap on the padlock icon to unlock the box.
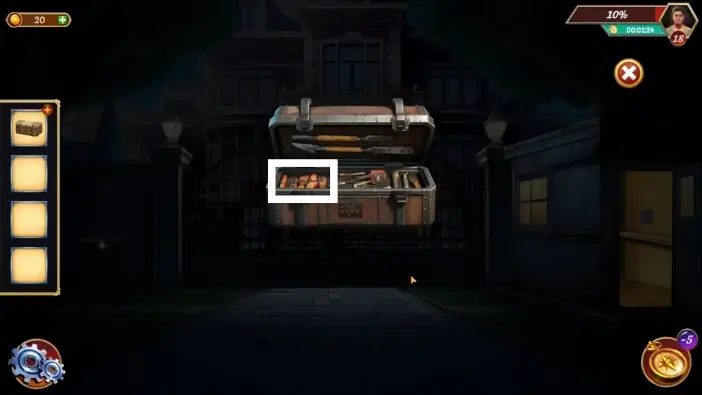
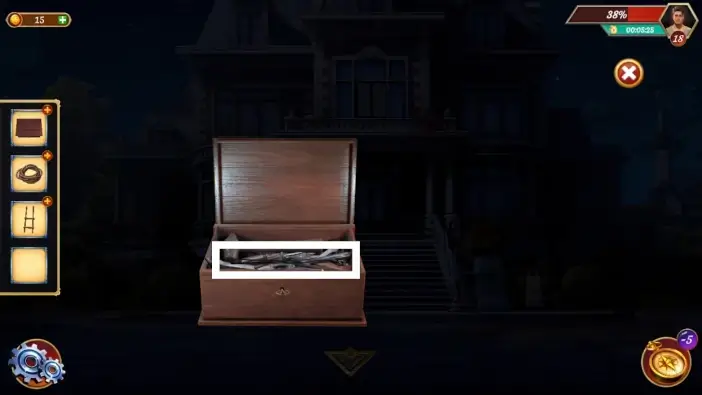
Take the key from the box.

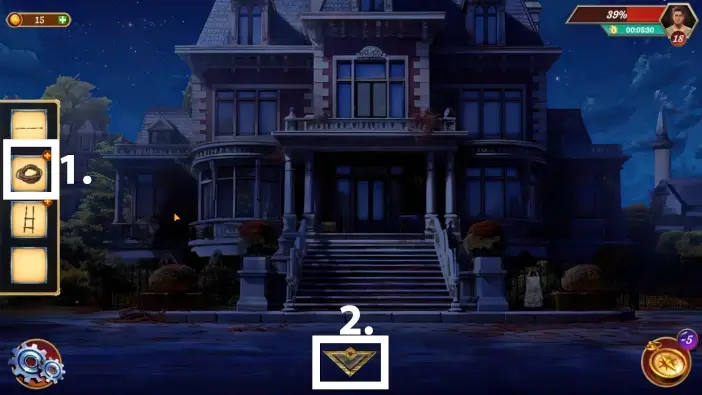
Return to the security booth and open the electricity box.
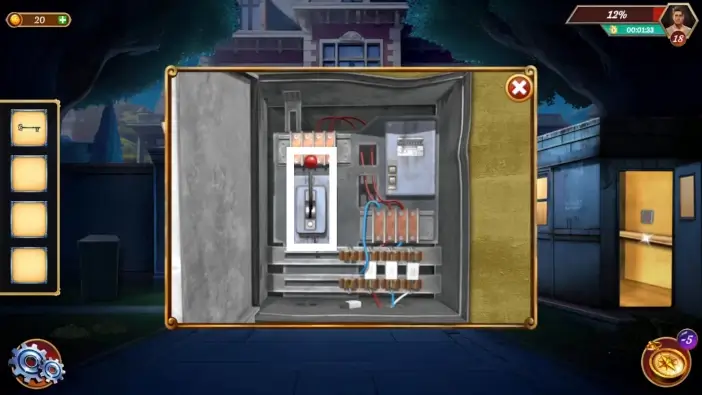
Pull the lever in the electricity box to disable the electric current in the gates.
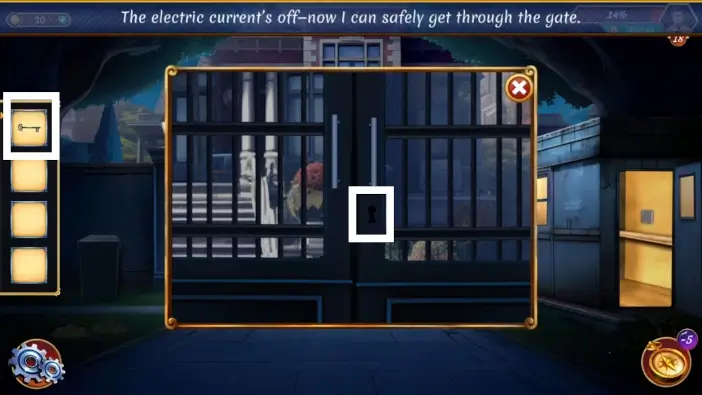
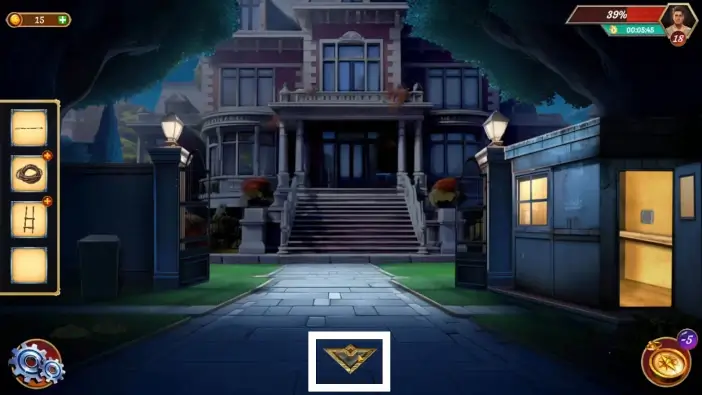
Unlock the gates using the key from the box. Go towards the mansion.
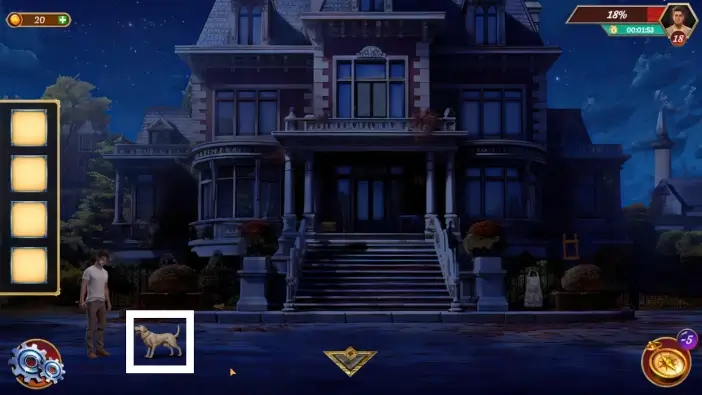
John will be stopped by a dog. Tap on the dog, and John will have an idea.
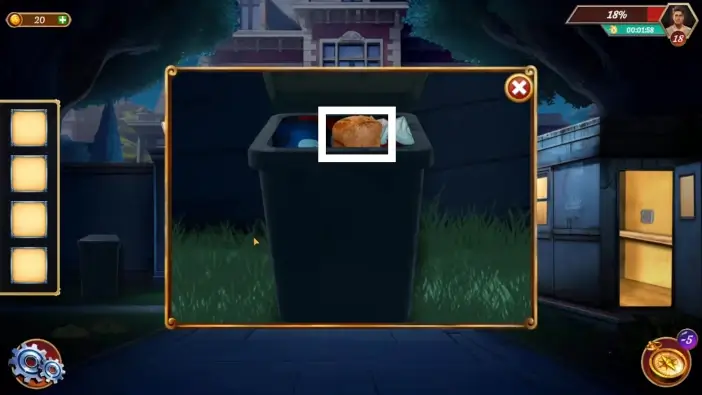
Return to the previous area and take the bread from the trash can.
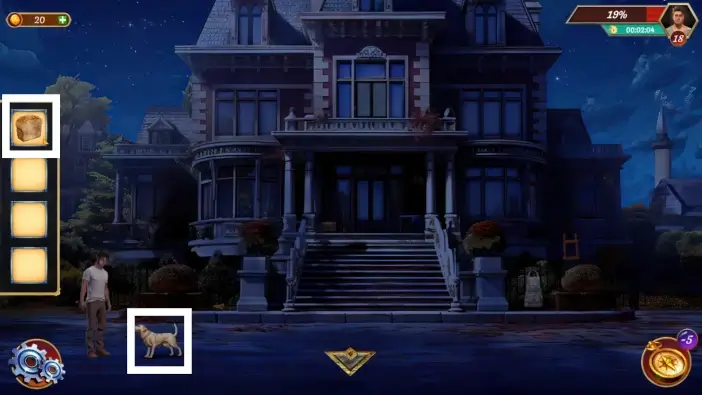
Return to the mansion’s entrance and give bread to the dog. The dog will leave the area.
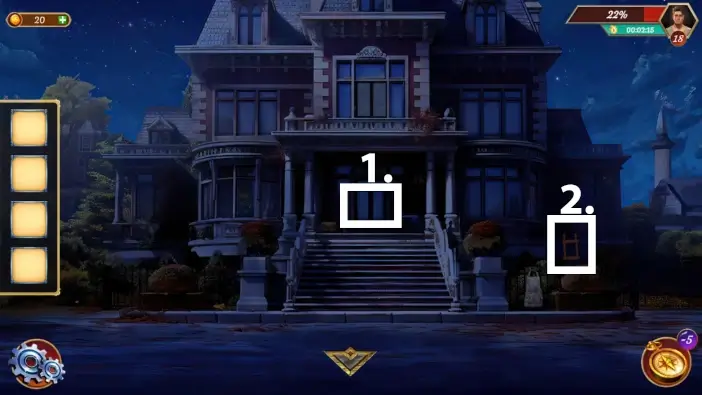
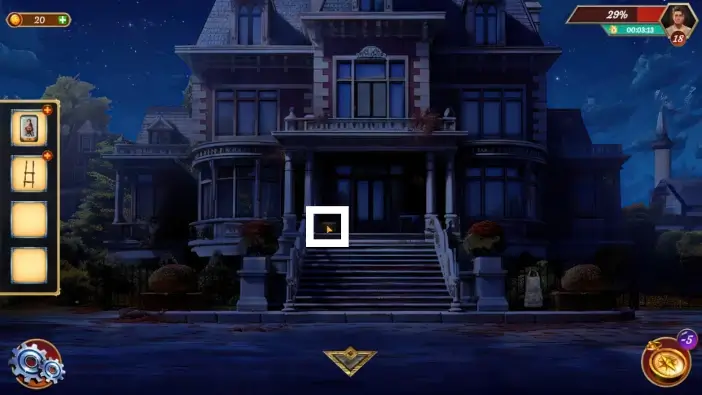
- Try to enter through the front door. The door is locked, and the interaction with the ladder will be unlocked.
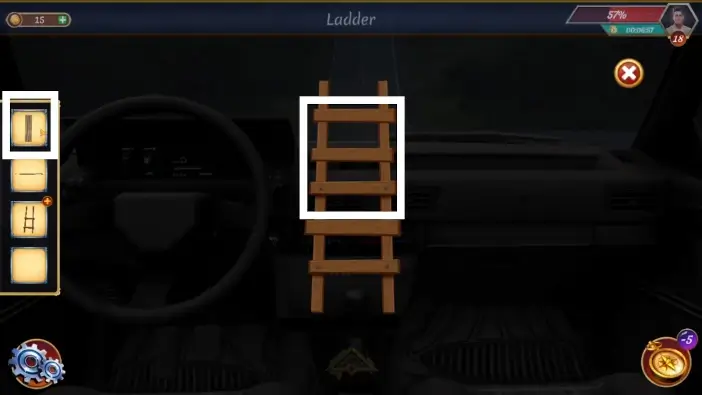
- Take the ladder.
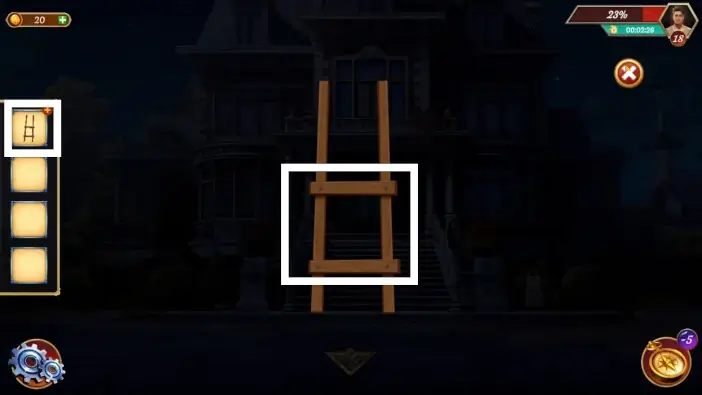
Tap on the ladder in your inventory to examine it. Tap on the central screen and John will get an idea which will unlock a new interaction.
Take the wooden boards from the ground.
Examine the ladder once again and place the boards on the ladder.
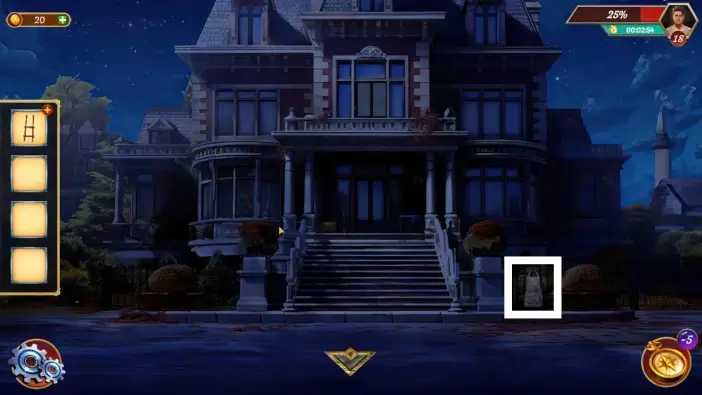
Approach the apron hanging on the right fence.
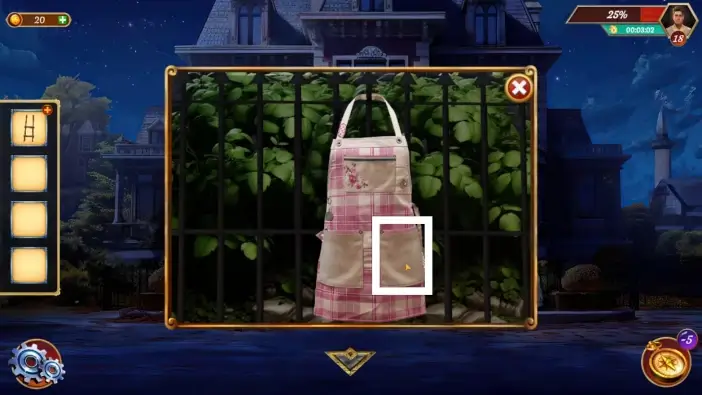
Check the pocket on the right.
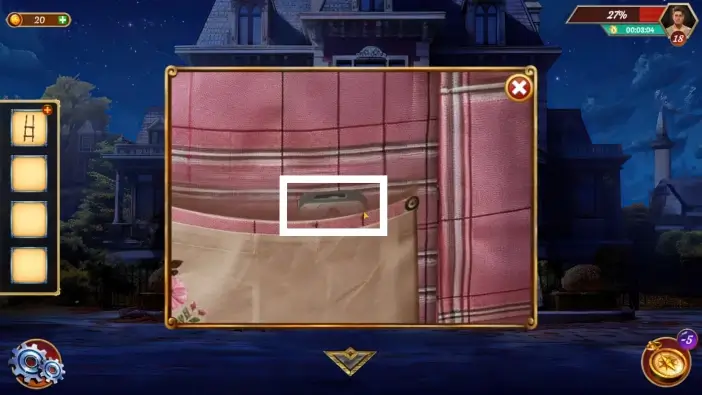
Take the ID card.
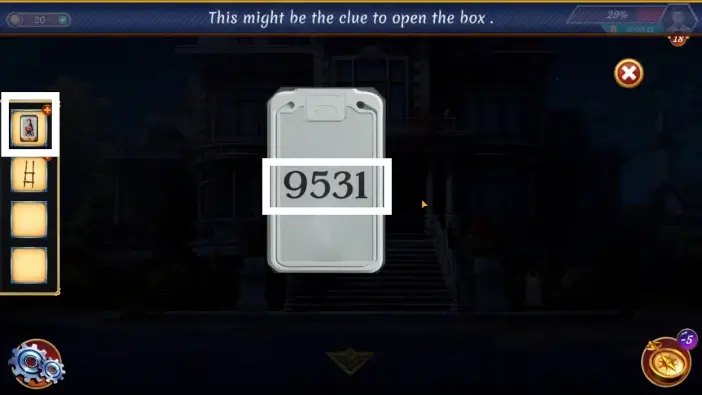
Tap on the ID card in your inventory to take a closer look, and tap on the ID card in the center of the screen to flip it. You will see the password for a toolbox.
Approach the toolbox near the mansion’s entrance,
Insert the password you saw on the ID card, which is 9531. To change the numbers, use the buttons below them. Once you’ve finished, tap on the padlock icon to unlock the box, and a new mini-game will start.

You’ll need to find ten items in the toolbox. Five of them are marked in the picture above, and five in the picture below.
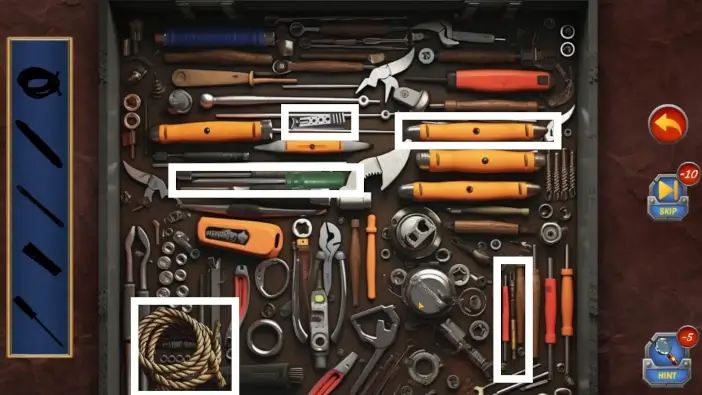
Once you find all the items, the rope, the nail cutter, and the wooden box will be added to your inventory.
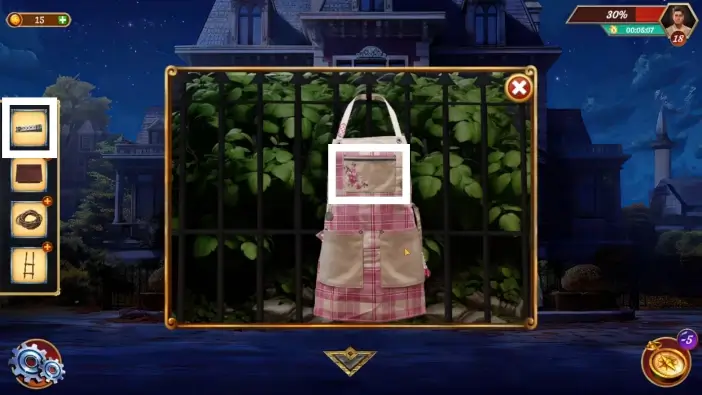
Return to the apron and use the nail cutter to unzip the upper pocket. Take the key from the pocket.
- Tap on the box in your inventory to examine it.
- Unlock the box using the key you got from the apron.
Take the pin from the box.
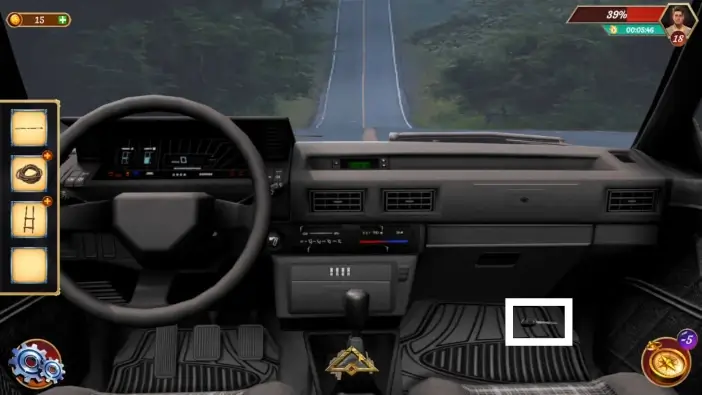
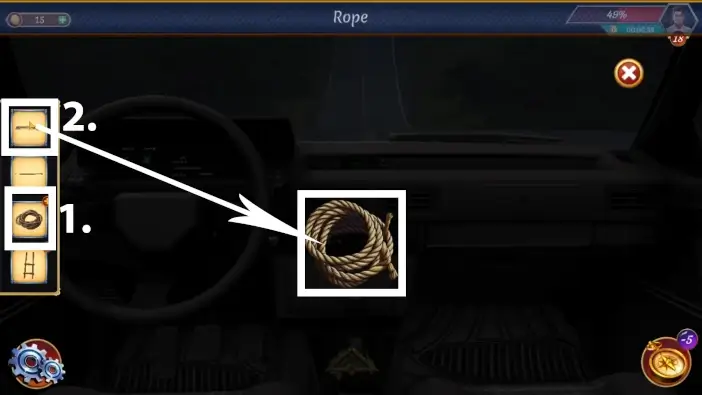
- Tap on the rope in your inventory, and John will remember the knife in his car.
- Return to the gates area.
Tap on the arrow to enter John’s car.
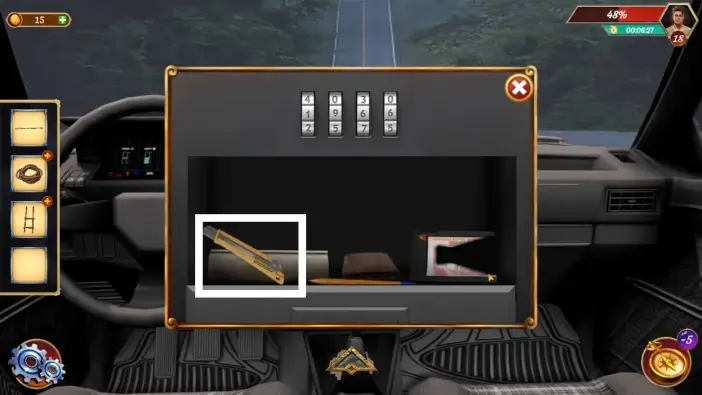
Take the key from the seat.
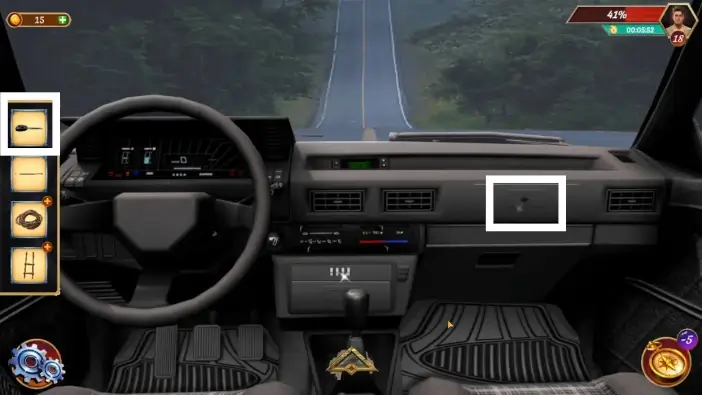
Use the key to open the glove compartment and take the dairy.
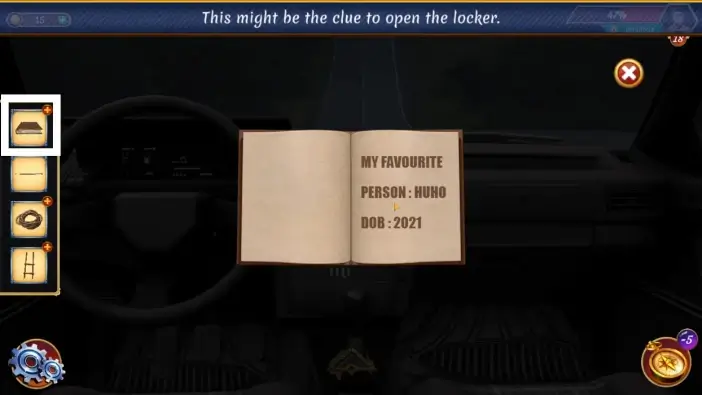
Open the diary from your inventory and remember the clues.
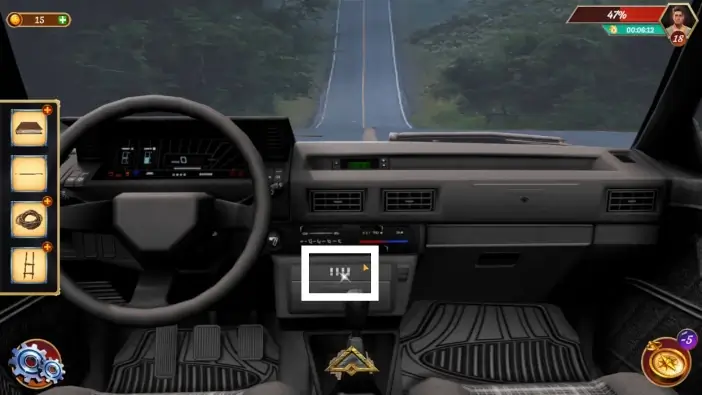
Approach the central glove compartment.
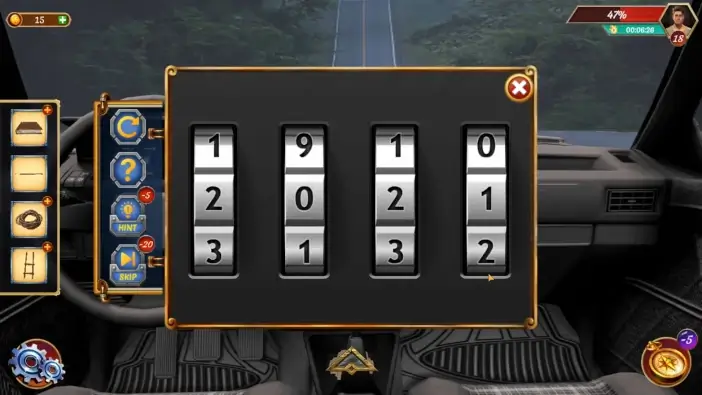
Change the password to 2021. This number is hinted at in the diary.
Once you unlock the glove compartment, take the knife.
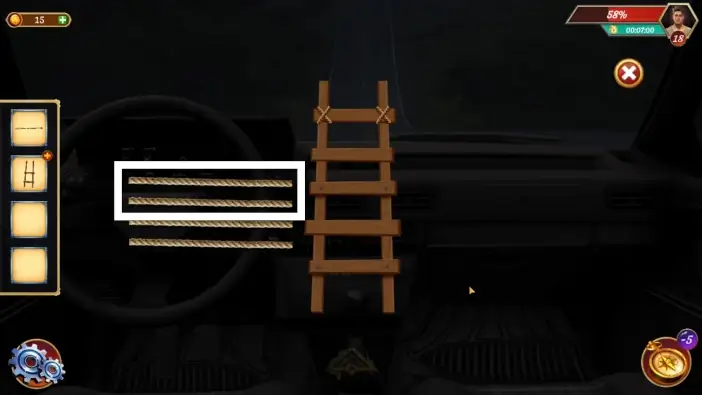
- Tap on the rope in your inventory to examine it.
- Cut the rope with the knife.
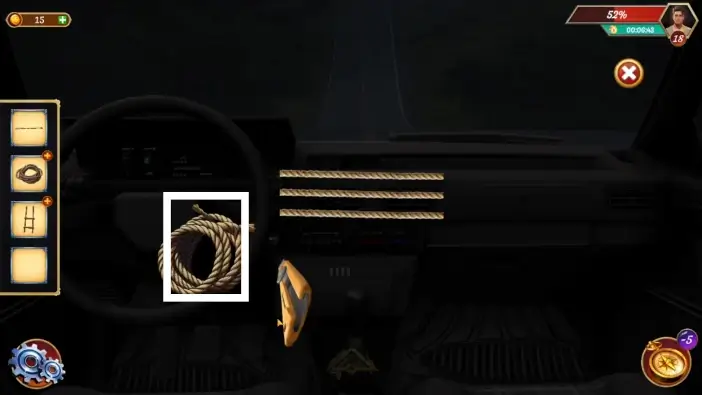
Tap on the rope multiple times, and each time, John will cut some more rope. In the end, collect all rope pieces.
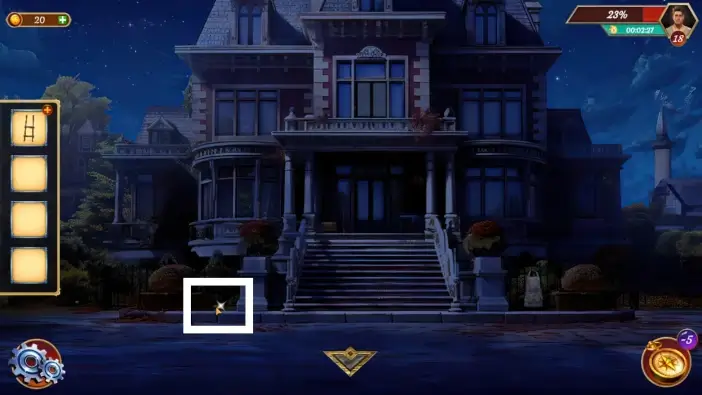
Use the rope pieces on the ladder.
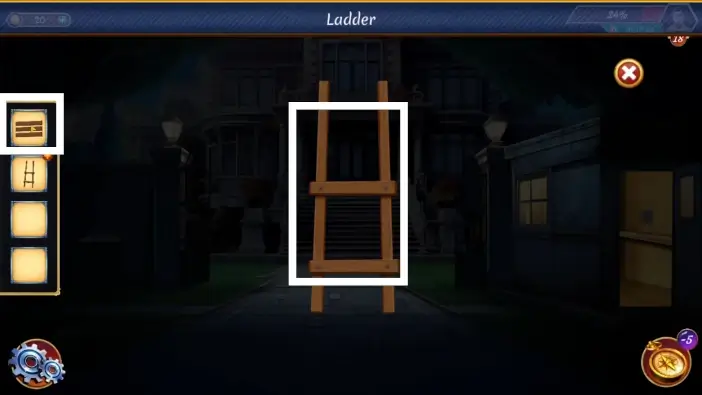
Tap on the pair of rope pieces individually, and John will fix the ladder. Afterwards, tap on the ladder to return it to your inventory.
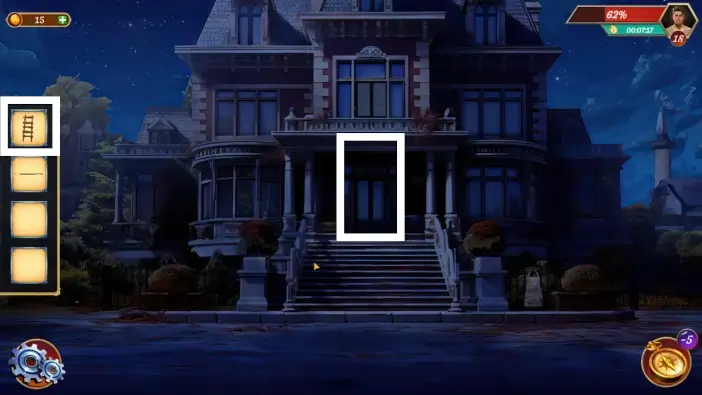
Go to the mansion’s entrance and place the ladder below the central balcony.

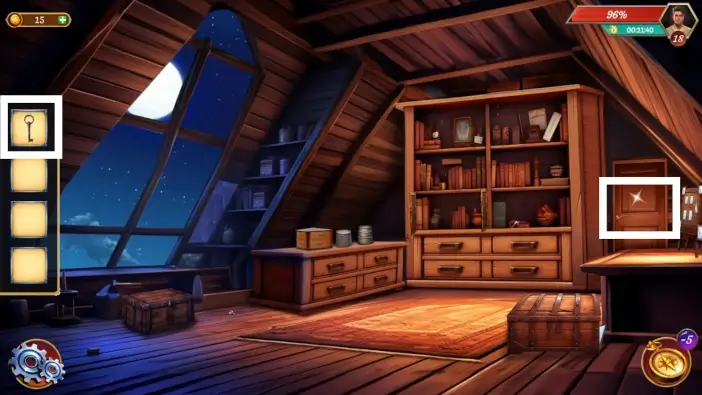
Approach the balcony window and unlock it using the pin. Enter the attic.
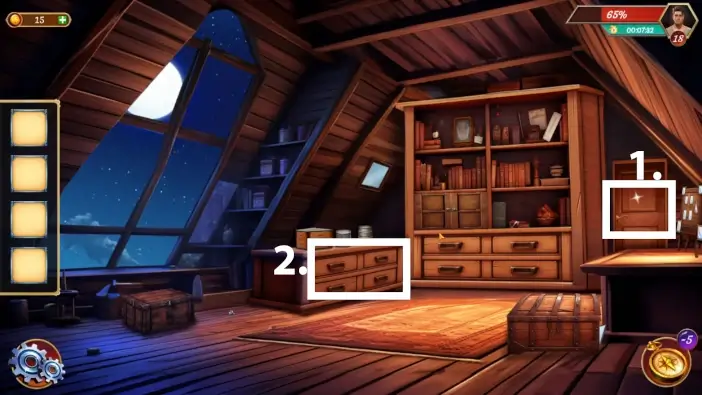
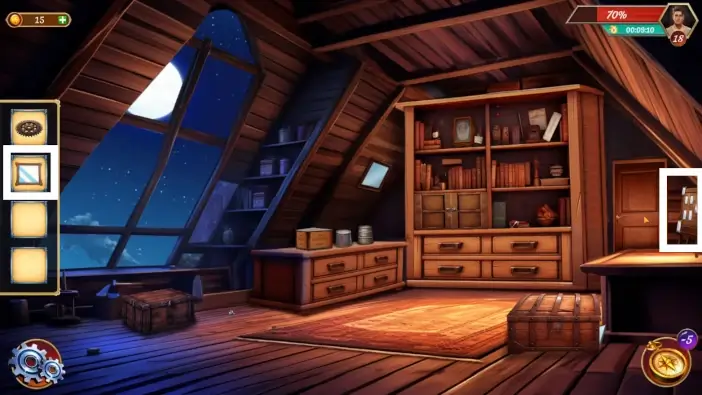
- Approach the door on the right, and John will comment, unlocking new interactions.
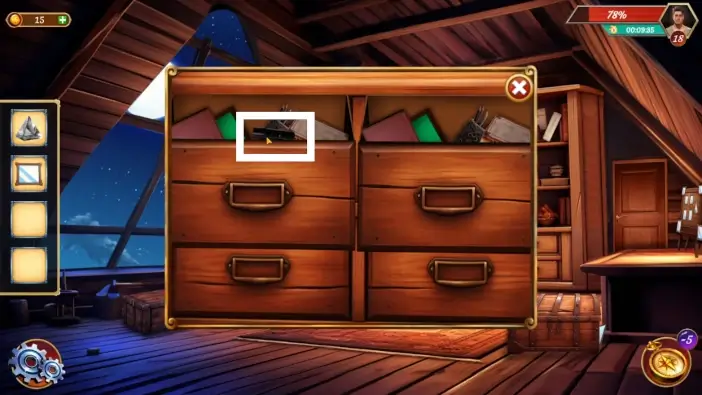
- Approach the drawers on the left.
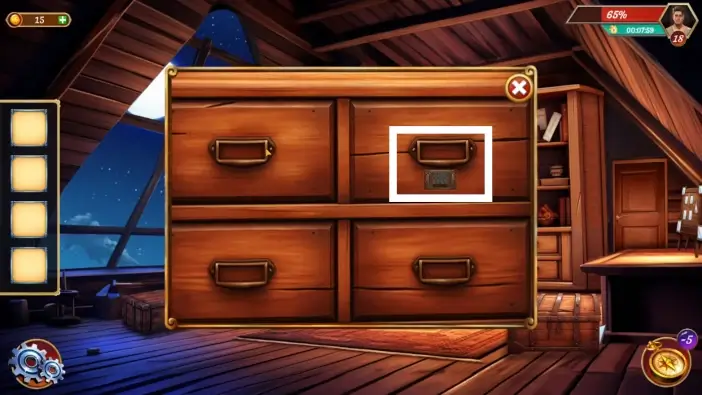
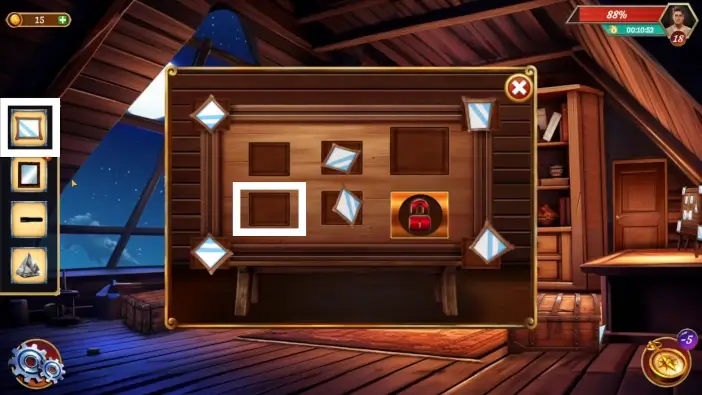
Take a look at the puzzle for the top-right drawer.
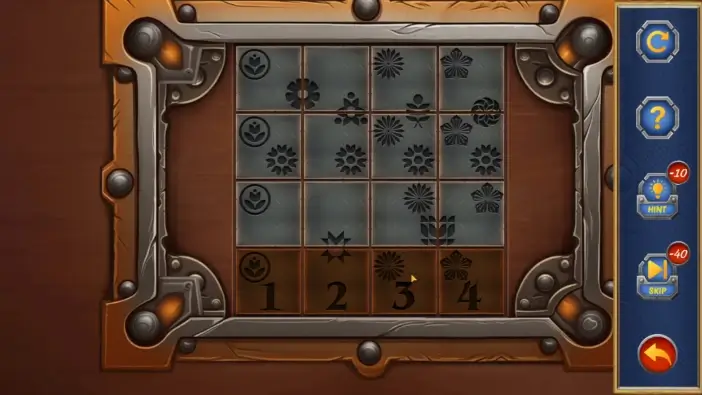
Rearrange the tiles like in the picture above to solve this puzzle challenge and open the drawer. Take the mirror from the drawer.
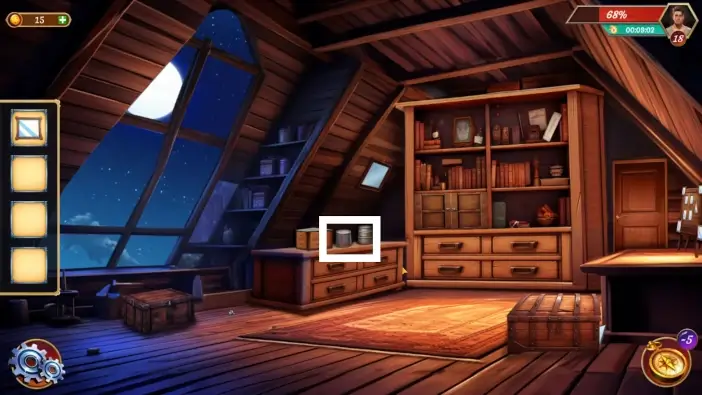
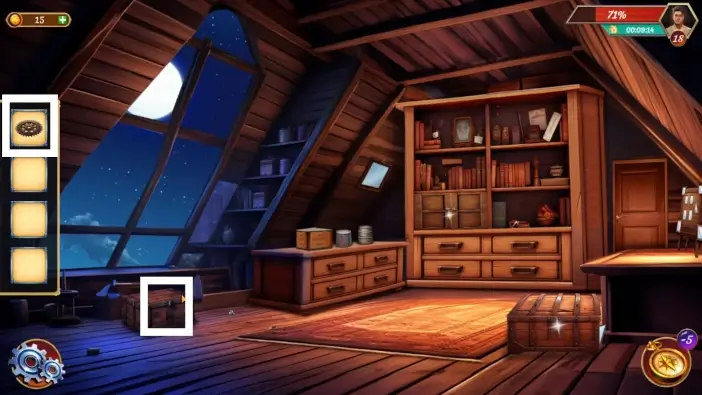
Approach the items above the drawers.
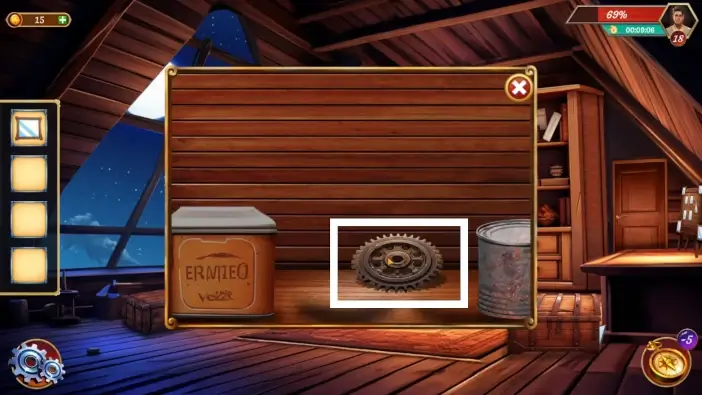
Move some items away to see the gear, then pick it up.
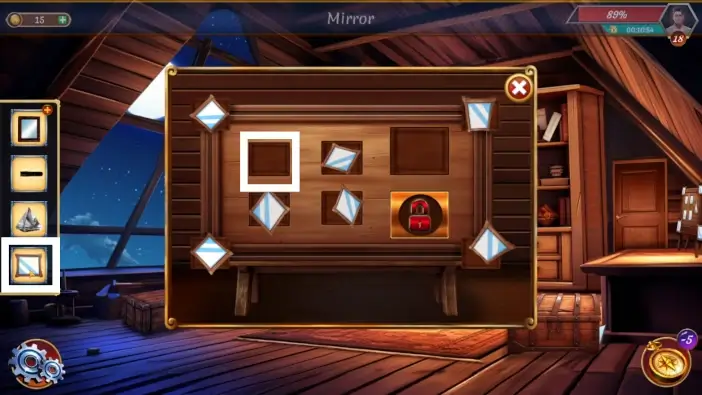
Approach the board with mirrors and place the mirror you found earlier.
Place the gear on the chest to unlock it. Take another mirror from the chest.
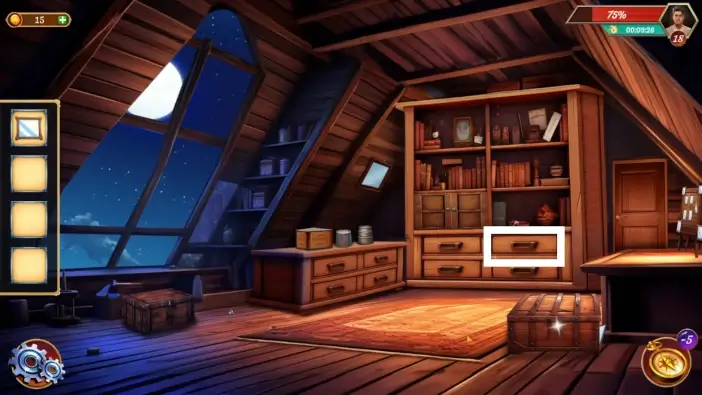
Open the top-right drawer below the bookshelves.
Take the prism.
Open the top-left drawer and take the torch.
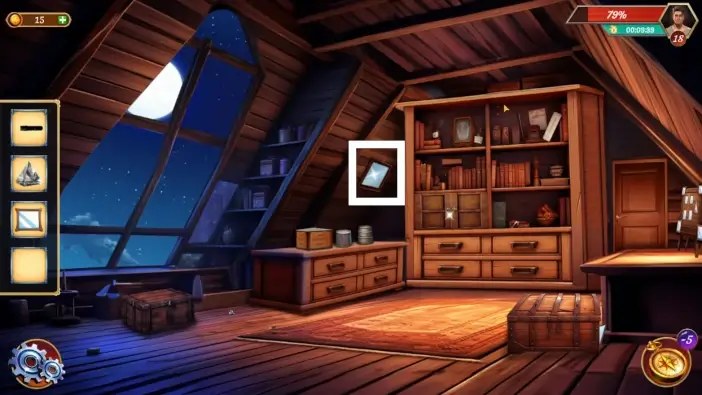
Take the clue mirror from the wall. You will not place this mirror on the board, but it contains a clue on how to solve the puzzle on the board.
Tap on the mirror from the inventory that has a plus sign to examine it, then tap on it on the screen to flip it. At the back of the mirror frame, there is a clue on how to solve a puzzle with mirrors on the board.
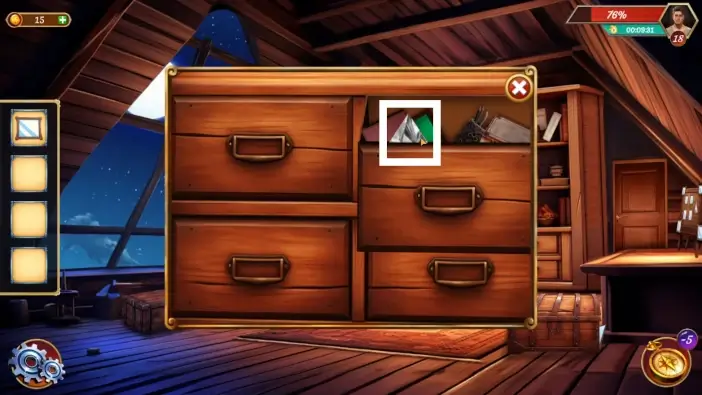
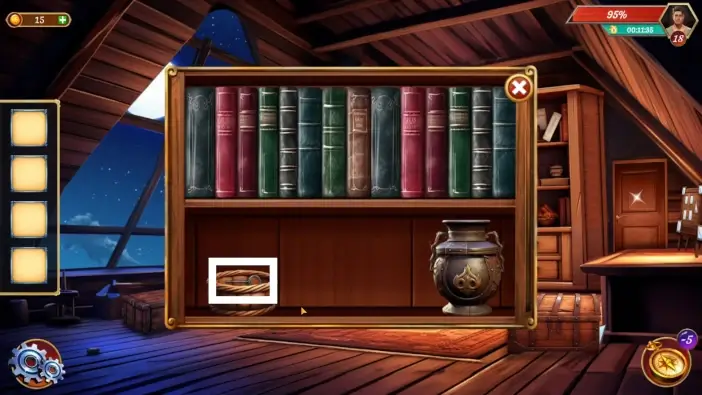
Take the book from the left bookshelf. Tap on any book, and the correct one will be added to your inventory.
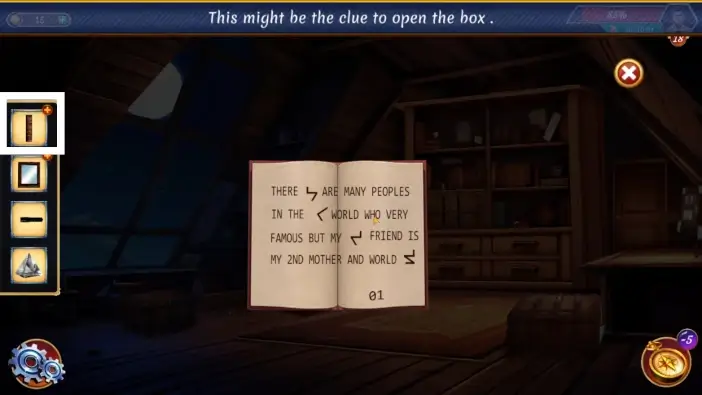
Open the book and remember the symbols and the order in which they appear in the text.
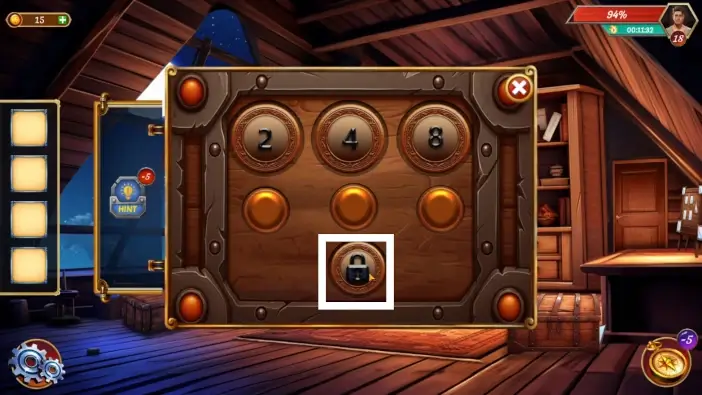
Start the puzzle challenge for opening the chest on the right.
Change the symbols in the correct order from left to right, as shown in the clue from the book. Use the buttons below the symbols to change them. Once you’ve finished, tap on the padlock icon to unlock the chest. Take the last mirror from the chest.
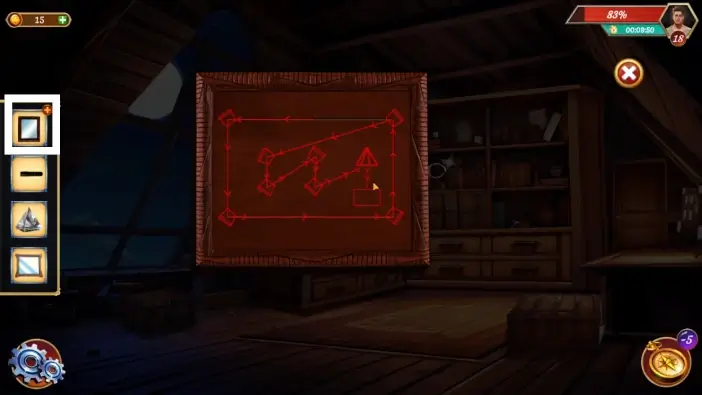
Return to the board on the left and place all the mirrors in their designated spots.
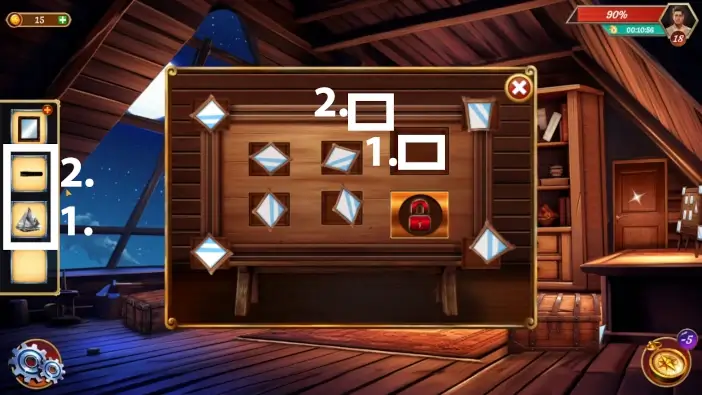
- Place the prism on the upper-right spot.
- Place the torch on the upper edge of the board.
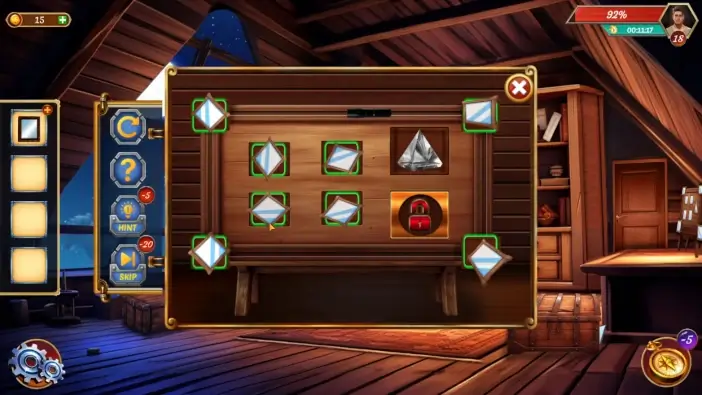
Once you place all the items, a new puzzle challenge will start. It will be very easy: you just need to rotate the mirrors by tapping on them until the frames around them glow green. After you complete this, the light from the torch will hit the padlock, and the number 248 will be revealed.
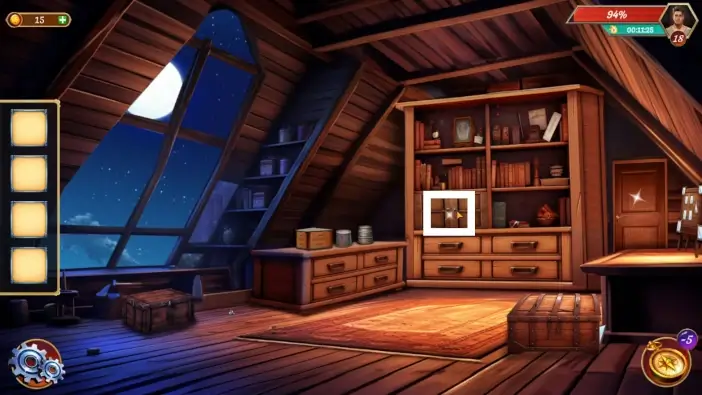
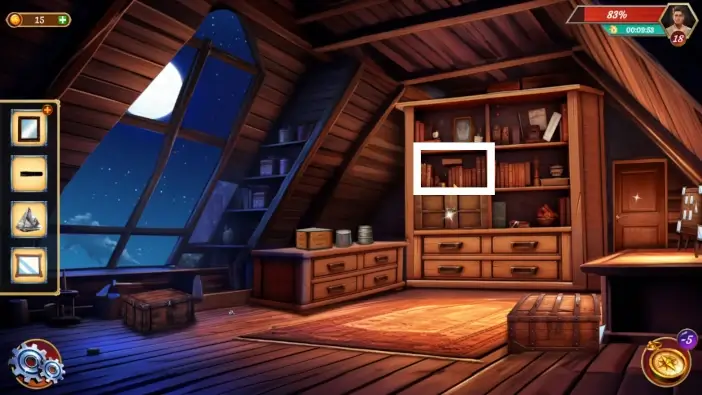
Approach the cabinet below the bookshelves.
Enter the password 248 you saw on the board. Use the buttons below the numbers to change them. When you finish, tap on the padlock to unlock the cabinet.
Take the key from the basket on the left.
Use the key to unlock the door. Exit the attic and enter the mansion’s hallway.
This will mark the end of our guide for Level 18 of Escape Room: Mysteries School.
Thank you for reading!