Escape Room: Mysteries School – Level 14
Intro
Welcome to our walkthrough for Level 14 for “Escape Room: Mysteries School” from “Ena Game Studio”. Help John renovate his old house and solve the mystery of the haunted abandoned school.
Walkthrough
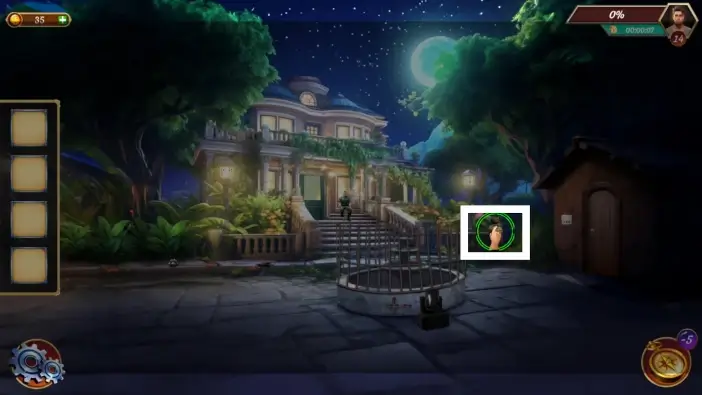
Tap on the pot to give John an idea.
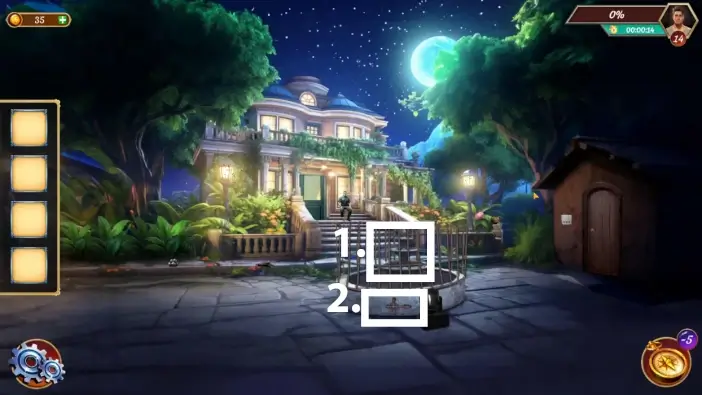
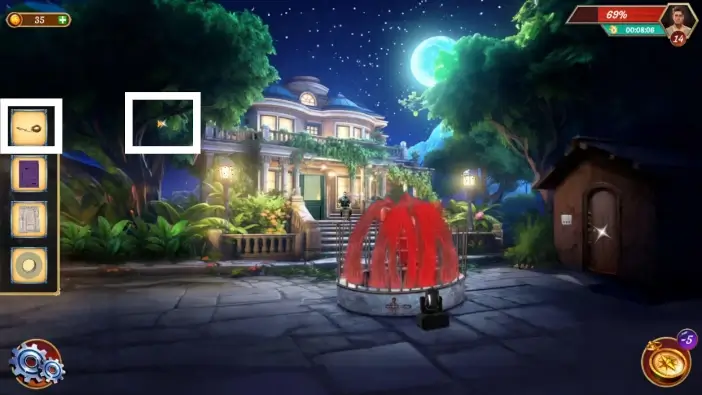
- Tap on the fountain to unlock the interaction with the valve.
- Approach the valve.
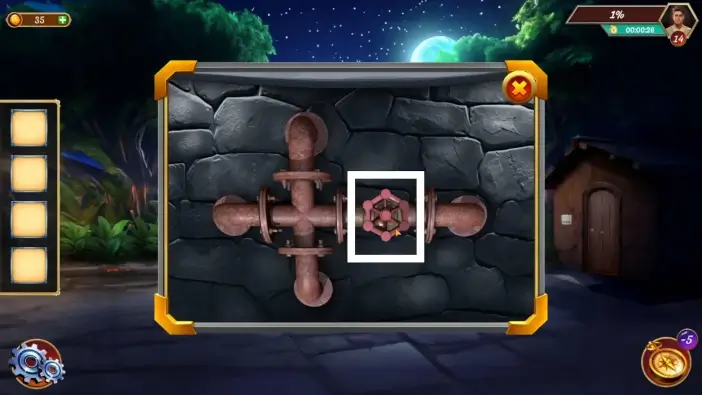
Turn the valve three times to activate the fountain.
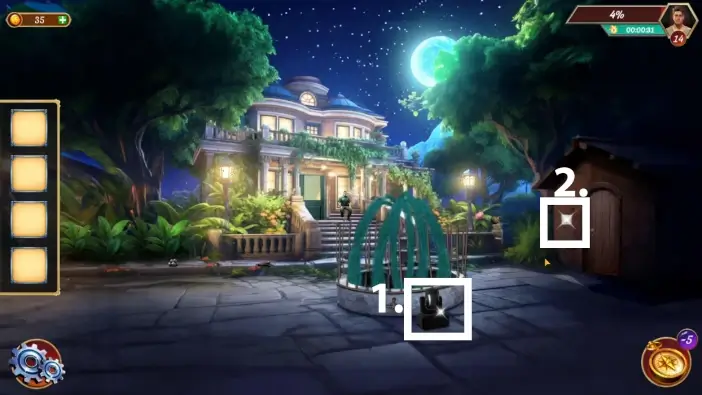
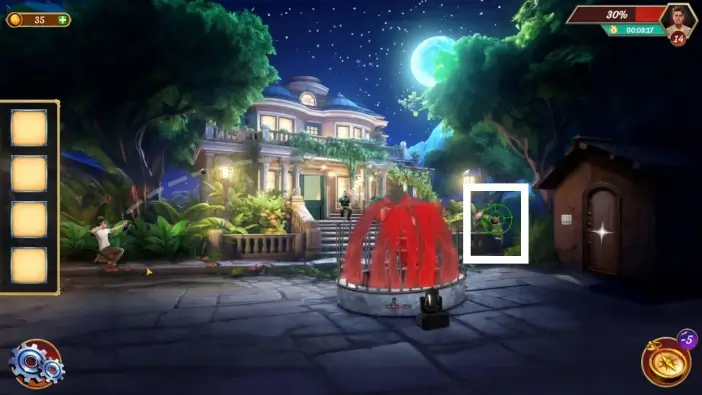
- Turn the spotlight towards the fountain.
- Press the switch (on the panel, the right-most switch) to turn the spotlight red.
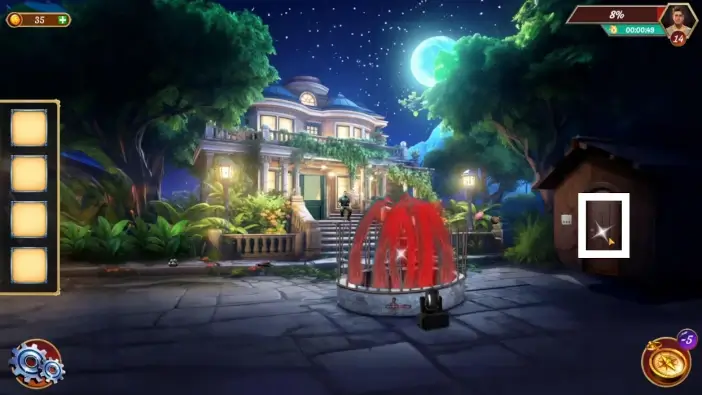
Enter the shed.
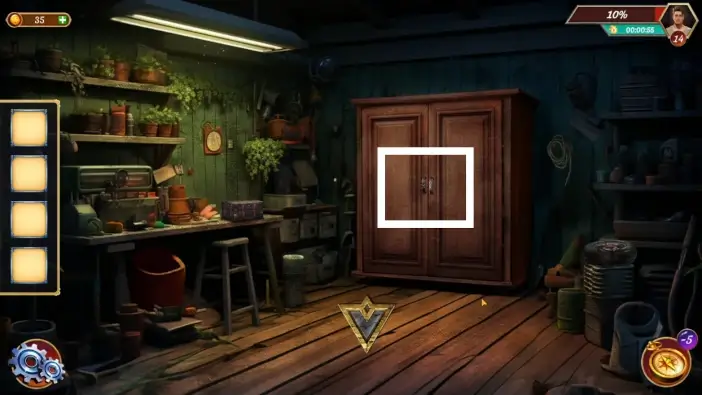
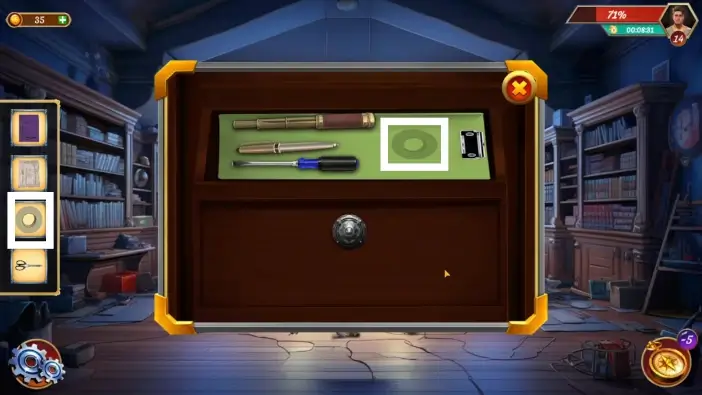
Open the cabinet.
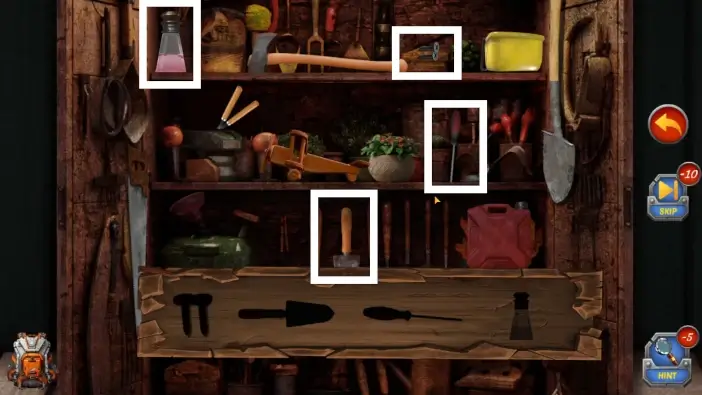
You’ll need to find twelve items in the cabinet. Follow the markers in the pictures in this guide to find them all.
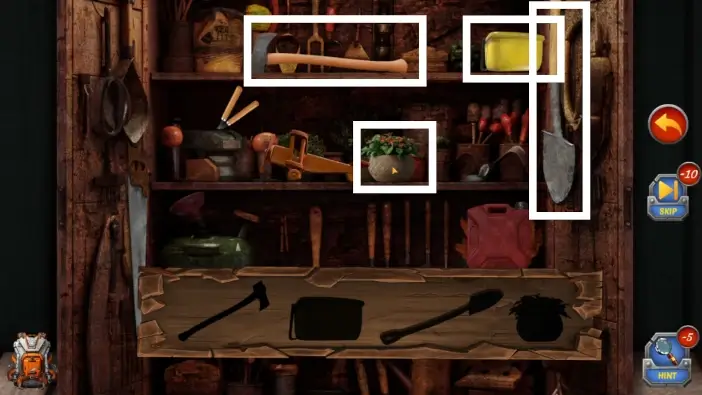
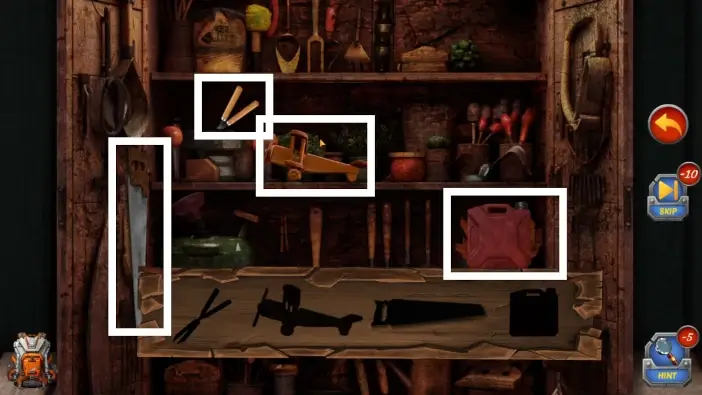
Once you find all the items, the color solution and the cutter will be added to your inventory.
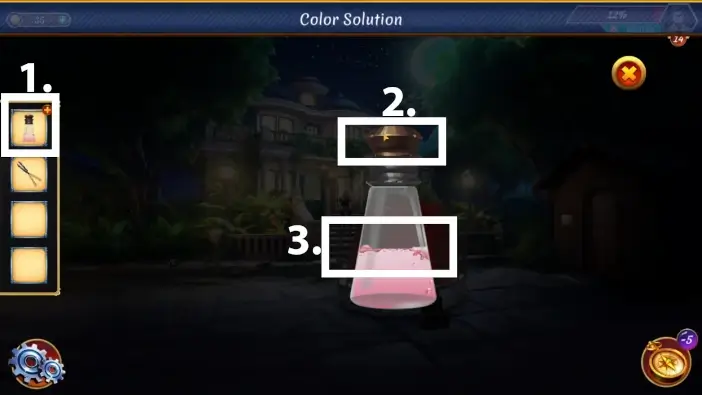
- Tap on the color solution in your inventory to examine it.
- Open the bottle.
- Tap on the bottle in the center of the screen to return it to your inventory.
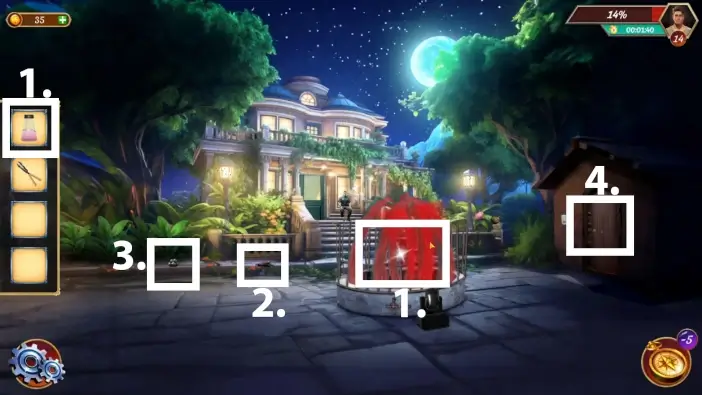
- Approach the fountain and pour the color solution into it.
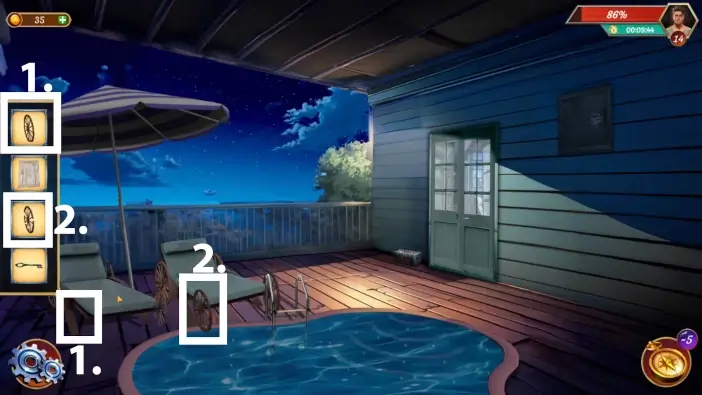
- Pick up the stick.
- Pick up the stones near the bushes.
- Enter the shed.
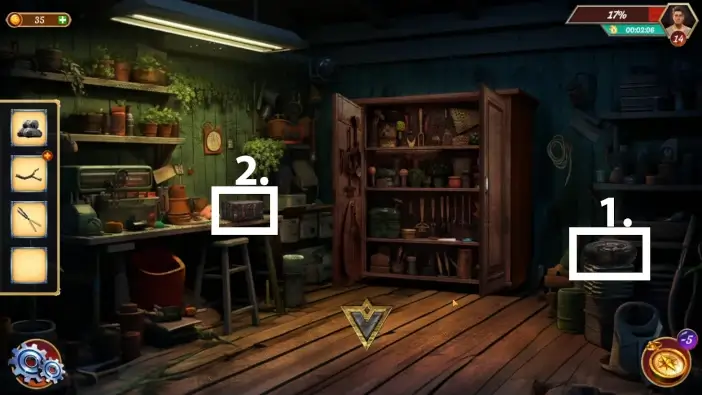
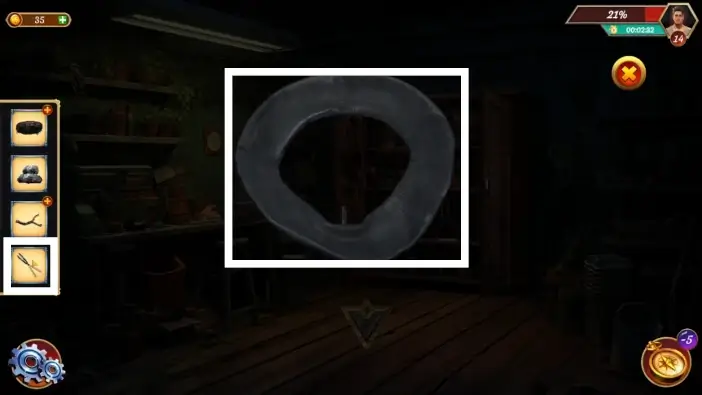
- Take the damaged tyre.
- Open the toolbox on the left desk.
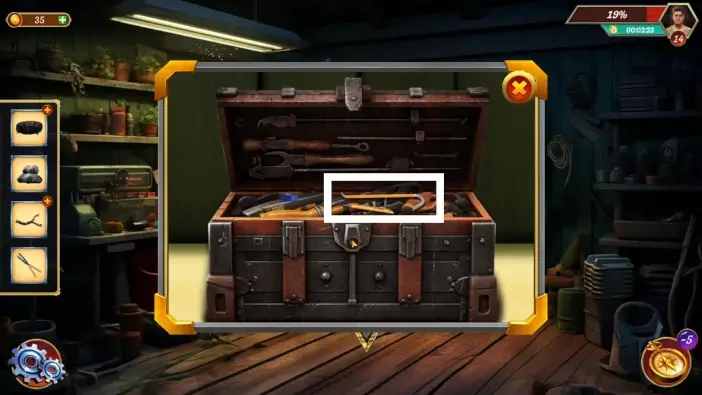
Take the crowbar from the toolbox.

Tap on the damaged tyre in your inventory to examine it, then use the crowbar on the tyre.
Use the cutter on the tyre to create three tube tyre pieces. Tap on them to add them to your inventory.
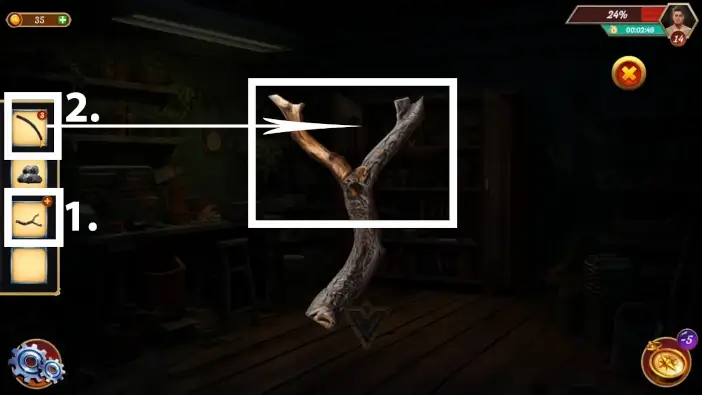
- Tap on the stick in your inventory to examine it.
- Place the three tube tyre pieces on the stick to create a slingshot. When you make it, tap on it one more time to add it to your inventory.
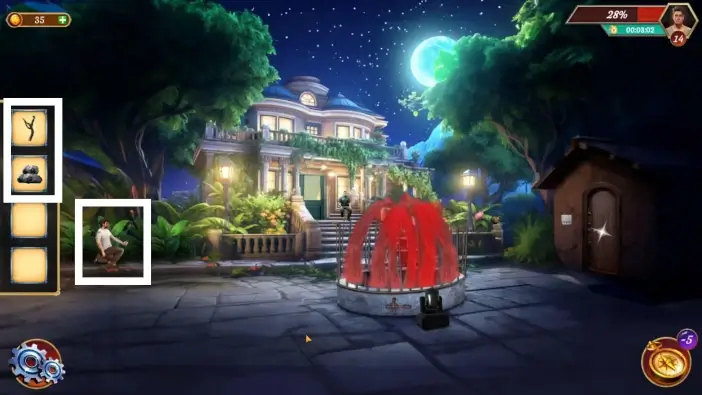
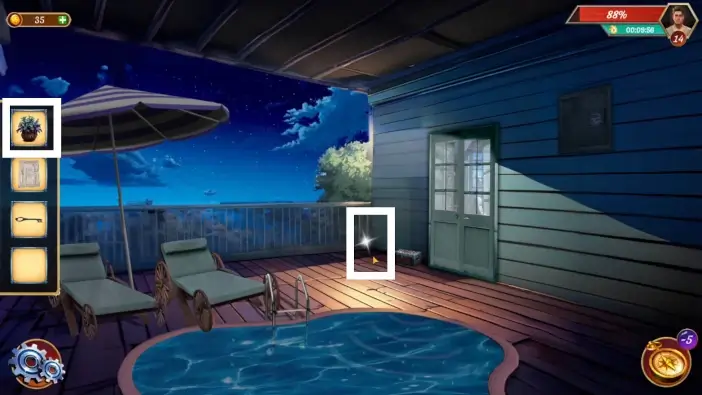
Return to the fountain area and give John the slingshot and the rocks.
Aim at the pot, then tap on the pot, and John will shoot.
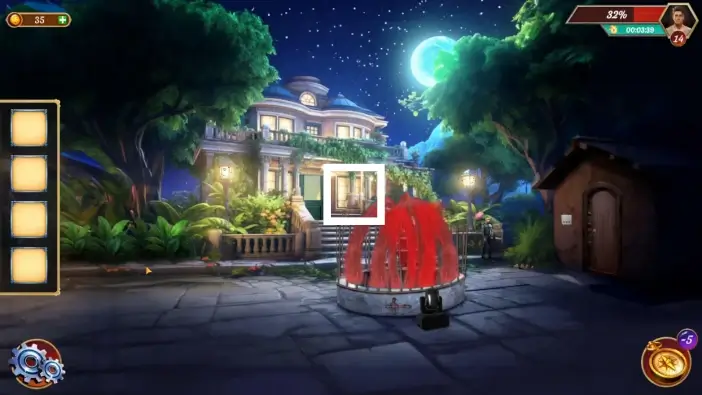
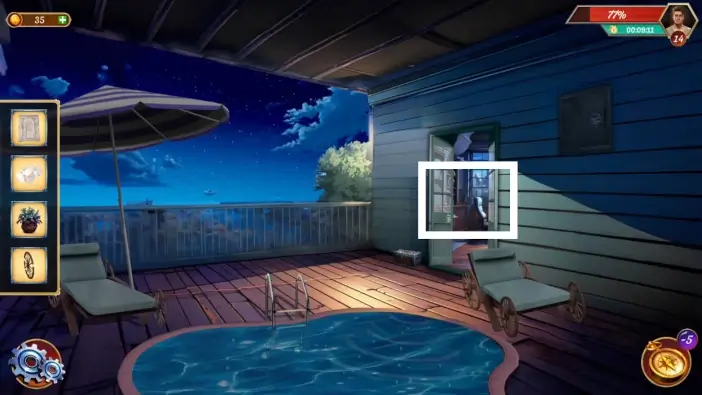
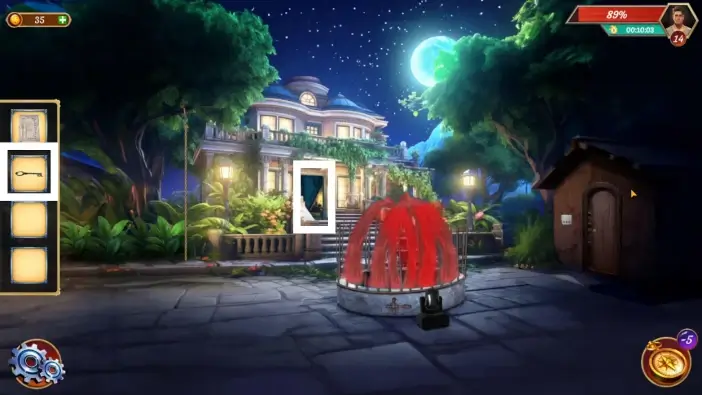
Once the security officer is distracted, approach the window near the main entrance to the mansion.
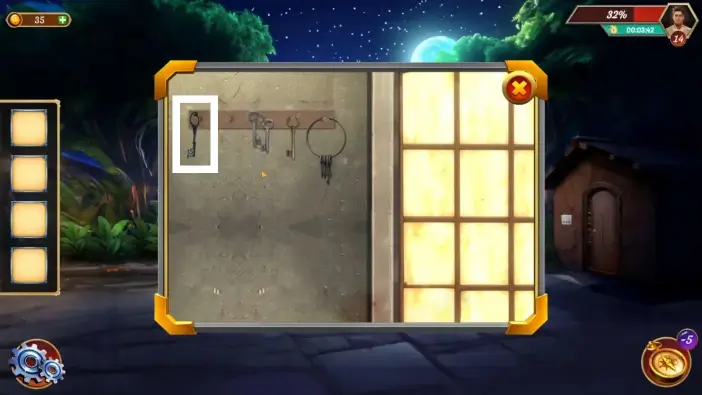
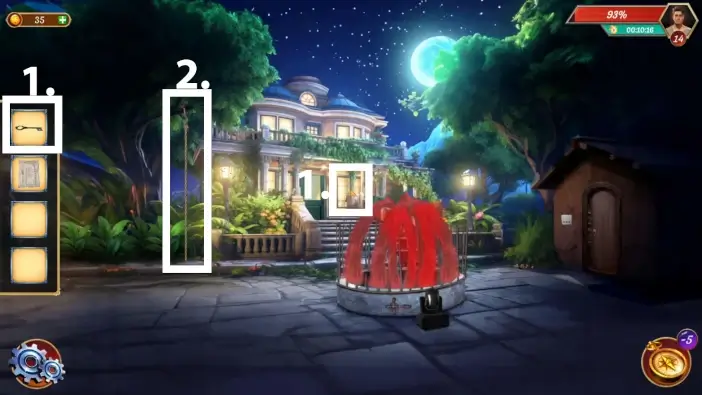
Take the left-most key.
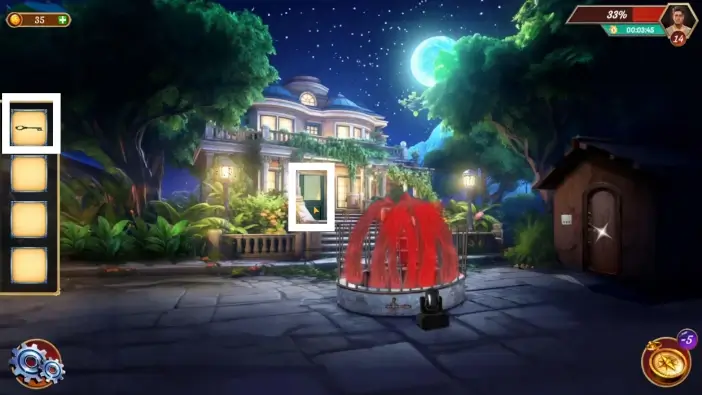
Unlock the main entrance with the key you just got.
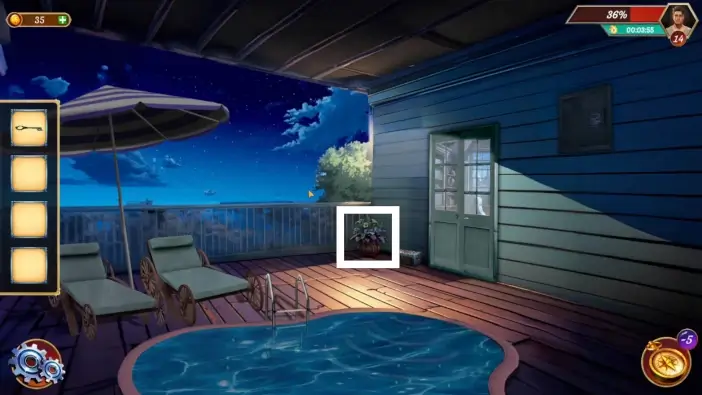
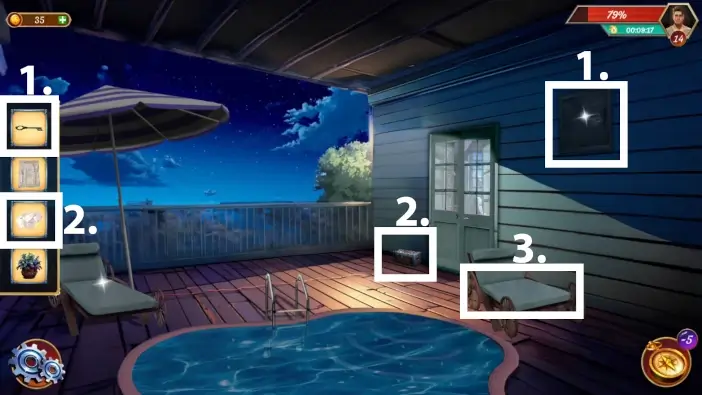
John will automatically go to the balcony. Take the flowerpot from the floor.
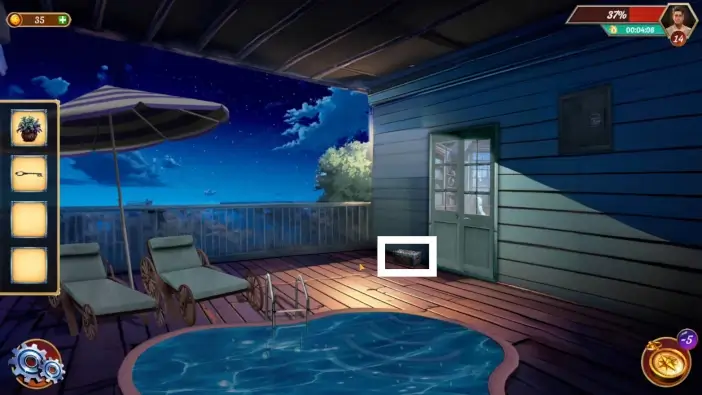
Approach the box on the floor and start a puzzle challenge to unlock it.
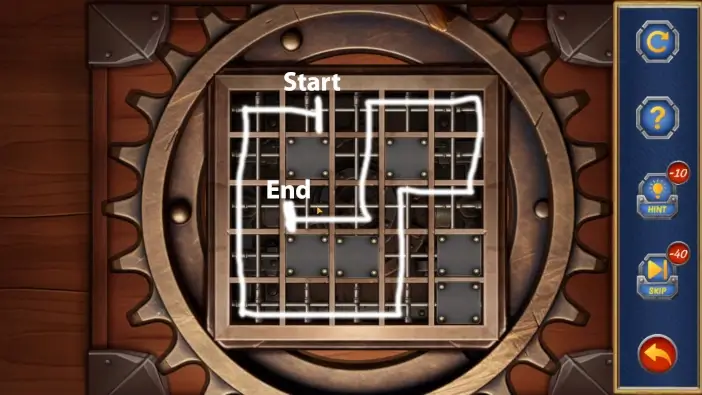
When you tap on the empty field, a gear will appear. You need to tap on all fields without repeating the field. Follow the path marked in the picture above to achieve this.
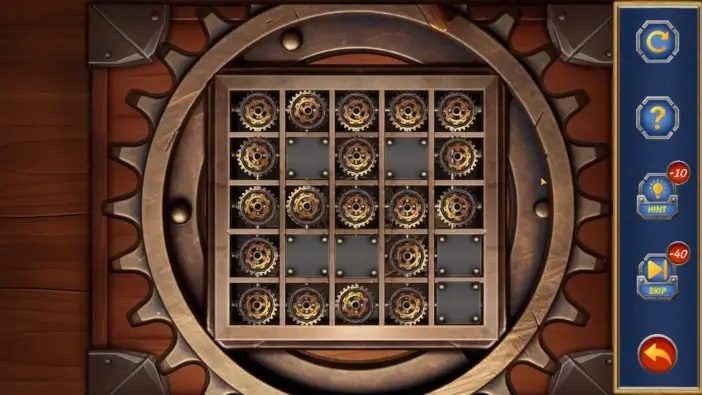
The solution will look like the picture above. Once you unlock the box, take the paper from it.
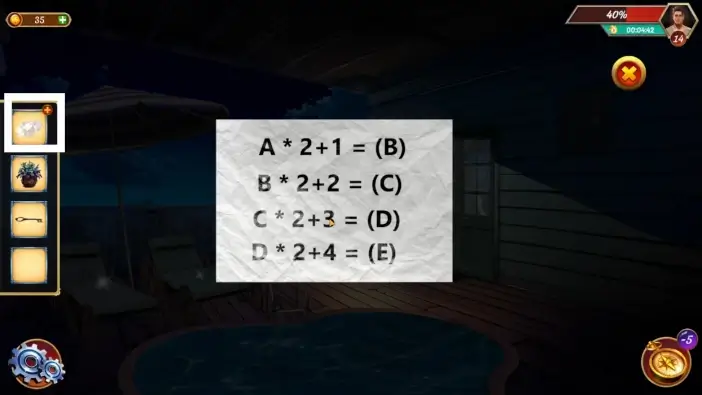
Look at the paper in your inventory and remember the clue.
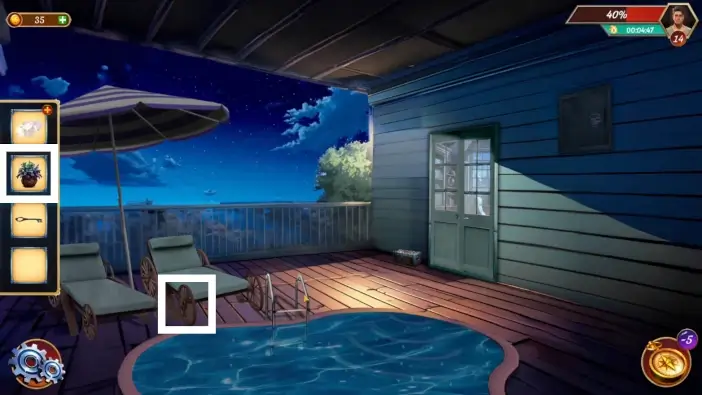
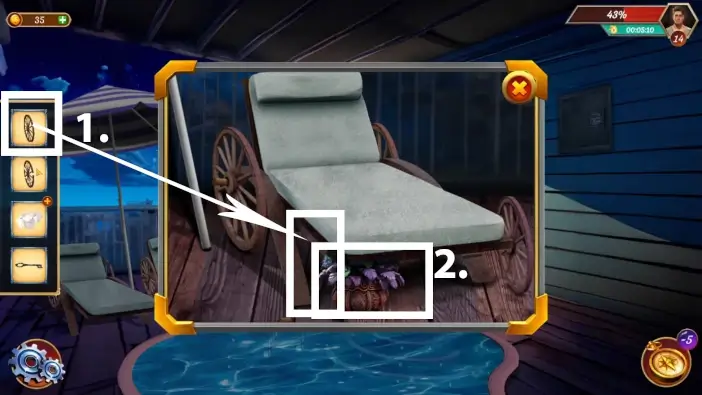
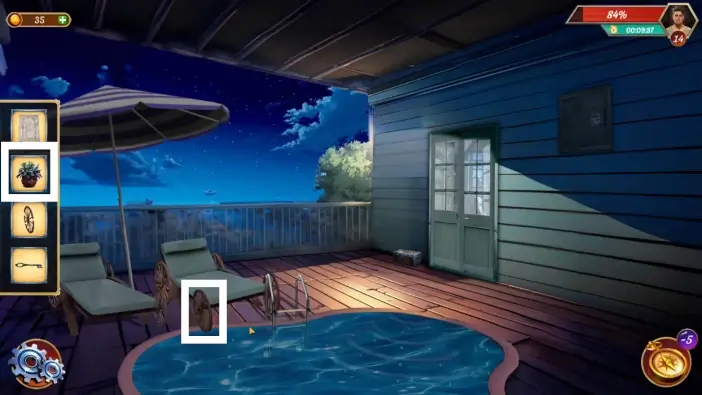
Place the flowerpot beneath the right chair.
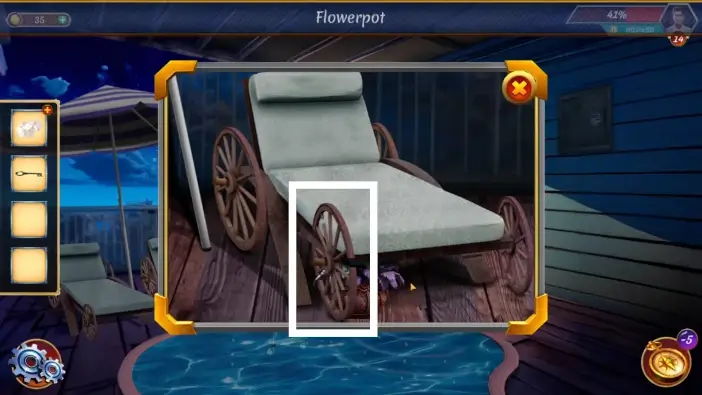
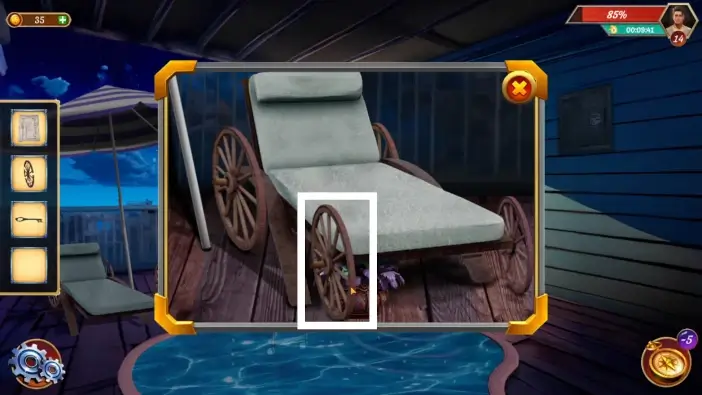
While the flowerpot is holding the chair, remove the broken wheel.
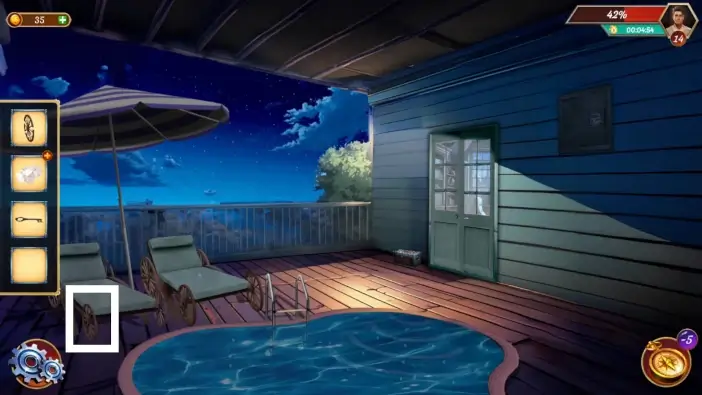
Remove the wheel of the left chair.
- Return to the right chair and attach the functional wheel to the chair.
- Remove the flowerpot. It will be added to your inventory.
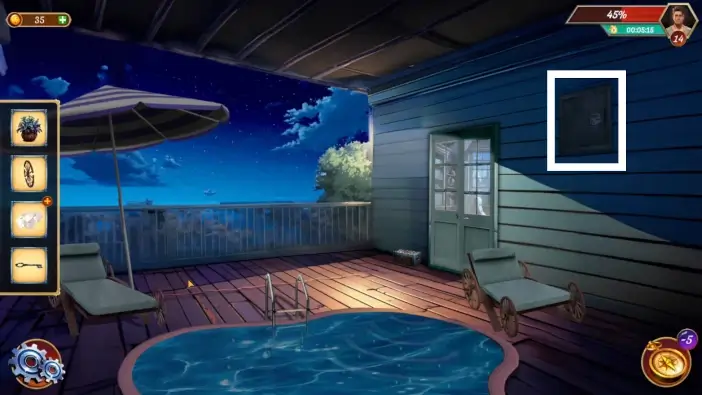
After John moves the chair, look at the safe on the right wall.
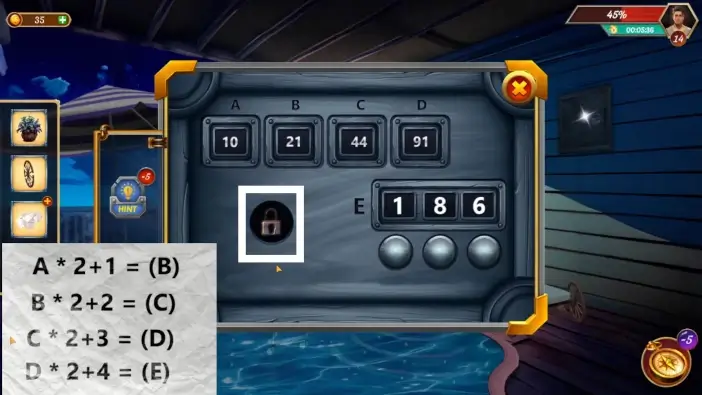
From the safe, you can read which letter has which numerical value. Use the clue from the paper and replace the letters with numerical values. You can conclude which numerical value the “E” letter has, which is 186. Use the buttons on the right side of the safe to change the digits and insert the number 186. After you finish, tap on the padlock icon to open the safe. Once you open the safe, take the key.
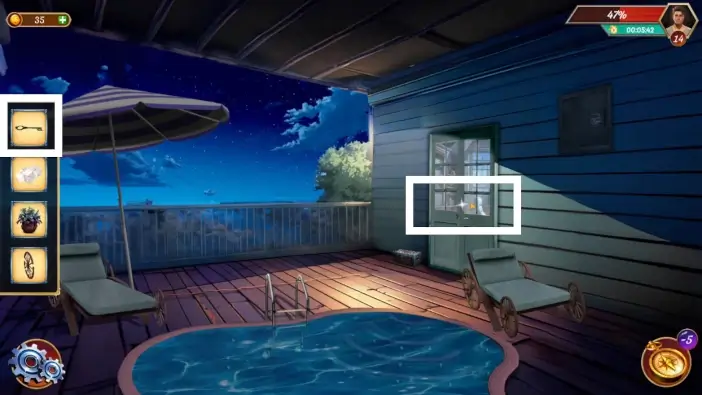
Use the key you just got from the safe to enter the office.
- Check the locker on the left. John will realize that the locker requires a fingerprint to open, which would be your next objective.
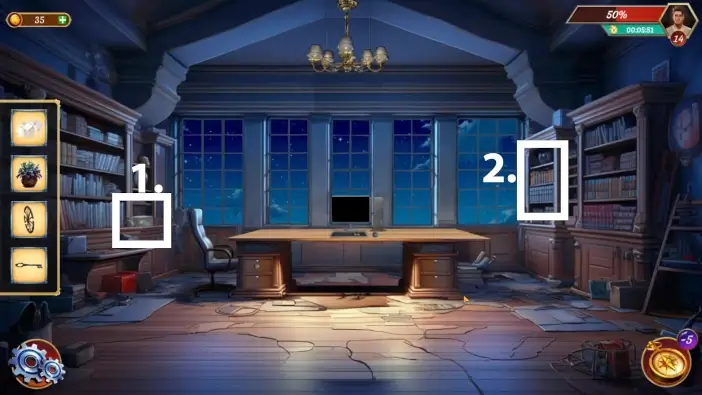
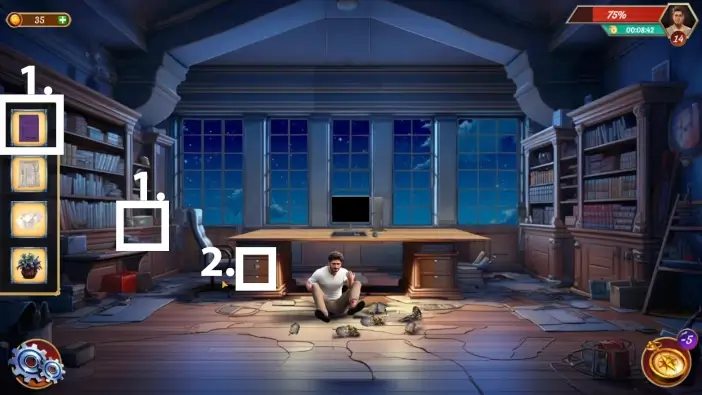
- Approach the bookshelves on the right.
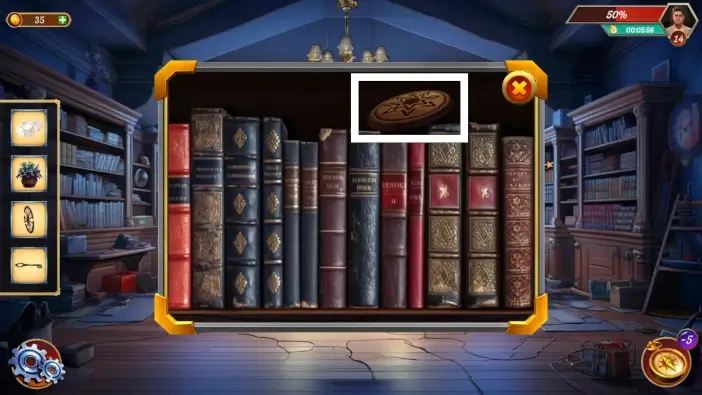
Take the wooden piece.
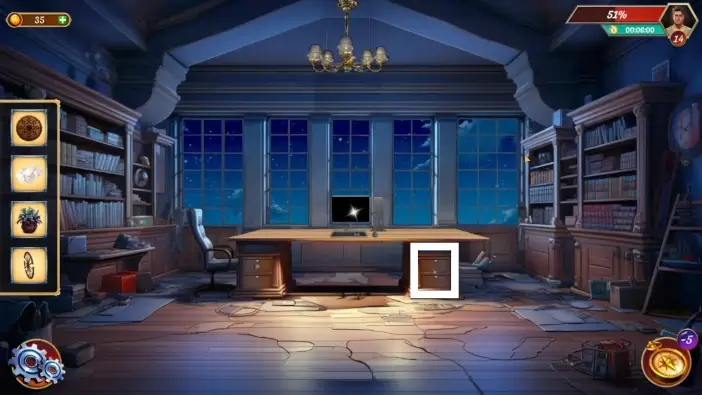
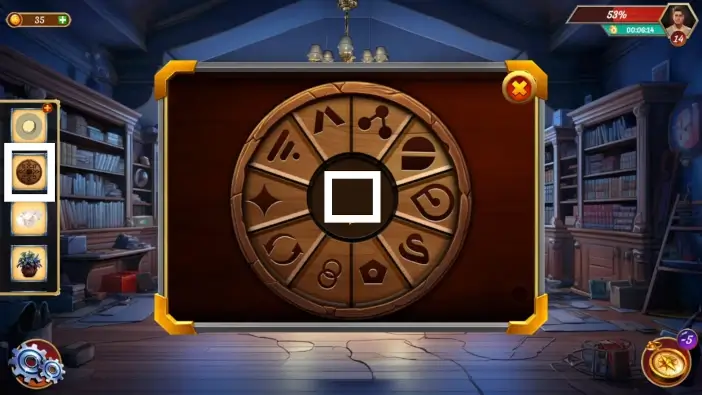
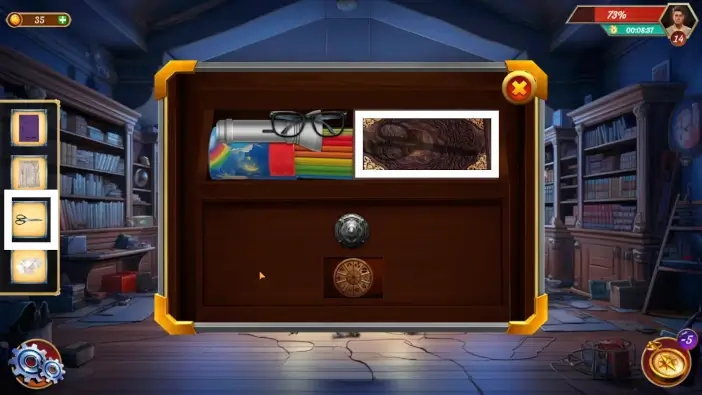
Approach the drawer on the right side of the office desk.
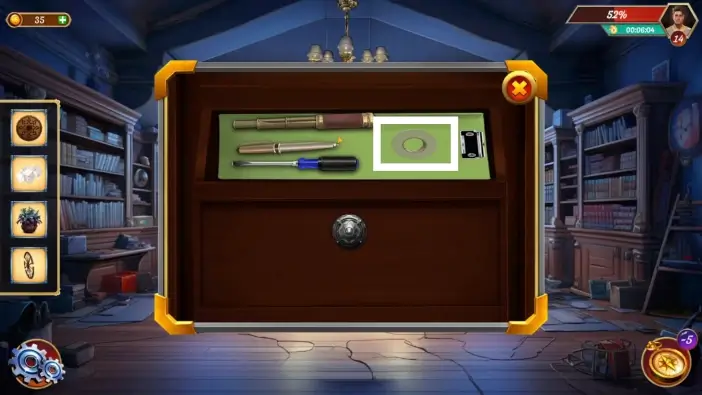
Take the cello tape from the drawer.
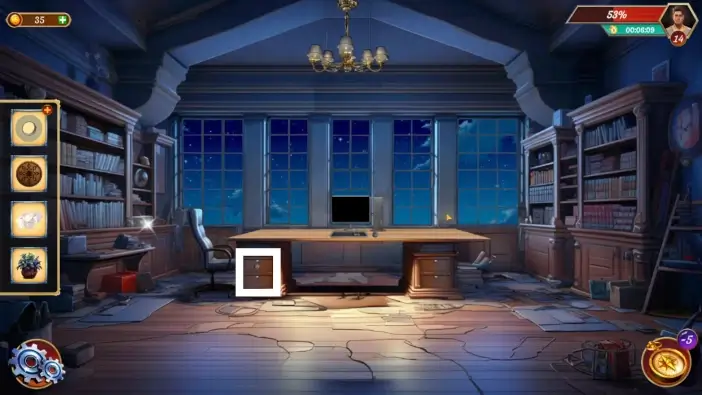
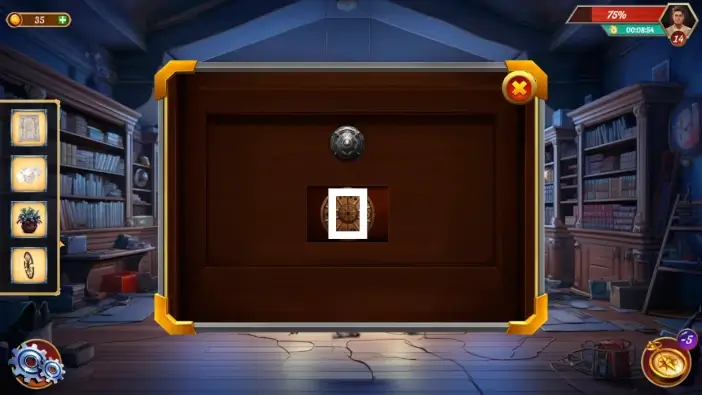
Approach the drawer on the left side of the office desk.
Place the wooden piece from the bookshelf to unlock this drawer.
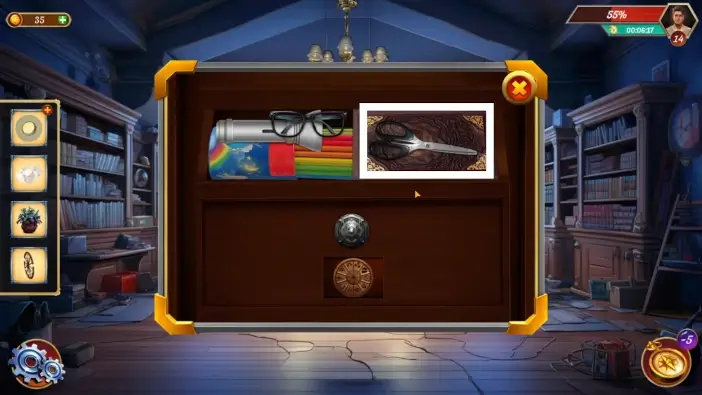
Take the scissors from the drawer.
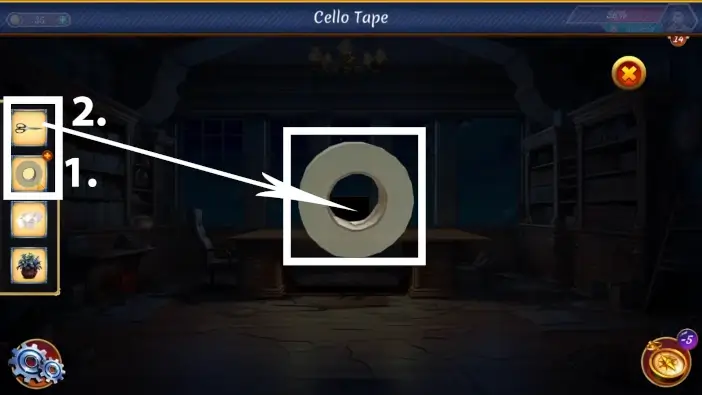
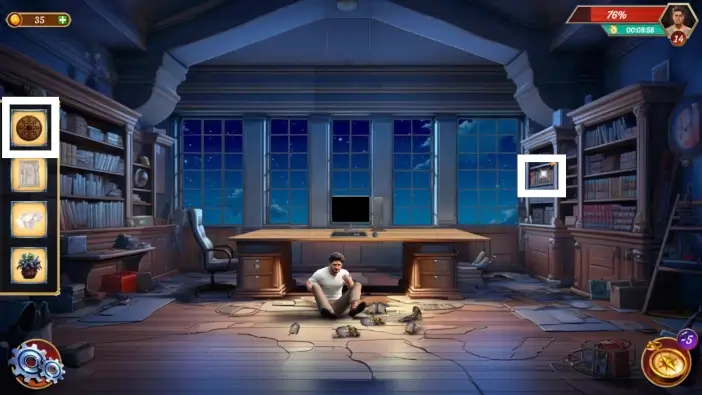
- Tap on the cello tape in your inventory to examine it.
- Use scissors to cut the cello tape. Tap on the cello tape piece to add it to your inventory.
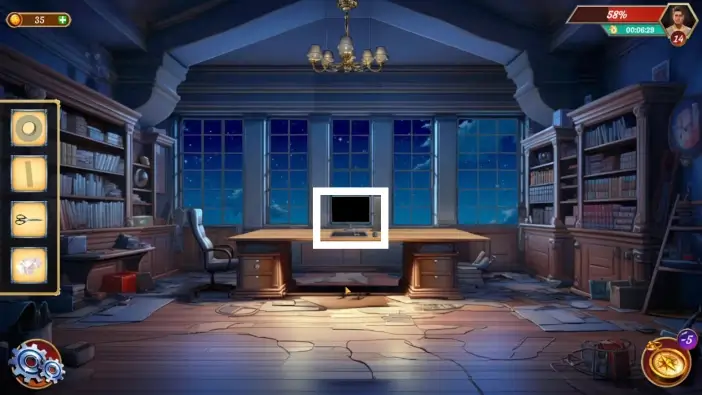
Approach the PC on the office desk.
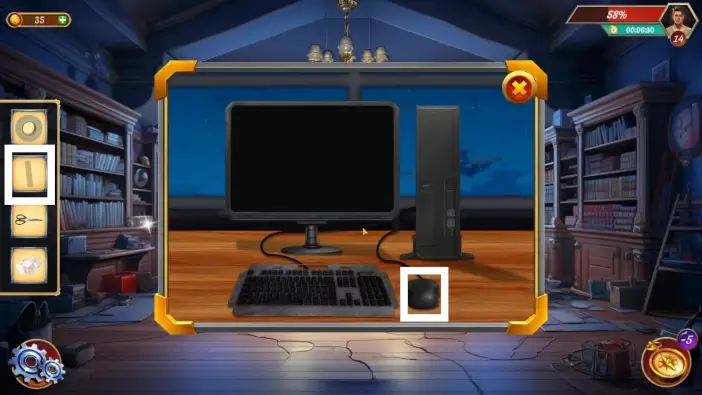
Place the cello tape piece on the PC mouse to get the fingerprint.
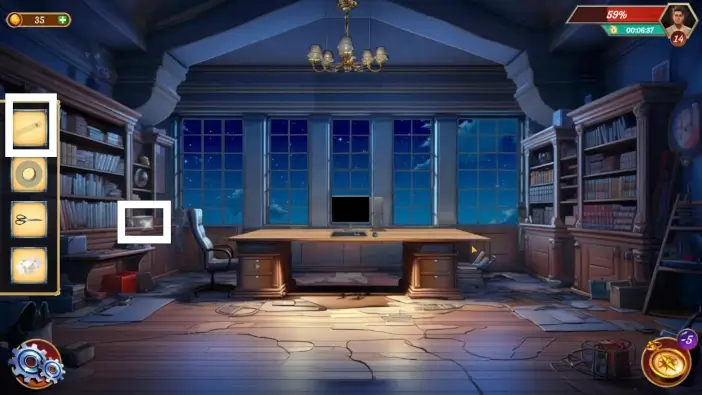
Place the cello tape with the fingerprint on the locker to open it.

Take the file from the locker.
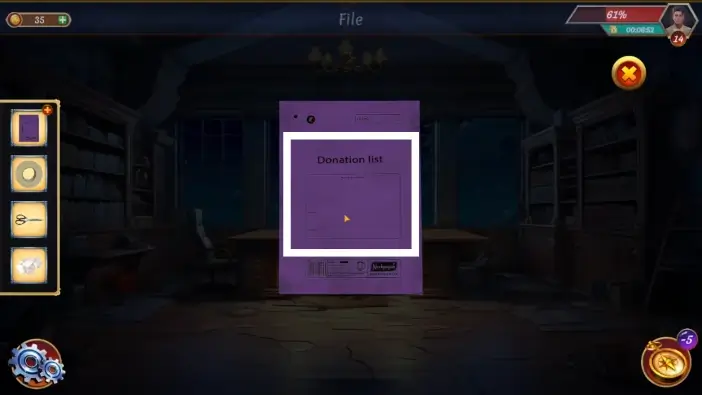
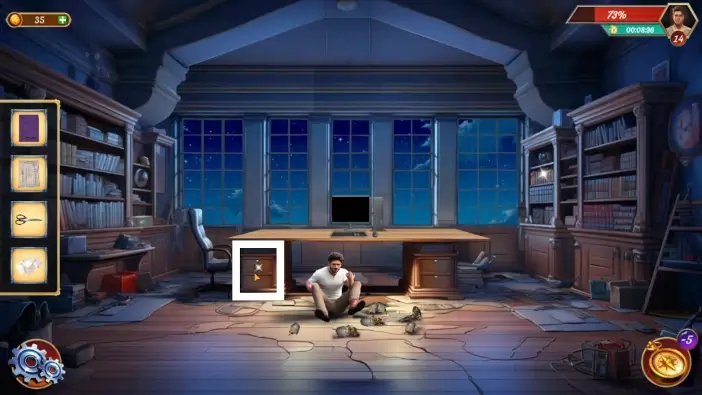
Open the file from your inventory.
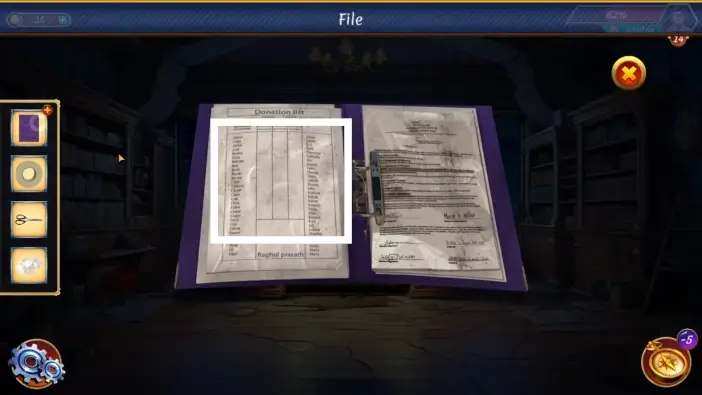
After John comments on what he found, open the file again, and take the paper on the left. After this, the cutscene will begin, where John will be hurt, and you will start playing as his friend, Ruban.
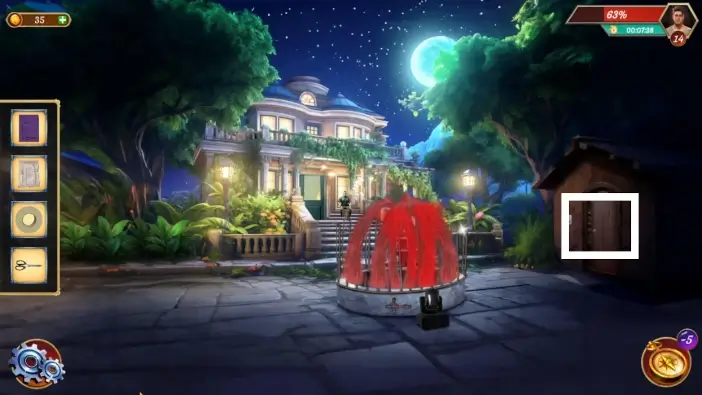
As Ruban, go inside the shed.

Take the rope hanging from the wall and exit the shed.
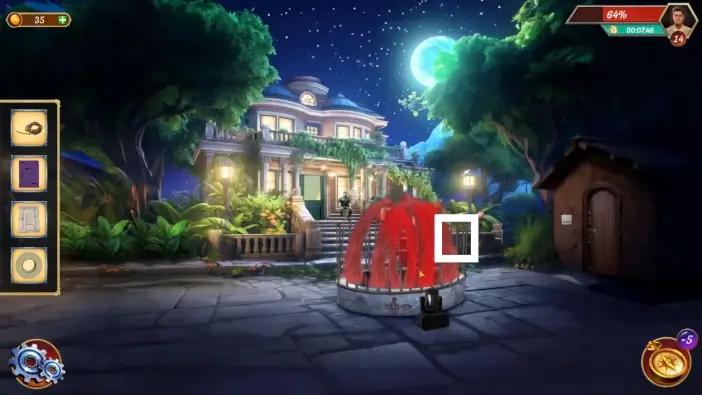
Approach the fountain’s fence.
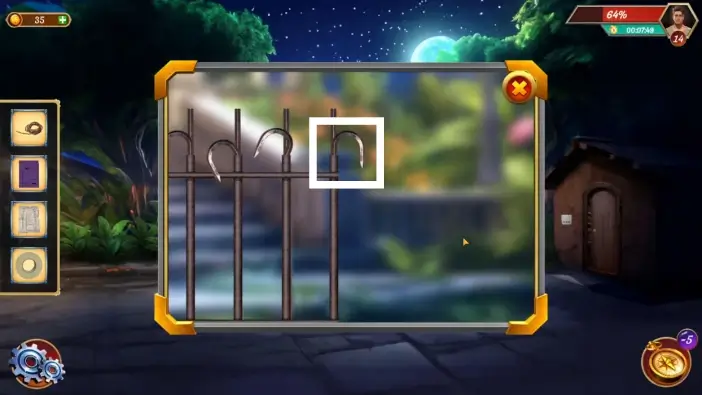
Take one of the hooks from the fountain’s fence.
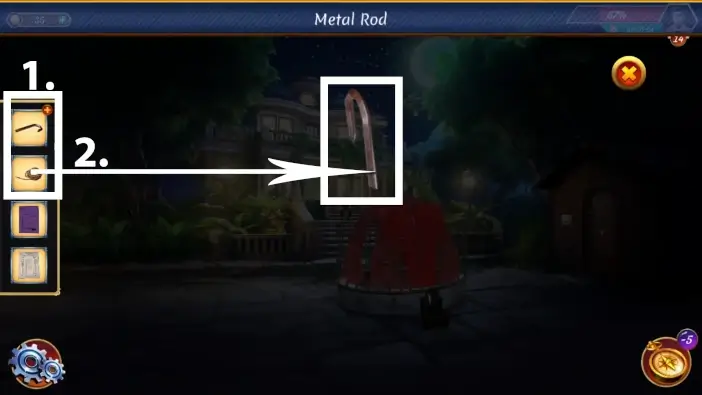
- Tap on the hook in your inventory to examine it.
- Tie the rope on the hook. Tap on the hook once again to return it to your inventory.
Approach the tree branch and use the hook with the rope to reach the office where John is.

From this point onwards, you’ll need to reverse all actions and return all the items to their original locations. Approach the drawer on the right side of the office desk.
Return the cello tape and close the drawer.
Approach the drawer on the left side of the office desk.
Return the scissors and close the drawer.
- Return the file to the locker and close the locker.
- Approach the left drawer.
Take the wooden piece.
Return the wooden piece to the right bookshelf and then leave the office (the cutscene will begin).
Close the door and take the key.
- Return the door key to the safe on the wall and close the safe.
- Return the paper to the box on the ground.
- Move the chair to its original location.
Place the flowerpot beneath the right chair.
Remove the functional wheel.
- Return the functional wheel to the left chair.
- Return the broken wheel from your inventory to the right chair. The flowerpot will return to your inventory automatically.
Return the flowerpot to its original location on the floor, then leave the balcony (the arrow will appear, tap it).
Close the mansion’s door and lock it using the key from your inventory.
- Return the key to the location near the mansion’s window.
- Take the rope.
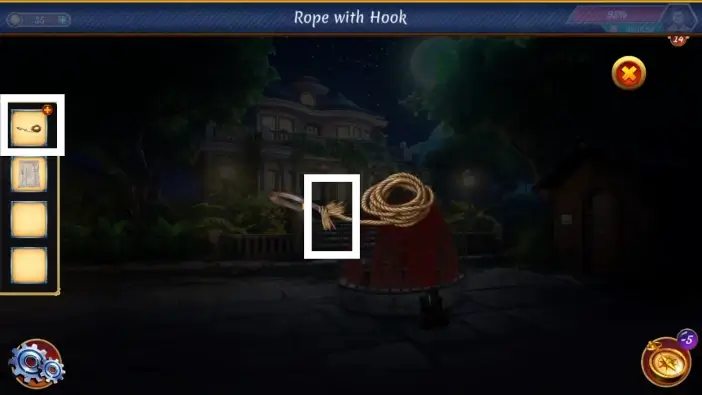
Tap on the “rope with the hook” item in your inventory to examine it. Detach the hook from the rope. Tap on the rope to return it to your inventory. You’ll not take the hook back.

Go inside the shed.

- Return the rope to its original location on the wall.
- Close the cabinet.

Exit the shed and close its door.
This will mark the end of our guide for Level 14 of Escape Room: Mysteries School.
Thank you for reading!