Escape Room: Mysteries School – Level 8
Intro
Welcome to our walkthrough for Level 8 for “Escape Room: Mysteries School” from “Ena Game Studio”. Help John renovate his old house and solve the mystery of the haunted abandoned school.
Walkthrough
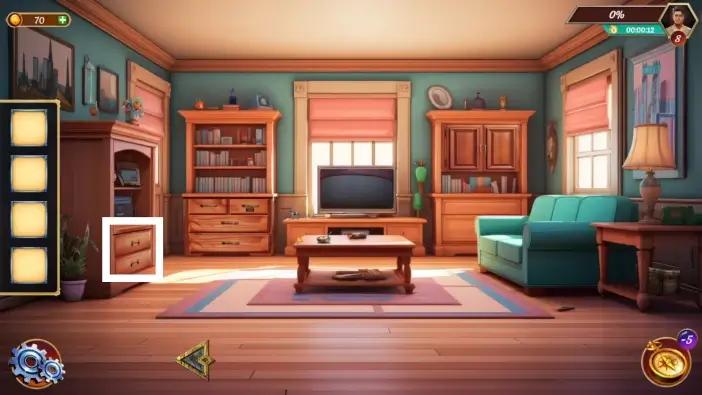
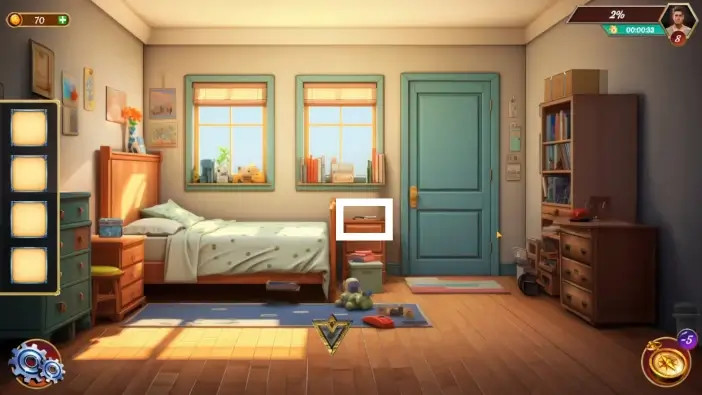
In the living room, approach the drawers on the left.
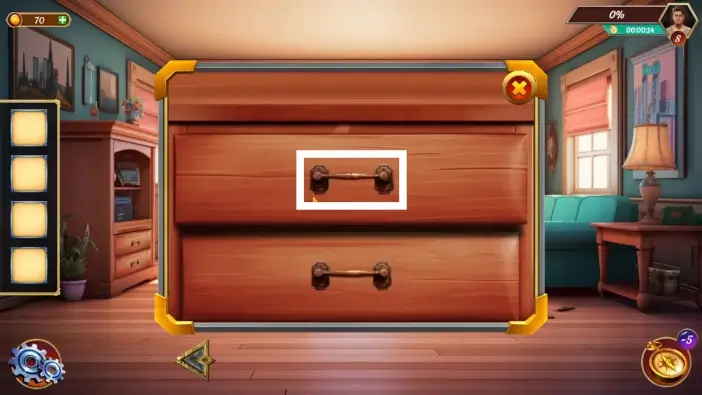
Try to open the upper drawer. Unfortunately, the handle will break.
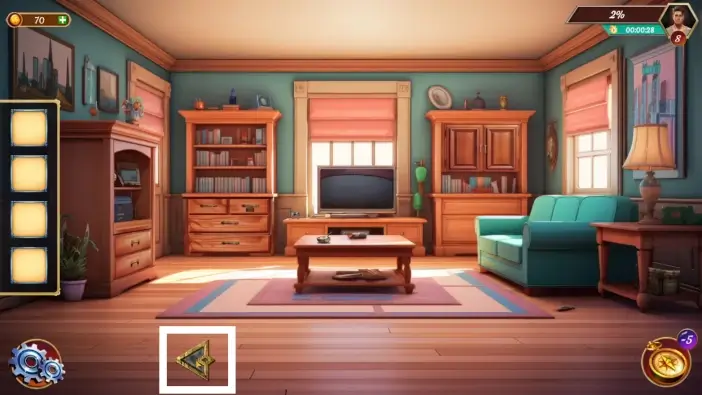
Tap on the left arrow to go to the bedroom.
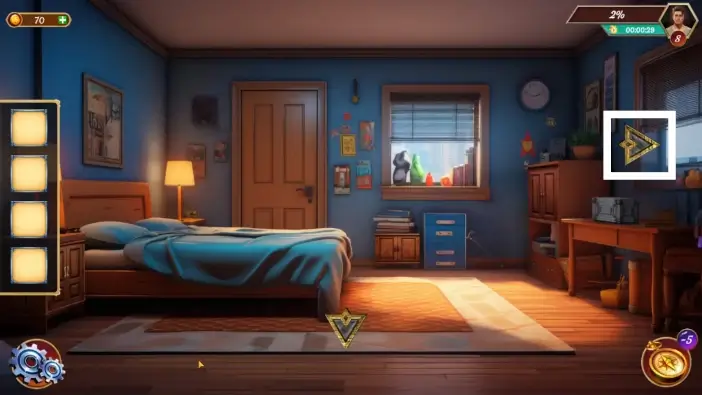
From the bedroom, tap on the right arrow to go to the kid’s bedroom.
Take the hook from the nightstand.
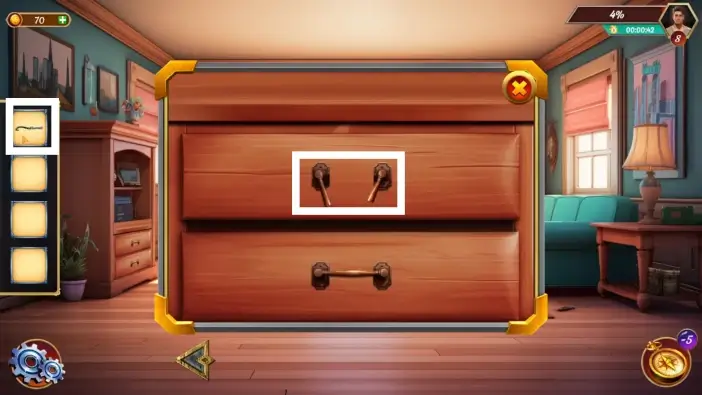
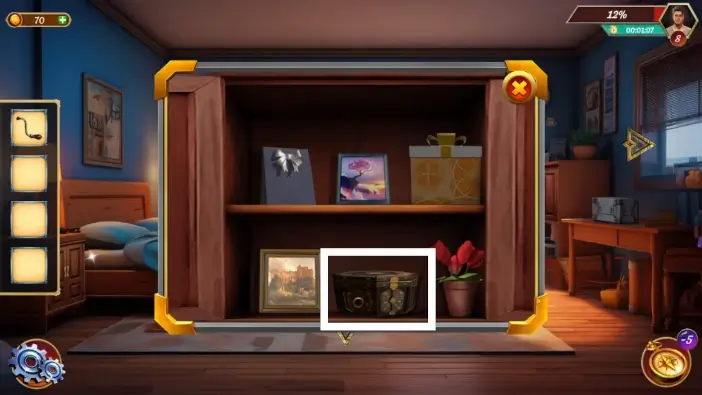
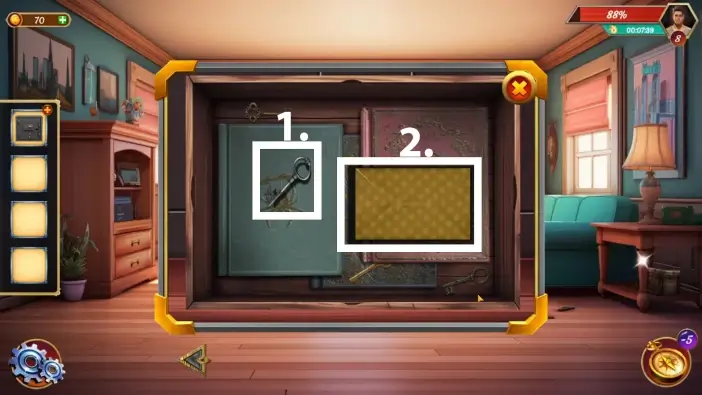
Return to the living room and open the drawer with the hook.
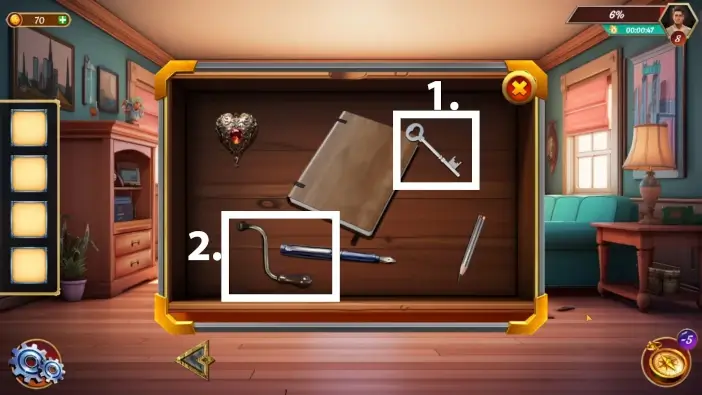
- From the drawer, take the key.
- Take the lever.
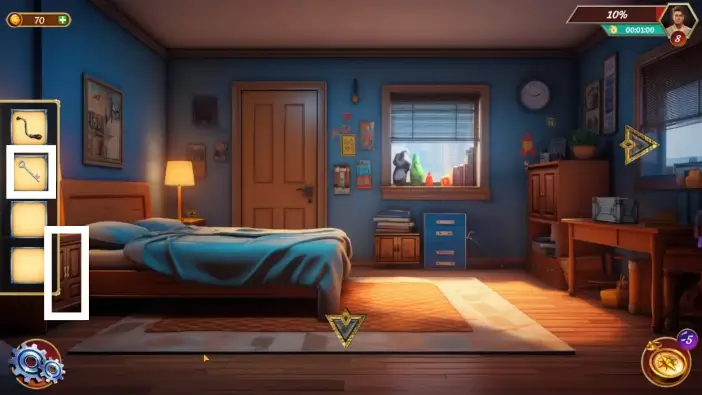
Go to the bedroom and unlock the nightstand left from the bed with the key you just picked up.
Take the antique from the nightstand.
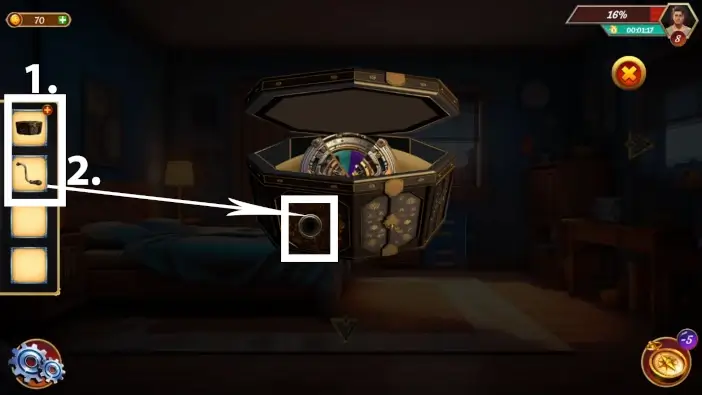
- Tap on the antique in your inventory to examine it.
- Attach the lever to the hole of the antique.
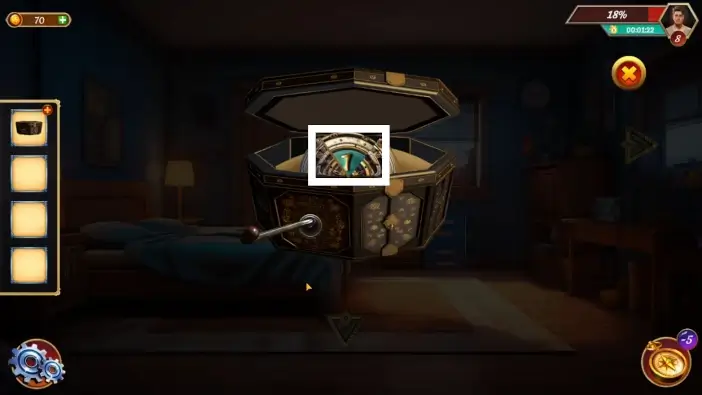
Move the lever to rotate the numbers. Remember the numbers and the colors that are associated with them. This is a clue for unlocking a drawer in the living room.
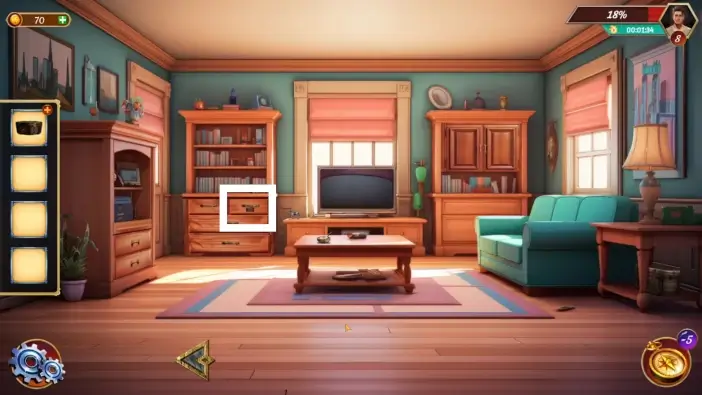
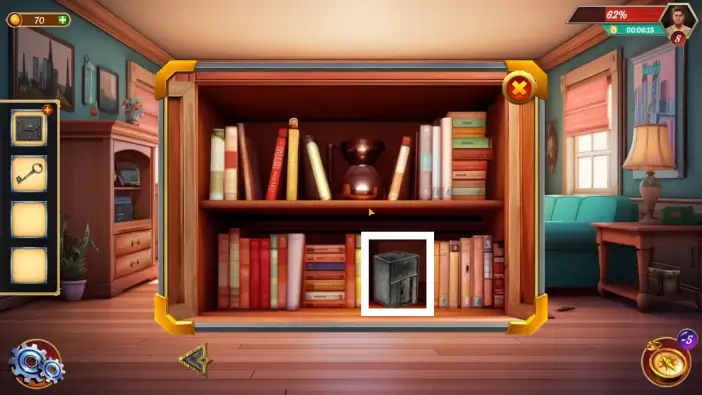
Go to the living room and approach the drawer to the left of the TV.
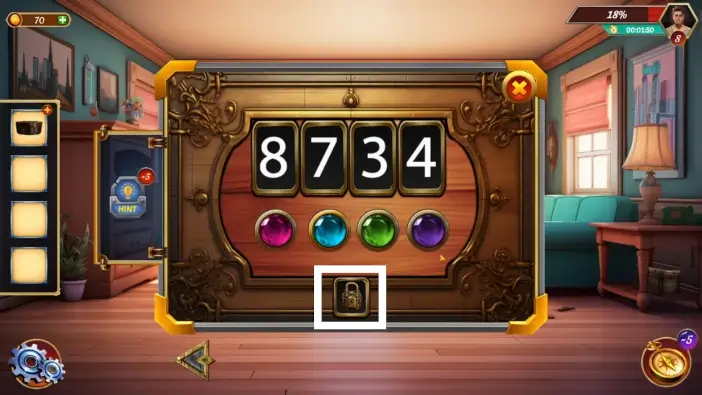
Remember the numbers and their associated colors in the antique. Change the numbers to 8734 and then tap on the padlock icon to unlock the drawer.
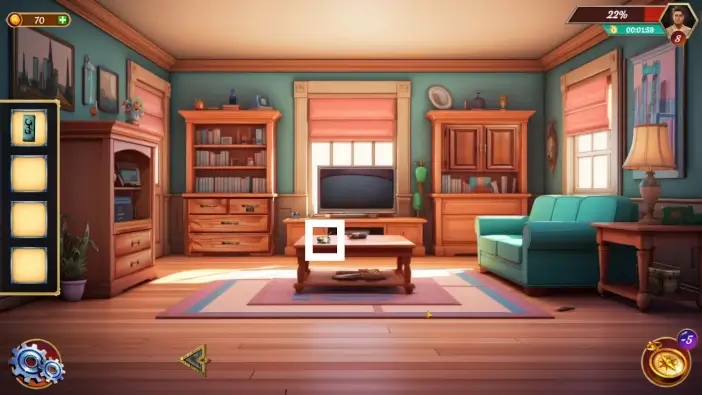
Take the solving piece from the drawer.
Take the knife from the table.
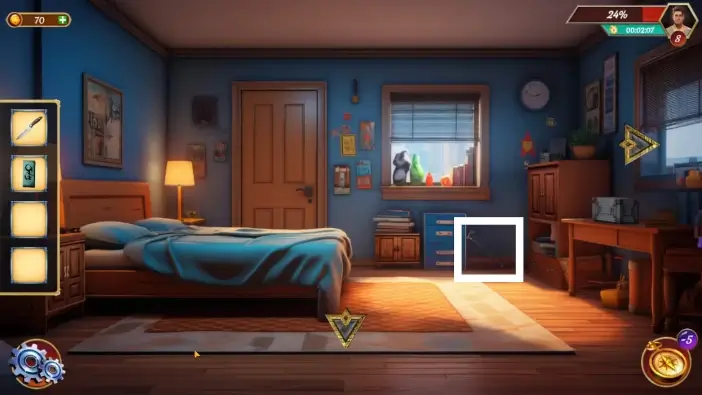
Go to the bedroom and take the walking stick.
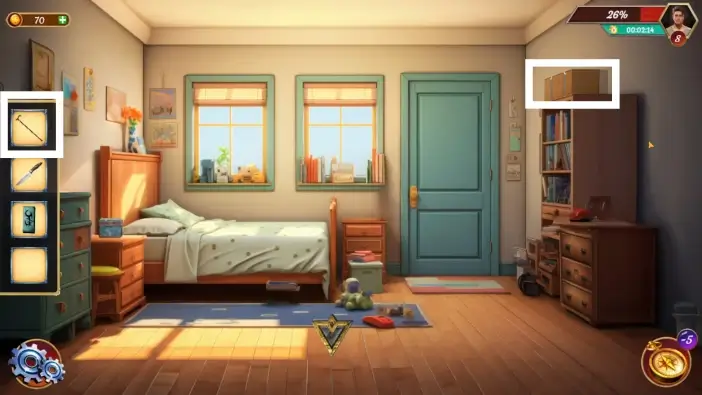
In the kid’s bedroom, approach the box in the top-right corner and then use the walking stick to pull the box to the floor. Pick up the box from the floor.
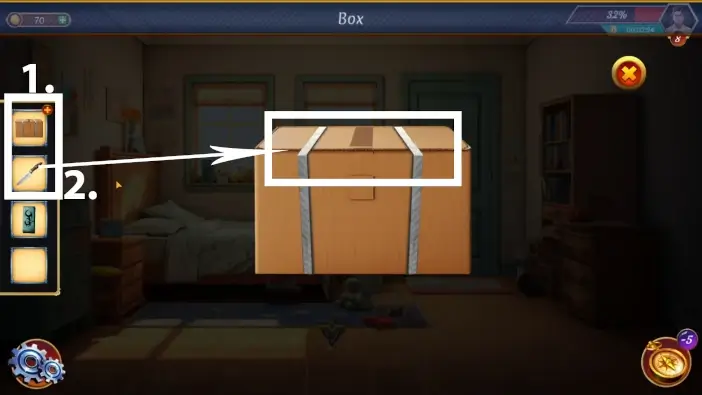
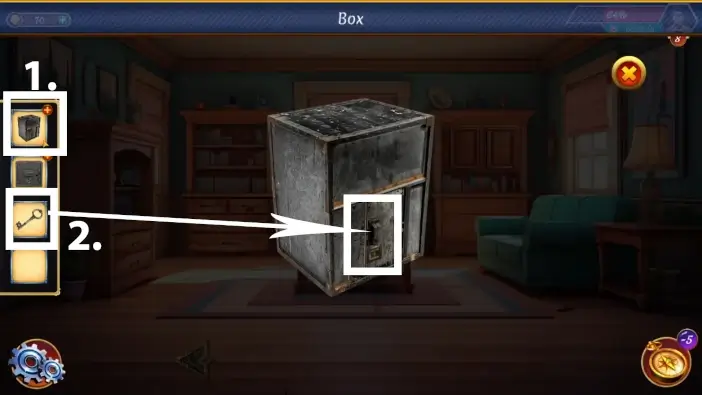
- Tap on the box in your inventory to examine it.
- Use a knife to open the box.
Take the wooden box.
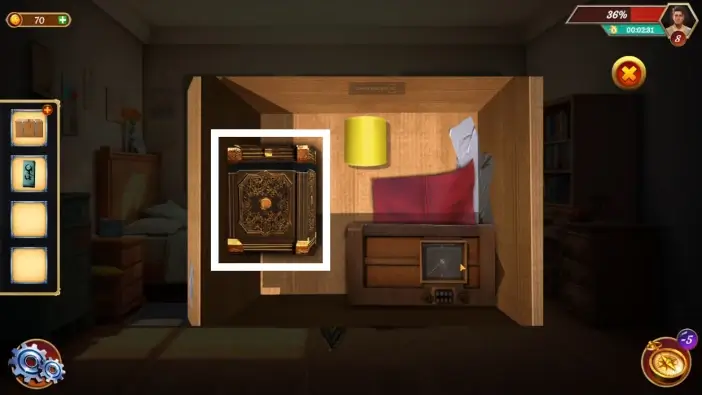
- Tap the wooden box in your inventory to examine it.
- Tap on the top of the box to see the next puzzle challenge.
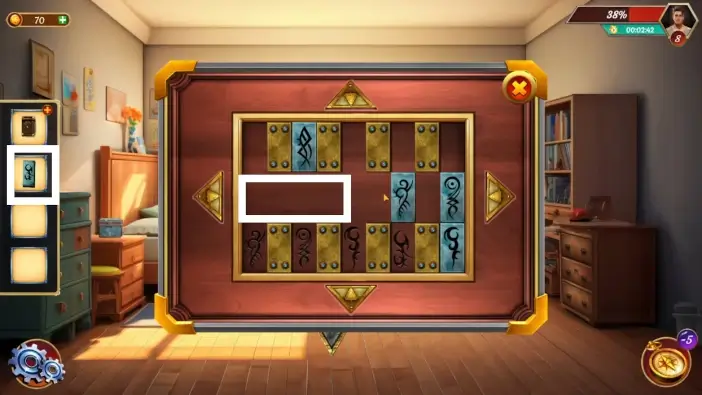
Place the solving piece into the puzzle to start the challenge.
You will see at the bottom which piece needs to go where. Rearrange the pieces like in the picture above to solve this puzzle. Use arrows to move the pieces. Use obstacles tactically to rearrange the pieces correctly.
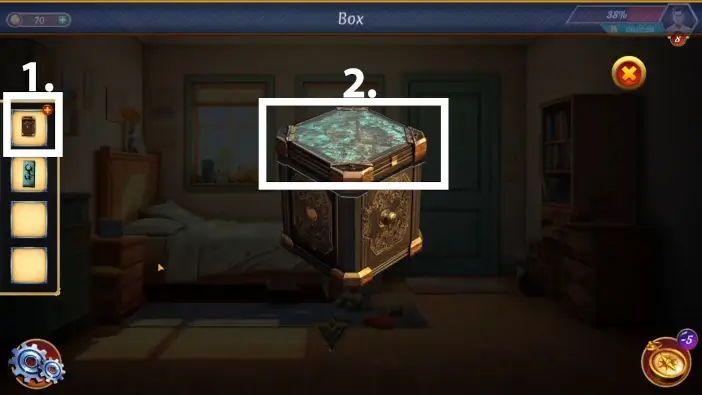
- Once you solve the previous puzzle challenge, take the key from the box.
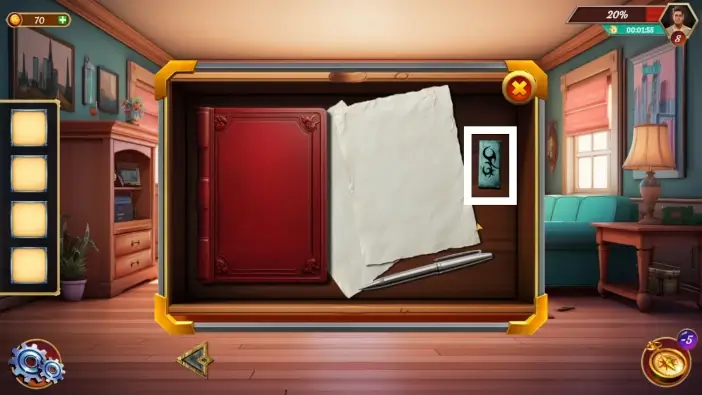
- Take the diary from the box.
- Tap on the diary in your inventory to examine it.
- Use the key to unlock the diary.

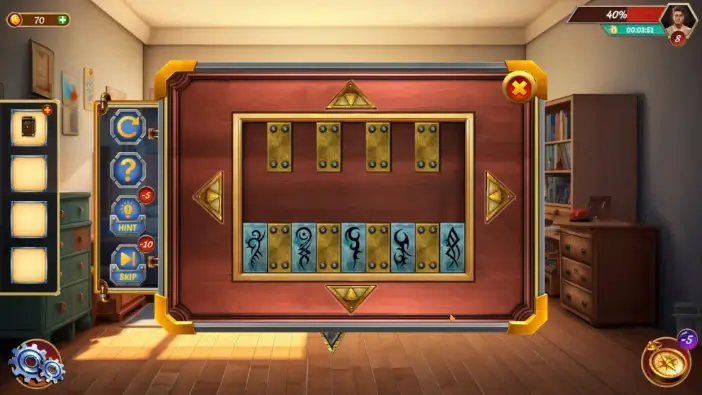
Remember the numbers on the left table and the symbols on the right. This is not the final clue. You’ll need to find one more book.
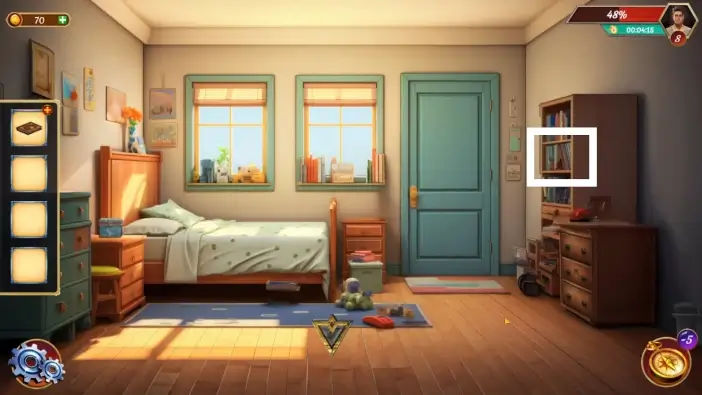
Go to the kid’s bedroom and approach the bookshelves on the right.
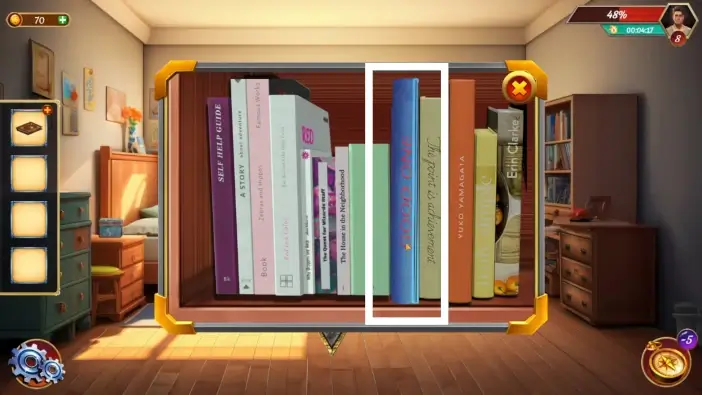
Open the blue book.
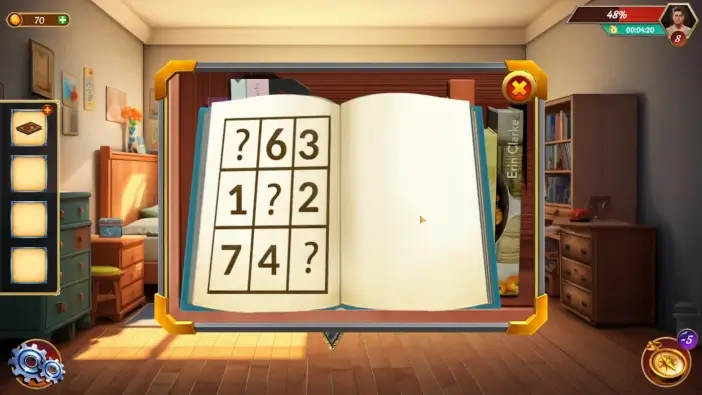
The numbers in the blue book’s table are a continuation of the numbers in the diary. Remember these numbers as well.
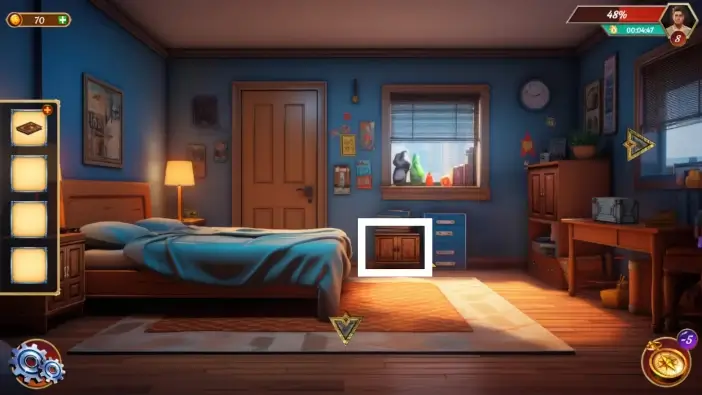
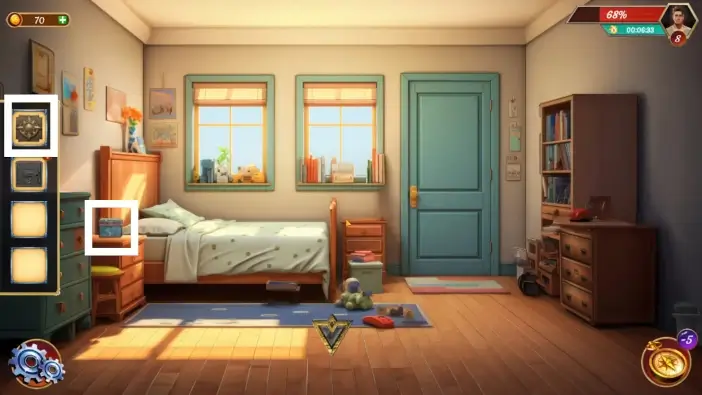
Go to the bedroom and approach the nightstand below the window.
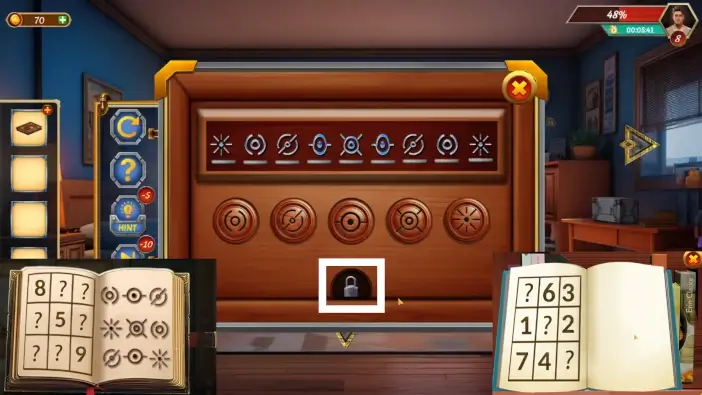
Follow the clues from the diary and the blue book to solve this puzzle. Cells represent the symbols, and each position of the cell is a position of the symbol in the diary. The number in the cell represents the order in which the symbol will appear in the solution, from left to right. The solution is in the picture above. Once you insert the correct sequence of symbols, tap on the padlock icon to unlock the nightstand.
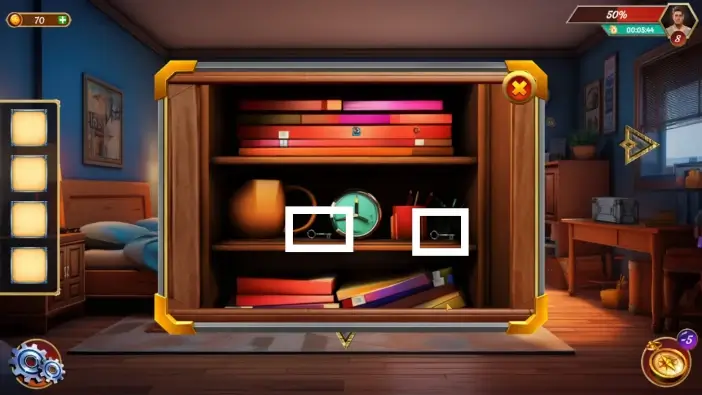
Grab the two keys from the nightstand.
Use one of the keys you just took to unlock the cabinet on the right.
Open the cabinet and take the locker box.
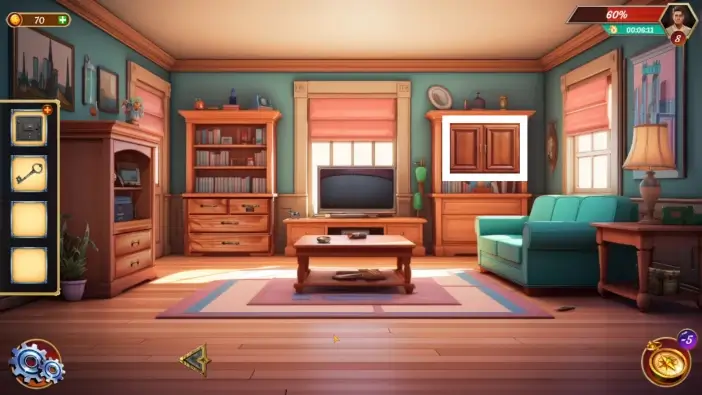
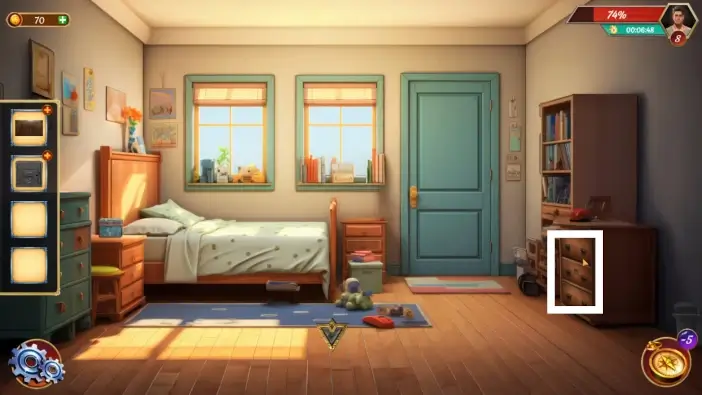
Go to the living room and approach the cabinet on the right.
Open the cabinet and take the box.
- Tap on the box in your inventory to examine it.
- Use the other key in your inventory to unlock the box. Take the latch from the box.
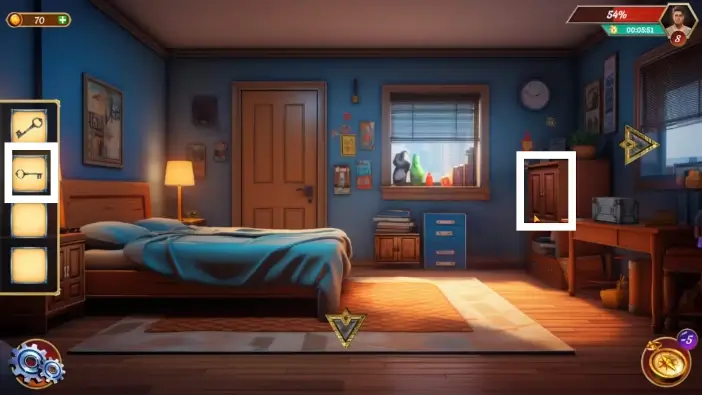
Go to the kid’s bedroom and place the latch on the box near the bed. Take the metal plate from the box.
- Tap on the metal plate in your inventory to examine it.
- Tap on the metal plate in the center of the screen to flip it over and see the password.
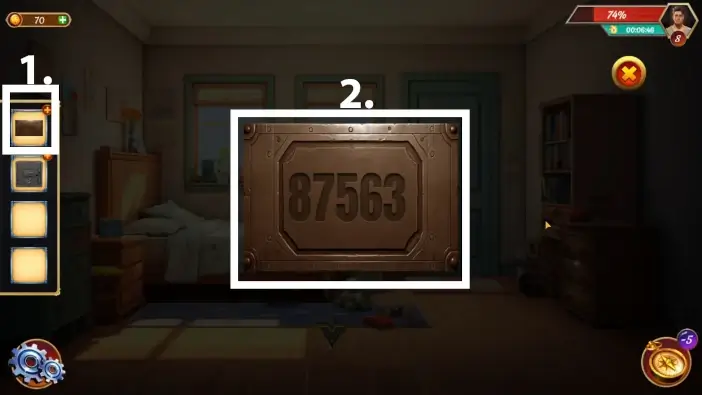
Approach the middle drawer on the right side of the room.

Insert the password you saw on the metal plate, which is 87563. To change the numbers, press the buttons below them. After you insert the correct password, press the padlock button to unlock the drawer.
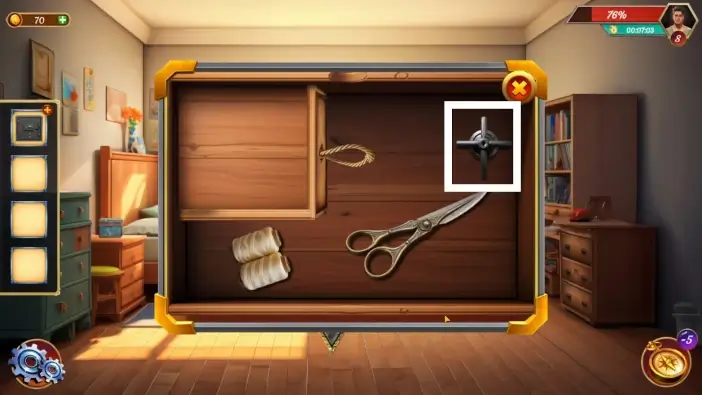
Take the lever from the drawer.
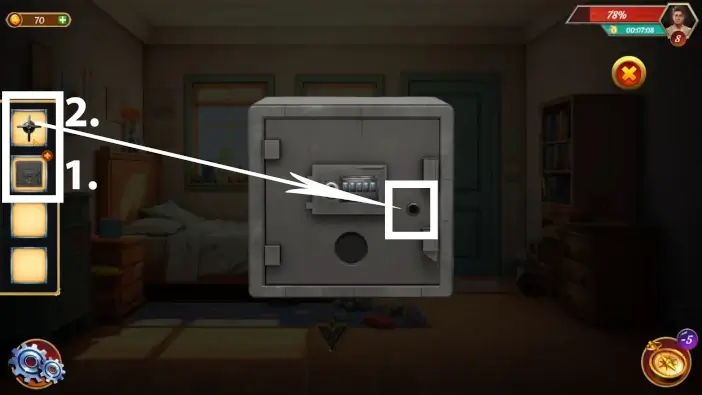
- Tap on the locker box in your inventory to examine it.
- Attach the lever to the smaller hole of the locker box.
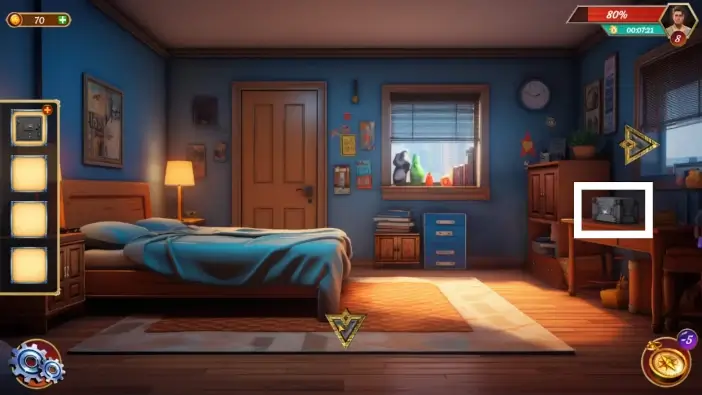
Go to the bedroom and approach the box on the right desk.
Remove the right part of the lid to reveal the rotator, then take it.
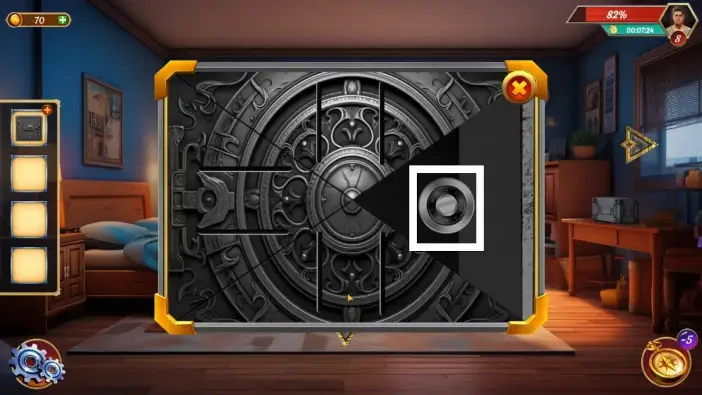
- Examine the locker box.
- Attach the rotator to the remaining hole.
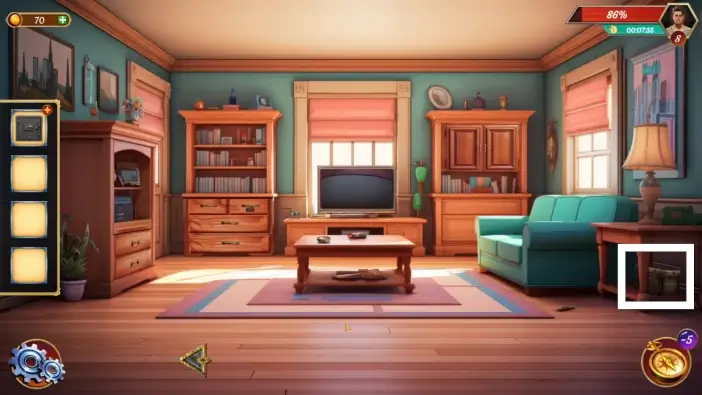
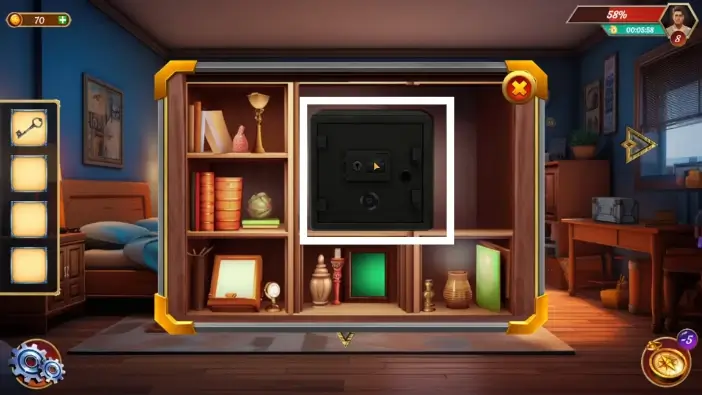
Go to the living room and approach the chest in the right corner, beneath the desk.
- Open the chest and take the key.
- Take the letter.
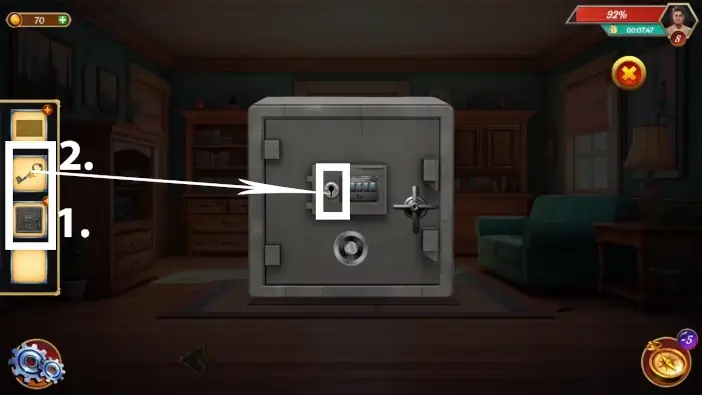
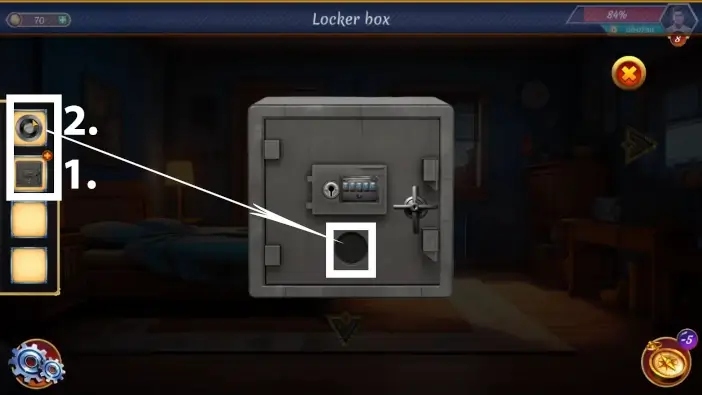
- Examine the locker box once again.
- Use the key on the locker box.
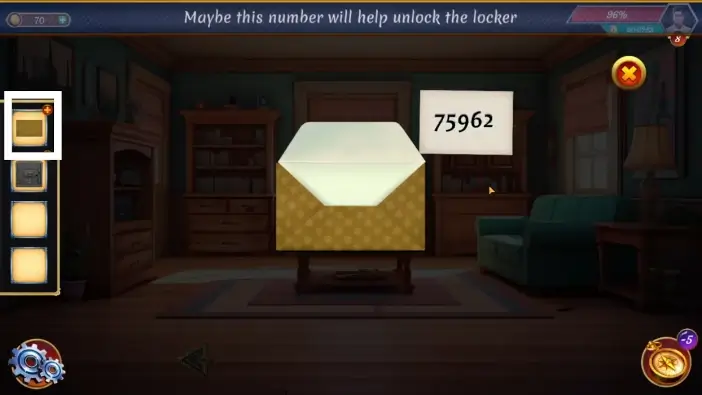
Read the password from the letter.
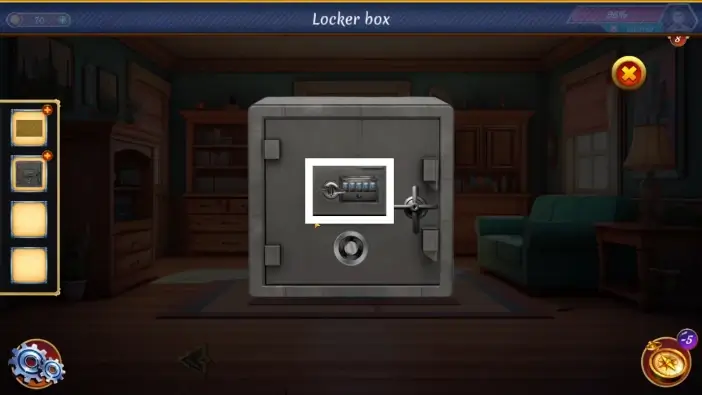
Approach the password panel of the locker box.
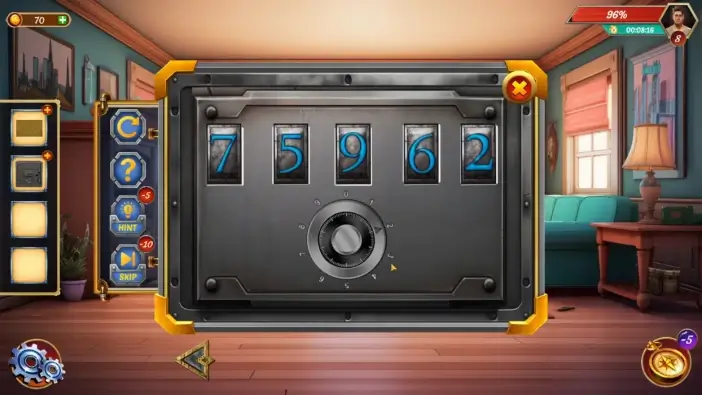
Insert the password 75962. To change a number, click/tap on the field to select it and then use the rotary switch, hold and drag it to the number you want, then release it.
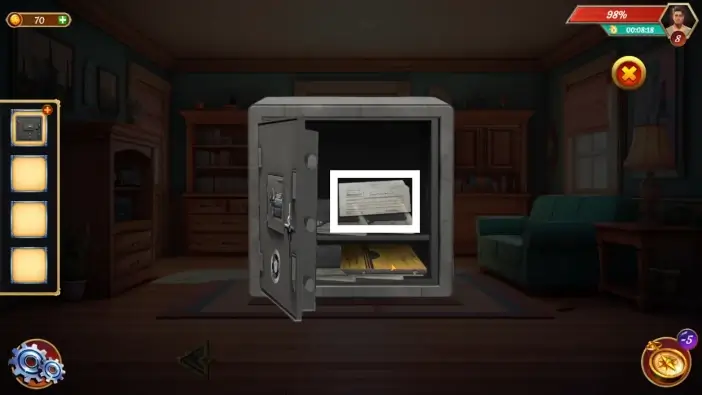
Take the Electricity Bill (EB) document.
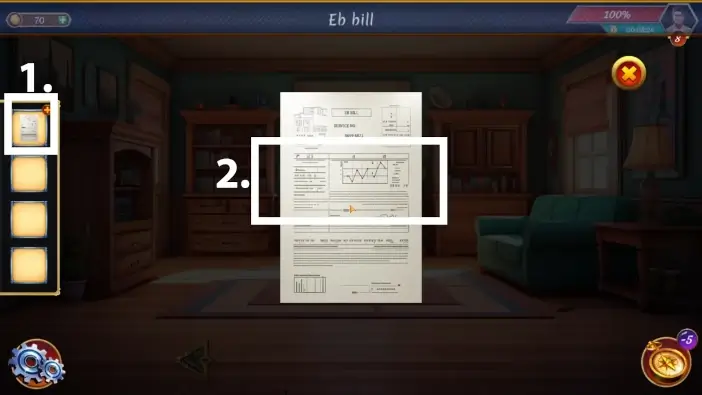
- Tap on the EB document in your inventory to examine it.
- Tap on the EB document in the center of the screen to read it.
This will mark the end of our guide for Level 8 of Escape Room: Mysteries School.
Thank you for reading!