Escape Room: Mysteries School – Level 7
Intro
Welcome to our walkthrough for Level 7 for “Escape Room: Mysteries School” from “Ena Game Studio”. Help John renovate his old house and solve the mystery of the haunted abandoned school.
Walkthrough
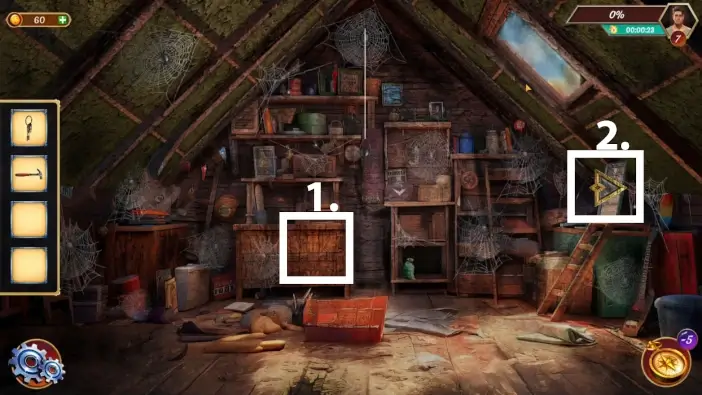
- In the attic, check the locked cupboard. John will think the electricity bill is inside it.
- Tap on the right arrow to go to the other area of the attic.
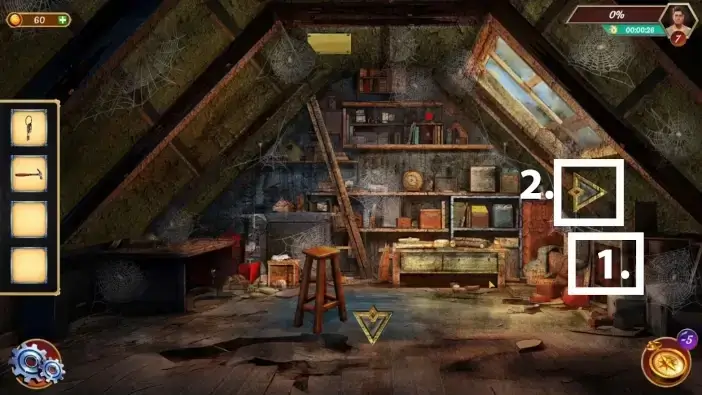
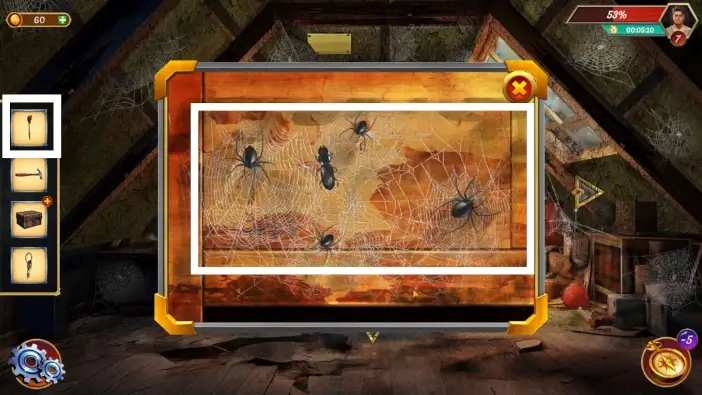
- Check the drawer on the right. John will comment that he needs to start a fire to distract the venomous insects and spiders.
- Return to the previous attic area.

Check the cupboard on the left.
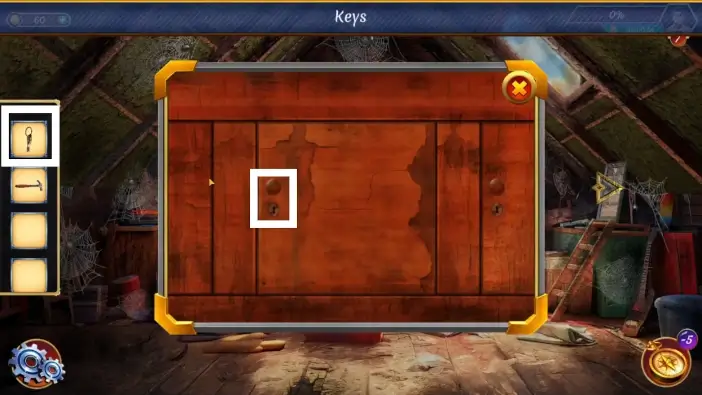
Use a key that you’ll have in your inventory from the start of the mission to unlock the cupboard.
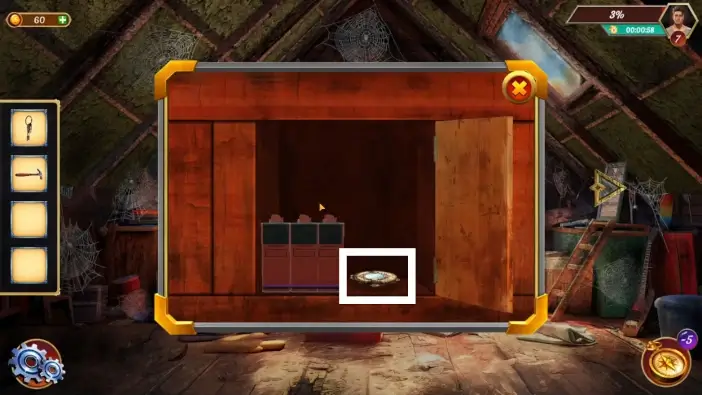
Open the cupboard and take the pocket locket.
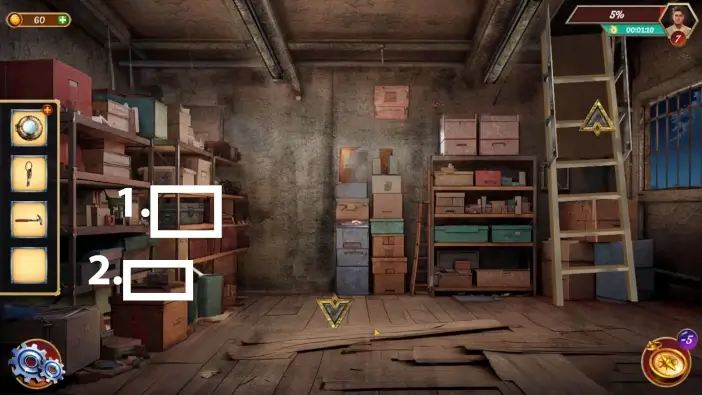
- Go to the storage room and take the box from the shelf on the left.
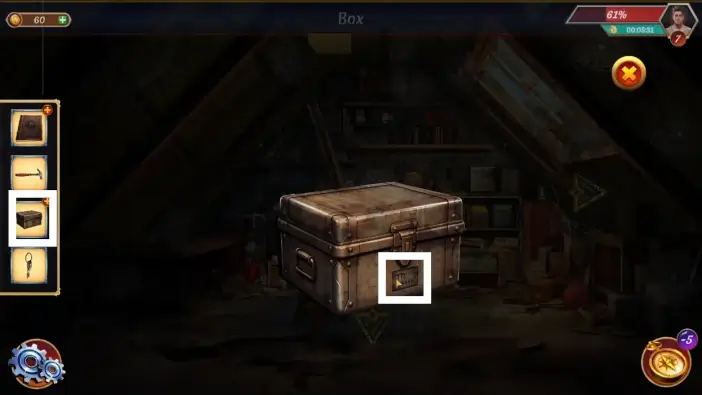
- Check the box on the lower-left part of the screen. John will mention that he misses the key for it. This comment will unlock further interactions in the game.
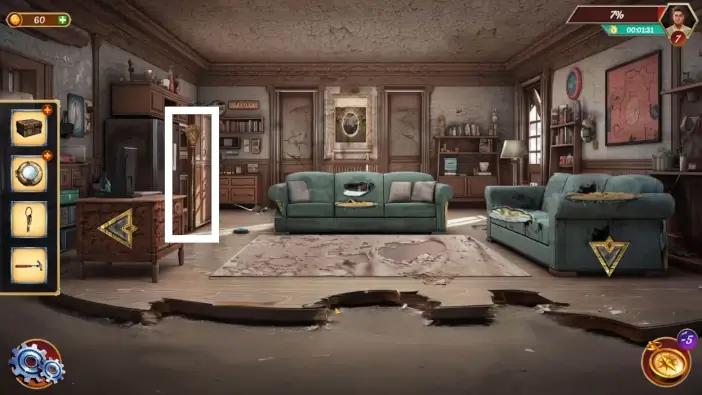
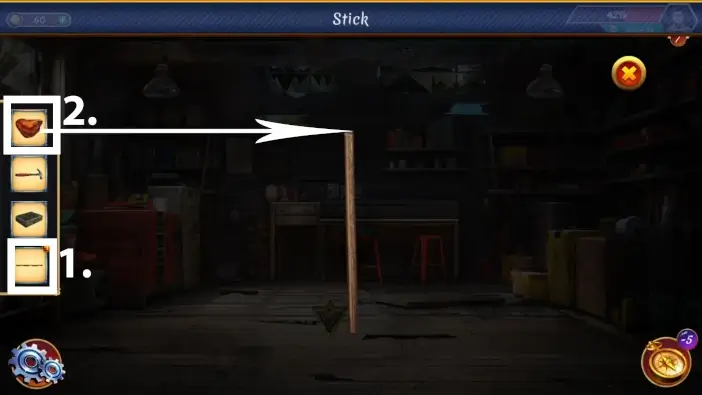
Go to the living room and pick the broom.
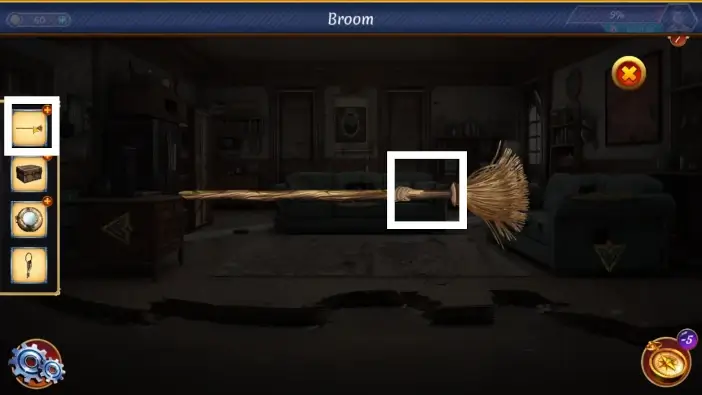
Tap on the broom in your inventory to examine it and remove the top part of the broom. Tap on the stick to add it to your inventory.
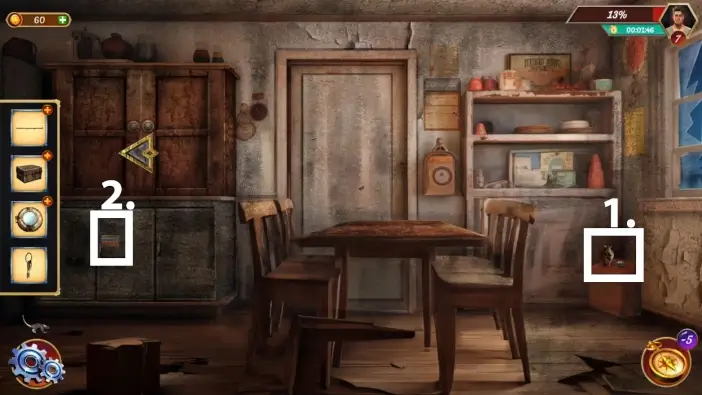
- Go to the dining room and take the metal plate near the vase on the right side of the room.
- Go to the cupboard on the left and start the puzzle challenge.
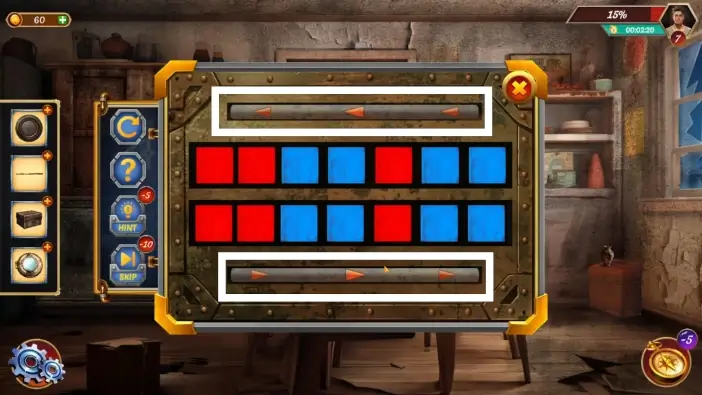
To unlock the cupboard, you’ll need to move the squares in one row to have the same color arrangement as the other row. You can choose which row of squares you want to move. Use the top bar and swipe it to the left if you want to move the top squares, or use the bottom bar and swipe it to the right if you want to move the bottom squares.
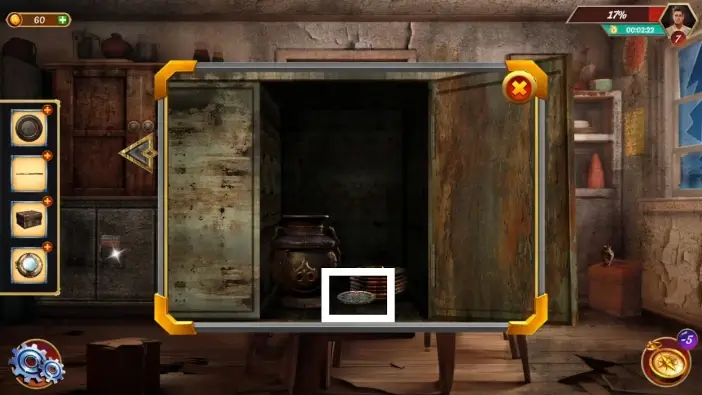
Once you solve the previous puzzle, you will unlock the cupboard. Take the second metal plate.
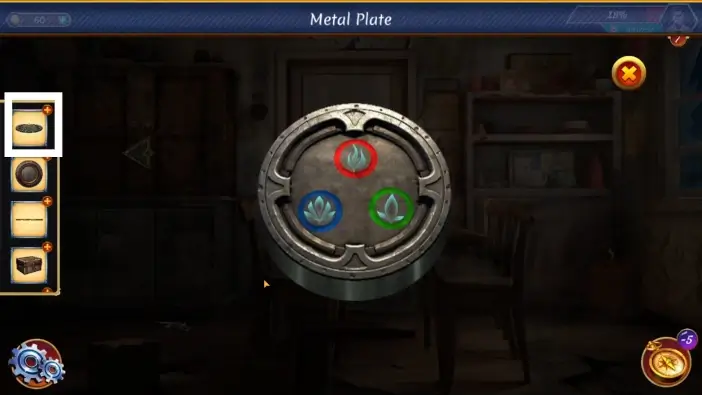
Tap on the metal plate you just got in your inventory to examine it, and you will see the clue for solving the puzzle for the pocket locket. Remember the colors and plants on the metal plate.
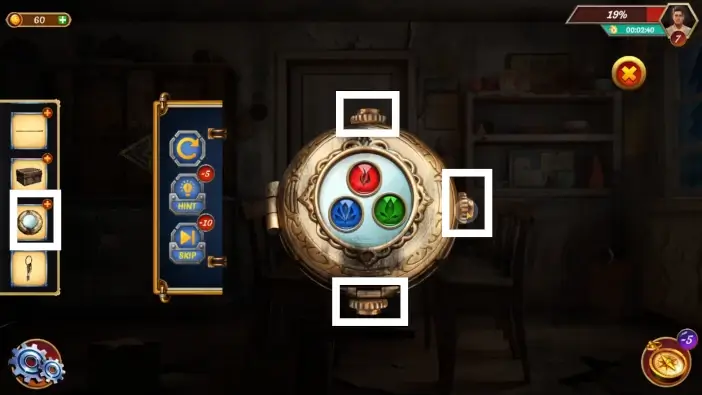
Tap on the pocket locket in your inventory, and the puzzle challenge will start. Use the top rotary switch to change the plant in the red field, the right rotary switch to change the plant in the green field, and the bottom rotary switch to change the plant in the blue field. The solution is in the picture above. Once you solve this puzzle and open the pocket locket, take the key inside it.
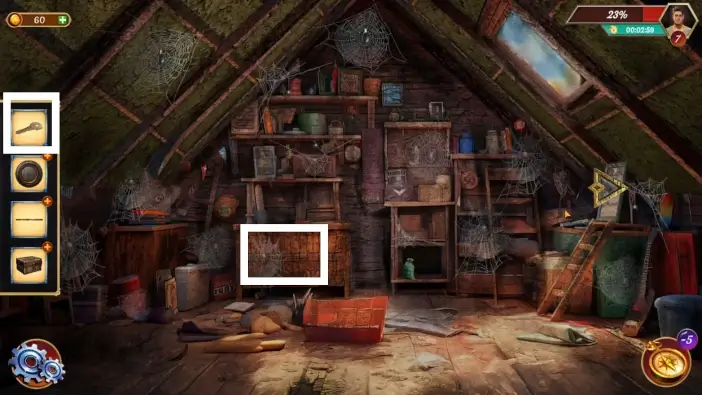
Go to the attic, to the area like in the picture above, and approach the locked cupboard. Unlock it with the key you just got from the pocket locket.
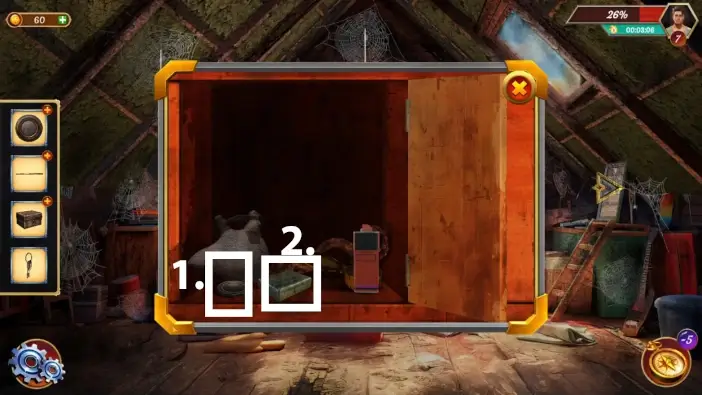
- From the cupboard, take the metal piece.
- Take the lighter.
- Tap on the metal plate from earlier in your inventory to examine it.
- Place the metal piece you just got behind the metal plate, then use the hammer from your inventory to resize both metal pieces.
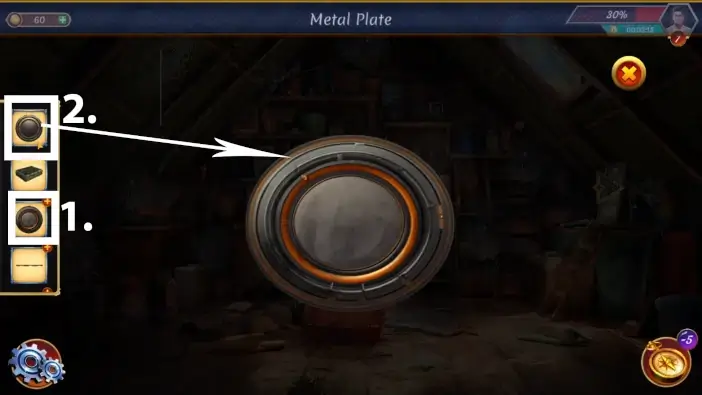
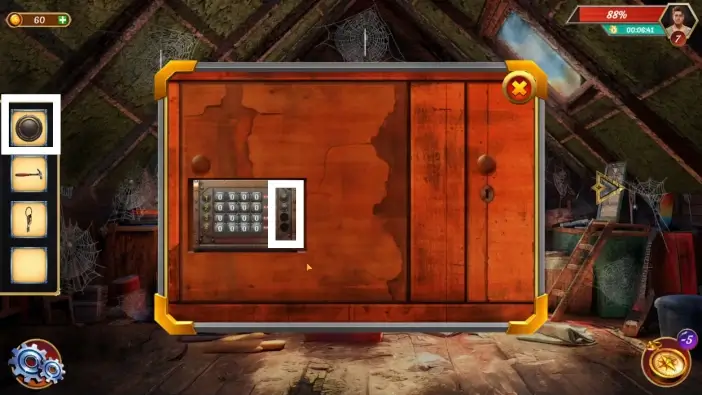
Approach the cupboard that is right next to the previous one you’ve opened.
Place the two metal pieces you just resized in the circular slots on the panel.
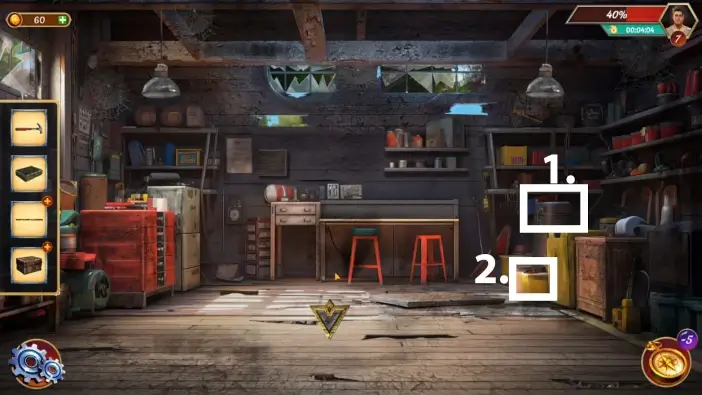
- Go to the garage and approach the barrel on the right. John will comment that this barrel contains petrol. This will unlock the next interaction in the garage.
- Pick up the cloth.
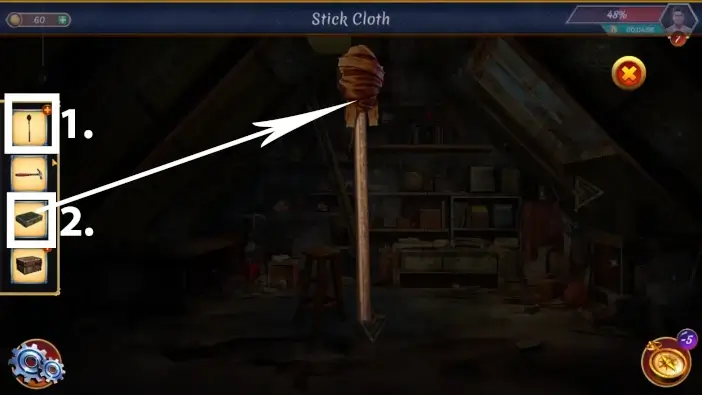
- Tap on the stick in your inventory to examine it.
- Tie the cloth to the top of the stick. Tap on the stick once more to return it to your inventory.
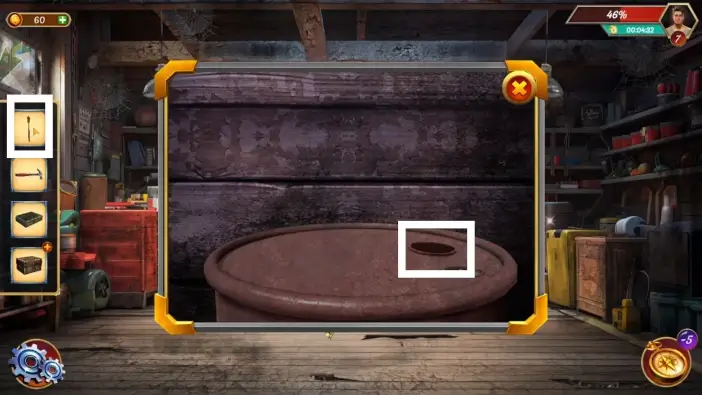
Return to the barrel and dip the stick into the petrol.
- Tap on the stick in your inventory to examine it.
- Drag the lighter from the inventory to the stick.
Tap on the lighter to burn the cloth on the stick. Tap on the stick, and the fire stick will be added to your inventory.
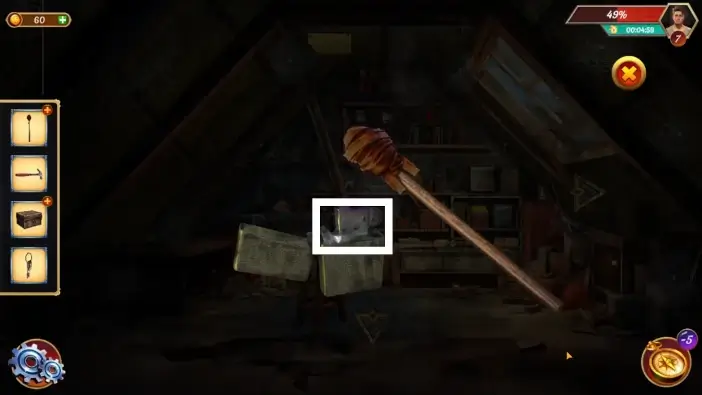
Go to the attic section where the venomous insects are located and approach them. Use the fire stick to scare them away. Open the drawer and take the book from it.

Open the book from your inventory and remember the signs and their order.
Tap on the box in your inventory and tap on the puzzle.
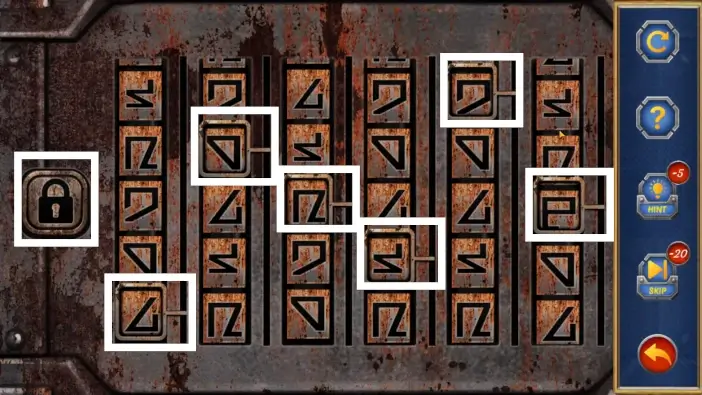
Move the columns up or down. Each column has a pinned frame that shows the selected symbol for the column. Move the symbols so that symbols from the book are in the frames, in the same order from left to right, like in the picture above. Once you place the symbols correctly, tap on the padlock icon on the left to unlock the box. Take the two clips and one key from the box.
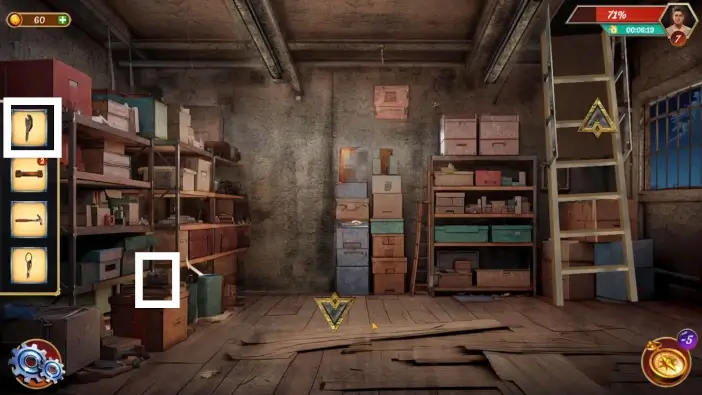
Go to the storage room and use the key you just got to unlock the box on the left.
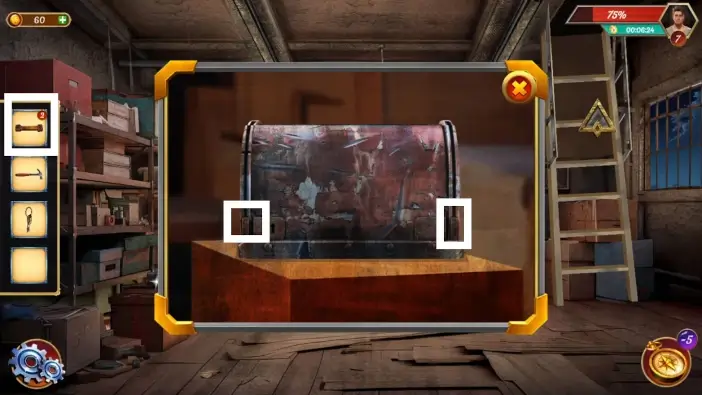
After you use the key, place the two clips in their correct places, like in the picture above, and then remove the two sides of the box.
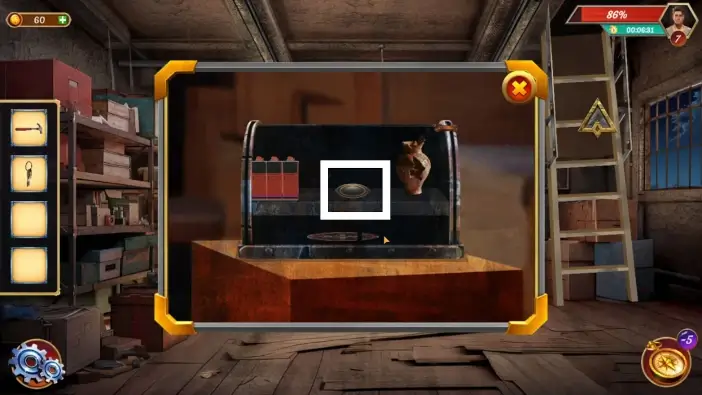
Take the third metal piece from the box.
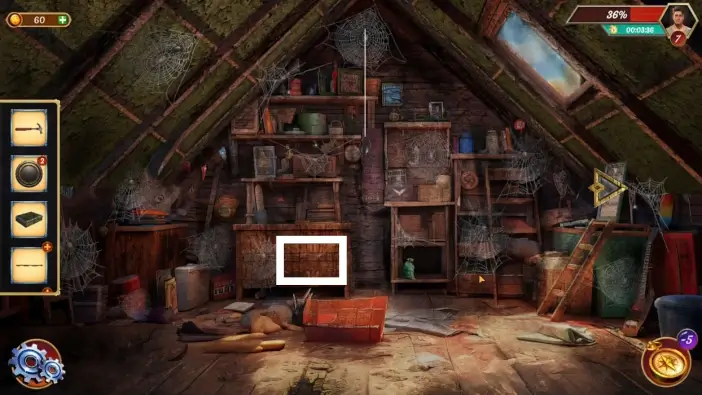
Return to the attic and place the third metal piece on the panel on the cupboard door. John will comment that one more metal piece is missing, which will unlock a new tappable/clickable zone of the attic.

Look beneath the cupboards.
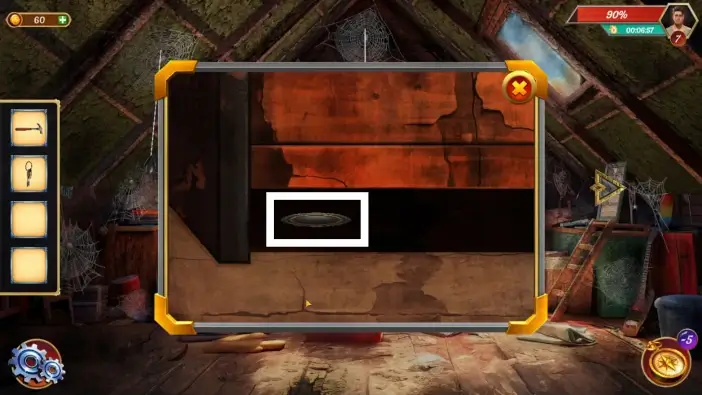
Take the fourth metal piece.
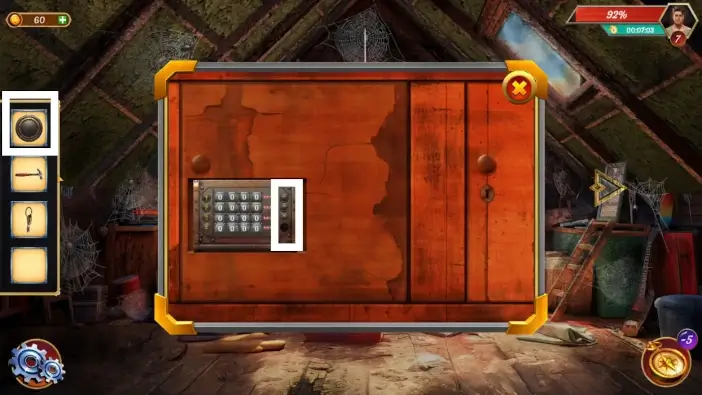
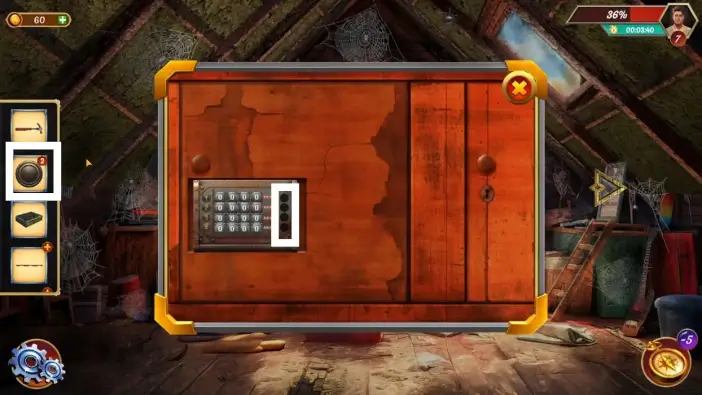
Place the fourth metal piece on the panel. Approach the panel to start a new puzzle challenge.
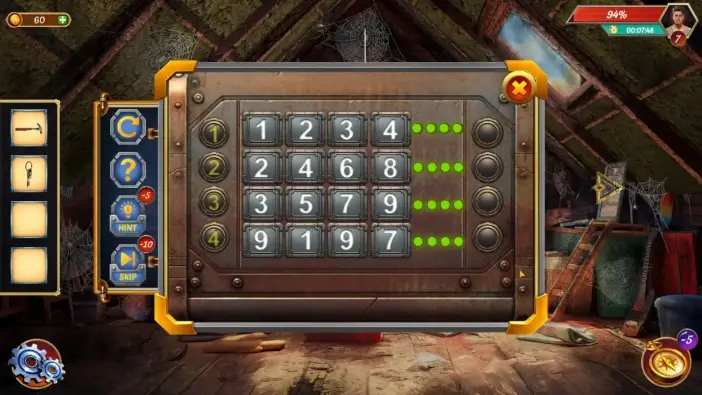
Tap on the numbers to change them. Once you change all the numbers in the row, tap on the button on the right to see how many numbers you inserted are correct. If the entire row is correct, you will see four green lights. The solution for the first row is 1234, for the second row is 2468, for the third row is 3579, and for the fourth row is 9197.
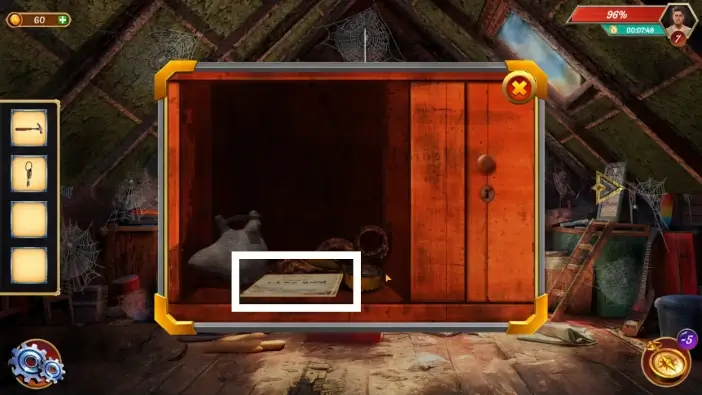
Once you unlock the cupboard, take the electricity bill document.
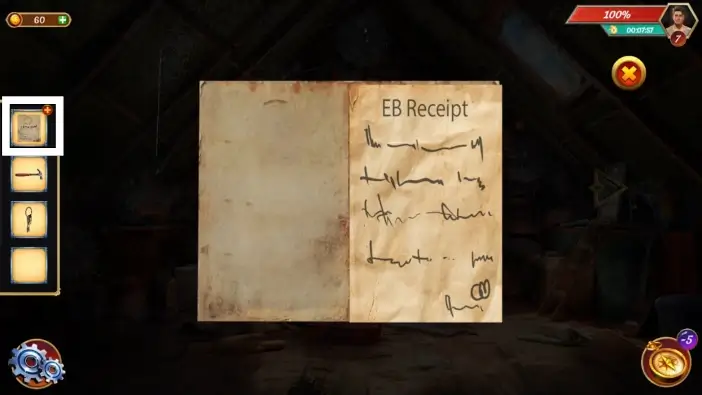
Read the EB document from your inventory.
This will mark the end of our guide for Level 7 of Escape Room: Mysteries School.
Thank you for reading!