Escape Room: Mysteries School – Level 5
Intro
Welcome to our walkthrough for Level 5 for “Escape Room: Mysteries School” from “Ena Game Studio”. Help John renovate his old house and solve the mystery of the haunted abandoned school.
Walkthrough
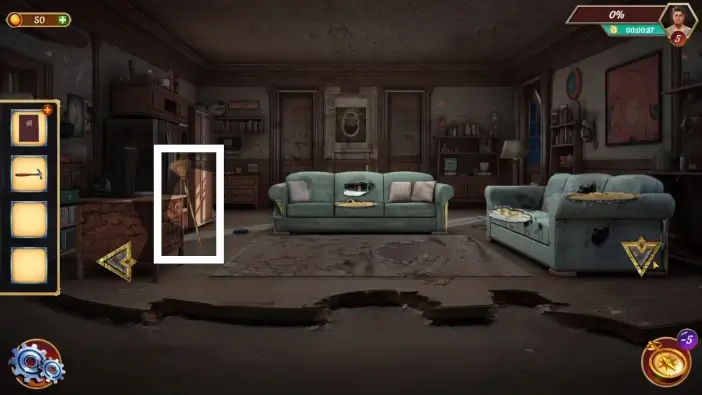
Go to the living room and take the broomstick.
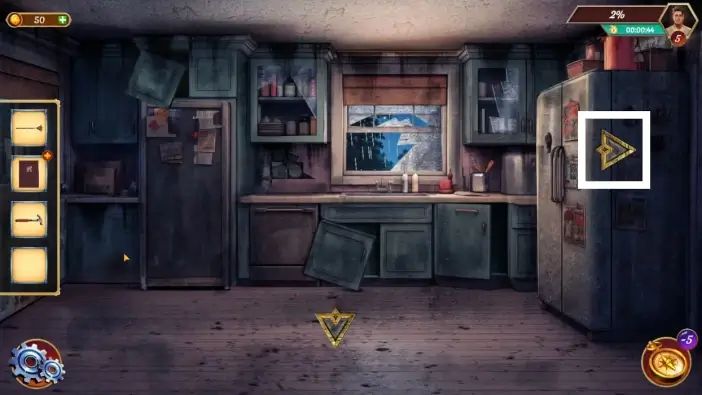
Go to the kitchen and from the kitchen go right (click on the right arrow).
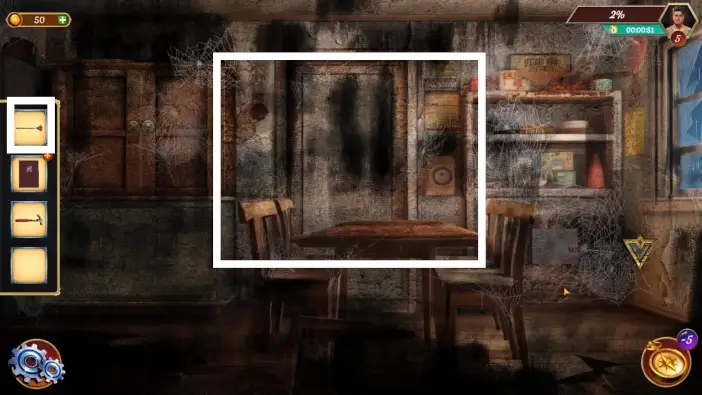
Clean the room with the broomstick.
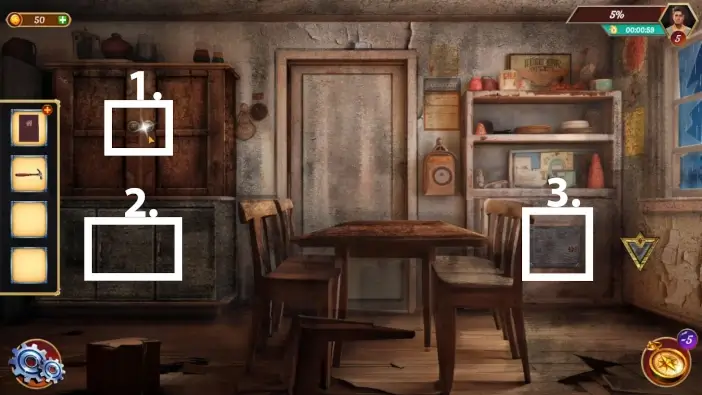
- Check the cupboard on the left. This will unlock new interactions with items later, and John will comment that he will find a clue for the cupboard puzzle.
- For a similar effect, unlocking interactions with new items, check the cabinet on the lower-left so that John can find out that he needs to find a key.
- Also, check the safe on the right. You’ll need to find a clue for the puzzle on the safe door as well.
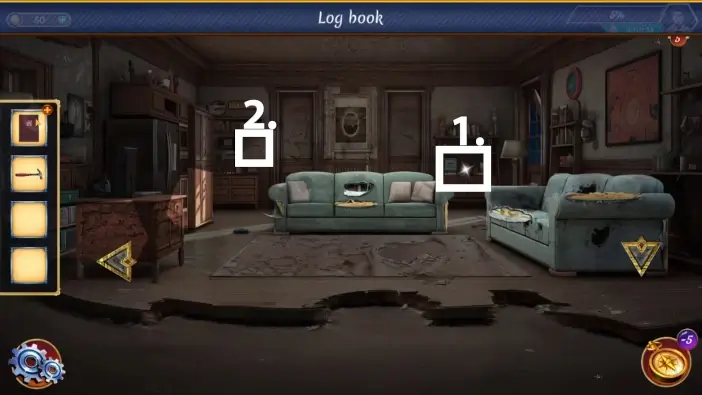
- Go to the living room and approach the shelves near the entrance to the bedroom. Take the book from the shelf.
- Approach the keys hanging on the left wall.
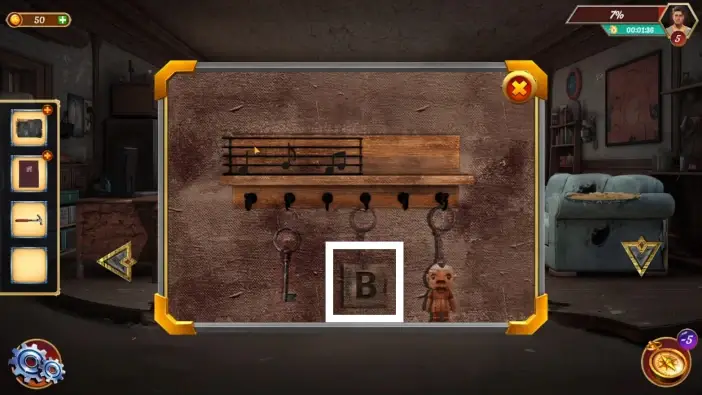
Take the “B” keychain.
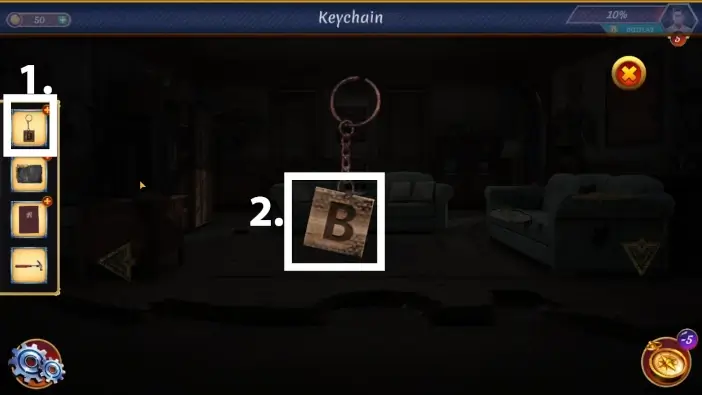
- Tap on the “B” keychain in your inventory to examine it.
- Take the B-shaped wooden piece.
Return to the new room and approach the cupboard. Place the B-shaped wooden piece in its correct place.
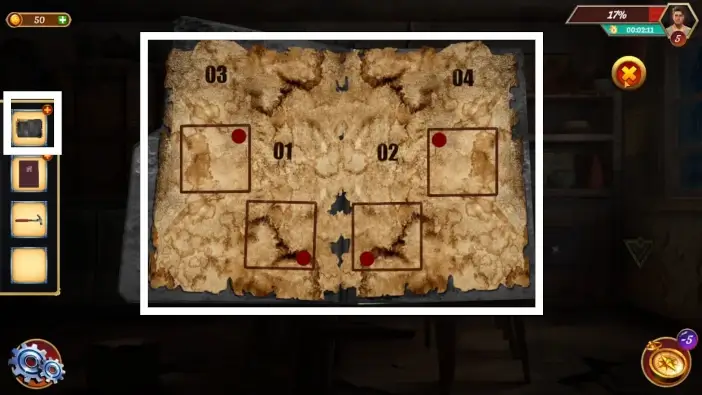
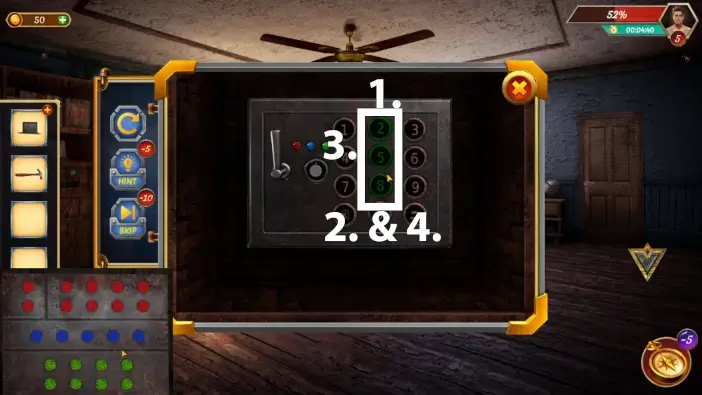
Open the book you found in the living room and remember the numbers and the positions of the red dots.
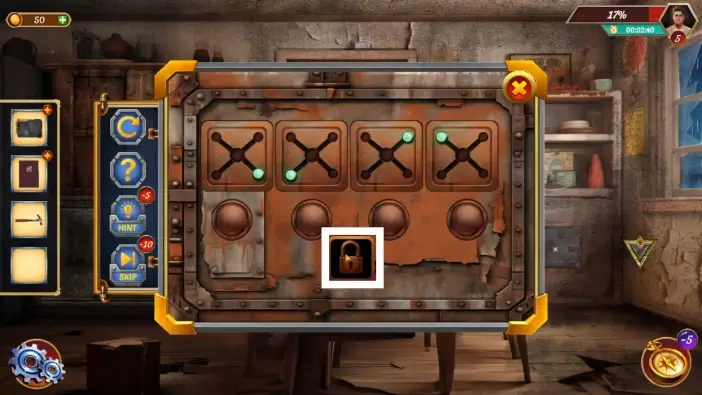
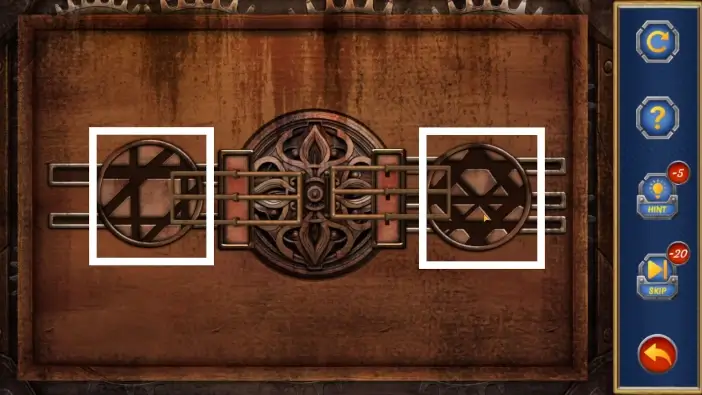
Approach the safe on the right. Use the button below the square to move the node in the square. Remember the numbers in the book. These numbers show the order of solutions for squares, from left to right, in the safe puzzle. For each square in the book, remember where the dot is. Arrange the nodes in squares like in the picture above and tap on the padlock to unlock the safe.
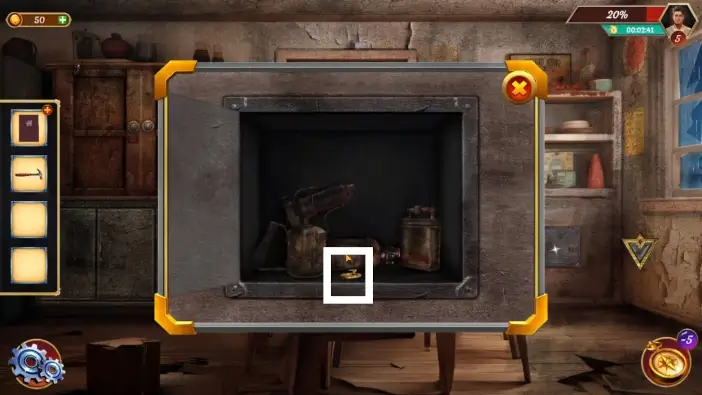
Once you unlock the safe, take the cabinet key.
Use the key you got from the safe to unlock the cabinet on the lower-left part of the room. Take the box from the cabinet.

Take a closer look at the puzzle on the box.
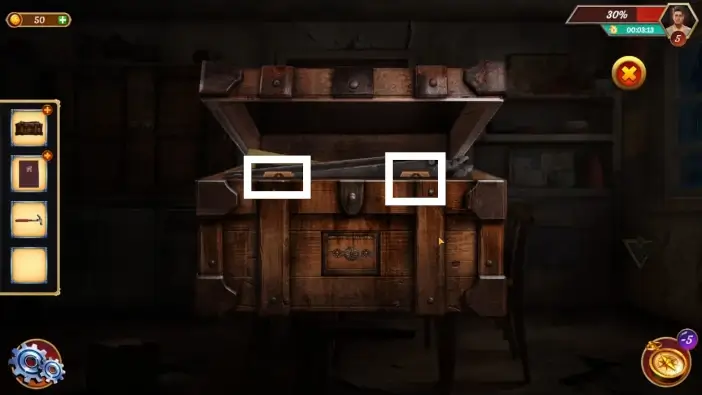
This puzzle challenge will be simple. You just need to rotate the two circles so the path from the edges to the central lock is connected. Rotate the circles like in the picture above to unlock the box.
Take the C-shaped wooden piece and the A-shaped wooden piece from the box.
Return to the locked cupboard on the upper-left corner and place the A-shaped wooden piece in its place.
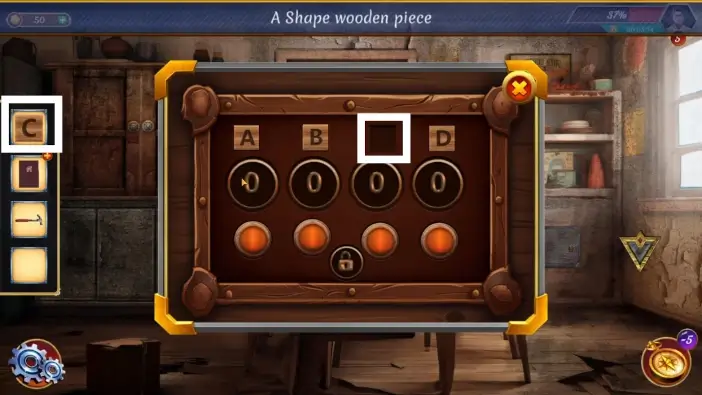
Place the C-shaped wooden piece in its place.
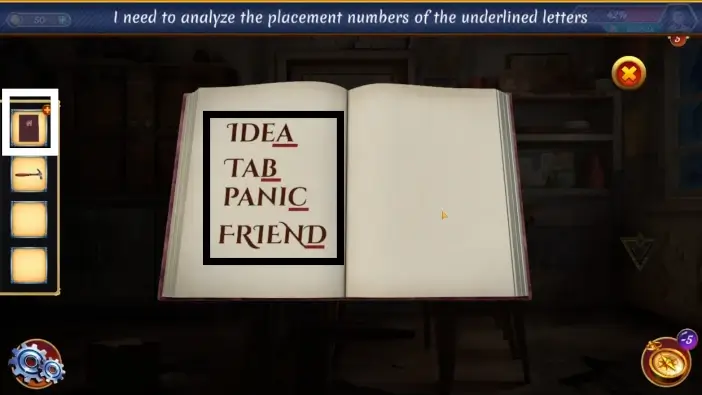
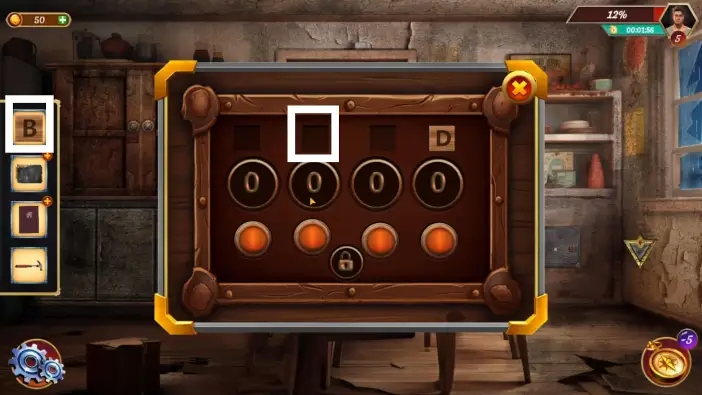
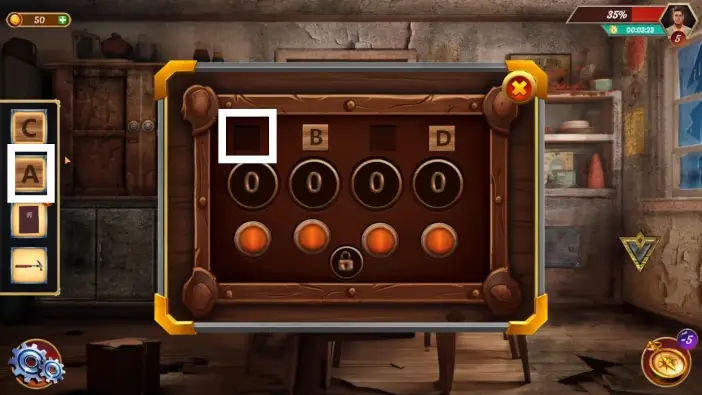
Open the logbook from your inventory and find the last page. Notice the underlined characters. The “A” is the fourth character in a word, the “B” is the third character in the word, the “C” is the fifth character in the word, and the “D” is the sixth character in the word. From this, the password for the cupboard is 4356.
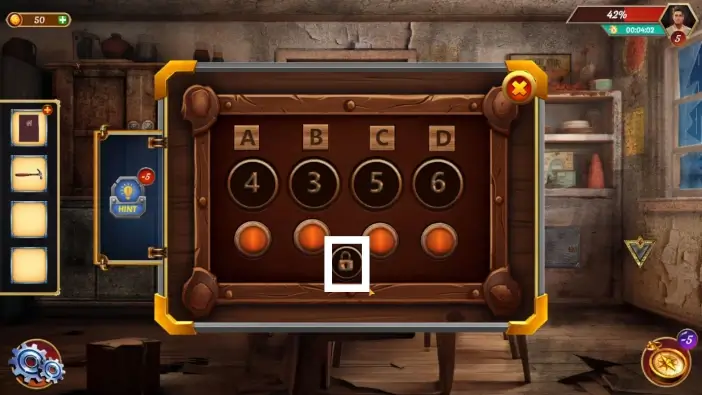
Return to the cupboard and insert the password 4356. To change the digits, use the buttons below the digit fields. Once you insert the correct password, tap on the padlock icon to unlock the cupboard.
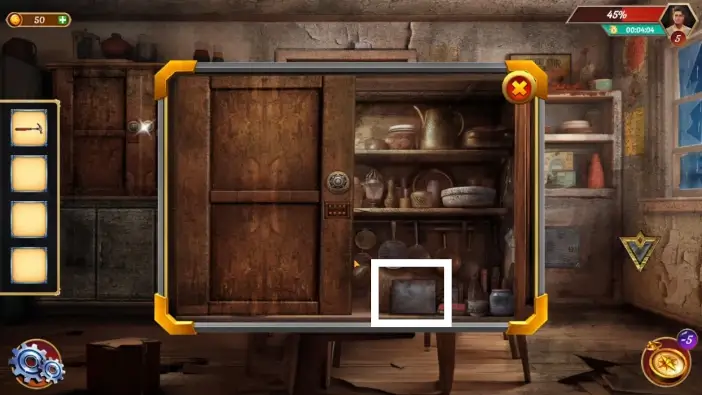
Take the plate from the cupboard.
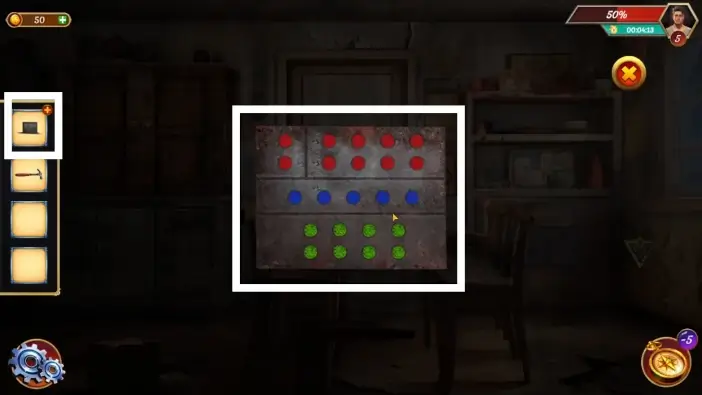
Tap on the plate in your inventory to examine it. Tap on the plate on the screen to flip it over. You will see a clue for the next puzzle challenge. The first row of the plate has two columns. In the first column, there are two dots. In the second column, there are eight dots. In the second row, there are five dots, and in the last row, there are eight dots. The password is 2858.
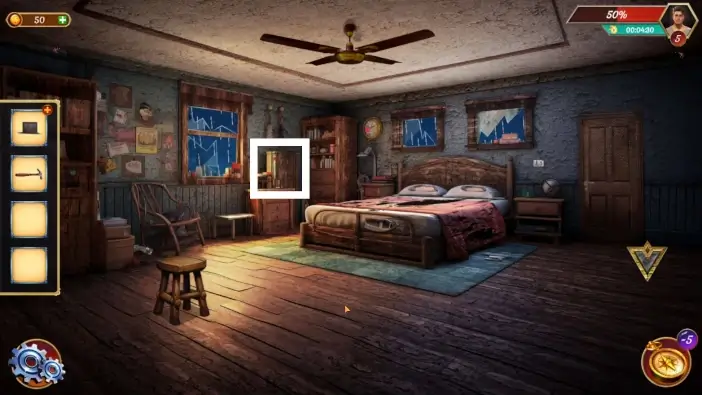
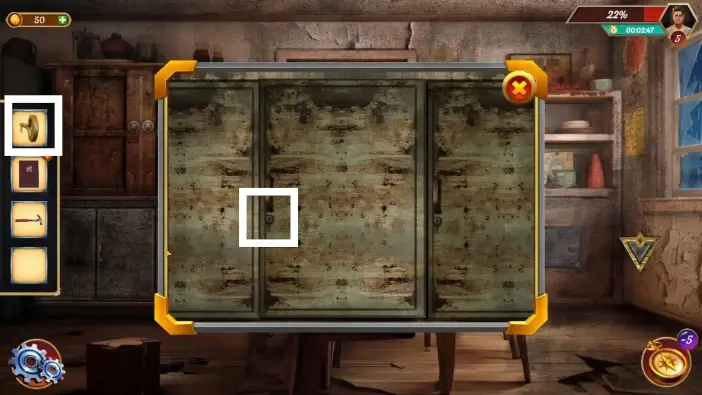
Go to the bedroom and open the cabinet near the window. You will find a safe.
To unlock the safe, use the clue you got from the plate. Using the buttons on the safe, insert the password 2858. Take the key from the safe.
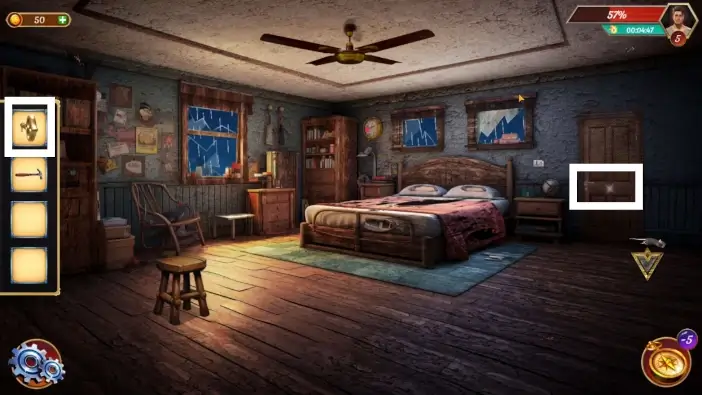
Use the key you just got from the safe to unlock the door on the right. Enter the storage room.
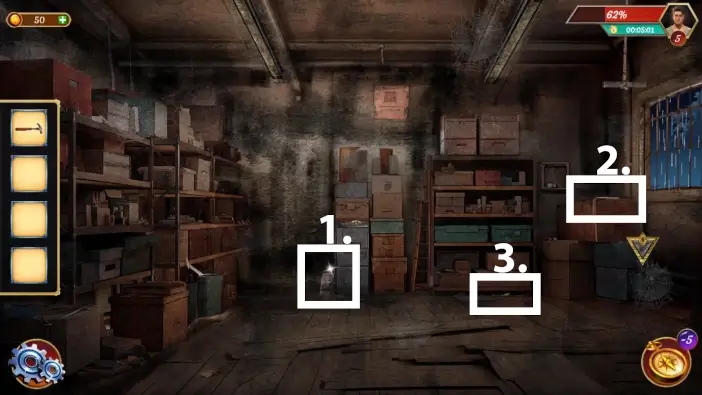
- Pick up the cement bag from the floor.
- Take the headpan near the window.
- Pick up the metal flat from the floor.
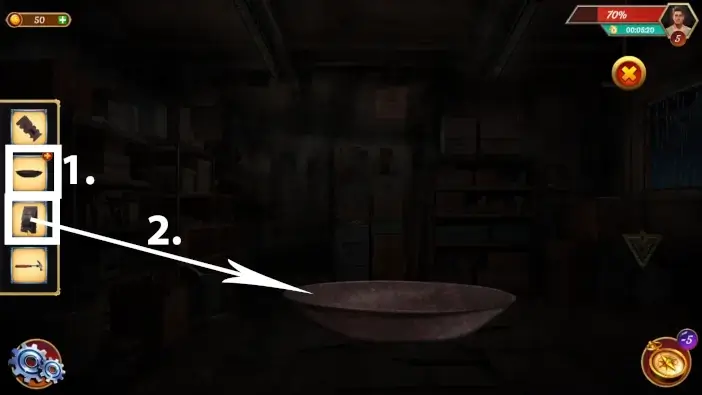
- Tap on the headpan in your inventory to examine it.
- Place the cement bag next to the headpan. Tap on the cement bag on the screen to pour the cement into the headpan.
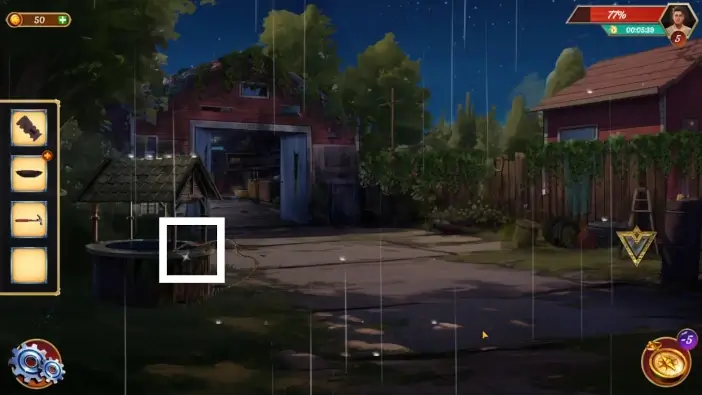
Go to the yard and take a bucket of water from the well.
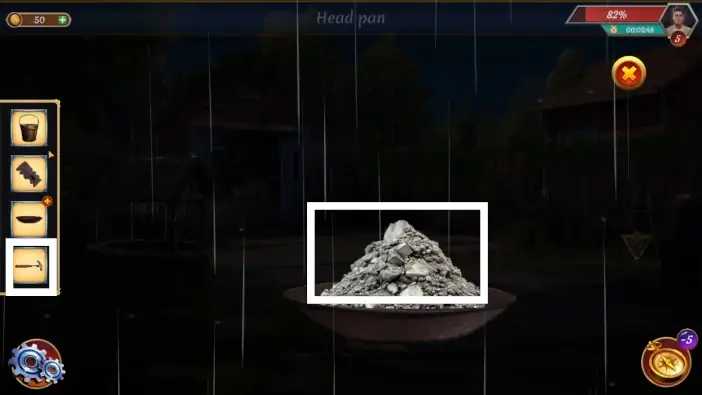
Tap on the headpan again in your inventory to continue with the cement. Use a hammer to crush the cement.
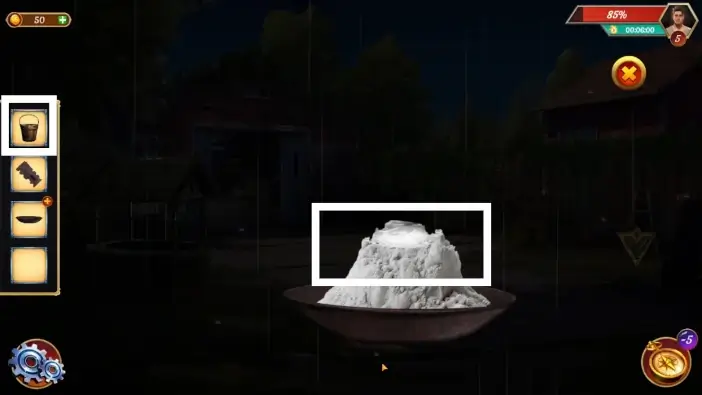
Pour water from the bucket into the cement. Tap on the headpan again to add the finished version of it to your inventory.
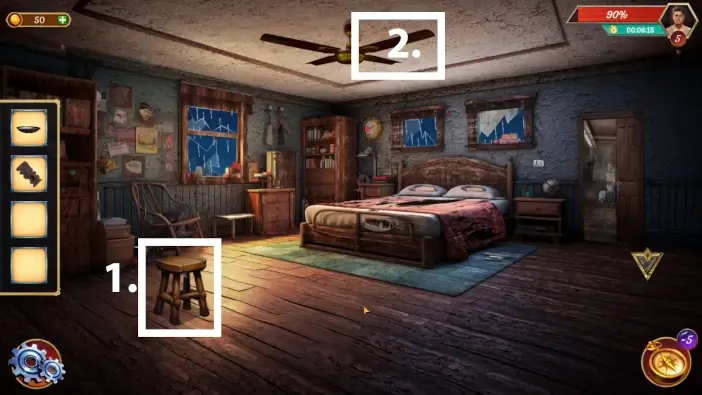
- Return to the bedroom and place the stool on the bed.
- Approach the ceiling.
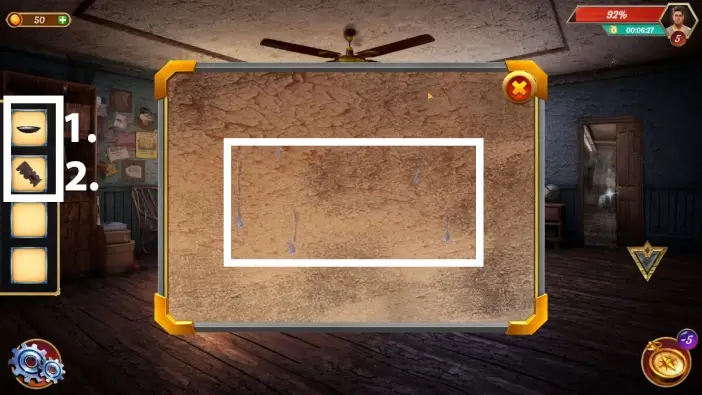
- Place the headpen full of cement on the central screen.
- Use a metal flat to cover the ceiling with cement to stop the water leak.
This will mark the end of our guide for Level 5 of Escape Room: Mysteries School.
Thank you for reading!