Legendary Tales 4 – Chapter 3: The Map of Hope | Part 3
Intro
Welcome to our walkthrough for Part 3 of Chapter 3 of “Legendary Tales 4” from “FIVE-BN GAMES”. Help Lucia and her brother Ulf reach the werewolf village on the Ultima Lapis island.
Walkthrough
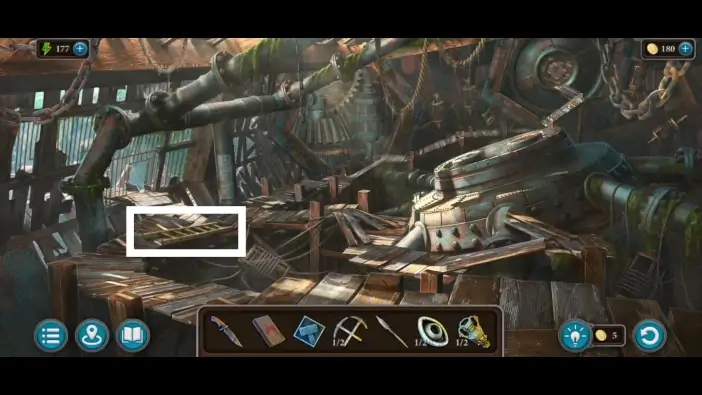
Go inside the golem and take the ladder on the left.
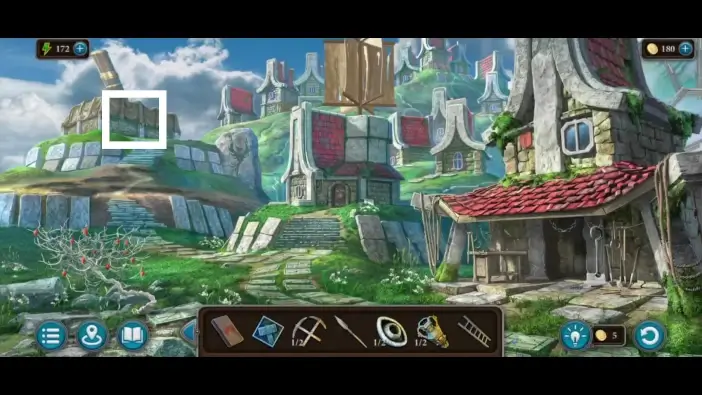
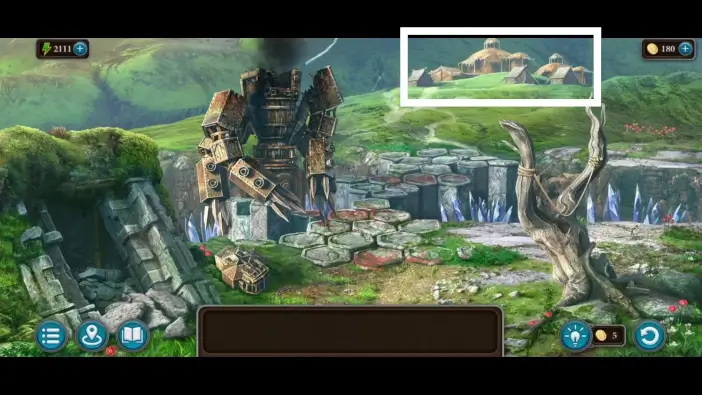
From the mill area, go to the left building uphill, which is an observatory building.
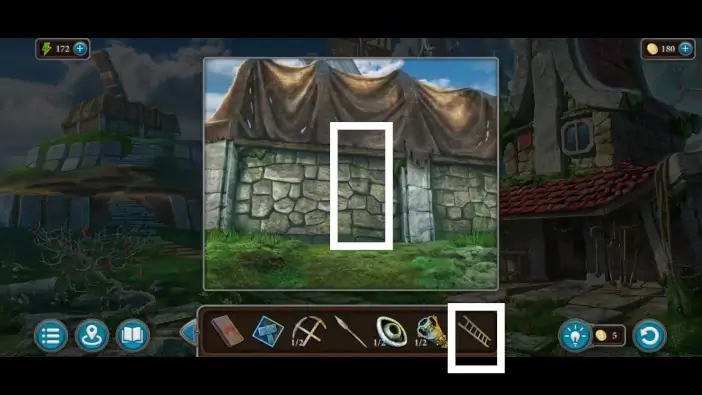
Place the ladder on the wall.
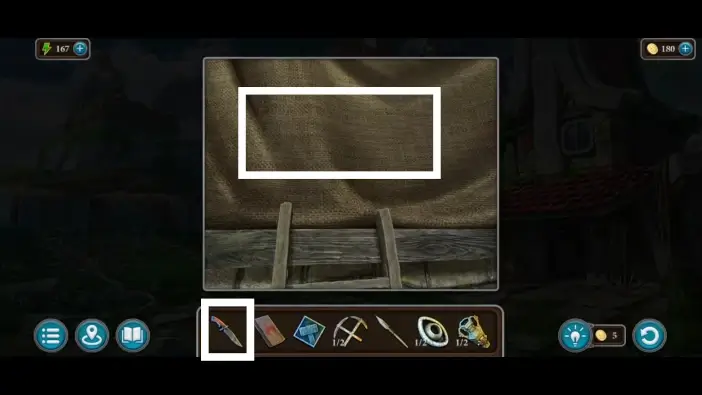
Climb the ladder and cut the cloth using a knife from your inventory. Enter the observatory building. Inside, you will see the Ice Crystal you need, but you will not be able to pick it up yet.
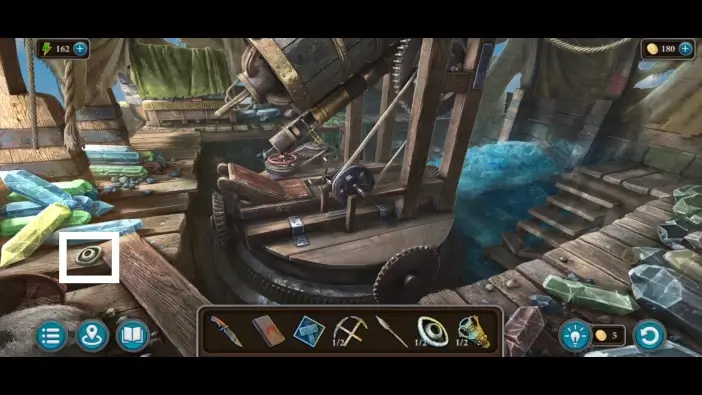
Take the second eye on the ground, left of the telescope.
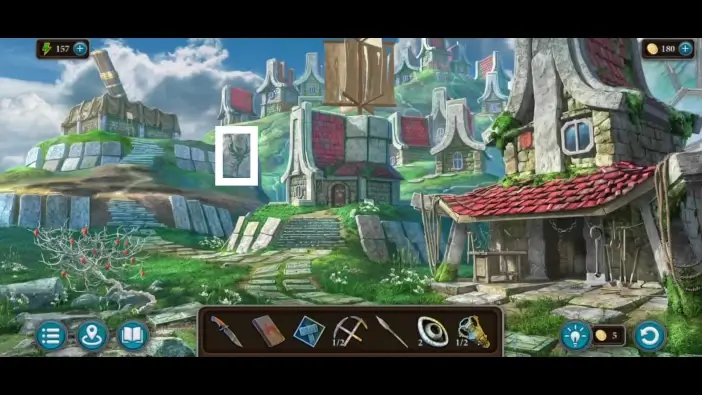
Exit the observatory building and remember the phoenix bird on the stone. It is a clue for the next puzzle challenge.
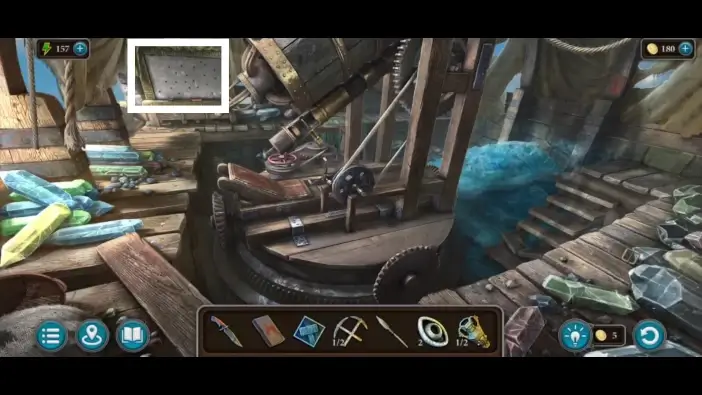
Return inside the observatory building and approach the puzzle on the far side of the room.
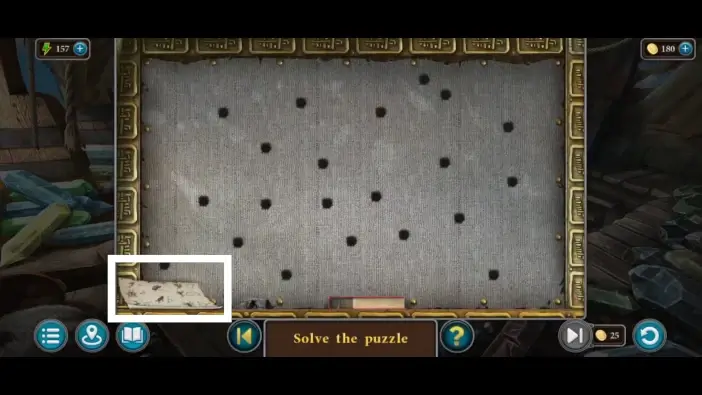
Look at the paper for the clue.
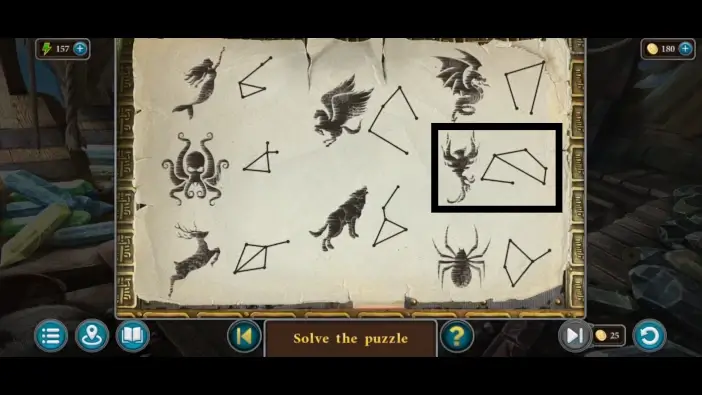
Find the phoenix symbol you saw on the stone. Remember the Phoenix constellation. Connect the dots on the cloth to draw this constellation. After you finish this puzzle challenge, the drawer will open. Take the helmet and the key from the drawer.
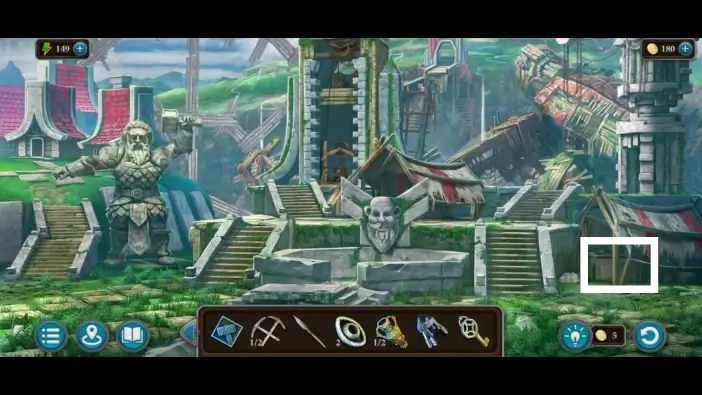
In the town center, approach the large chest.
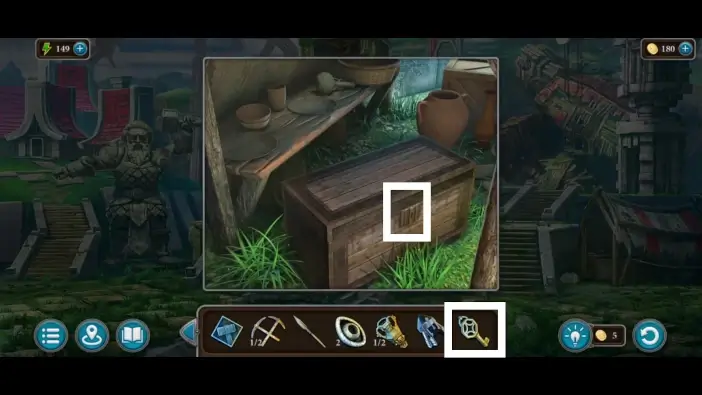
Use the key you just found in the observatory building to open the large chest. Take the weight and the screwdriver from the chest.
In the town center, place the eyes on the fountain. The fountain will drop the lens for the telescope.
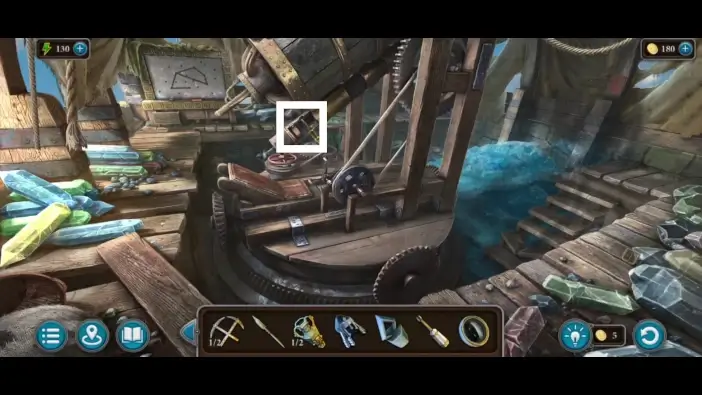
Return to the observatory building and approach the telescope.
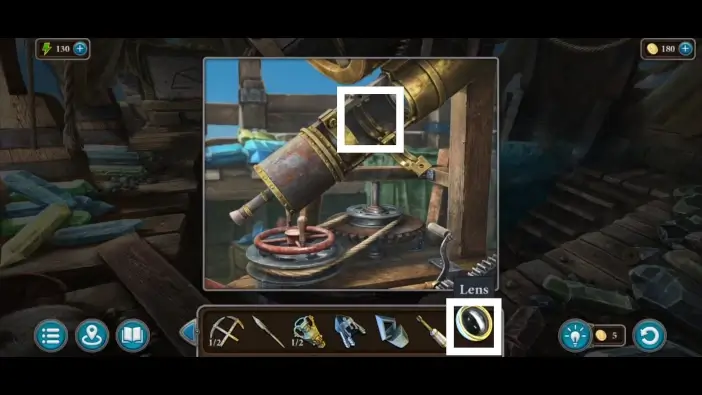
Place the lens inside the telescope.
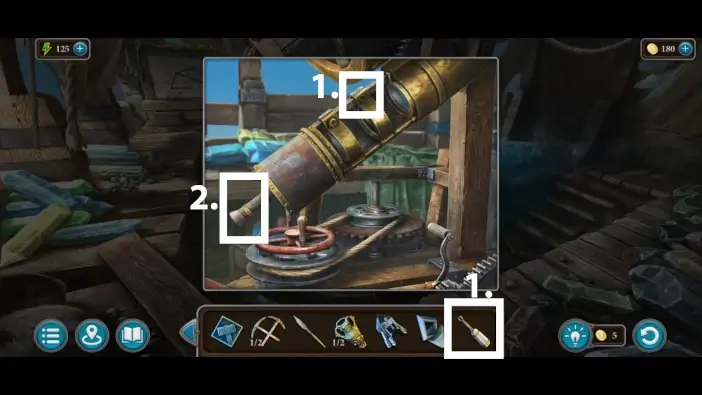
- Use a screwdriver to fasten the lens.
- Use the telescope.
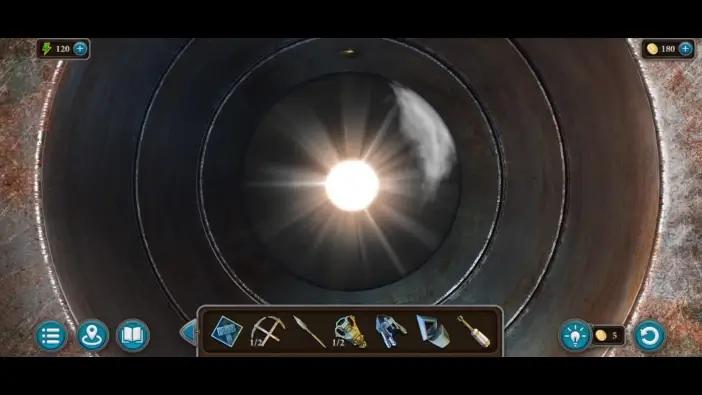
Move the telescope until you find the Sun.
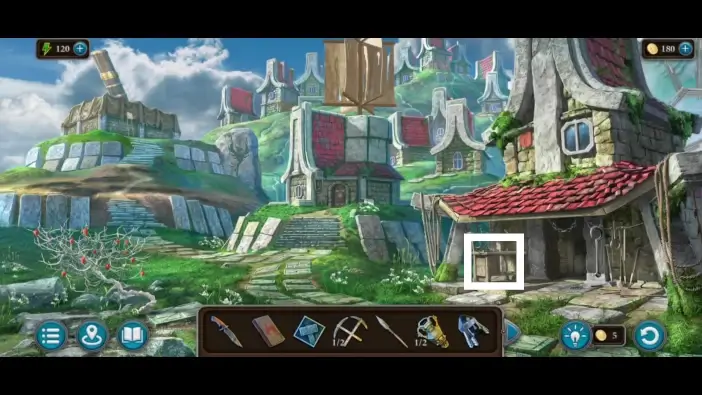
Go to the table outside the workshop.
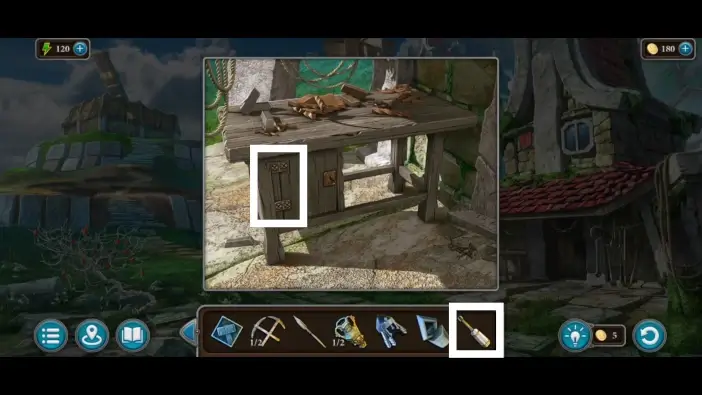
Remove the hinges using the screwdriver to open the cabinet. Take the pliers and the second amphora.
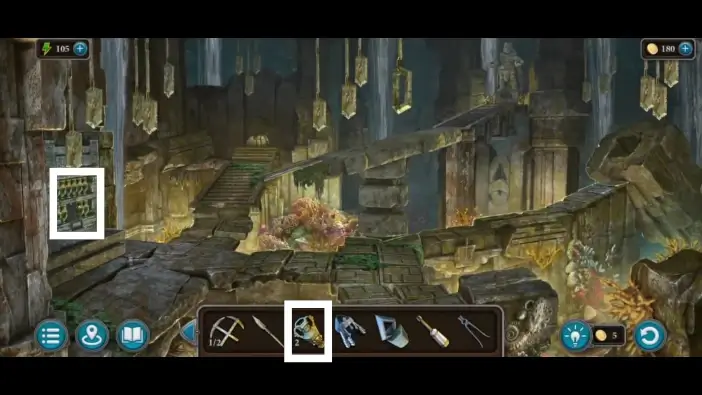
Go to the statue area of the temple and place the two amphoras on the shelves on the left wall.
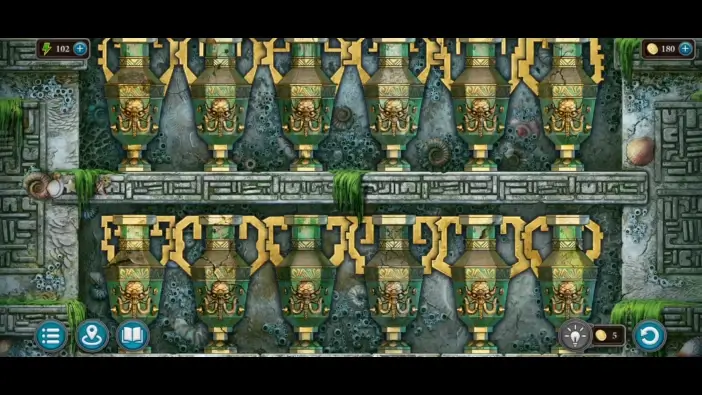
Each amphora can connect to only one specific amphora via handles. When you place an amphora that can attach to the amphora next to it, they will attach automatically. Rearrange the amphoras so that all of them are attached. Pay attention to the shape of handles. Once you complete this puzzle, take the mirror.
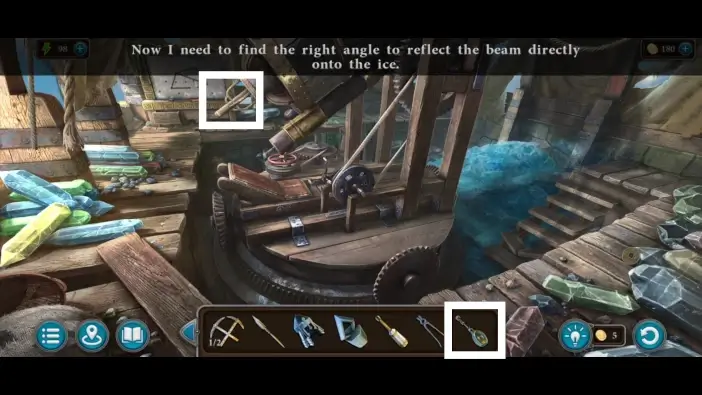
Return to the observatory and place the mirror near the telescope.
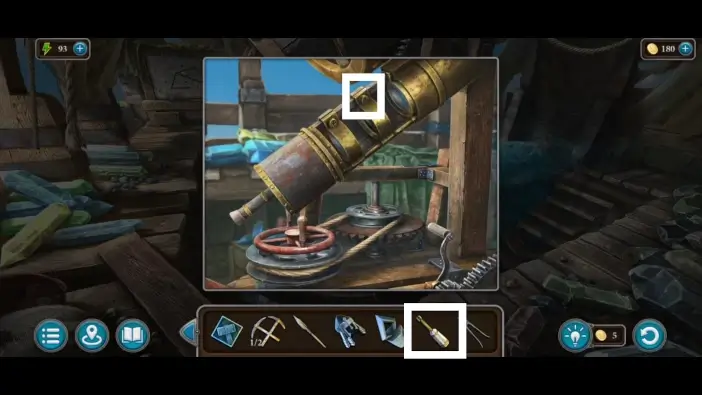
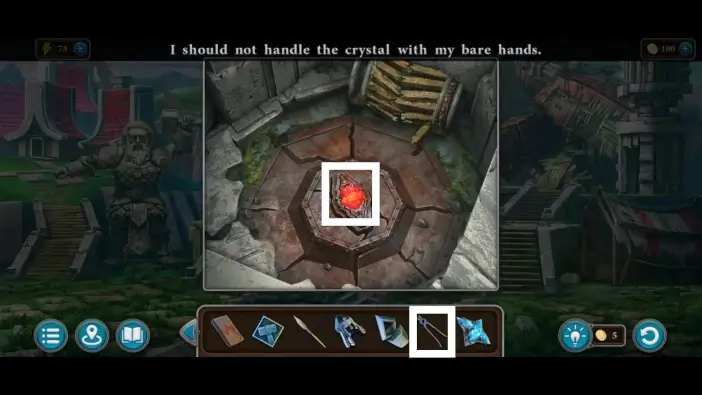
Remove the black lens from the telescope using the screwdriver. The ice will melt because of the beam from the mirror.
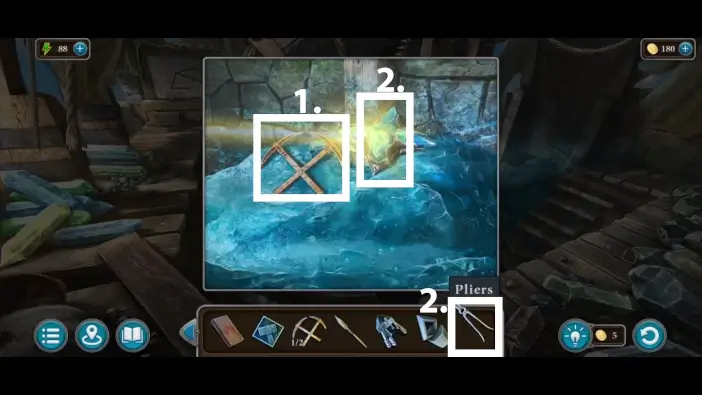
- Use the pliers to take the second detail.
- Use the pliers to take the Ice Crystal as well.
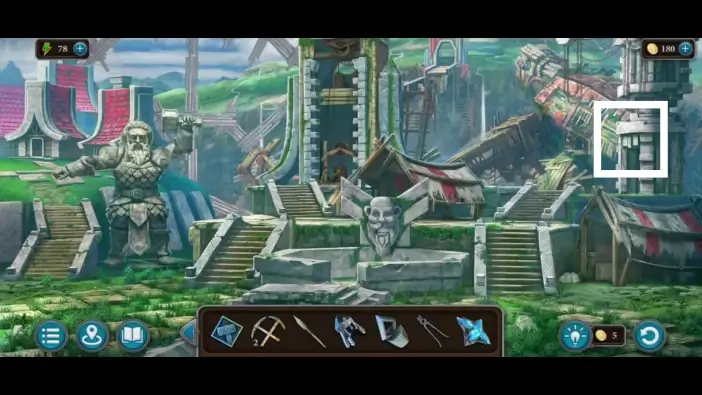
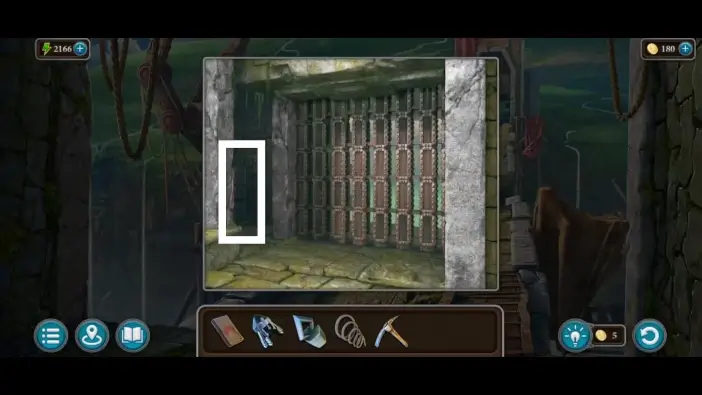
Go to the town center and enter the tower on the right.
Inside the tower, place the two details on the lid, then approach the lid to start a new puzzle challenge.
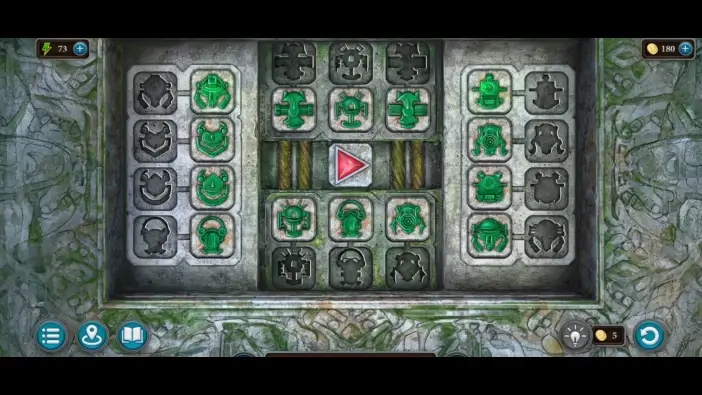
The symbols on the edge of the lid represent which identical, but green, symbol you need to place next to it. These symbols will be hidden, and you need to memorize them. If you forget their positions, use the central button to see them again for a brief period of time. Move the green symbols by swapping their positions. The correct positions are in the picture above.
Once you complete the previous puzzle challenge, the Fire Crystal will appear. Use the pliers to take the Fire Crystal.
- Go inside the golem and place the Ice Crystal and the Fire Crystal into the heart of the golem.
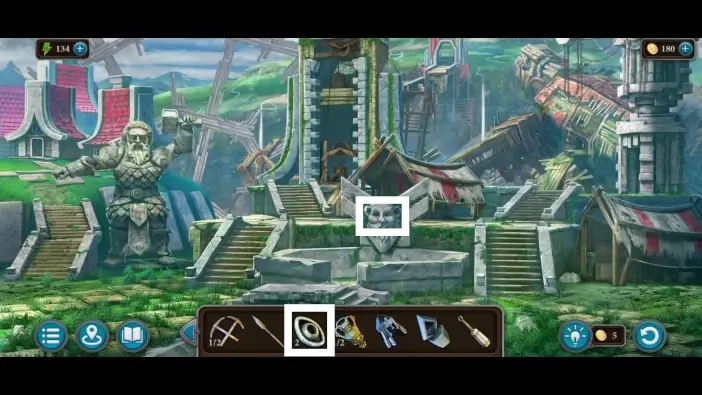
- Approach the gate on the far side of the room where you put the mask previously.
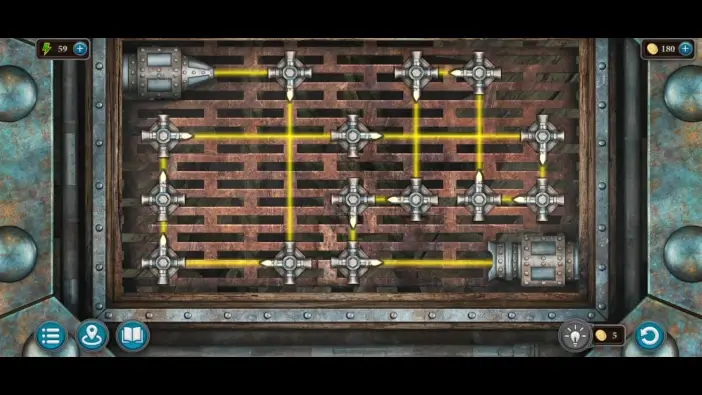
To unlock this door, you need to solve the next puzzle challenge. Rotate the lasers so that the beam on the left is going to the receiver on the right, without interruption.
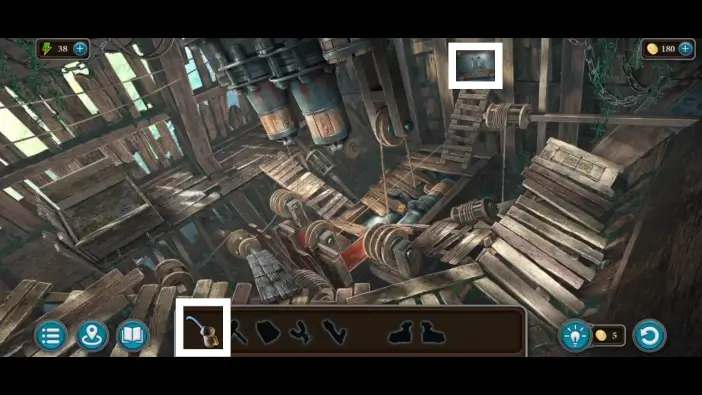
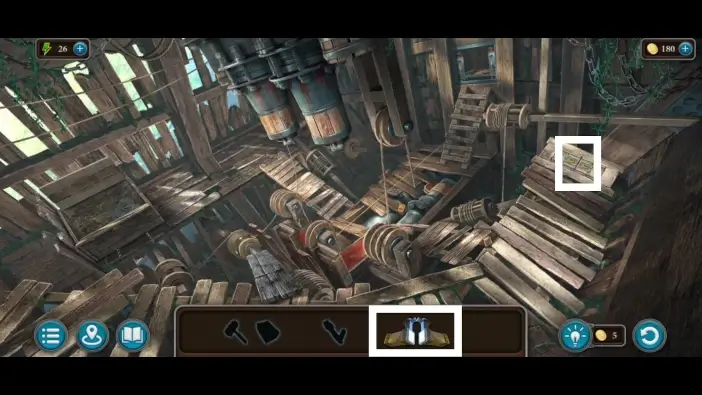
Go inside the golem’s head.
Pick up the pliers.

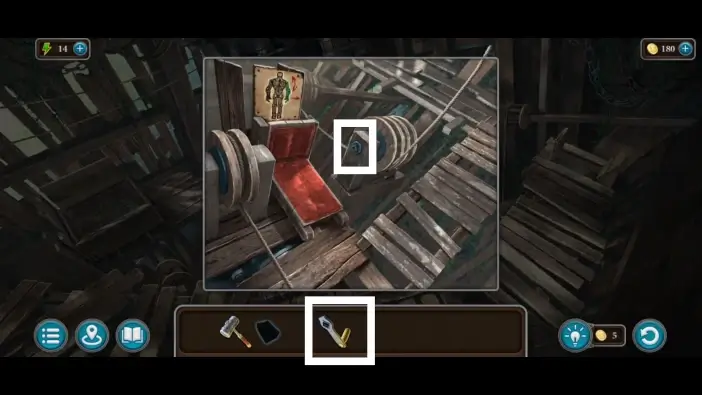
Use pliers to cut the chain on the chest. Take the clamp and the oiler from the chest.
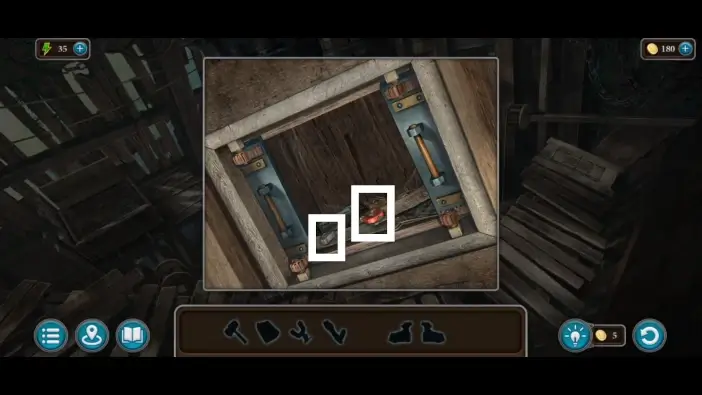
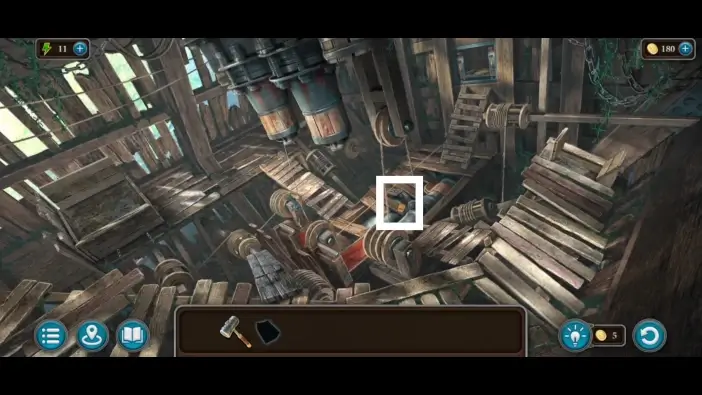
Approach the broken pipe.
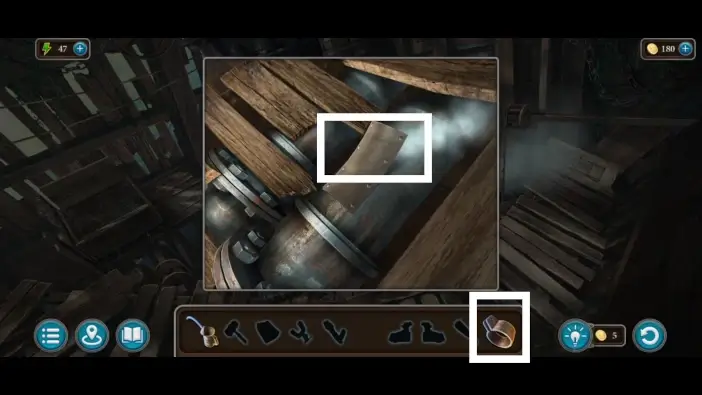
Use the clamp to fix the pipe.
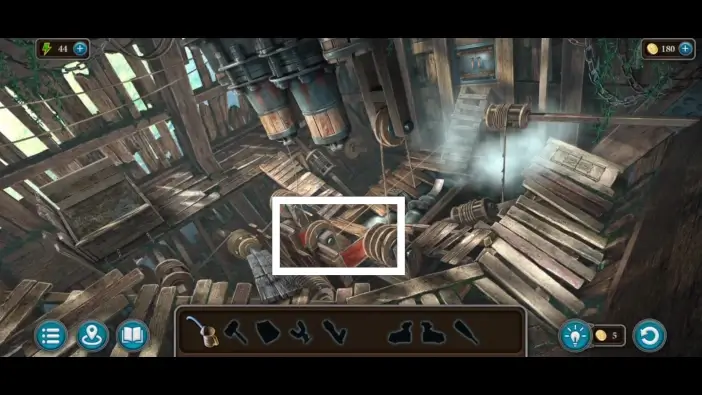
Approach the seat.
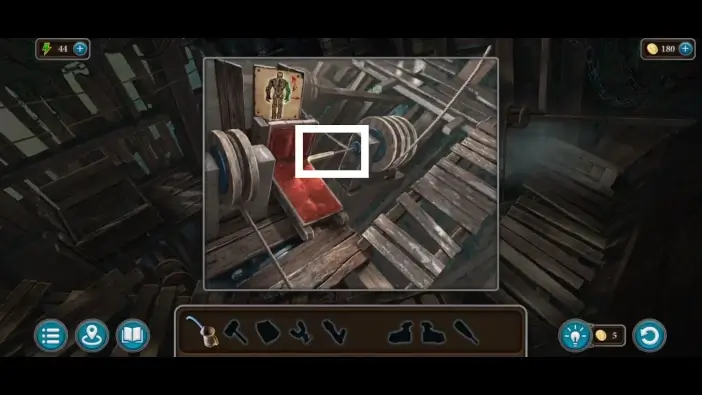
Take the screwdriver.
Use the screwdriver to fasten the lamp.
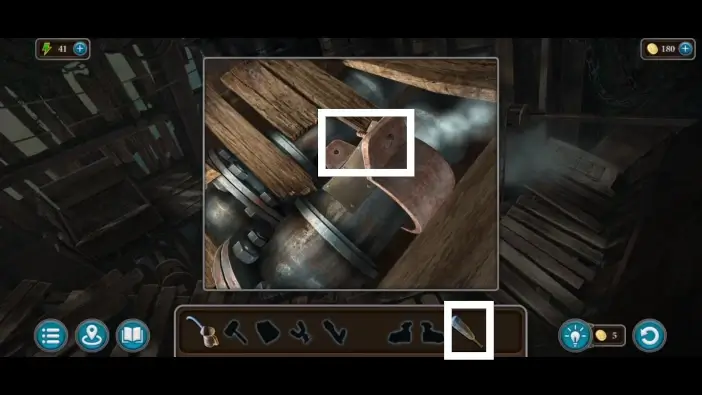
Use the oiler to open the rusted cabinet.
From the cabinet, take the magnet and the first handle.
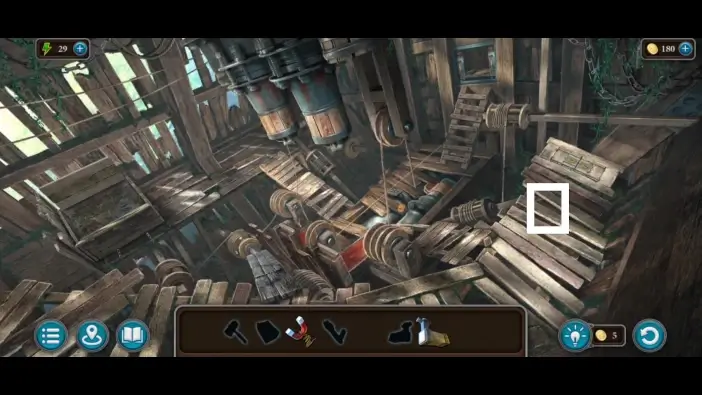
Approach the space between the boards.
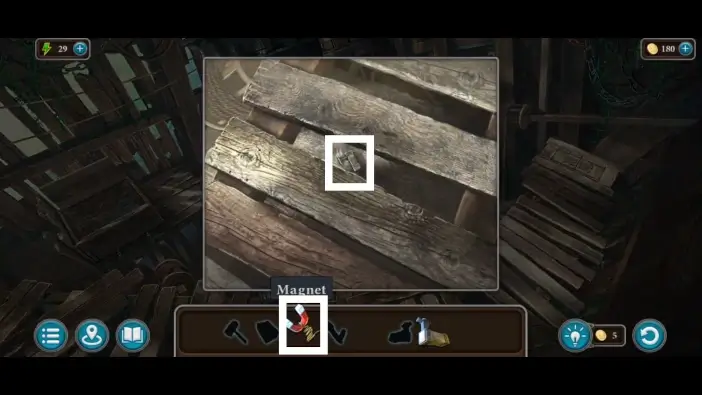
Use the magnet to get the second handle.
Place the two handles on the trap door and then open it.
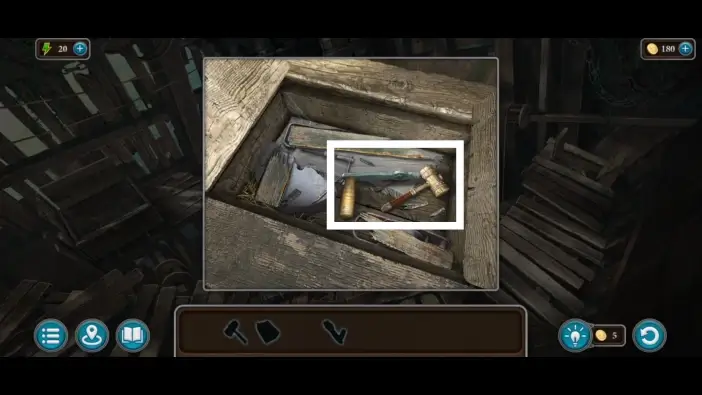
Take the handle and the hammer.
Go to the seat and attach the handle to the mechanism.
Approach the nails on the ground.
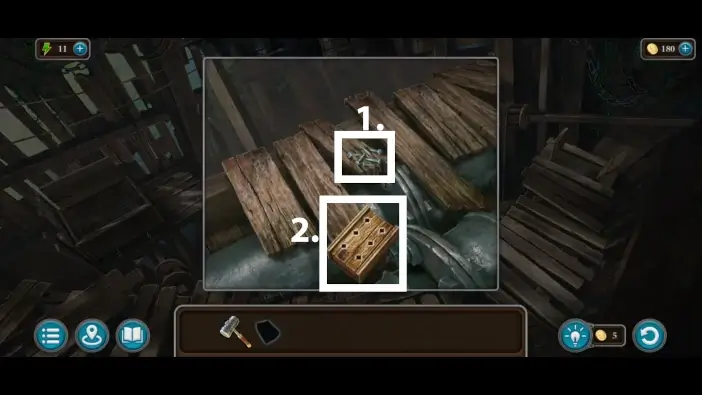
- Place the nails into the box.
- Take the box of nails.
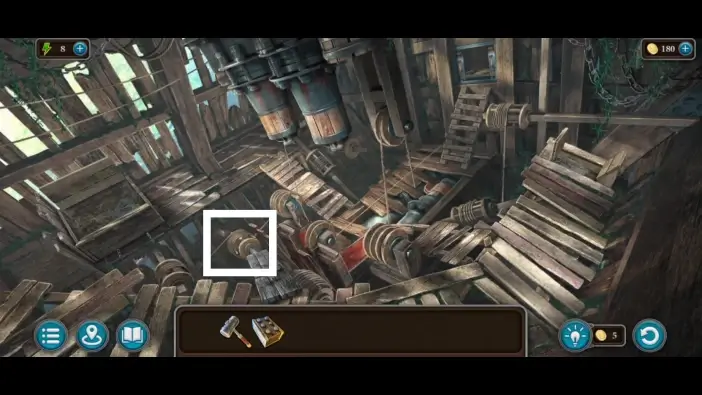
Approach the mechanism behind the seat.
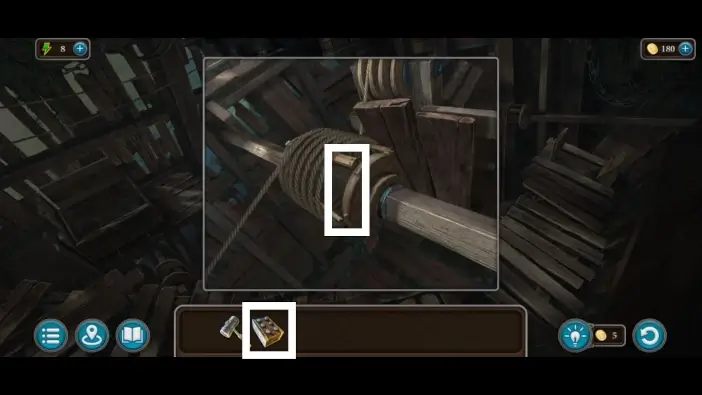
Place the nails.
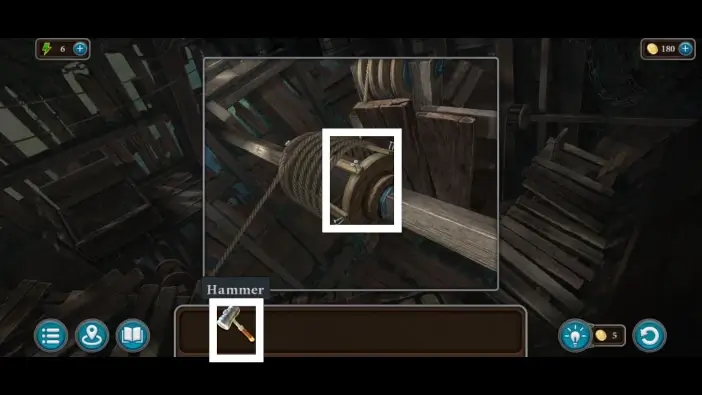
Drive the nails with the hammer. After this, the mysterious stranger will move the golem’s arm.
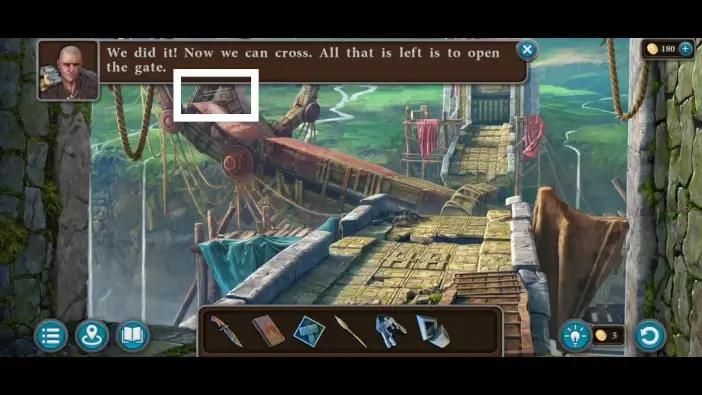
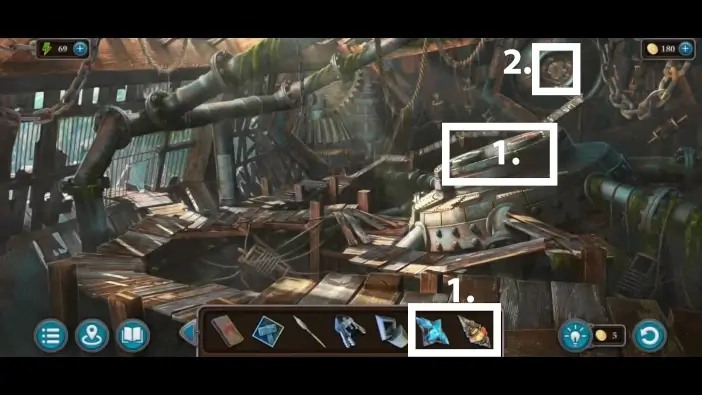
Go to the broken bridge and go to the golem’s arm.
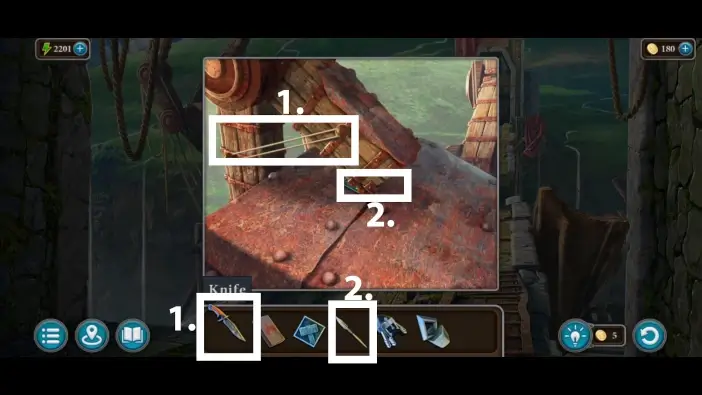
- Use a knife to cut the rubber band, then take the rubber band from the ground.
- Use the spear to lift the golem’s finger. Take the anvil tile that was beneath the finger.
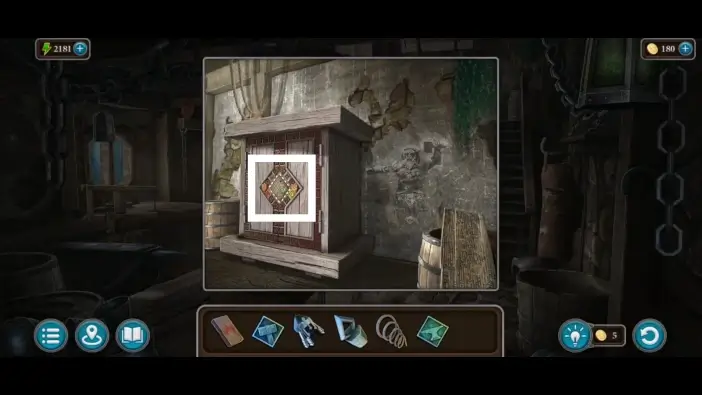
Go to the workshop in town and find the cabinet upstairs (the same place where you looked for the clue on the wall for the monument puzzle).
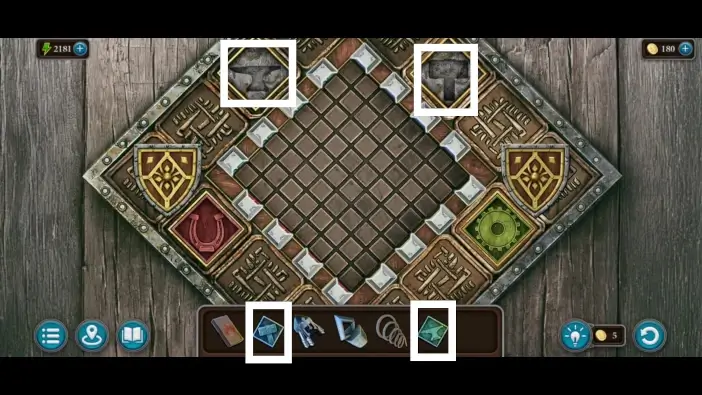
Place the hammer tile and the anvil tile on the lock of the cabinet to start a new puzzle challenge.

When you press the white buttons that are next to the hammer tile, the new hammer fields will appear on the board. The same rules apply to any other symbol. You will need to place four hammer symbols and one anvil symbol in their designated places in the middle of the board. The solution is in the picture above.
When you complete this puzzle challenge and unlock the cabinet, take the pickaxe.
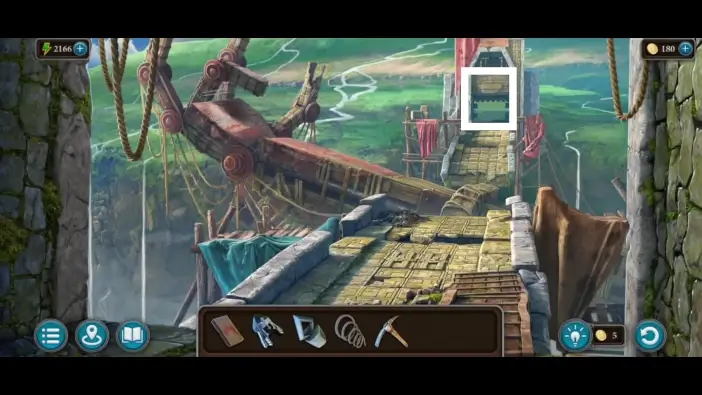
Go to the broken bridge and cross it to the gate on the other side (now you can cross the bridge because of the golem’s hand).
Approach the left side of the gate.
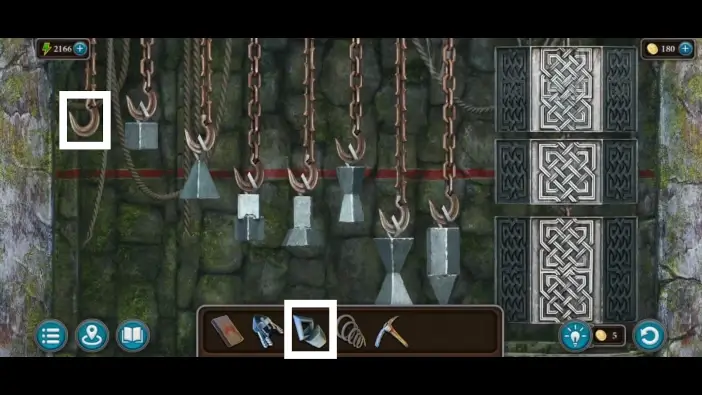
Place the weight on the left-most hook. A new puzzle challenge will start.
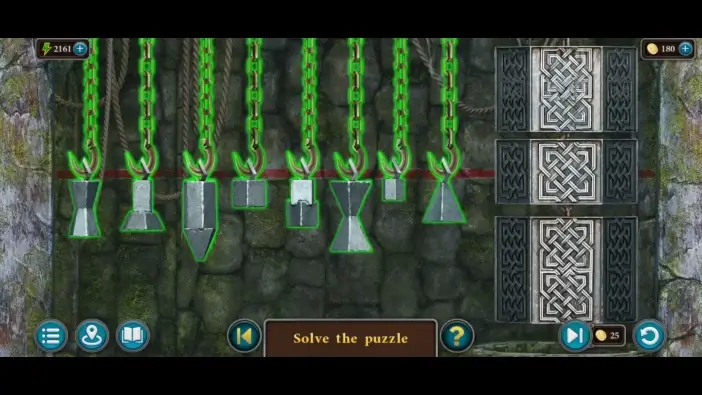
Rearrange the weights like in the picture above to get all hooks on the same height. This will unlock the gates. Go through the gates.
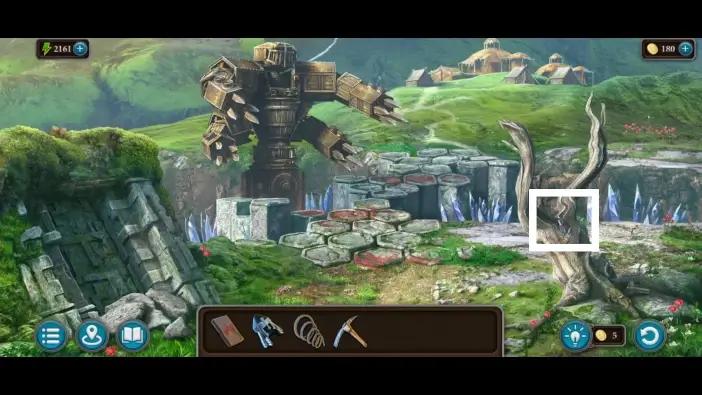
In the Defender area, approach the tree on the right.
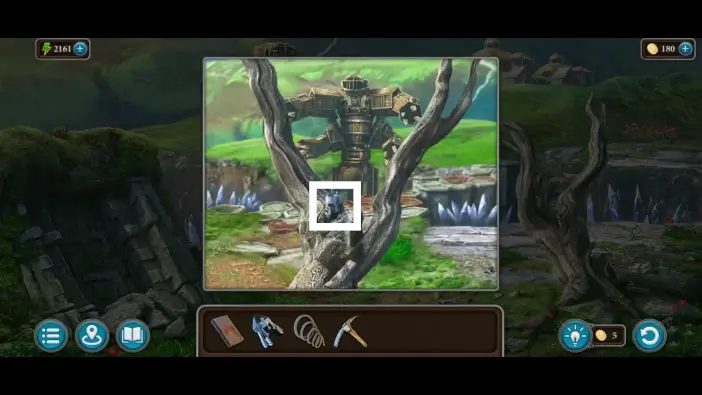
Take the second helmet.
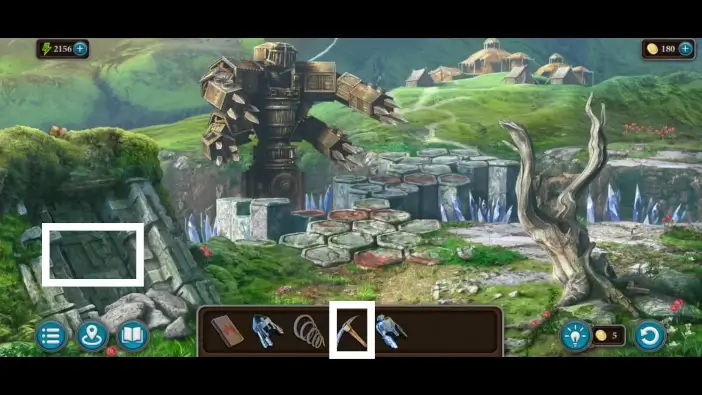
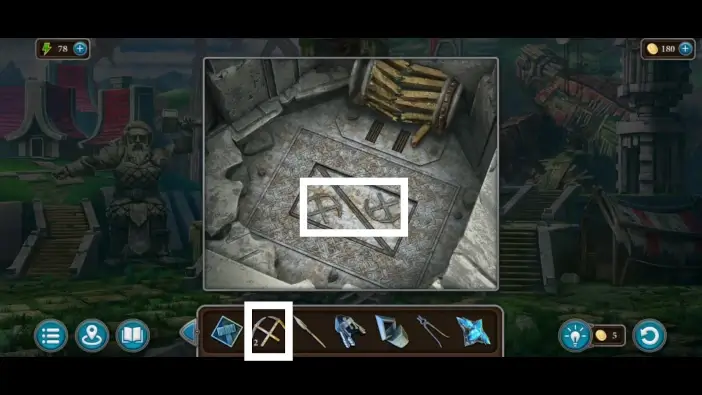
Use the pickaxe to destroy the stone on the left.

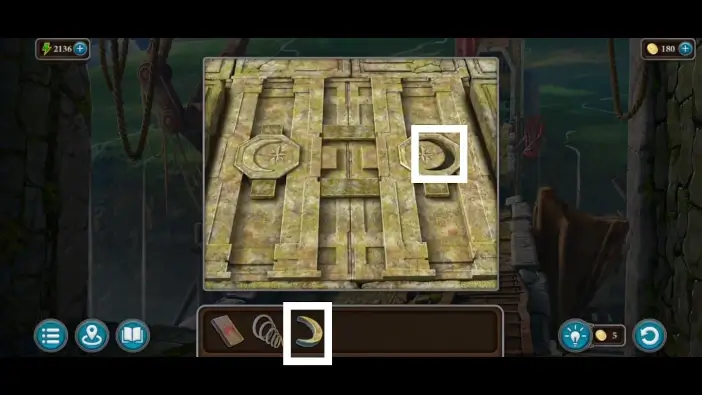
On the crack of the stone, you will see a chest. Place the helmets on the chest to unlock it. Take the crescent from the chest.
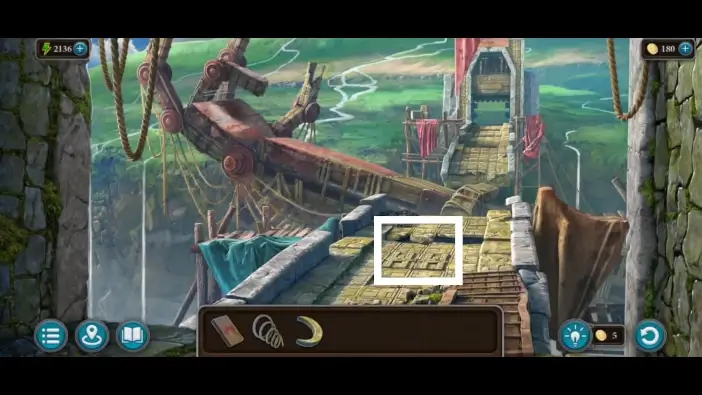
Go to the broken bridge and approach the trapdoor.
Place the crescent in its place to unlock the trapdoor. Take the explosive.
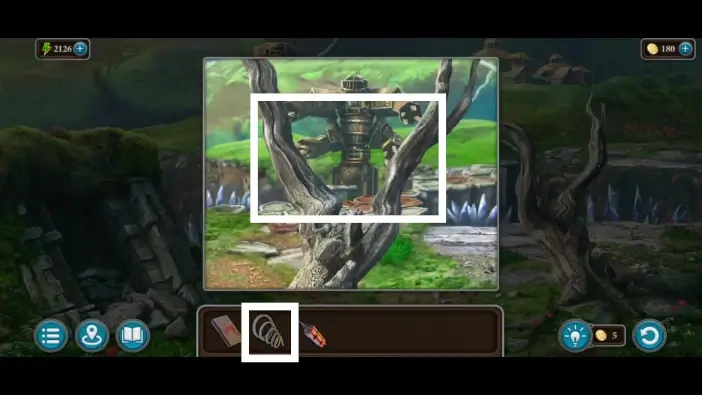
Return to the Defender area. Place the rubber band on the tree.
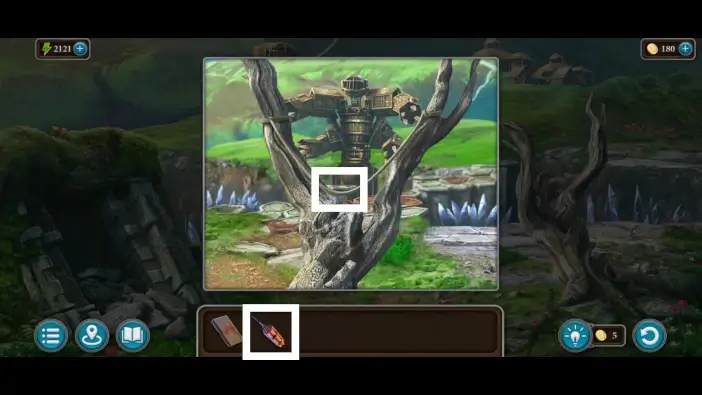
Place the explosive on the rubber band.
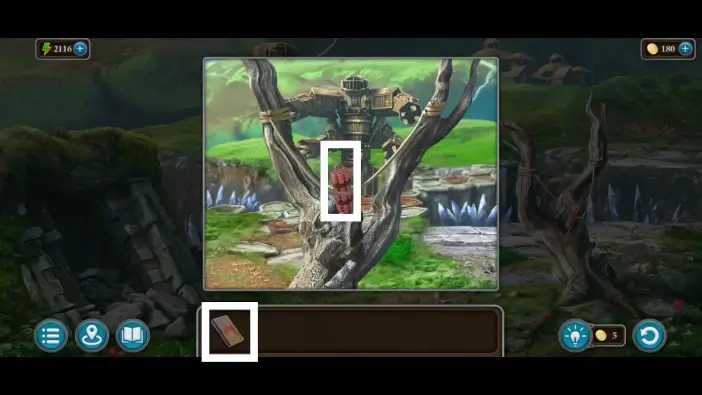
Light the fuse of the explosive using the matches. The explosive will destroy the Defender.
Go to the werewolves’ village.
This will mark the end of our guide for Chapter 3 of Legendary Tales 4.
Thank you for reading!