Hidden Memories – Part 5 | Mansion
Intro
Welcome to our walkthrough for Part 5 of Hidden Memories from Dark Dome. Help our protagonist recall how he arrived at a strange, unknown place and identify the mysterious girl he keeps seeing in his memories.
Walkthrough
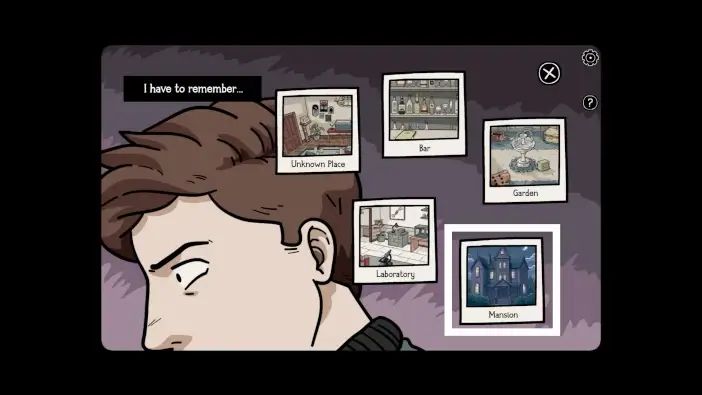
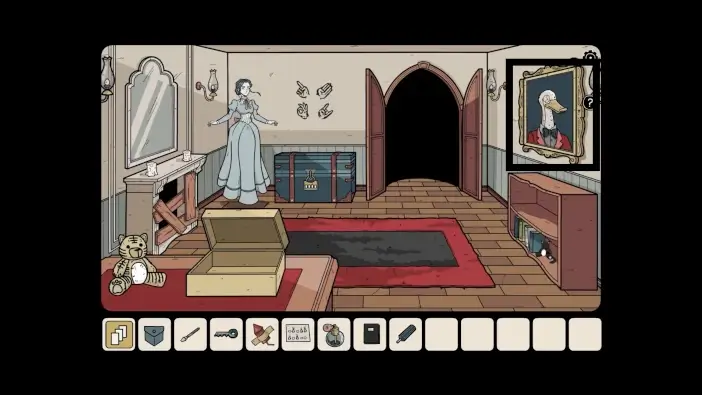
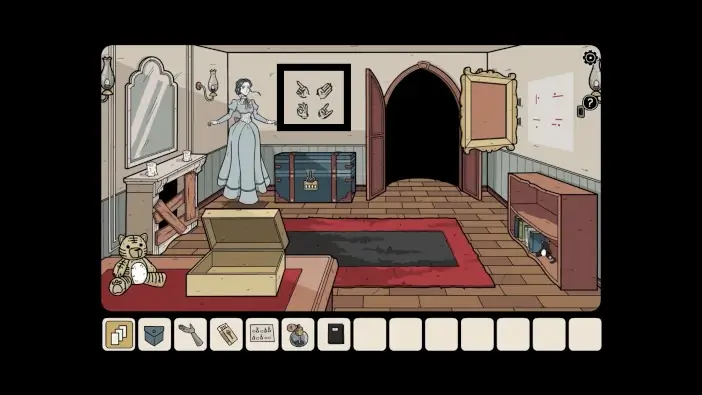
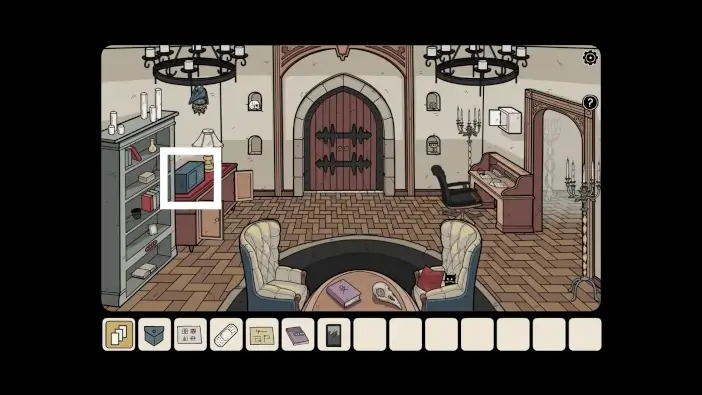
In the memory menu, choose the mansion.
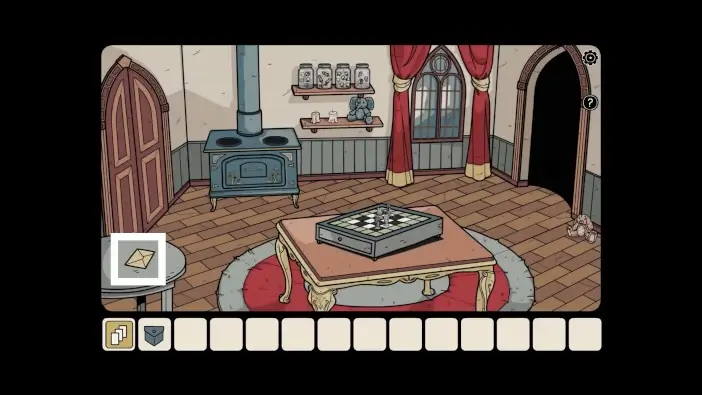
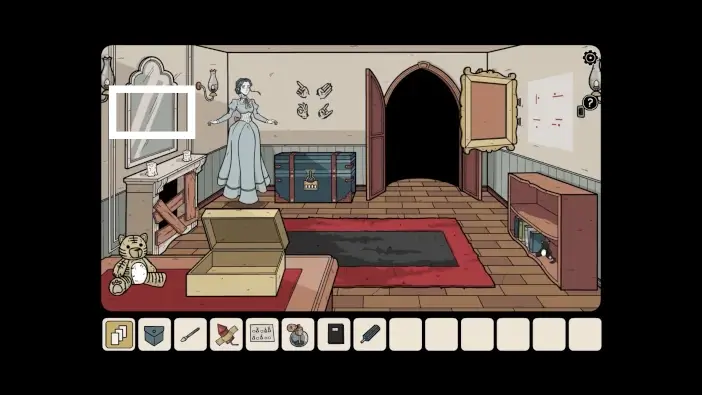
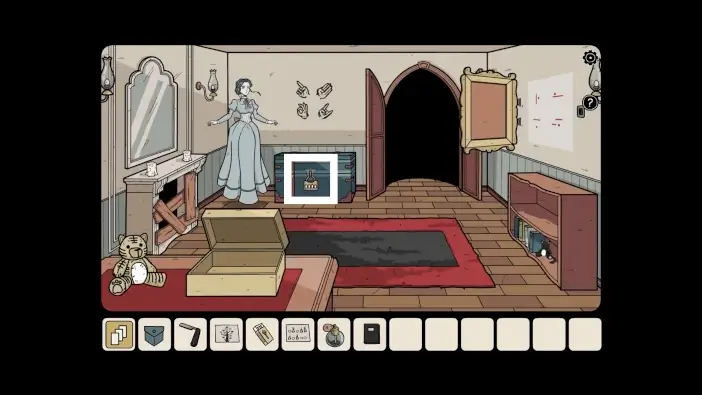
Approach the small desk on the left.
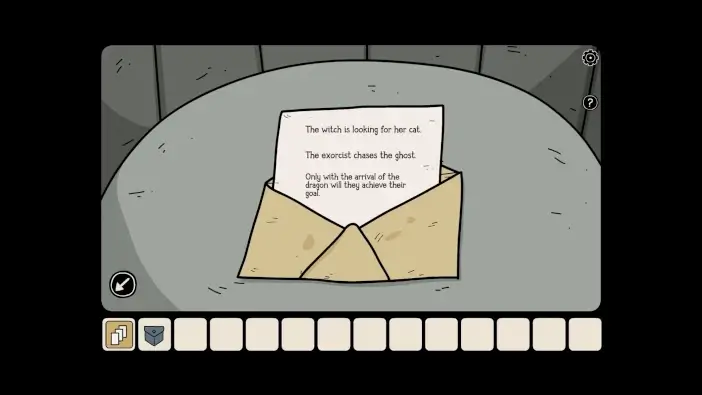
Open the envelope and read the letter. This is a clue for the board game puzzle. But before you try that puzzle, you will need to find a dragon figurine.
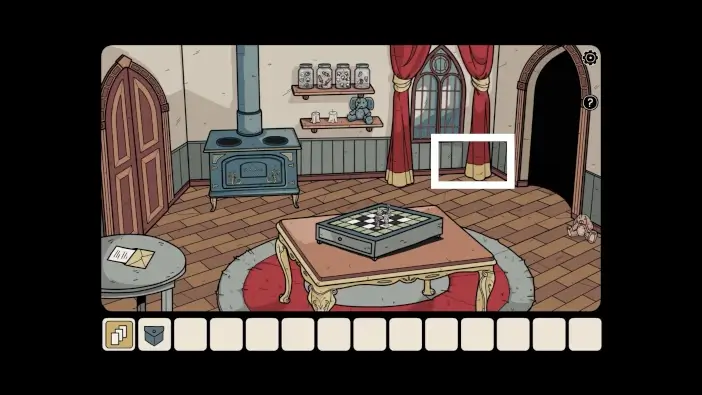
Approach the curtain in the right corner.
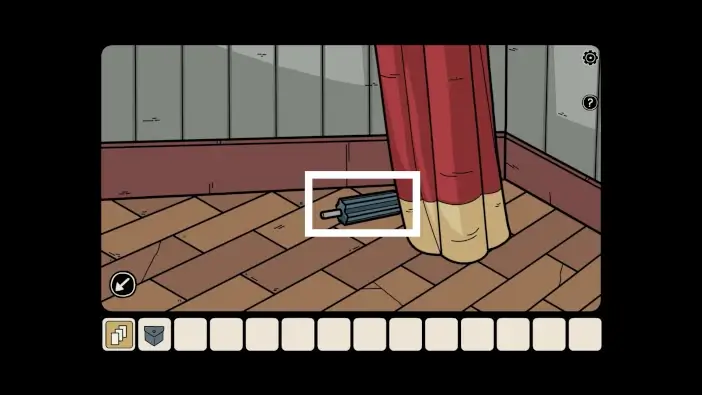
Pick up the screwdriver handle.
Go to the hallway on the right.
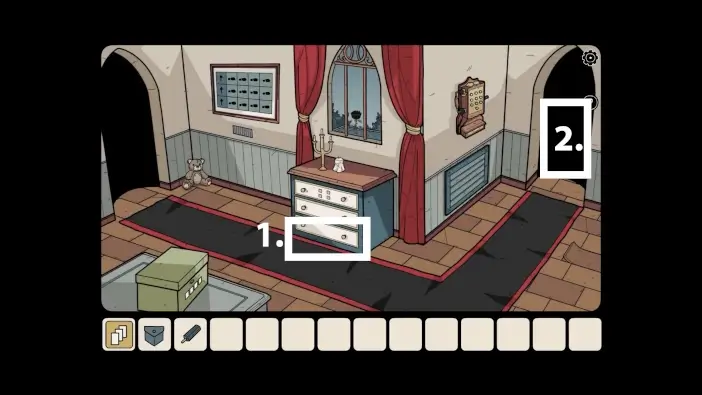
- Open the bottom drawer and take the red key. It is a key to one of the rooms.
- Go to the room on the right.
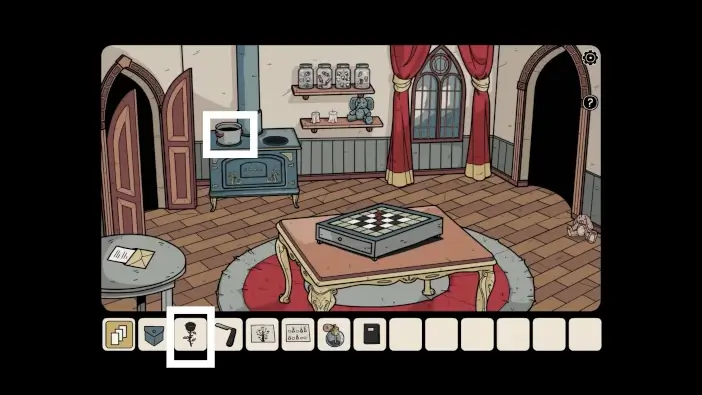
Open the cabinet on the right.
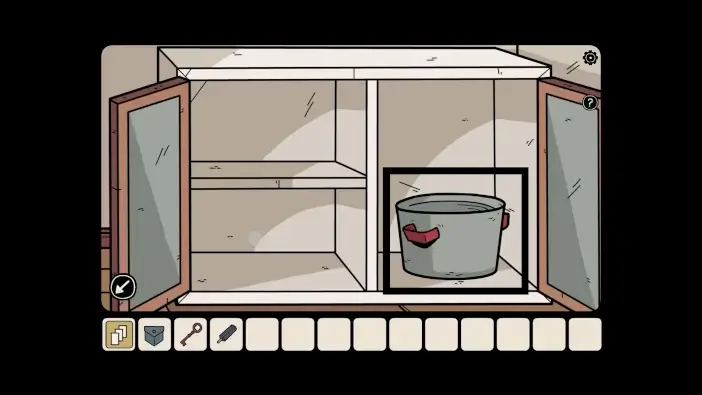
Take the pot. You will prepare a perfume in it.
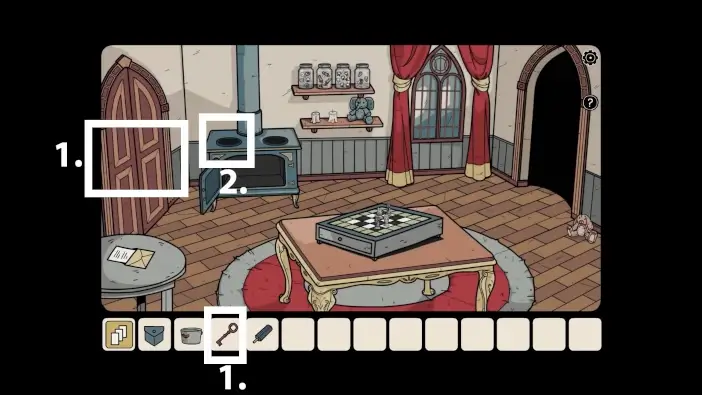
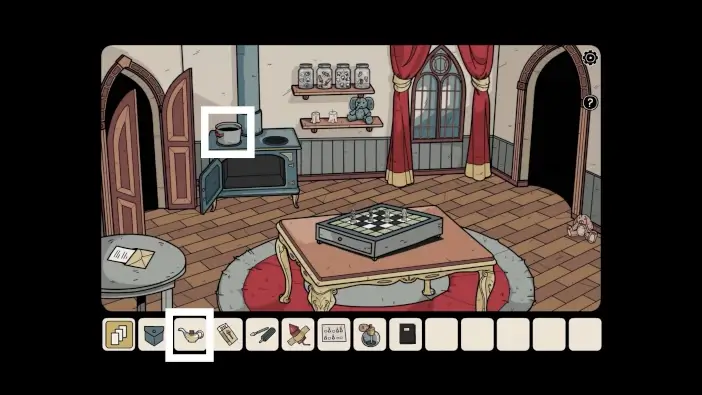
- Return to the kitchen and use the red key you got to unlock the door on the left.
- Place the pot in the oven.
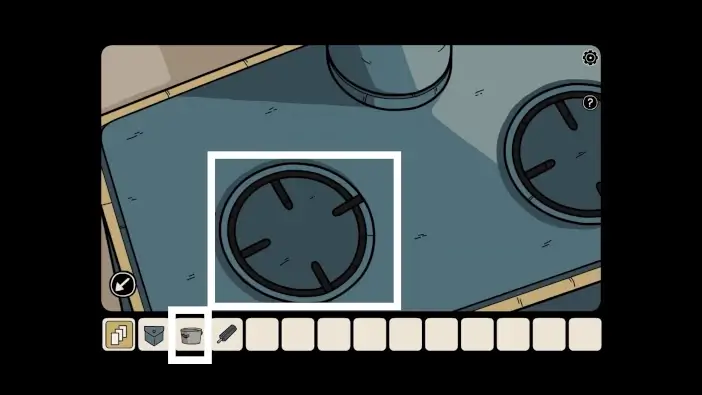
Place the pot on the hotplate. Later, you will prepare a perfume here.
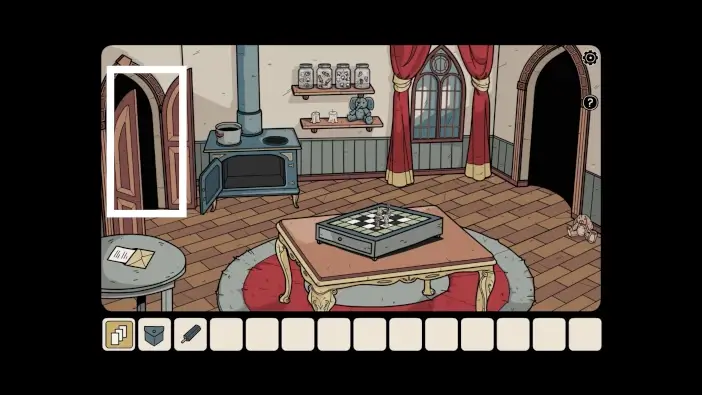
Go to the room on the left.
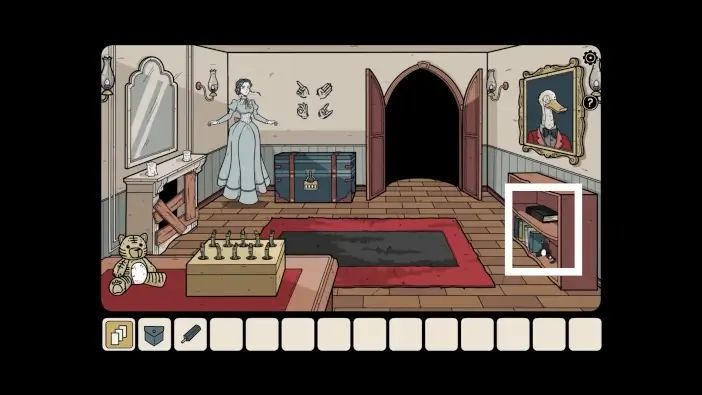
Approach the shelves on the right.
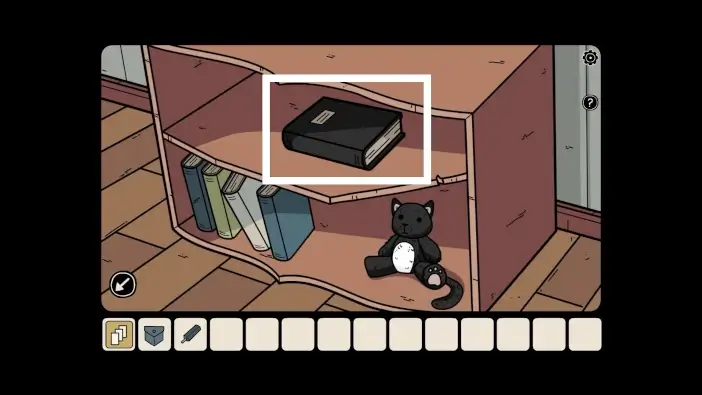
Take the black book from the upper shelf.
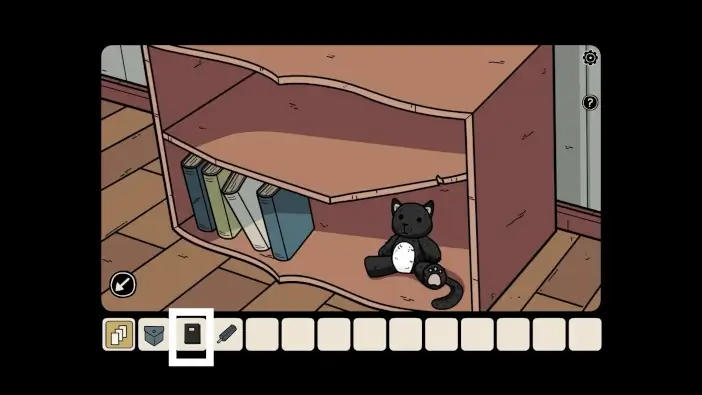
Open the book from your inventory.

The book will contain instructions on how to prepare the perfume that the ghost lady wants.
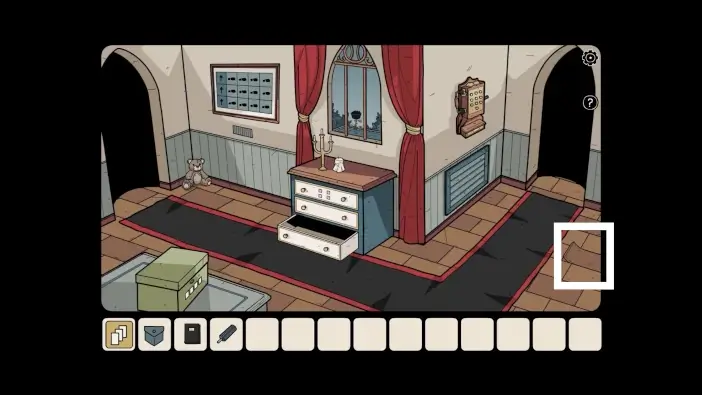
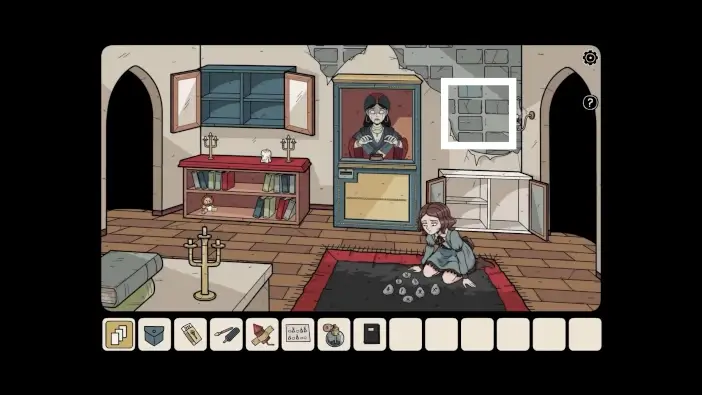
Go to the hallway and approach the board on the floor, on the right side of the hall.

Remove the board from the floor, and you will discover a new shadow.
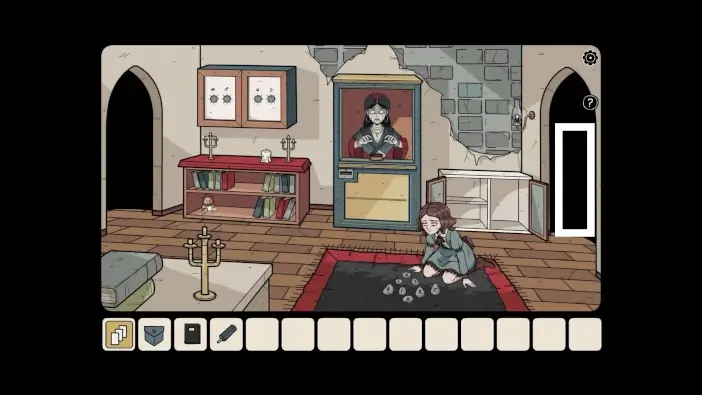
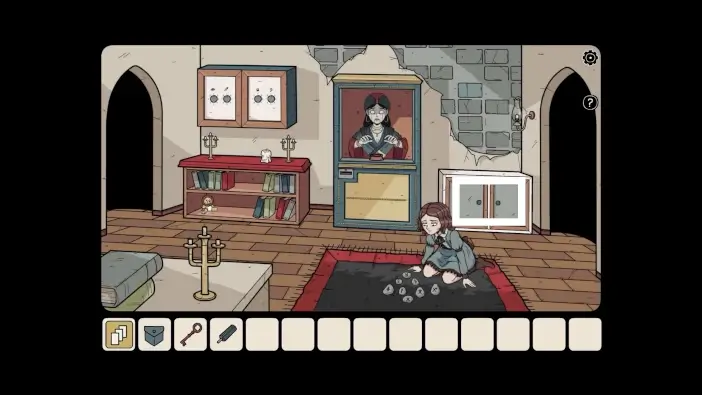
From the game room where the girl is, go further right.
- Take an empty perfume bottle.
- Look through the window.
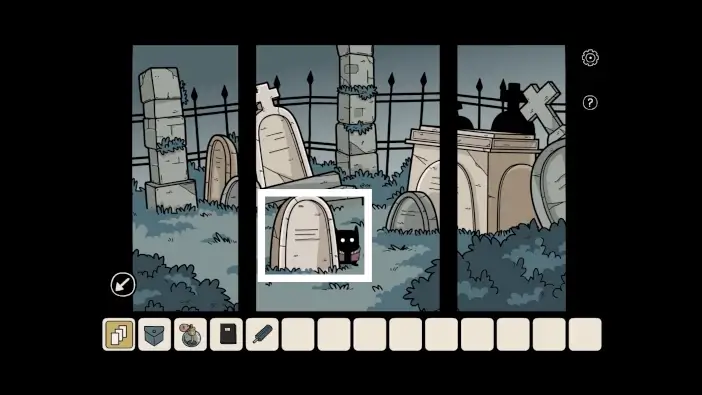
Tap on the closest gravestone to find another shadow.
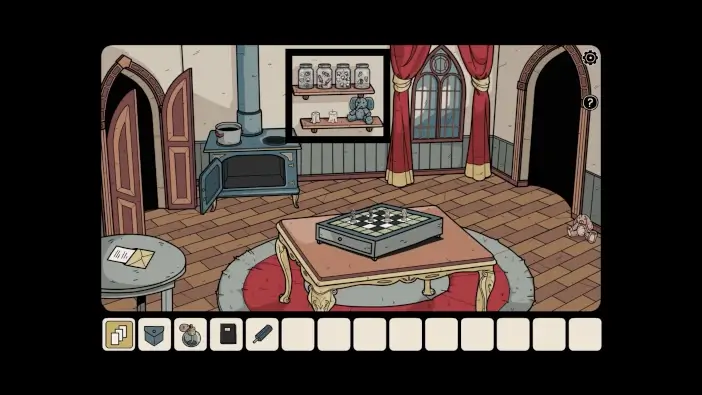
Go to the kitchen and approach the shelves next to the oven. Look at the jars and remember how many items each jar contains and which items.
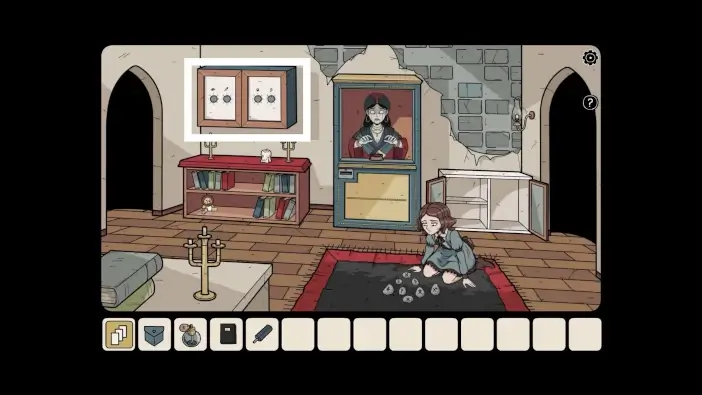
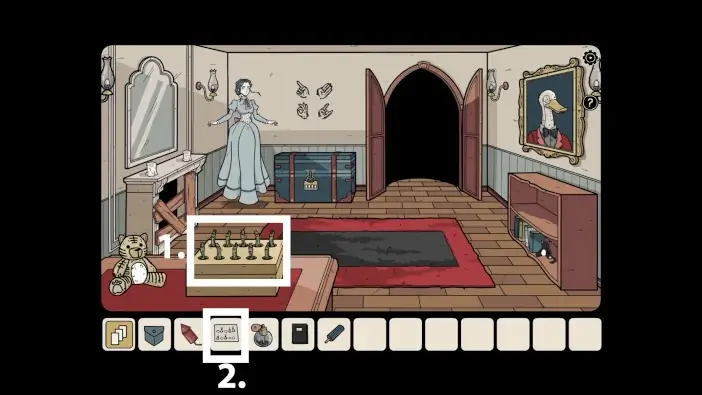
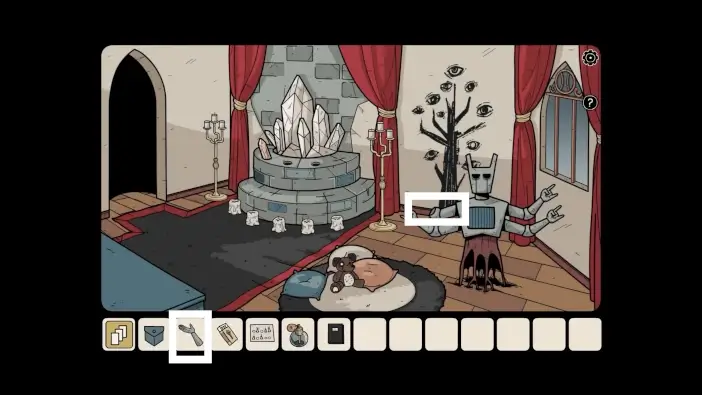
Go to the game room and approach the cabinet.
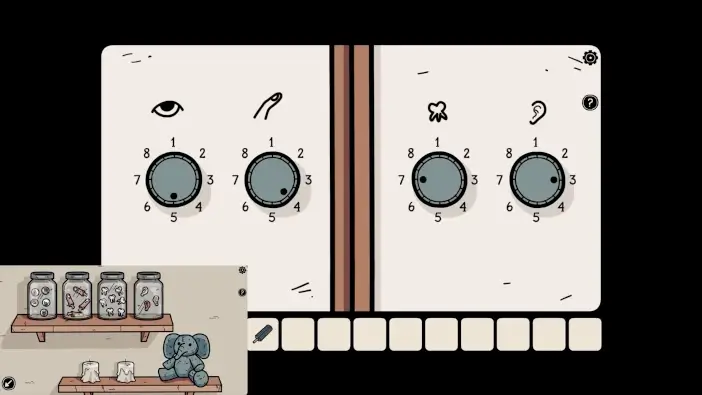
Remmeber the jars. The first jar has five eyes, the second jar has four fingers, the third jar has seven teeth, and the fourth jar has three ears. Rotate the knobs like in the picture above. Take the quartz, the note with a clue (for fingers puzzle), and the firework rocket. You will need a rocket to demolish the part of the wall.
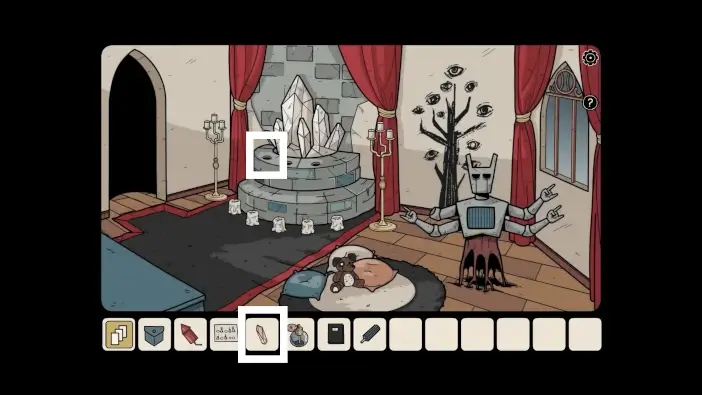
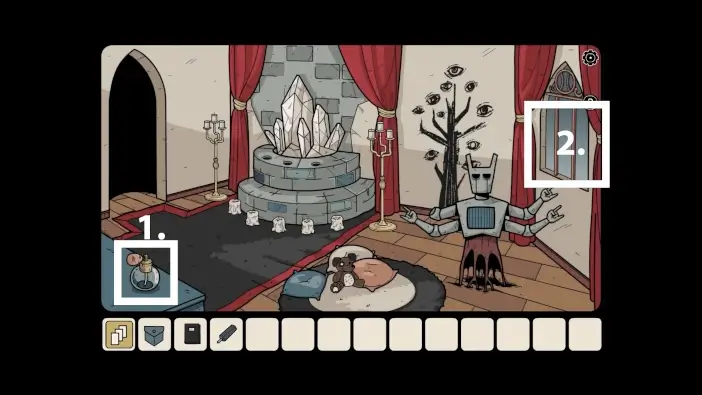
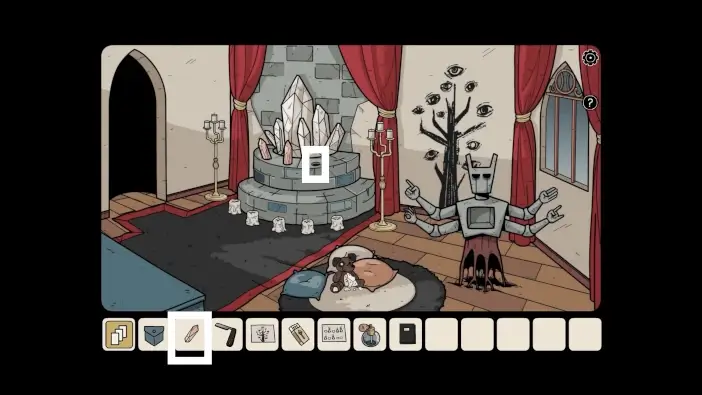
Go to the quartz room and place the first quartz in the slot. You will need to find two more quartzes.

Go to the ghost room and approach the nightstand on the left.
Pick up the lost soul.
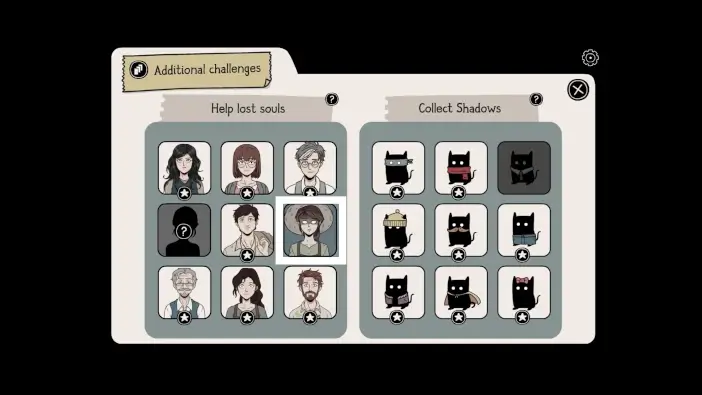
Open the collectibles menu and find Sarah in the list of lost souls. Tap on her portrait and then on the Play button.
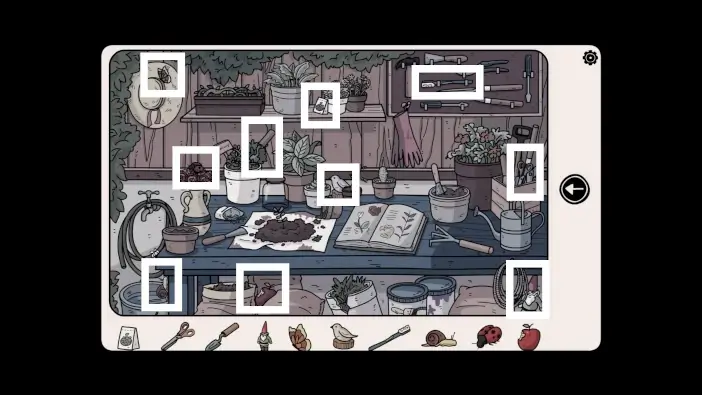
Find all ten items that are listed to help Sarah.
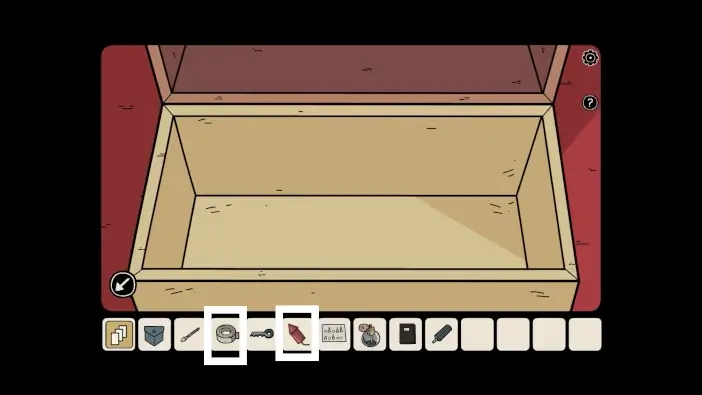
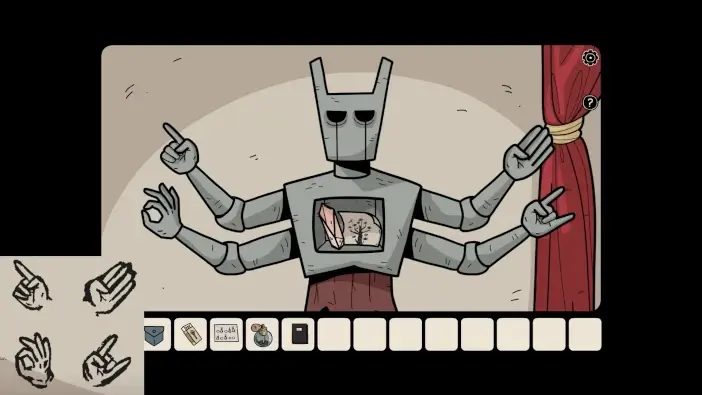
- Approach the box with fingers on the table.
- Look at the note in your inventory.
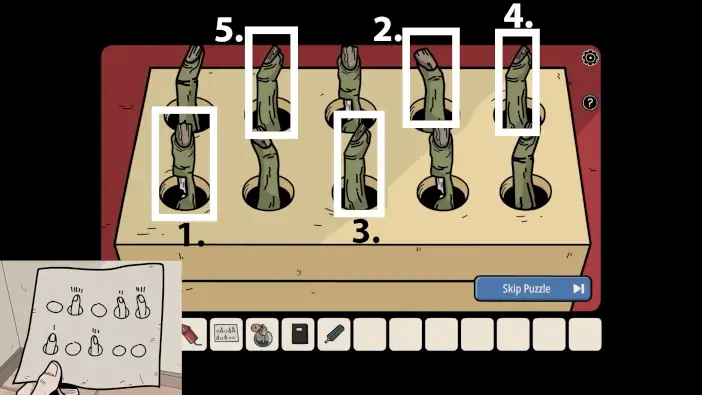
In the note, you will see which fingers you need to tap on and in which order. Once you solve the puzzle, take the key, the adhesive tape, and the screwdriver bit.
In your inventory, use the adhesive tape on the firework rocket.
Approach the painting of the aristocratic duck.
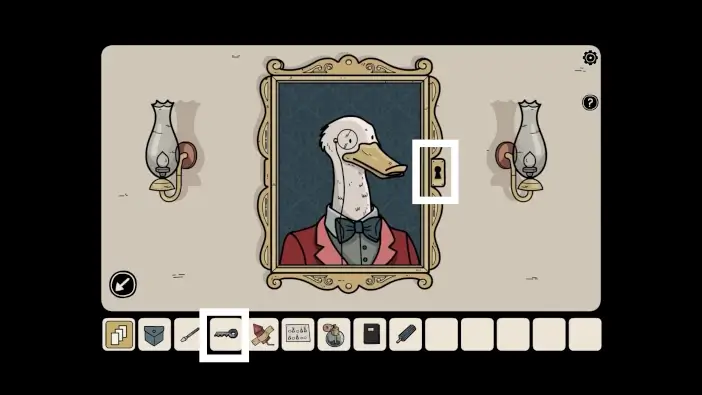
Use the key you just received to unlock the frame, allowing you to move it.
Move the frame to reveal symbols on the wall.
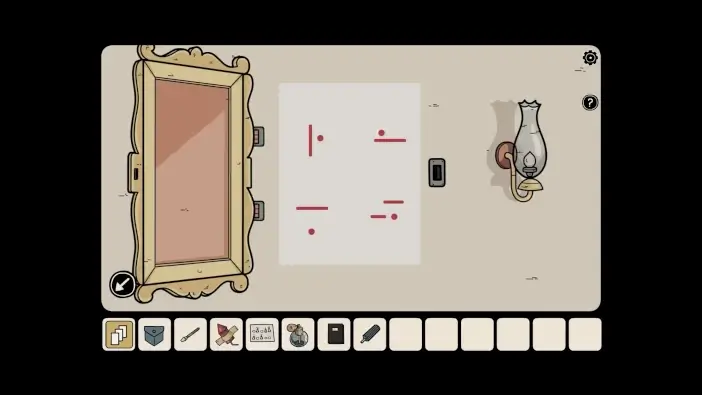
Approach the mirror on the left.
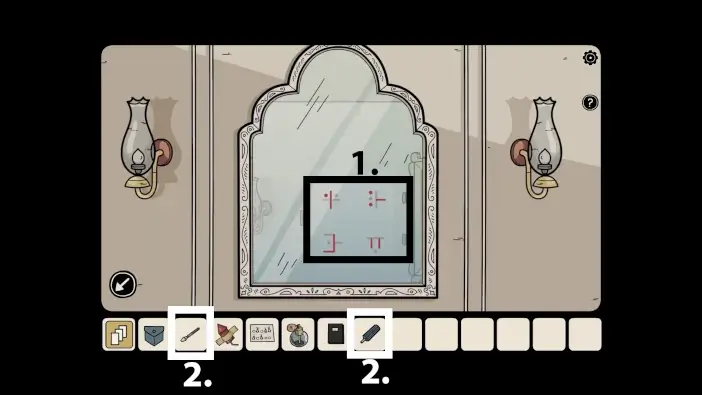
- The mirror also has parts of symbols on it. The parts on the mirror and the parts on the wall that are in the mirror’s reflection will form a full set of symbols. Memorize them.
- Merge the screwdriver bit with the screwdriver handle in your inventory. The screwdriver will still be broken.
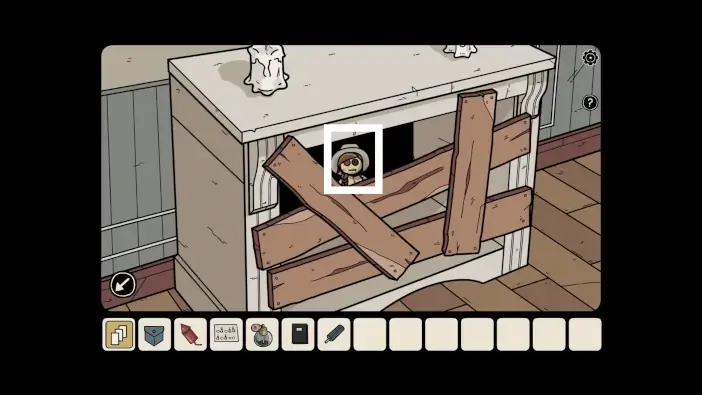
Go to the hallway and approach the top drawer.
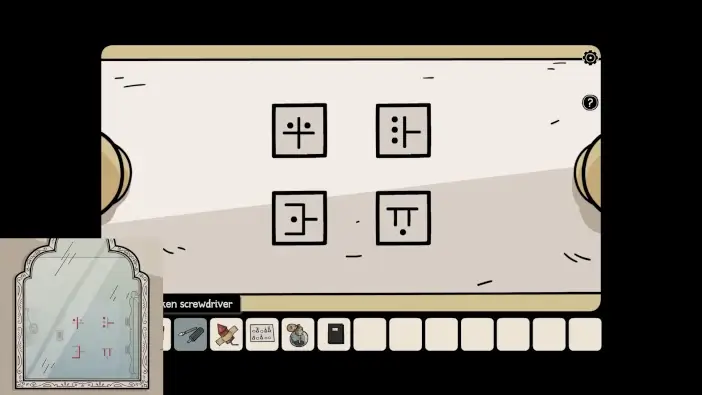
Remember the symbols from the mirror. Use them, and their positions, to unlock the drawer. Take the matchbox and the oil for the perfume.
Go to the kitchen and pour the oil into the pot.
Go to the game room and approach the wall.
Place the taped firework rocket on the wall.
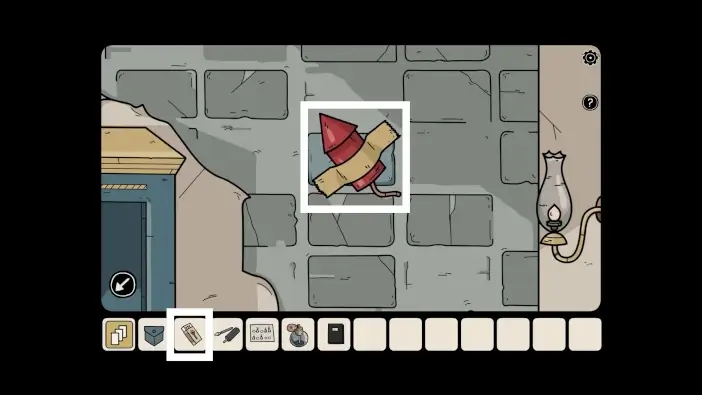
Use matches to light the rocket.
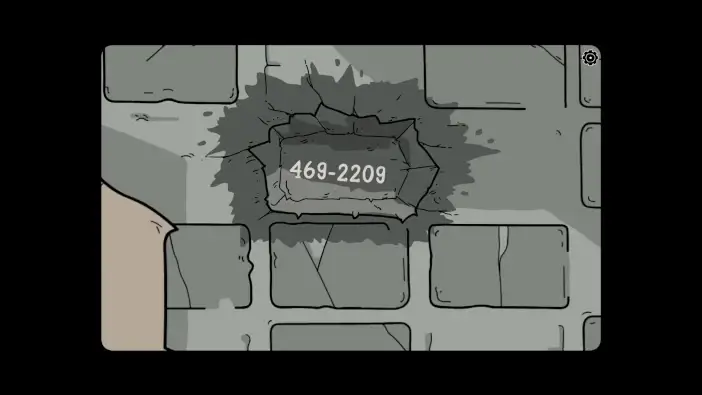
After the explosion, you can see a phone number on the wall.
In the hallway, approach the phone.
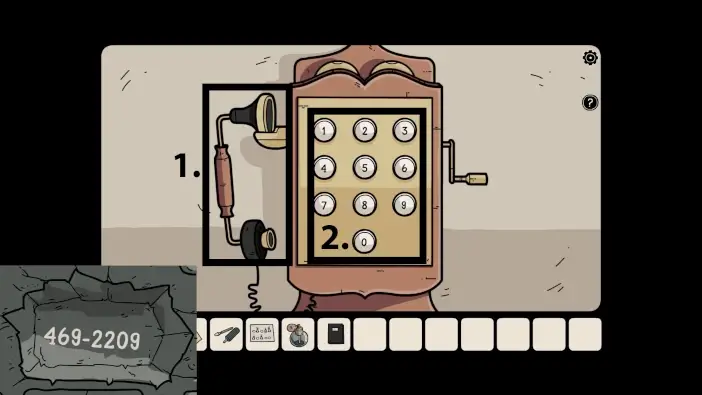
- Tap on the telephone handset.
- Call the number that you saw on the wall, which is: 4692209. Use the buttons on the telephone.
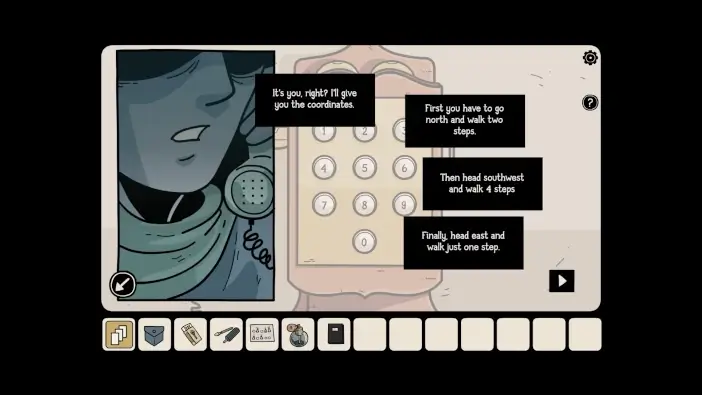
Somebody will give you a clue on how to solve the next puzzle.
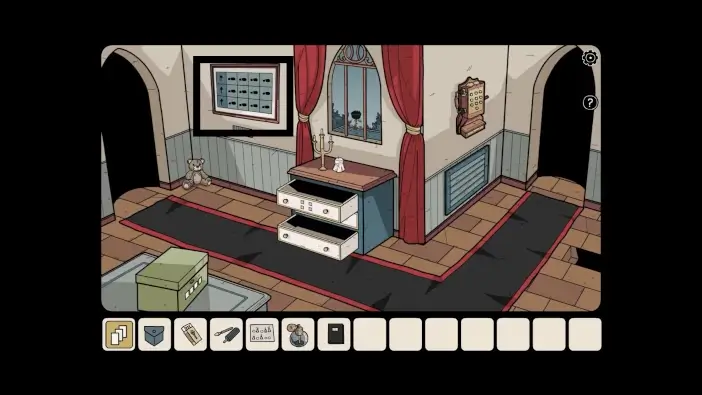
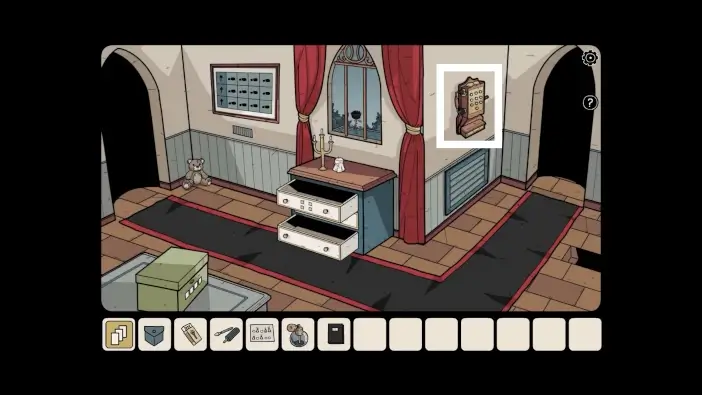
In the hallway, approach the image on the left.
Remember the clues that you got from the phone conversation (you can repeat the conversation anytime).
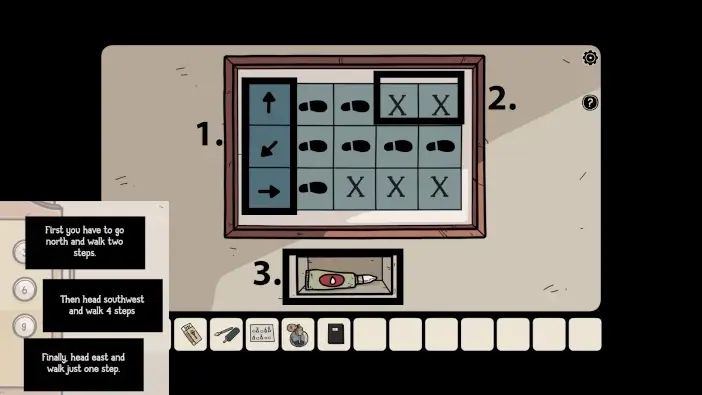
- In the first column, you can change the direction of walking. Set the arrows like in the picture above.
- You can place X signs on any field. If you need to go north two steps, leave two steps, and place two X signs at the end of the row. The same logic applies to the other two rows. The solution is in the picture above.
- Once you solve the puzzle, a compartment will open. Take the glue.
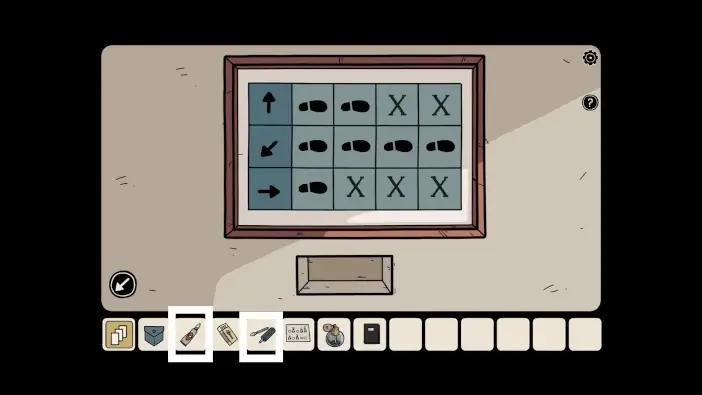
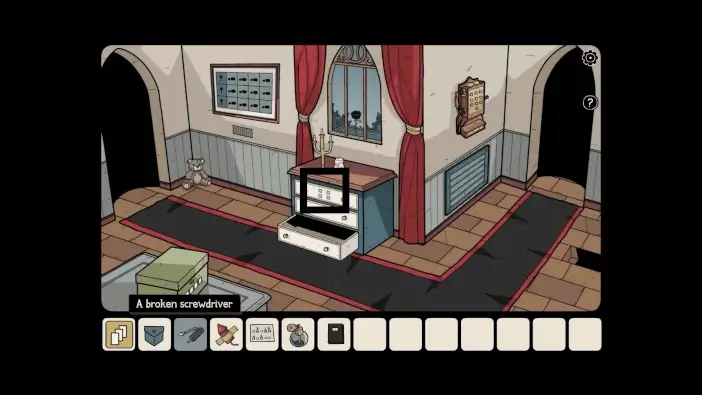
Use the glue to fix the broken screwdriver.
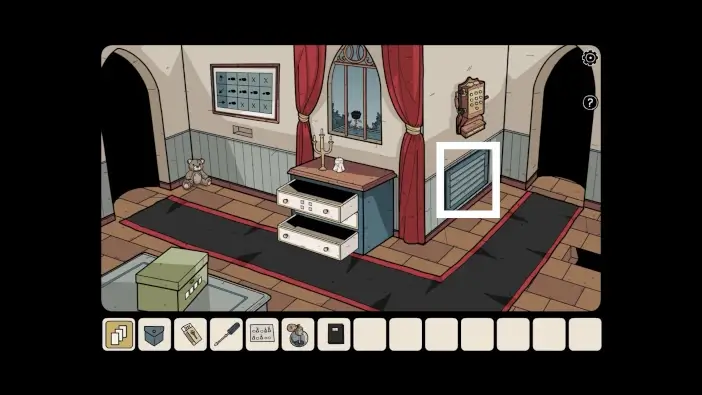
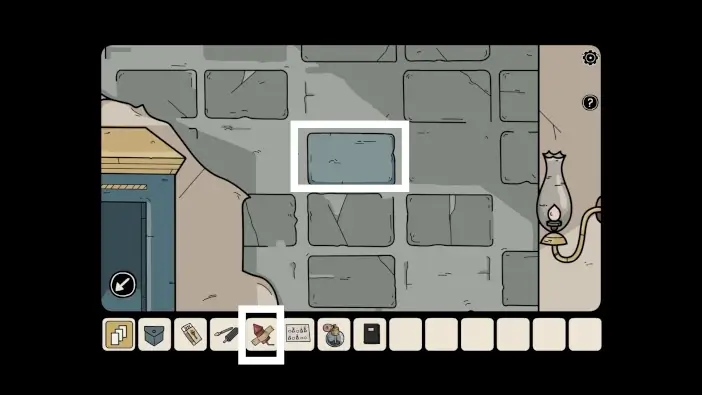
Go to a hallway and approach the metal lid.
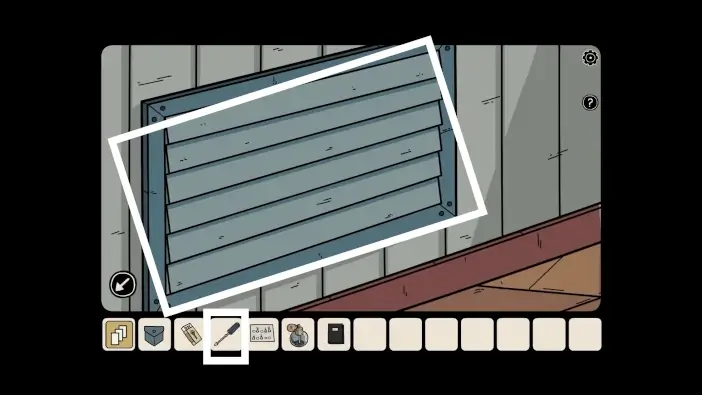
Use a screwdriver to unfasten the lid.
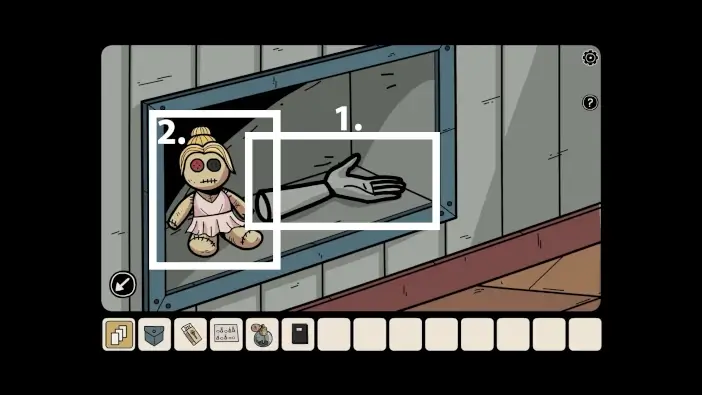
- Take the statue’s arm.
- Take the lost soul.
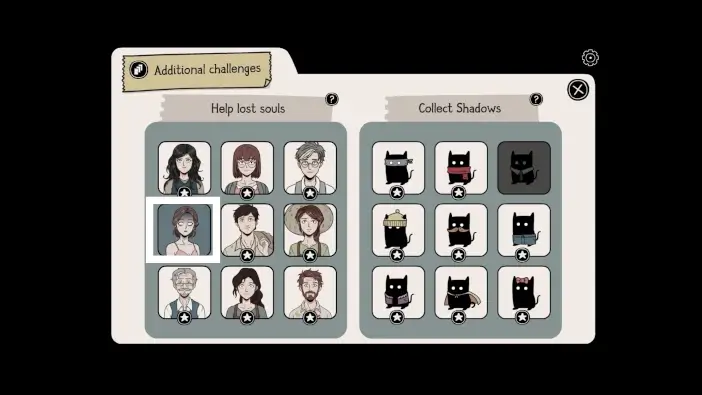
Open the collectibles menu and find Isa in the list of lost souls. Tap on her portrait and then on the Play button.
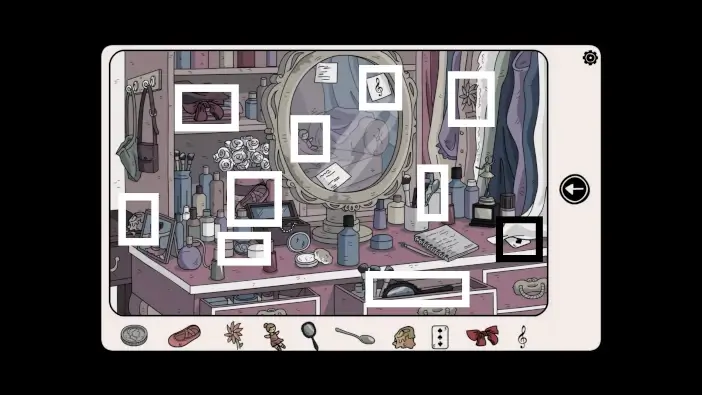
Find all ten items from the list to help Isa.
Go to the ghost room and look at the hands drawn on the wall. Remember their positions and their signals.
Go to the quartz room and place the missing hand into the statue.
Change the hand positions using the clue from the wall. Once you solve this puzzle, take the second quartz and the note about the tree puzzle clue.

Place the second quartz in its place.

Look at the note you just picked from the statue.
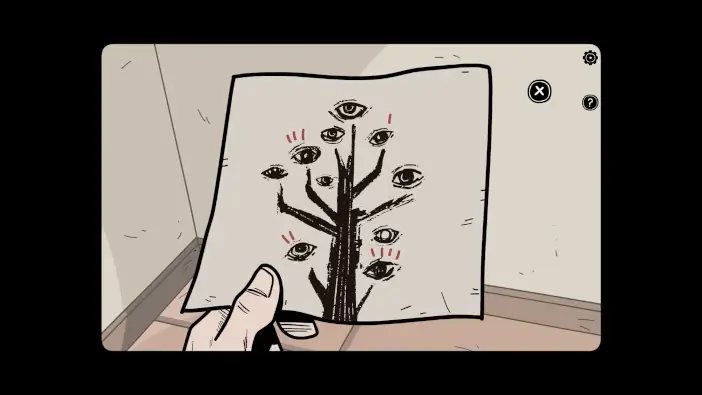
The note will show which eye on the wall to tap on and in which order.
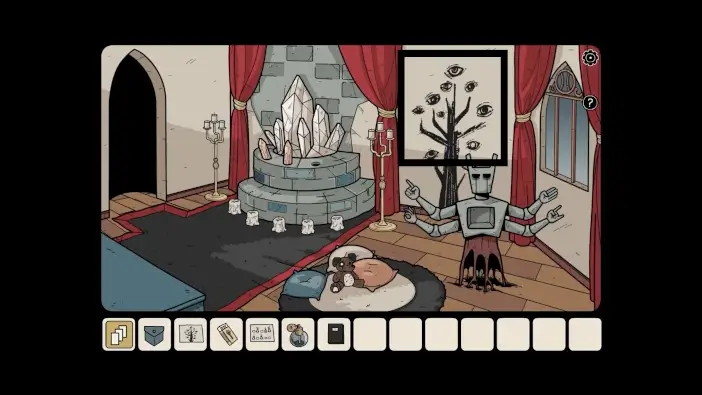
Approach the tree on the wall.
Tap on the eyes in the order shown in the note. Once you tap on the eye, it will blink several times. Remember how many times the first eye blinks, then the second one, etc…
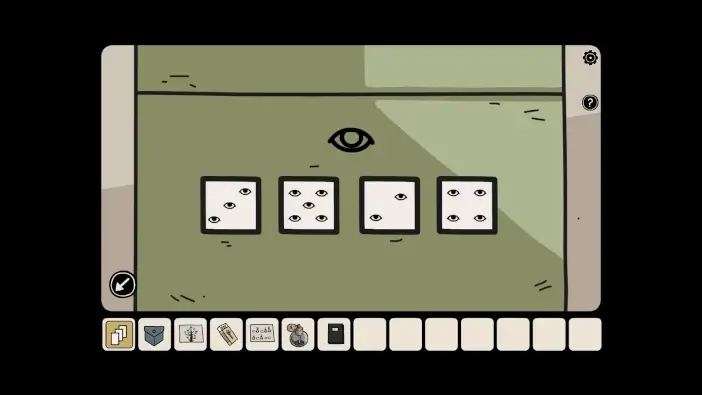
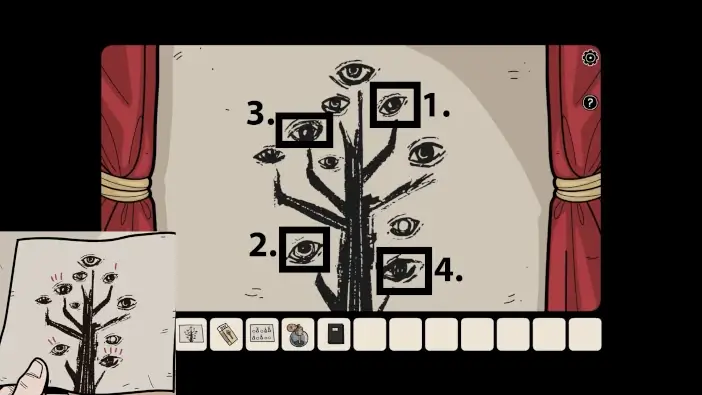
Go to the hallway and approach the box on the left. The first eye on the painted tree blinked thrice, the second eye blinked five times, the third eye blinked twice, and the fourth eye blinked four times. Take the crystal ball and the straight razor from the box.
Go to the quartz room and approach the plush dog.

Use the straight razor to cut the stomach of a plush dog. Pick the box of crayons from the plush dog.
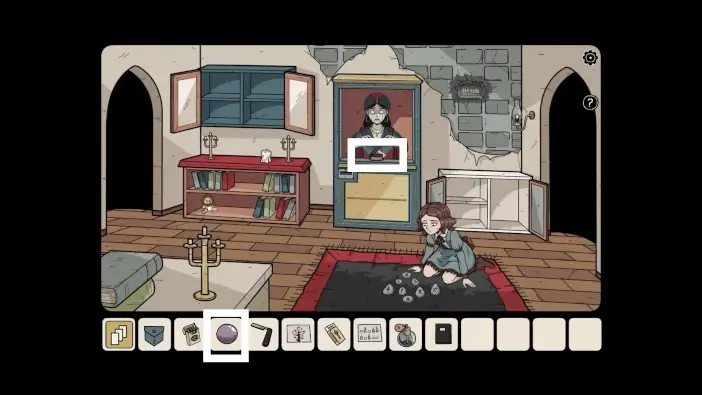
Go to the game room. Place the crystal ball on the fortelling machine.
Speak with the girl. After the conversation, give the box of crayons to the girl.
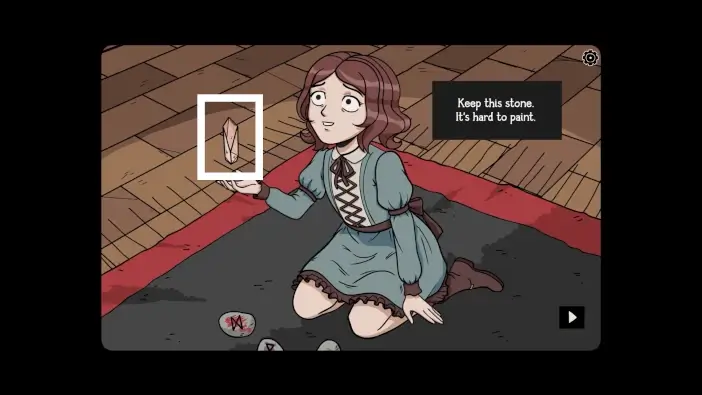
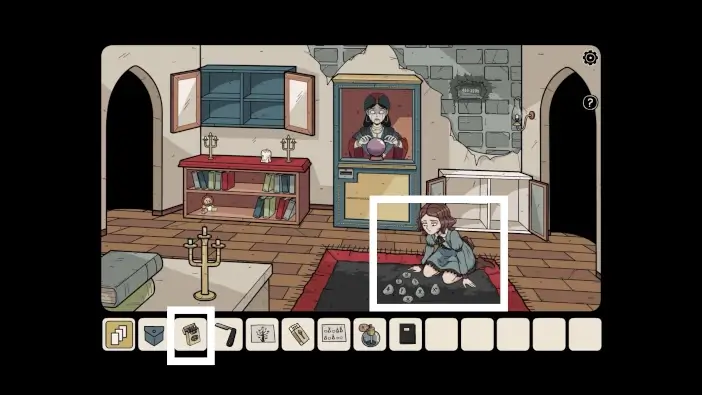
Take the third quartz.
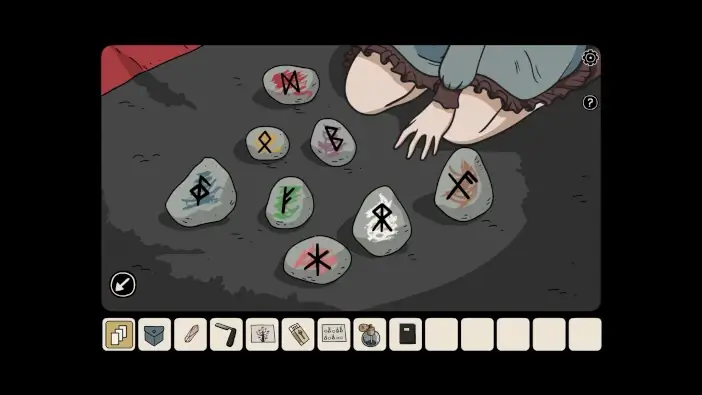
Take a look at the runes on the stones and their colors. This is only the first clue for the next puzzle.
Go to the quartz room and place the third quartz in its place. The giant quartz will start shining in different colors. Remember the order in which colors appear, then remember which runes are colored in these colors. You will get the order of runes you need for the padlock.
Go to the ghost room and approach the large chest.
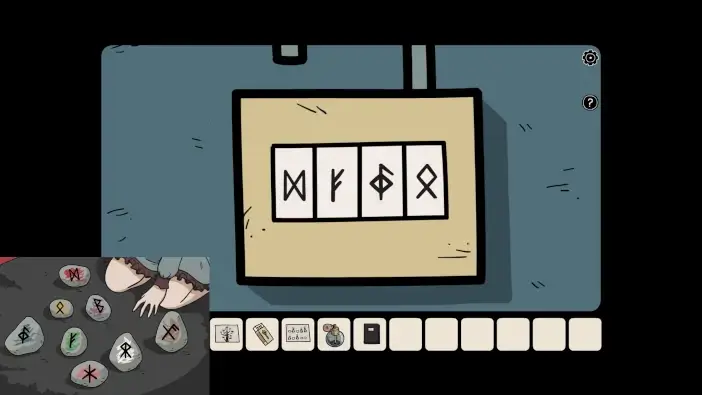
Change the runes like in the picture above, following the two previous clues. Take the firewood and the dragon figurine.
Go to the kitchen and place the firewood in the oven.
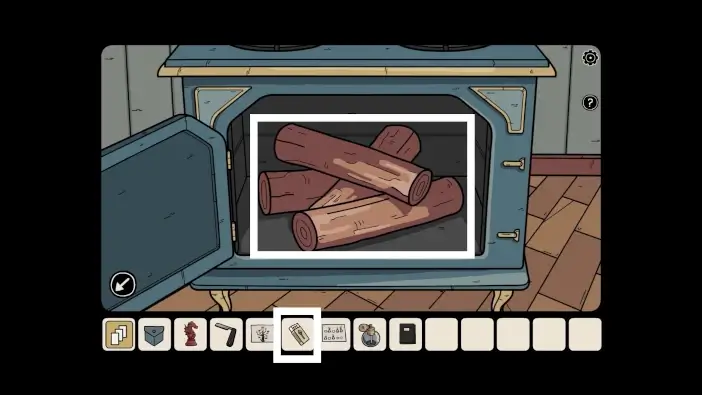
Use matches to light the firewood.
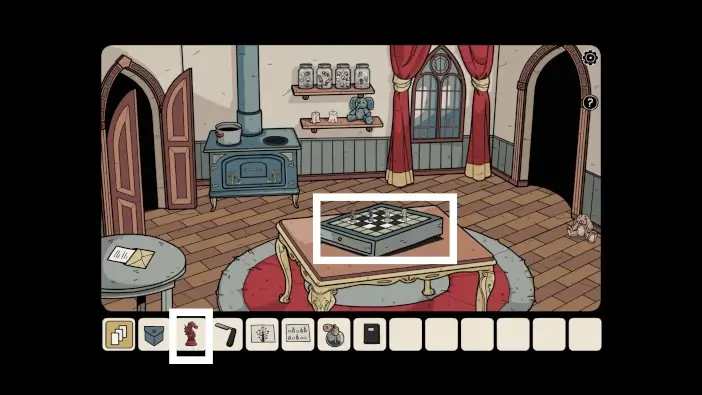
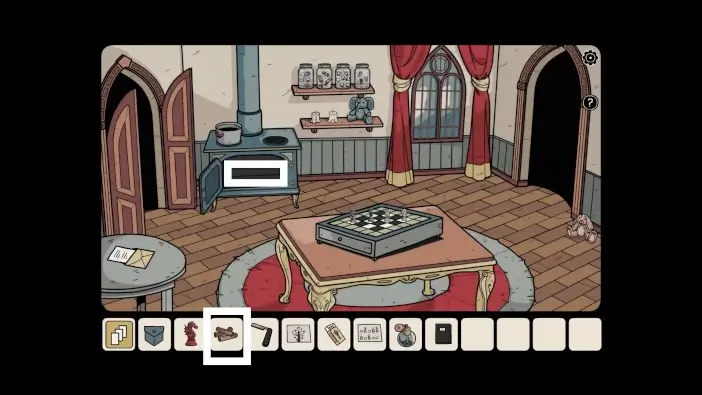
Place the dragon figurine on the board game.
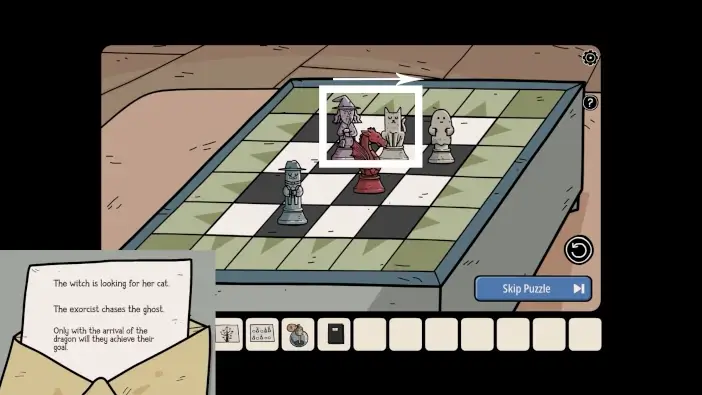
Follow the clues you got from the note when you arrived at the mansion. The witch needs to catch a cat. The cat will move in the same direction as the witch, but other figures can block her. Move the witch to the end of the board, and then the witch will appear on the opposite side of the board. Use the moves that will block the cat (for example, if you move the witch to the right and the cat has a ghost to the right, the cat will not move). Catch the cat with the witch.
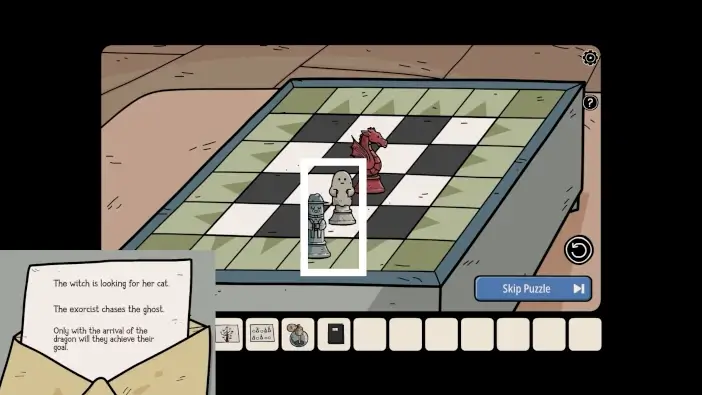
The same rules apply to other figures. Priest needs to catch a ghost. The Dragon will be useful to block the ghost.
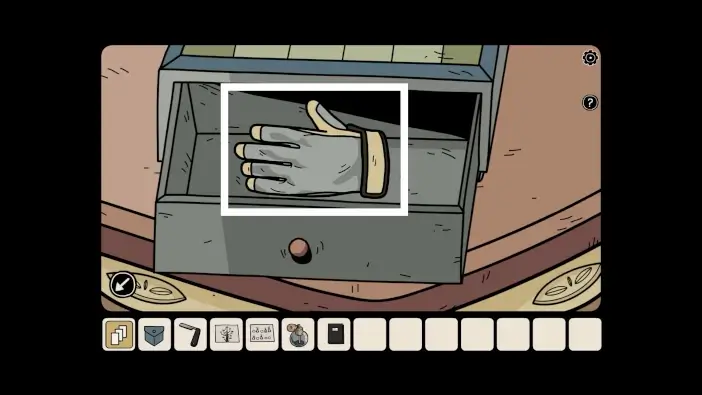
Once you solve the previous puzzle, take the gardening glove.
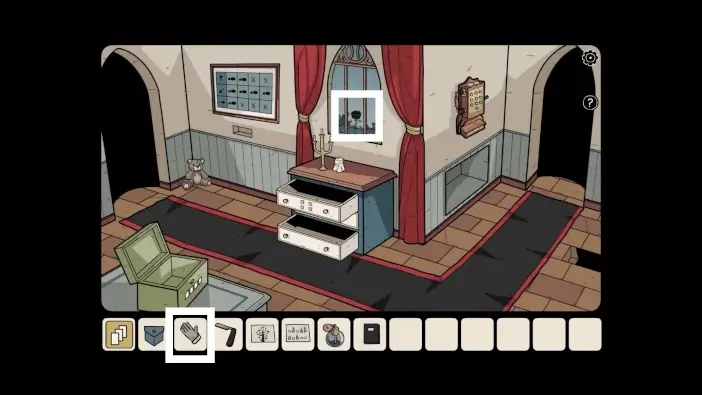
Go to the hallway and use the gardening glove to take the black rose.
Go to the kitchen and put the black rose into the pot.
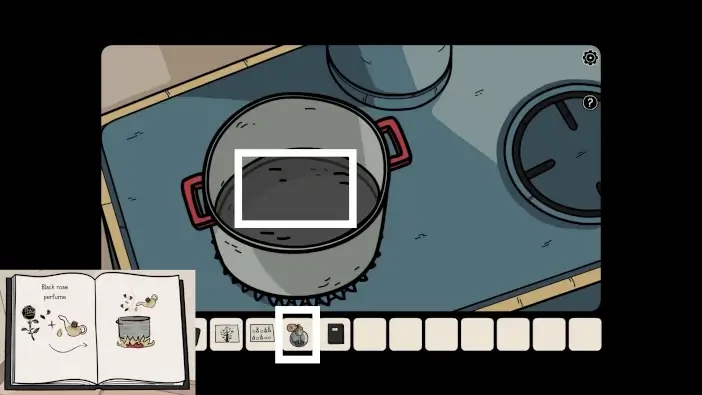
The perfume will be ready. Fill the perfume bottle.
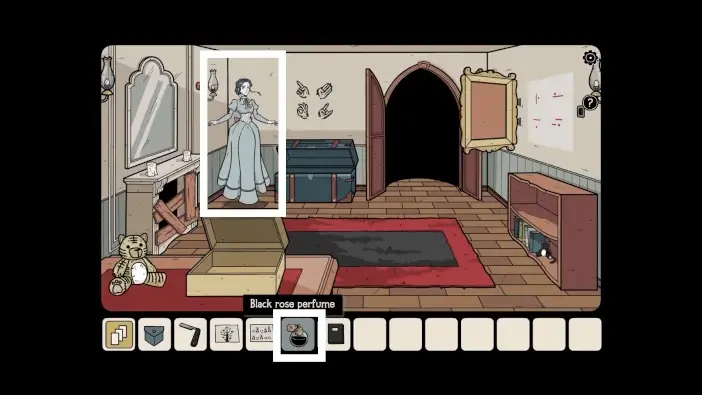
Go to the ghost room and give the black rose perfume to the ghost lady. She will disappear, and she will leave a ticket for the foretelling machine.
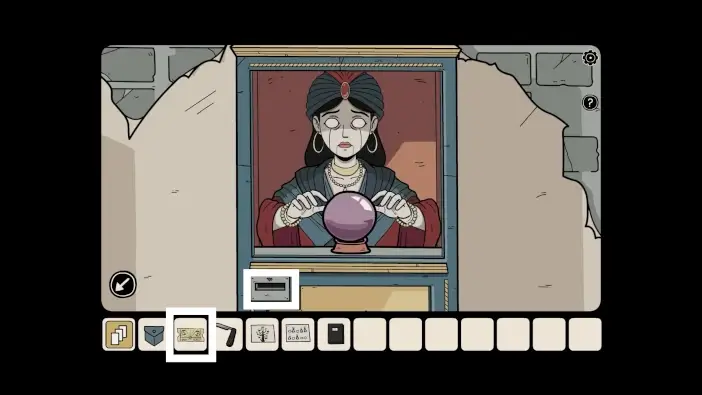
Go to the game room and approach the foretelling machine. Insert the ticket that you got from the ghost lady.
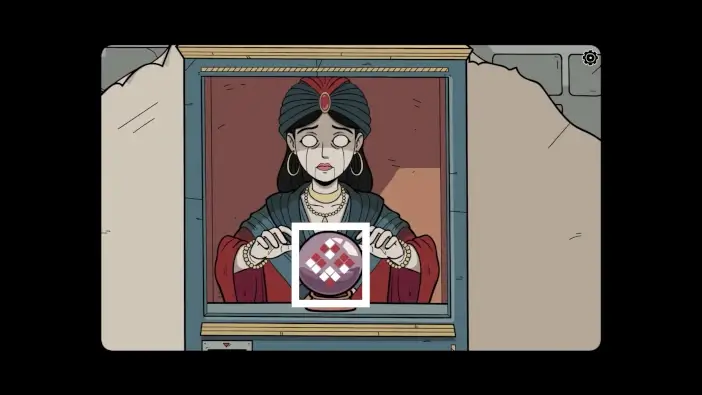
Remember the pattern in the crystal ball.
In the memory menu, return to the unknown place. Go to the exit area and approach the box on the left.
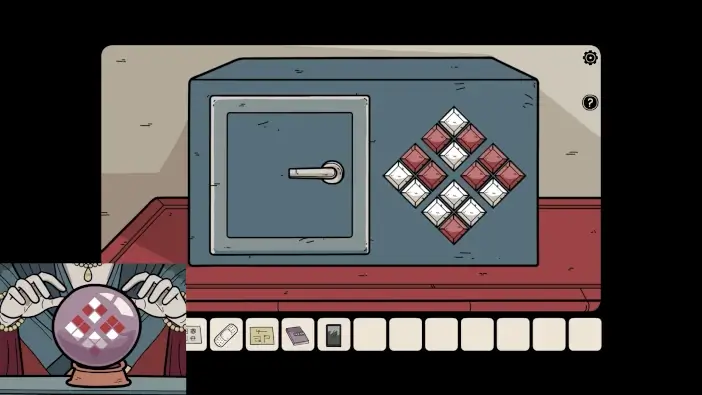
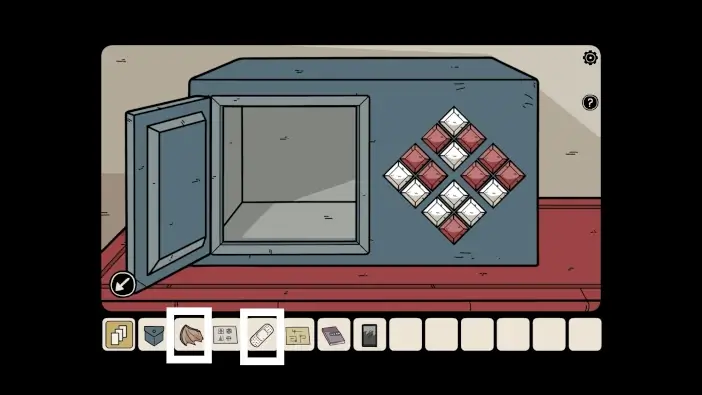
Activate the same buttons as shown in the crystal ball before to have the same pattern. Once you unlock the box, take the bat wing.
Place the adhesive bandage on the bat wing.
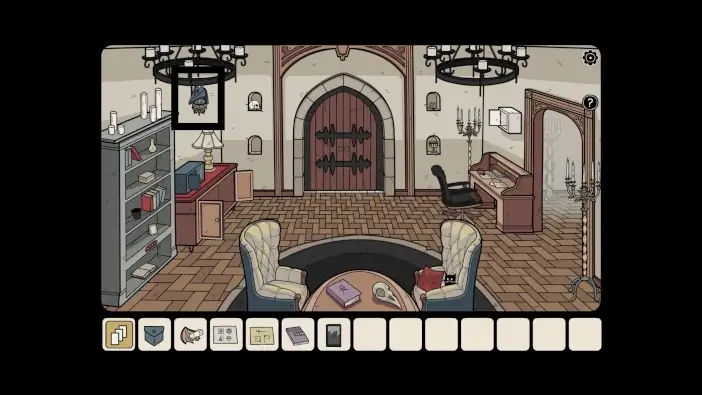
Approach the bat on the left chandelier.
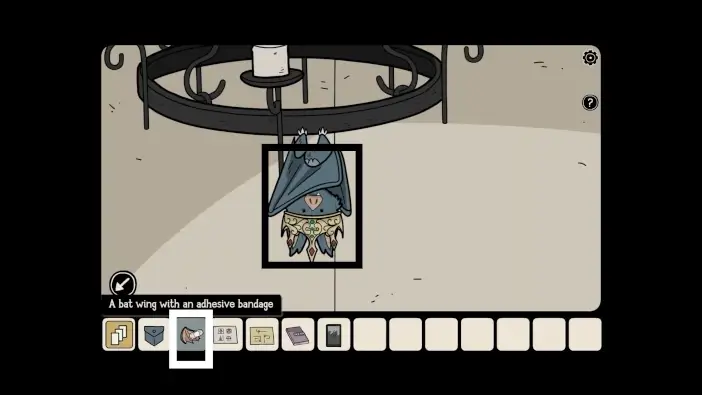
Give the bat the bandaged wing.
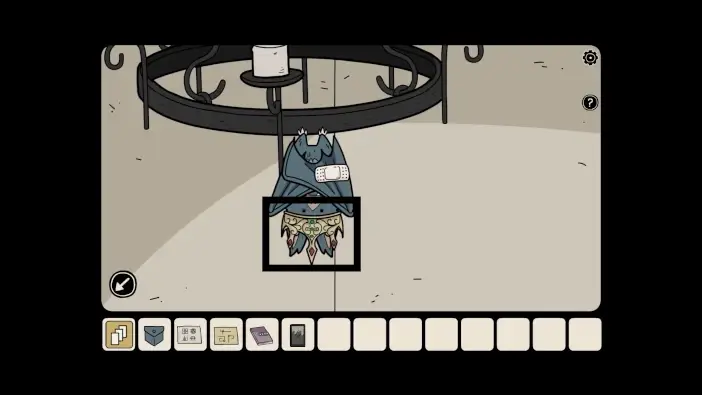
Take the crown from the bat.
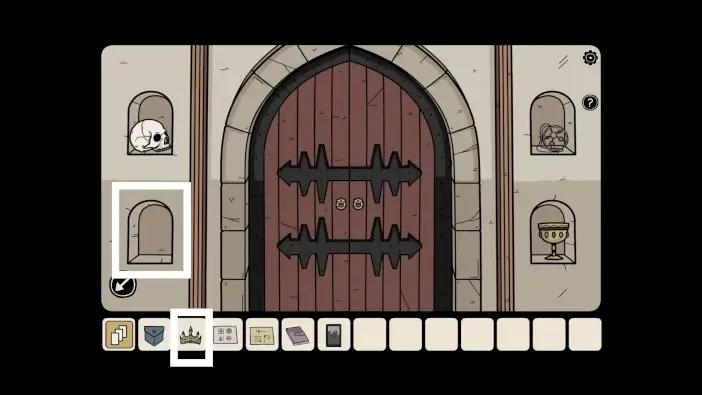
The crown is the last endgame item. Place it in its spot.
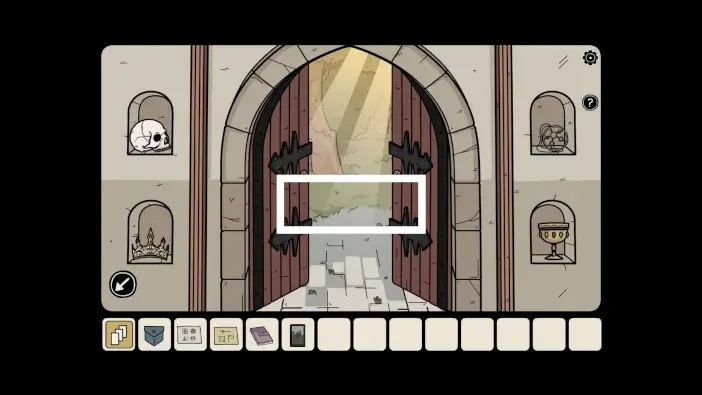
Exit the unknown place and watch the surprising ending.
This will mark the end of Part 5 of our guide for Hidden Memories.
Thank you for reading!