Hidden Memories – Part 3 | Garden
Intro
Welcome to our walkthrough for Part 3 of Hidden Memories from Dark Dome. Help our protagonist recall how he arrived at a strange, unknown place and identify the mysterious girl he keeps seeing in his memories.
Walkthrough
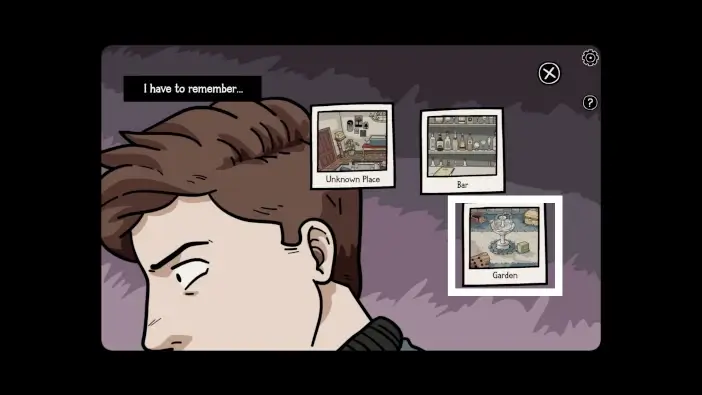
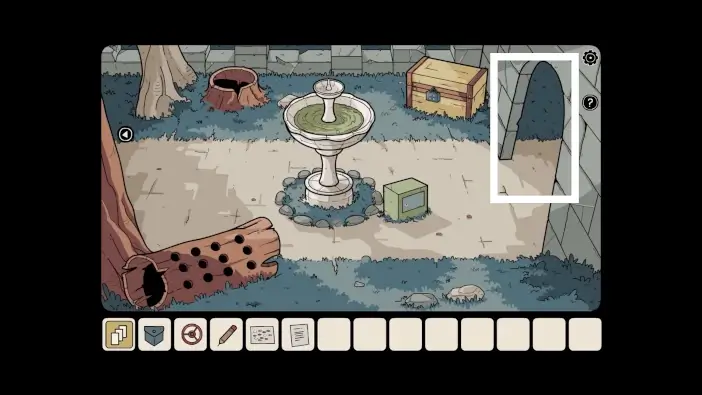
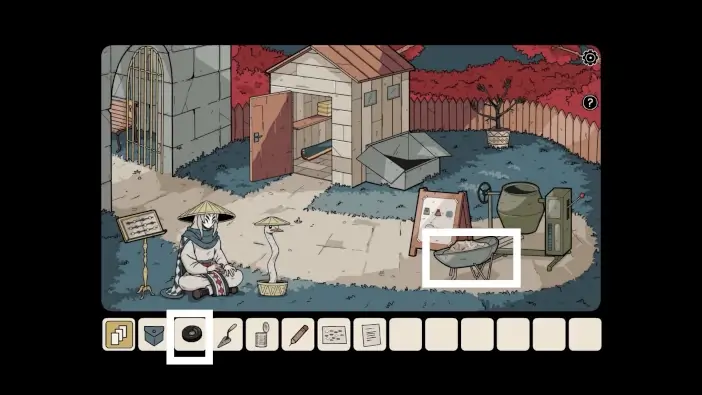
In the memory menu, choose the garden.
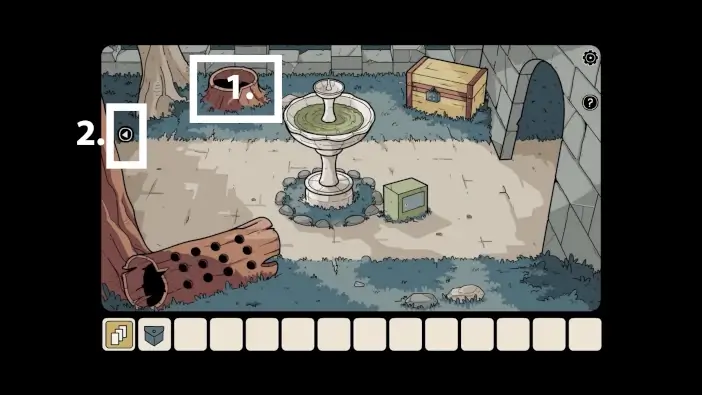
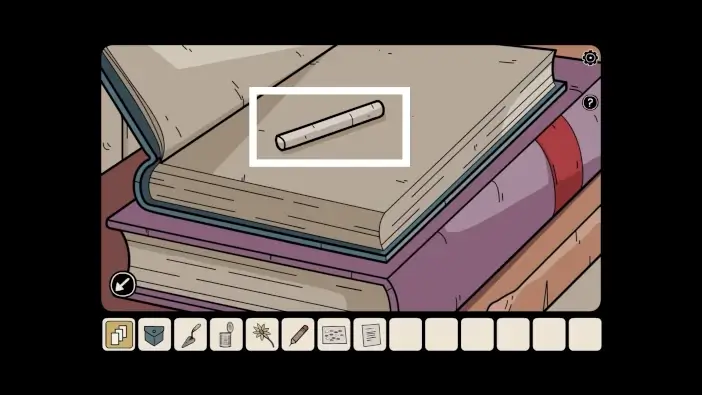
- Approach the stump and take the note inside it. You will use this note as a clue when you need to draw on a blackboard.
- Go left.
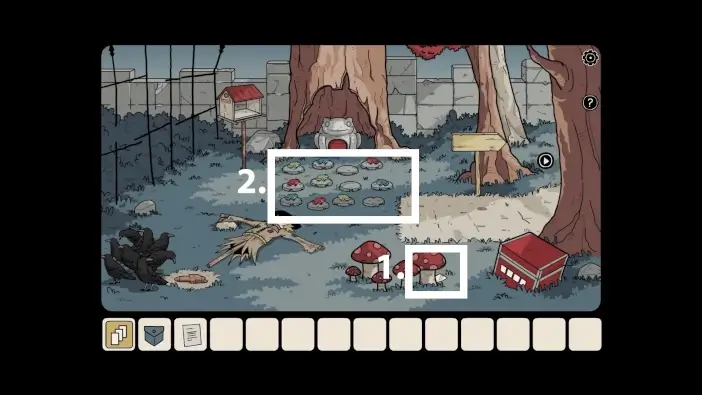
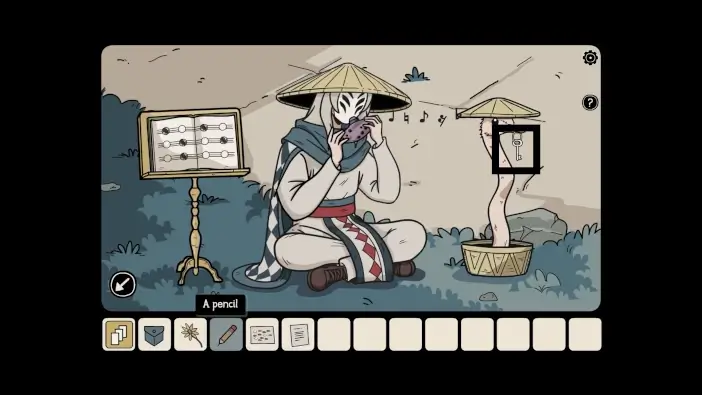
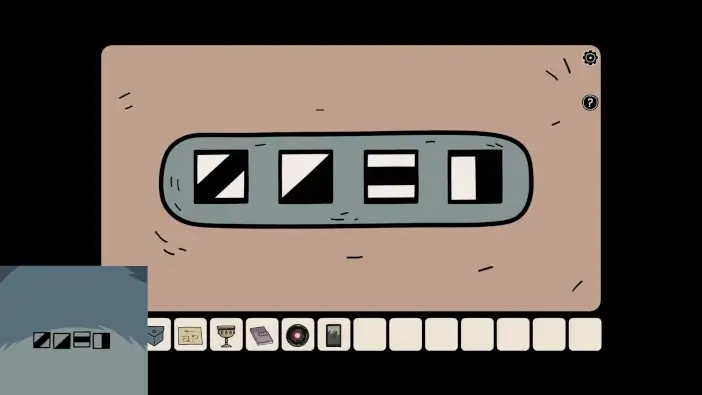
- Take the note behind the mushrooms. This note is a clue to the puzzle about frogs.
- Approach the frogs.
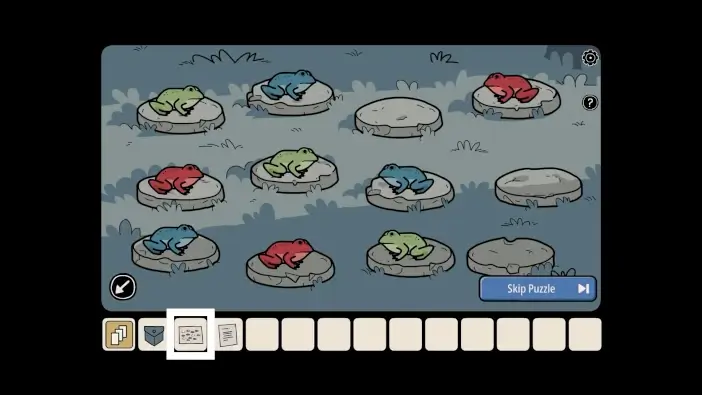
Take a look at the note you found behind the mushrooms.
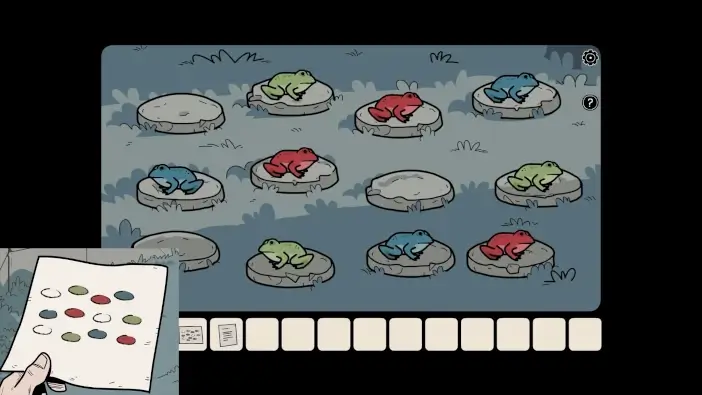
The note will show which fields should be empty and which fields should have frogs of a specific color. Swipe the screen to move a frog to another field. The solution is in the picture above.
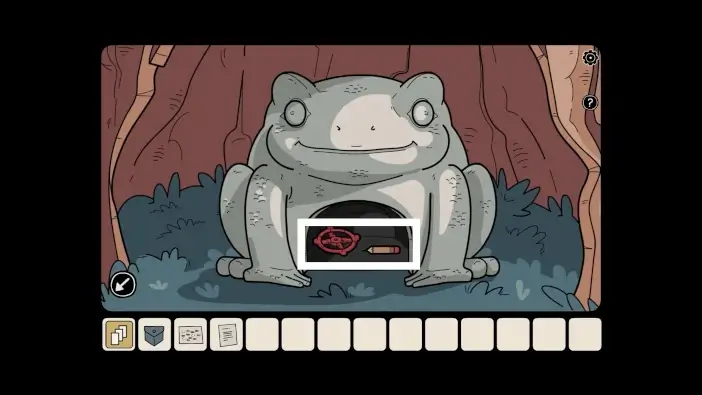
Once you solve the frog puzzle, the frog monument will reveal two items. Take them. You’ll need the valve for a pipe to fix the fountain. As for the pencil, you will need it to mark notes for a masked musician.
Approach the tree behind the signpost.
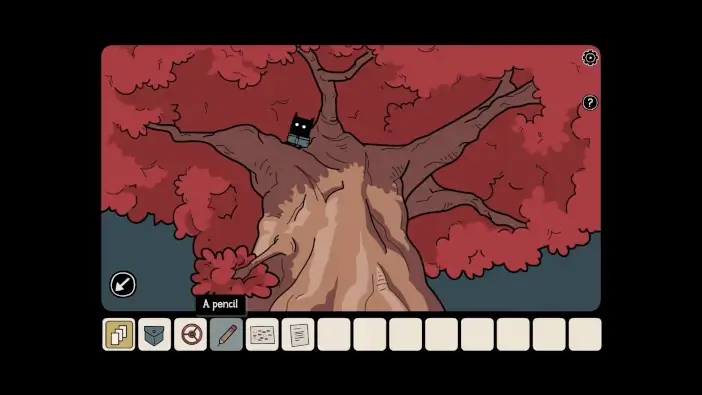
Once you approach the tree, you will find another shadow.
Go right to the fountain area, then right again.
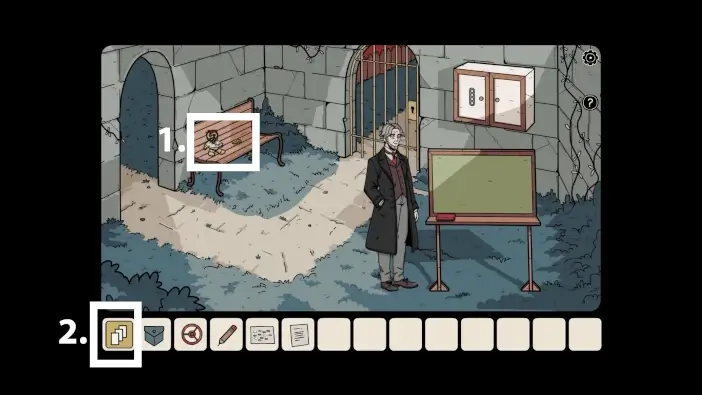
- Approach the bench. Pick up the key for the fountain pipe access and take the lost soul.
- Access the collectibles menu.
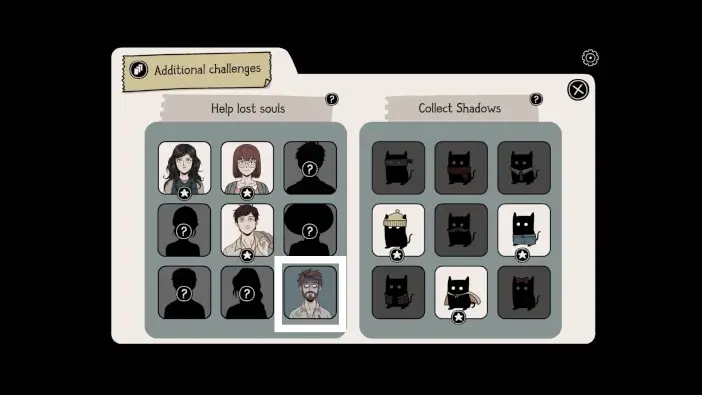
Find Joe in the lost souls menu. Tap on his portrait and then on the Play button.
Find all ten items that are listed to help Joe.
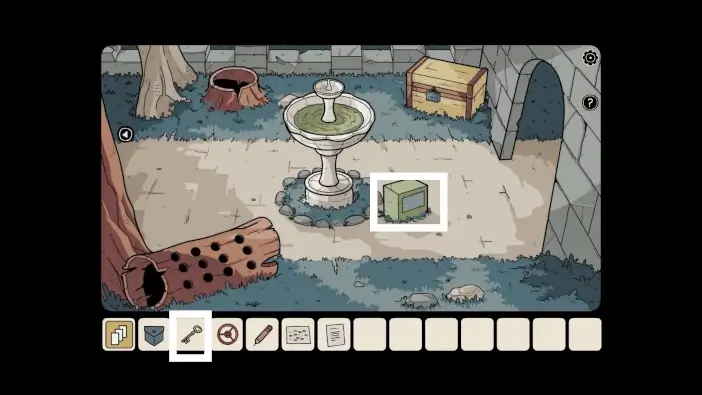
Return to the fountain area and approach the box next to the fountain. Unlock it with the key you just picked up from the bench.

Attach the valve to the pipe, then turn the valve. The water will flow in the fountain.
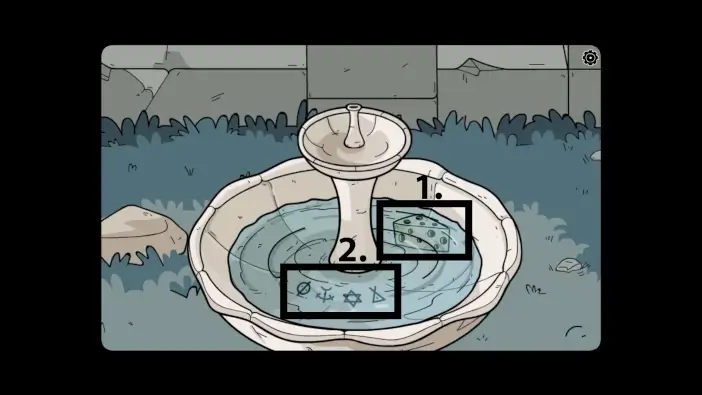
- Take the cheese. You will use it soon.
- Remember the symbols in the fountain. You will need them to open a chest in the frog area.
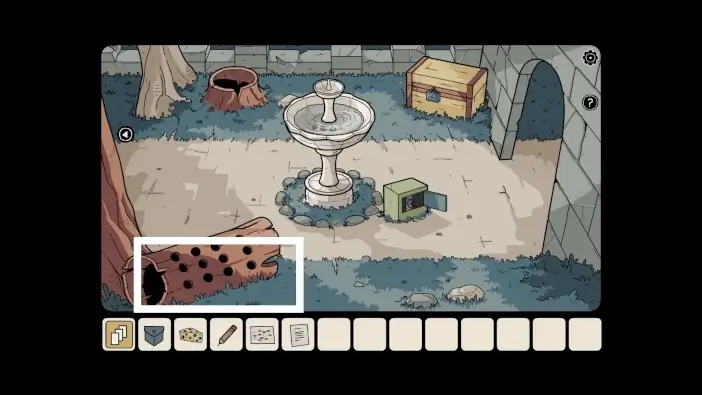
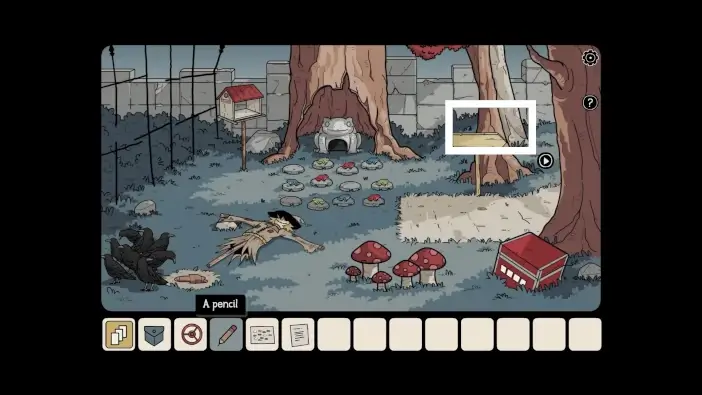
Approach the tree trunk on the left.
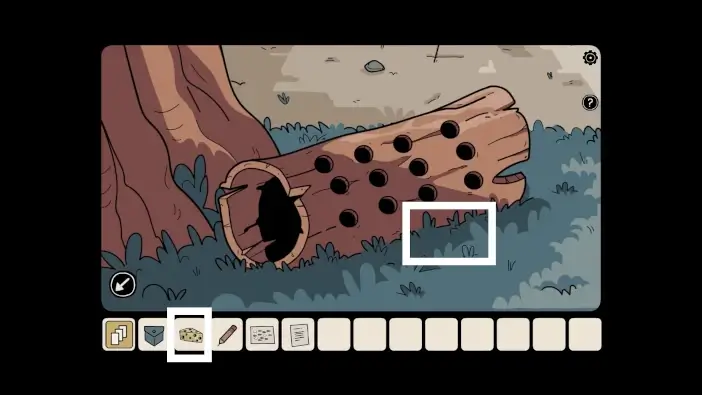
Place the cheese in front of the tree trunk.

Mice will smell the cheese, and they will appear from the holes. Their positions on the trunk are a clue to which notes you need to mark for the masked musician.
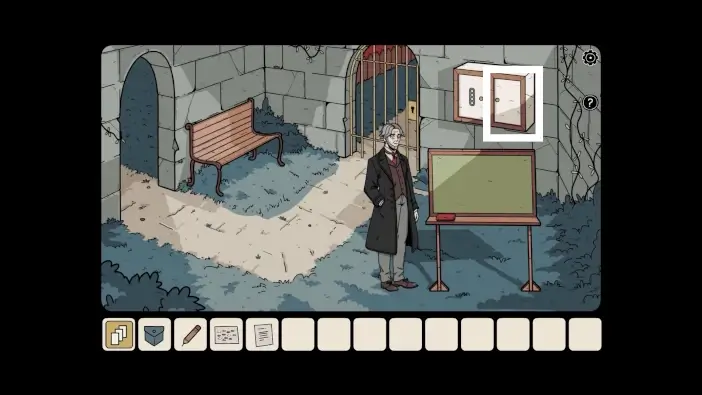
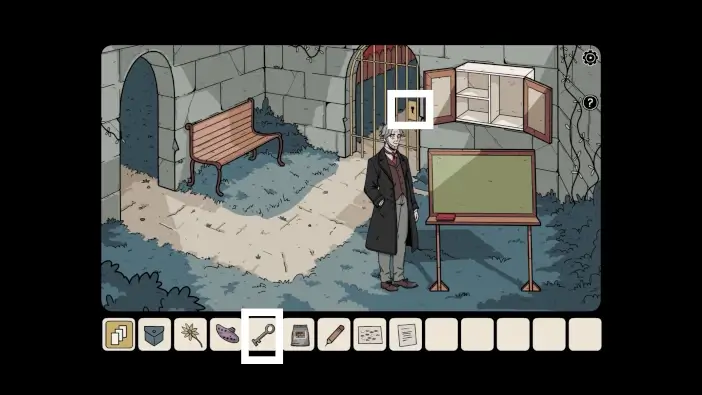
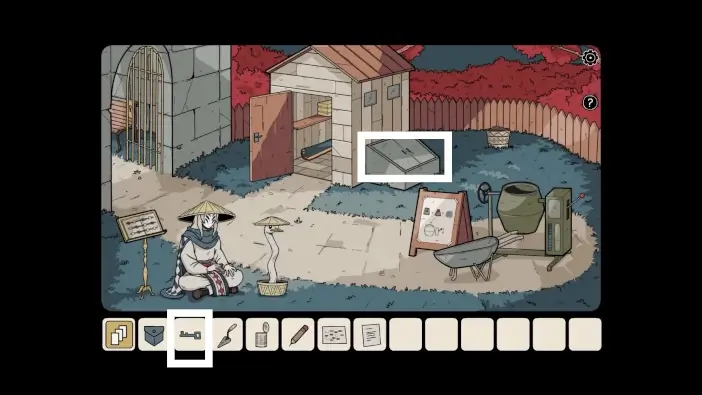
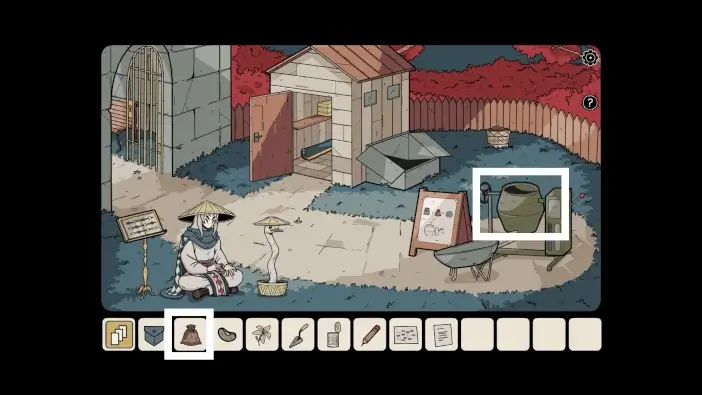
Return to the area where the bench and blackboard are and open the right side of the cabinet. Pick up the bag of cement.
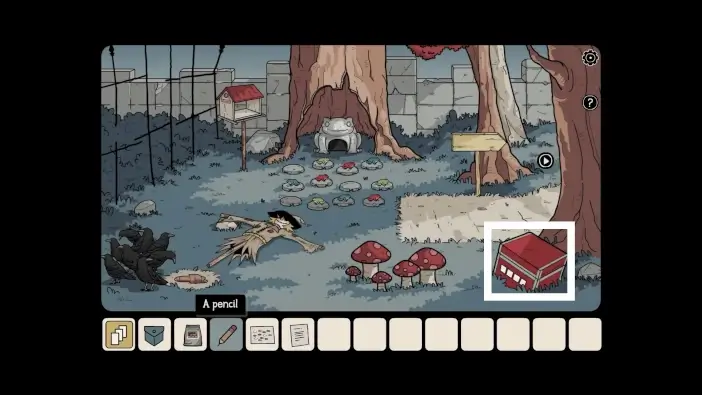
Go to the frog area and approach the red chest.
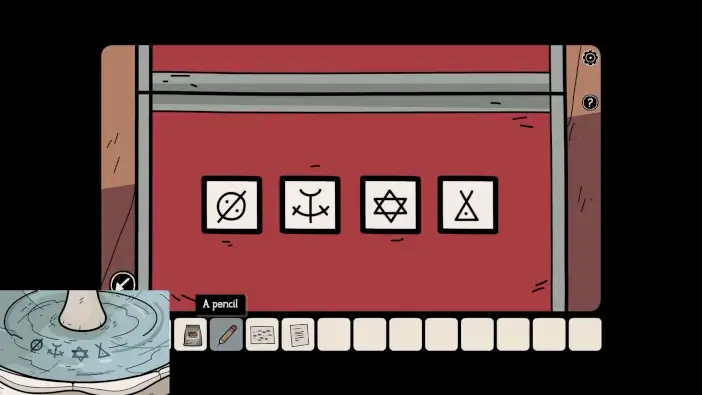
To unlock it, use the symbols you saw in the fountain. Take the bird food and the key to the new area.
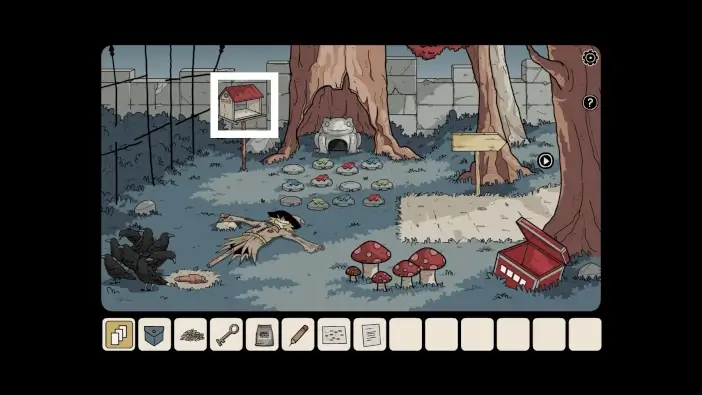
Approach the bird house.
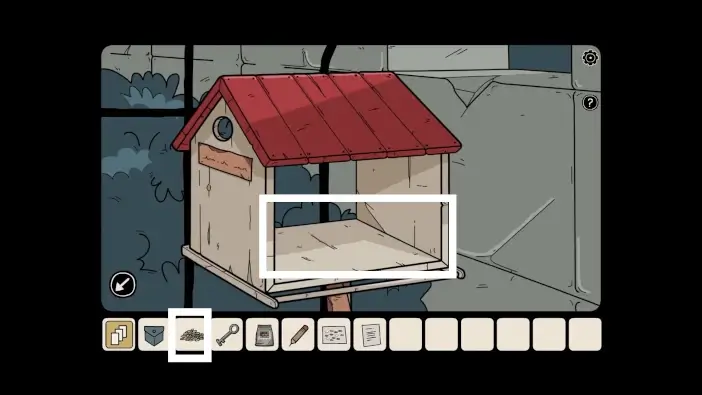
Place the bird food in the bird house.
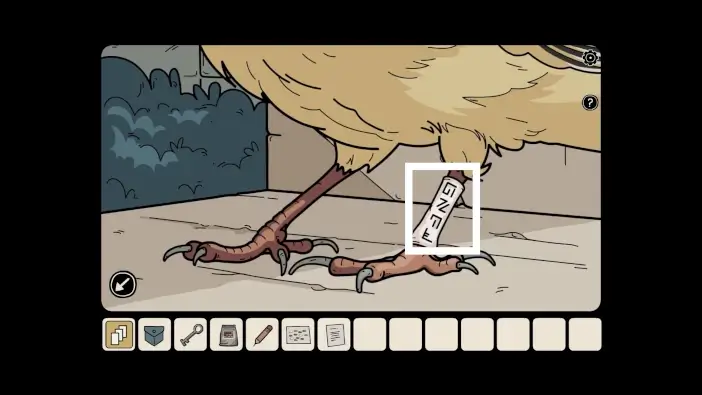
A bird will appear. Take a closer look at the bird’s leg. Remember the symbols.
Return to the bench area and approach the left side of the cabinet.
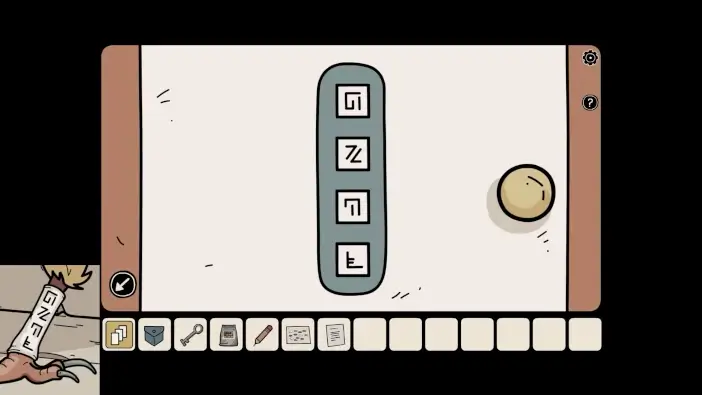
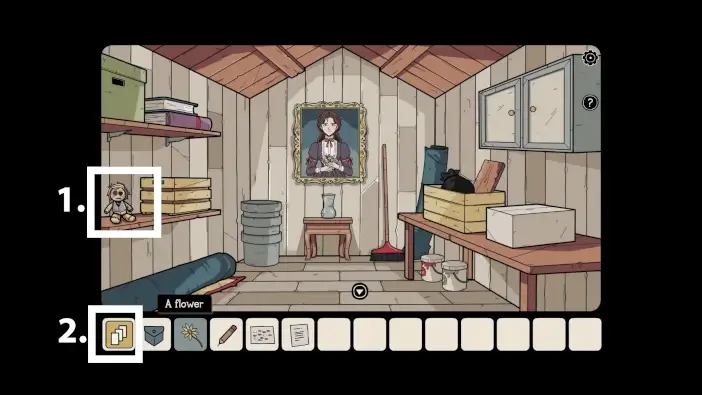
Place the symbols in order, like on the bird’s leg. Take the ocarina and the flower. You’ll need to give the ocarina to the masked musician. As for the flower, you’ll need to collect four flowers and place them in a vase inside the shed in the next area.
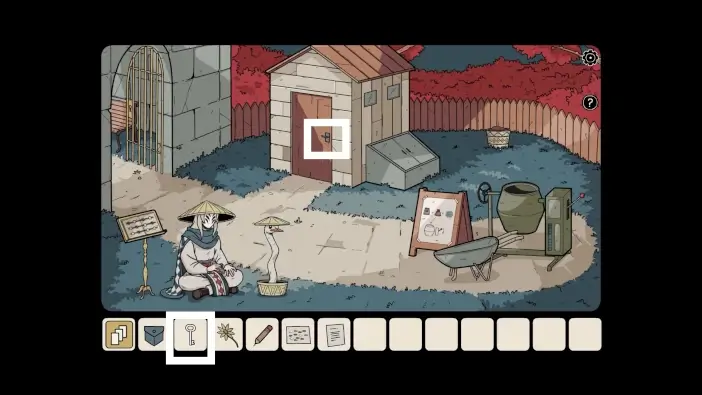
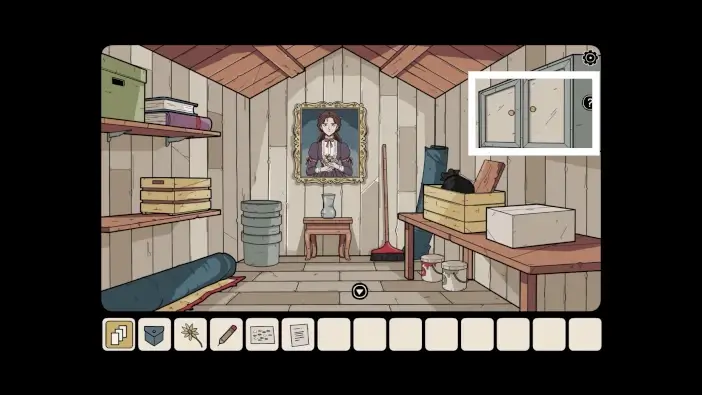
Use the key you got from the red chest to unlock the gate to the shed area.
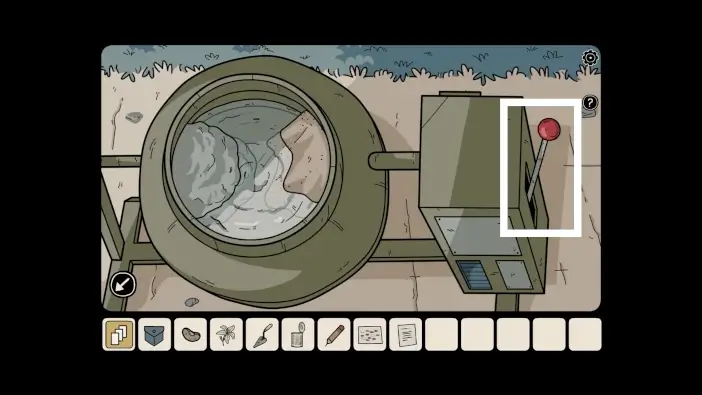
- Take a look at the instructions on how to make mortar. You already have a bag of cement in your inventory.
- Place the bag of cement into the mortar mixer.
- Speak with the masked musician.
- Give the ocarina to the masked musician.
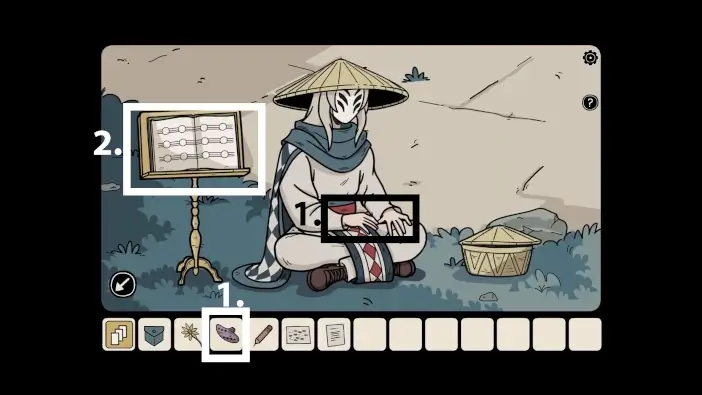
- Approach the notebook.
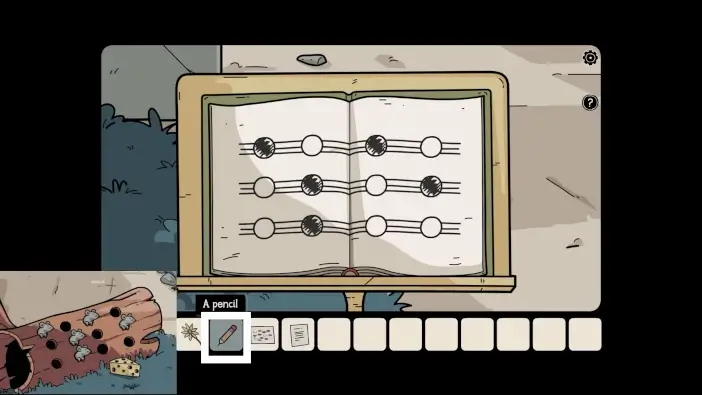
Use a pencil from your inventory to mark certain notes. The positions of mice in the tree trunk are the clue for which notes to mark.
Tap on the masked singer, and he will look at the notes and start playing. The strange animal will appear with the key to the shed. Take the key.
Unlock the shed with the key you just got and enter.
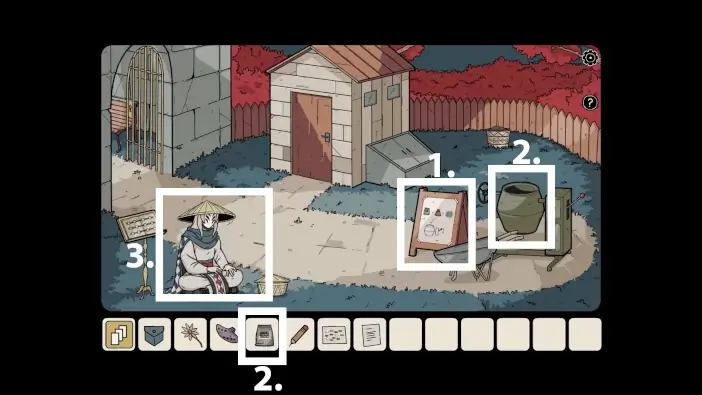
- Inside the shed, take the lost soul from the shelf on the left.
- Access the collectibles menu.
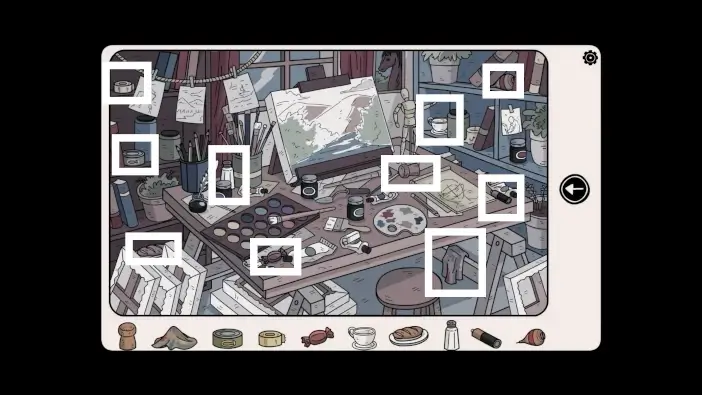
Find Alex in the lost souls menu. Tap on his portrait and then on the Play button.
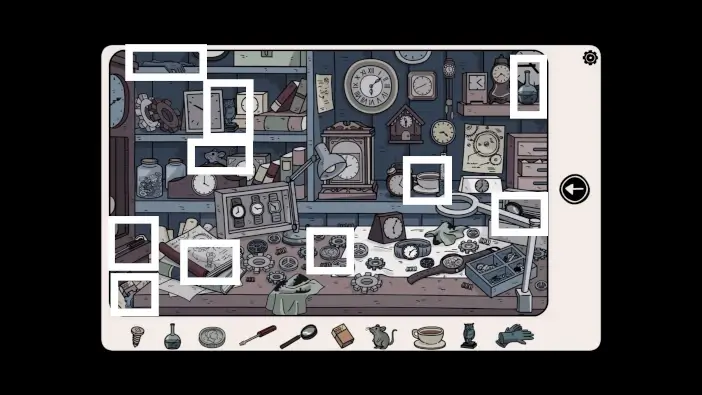
Find all ten items that are listed to help Alex. They are marked in the picture above.
In the shed, approach the cabinet on the right.
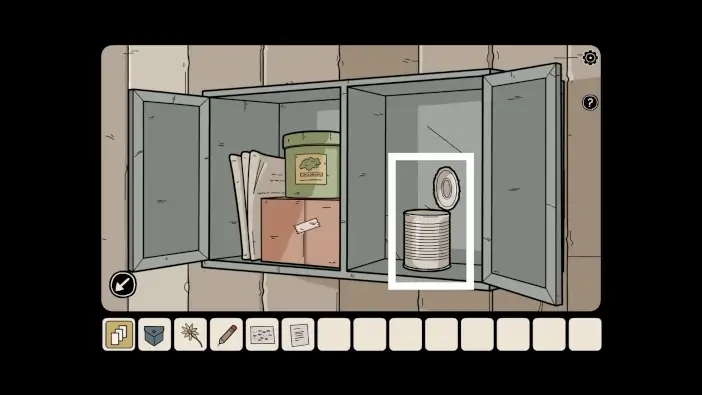
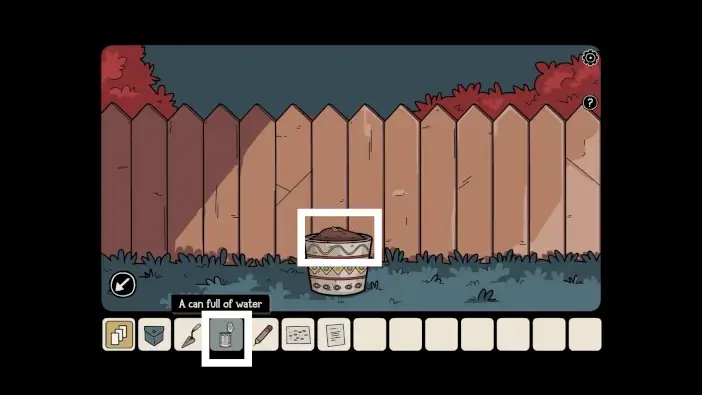
Take the can. You will use it to hold water multiple times.
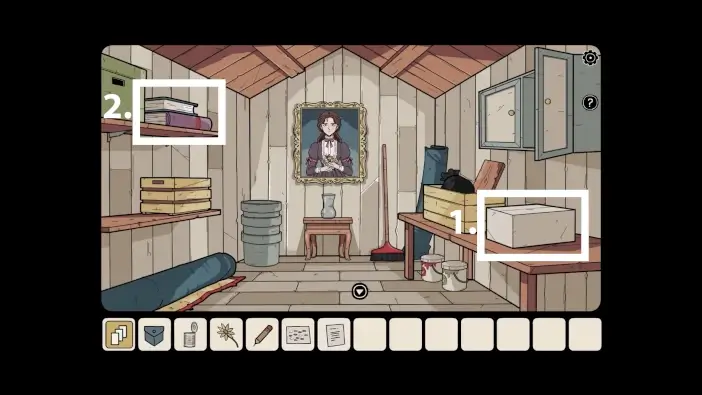
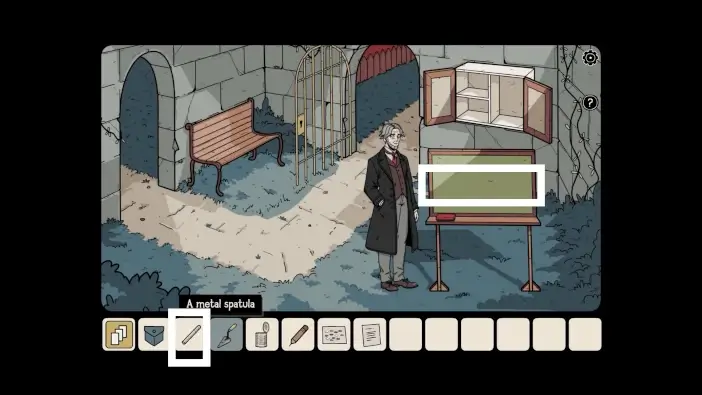
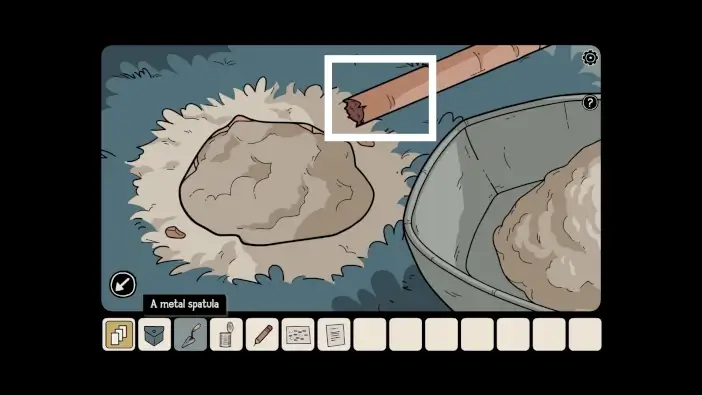
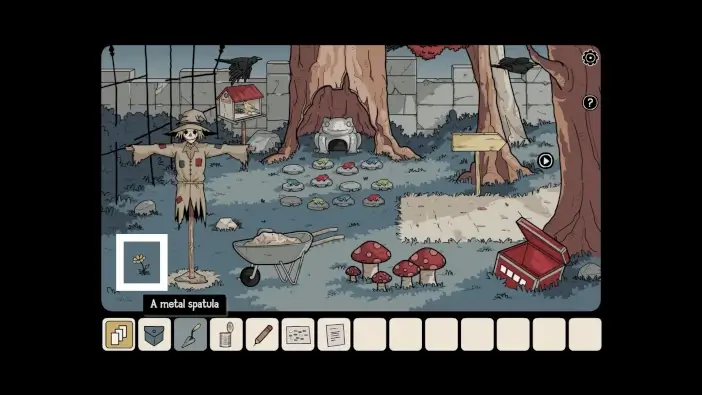
- Open the box on the right table and take the metal spatula. You will need it to put mortar into the hole in the ground.
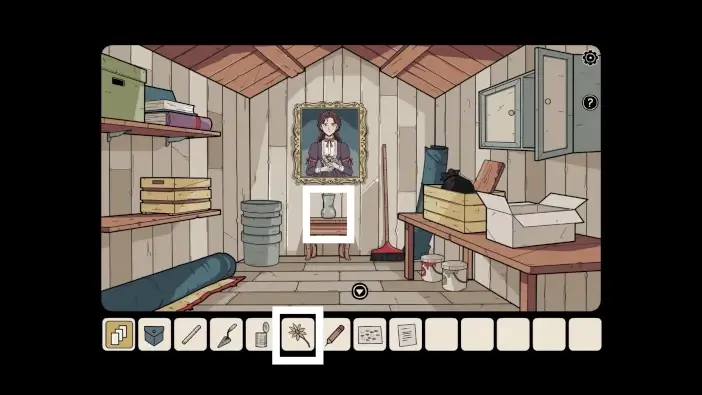
- Approach the pile of books on the upper-left shelf.
Take the chalk. You will need it to draw on the blackboard.
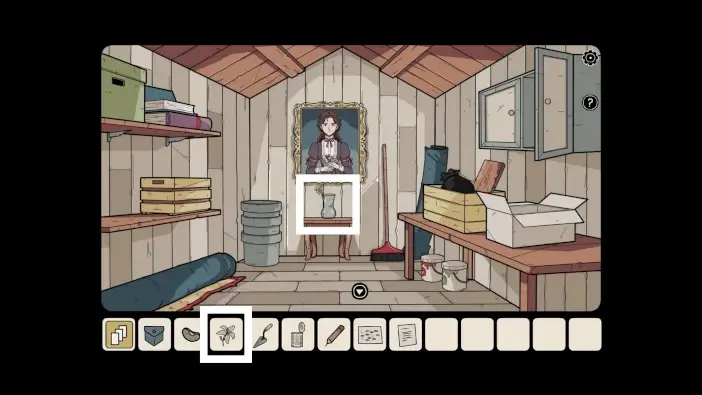
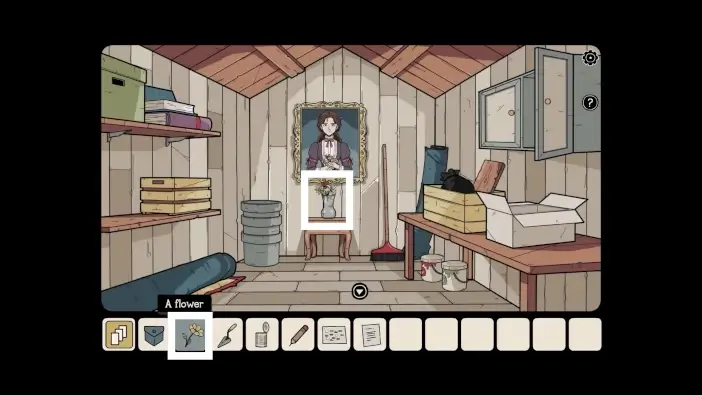
Approach the vase below the painting. You’ll need to put four different flowers in the vase. These flowers are shown in the painting. Place the first flower from your inventory into the vase.
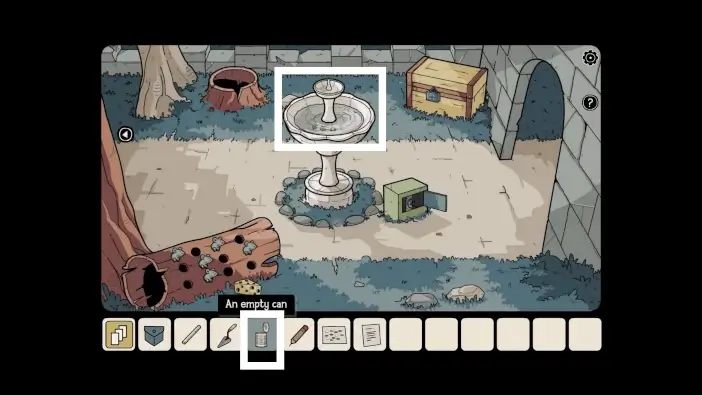
Go to the fountain area and take some water from the fountain using the empty can.
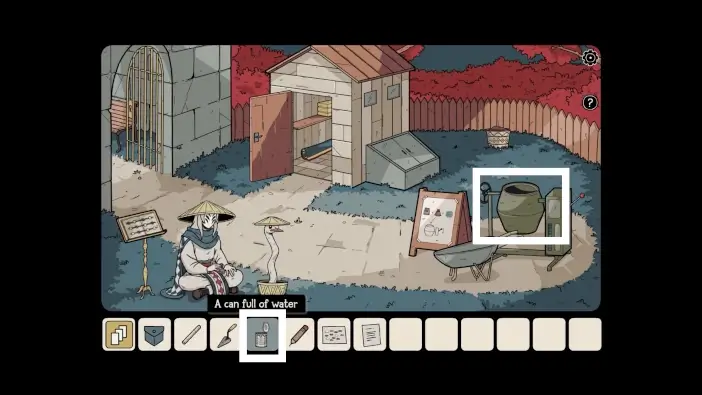
Go to the mortar mixer and place the water from the can into the mixer.
Go to the bench area, approach the blackboard. Place the chalk on the blackboard to start the conversation. The gentleman will say that he wants to see the place where he went on a trip with his parents as a child. Accept to draw the place for him.
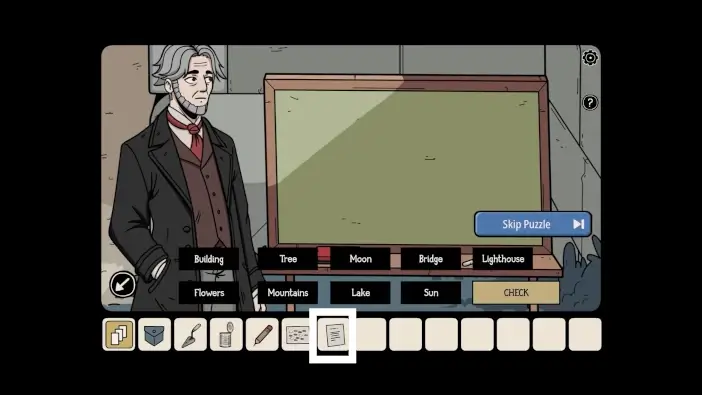
Use the clue on the note you’ve found in the stump near the fountain. In the note, the locations that you need to draw are mentioned.
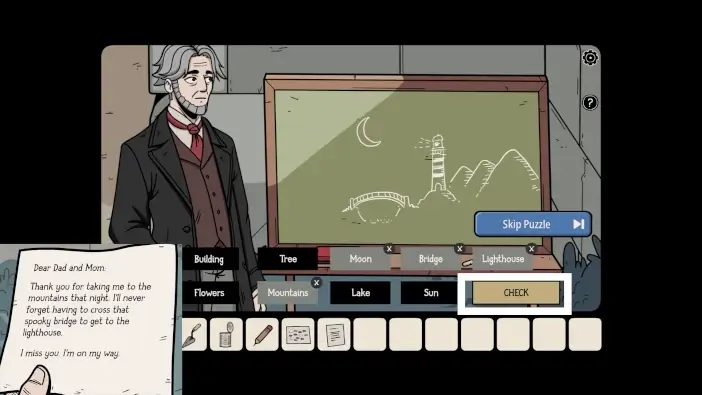
Select the following locations: mountains, moon (because the night was mentioned), bridge, and the lighthouse. After that, tap on the Check button. Once you solve this puzzle, take the blue key to the container near the shed.
Go to the container next to the shed and unlock it using the blue key you just got. Take the second flower (for the vase in the shed), the sandbag (for making mortar), and the black seed. You will need a black seed to grow a plant that will show you another password.
Place the sandbag into the mortar mixer.
Pull the lever of the mortar mixer to mix all the ingredients. The mortar will be poured into the wheelbarrow.
Inside the shed, place the second flower inside the vase.
Approach the flowerpot behind the shed. Plant the black seed in it.

Go to the fountain and refill the can with water.
Return to the flowerpot and water the dark seed.
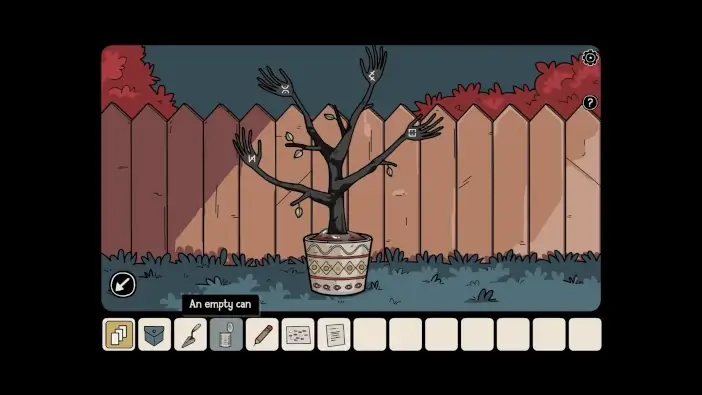
A bizarre tree will grow with branches that resemble human hands. Remember the symbols on the hand-branches.
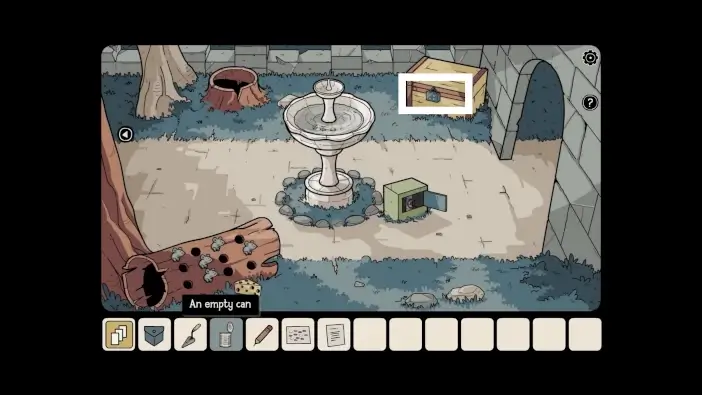
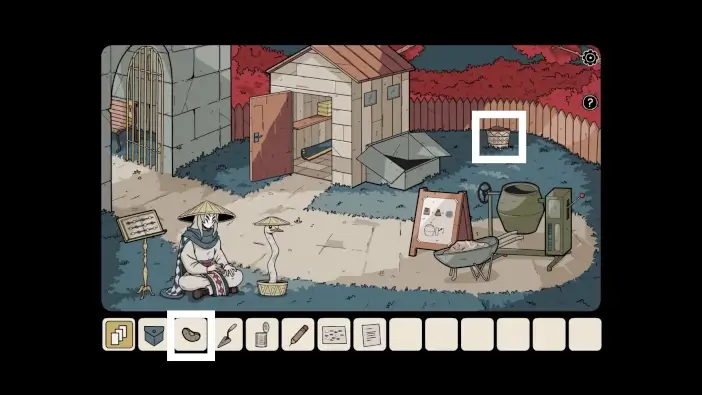
Go to the fountain area and approach the chest in the upper-right corner.
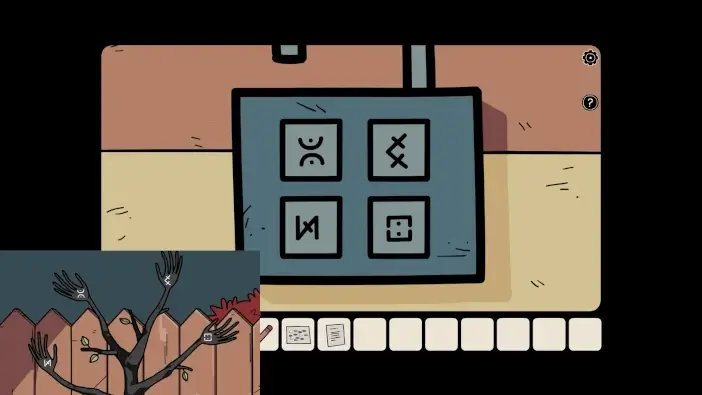
Remember the symbols from the tree and their positions. The solution is in the picture above. Once you unlock the padlock, take the tire (useful to fix the wheelbarrow) and the third flower.

Go to the shed and place the third flower in the vase.
Go outside the shed and attach the tire to the wheelbarrow to fix it. Tap on the wheelbarrow again, and the protagonist will move the wheelbarrow to the frog area.
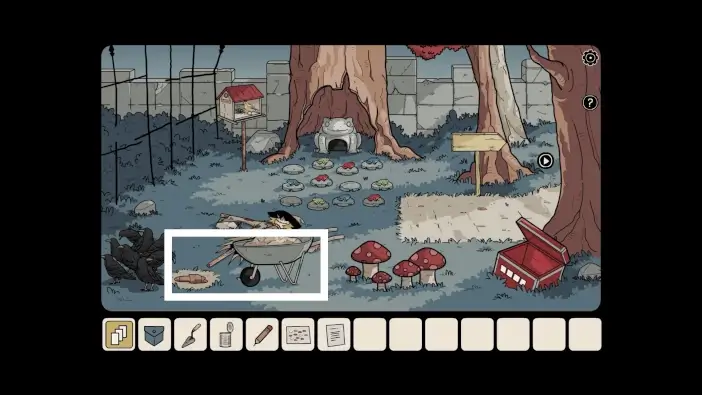
Approach the hole and the wheelbarrow.
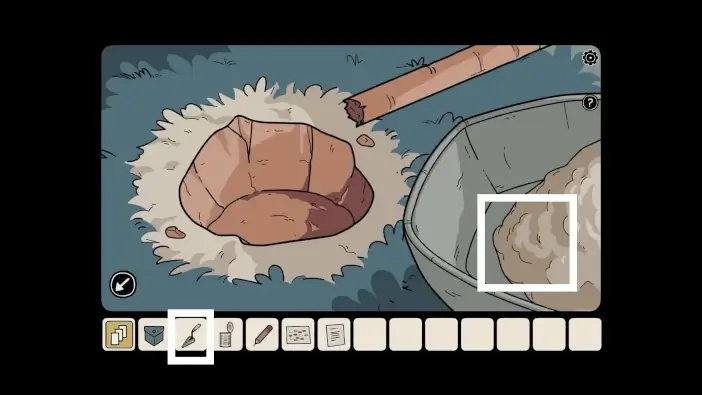
Use a metal spatula to fill the hole with mortar.
Place the scarecrow into the fresh mortar.
Once you place the scarecrow, the crows on the left will move away. Take the fourth flower.
Go to the shed and place the fourth flower into the vase. The painting will disappear, and in its place, the four symbols will appear.
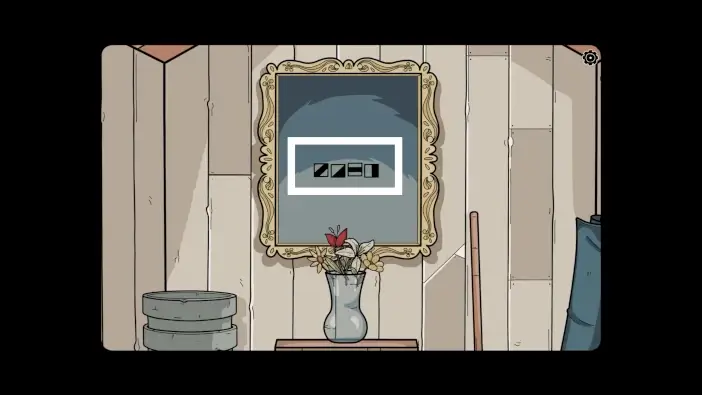
Remember the symbols.
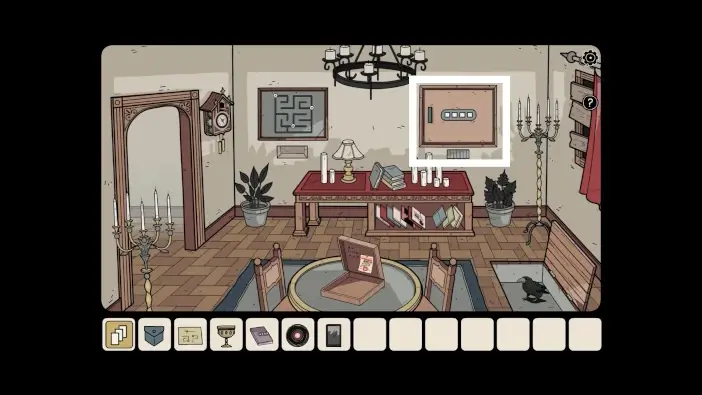
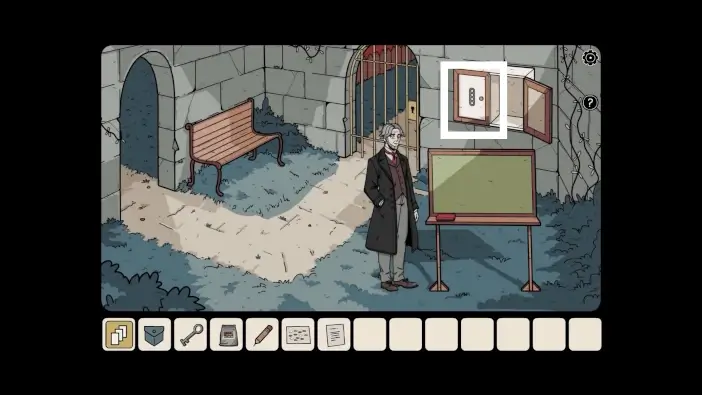
Go to the memory menu and go to the unknown place. In the room where the clock is, approach the safe on the wall.
Change the symbols to be the same as in the shed.
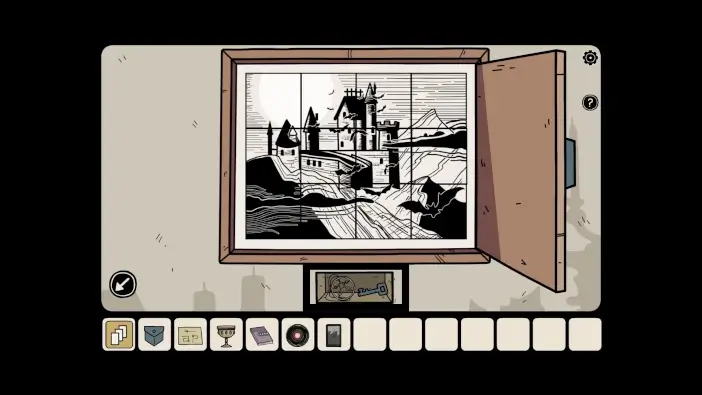
Once you unlock the safe, you will have a puzzle to solve. Assemble the picture of a castle like in the picture above. When you finish the puzzle, a lid will open. Take the blue key and the medallion. Medallion is, like the golden chalice, one of the four endgame items that you need to finish the game.
Go left to the aquarium area and unlock the left door with the blue key you just got. Enter a new room.
- Place the vinyl record on the phonograph.
- Approach the nightstand.
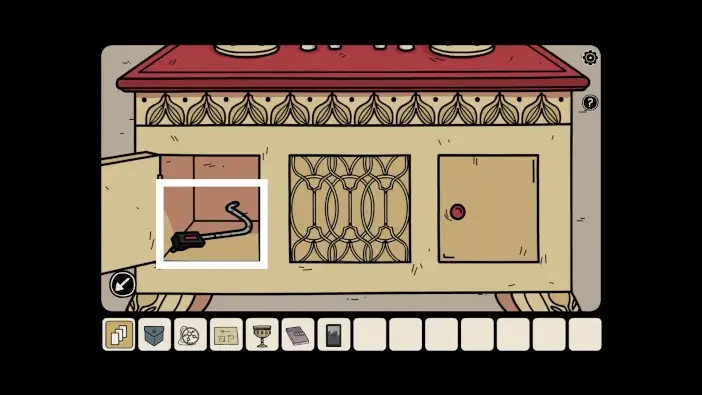
Open the left compartment and take the phonograph arm.
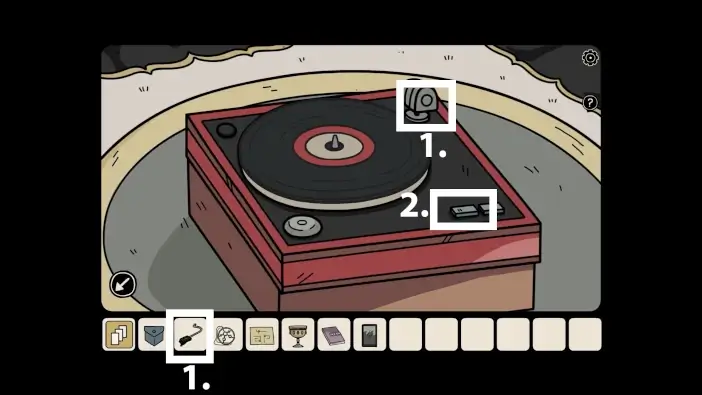
- Attach the phonograph arm to the phonograph.
- Press the Play button to play the record.
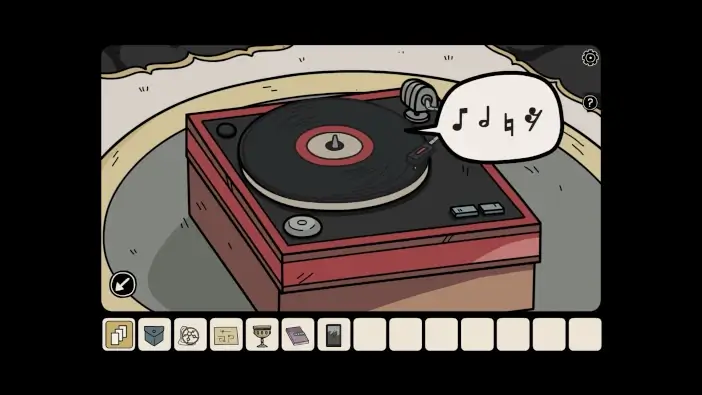
The notes will appear. Remember them.
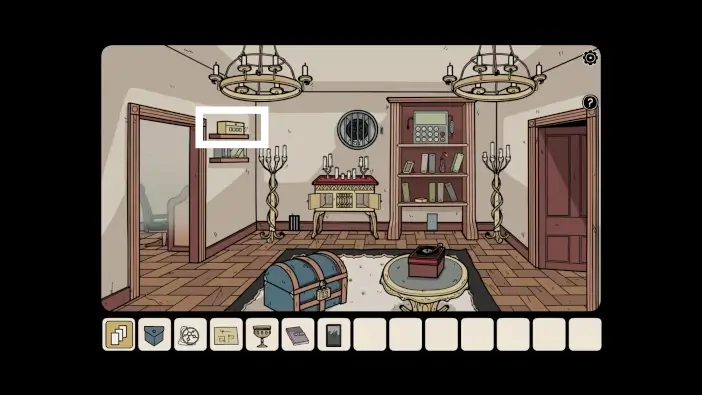
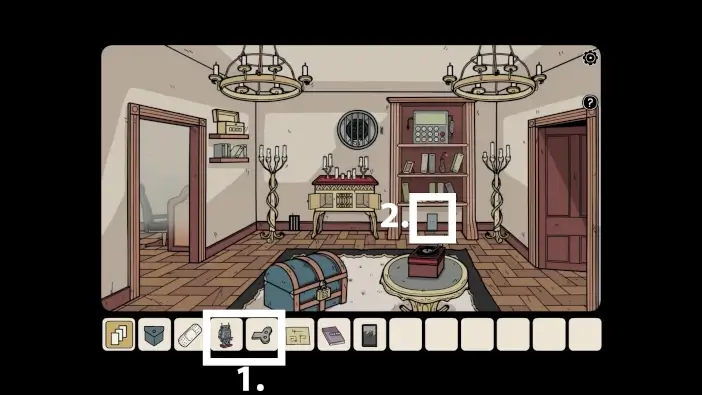
Approach the yellow box in the upper-left corner.

To unlock the box, set the symbols in the same order as the notes from the phonograph. Take a wind-up toy key from the box. You will need it to activate the toy robot.
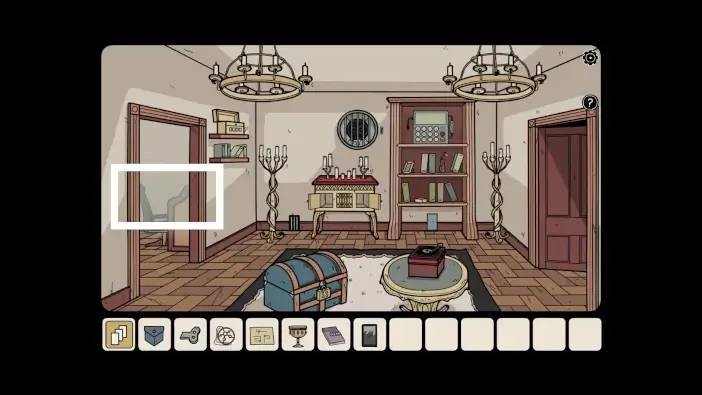
Go to the room on the left.
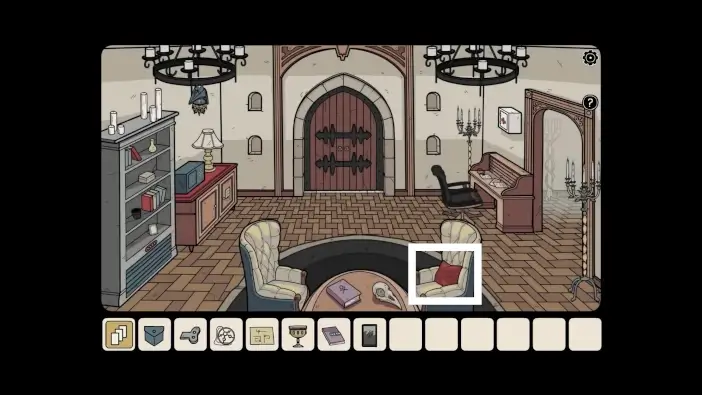
Move the pillow from the right chair.
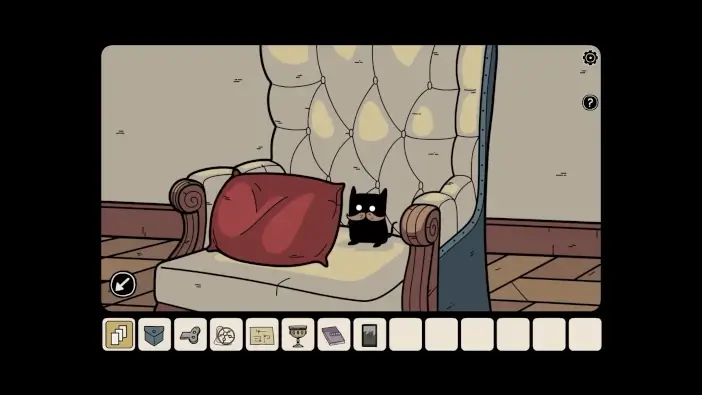
You will find the next shadow.
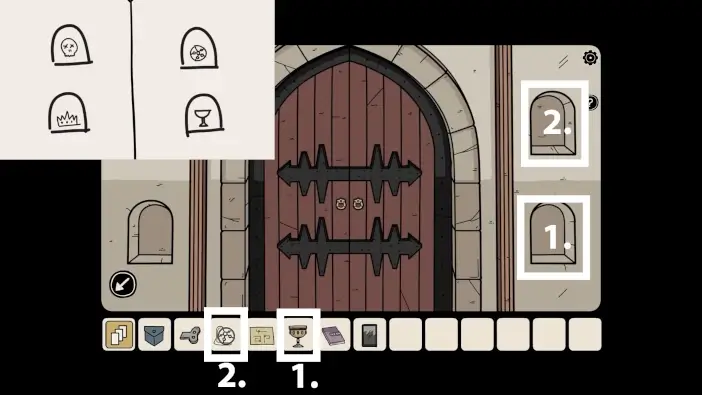
Approach the large wooden door. Around the door, there are spots where you need to put artifacts to unlock it. Once you exit this door, the game will end. So far, you will have two items: the golden chalice and the medallion. Place them in their correct positions, according to the notes from the notebook you found near the beginning of the game.
Open the cabinet on the left.
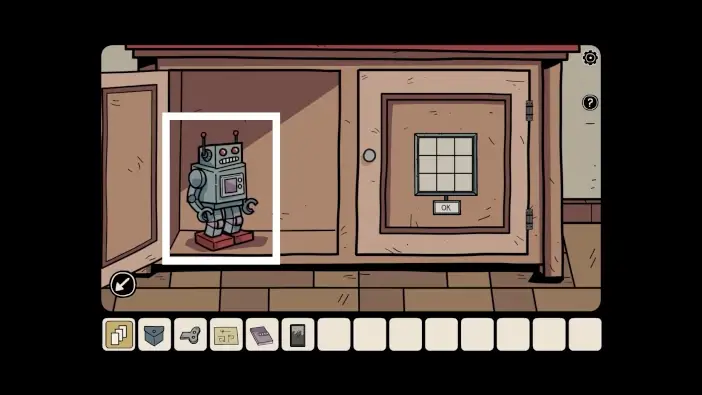
Take the toy robot.
Open the first aid cabinet. Take the adhesive bandage. You will use it later to help a wounded bat.
- In your inventory, attach the wind-up toy key to the toy robot.
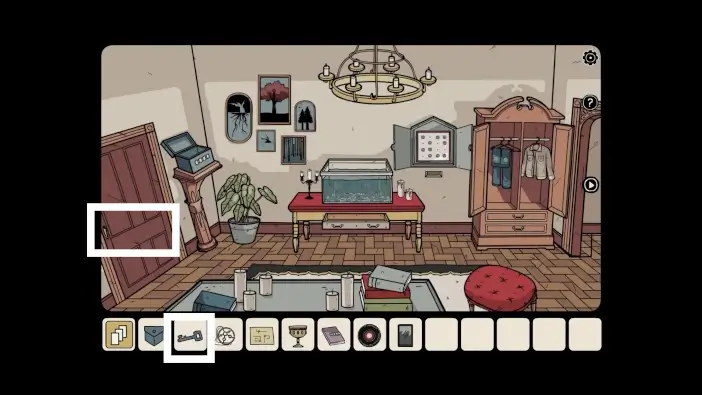
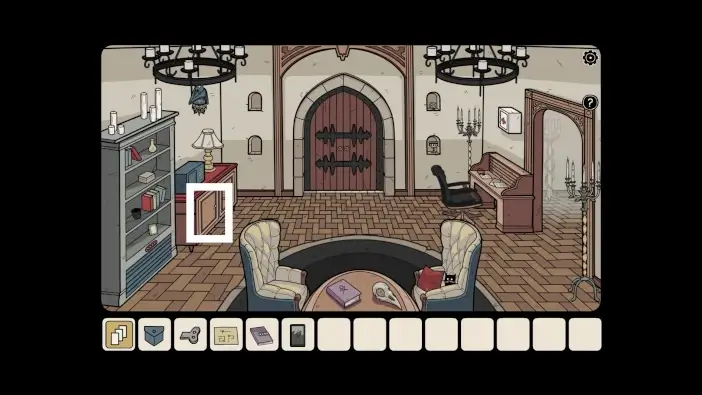
- Go to the room shown in the picture above and approach the very small door below the bookshelves.

Place the toy robot in front of the door.
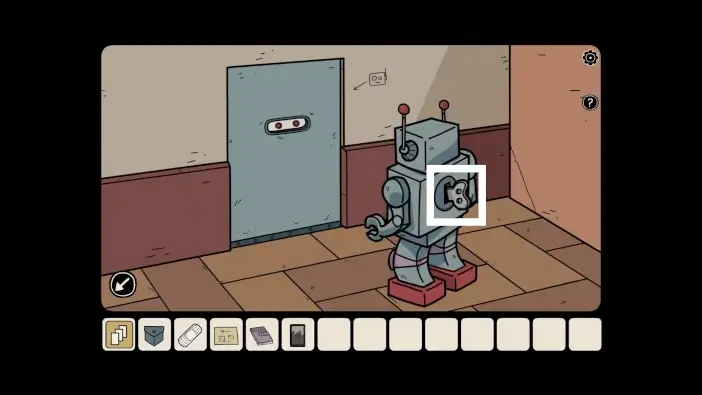
Activate the robot with the wind-up key.
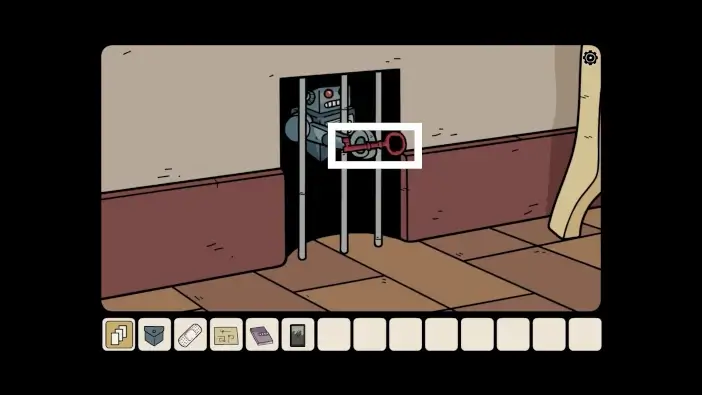
The robot will find a red key. Take it.
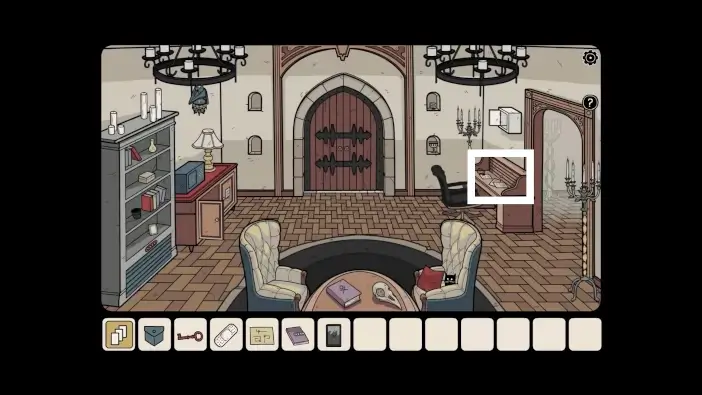
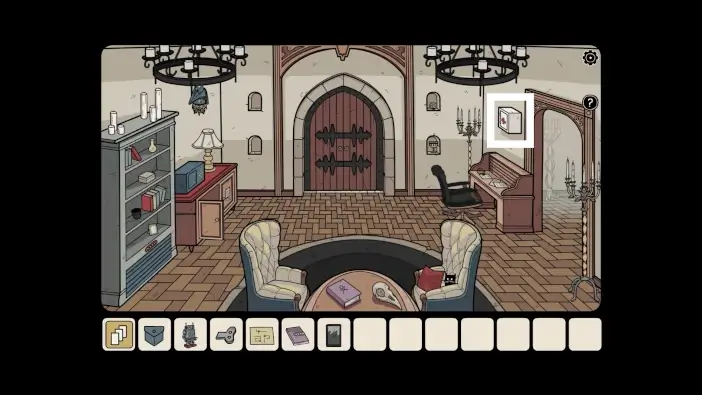
Approach the working desk.
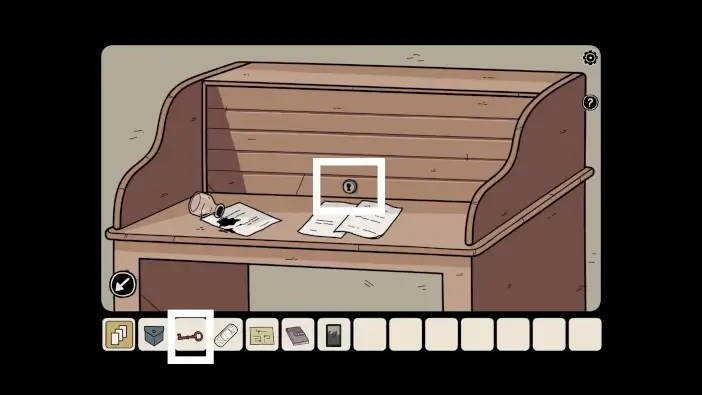
Unlock the working desk shelf with the red key.
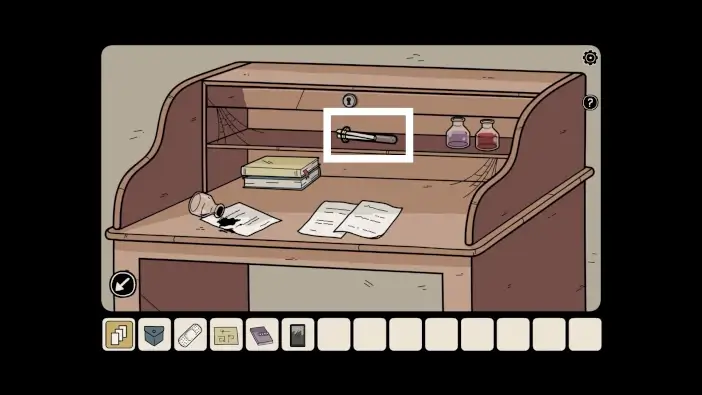
Take the test tube. Inside is a picture of a laboratory. You will unlock a new memory. Go to the memory menu to access the laboratory.
This will mark the end of Part 3 of our guide for Hidden Memories.
Thank you for reading!