Hidden Memories – Part 2 | Bar
Intro
Welcome to our walkthrough for Part 2 of Hidden Memories from Dark Dome. Help our protagonist recall how he arrived at a strange, unknown place and identify the mysterious girl he keeps seeing in his memories.
Walkthrough
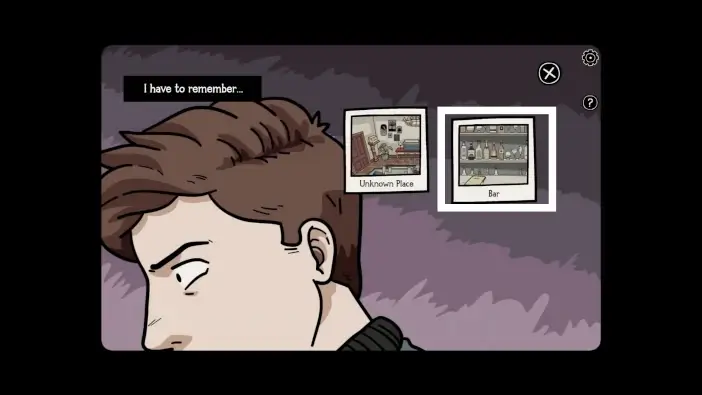
In the memory menu, choose the bar.
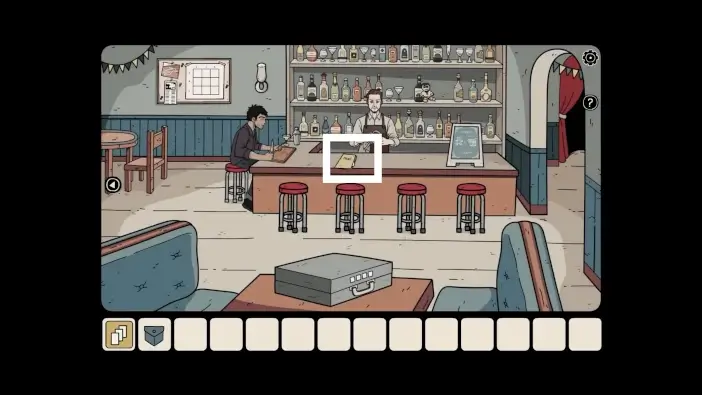
In the bar, approach the desk.
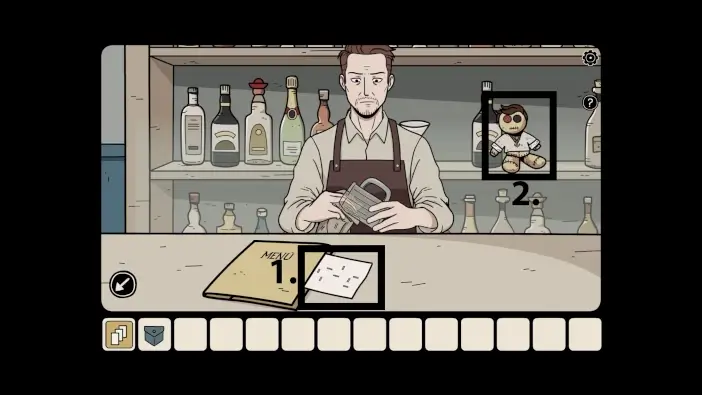
- Take the note. On it is a clue on how to fix a claw machine later.
- Take the lost soul on the shelf behind the bartender.

Go to the collectibles menu and find Marco in the lost souls list. Tap on his portrait and then on the Play button.
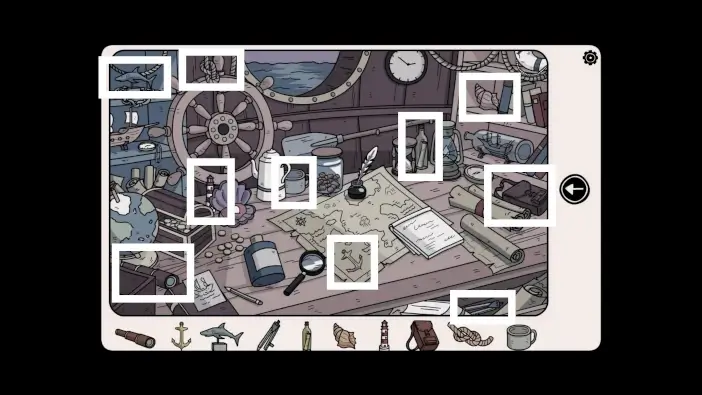
Find all ten items that are listed to help Marco. Their locations are marked in the picture above.
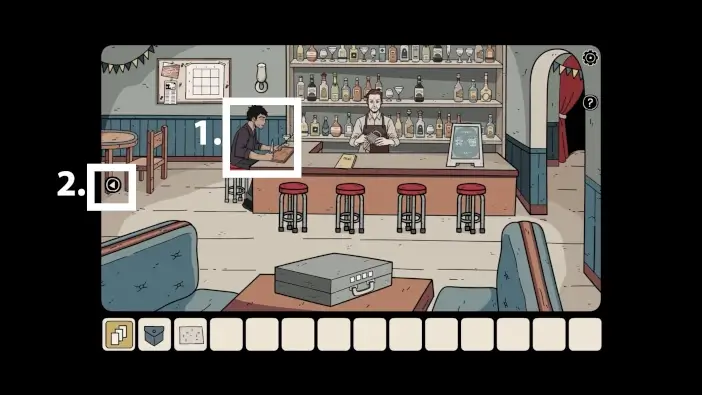
- Chat with the bar guest. He will say that he needs a lemon. You’ll need to bring him the lemon later to acquire the knife he’s holding.
- Go left towards the game room.
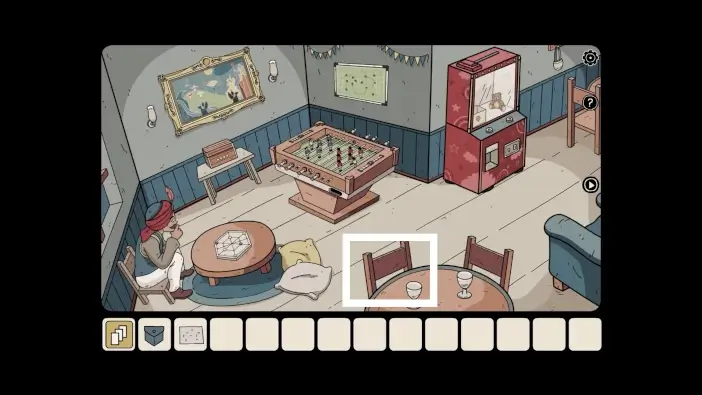
Approach the bottom-left chair.
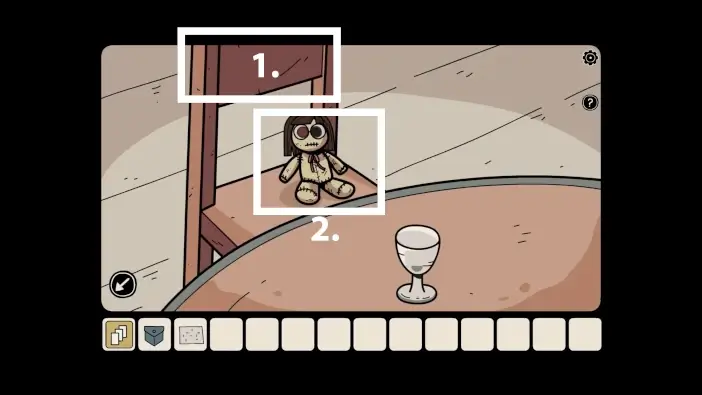
- Tap on the chair to move it.
- Pick up the lost soul.
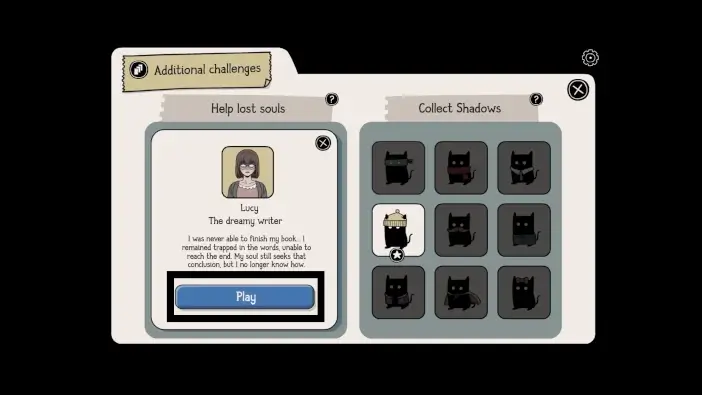
Go to the collectibles menu and find Lucy in the lost souls list. Tap on her portrait and then on the Play button.
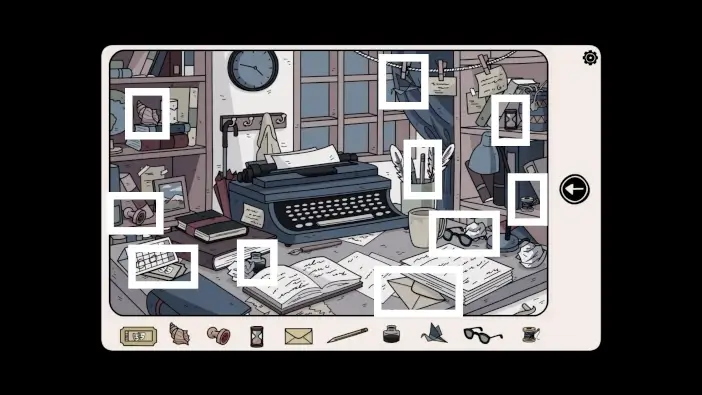
Find all ten items that are listed to help Lucy. Their locations are marked in the picture above.
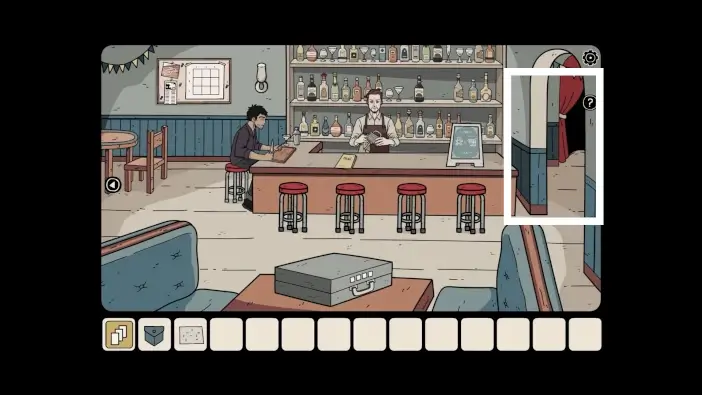
Return to the bar and go right.
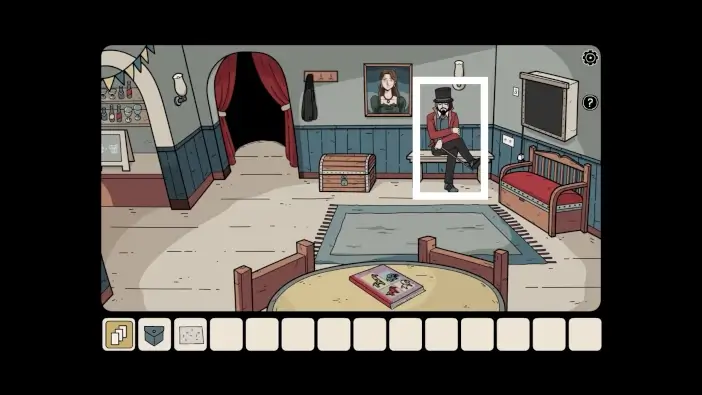
Talk with the magician.
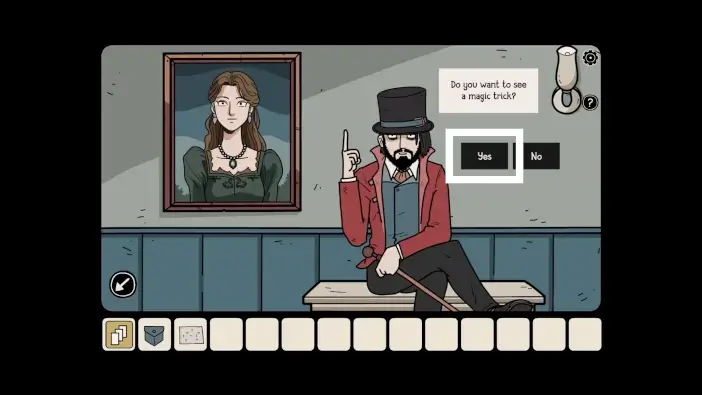
Answer with “Yes” when he asks you a question. He will demonstrate how he can remove the item from the painting using his magic handkerchief.
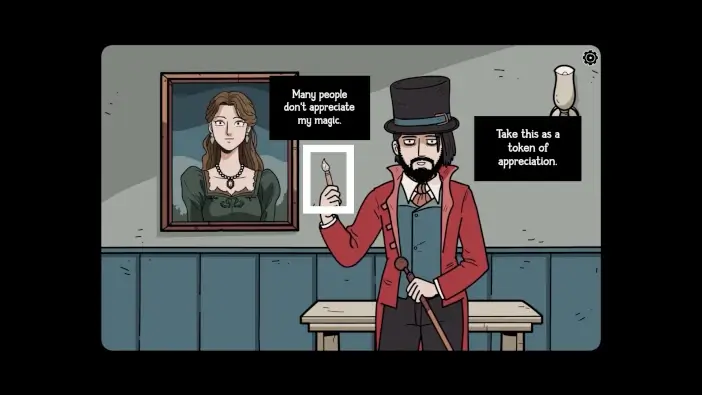
Take the paintbrush from him. You will need it later to paint a ball.
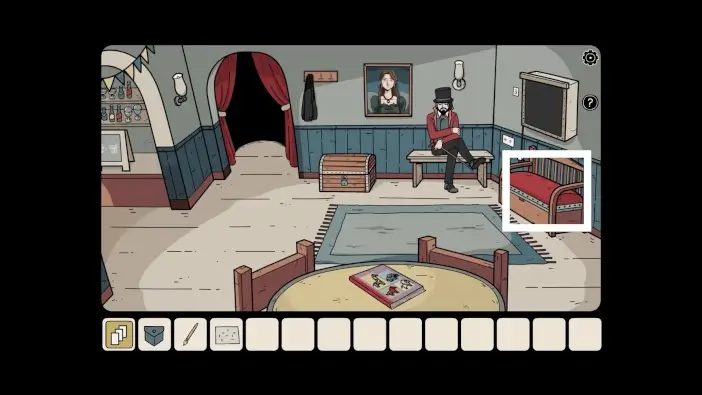
Approach the chest on the right.
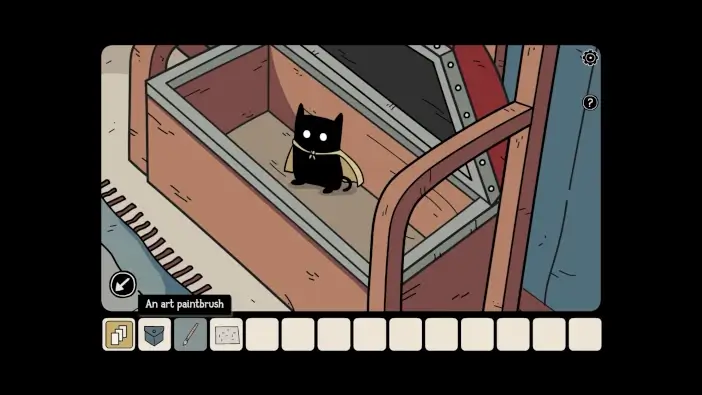
Open the chest to find a shadow.

Approach the socket on the right.
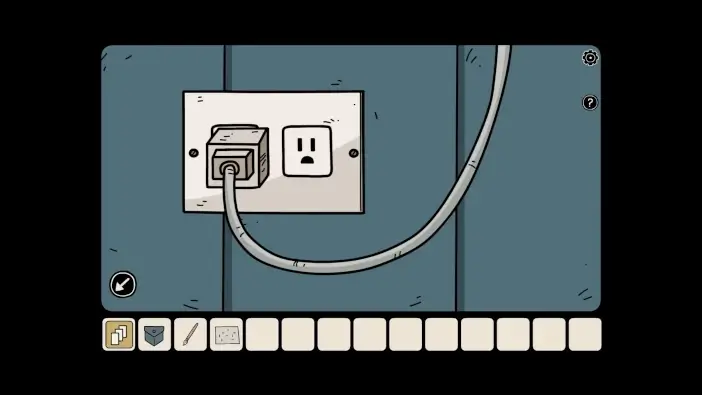
Plug the cable of the X-ray unit into the socket.
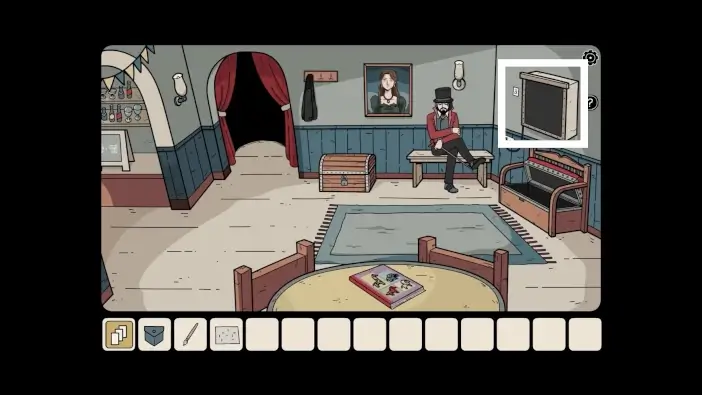
Approach the X-ray unit.
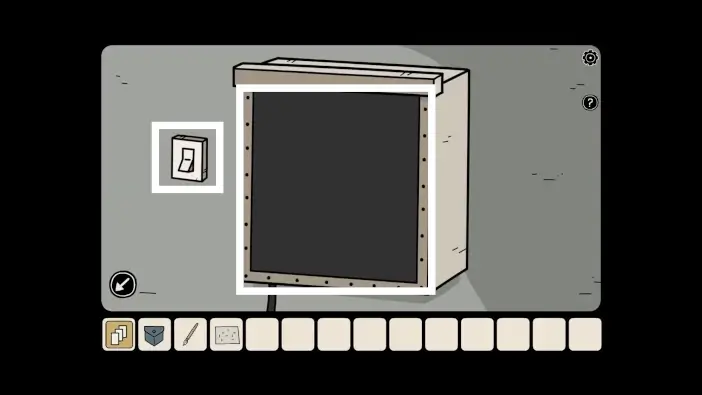
Turn on the X-ray unit via the switch to the left of it. You’ll need to place an X-ray image here later.
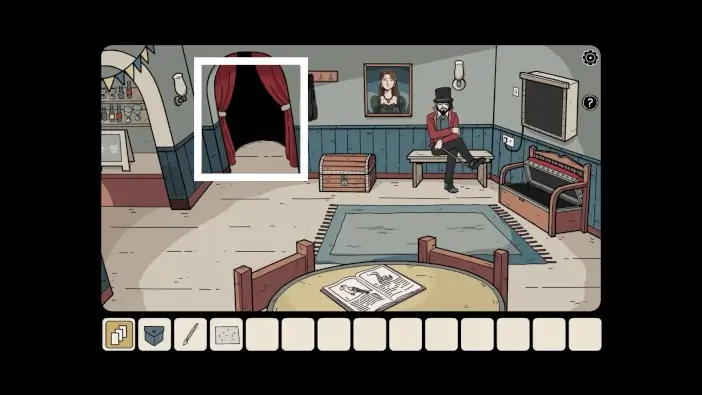
Go to the stage room.
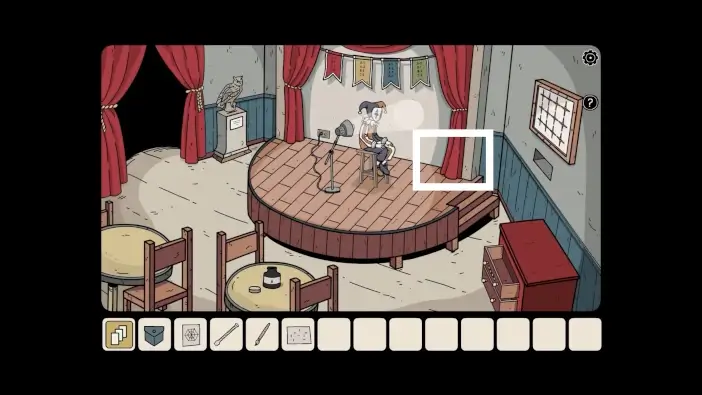
Approach the curtain on the right.
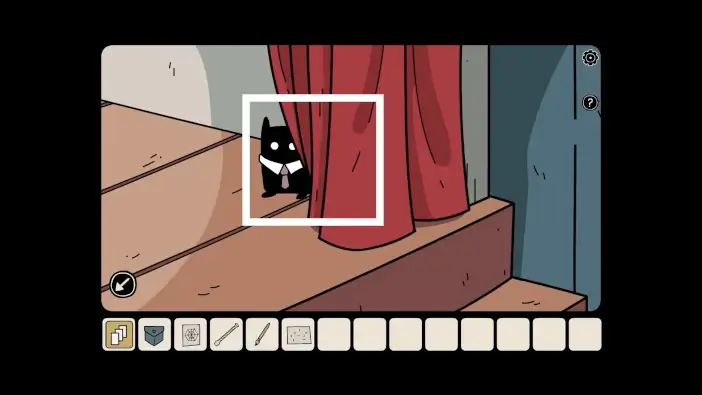
Move the curtain to find another shadow.
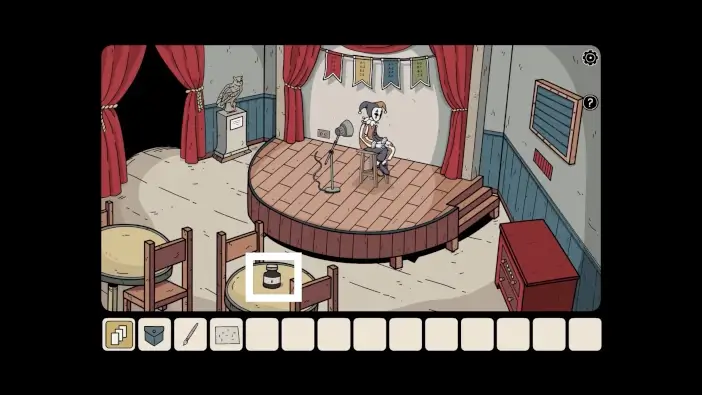
Approach the table.
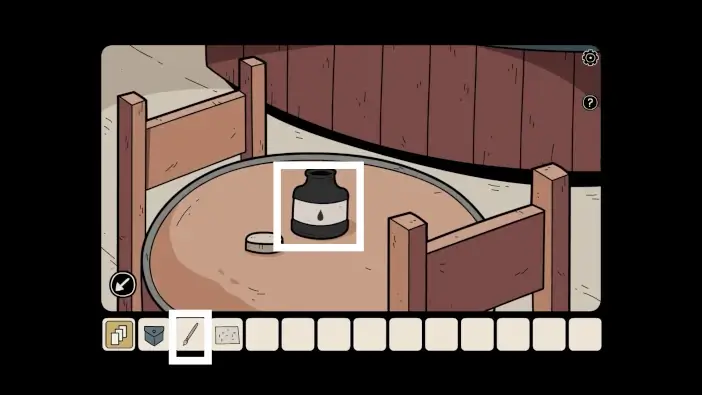
Dip the paintbrush into the inkwell. “A brush with ink” will be added to your inventory.
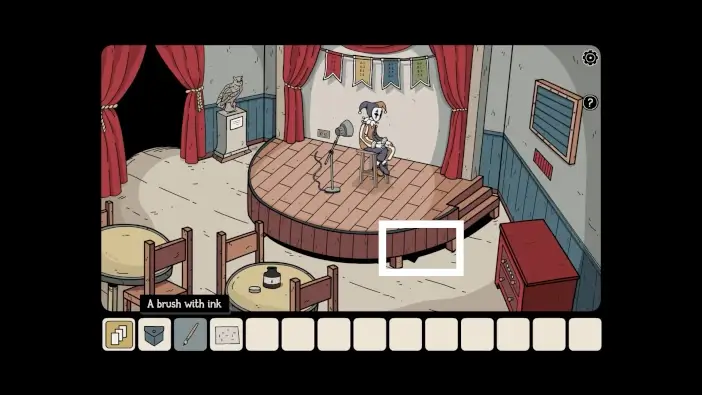
Take a closer look below the stage.
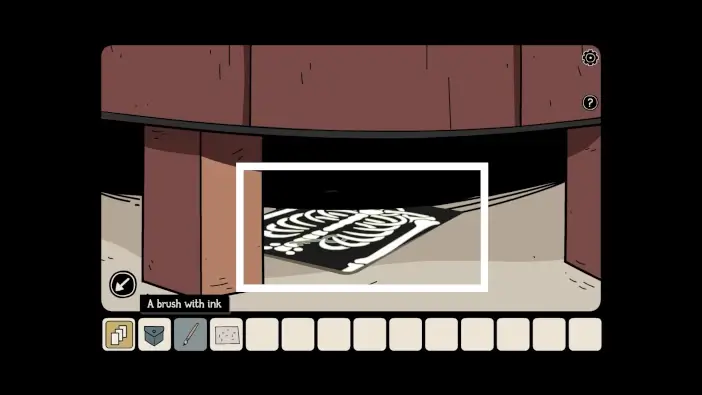
An X-ray will be below the stage. Pick it up.
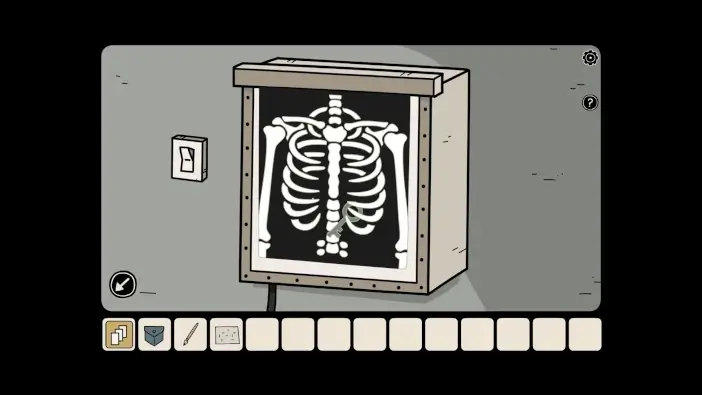
Place an X-ray on the X-ray unit. You will see there is a key inside the skeleton. You’ll need the magic handkerchief from the magician to get it.
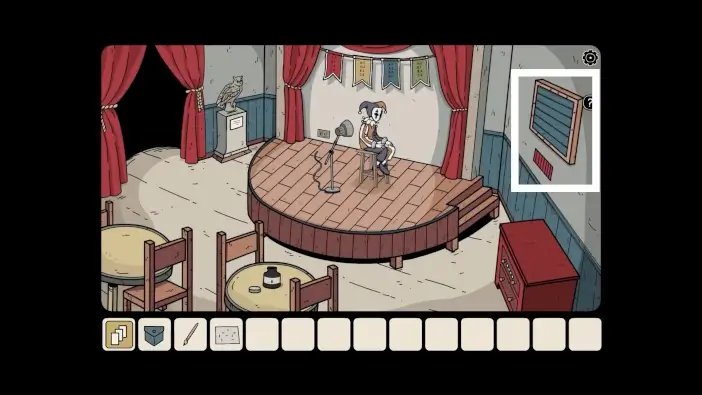
Go to the stage room and approach the lid on the right wall.
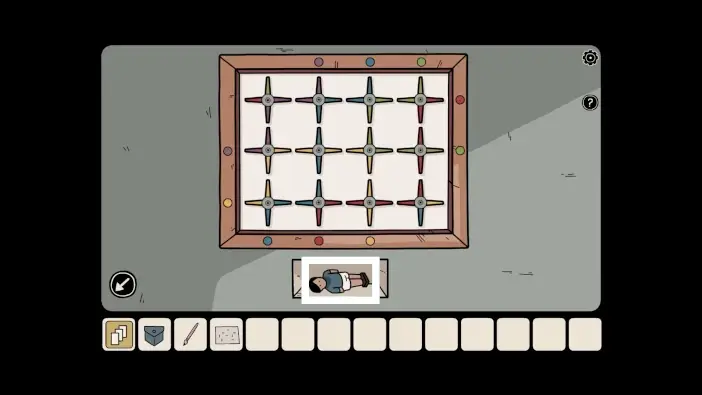
The dots on the frame should be connected with the same color on the valves. The valves should be connected on the sides of the same color. Rotate the valves like in the picture above. When you complete this puzzle challenge, take the football player figurine. You will need the figurine for the table football.
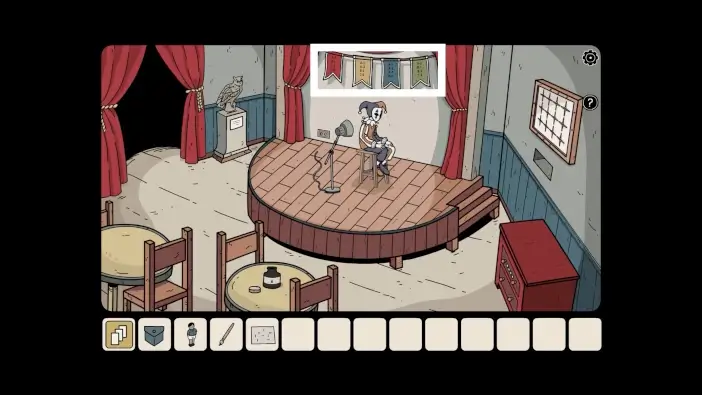
Approach the banners behind the clown.
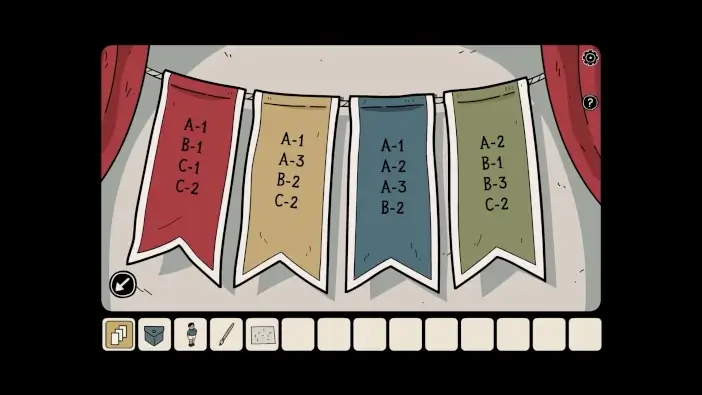
Memorize the position notations from the flags.
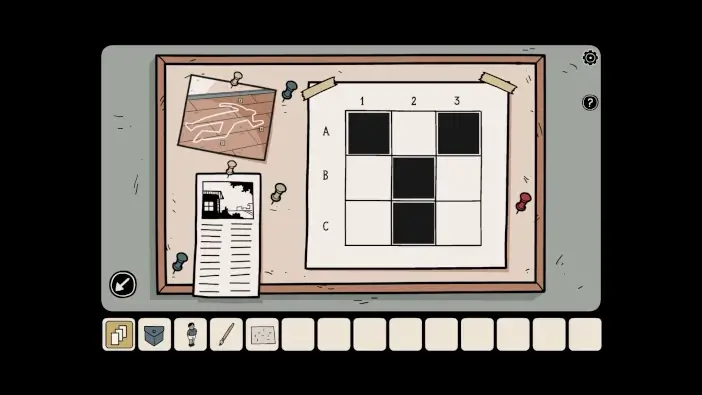
In the bar room, approach the board left of the bar table. Here, you can tap on the fields that are described in the flag notations. For example, in the picture above are fields that are shown on the second yellow flag: A-1, A-3, B-2, C-2. Marking the board won’t do anything, but it’s another clue for opening the briefcase. Mark all the fields for all the flags to get the shapes you need, and memorize all four shapes.
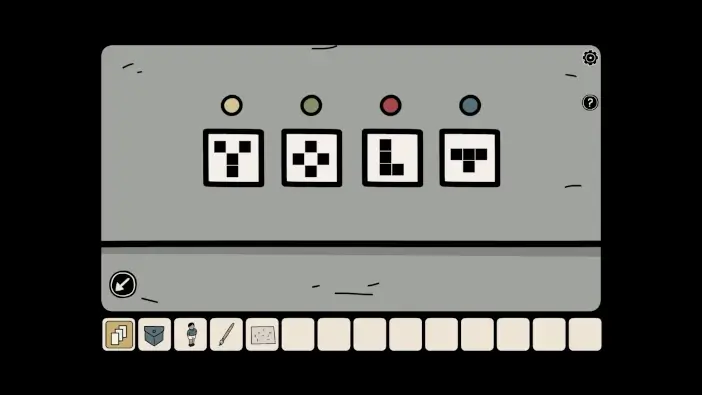
Approach the briefcase in the bar room. Remember the four shapes you got from the flags. The colors of the circles correspond to the colors of the flags. Change the shapes to correspond to their flags, like in the picture above. Once you unlock the briefcase, take the chisel and the plug. You’ll need a chisel to get the mystical owl’s eye later.
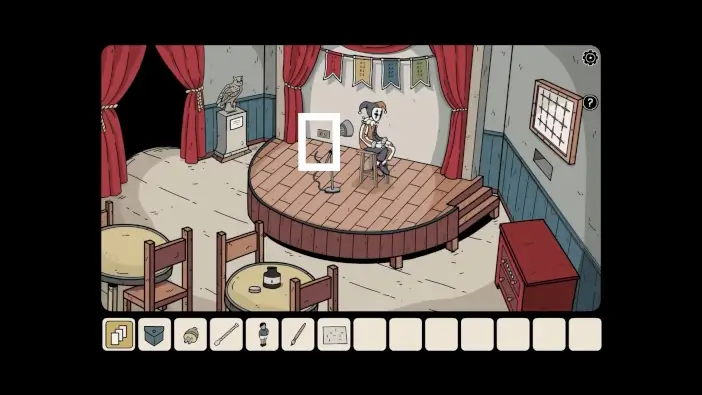
Go to the stage room and approach the socket on the stage.
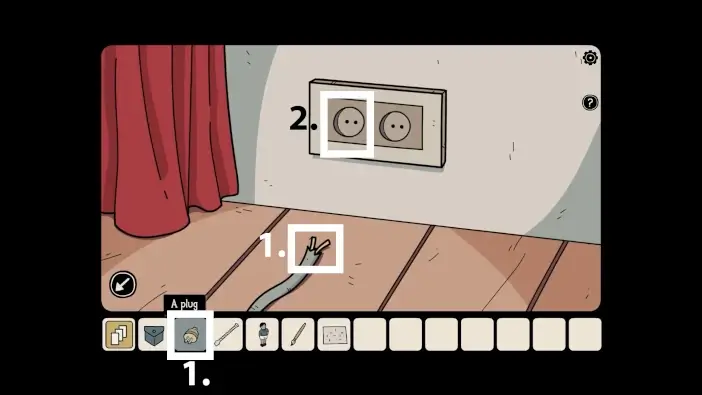
- Attach the plug to the cable.
- Insert the plug into the socket. The reflector in front of the clown will now have electricity, but it lacks a light bulb.
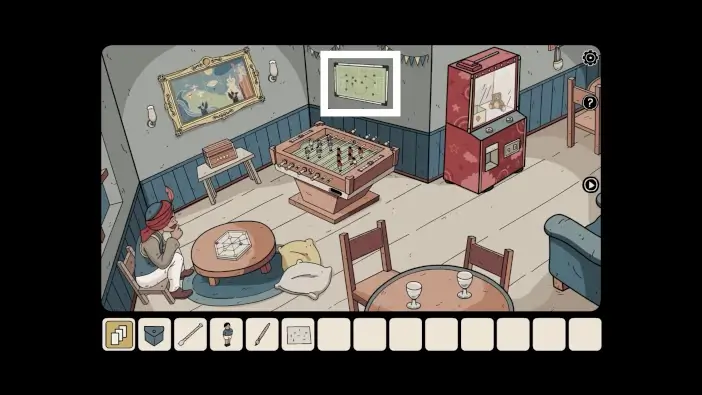
Go to the game room and approach the football tactics.
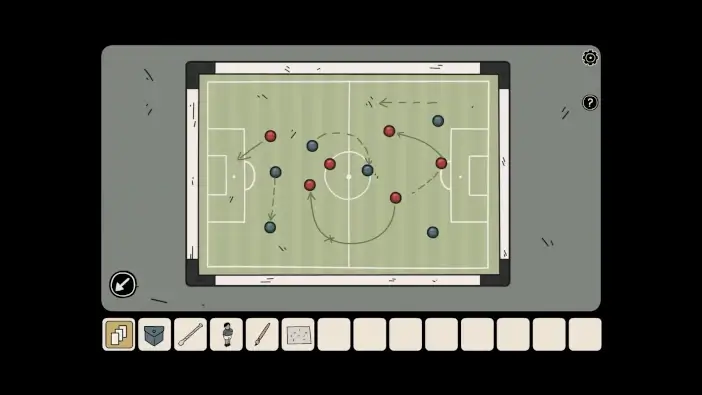
Memorize the positions of players and their colors.
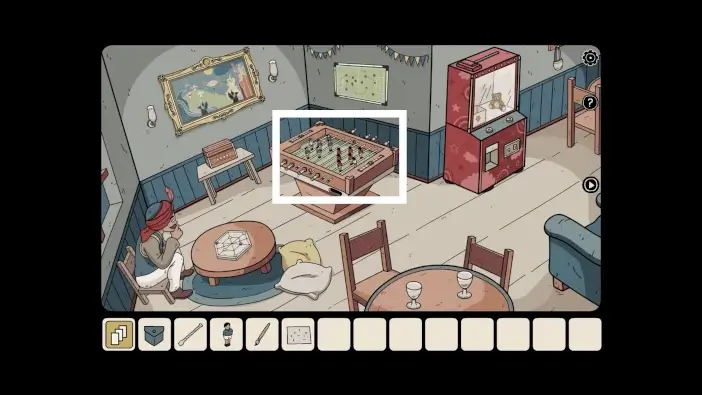
Approach the table football.
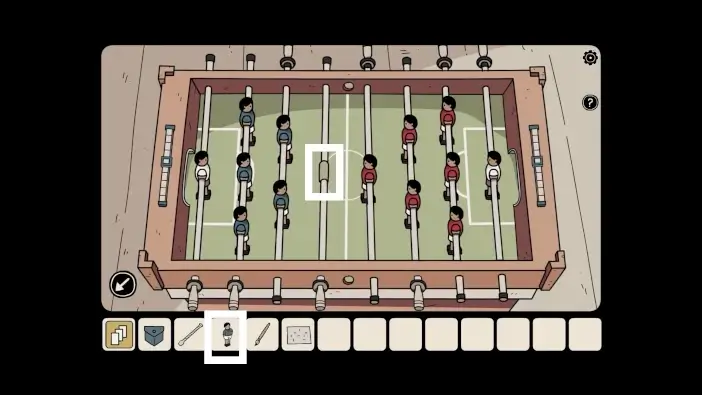
Place the football figurine in its place.
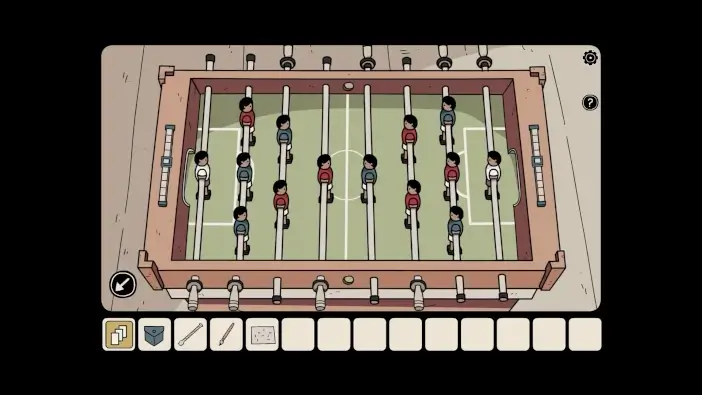
Rearrange the figurines, following the tactics on the wall. The solution is in the picture above.
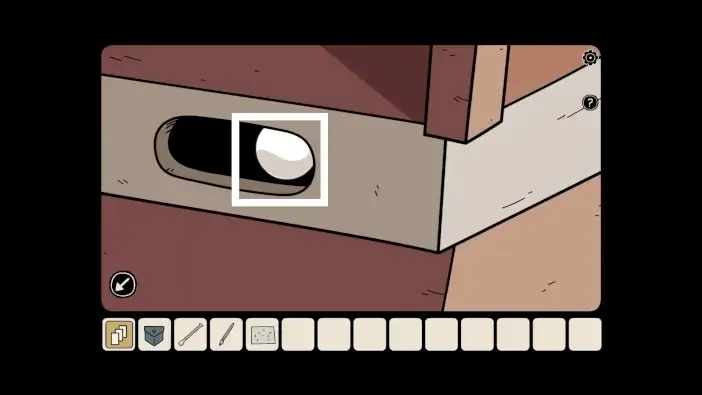
Once you solve the previous puzzle challenge, the ball will appear (and the camera will automatically show it). Take the ball.
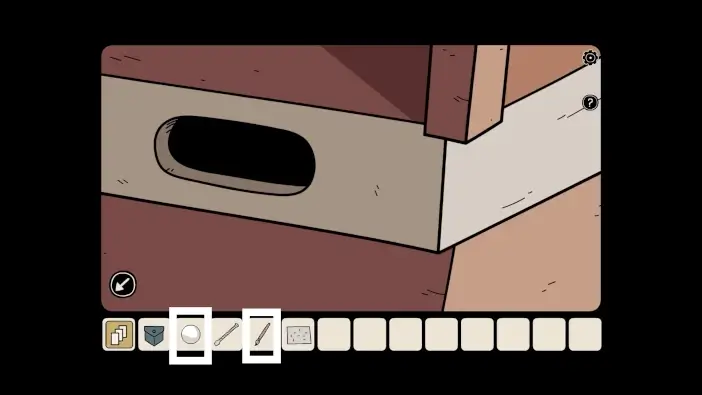
Use the “brush with ink” item from your inventory to paint the ball. The ball will become “false eye”.
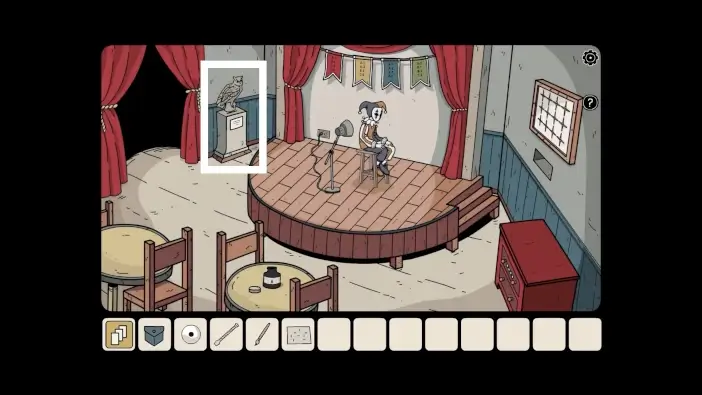
Go to the stage room and approach the owl statue.
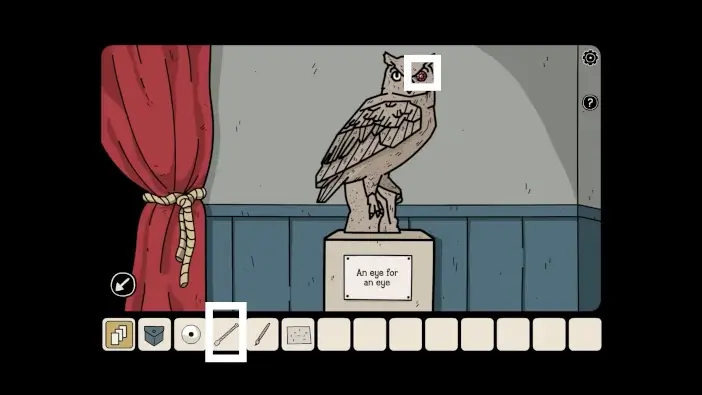
Use a chisel to remove and take the mystical owl’s eye.
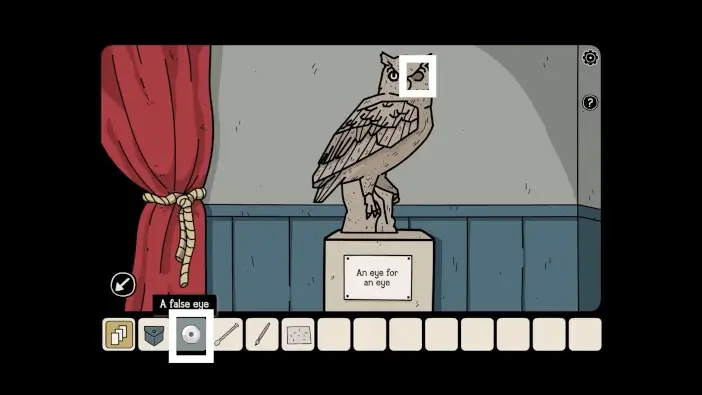
The statue will start to shake. Place the false eye where the mystical eye was.
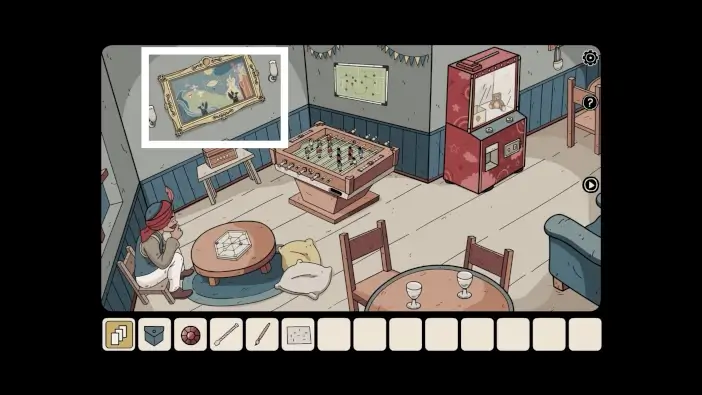
Go to the game room and approach the painting on the left.
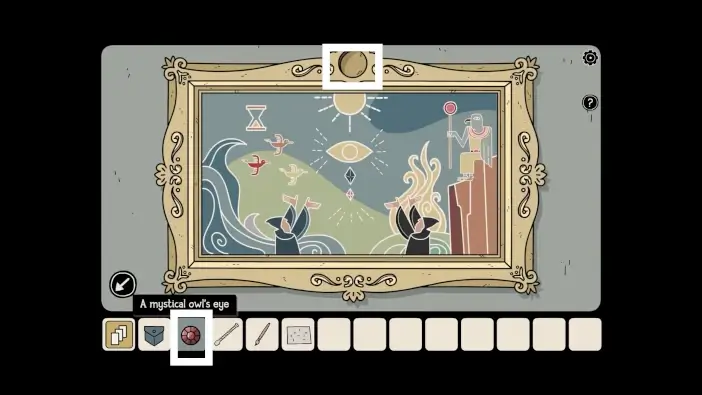
Place the mystical owl’s eye in the slot on the frame.
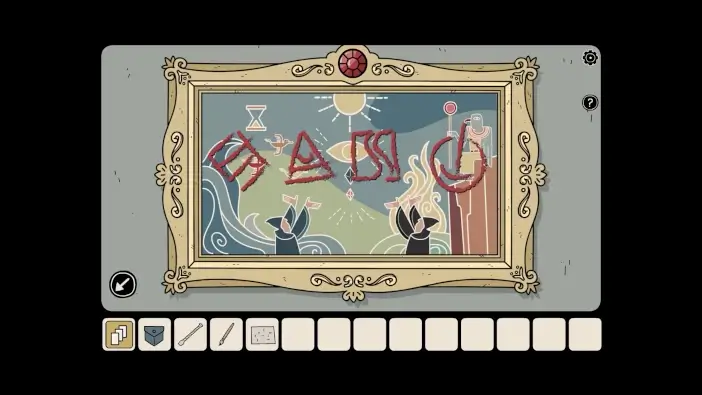
Once you place the eye, the symbols will appear on the painting. This is the code for unlocking a chest below the painting.

Approach the chest below the painting.
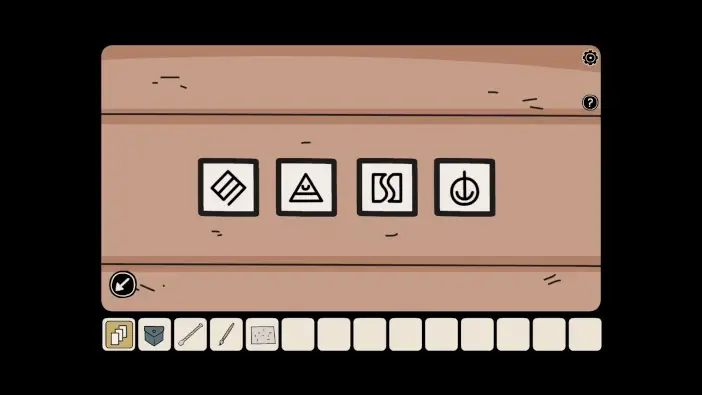
Change the code to be like the symbols on the painting. Once you unlock the chest, pick up the light bulb.
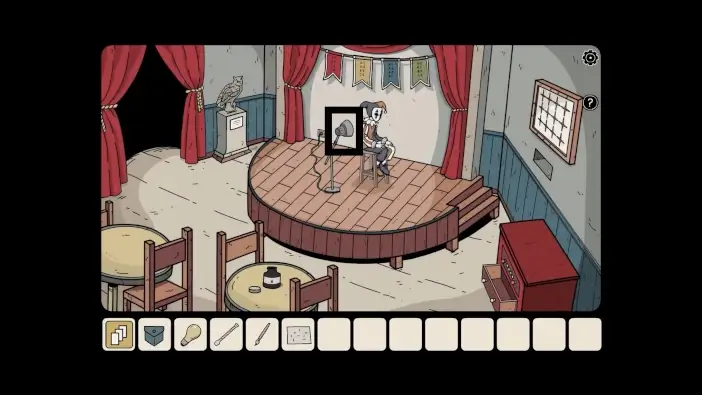
Return to the storage room and approach the reflector.
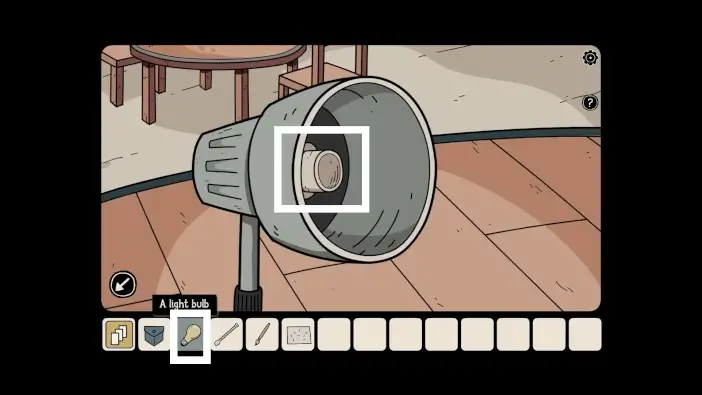
Place the light bulb.
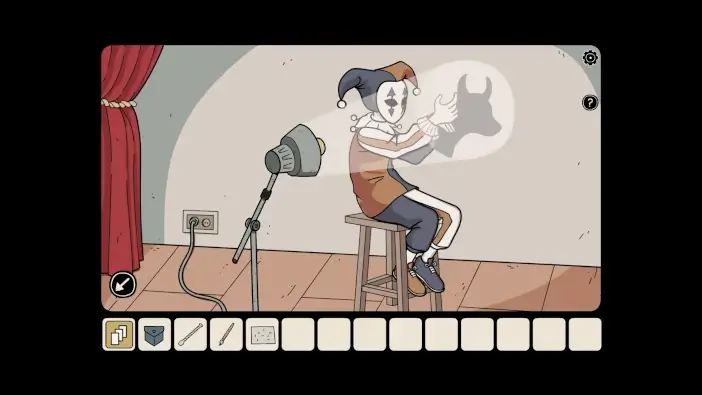
The clown will form shadow shapes of animals with his hands. Remember the order of animals that appear: horse, bull, rabbit, and parrot.
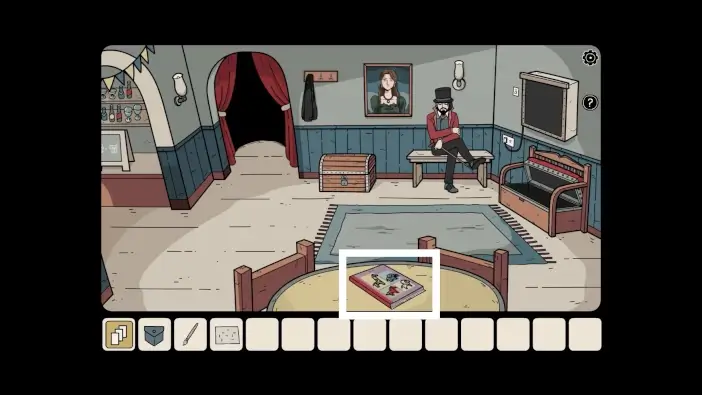
Go to the room where the magician is and open the book on the table.
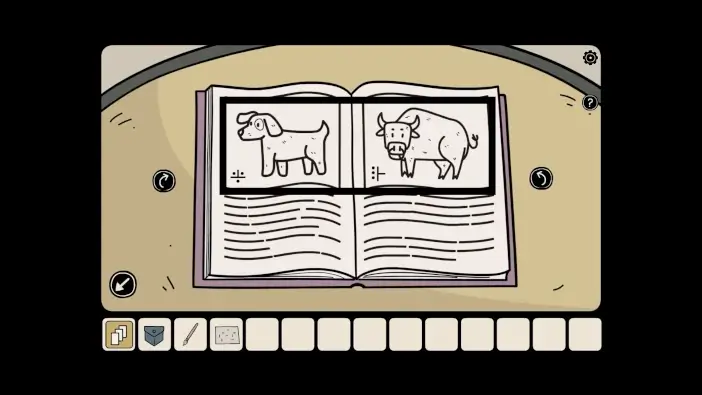
Find all the animals that the clown showed and remember the symbols associated with them.
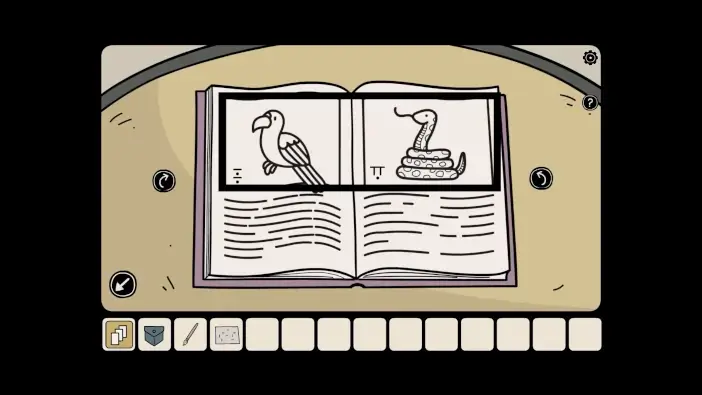
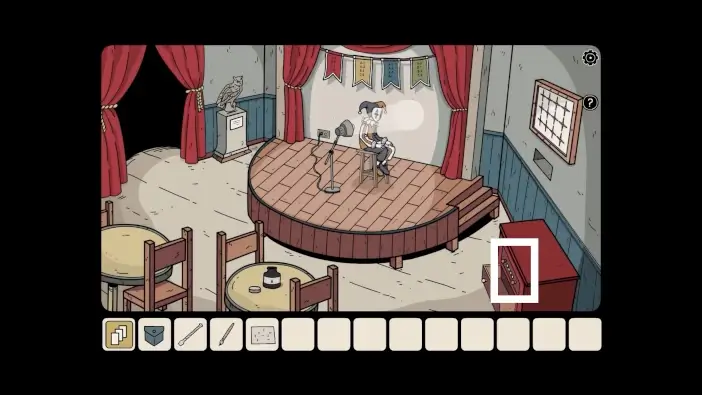
Return to the stage room and approach the drawer on the right, the upper one that is locked.
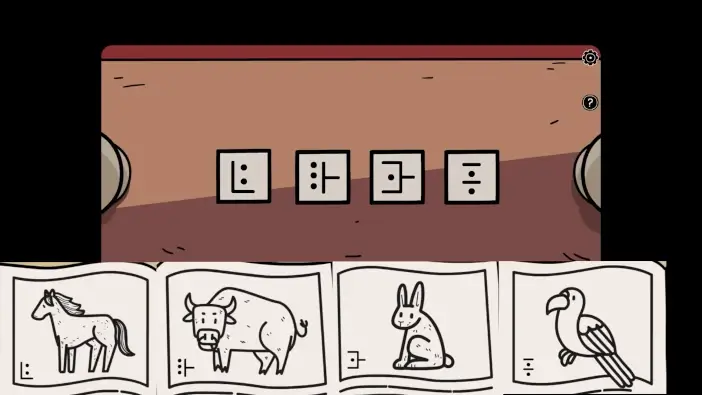
Set the symbols on the drawer in the correct order of animals. Once you unlock and open the drawer, take the lemon.
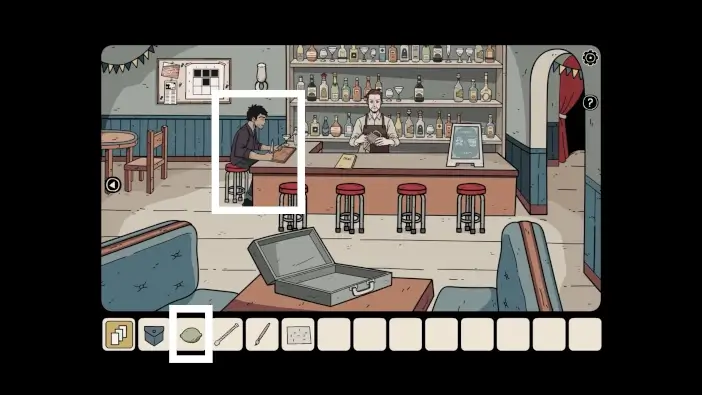
Go to the bar and give the lemon to the guest.
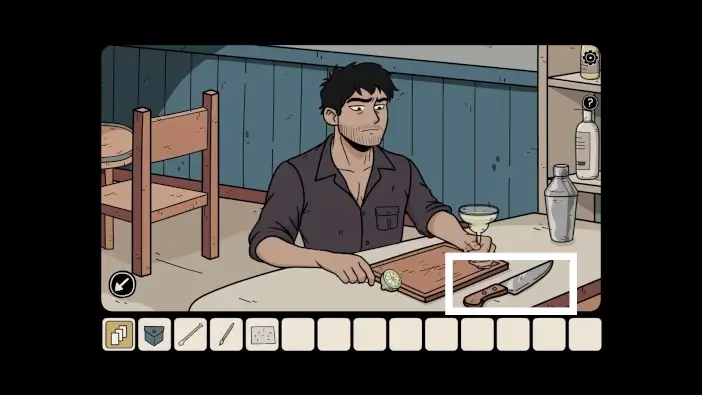
The satisfied guest will leave the knife on the table. Take the knife.
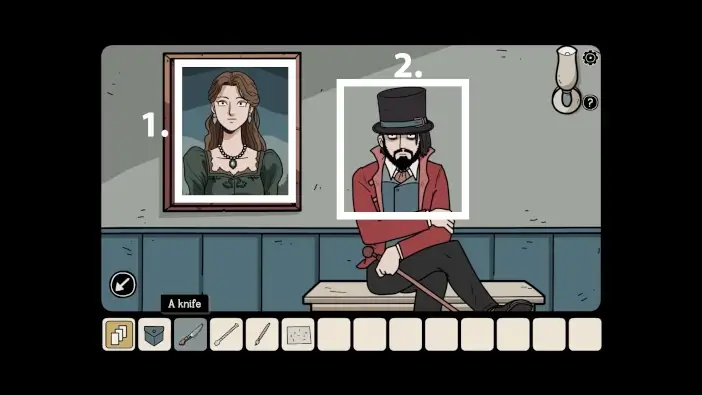
- Go to the magician’s room and approach the magician. Use a knife to remove the painting.
- Talk with the magician again and say that you want to see the trick.
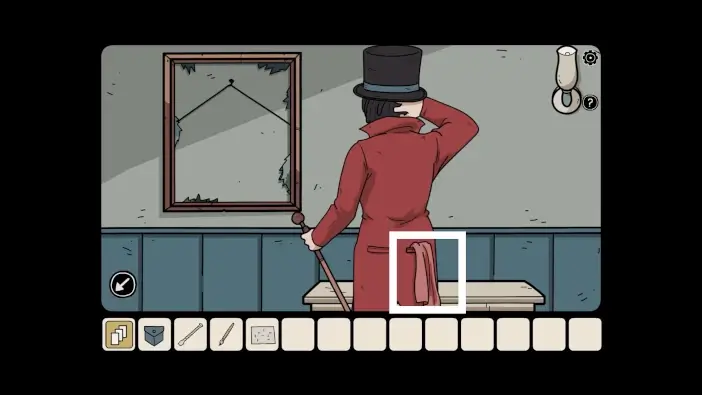
While the magician is confused, take his magic handkerchief.
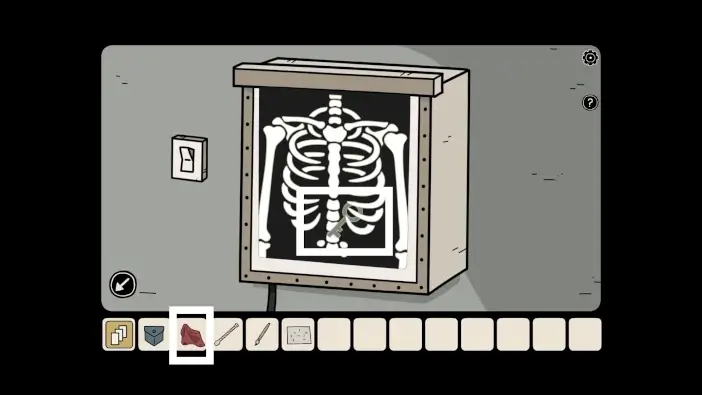
Return to the X-ray and use the magic handkerchief to take the key from the skeleton.
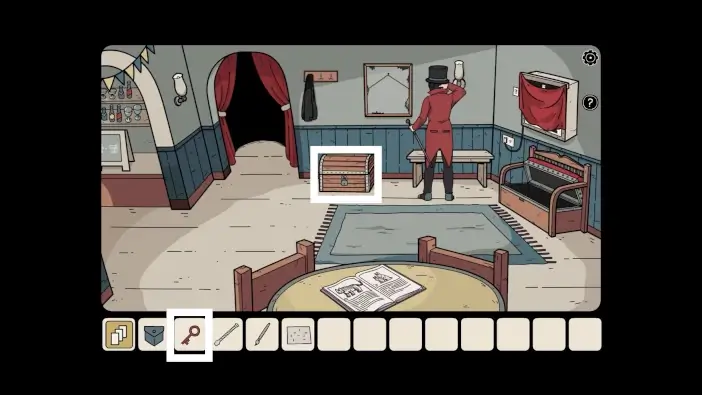
Use the key you just got to unlock the chest near the magician. Take the note and the mechanical hook from the chest.
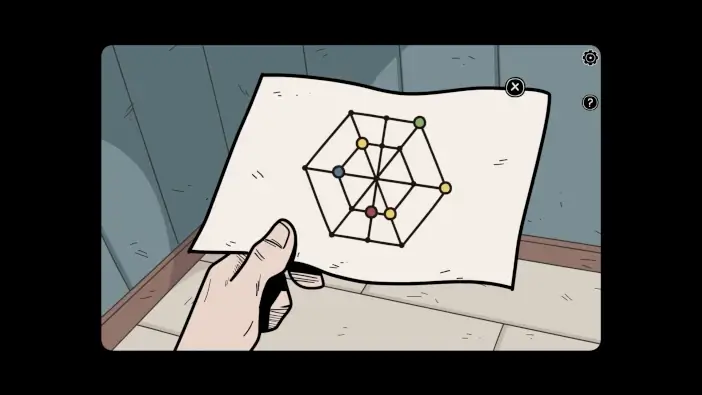
Read the note. It is a clue on how to win a board game in the game room.
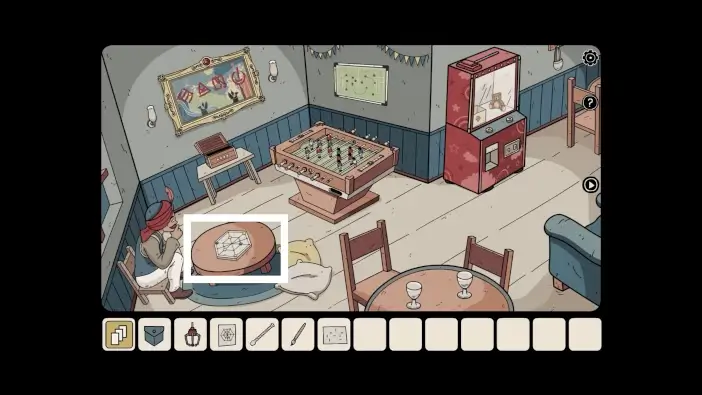
Go to the game room and approach the table on the left. Speak with your opponent and say that you are interested in playing the game.
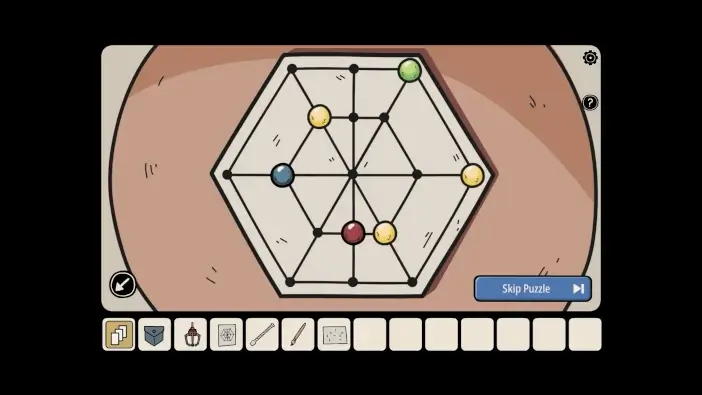
Your figurines are red, blue, and green, while the opponent’s figurines are all yellow. You can’t move the opponent’s figurines, and they are already in the correct positions. Look at the note you just got in your inventory, and just place your figurines in the spots shown in the note.
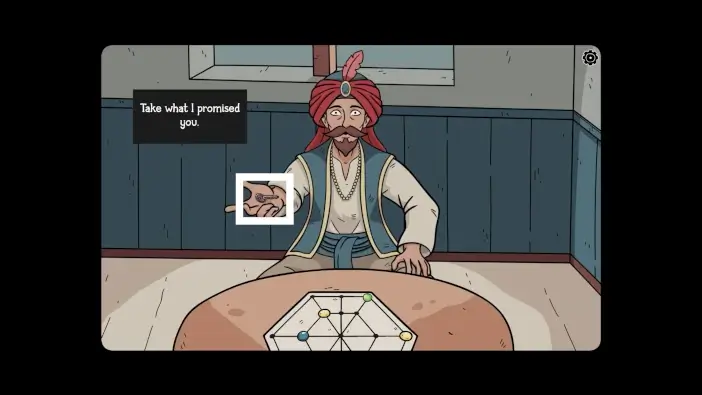
After you win the game, take the key for the claw machine.
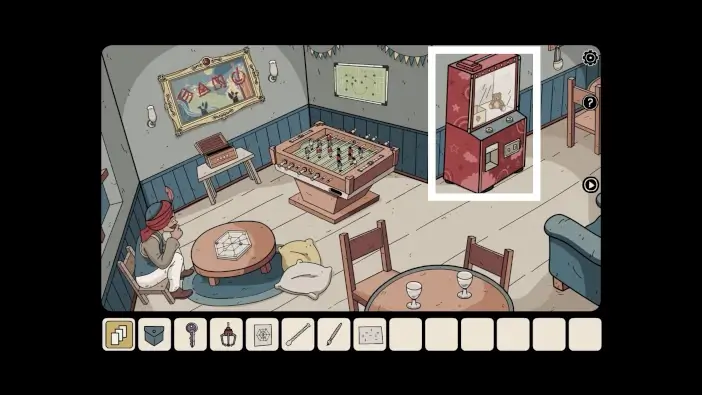
Approach the claw machine.
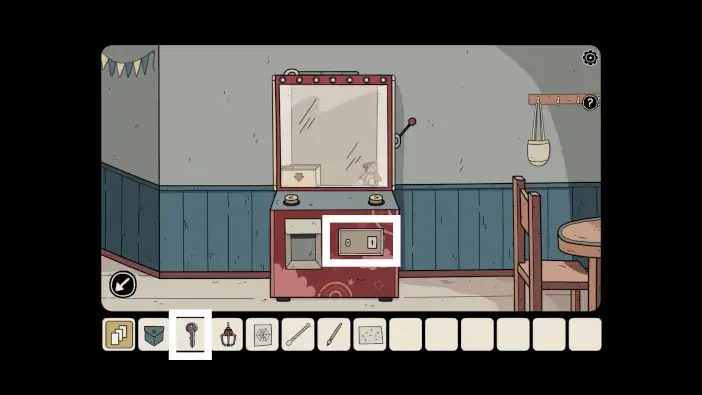
Approach the keyhole and use the key you just won to unlock the lid.
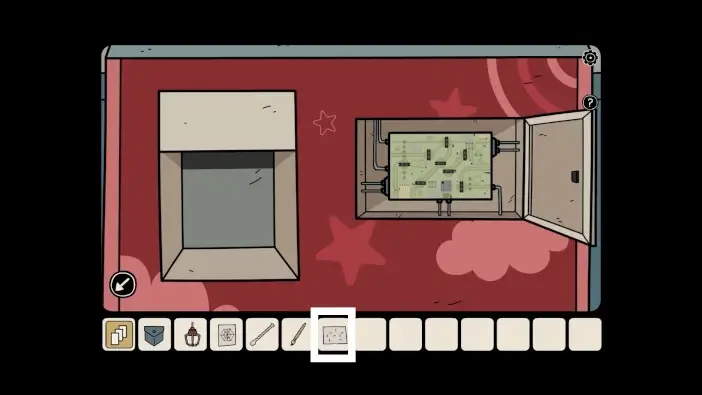
In your inventory, you will have a note with a clue that you got from the menu in the bar. Look at it and get closer to the microprocessor.
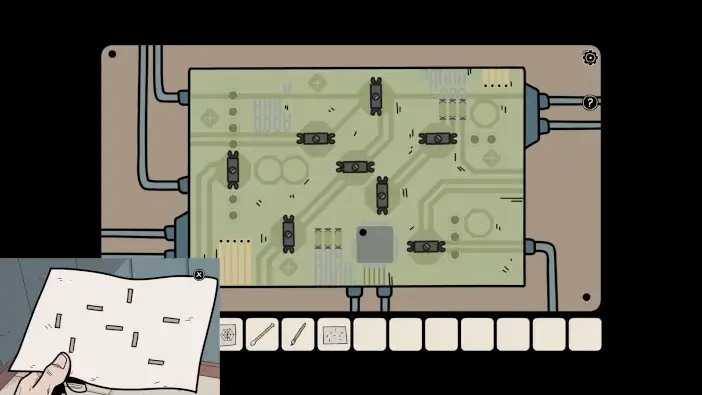
Move the components of the microprocessor like the clue on the note. After you solve this puzzle challenge, the claw machine’s mechanical arm will be activated.
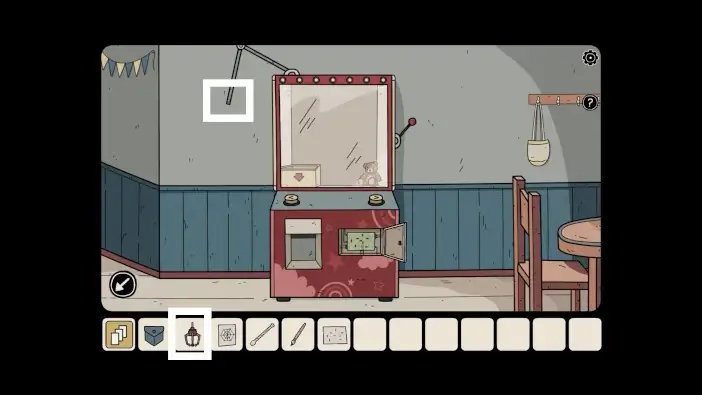
Attach the mechanical hook to the mechanical arm.
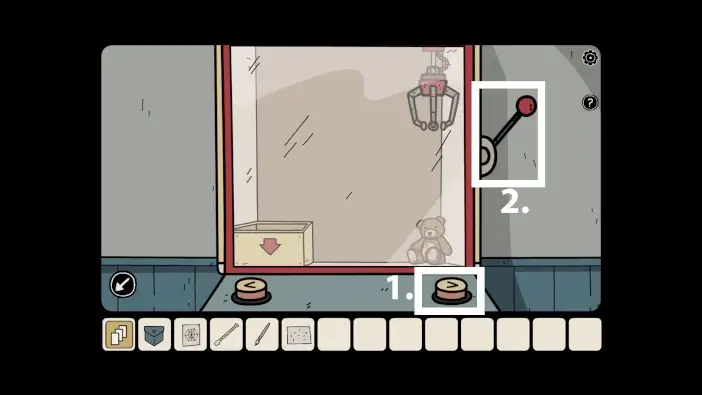
- Use the arrow button on the right to move the mechanical hook towards the teddy bear.
- Once the mechanical hook is above the teddy bear, use the lever to pick it up.
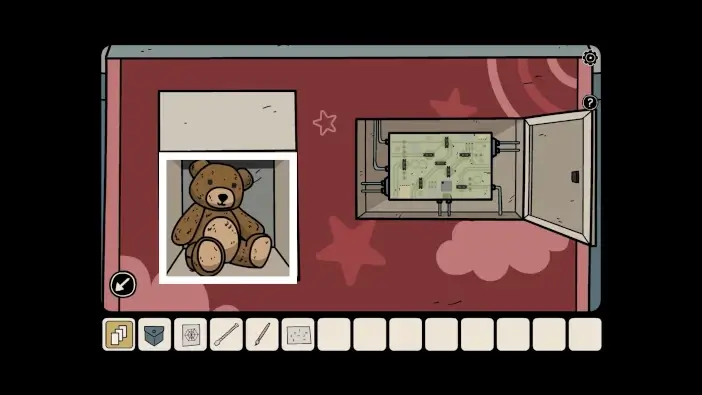
Take the teddy bear.
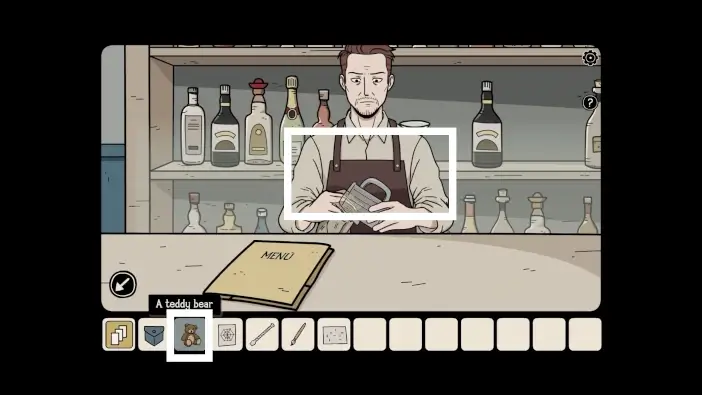
Go to the bar and give a teddy bear to the bartender.
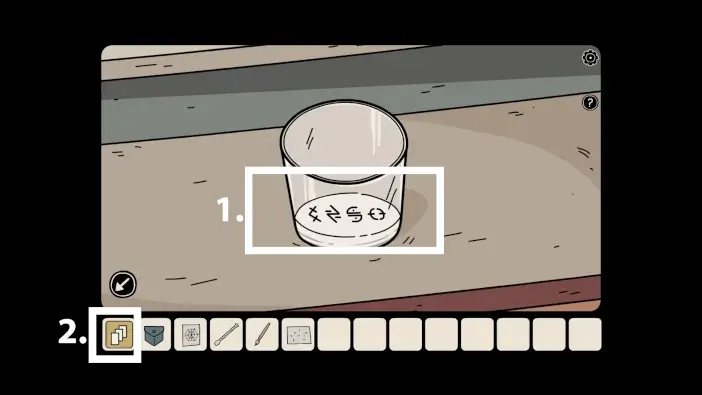
- The bartender will give you a drink. Drink it. Once the glass is empty, you will see symbols on the bottom of the glass. Remember them.
- Enter the memories menu.
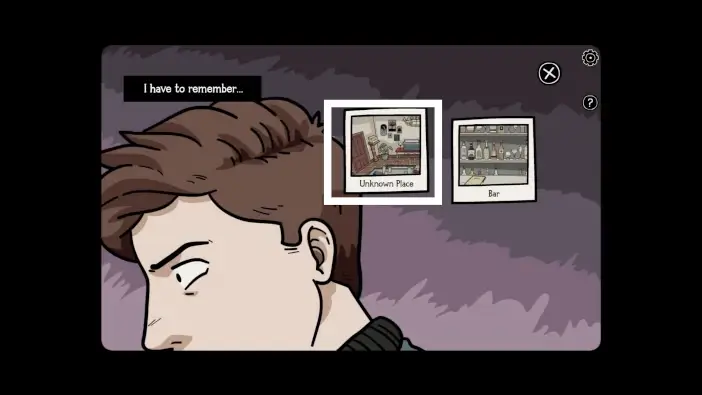
Return to the unknown place.
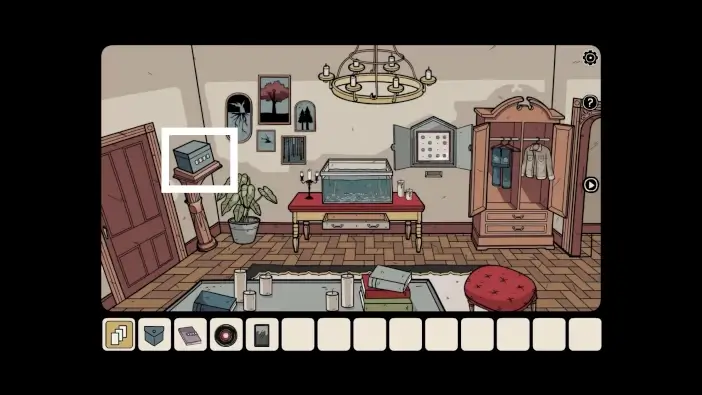
Go to the room on the left (where the aquarium is) and approach the chest on the left.
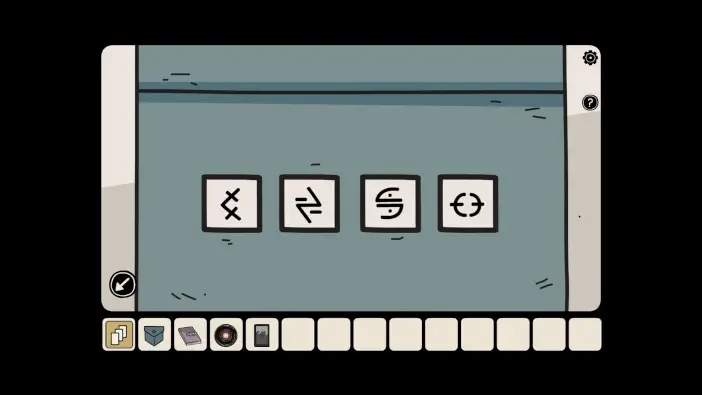
Insert the symbols you saw in the glass in the bar. Take the golden chalice and the gear. The golden chalice is one of the four endgame items that you need to finish the game.
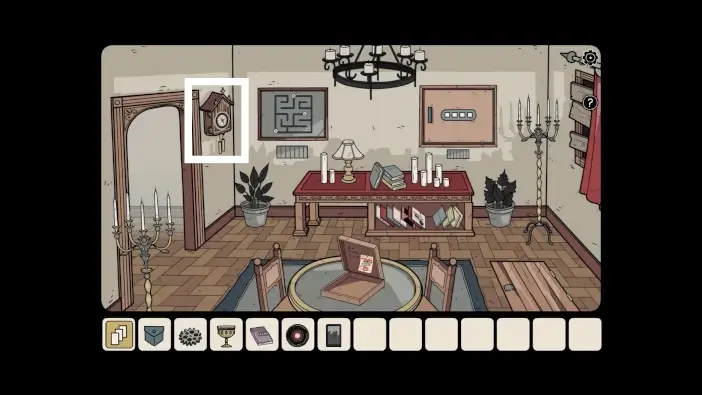
Go to the room on the right and approach the clock.
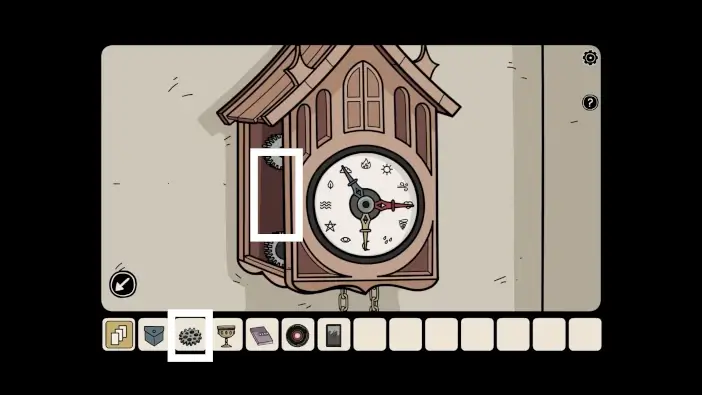
Place the gear inside the clock to fix it.
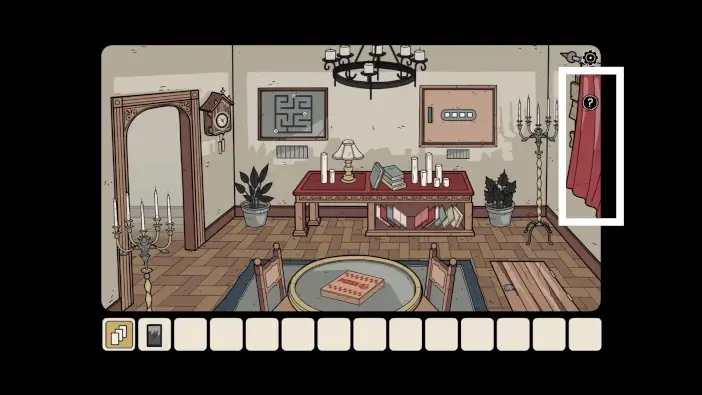
Approach the window on the right.
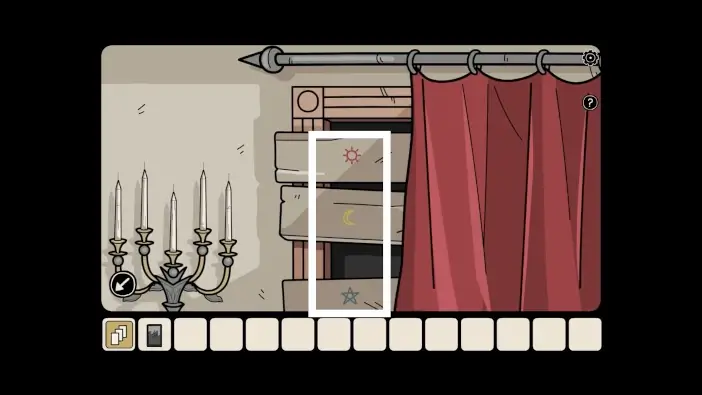
Remember the symbols on the boards and their colors.
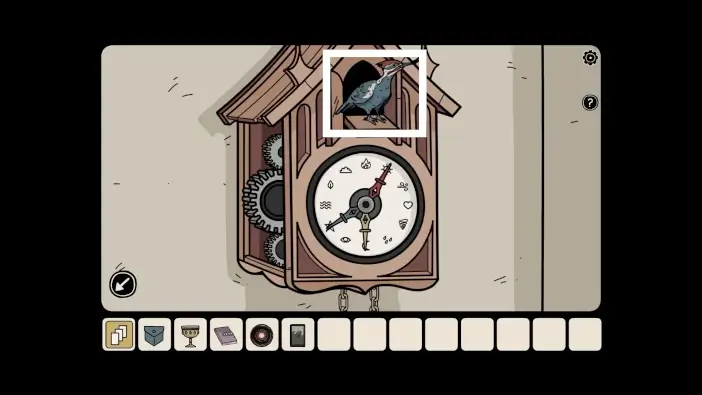
Return to the clock and move the clock hands to the symbols you saw. The colors of the hand clocks should correspond to the color of the symbols on the window. The red clock hand should be on the sun, the blue clock hand should be on the star, and the yellow clock hand should be on the half moon. Once you solve the puzzle, take the wooden woodpecker.
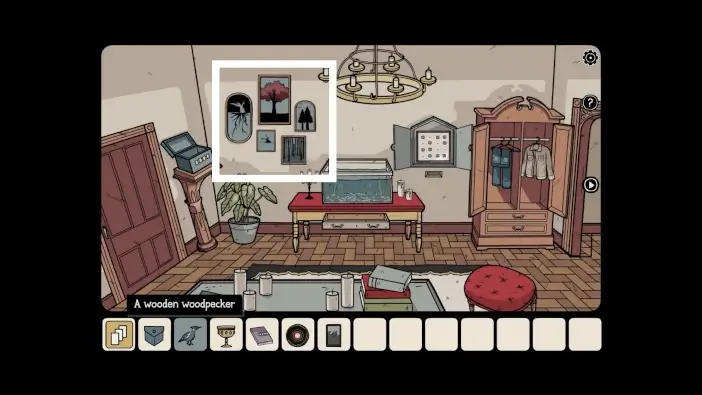
Go to the room on the left and approach the paintings of trees.
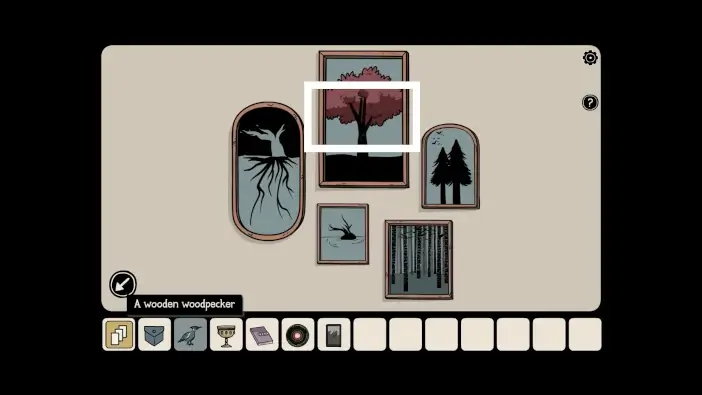
Approach the largest painting of a red tree.
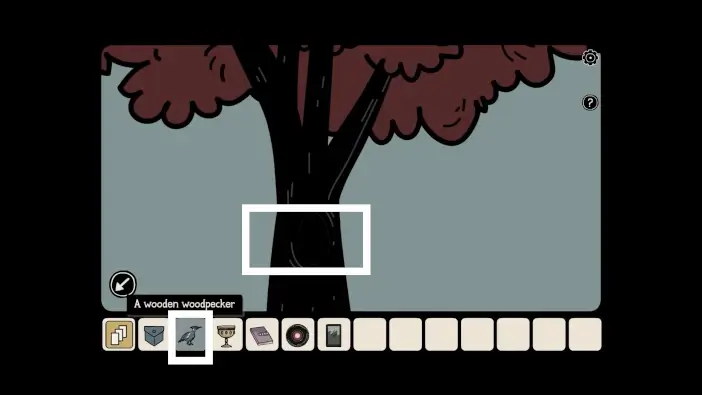
Place a wooden woodpecker on the tree. It will make a hole. Take the note from the hole in the tree.
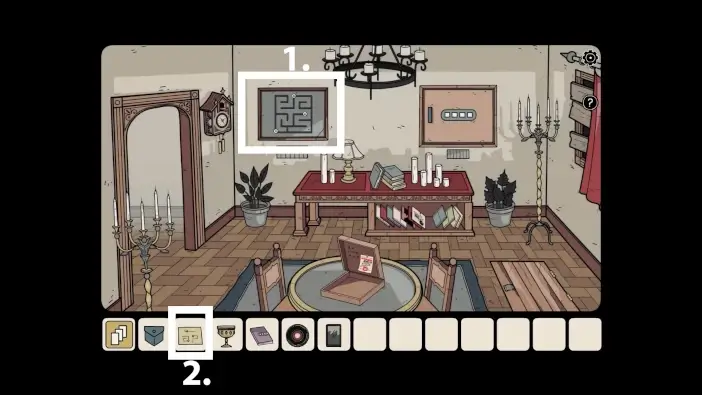
- Go to the room on the right and approach the puzzle on the wall, near the clock.
- Use the note you just got from the painted tree to see the clue on how to solve the puzzle.
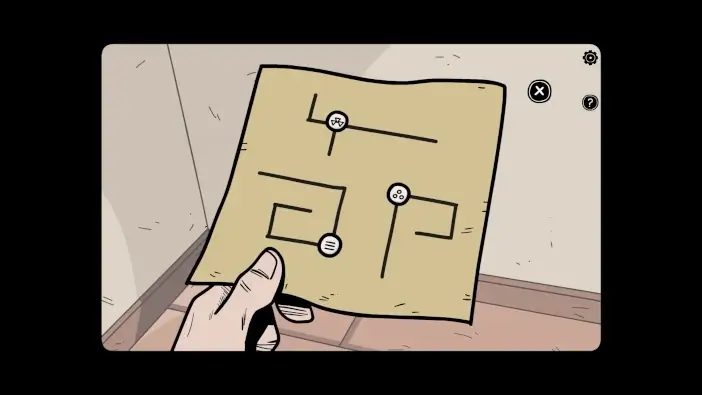
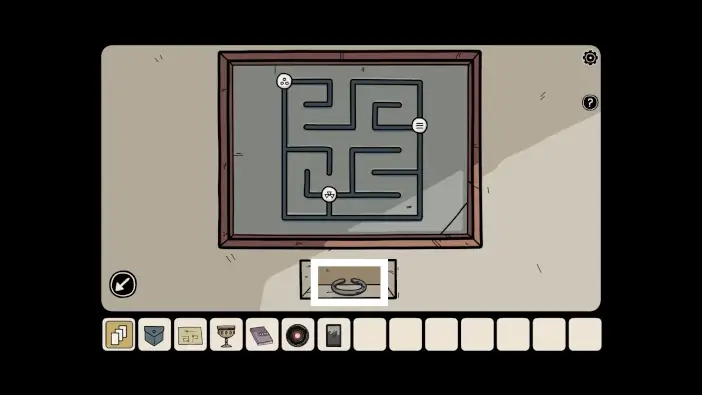
Once you move all the pieces to their correct places, like in the picture above, take the metal ring.
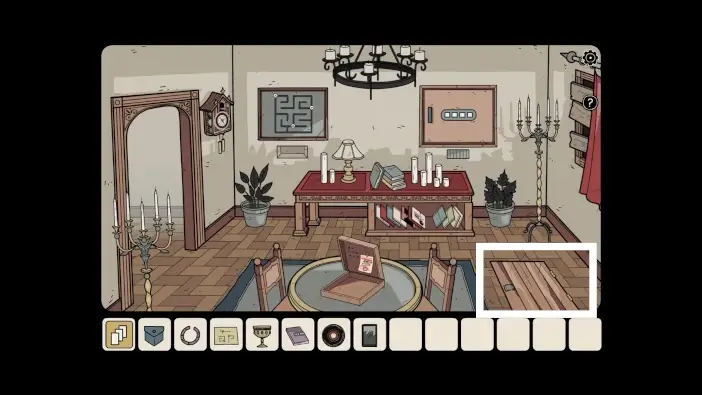
Approach the trapdoor.
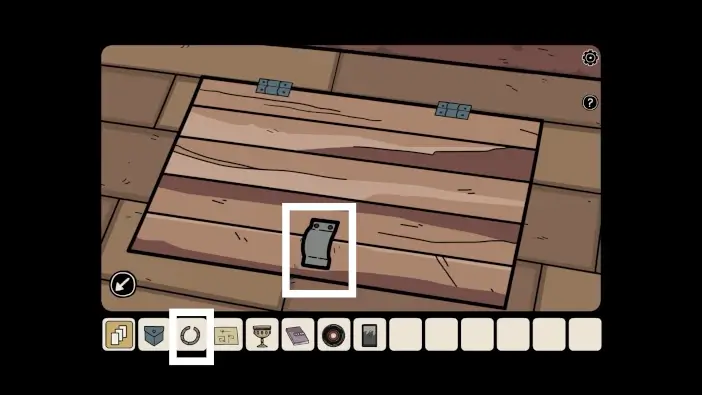
Attach the metal ring to the trapdoor so you can open it.
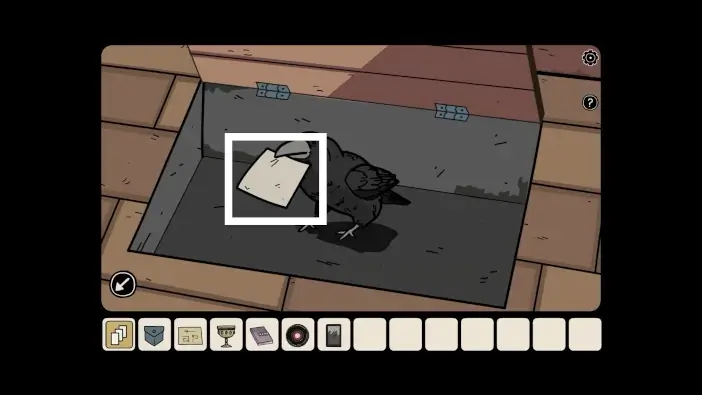
Open the trapdoor. A crow will hold a note for you. Take the note, and the protagonist will remember his memories of the garden. Enter the memory menu to access the garden (the memory menu can be accessed via the second item in the inventory).
This will mark the end of Part 2 of our guide for Hidden Memories.
Thank you for reading!