Find Joe: Lumen – Chapter 2 | Part 5
Intro
Welcome to our walkthrough for Part 5 of the second chapter of the “Find Joe: Lumen” from “Mobiloids”. The virus, invented by a robot, Doug, destroyed nearly all humanity. Help Mike and his faithful robot friend Lumen survive, defeat the robots, and save humanity.
Doug’s House

- Open the cookie box and tap on the thread and needle inside it.
- Move the umbrella to see it better, then pick it up. It will be added to your inventory.
- Move the towel to the right to see it better, and then take it. It will be added to your inventory.
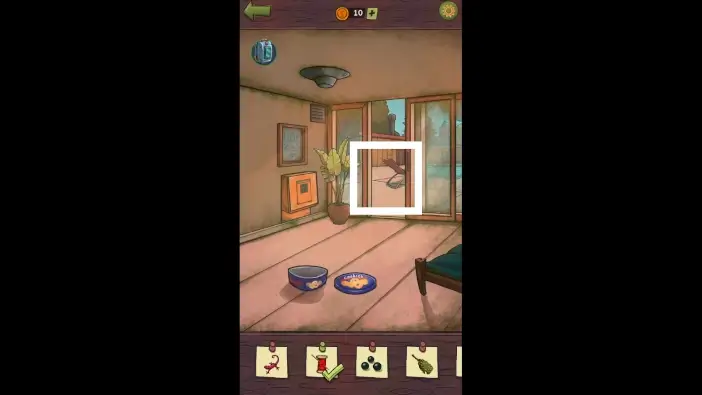
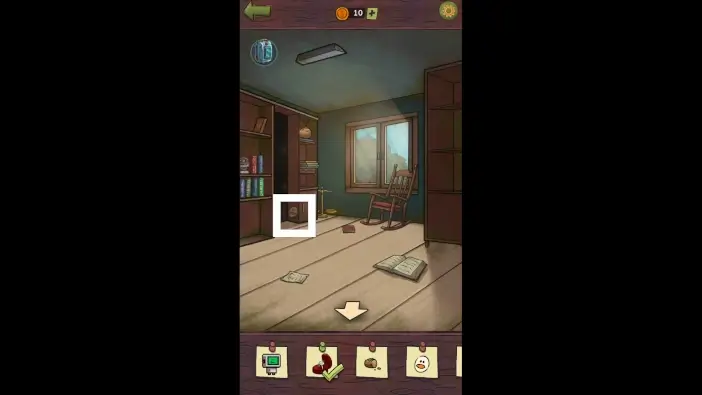
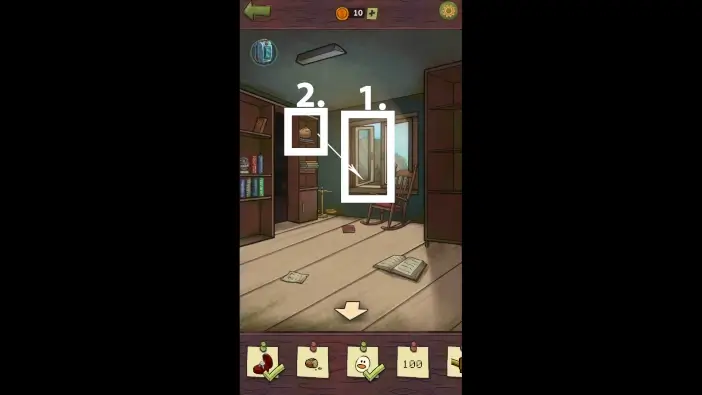
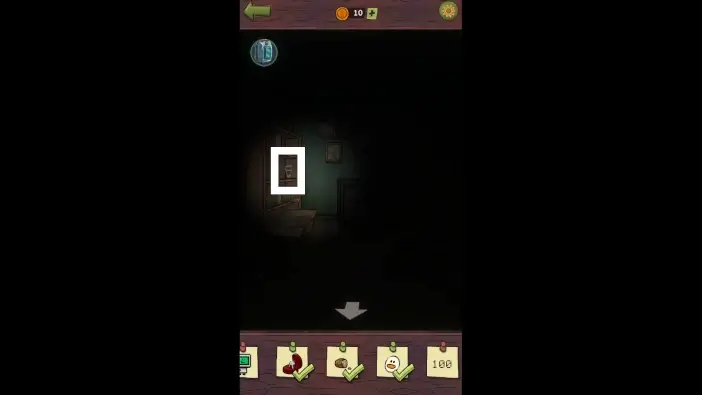
- Approach the framed picture.
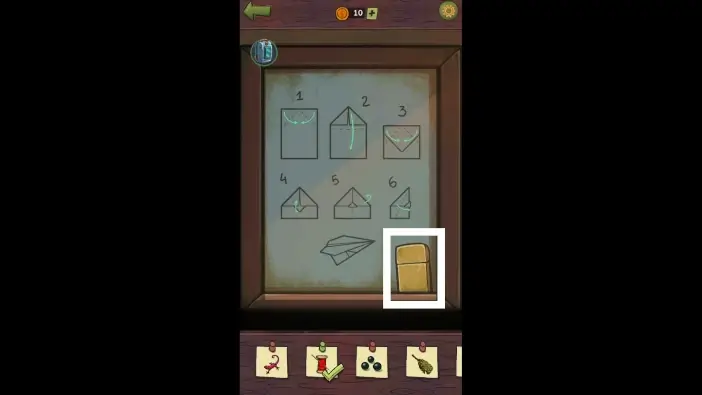
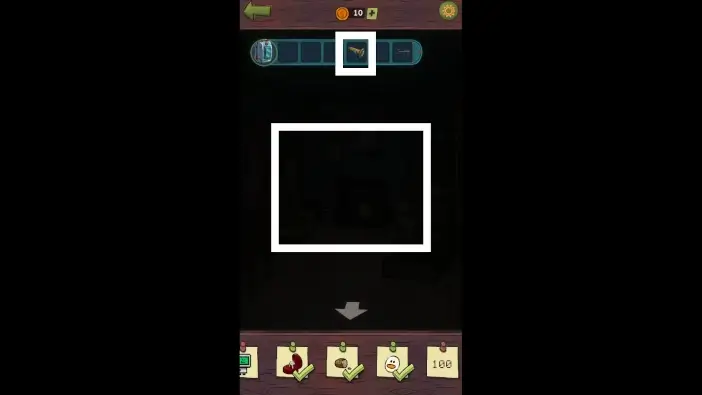
Take the lighter to your inventory. Memorize the instructions on how to fold a paper. It is a clue for later.
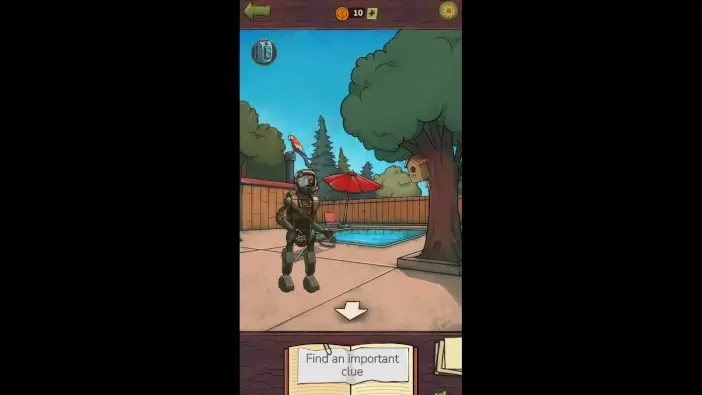
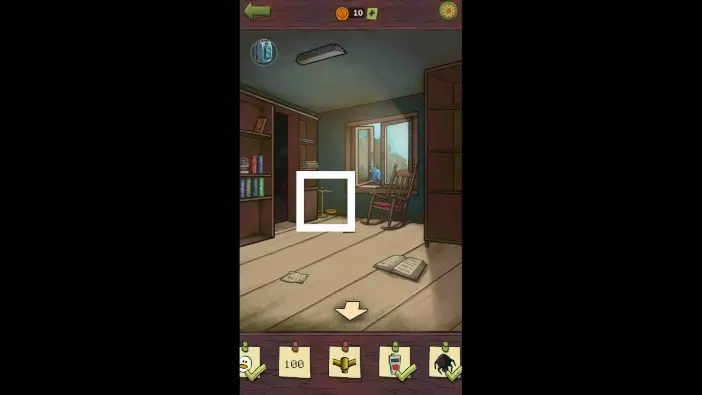
Go to the courtyard.
There is a wooden ladle beneath the chair. Move it to the right and then take it. It will be added to your inventory.
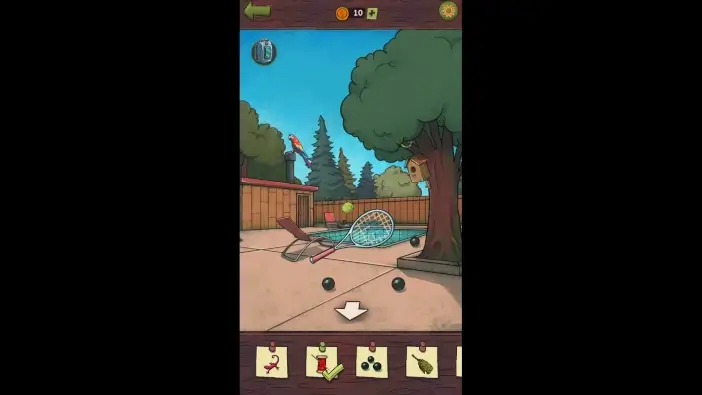
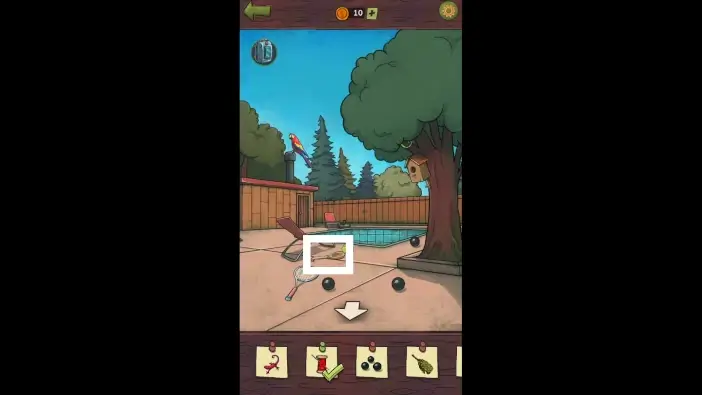
Raise a tennis ball and drop it. It will start bouncing up and down. Use the tennis racket to hit the ball. The ball will hit the parrot on the left, and the parrot’s feather will fall to the ground.
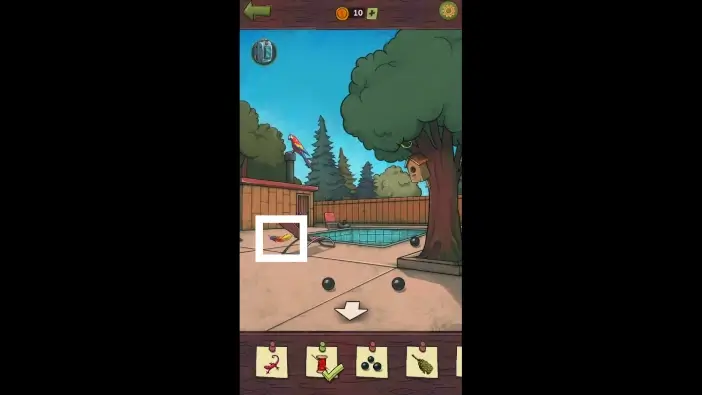
Tap on the fallen parrot’s feather.
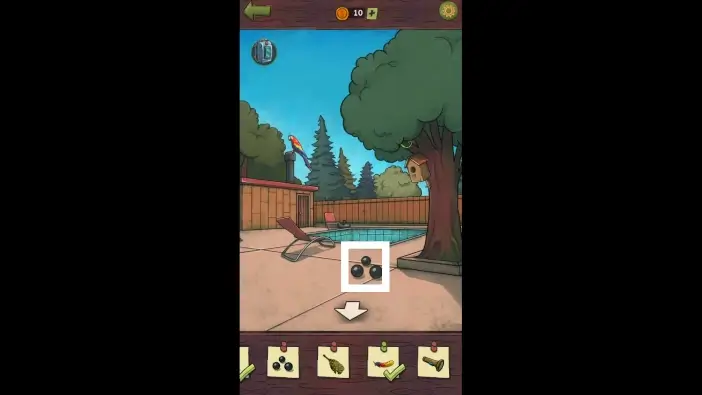
Move the three black balls close to each other, then tap on them.
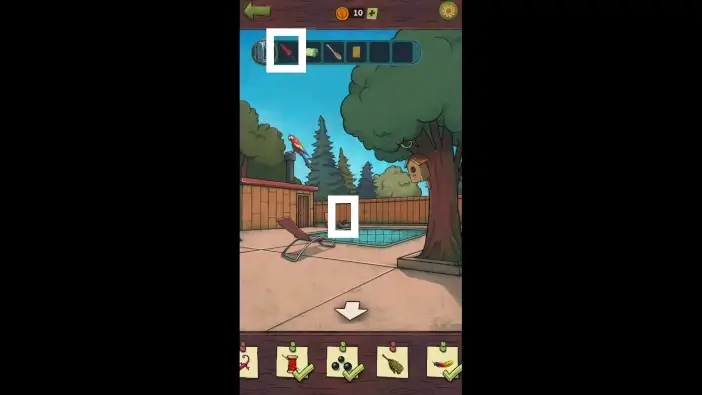
Place the umbrella near the pool.
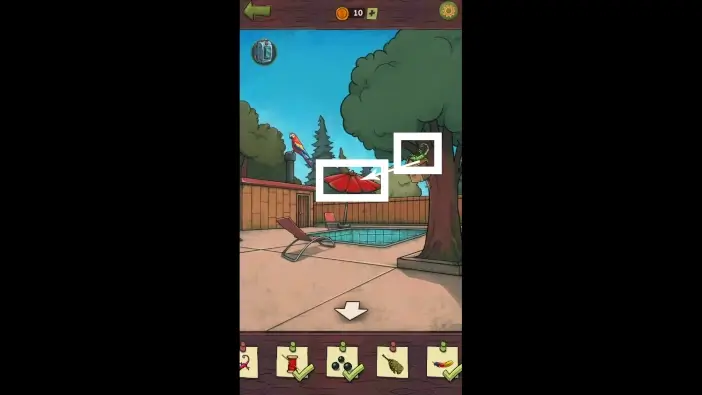
There is a chameleon on the tree. Move it to see it better, then place it on the umbrella.
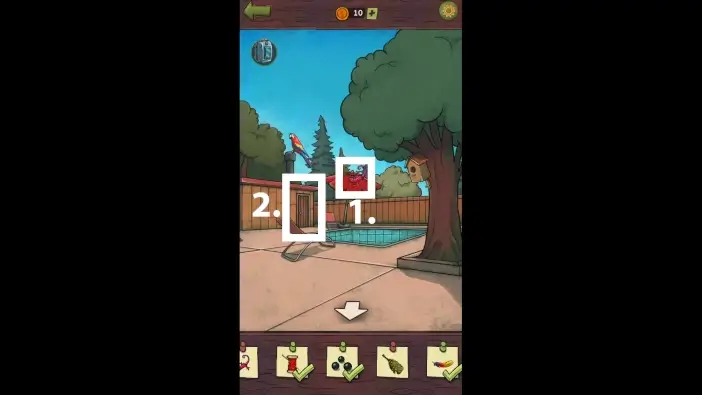
- Once the chameleon changes its color, tap on it.
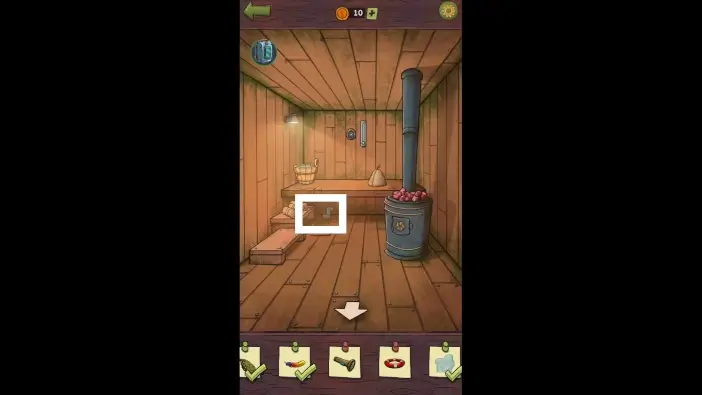
- Enter the sauna.
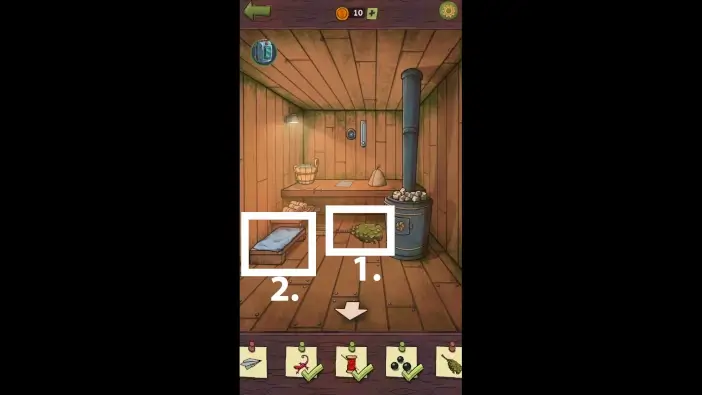
- Move the object behind the furnace to the left to see it better, then tap on it.
- Fold the towel on the left.
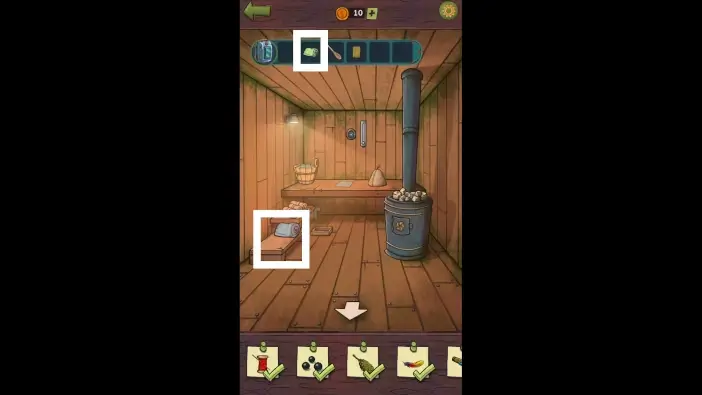
Place another towel you got earlier next to the towel you just folded.
Tap on the towels.

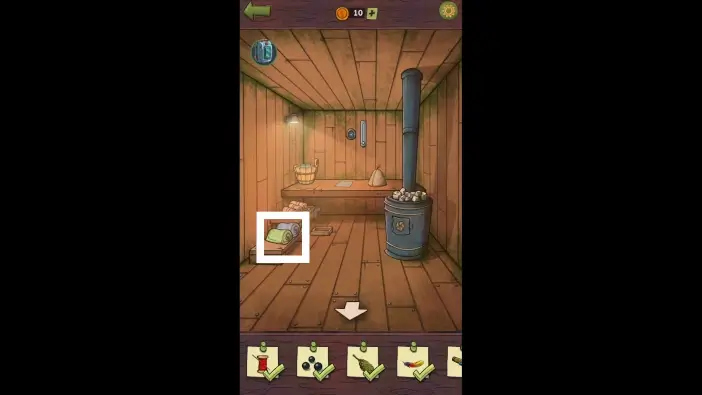
Use a wooden ladle to take some water.
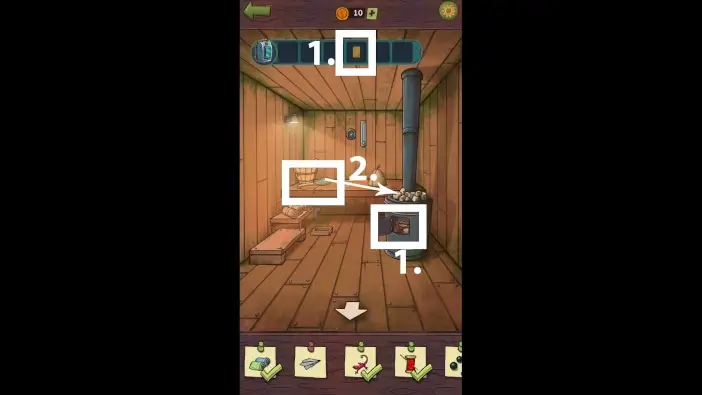
- Open the lid of the furnace. Use a lighter from your inventory to burn the firewood inside the furnace.
- Use a wooden ladle to pour water on top of the furnace.
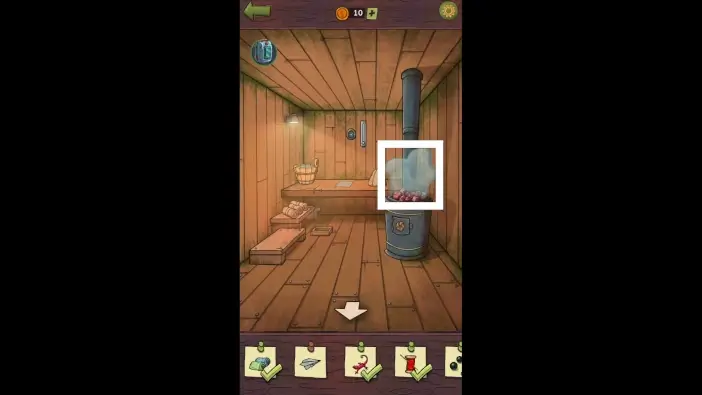
Water will turn into steam. Tap on the steam.
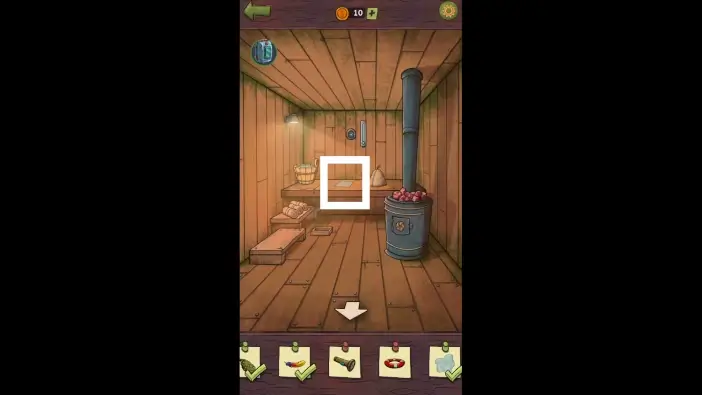
Approach the paper on the far side of the sauna.
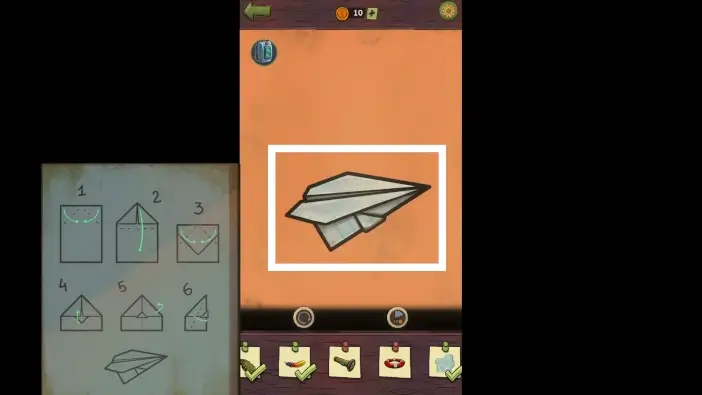
Fold the paper following the steps from the framed picture before. Once you finish, you will get a paper plane. Tap on it.
Behind the towels, there is a small metal part. Move it to see it better, then pick it up. It will be added to your inventory.

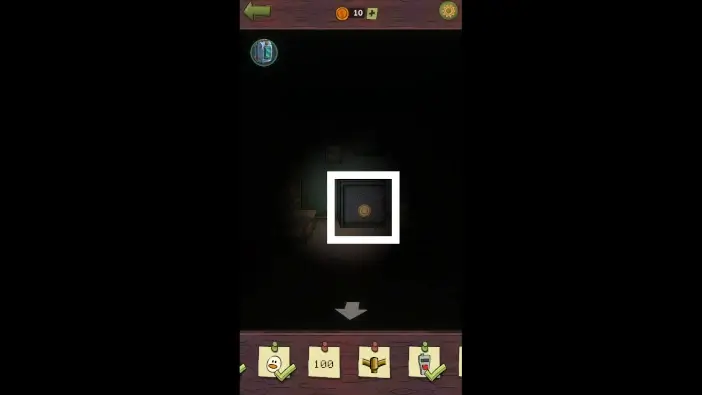
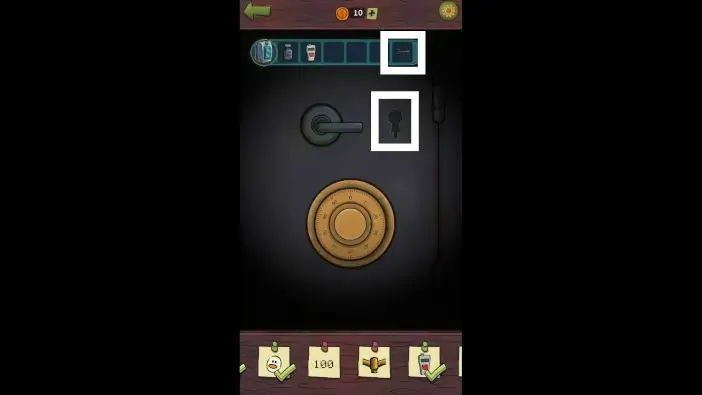
Return to the house and approach the safe on the left.
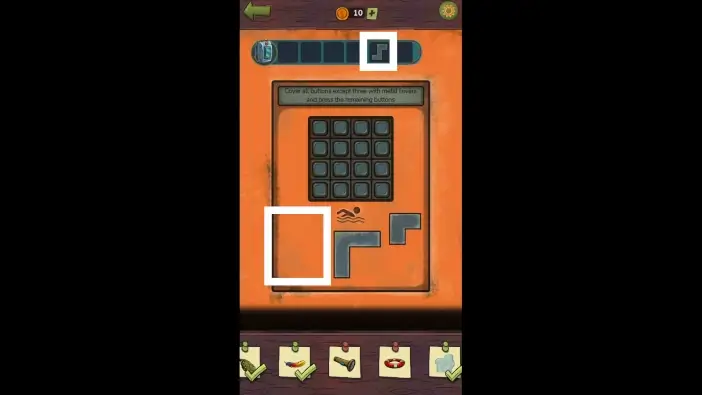
Place the metal part.
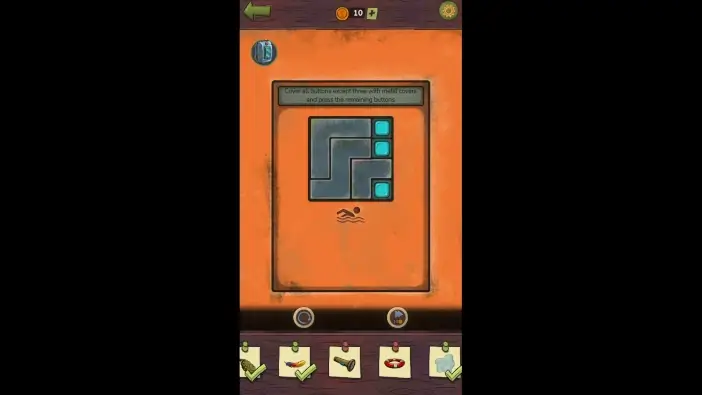
Place all the metal parts like in the picture above. After that, activate the three buttons that are not covered with metal parts. This will raise the water level in the pool.

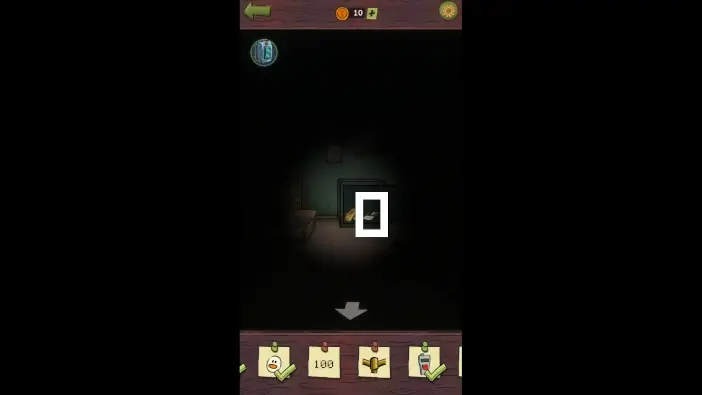
Return to the pool area and tap on the lifebuoy.
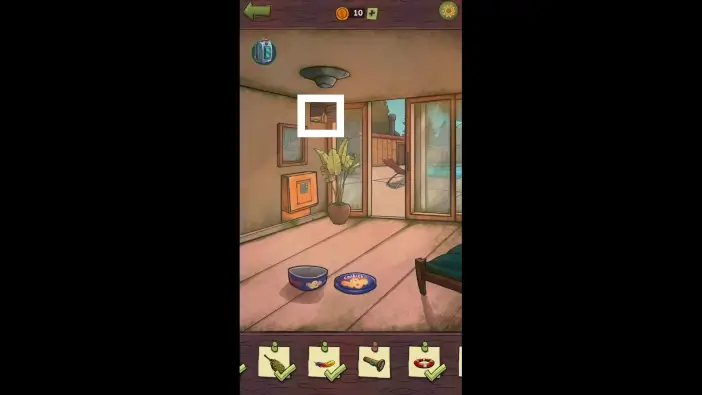
Inside the house, open the lid in the upper corner. Pull up the flashlight and then tap on it.
Once you find all the clues, go to the pool area. Lume and Doug will speak.
Mike’s House Part 2
Move the book on the left to reveal a key that was beneath it. Take the key. Go to the library.
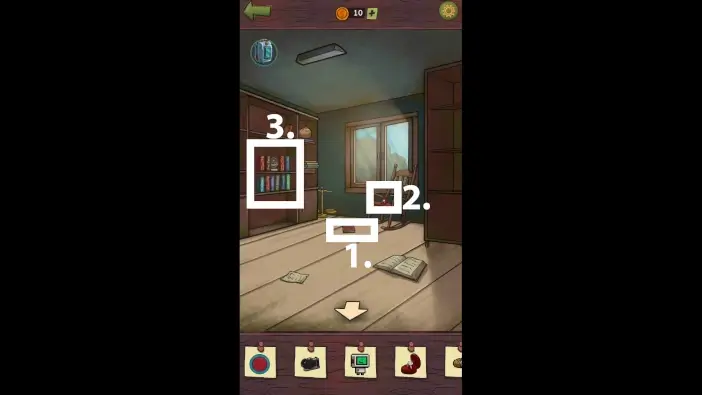
- Move the book that is beneath the chair’s leg. The chair will move to a different position, and you will see a ring in a box on the chair.
- Tap on the ring.
- Approach the books on the shelves on the left.
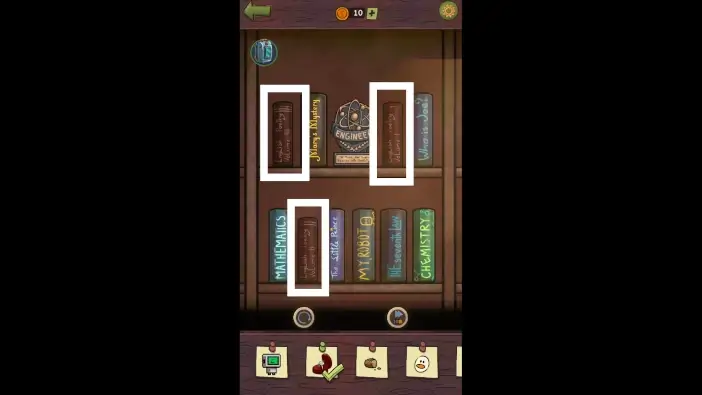
Tap on the three English poetry books to open a hidden passage.
Tap on the smiley sticker near the secret passage.
- Open the window.
- Place the bread on the window. A blue bird will appear to eat the bread.

- Tap on the bird while it’s eating bread.
- Go to the secret area behind the bookshelves.
In the new room, you will face complete darkness. Use a flashlight from your inventory to illuminate a small area in front of you.

Move the direction of the flashlight by sliding on the screen. Find and take the 300g scale weight. It’s left from the safe.
Further left from the safe, move the box on the shelf to reveal a chip programmer. Take it.
Approach the safe.
Unlock the safe using the key you found in Mike’s office at the start of the level.
Take the floppy disk from the safe.
Find a spider. Beware that it will keep running away from the light. Once you see it, tap on it fast.
Return to the library and approach the scales.
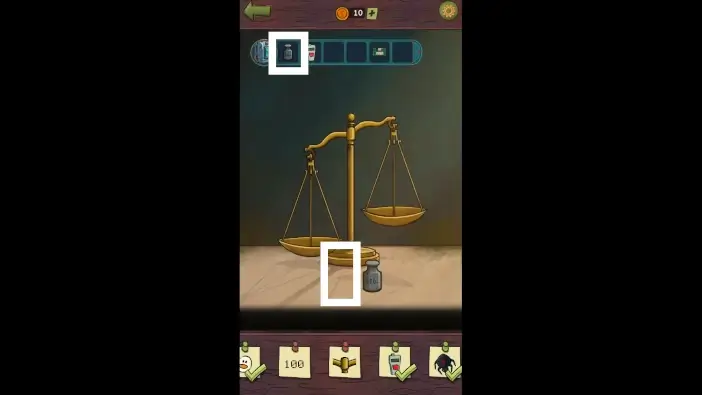
Place the 300g scale weight in front of the scales.
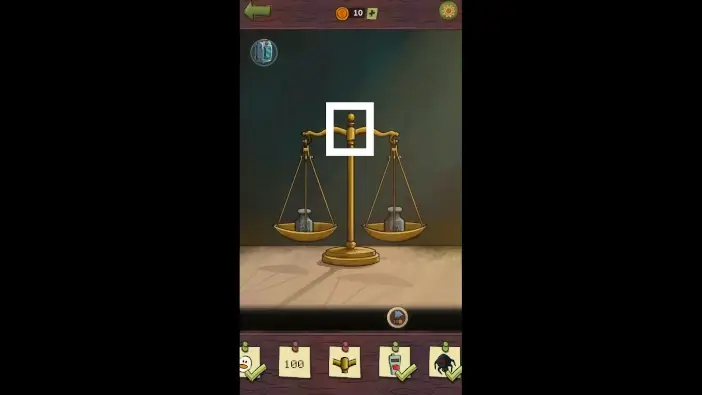
Place the 200g scale weight on the left scale and the 300g weight scale on the right scale. Afterwards, tap on the top of the scales.
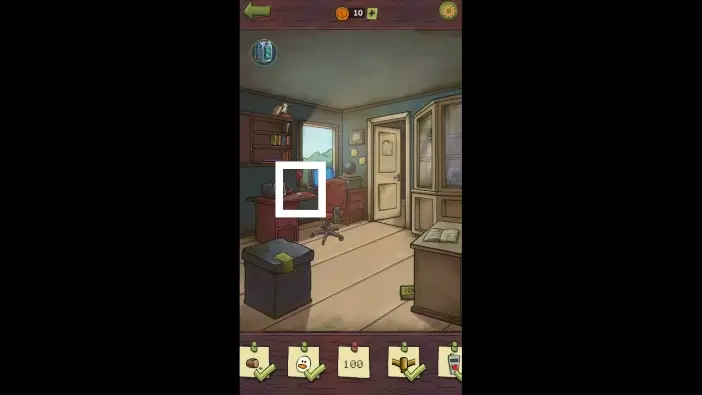
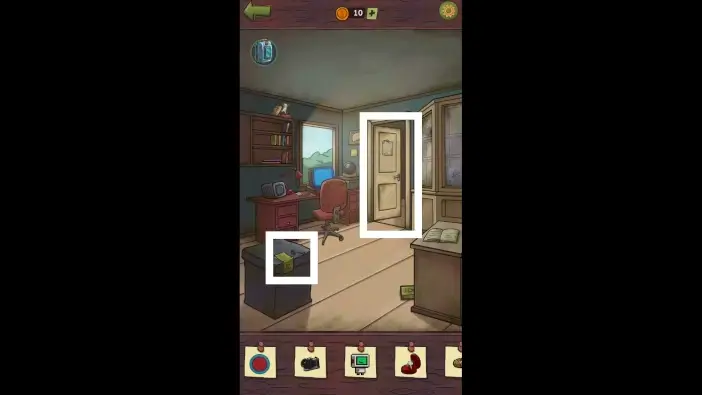
Go to Mike’s office and approach the work desk.
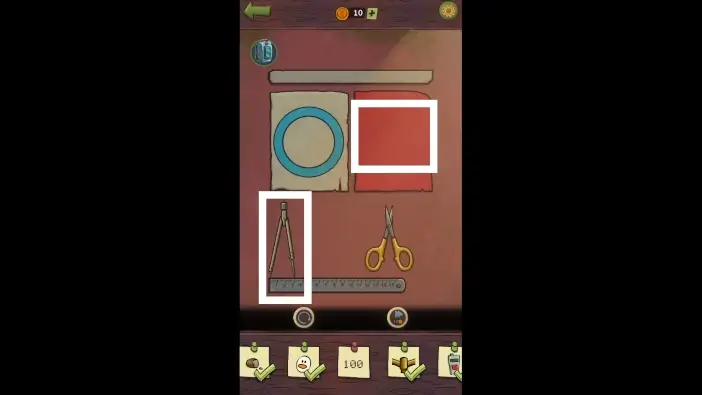
Tap on the compass to extend it to 3cm. Use a compass on the red paper to draw a circle.
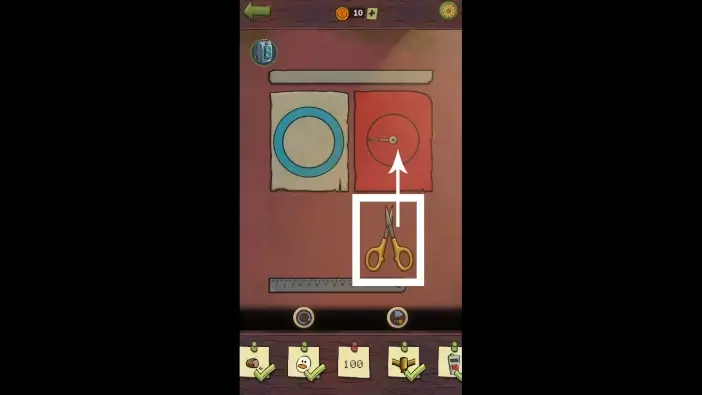
Use scissors from the table to cut the circular part of the red paper.
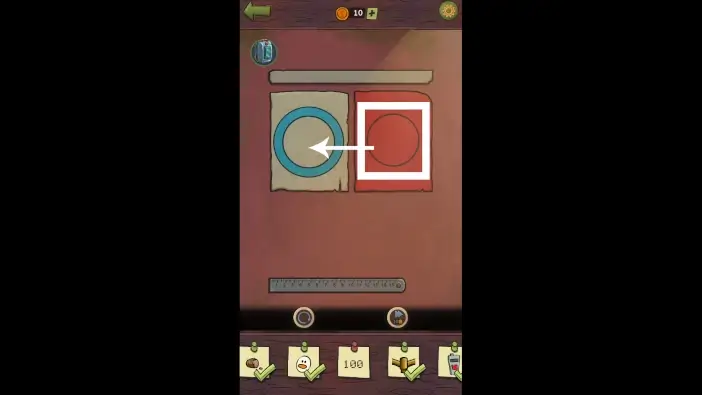
Place the circular part of the red paper on the left paper.
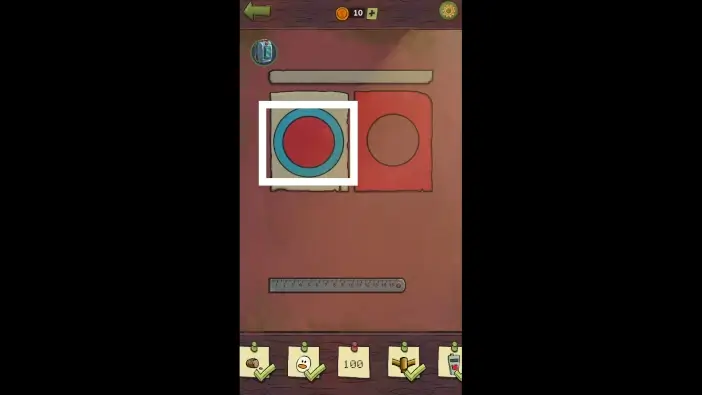
Tap on the circles on the left paper.
Use a ball next to the PC and throw it at the glass on the right.
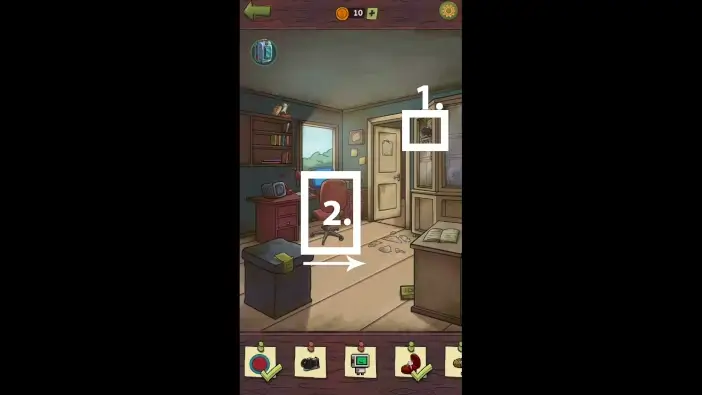
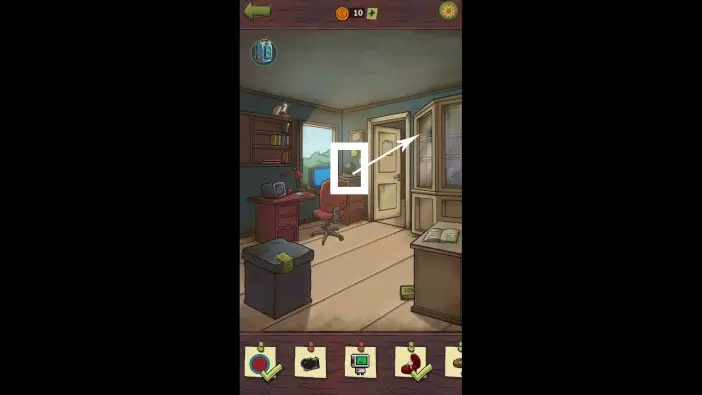
- Tap on the camera.
- Move the chair slightly to the right.
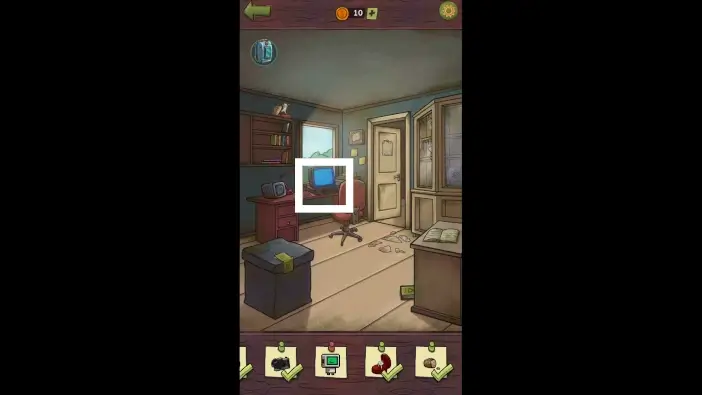
Approach the PC.
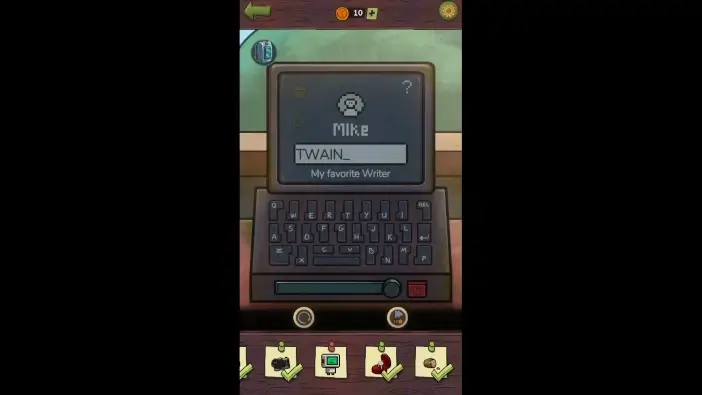
Type the password TWAIN (tap the keys on Mike’s keyboard), and press Enter.
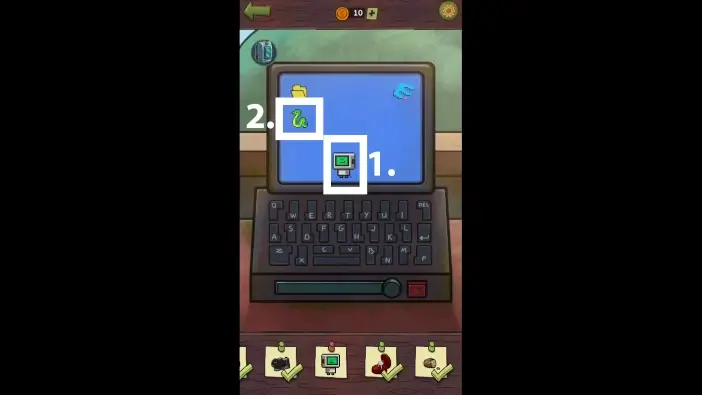
- Tap on the robot that is moving.
- Open the Snake video game.
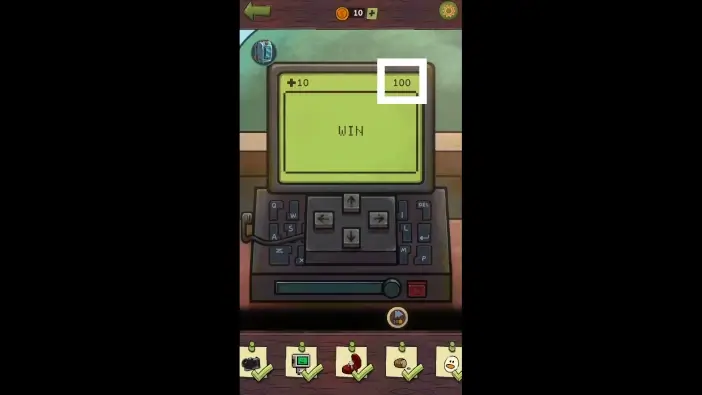
Collect 100 points in the snake game by eating targets 10 times. The snake should not hit the wall or bite its tail. After each target is eaten, the snake will grow. Once you collect 100 points, tap on the number “100” on the top right side of Mike’s computer screen.
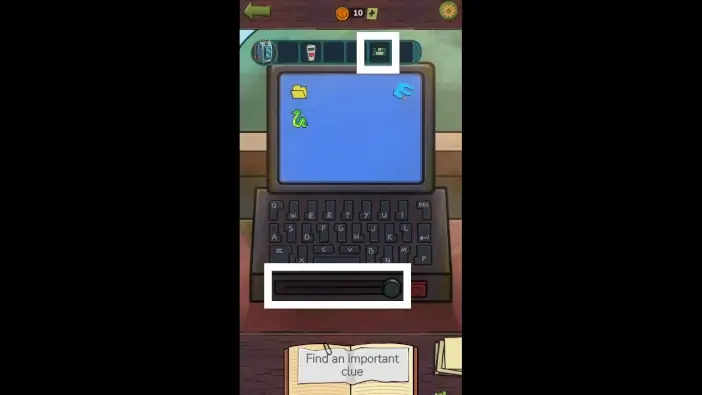
Once you tap on all of the clues, place the floppy disk from the safe into Mike’s PC.
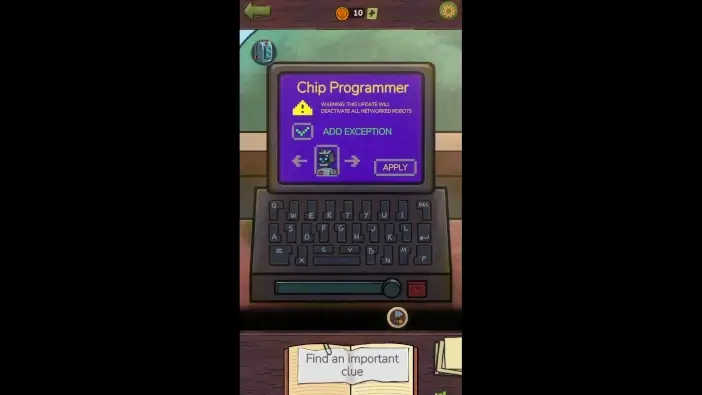
Use the arrows on the screen to find the picture of Lumen, then check the “Add Exception” field. Once you’ve done this, press the Apply button.
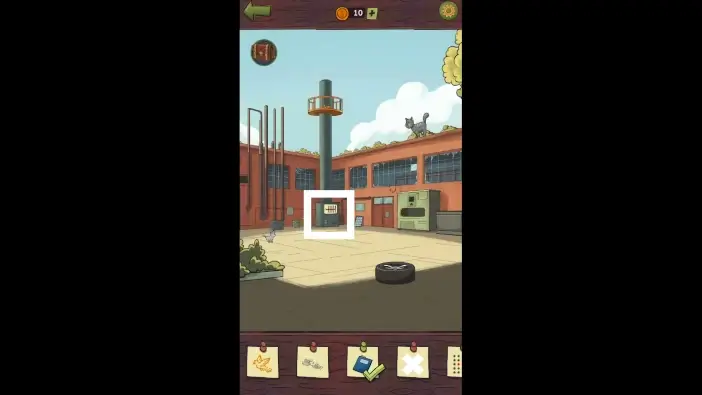
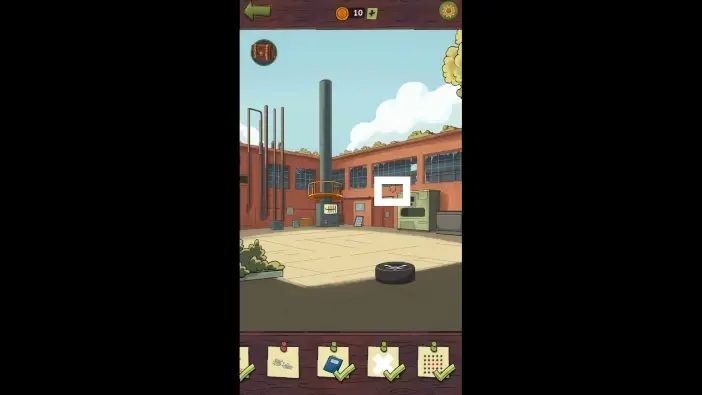
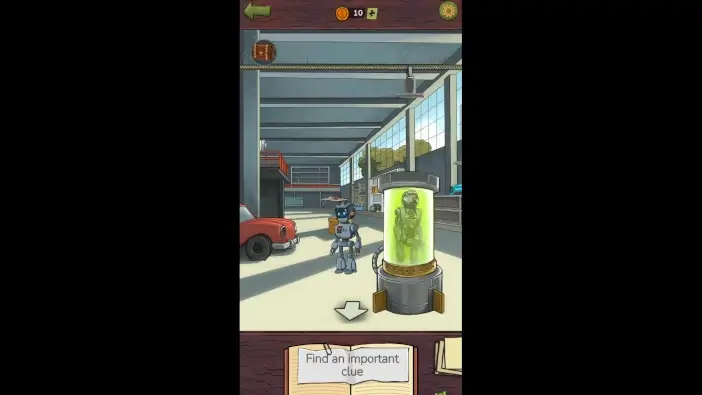
Factory
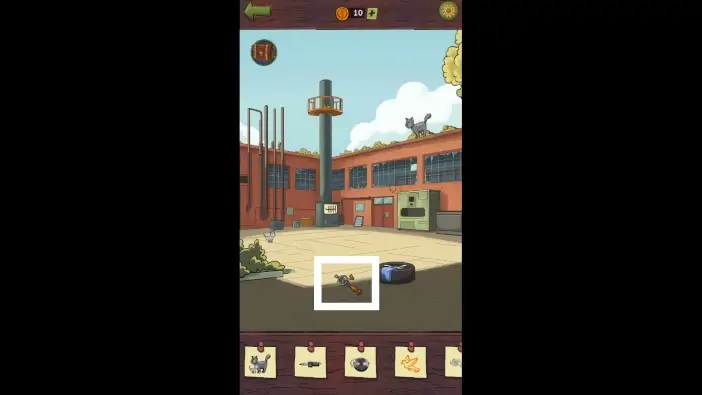
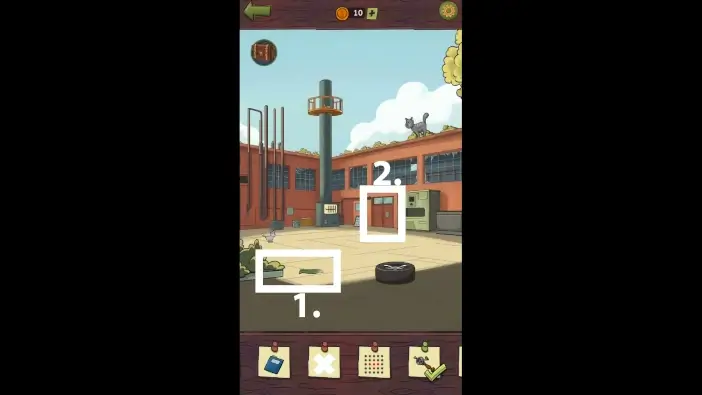
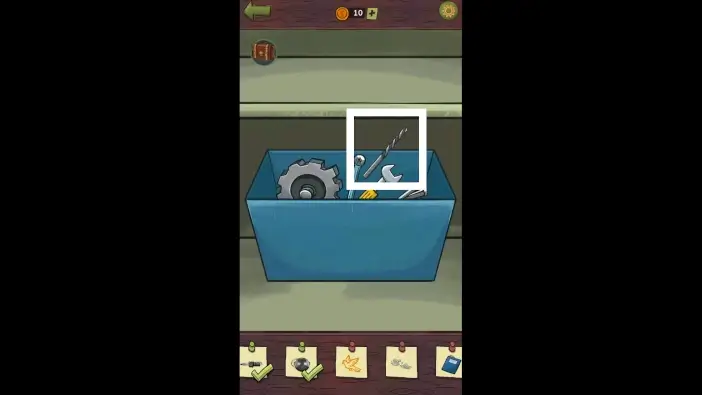
Pick up the manual drill from the ground.

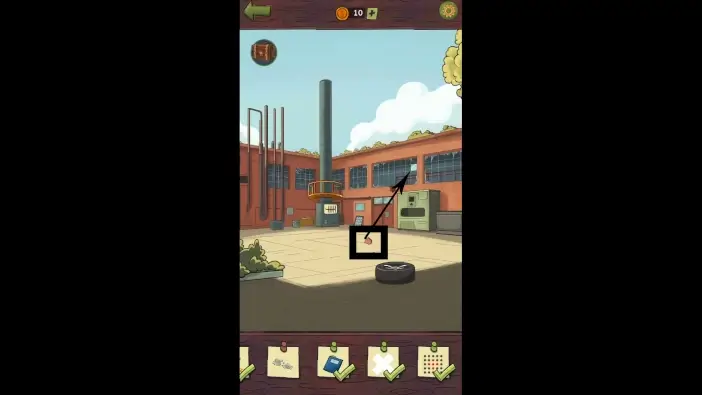
- There is a rag on the tire. Take it. It will be added to your inventory.
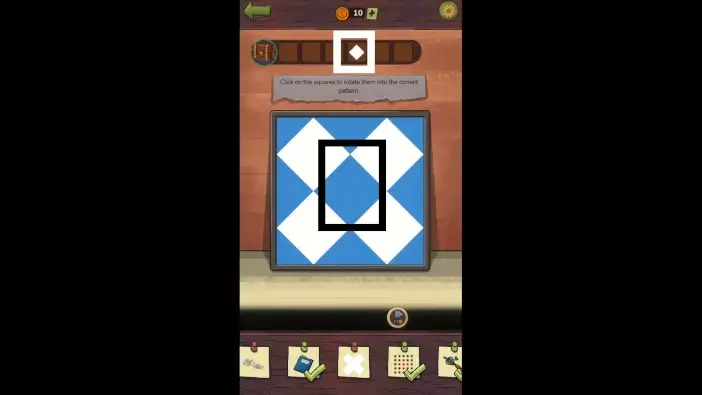
- Approach the puzzle near the factory entrance.
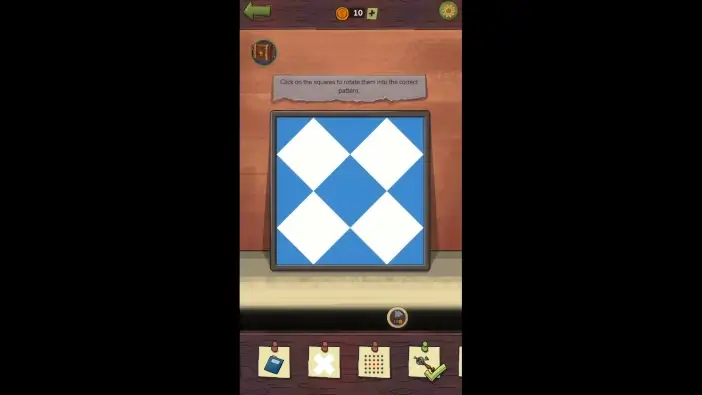
Rotate the square tiles to get the image like in the picture above. You’ll miss one more piece to complete this puzzle, so you will come here later.
- There will be a cutter behind the left bush. Move it to see it better, then take it to your inventory.
- Enter the factory building.
- Take the white rhombus from the floor.
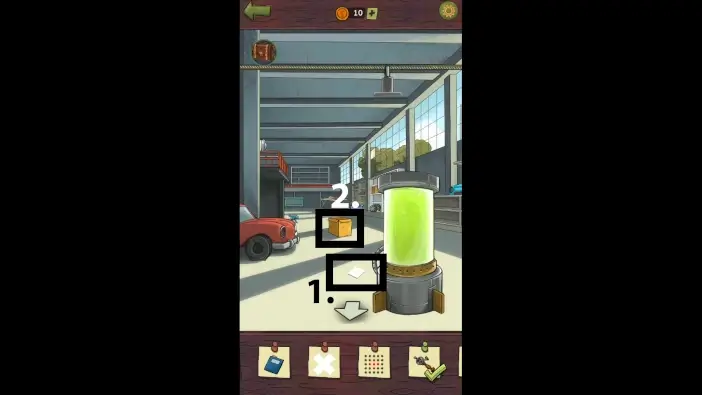
- Approach the box.
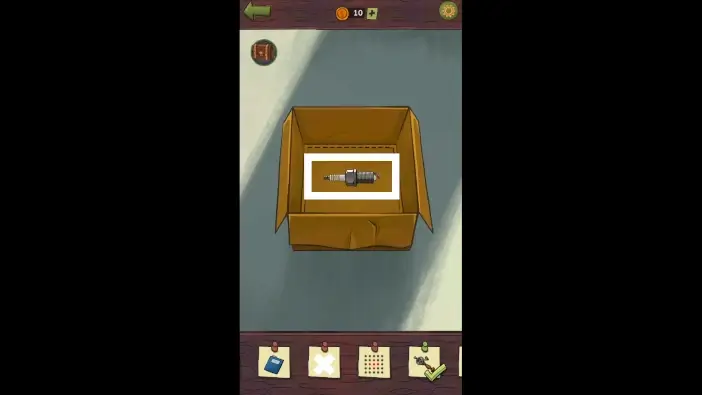
Tap on the item inside the box.
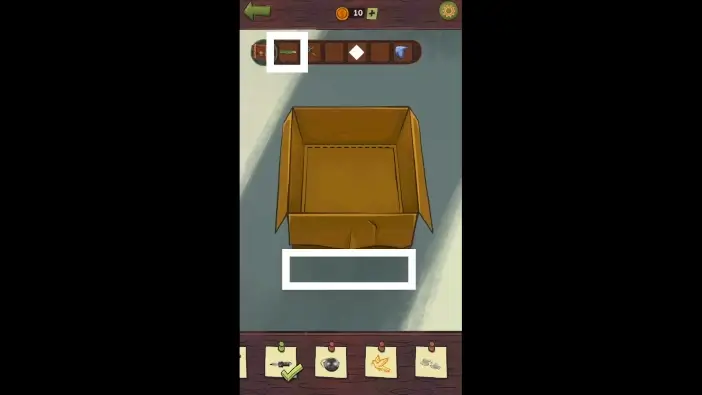
Place the cutter from your inventory next to the box.
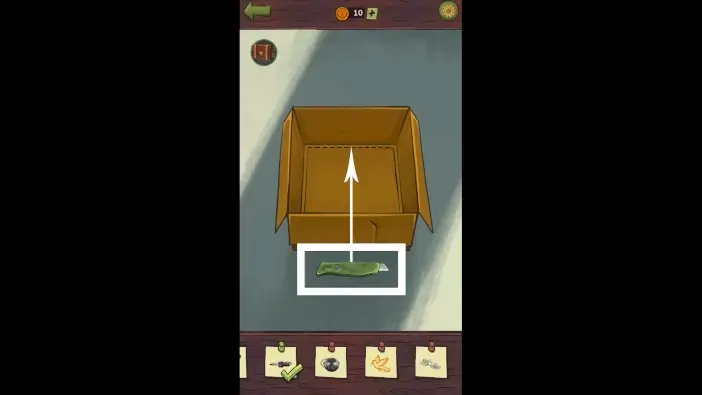
Use the cutter to cut the box where the dashed line is.
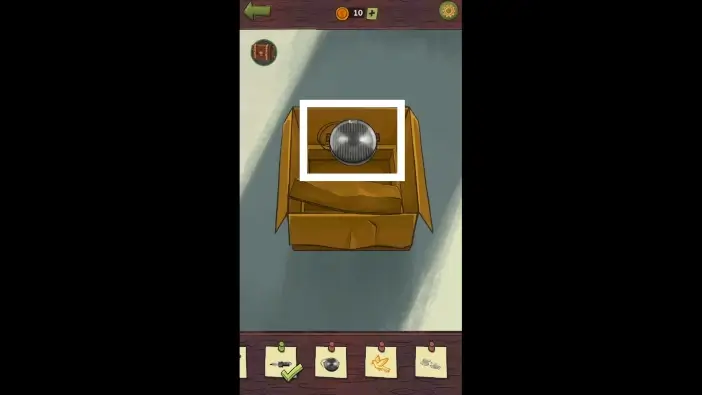
Pull up the item that was hidden and tap on it.

- Move the spray bottle that is behind the car slightly to the right to see it better, then tap it.
- Approach the toolbox on the far side of the room.
Take the drill bit from the box. It will be added to your inventory.
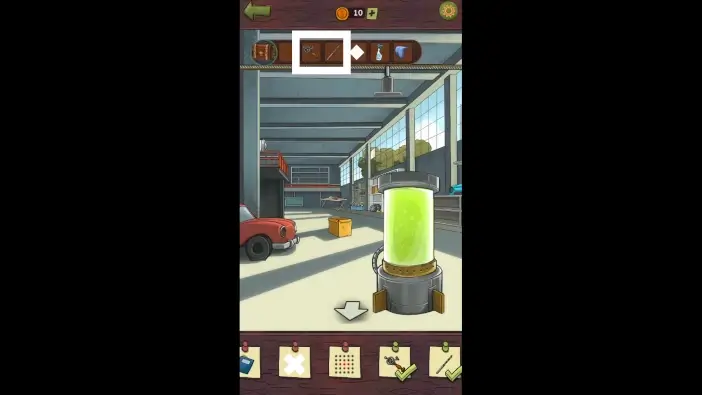
In your inventory, merge the manual drill and the drill bit to create a drill item.
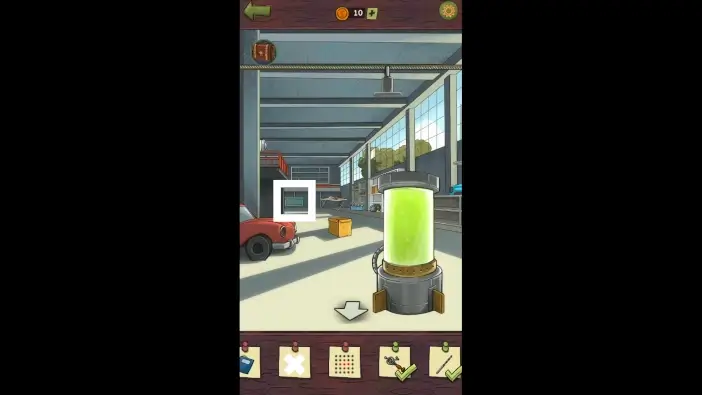
Approach the safe.
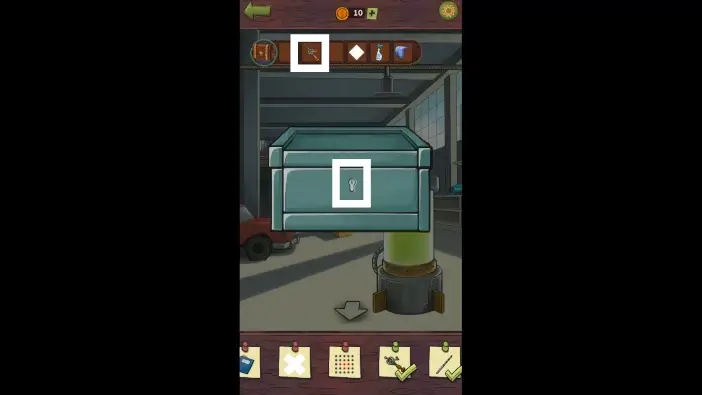
Use a drill on the keyhole of the safe to open it.

Tap on the files inside the safe.
Exit the building and approach the control panel for the elevator.
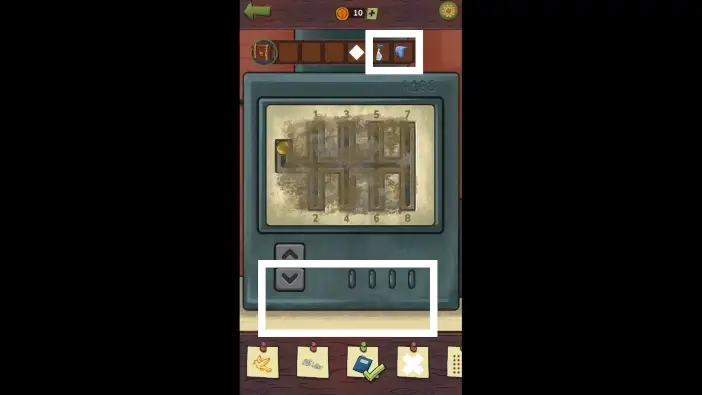
Place the spray bottle and the rag near the control panel.

Use a spray bottle by holding a finger on the spray and then moving the finger across the glass of a control panel.
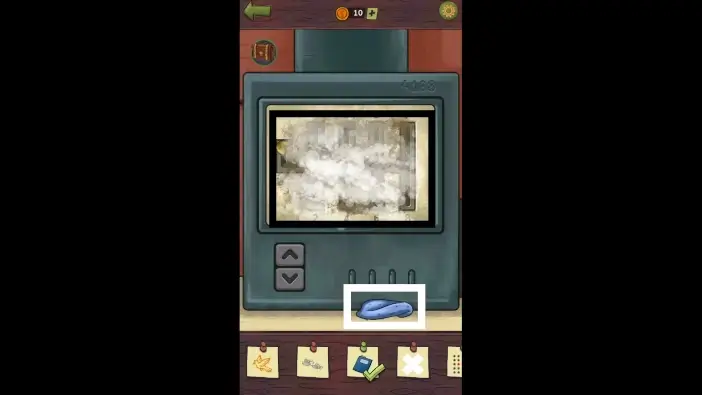
Similarly, use a rag to clean the glass.
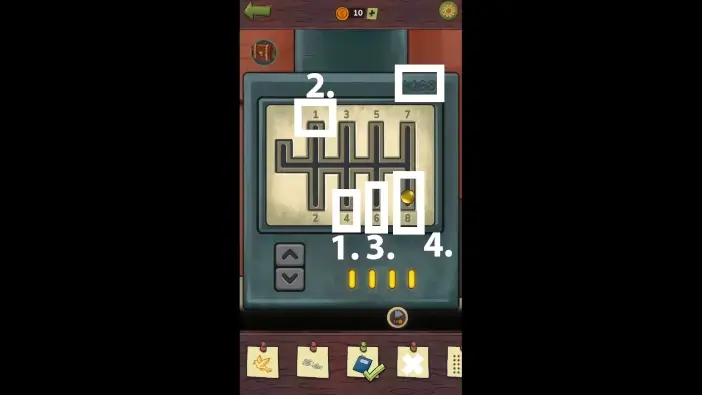
On the upper-right corner of the control panel are the numbers 4, 1, 6, and 8. Move the golden gear to the numbers in the same order as in the clue.
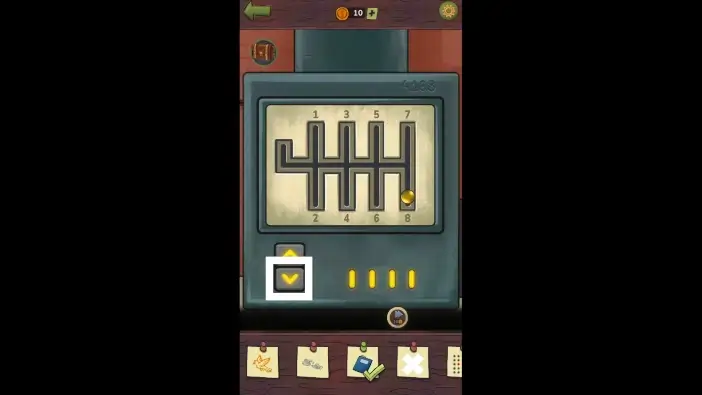
Once you complete the previous challenge, you can move the elevator. Press the down button once.
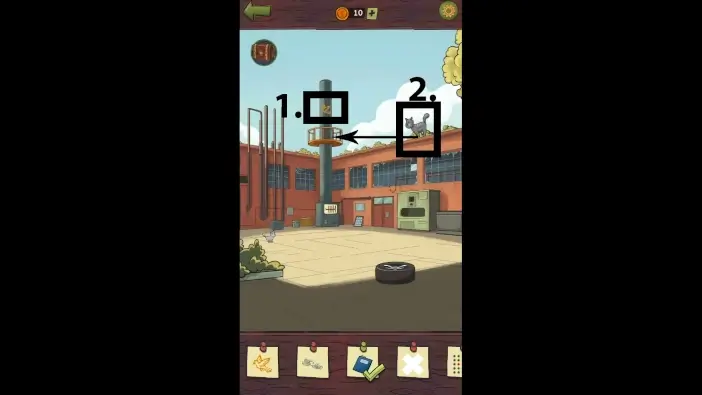
- Tap on the bird image on the pillar.
- Move the cat to the elevator.
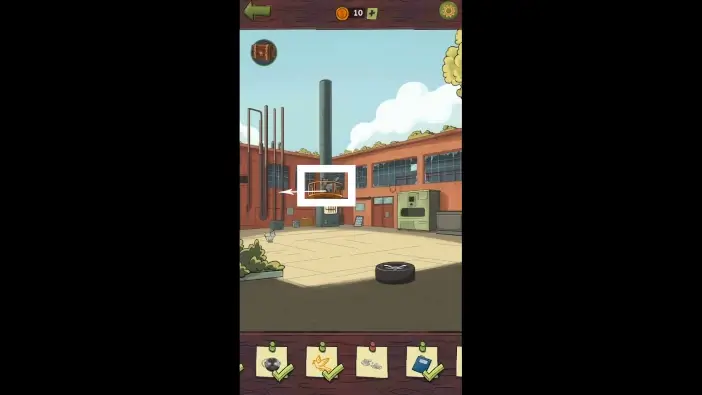
Return to the control panel and press the down button again to lower the elevator further. Move the cat to the left again.
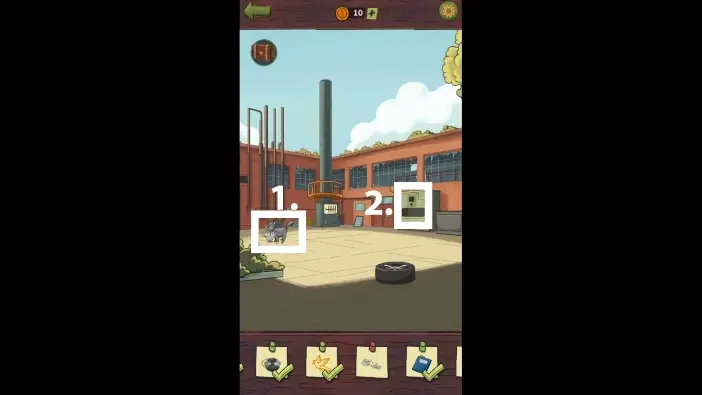
- The cat and its kitten will be reunited. Tap on them.
- Approach the strange device on the right.
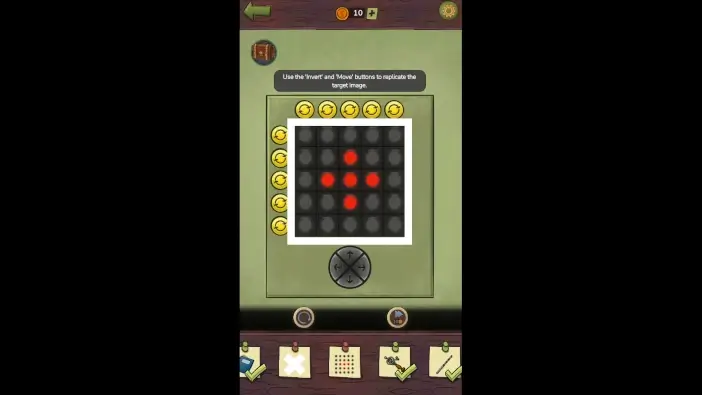
Press one of the invert buttons to activate the lights in the entire row or column. Use the arrow buttons to move the lights. If you move a red light beyond the edge of the screen, for example, beyond the top border, a field on the bottom will turn off. Create a cross shape with lights and place it at the center, then tap on the cross.
Return to the puzzle and place the white rhombus at the center.
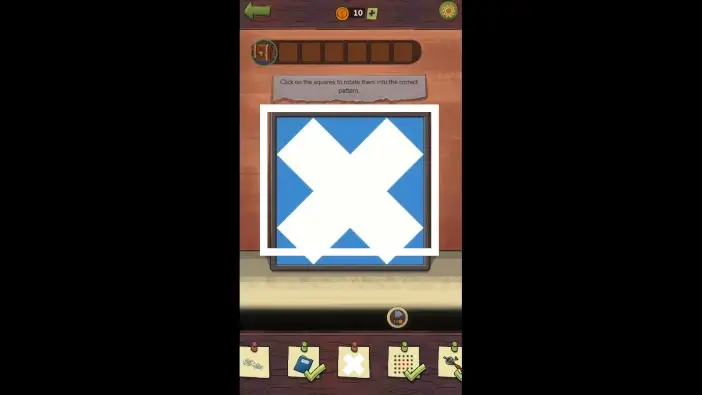
Tap on the “X” sign.
Break a half-cracked part of the wall.
Use the piece of wall to throw it at the small glass tile on the window to break it.
Enter the factory and tap on the broken shards of glass.
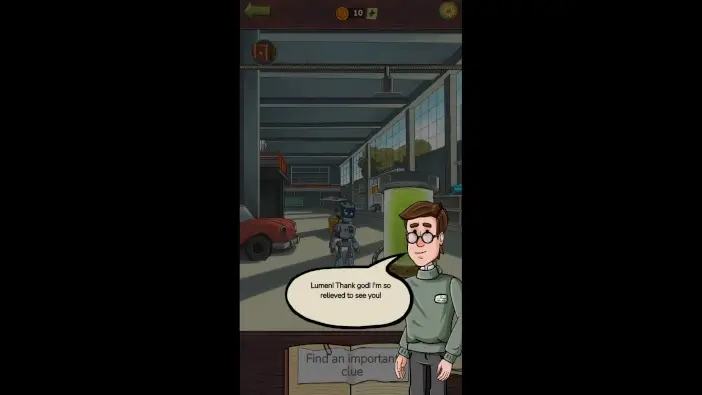
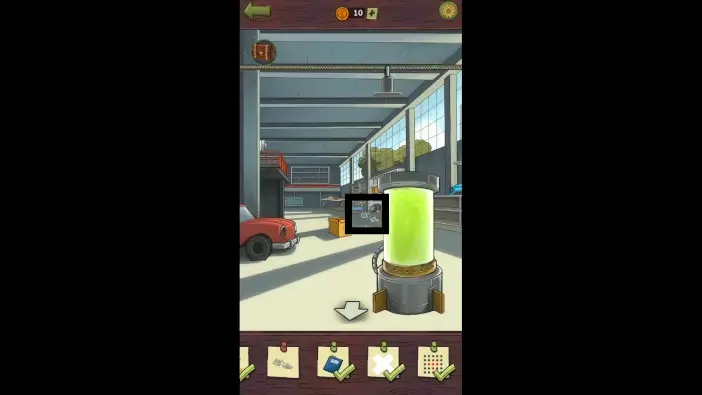
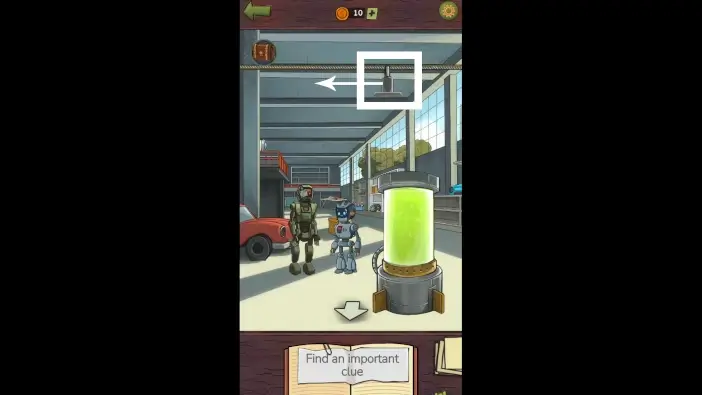
Once you find all the clues, Lumen will appear. Unfortunately, Doug will arrive as well.
Move the magnet crane to the left and position it above Doug. After that, lower the magnetic crane to catch Doug.
Raise the magnet crane, and Mike will automatically move Doug to the acid.
After a long and emotional conversation between Mike and Lumen and their last farewell, press the red button to shut down Lumen.
This will mark the end of our guide for Chapter 2 of Find Joe: Lumen.
Thank you for reading!