Room Escape: Strange Case 3 | Part 1
Intro
Welcome to our walkthrough for Part 1 of the “Room Escape: Strange Case 3” from “Labeledman”. This game continues the game “Escape Room: Strange Case 2”. You need to investigate and stop the ghost train, and you will use both your human vision and Ghost Vision from the demon that possessed you.
Chapter 1
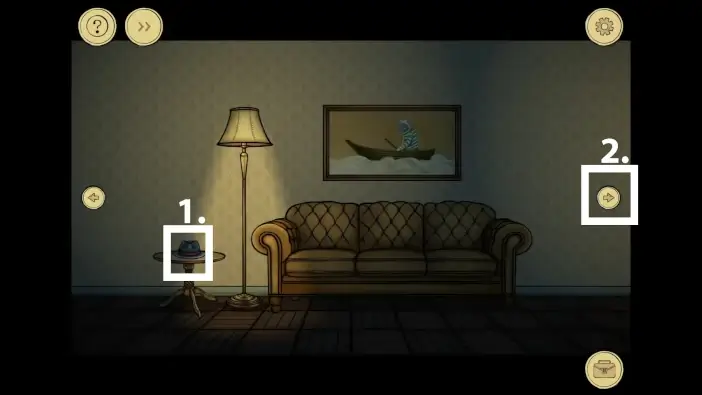
- After the dialogue with the demon, take the hat from the table.
- Go right.
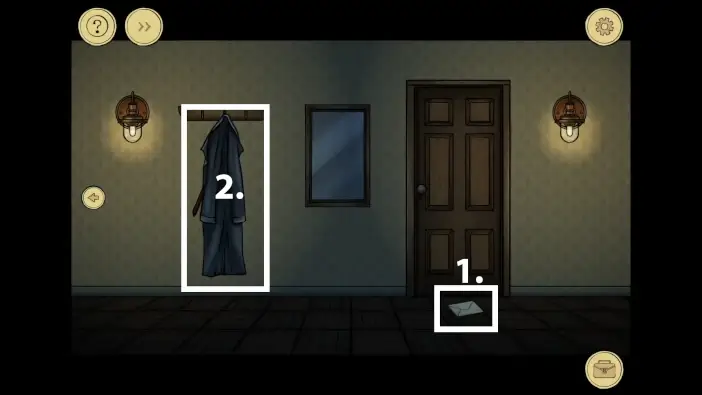
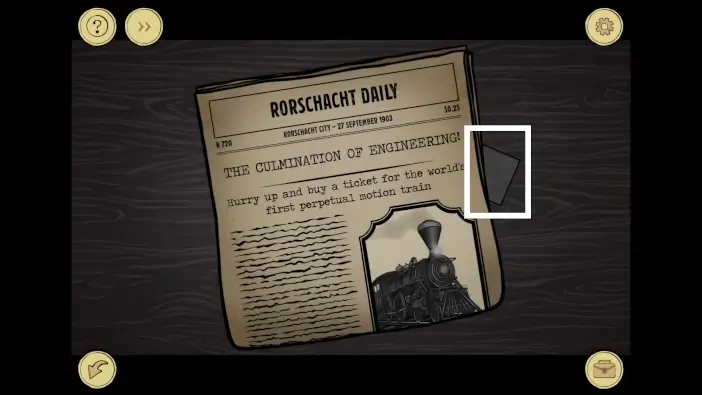
- Take the letter in front of the door.
- Take your clothes.
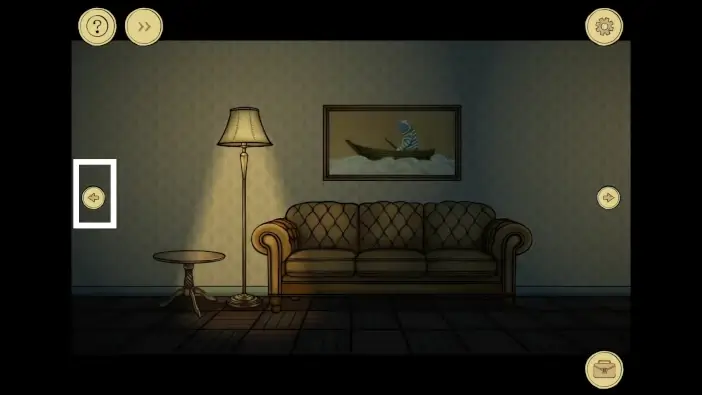
Go left from the living room.
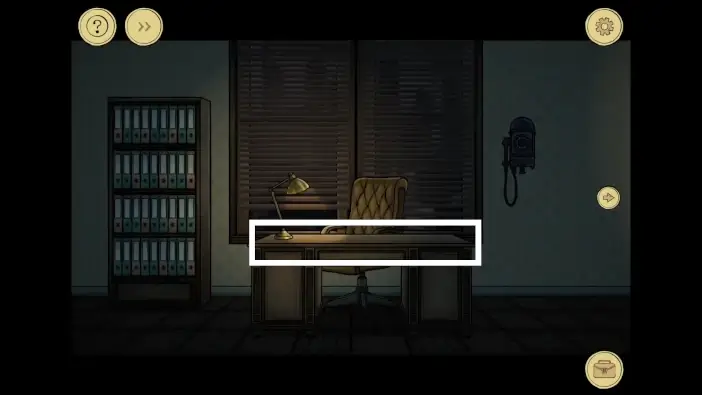
Approach the office desk.
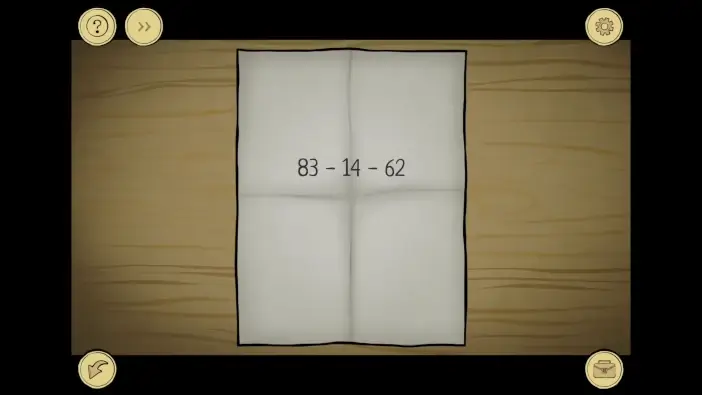
Take a paper knife from the table. Open your inventory and place the letter on the desk. Memorize the phone number.

Approach the phone and dial the number 831462.
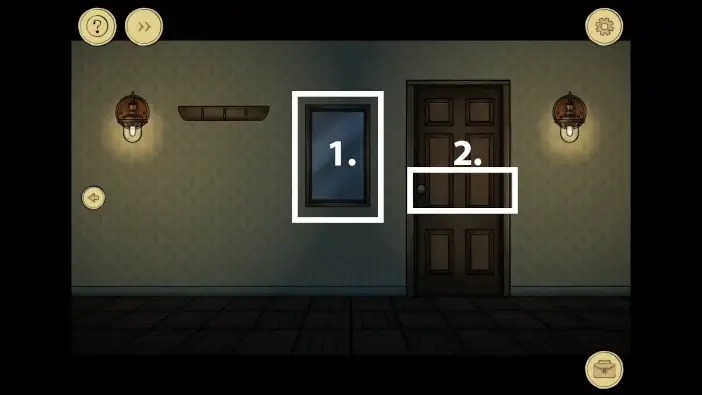
- Once you finish the dialogue on the phone, go to the door area. Approach the mirror and dress up your character with clothes and a hat from your inventory.
- Exit the house.
Chapter 2
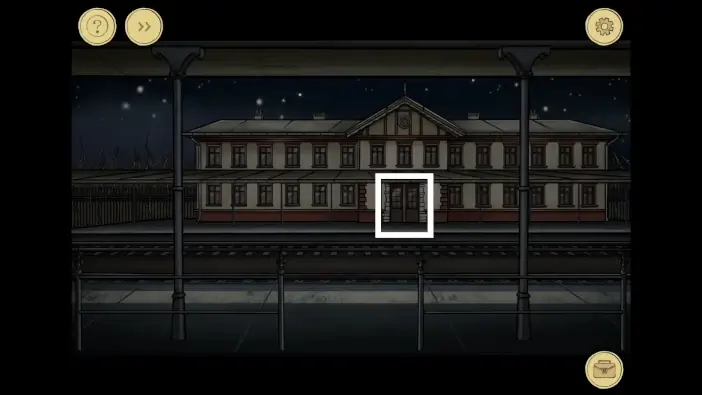
Approach the train station.
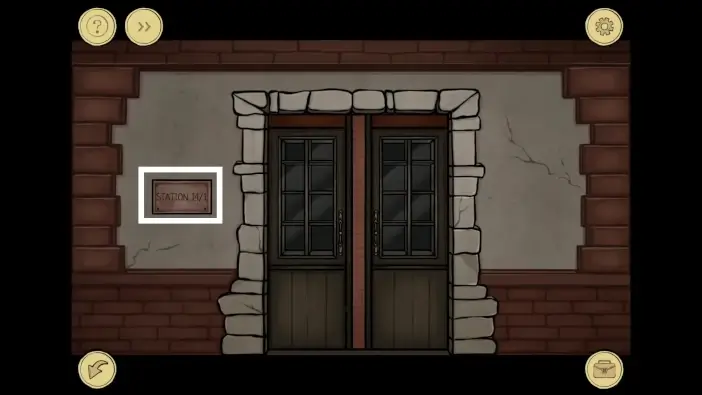
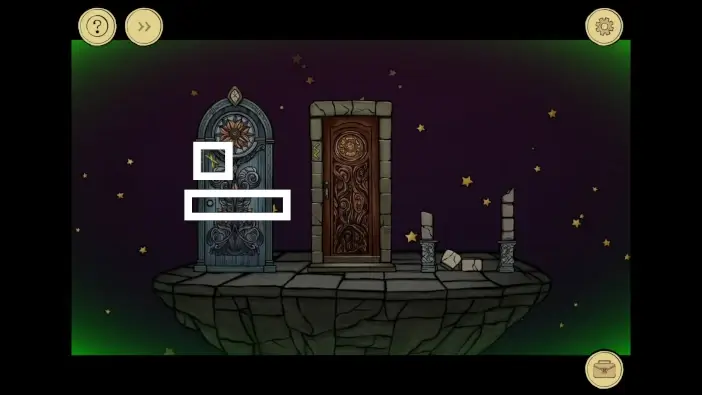
Approach the sign left of the door. Remove the sign to reveal a new puzzle challenge.
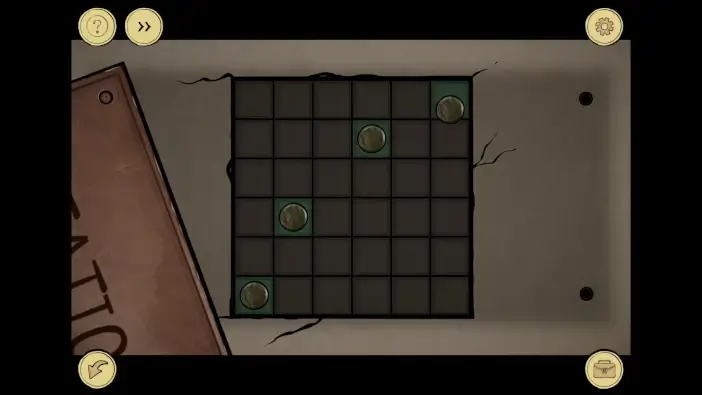
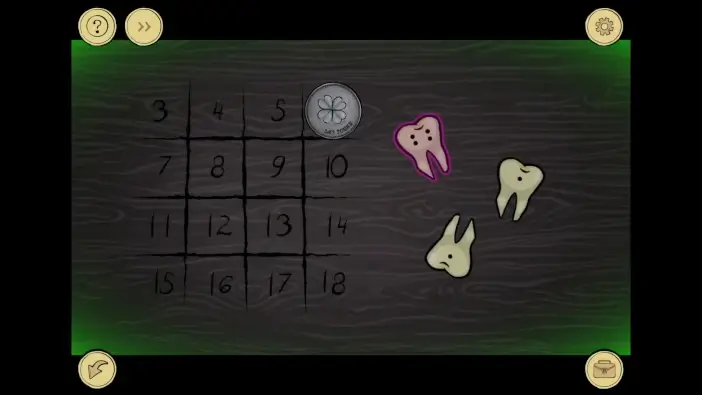
You need to place all circles on the green tiles. You can’t move circles to the neighboring tile. When you move them, they will go all the way across the board until they don’t encounter an obstacle (the end of the board or another circle).
When you complete the puzzle, a hidden compartment will open. Pick up the lucky pound and read the letter. When you read the letter, click on it one more time to read the other side of the page.
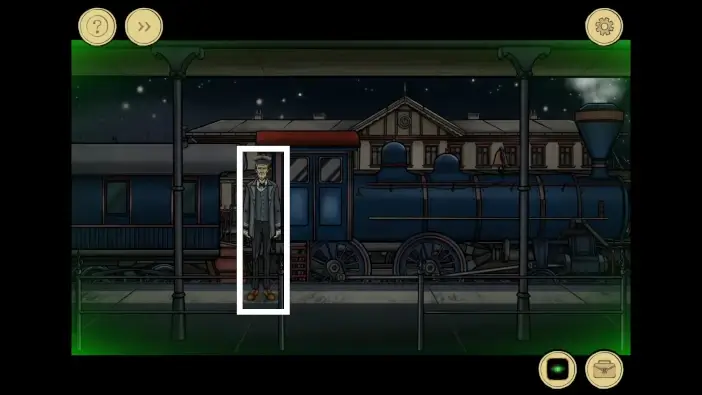
Go back to the train station’s platform and buy a card from the conductor (you can see the train and the conductor with your Ghost Vision, but it will be automatically activated). Give the ticket to the conductor and answer “Yes” to board the train.
Chapter 3
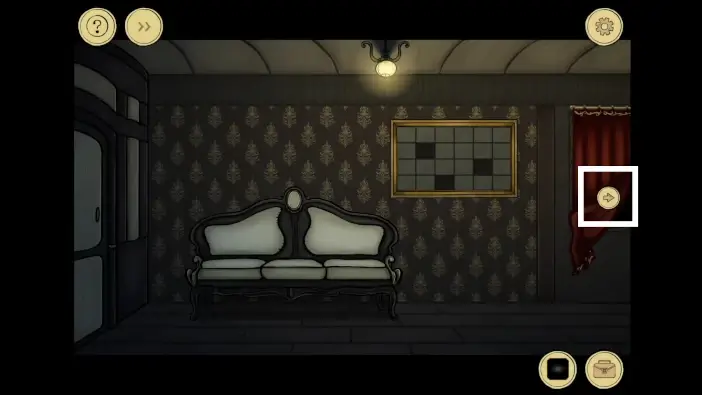
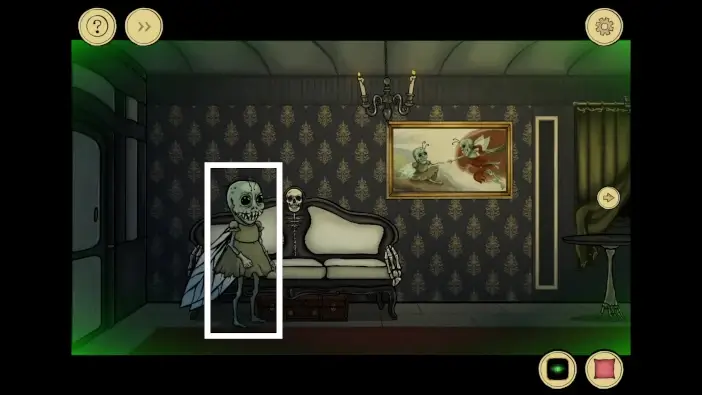
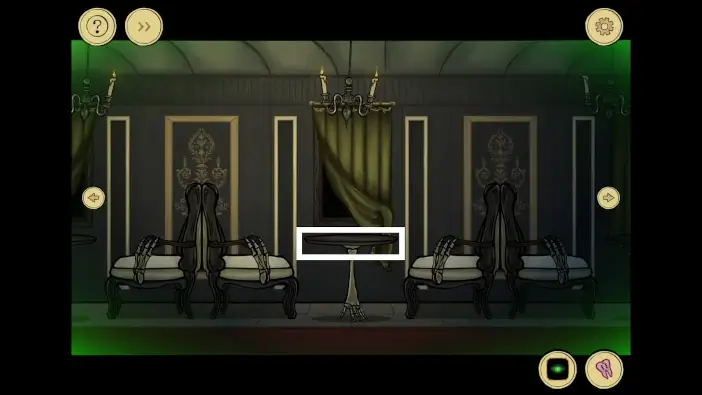
Once you are inside the train, go right.
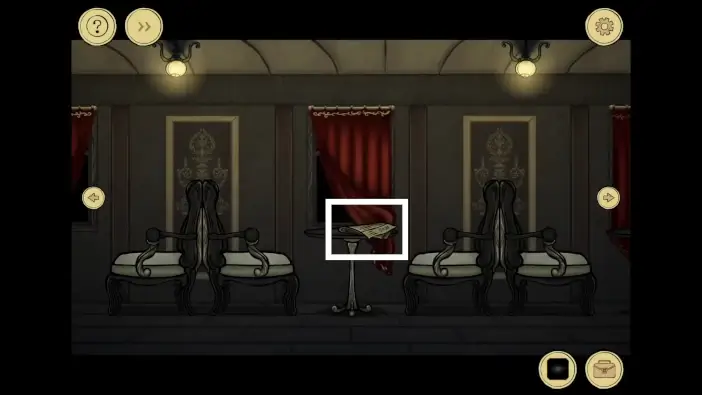
Approach the table in the center.
Take a piece of the picture behind the newspapers.
Go further right and take the second piece of the picture from the floor.
Return to the left-most area of the train and activate the Ghost Vision.

- Take the third piece of the picture from the floor.
- Open your inventory and place all the pieces, one by one, into the missing parts of the picture.
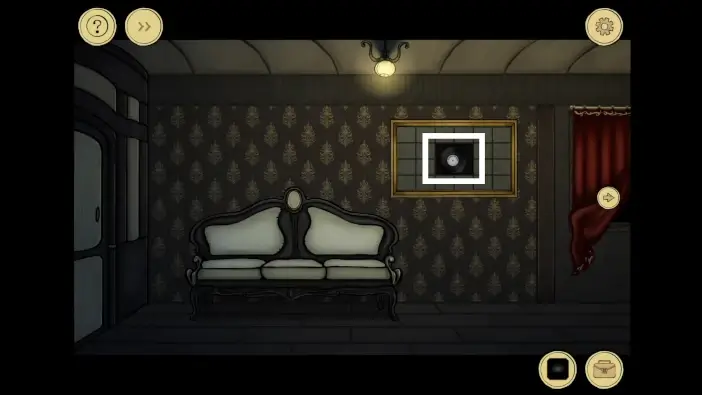
- Approach the picture.
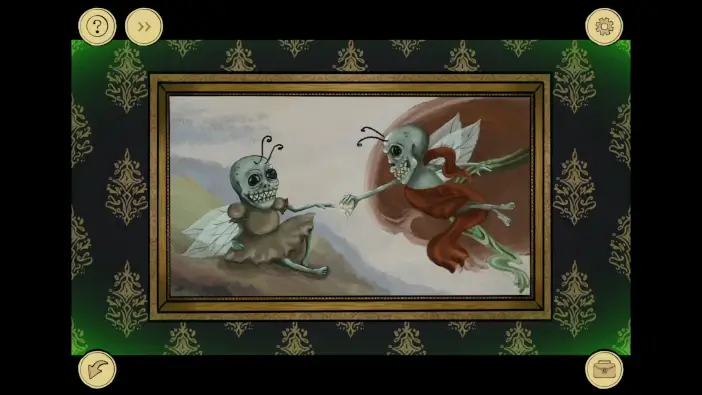
Rearrange the pieces of the picture to get the full, correct picture.
Deactivate the Ghost Vision.
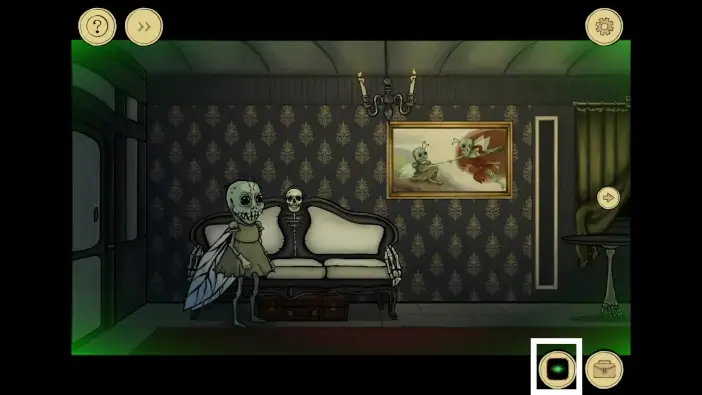
Take the vinyl from the picture.
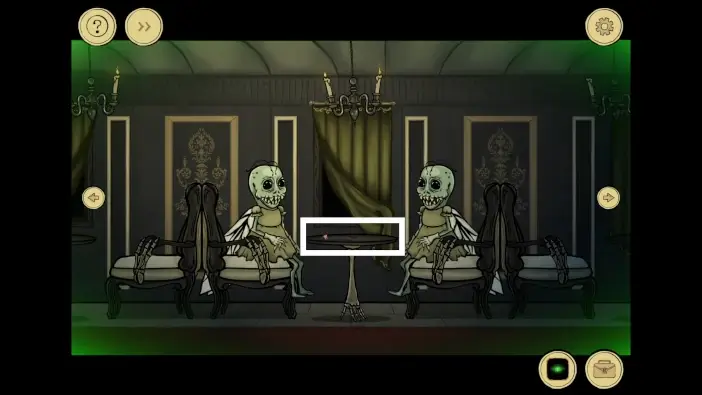
Activate the Ghost Vision again and click on the tooth fairy to see that she wants a pillow.

While still having Ghost Vision activated, go to the right part of the corridor and place the vinyl from your inventory on the phonograph. Start the phonograph. Two tooth fairies who were playing a game with teeth will go to the phonograph to listen to music.
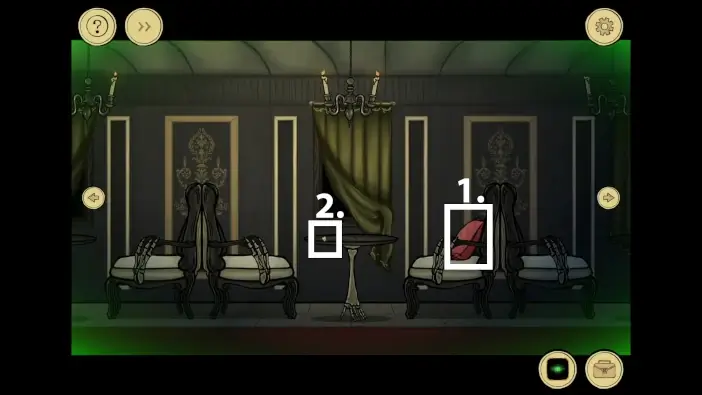
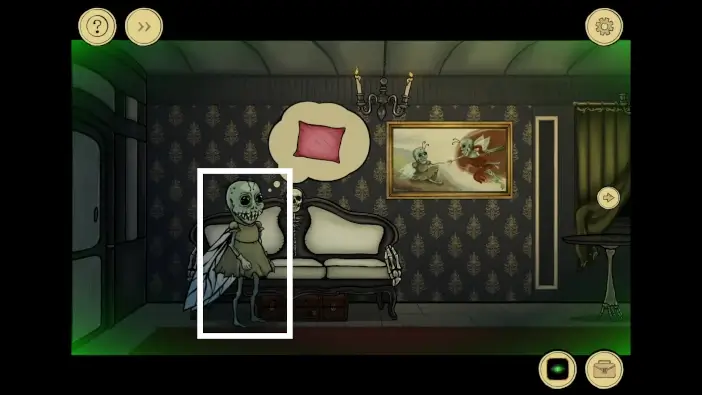
- Go left to the area where the tooth fairies were sitting. Take the pillow from the right seat.
- Take the tooth from the table.
Return to the tooth fairy near the picture and give her the pillow.
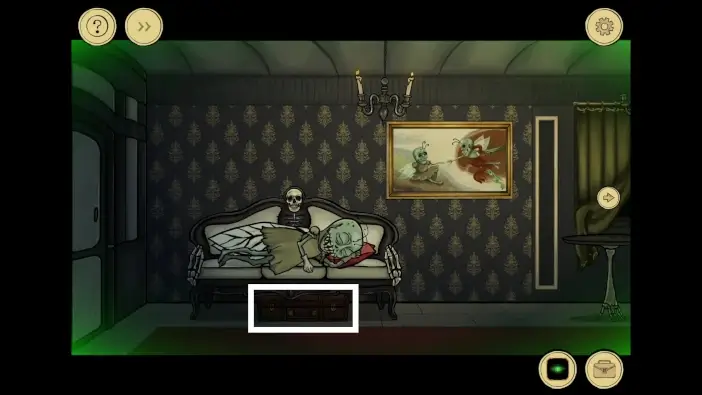
When the fairy goes to sleep, approach the suitcase below the bed.

Take a closer look at the Dice Caster.
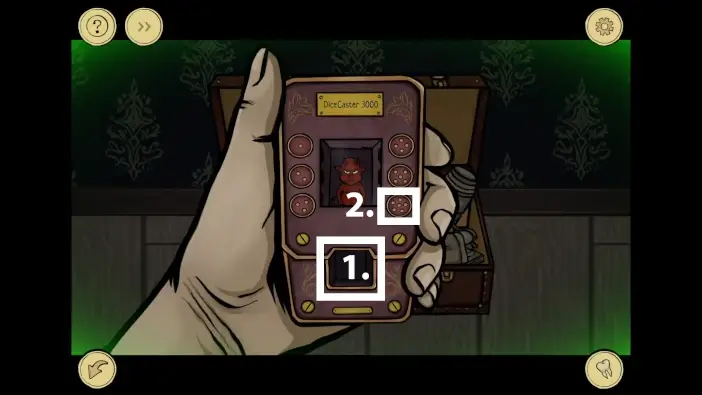
- Put the tooth into the Dice Caster.
- Pick the number 6 to enchant the tooth.
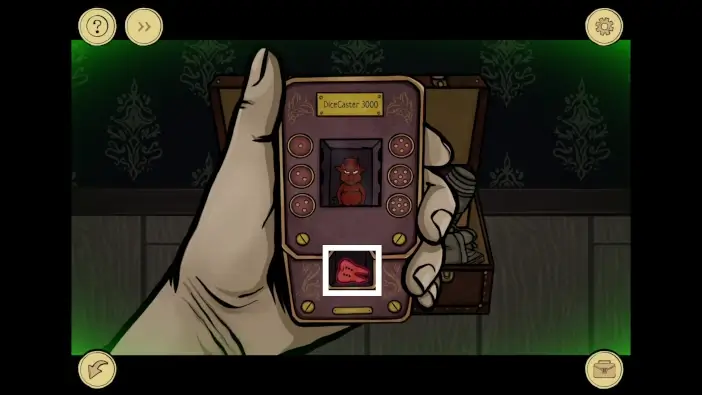
Take the enchanted tooth.
Place the enchanted tooth on the table.

Turn off the phonograph. The tooth fairies will return to the table to play the game.
Approach the table to play the game with the tooth fairies.
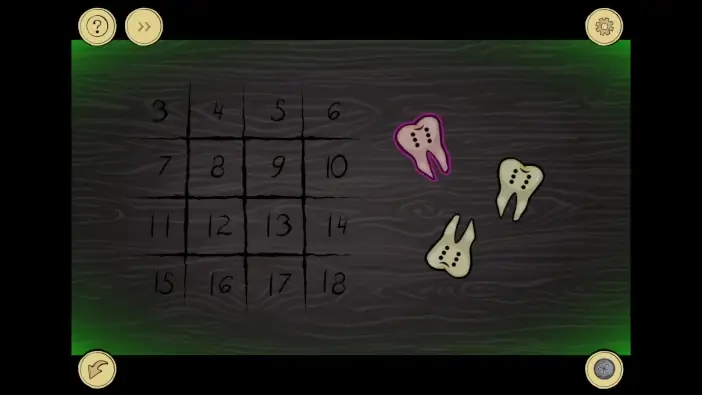
Place the lucky pound on whichever number. You will probably lose the first time. If you lose, the demon will give you a new hint.
Turn on the phonograph again to distract the tooth fairies, and then grab the enchanted tooth from the table.
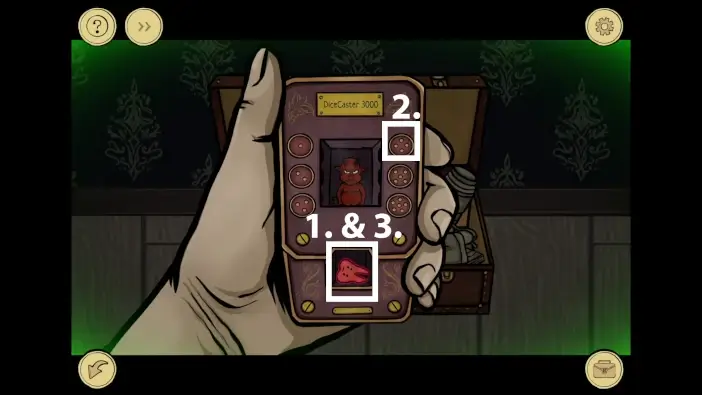
- Return to the Dice Caster and place the tooth inside it.
- Choose number 4. Your enchanted tooth will always have a value of 4 when the tooth fairies throw it.
- Take the enchanted tooth.
Place the enchanted tooth on the table, turn off the phonograph, and return to the table to play the game.
Place the lucky pound on the number 6. The hint from the demon was that tooth fairies will always try to make a sum of teeth to be in the same row as your bet. When they throw your enchanted tooth, it will always be number 4 because you enchanted it that way, and the other two teeth can have a minimal value of 1. Fairies won’t be able to avoid the sum that will be the same as your bet: number 6.
When you win, the fairy will give you the wheel as a reward. Take it.

Go to the right side of the corridor and attach the wheel to the serving cart. The conductor will pass through the door on the right.

Go to the door on the right.
Chapter 4
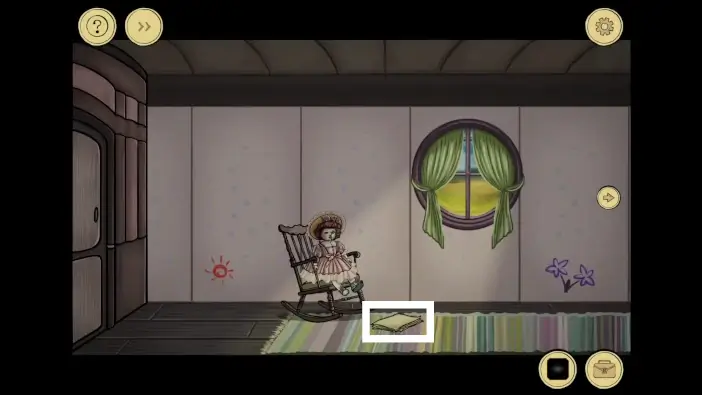
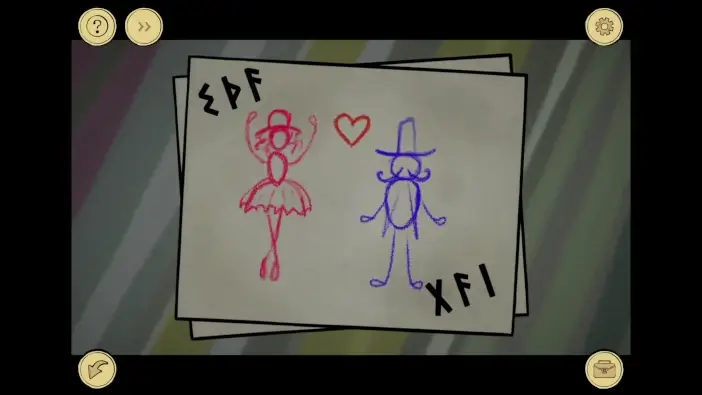
Look at the paper on the floor.

Remember the runes and their sequence on the paper.
Go right.

Pick up the handle from the floor.
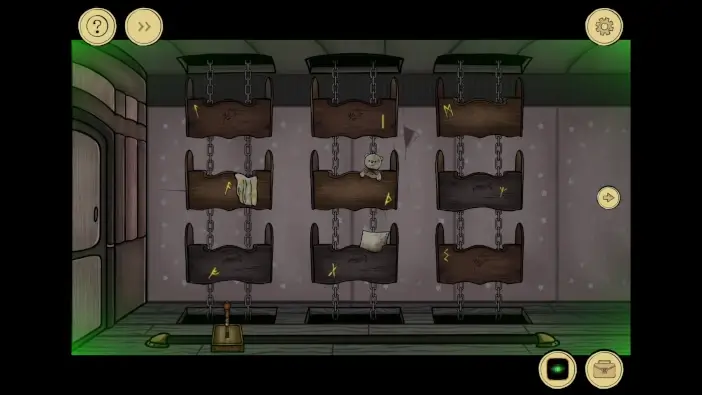
Go back to the doll area and activate the Ghost Vision.
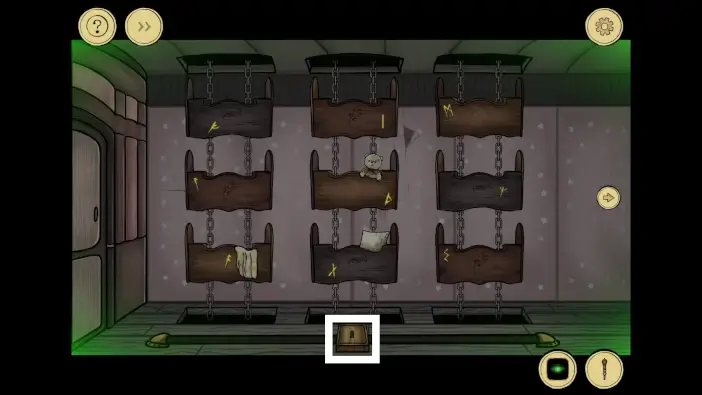
Place the handle on the switch.
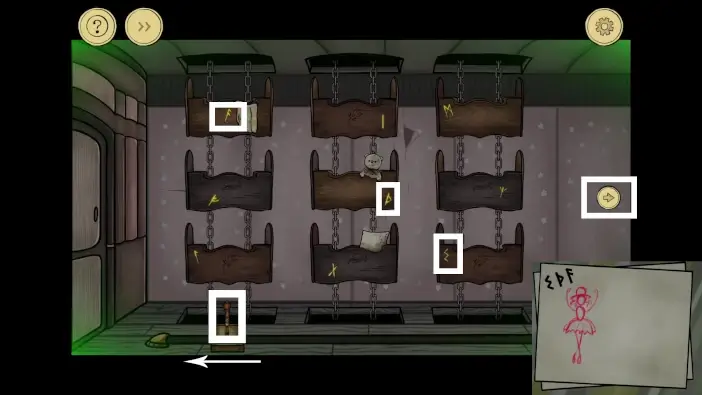
Move the switch to the left to change the left column. Activate the switch to get the new infant bed with the rune you need. Recall the sequence of runes from the paper. The runes on infant beds should follow this rule: the first rune from the paper should be at the bottom row, the second rune on the middle row, and the last rune on the top row. You can ignore the column position of runes, it is not important.
Once you rearrange the infant beds, go right while Ghost Vision is on.
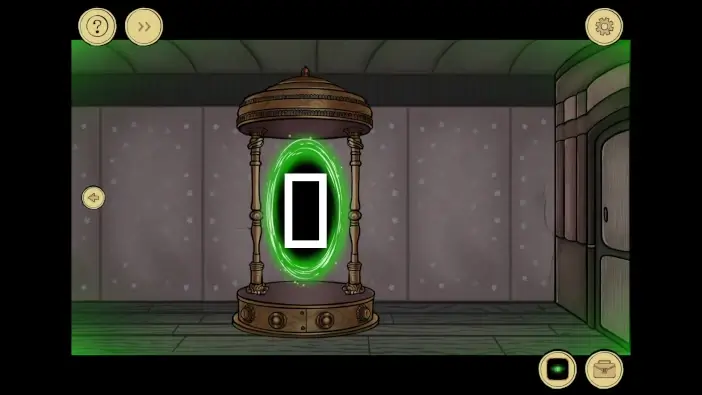
Enter the portal.
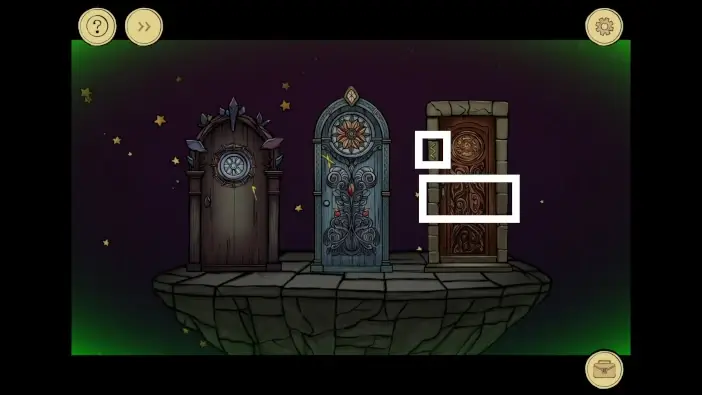
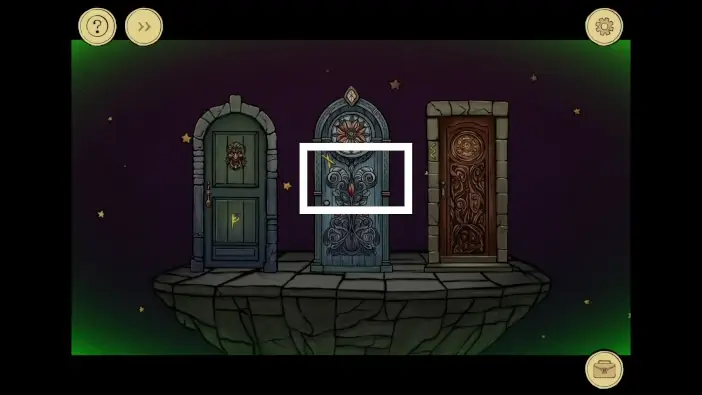
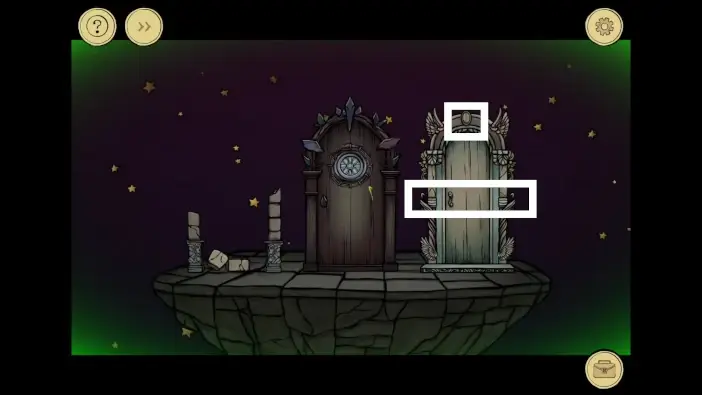
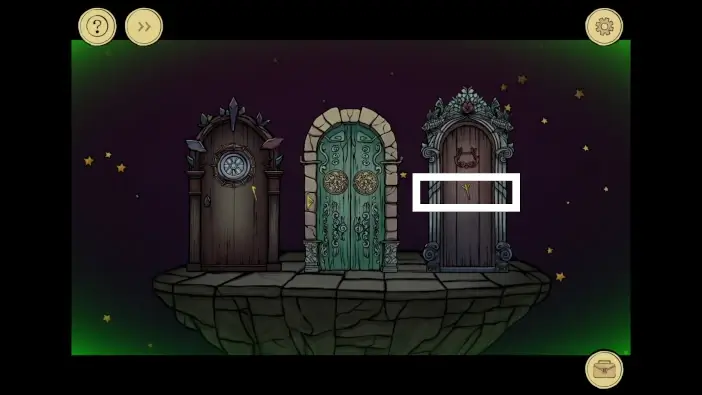
You need to enter the doors according to the sequence of runes from the paper. Choose the door on the right.

Choose the door on the left.

Choose the door on the left again.
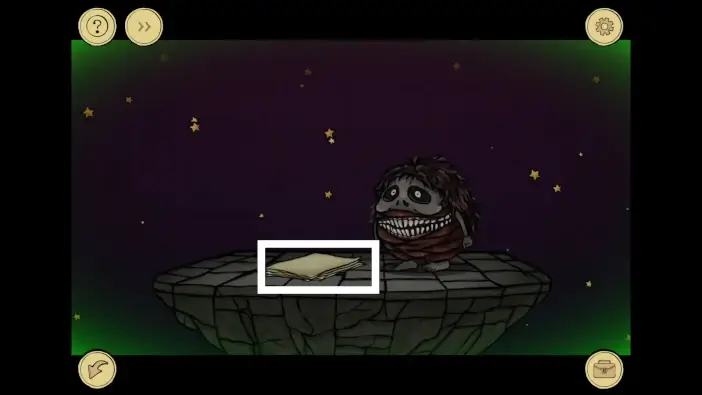
Take a look at the paper.
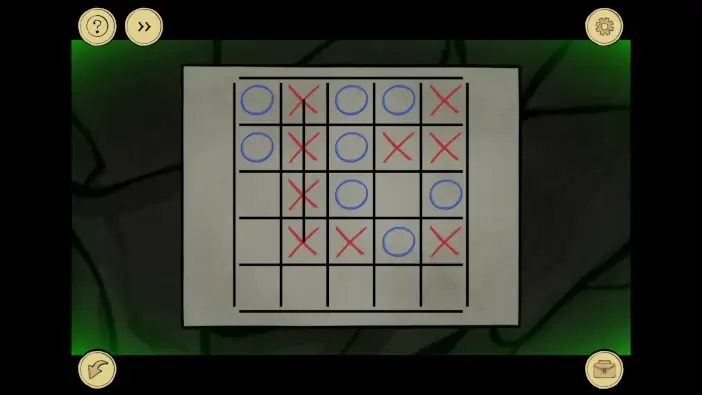
You need to play a tic-tac-toe with the unknown spirit. Win the game by having at least three “X” signs next to each other, and do not let the spirit draw three circles next to each other.

Once you win the game, take the pencil and use the arrow on the bottom left side to exit the portal and return to the train.
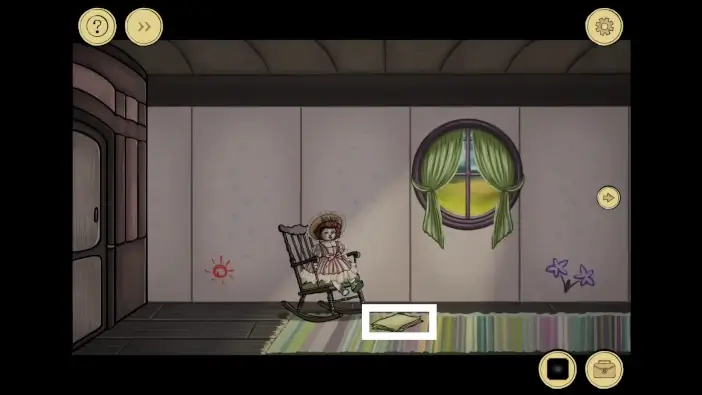
Deactivate the Ghost Vision and return to the doll area. Approach the paper on the floor.
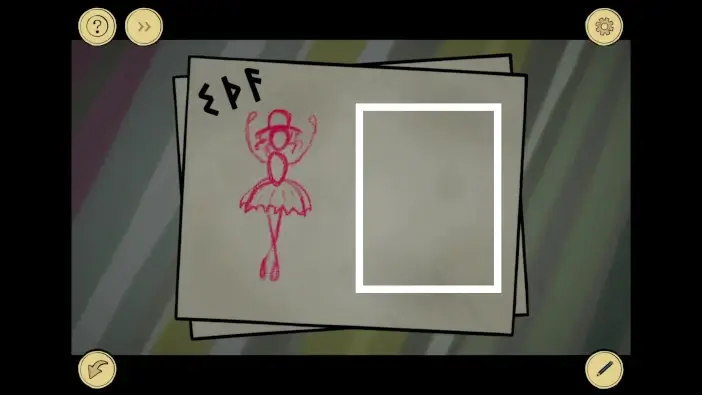
Use the pencil to draw.
Remember the runes on the right and their sequence.
Activate the Ghost Vision and adjust the infant beds so that the first rune from the paper (X) is on the bottom, the second rune is in the middle, and the third rune is at the top, no matter their position on the columns.
Go right while Ghost Vision is activated and enter the portal again.
Choose the doors according to the sequence of new runes you drew on the paper. Choose the door in the center.
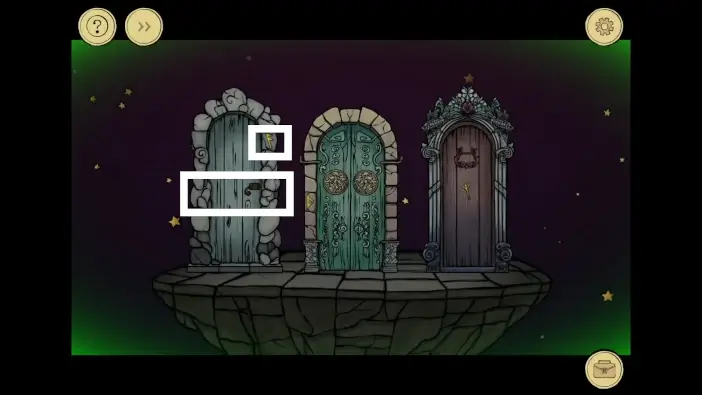
Choose the door on the left.
Choose the door on the right.

Approach the marionette.
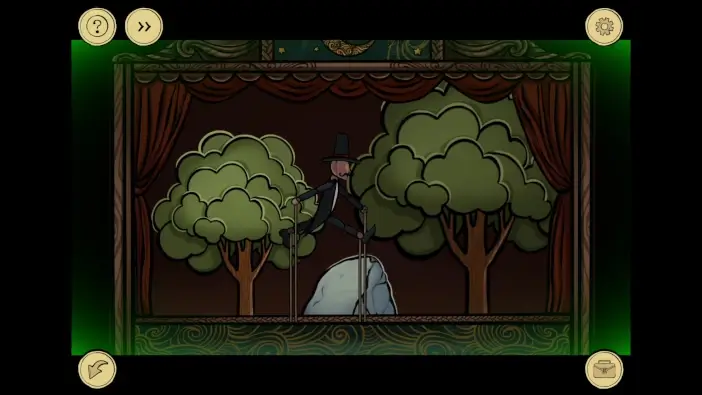
Tap on the screen to instruct the marionette to jump. The marionette needs to jump over several stones to complete this game.
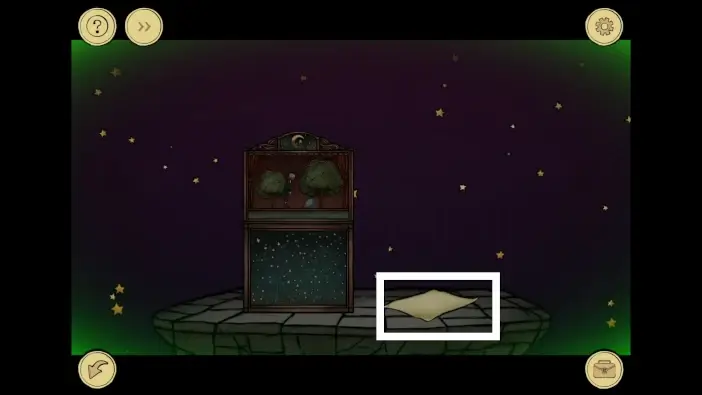
Once you complete the game, take a look at the paper.

Remember the runes and their sequence.

As before, make sure that runes on the infant beds are in the correct position: the first rune from the paper is on the bottom, the second rune is in the middle, and the third rune is at the top, no matter their position on the columns.
Once you finish, enter the portal.
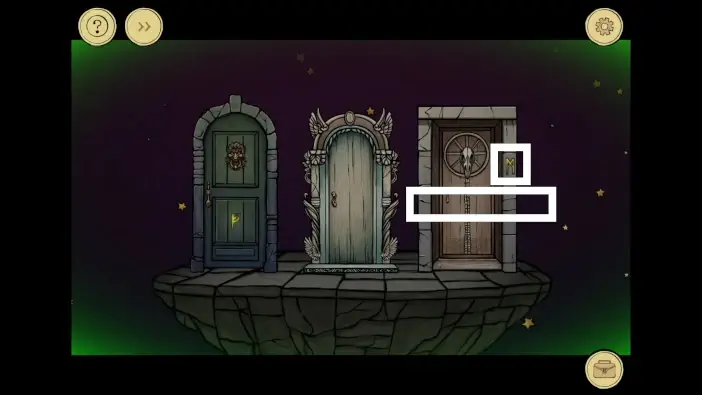
As before, choose the doors according to the sequence of runes on the newest paper. Choose the door on the right.
Choose the door on the left.
Choose the door on the right.
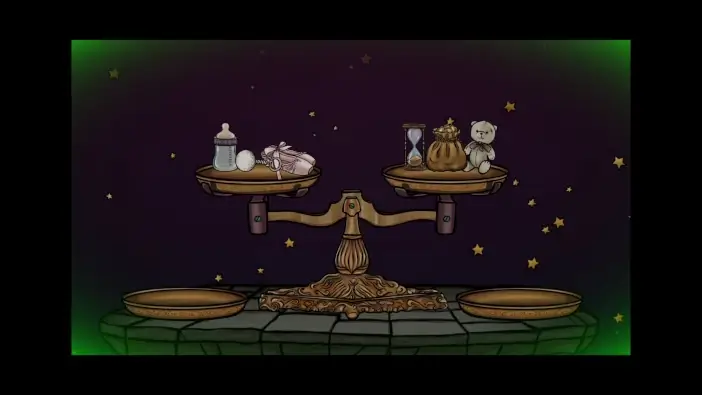
Place the items on the scale like in the picture above to achieve the balance of the scale.
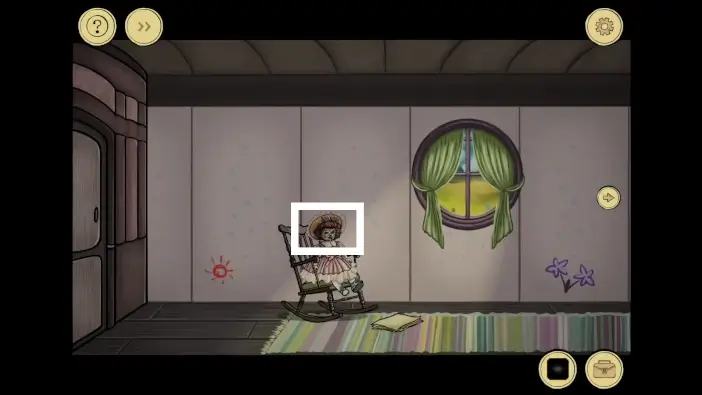
After the previous puzzle, you will automatically appear at the doll area, and your Ghost Vision will be deactivated. Approach the doll.
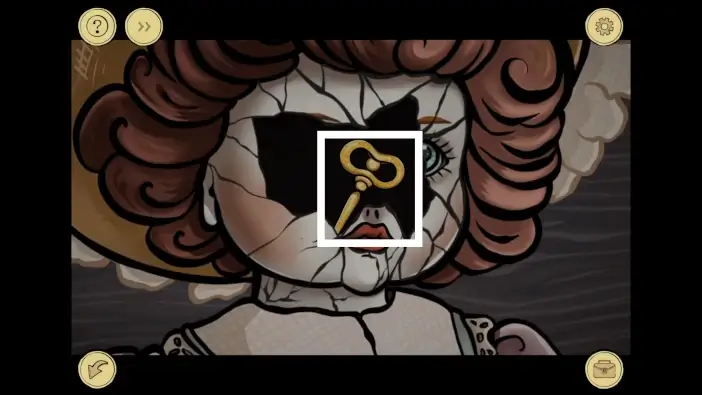
Take the key from the doll’s face.
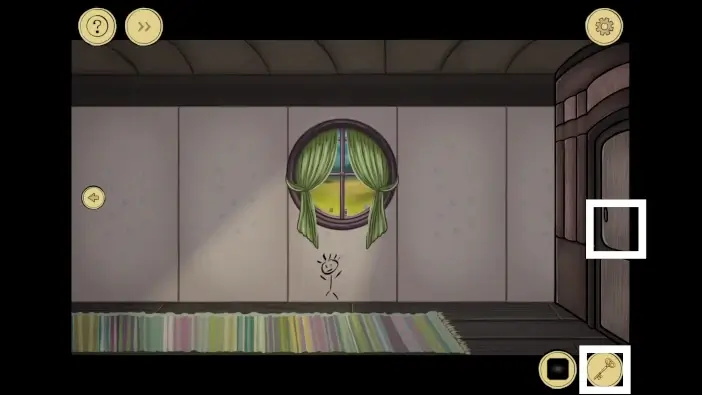
Use the key to open the door on the right and enter the new area of the Ghost Train.
This will mark the end of part 1 of our guide for the Room Escape: Strange Case 3.
Thank you for reading!